Upgrade the VMware vSphere Environment from Version 7 to 8 – Part 1 – Upgrade vCenter Server Appliance
In this post we will see how we can upgrade our vSphere environment (vCenter Server Appliance and ESXi Hosts) from version 7.0.3 to version 8.0.2.
This part will cover upgrading the vCenter Server Appliance and in Part 2 we will see how to upgrade the ESXi Hosts.
If you upgrade hosts managed by vCenter Server, you must upgrade vCenter Server
before you upgrade the ESXi hosts. If you do not upgrade your environment in the correct order,
you can lose data and lose access to servers.Source: https://docs.vmware.com/en/VMware-vSphere/8.0/vsphere-esxi-80-upgrade-guide.pdf
You can upgrade an ESXi host to version 8.0 by using an interactive upgrade from a CD, DVD,
or USB, a scripted upgrade, ESXCLI, or vSphere Lifecycle Manager. When you upgrade an ESXi
host that has custom VIBs to version 8.0, all supported custom VIBs are migrated.Source: https://docs.vmware.com/en/VMware-vSphere/8.0/vsphere-esxi-80-upgrade-guide.pdf
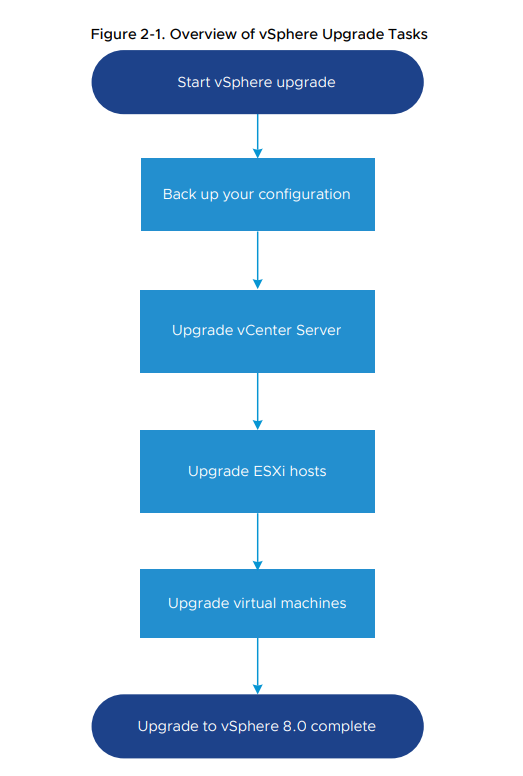
Source: https://docs.vmware.com/en/VMware-vSphere/8.0/vsphere-esxi-80-upgrade-guide.pdf
Introduction
The upgrade of the vCenter Server Appliance is a migration of the old version to the new version, which includes deploying a new vCenter Server appliance of version 8.0. You can deploy the new appliance on an ESXi host 6.7or later, or on the inventory of a vCenter Server instance 6.7 or later. You assign a temporary IP address to the new appliance to facilitate the configuration and services data migration from the old appliance to the newly deployed appliance. After the migration, the IP address and host name of the old appliance are applied to the new upgraded appliance of version 8.0. At the end of the upgrade, the temporary IP address is released and the old appliance is powered off.
Upgrading the vCenter Server Appliance
vCenter Server 8.0 uses an embedded vSphere Lifecycle Manager service that allows you to perform centralized and simplified lifecycle management of clusters with ESXi 7.0 hosts.
vSphere Lifecycle Manager in vSphere 8.0 includes the functionality that Update Manager provided in earlier vSphere releases for host upgrade and patching operations, and upgrade of virtual machine hardware and VMware Tools.
If the appliance that you are upgrading is configured in a mixed IPv4 and IPv6 environment, only the IPv4 settings are preserved. For information on the transfer of networking configuration settings for mixed mode IPv4 and IPv6 deployments, see Mixed IPv4 and IPv6 Upgrade and Migration.
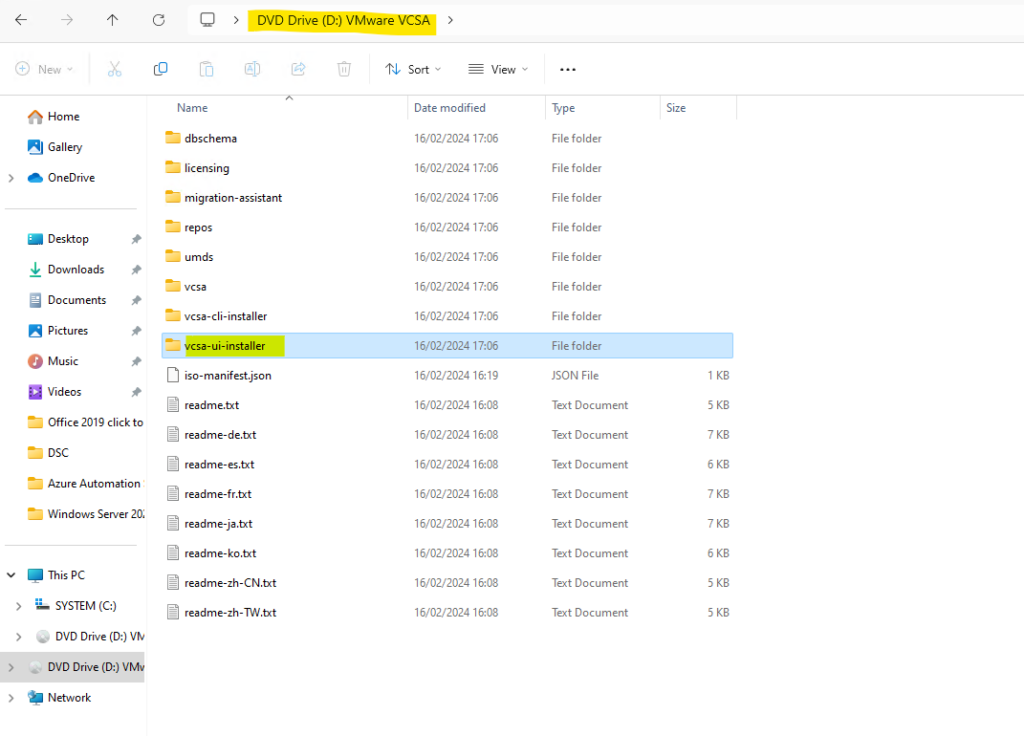
Mount the ISO image to the client machine from which you want to deploy, upgrade, migrate, or restore the appliance.
Verify that all components on the vSphere network have their clocks synchronized. If the clocks on the physical machines in your vSphere network are not synchronized, SSL certificates and SAML tokens, which are time-sensitive, might not be recognized as valid in communications between network machines.
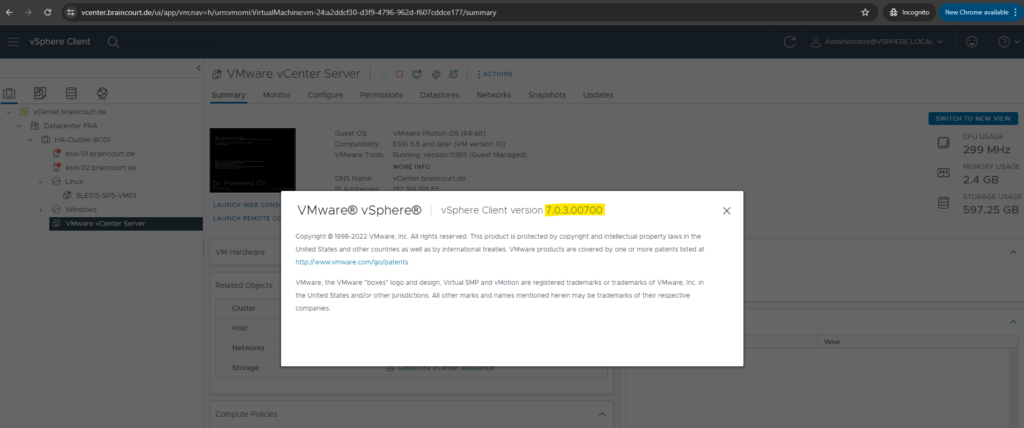
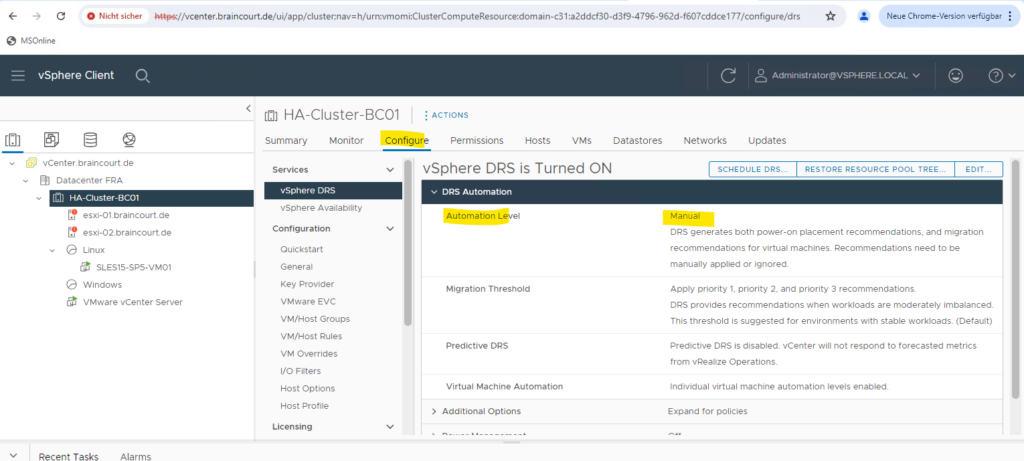
Before upgrading a vCenter Server Appliance, you must prepare the ESXi hosts in the inventory. Your source and target ESXi hosts must not be in lockdown or maintenance mode, and not part of fully automated DRS clusters.
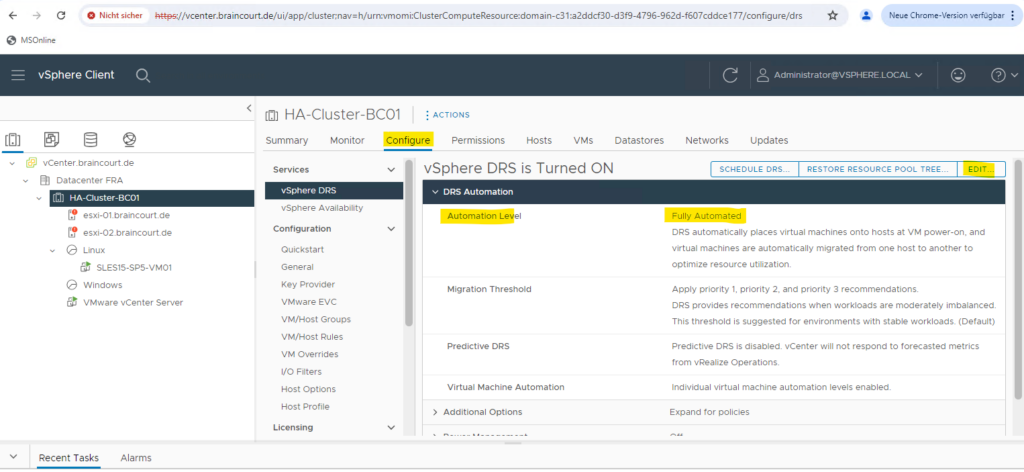
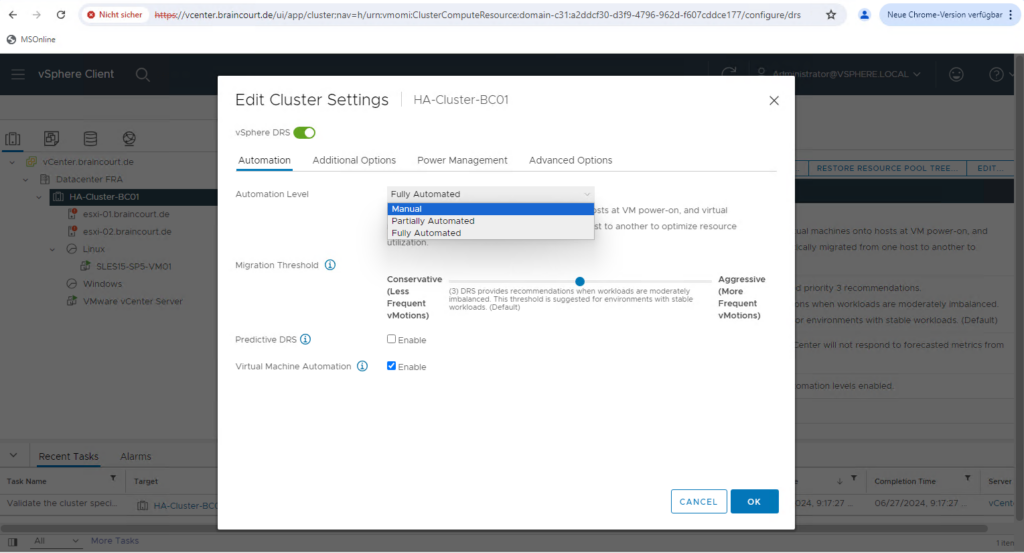
You can use the GUI installer to perform an interactive upgrade of a vCenter Server Appliance.
To perform the GUI upgrade, download the vCenter Server Appliance installer on a network client machine, run the Upgrade Wizard from the client machine, and provide the inputs for the deployment and setup of the new upgraded appliance.
Mounting the ISO File VMware-VCSA-all-8.0.2-23319993.iso.

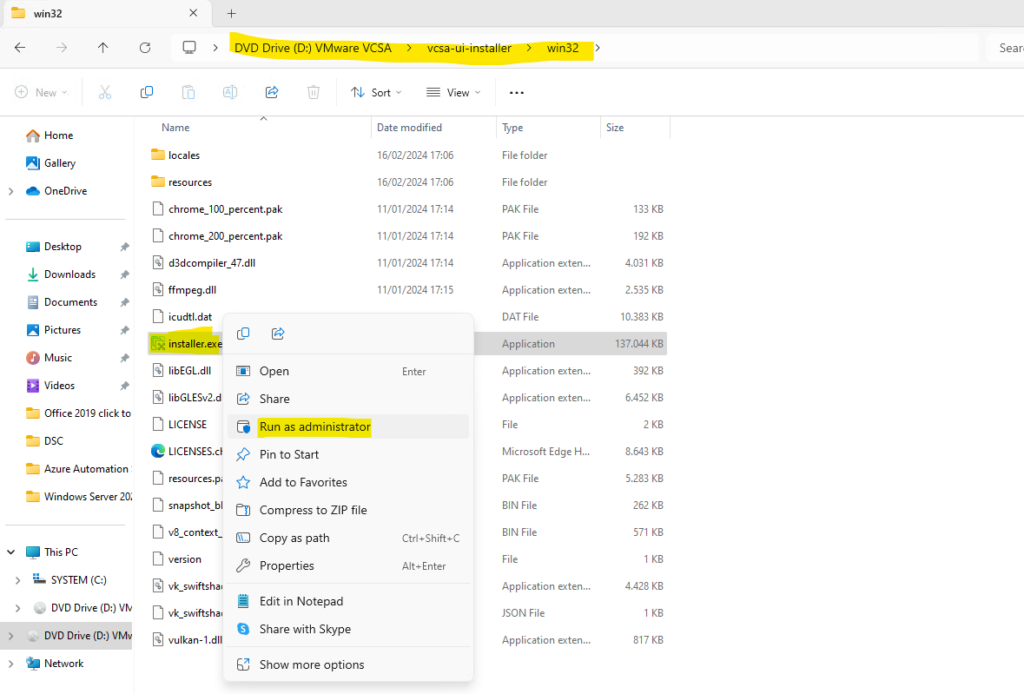
Select Upgrade an existing vCenter Server Appliance.
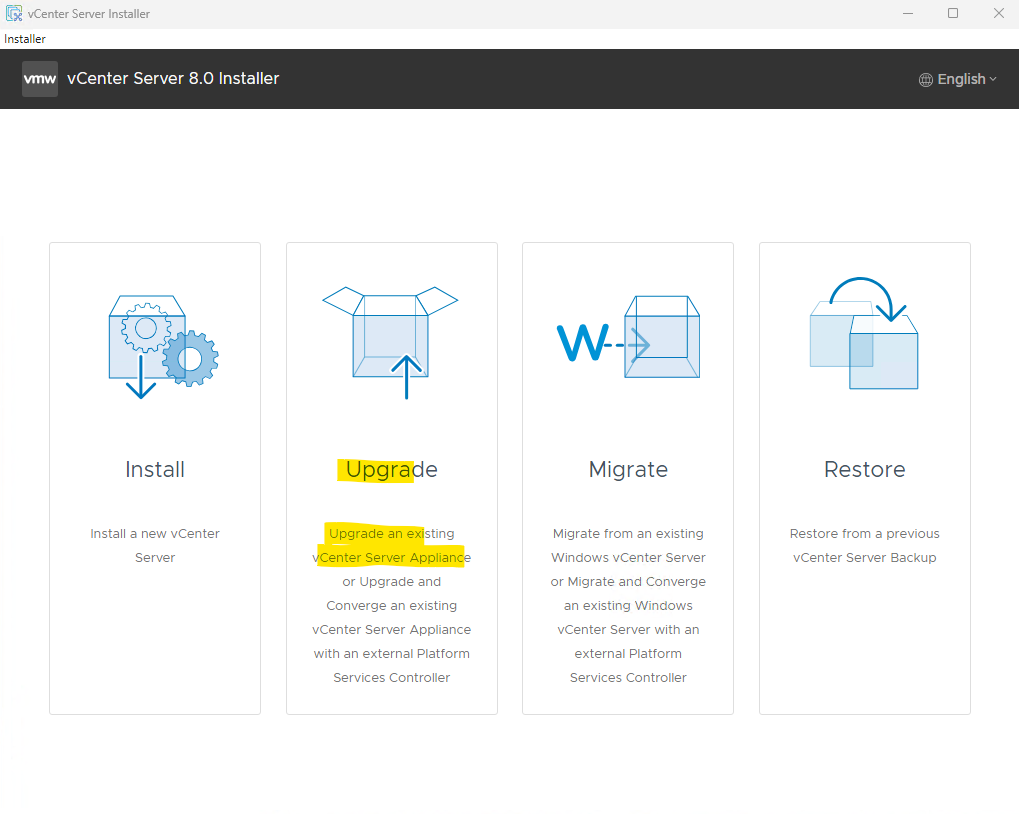
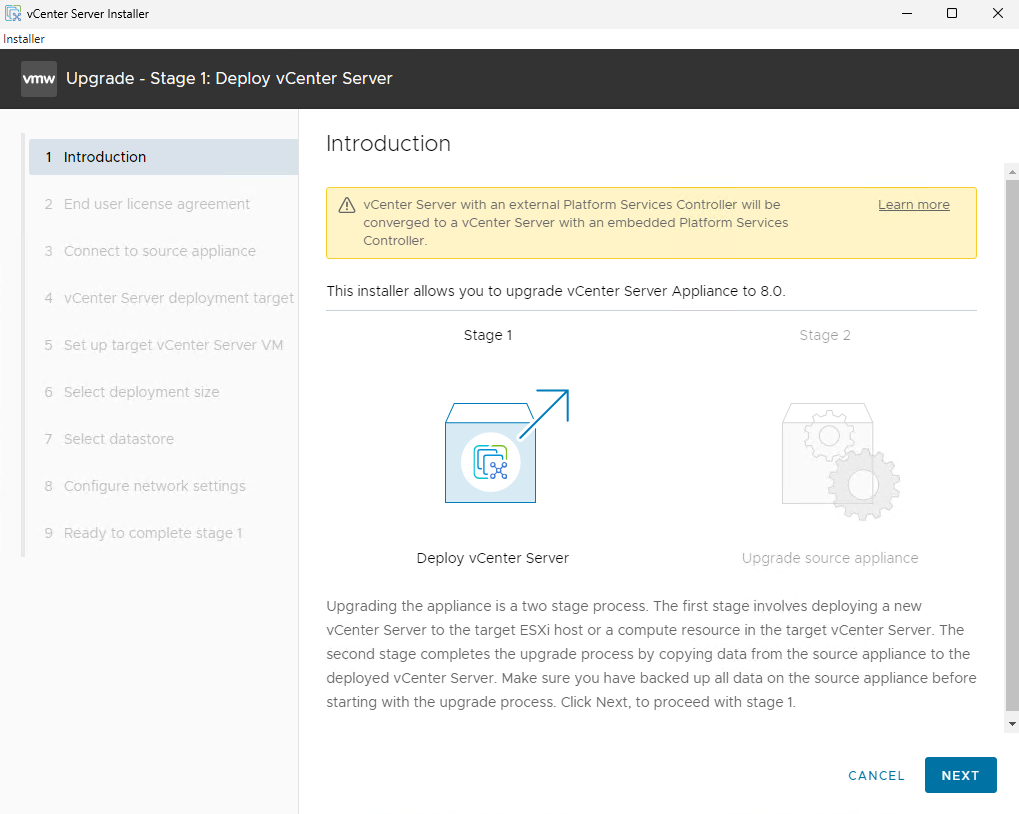
Upgrading the appliance is a two stage process. The first stage involves deploying a new vCenter Server to the target ESXi host or a compute resource in the target vCenter Server. The second stage completes the upgrade process by copying data from the source appliance to the deployed vCenter Server. Make sure you have backed up all data on the source appliance before starting with the upgrade process. Click Next, to proceed with stage 1.
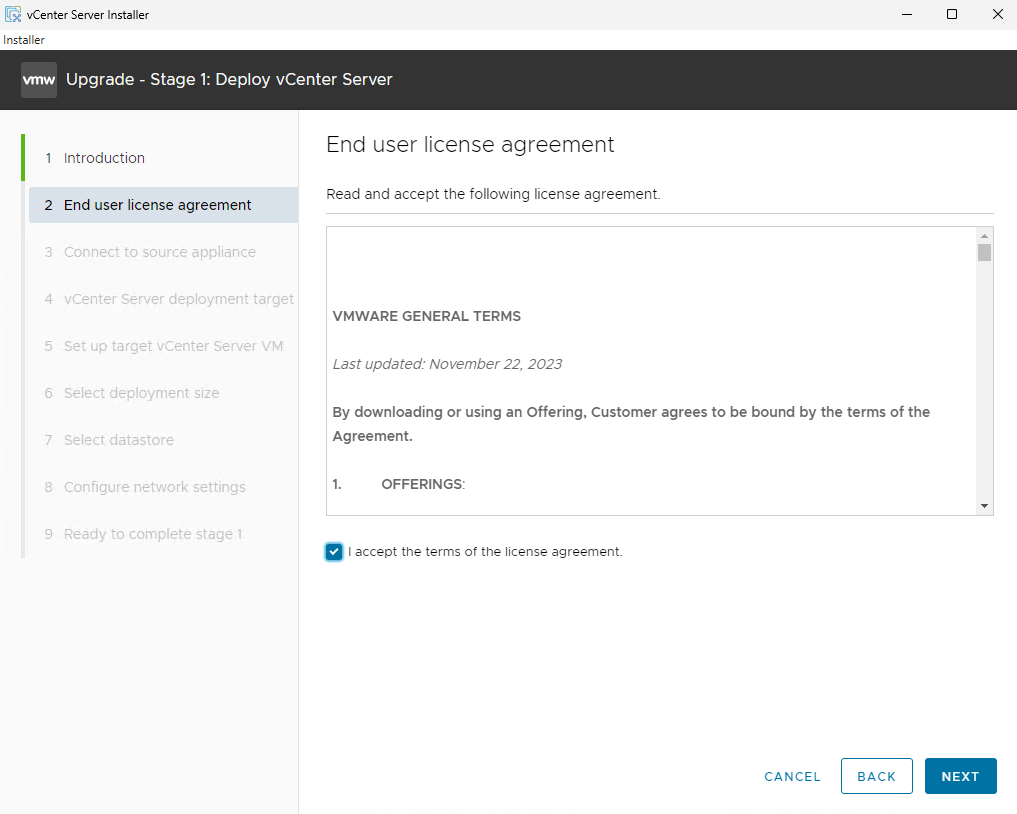
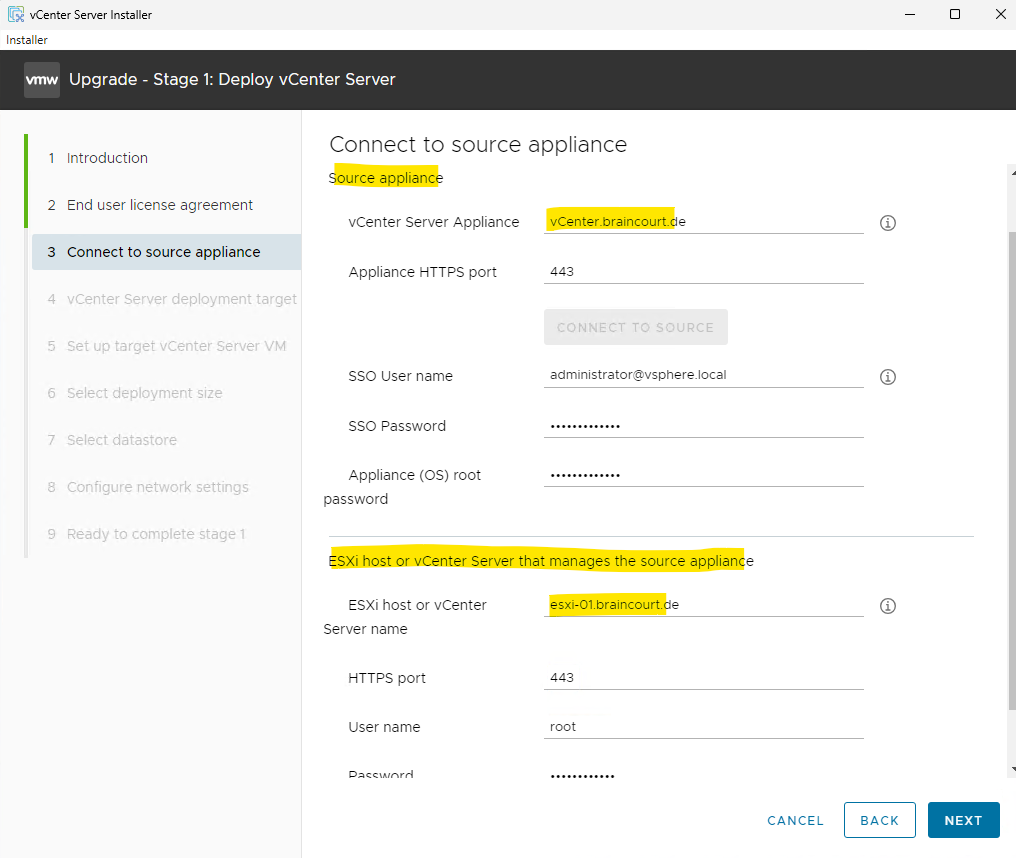
Enter the source vCenter Server appliances FQDN or IP address and click on Connect to Source.
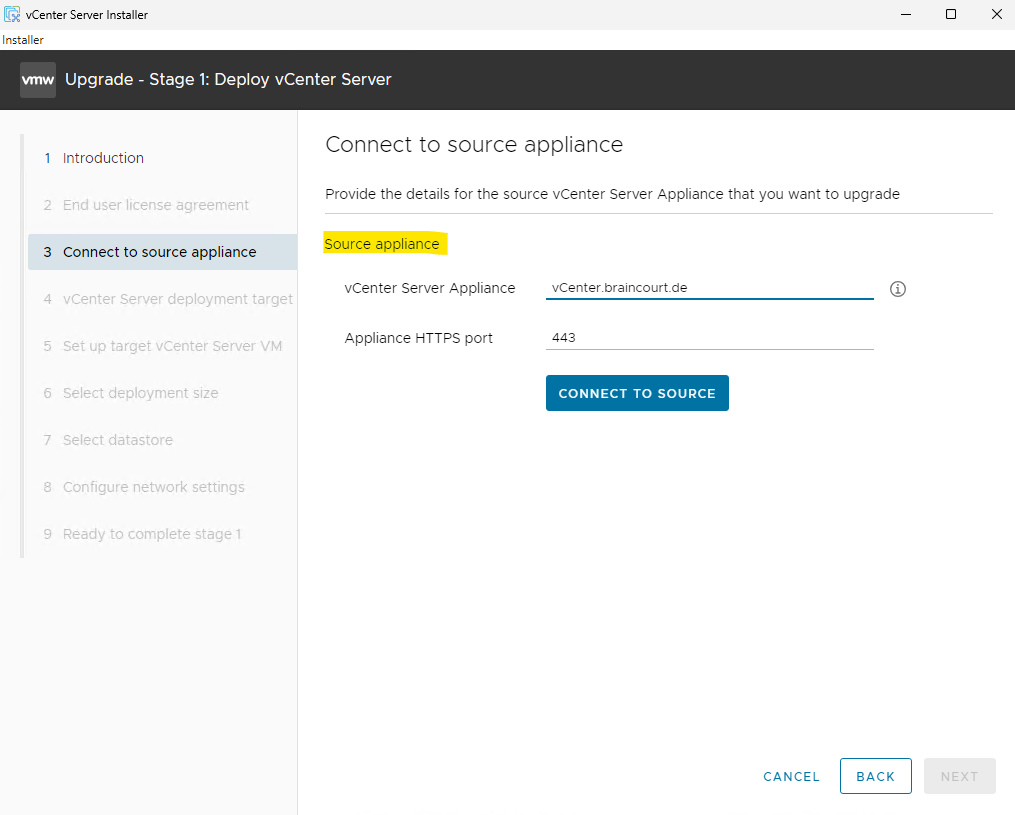
If you connect directly to an ESXi host and it is in a DRS cluster, DRS initiated vMotions may occur during the deployment process. To prevent this, either connect to the vCenter Server managing the ESXi host or ensure the cluster where this ESXi host resides is not set to Fully Automated DRS for the duration of the deployment.
Therefore we previously switched from Fully Automated DRS to manual.
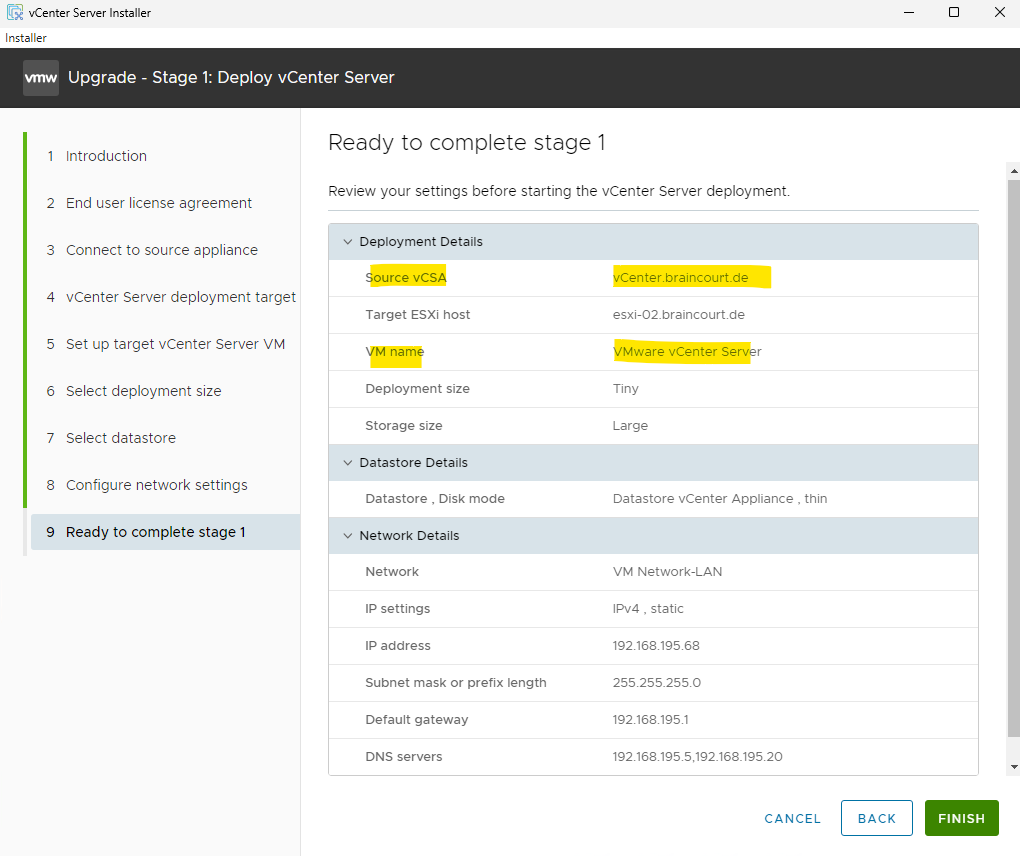
The source vCenter Server Appliance is manged by the ESXi-01 Host at the moment, so I will have to enter the FQDN or IP address of the host below.
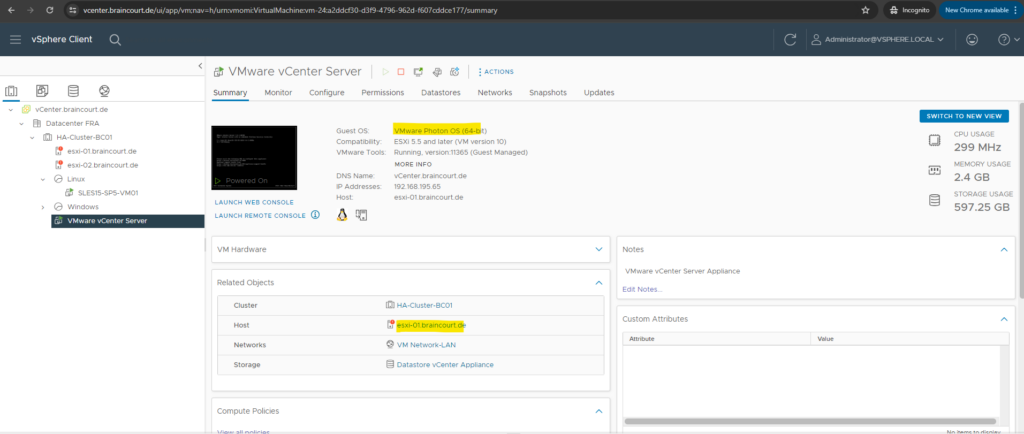
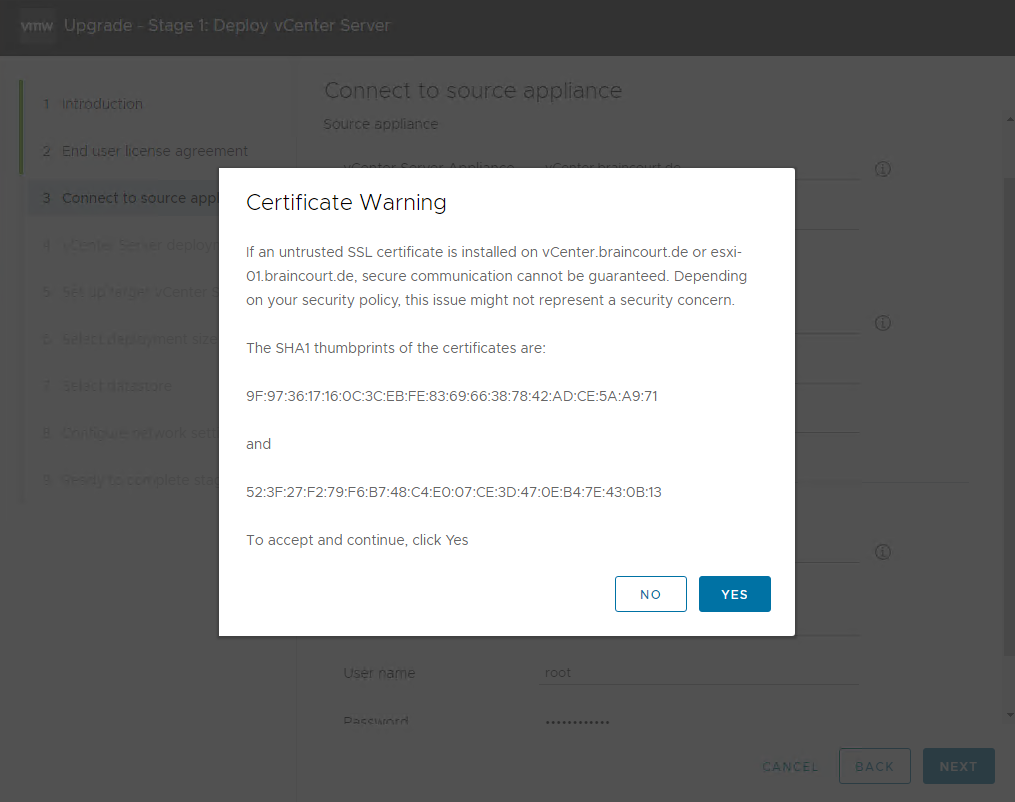
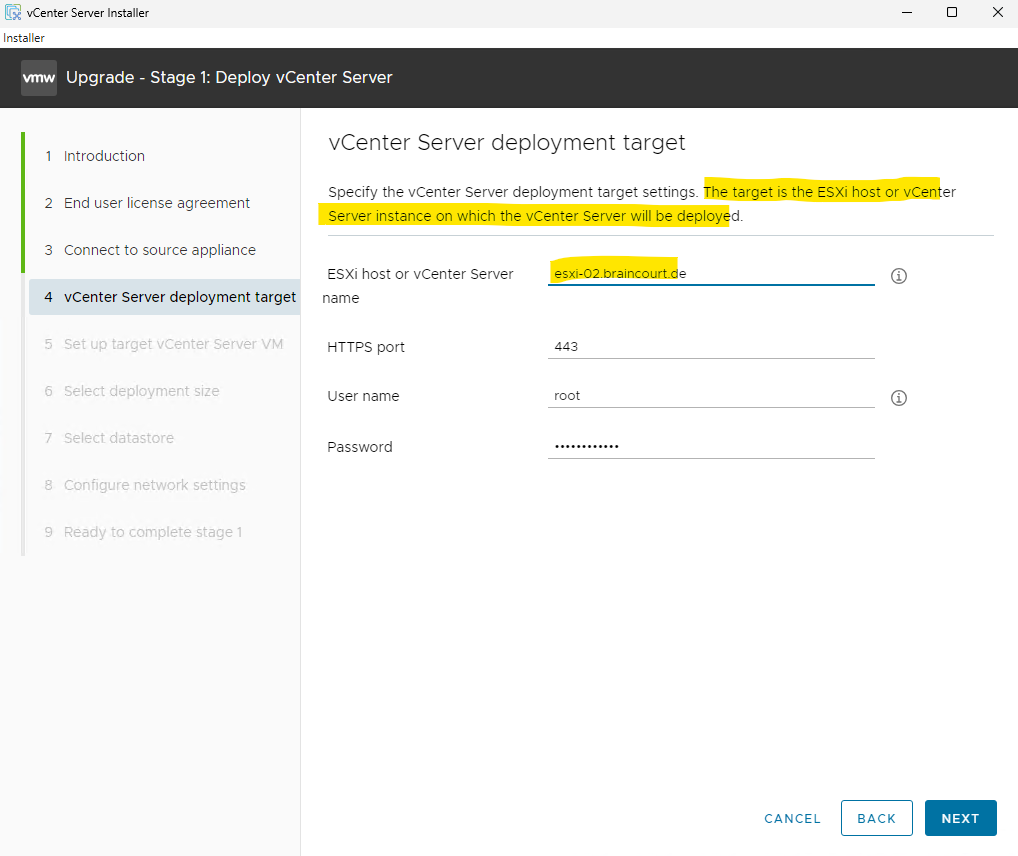
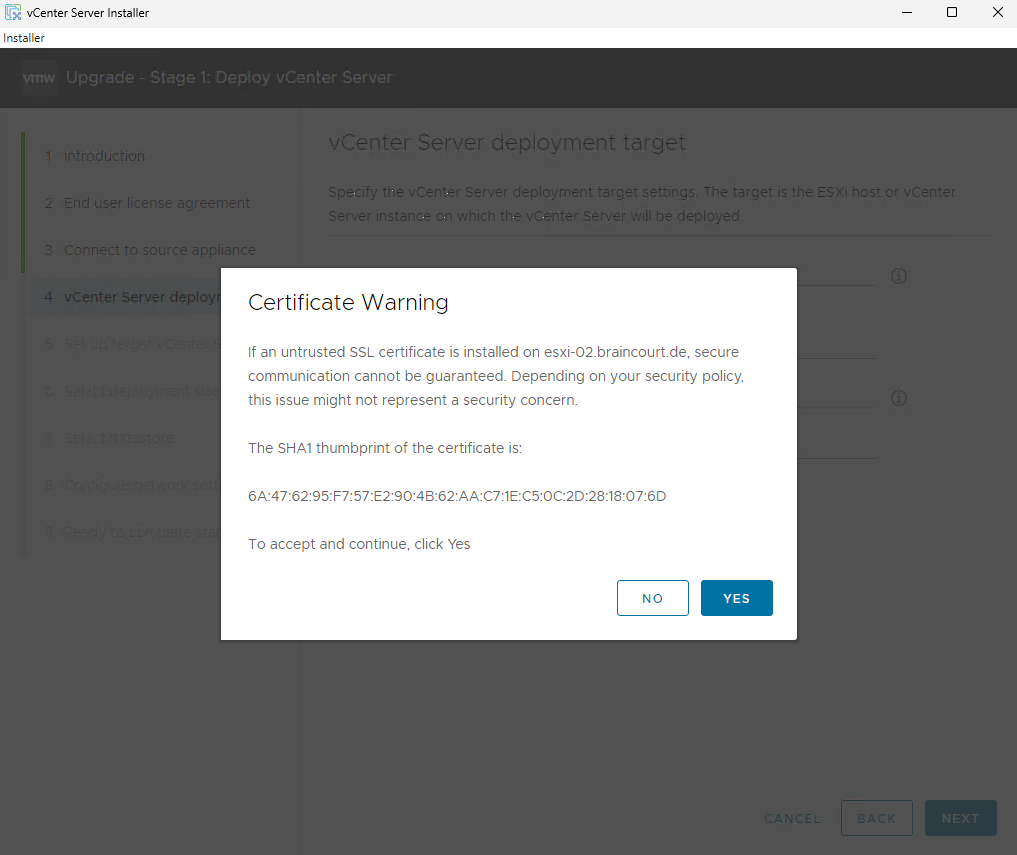
For the target ESXi Host where the new vCenter Server Appliance will be deployed I will choose my second ESXi Host but also could select here the same as the source vCenter Server is running on.
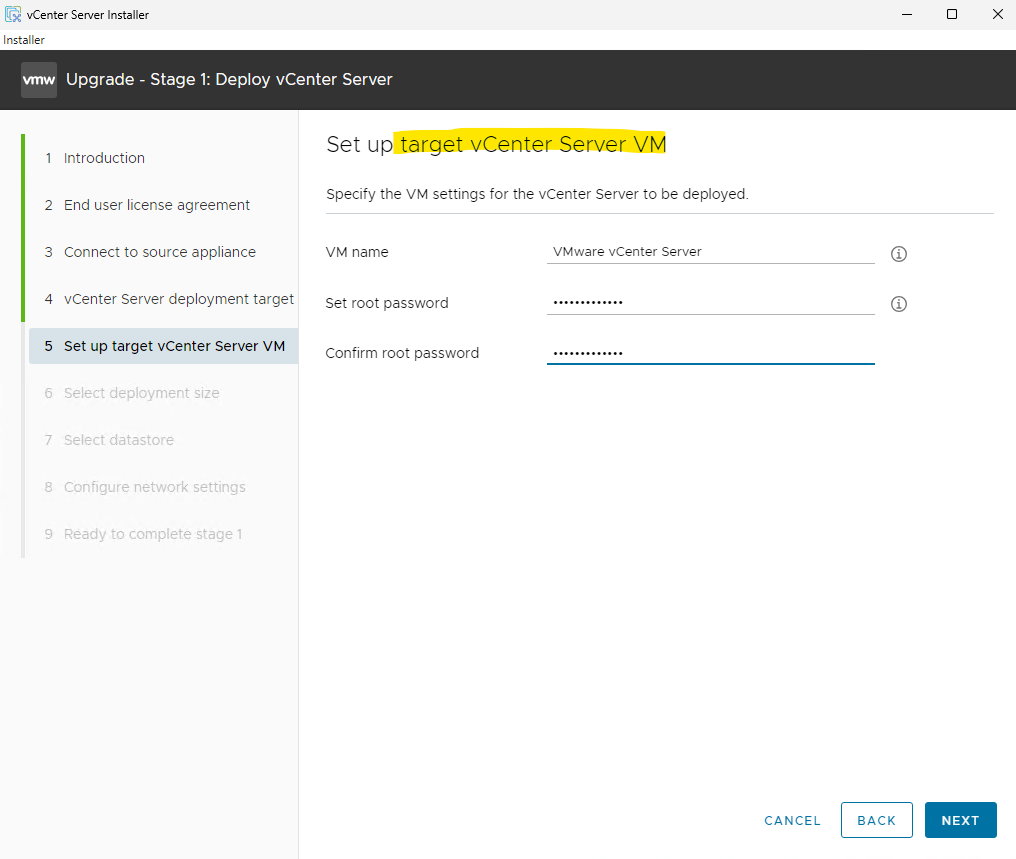
Enter the VM name for the new vCenter Server and the password for the root account.
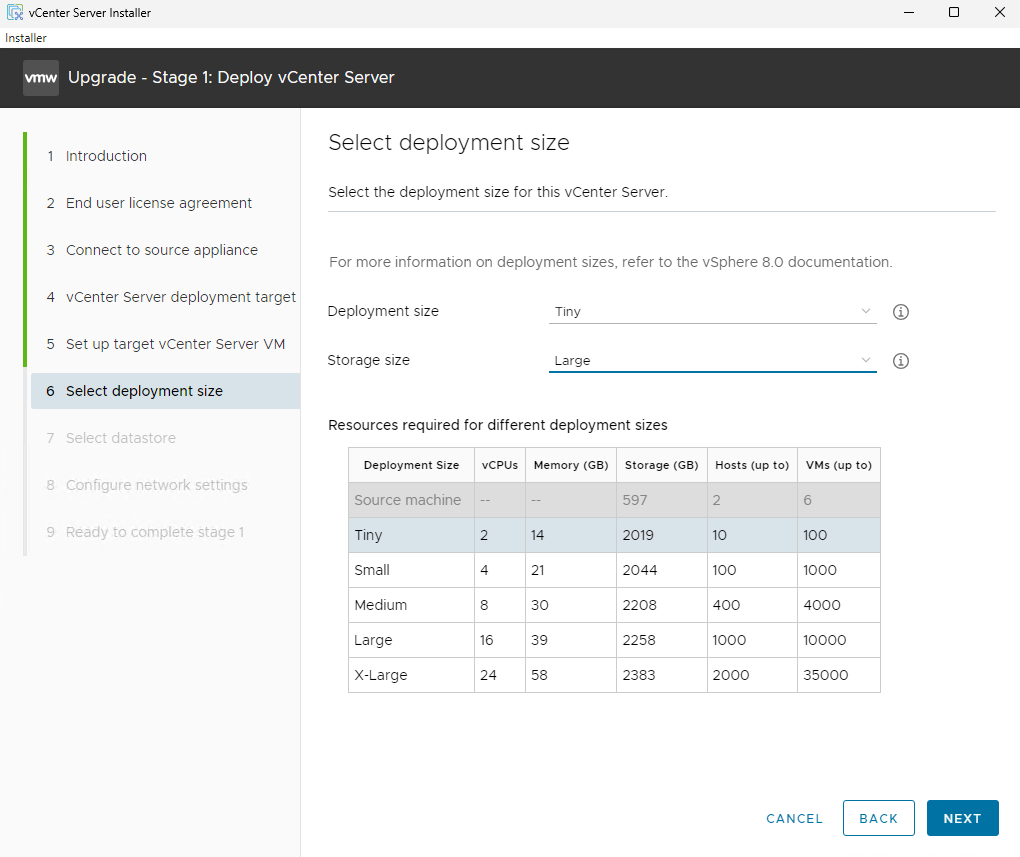
Because I will have just one ESXi host (256 GB RAM) in my network for evaluation purpose, I will not have more than 100 VMs on this host and therefore I will use by default Tiny for the deployment size.
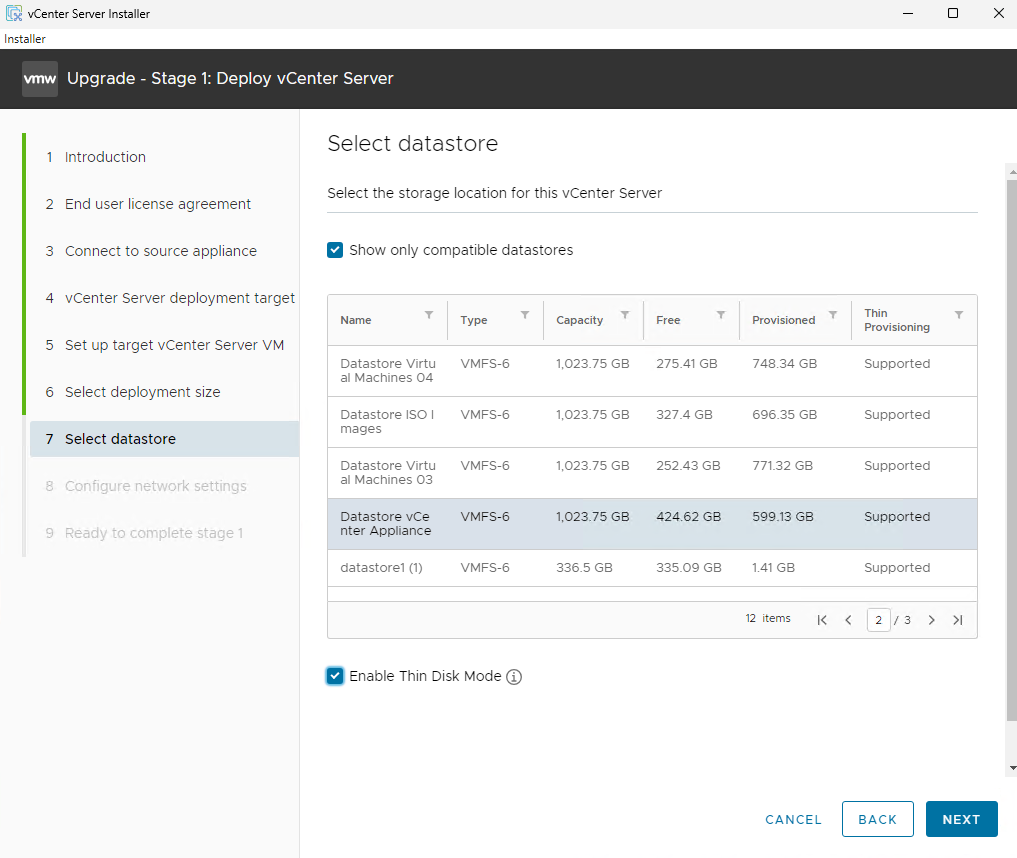
Select the datastore where the VCSA will be deployed, select thin provisioning if required, and click Next
A thin provisioned disk does not pre-allocate all of the space specified for the disk (like e.g. a VHDX dynamically expanding virtual hard disk in Microsoft Hyper-V). It saves space by allocating only blocks backed by physical storage when they are written. NFS datastores are thin provisioned by default.
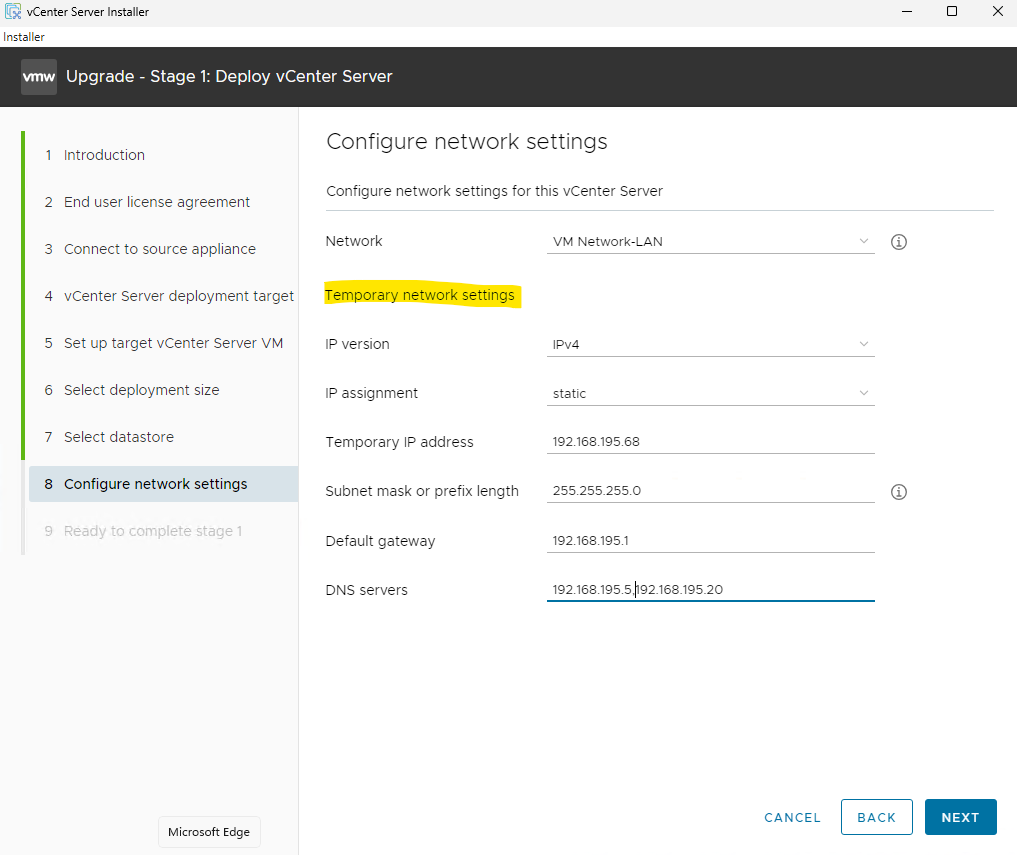
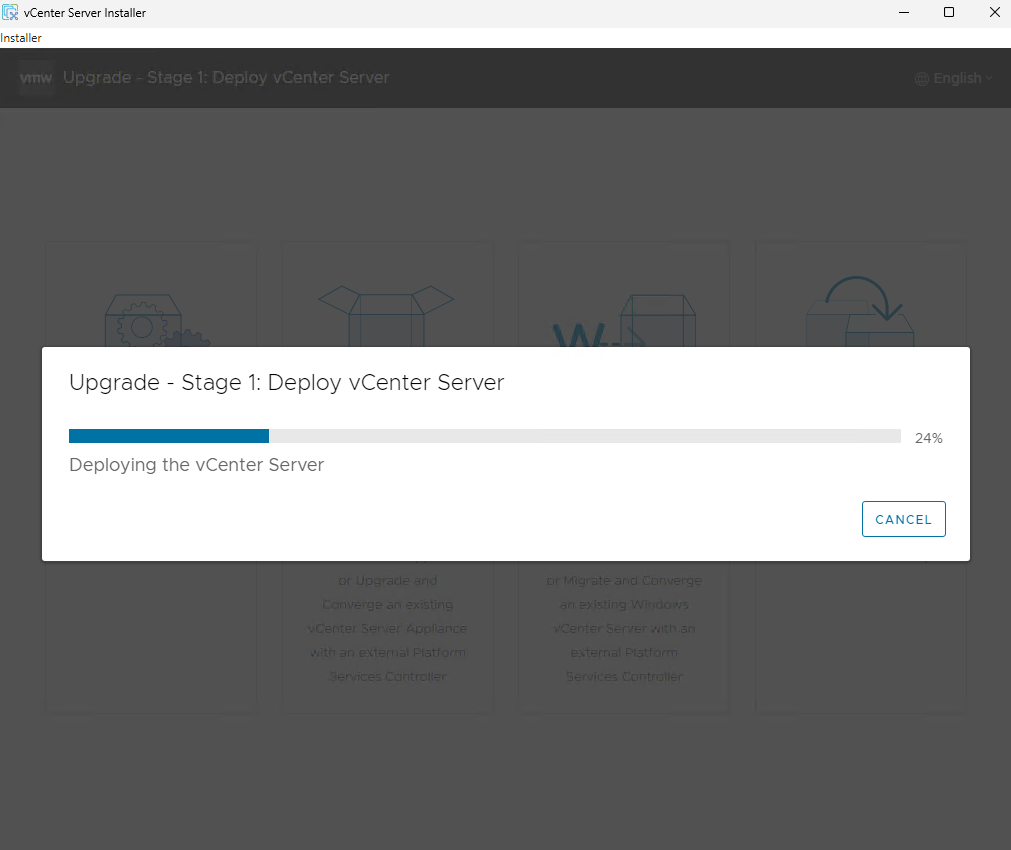
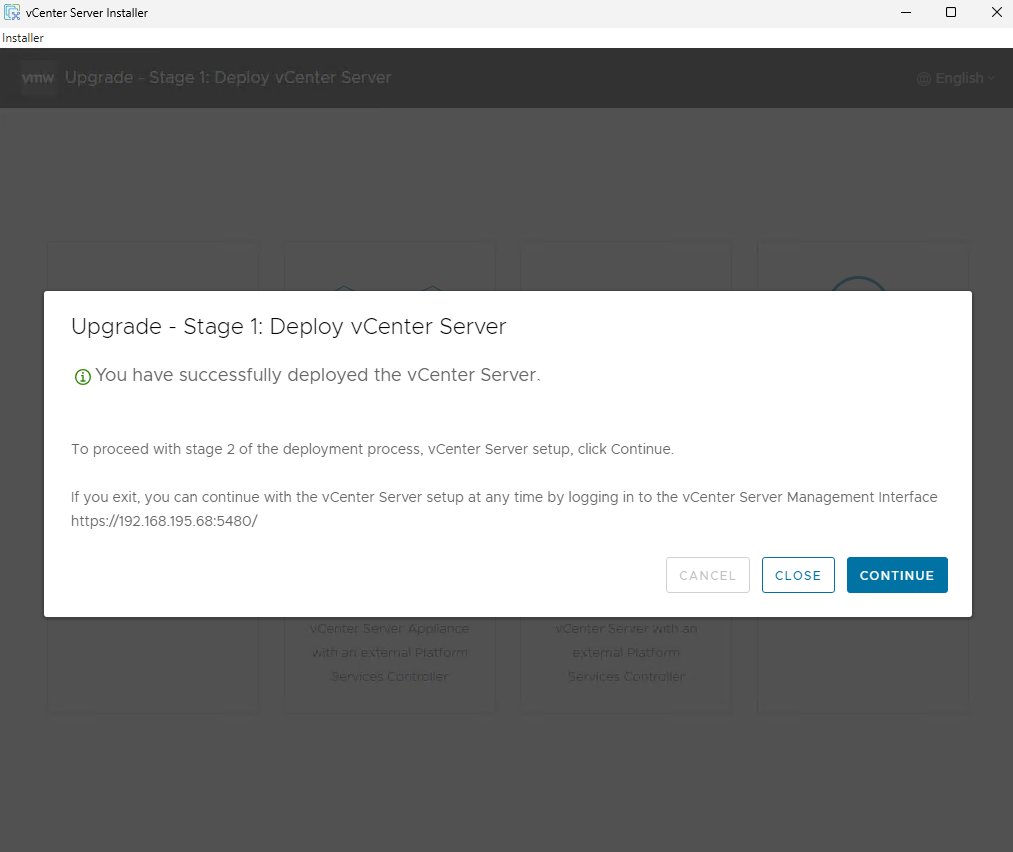
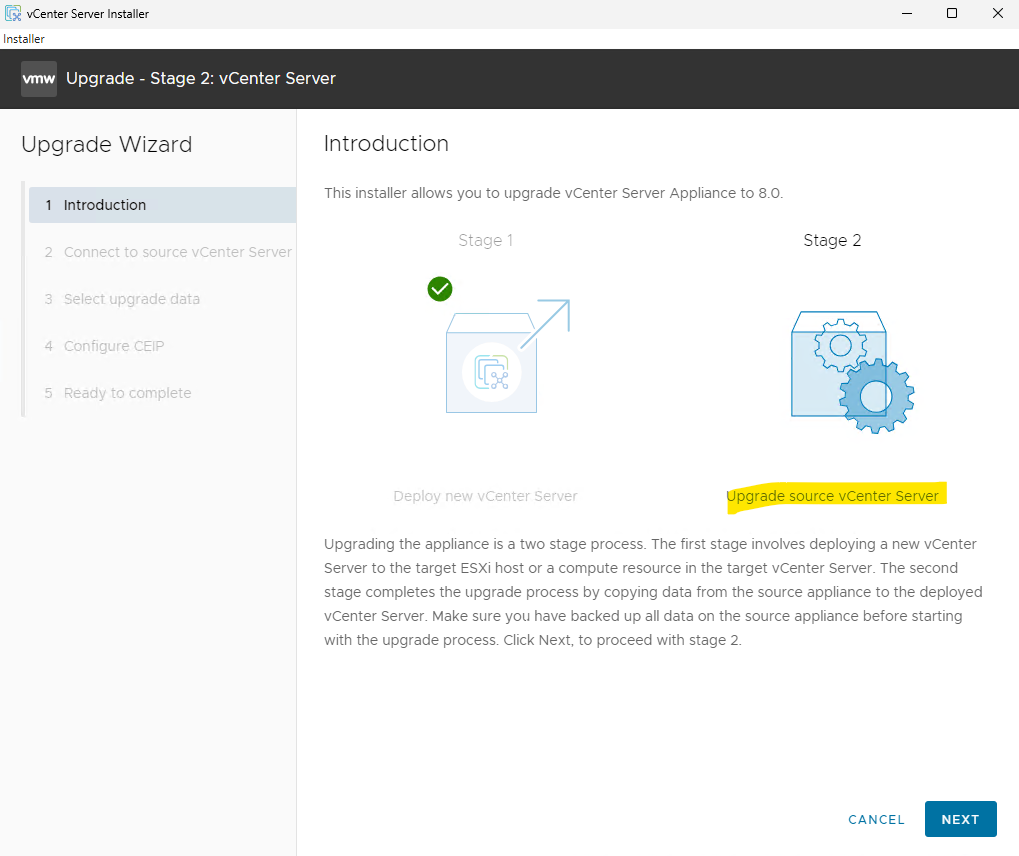
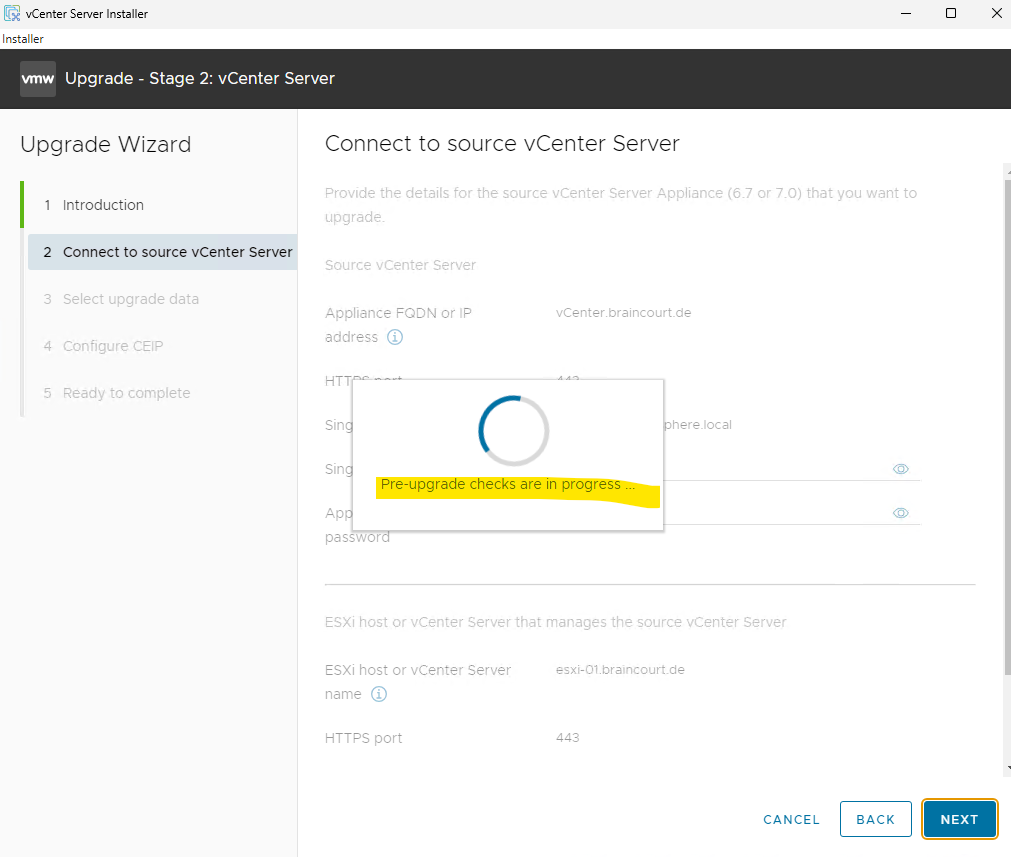
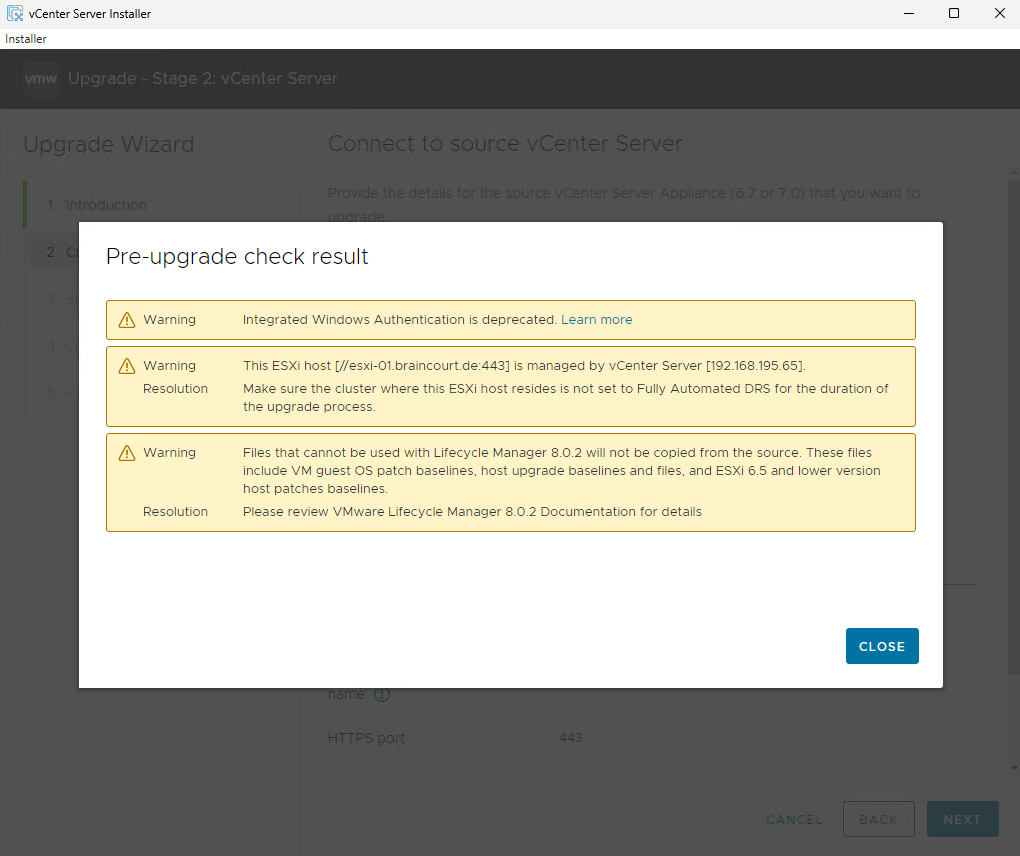
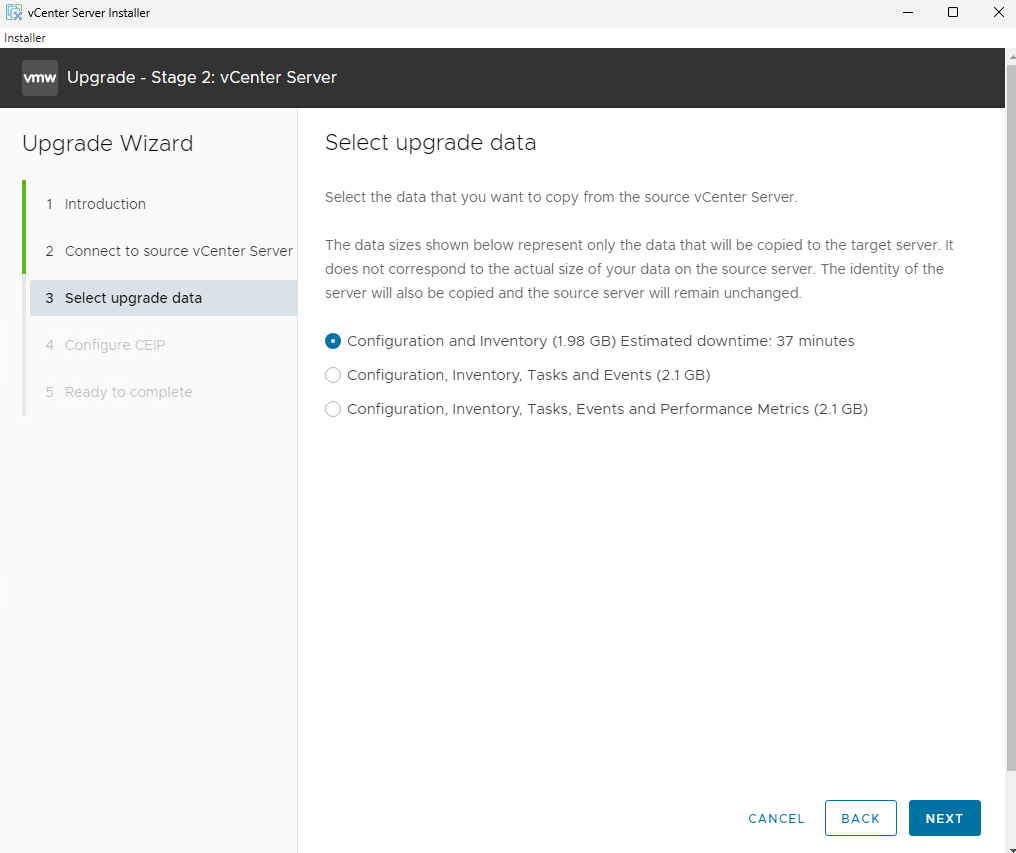
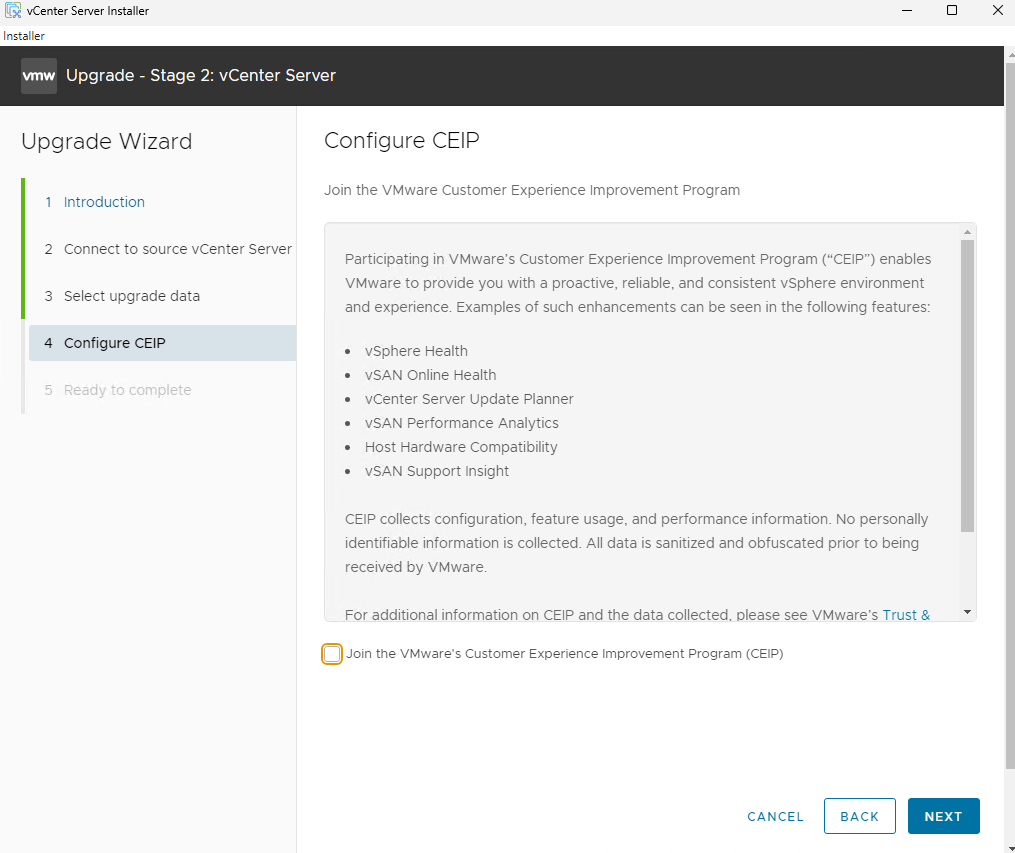
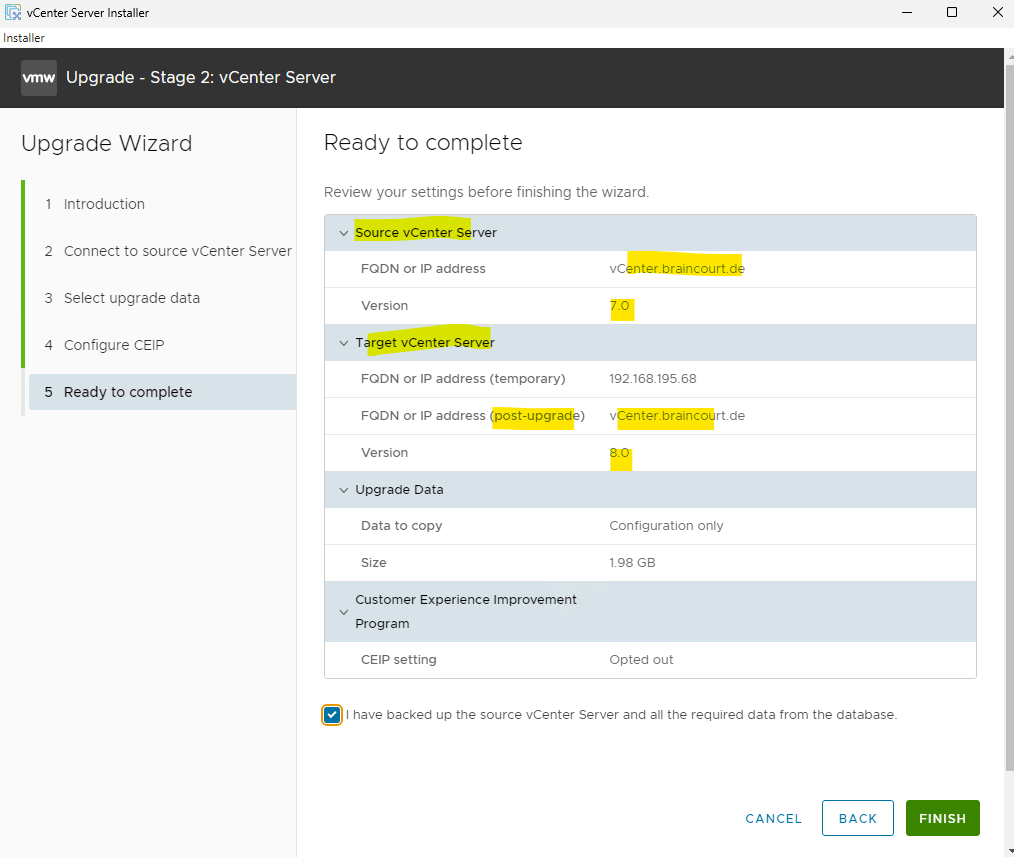
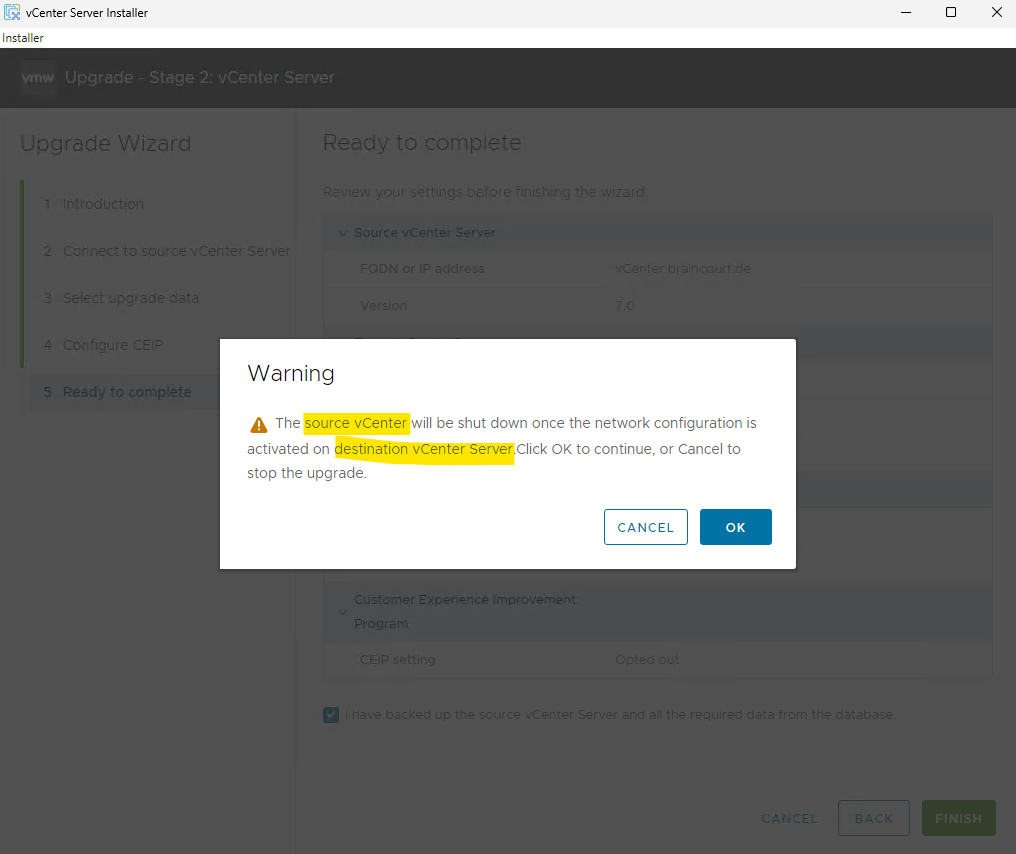
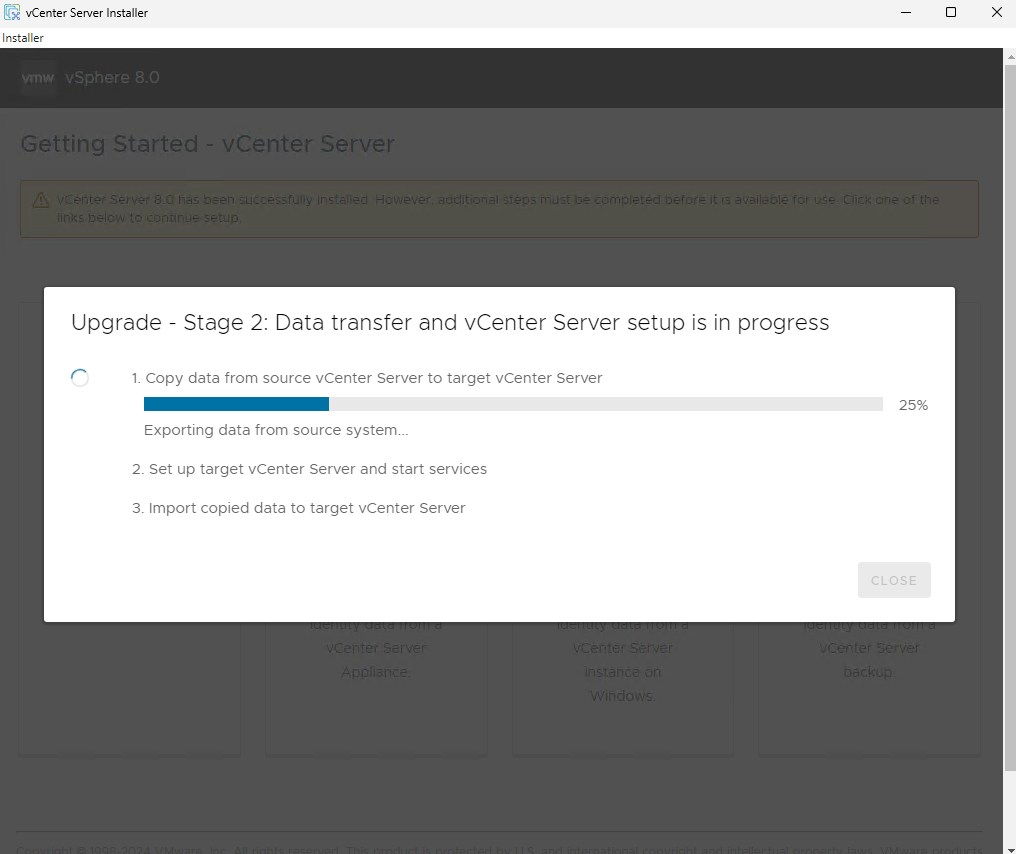
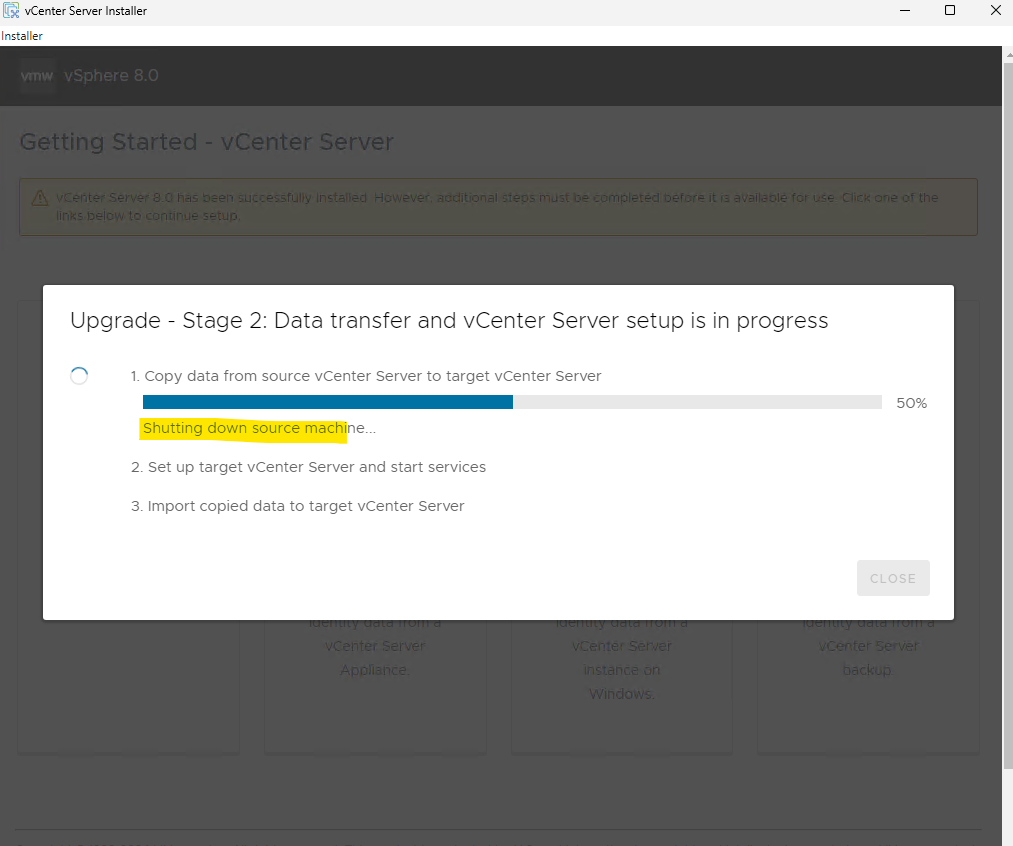
After the network configuration also the Active Directory configuration is applied in case the vCenter Server Appliance was joined to an Active Directory domain.
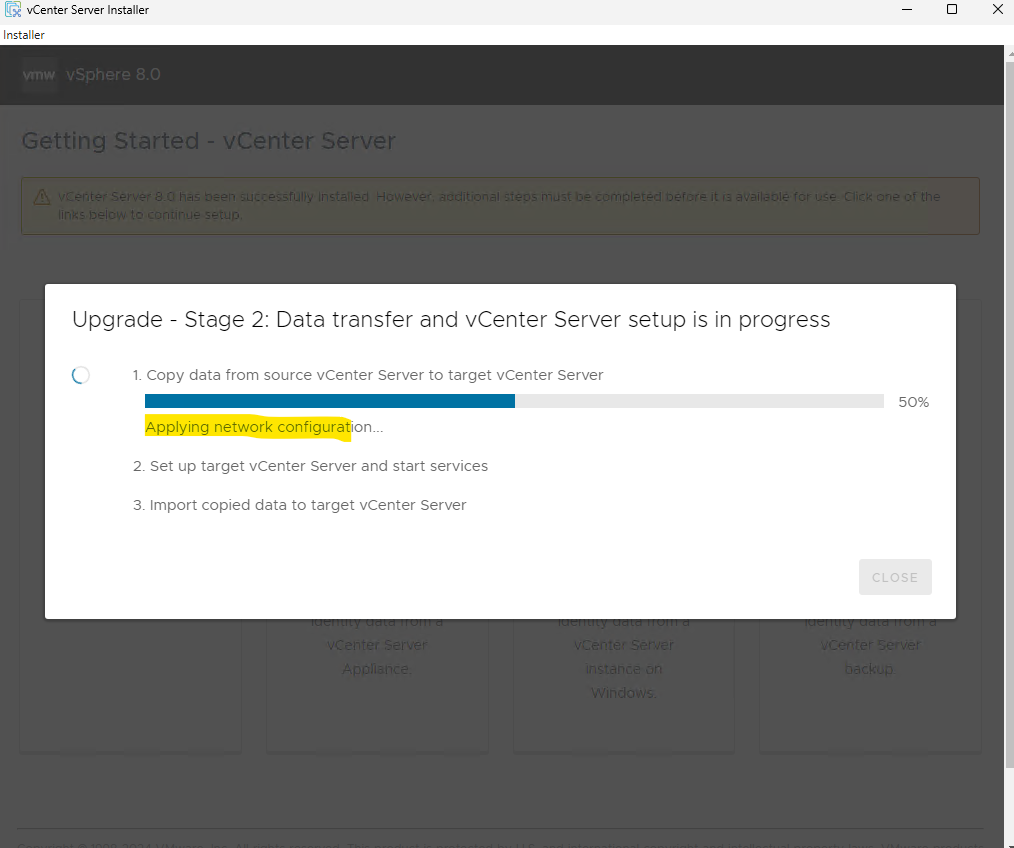
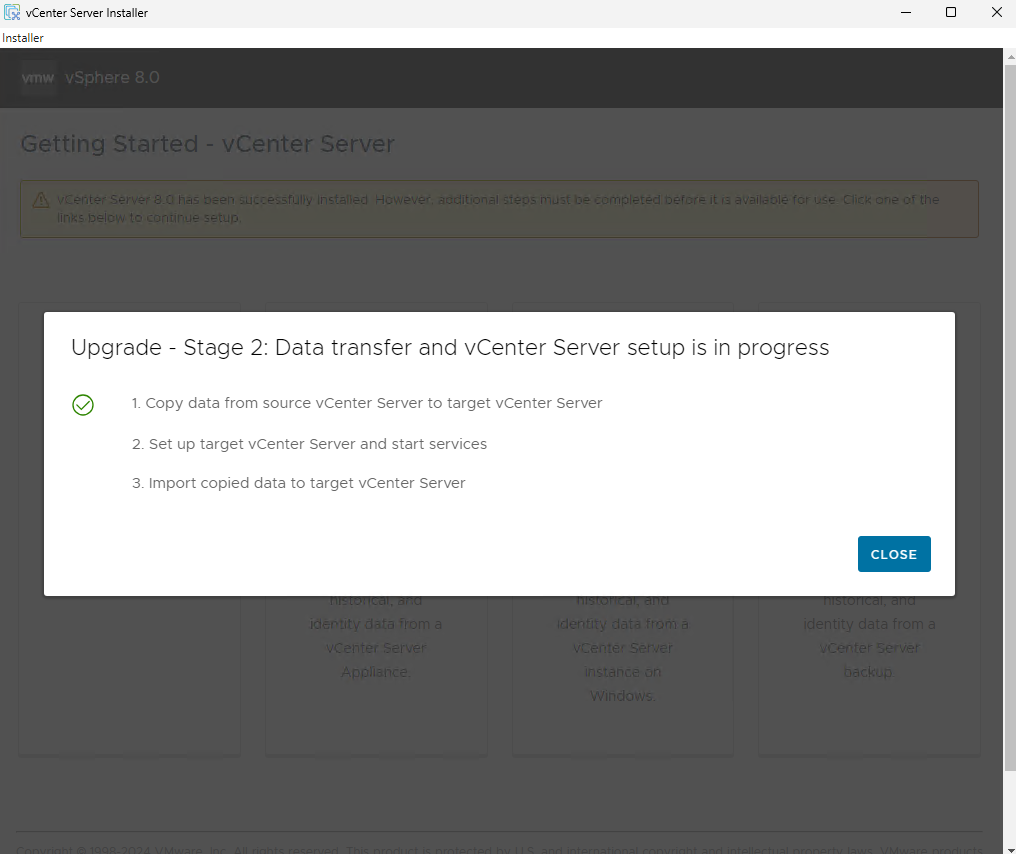
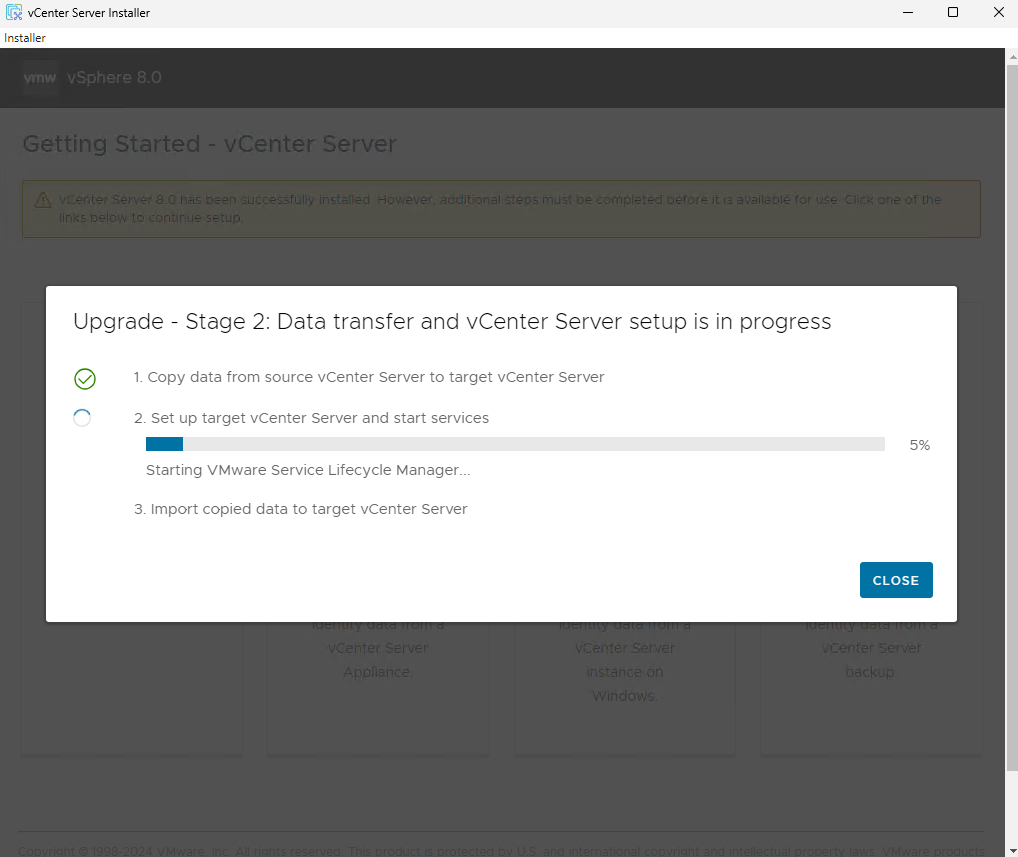
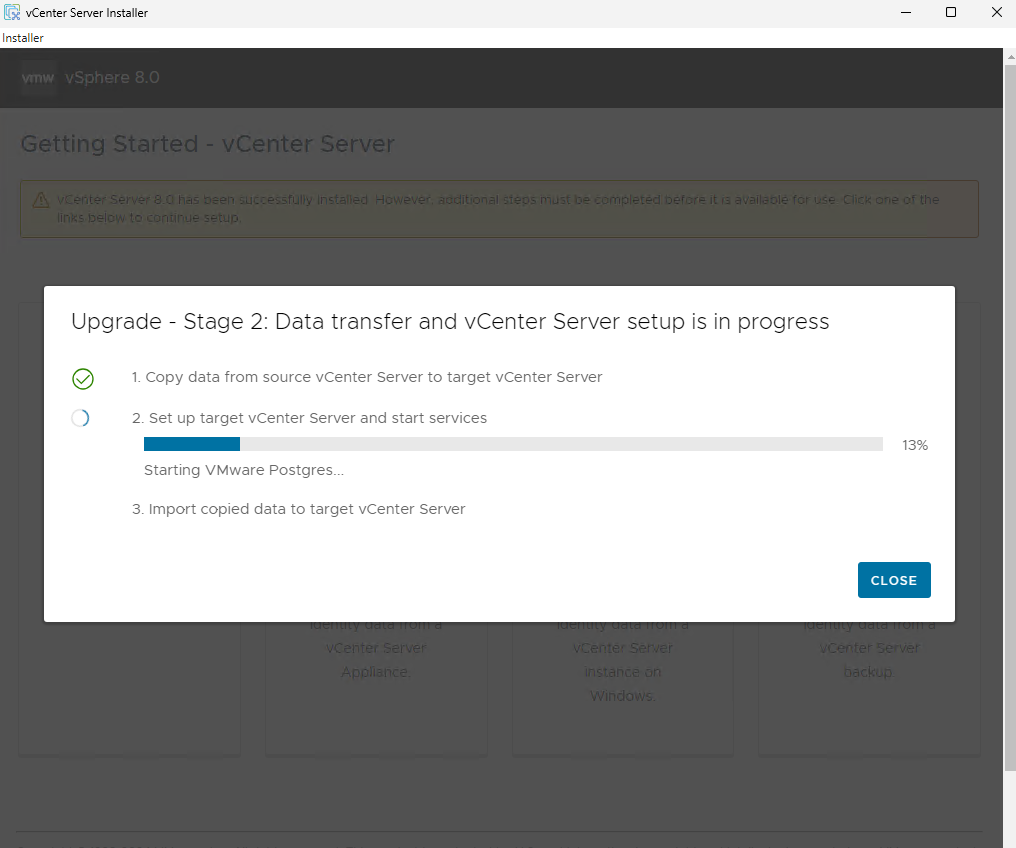
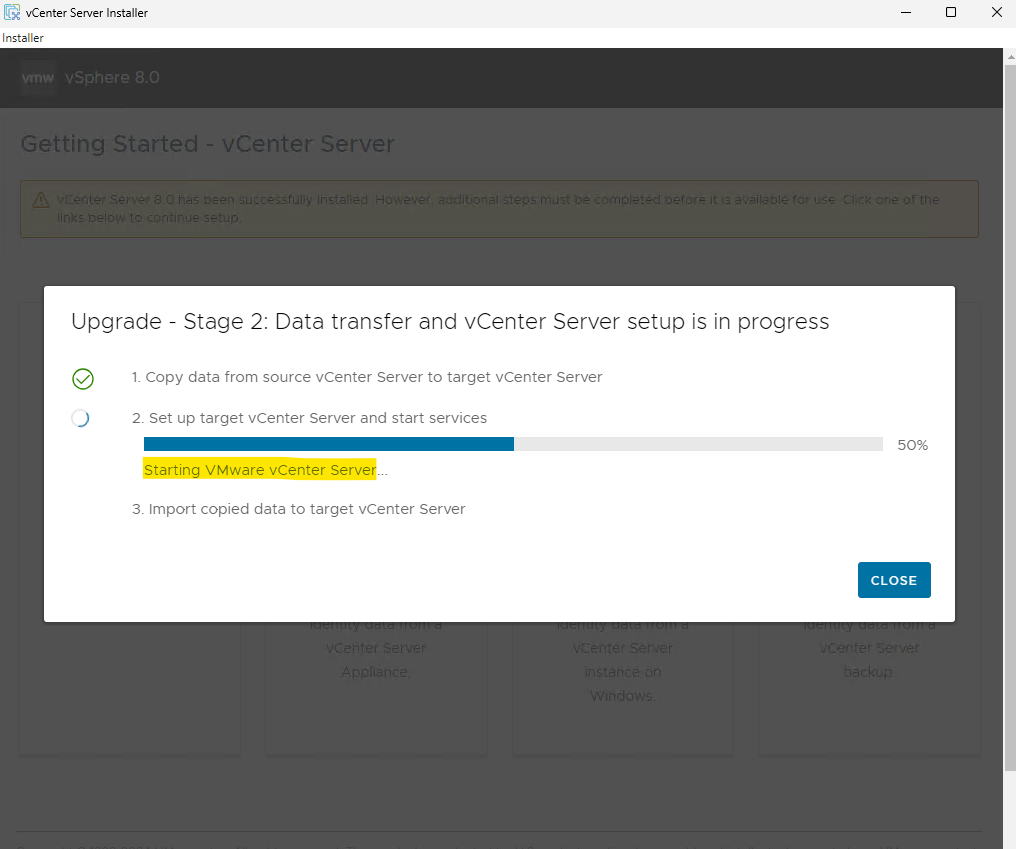
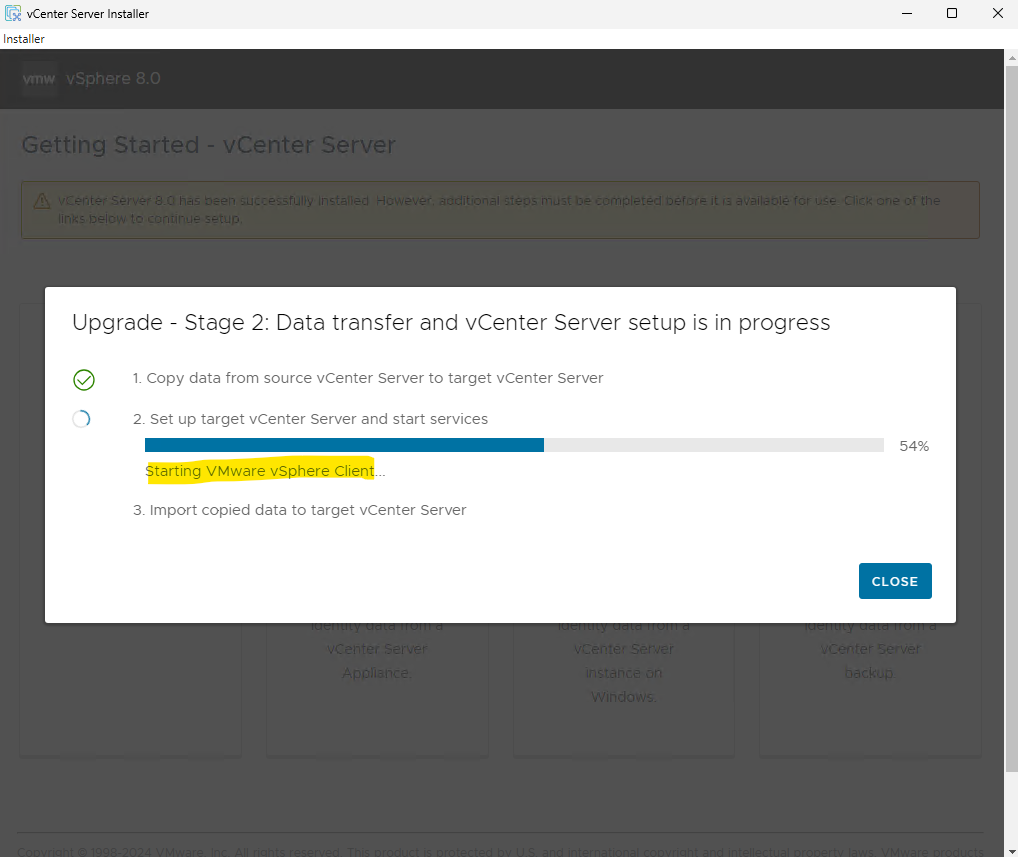
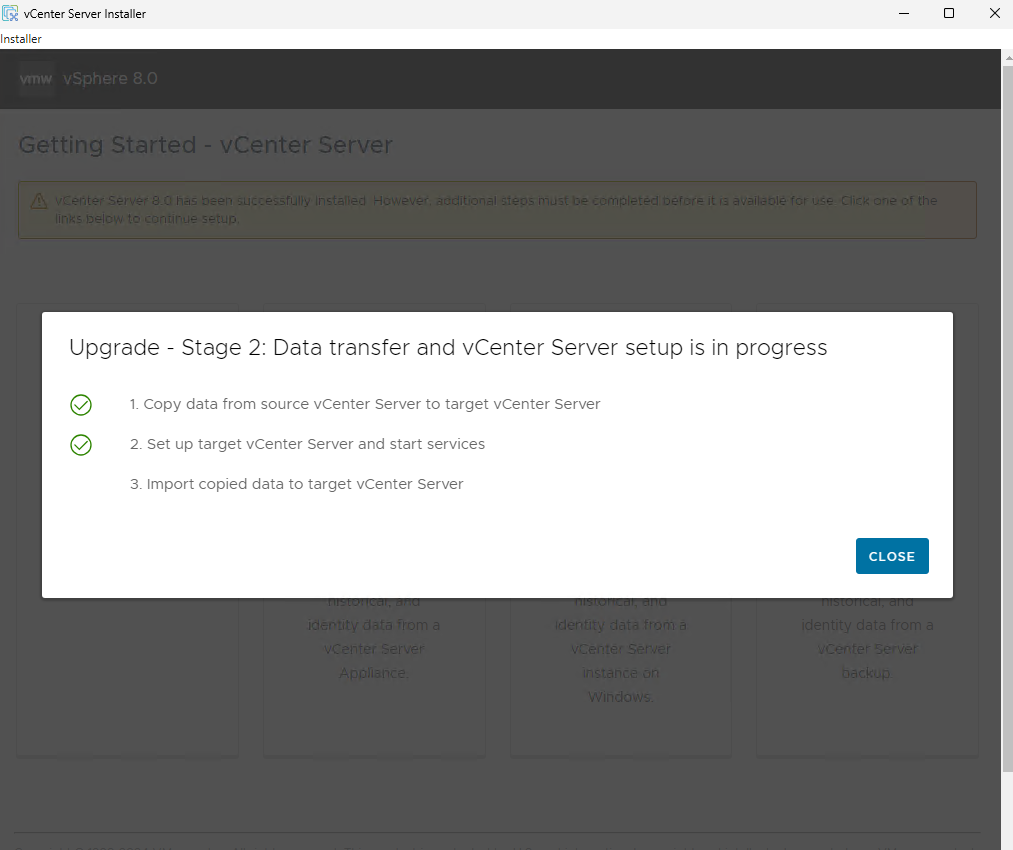
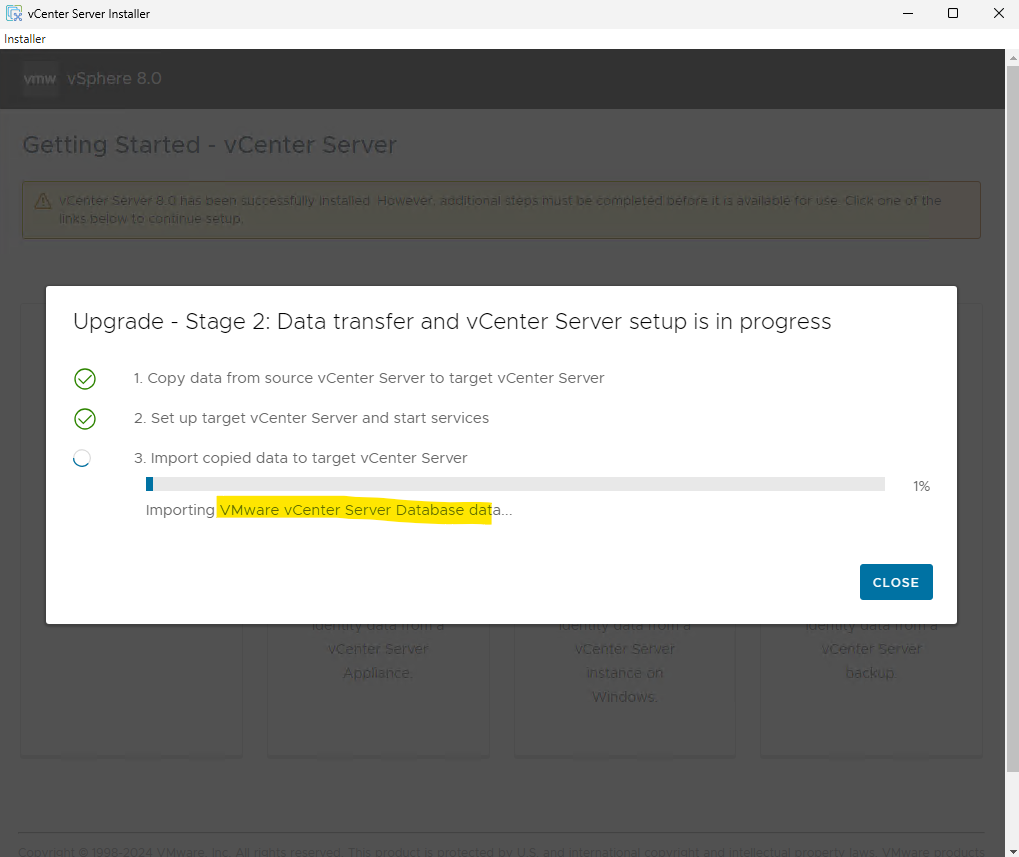
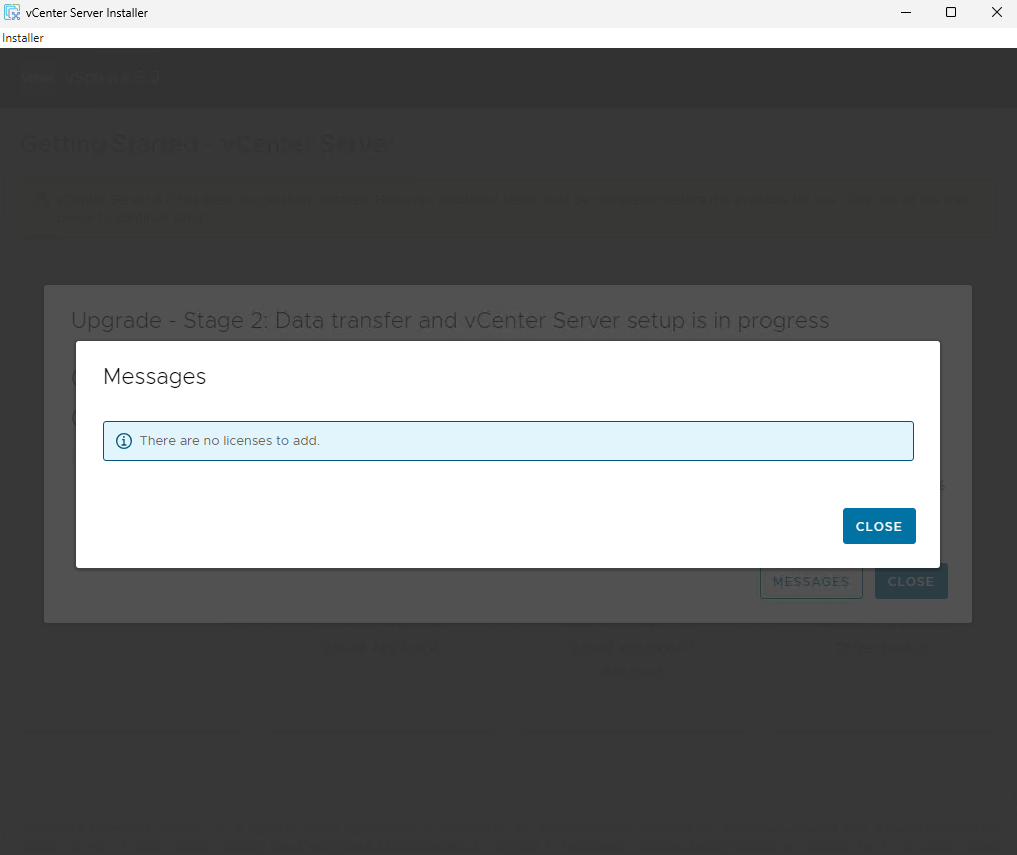
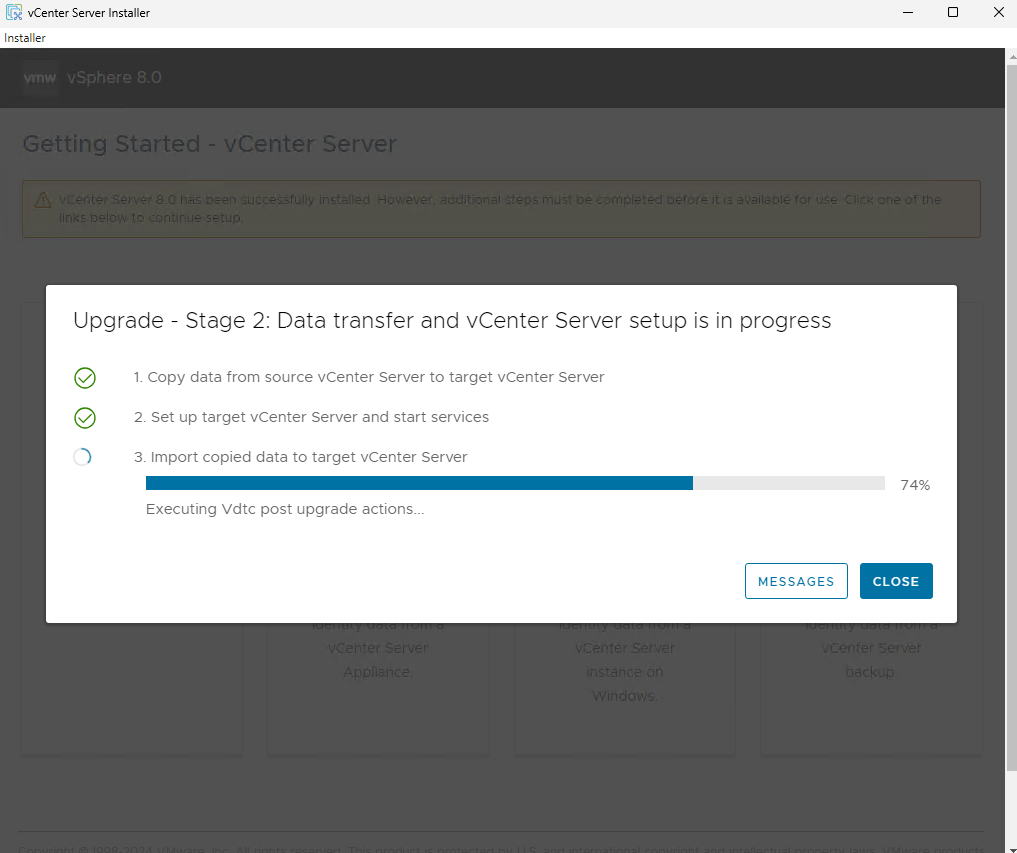
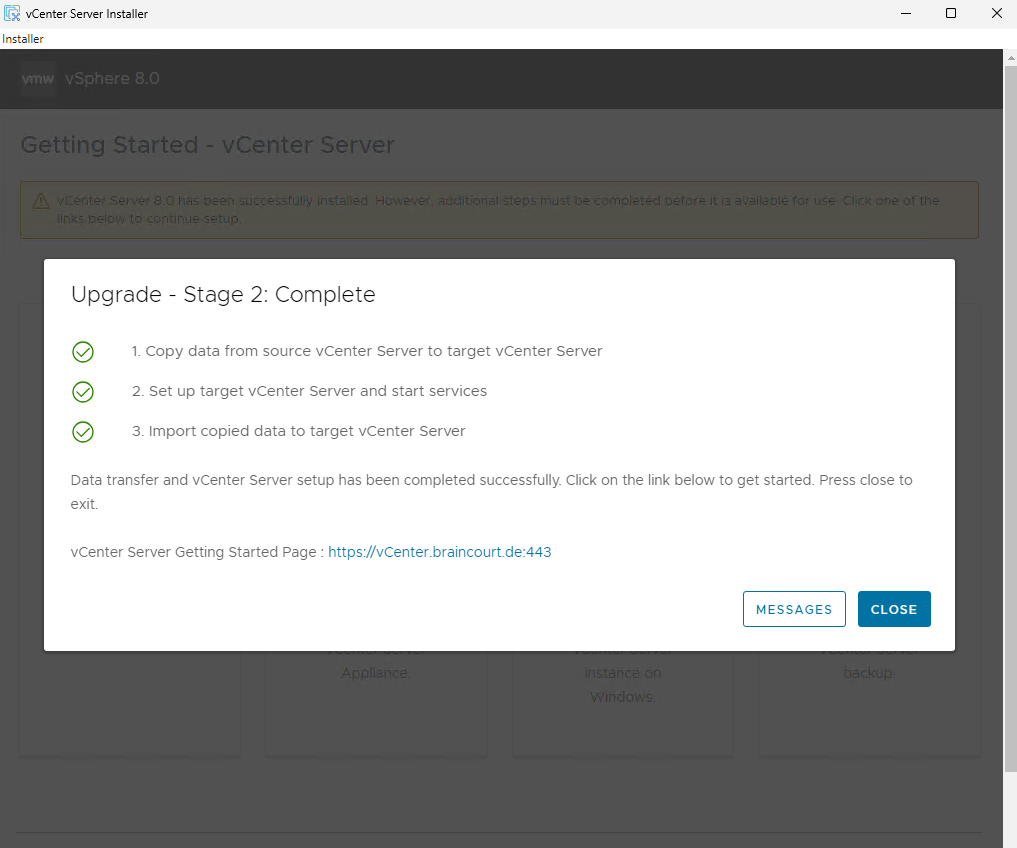
My source vCenter Server Appliance was shutdown and powered off.
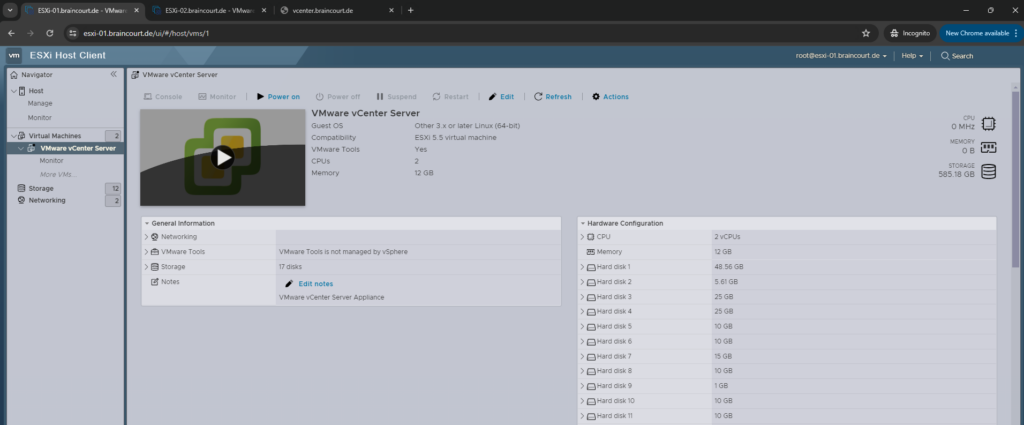
The new destination vCenter Server Appliance is running with the IP address configuration and host name of the source vCenter Server.
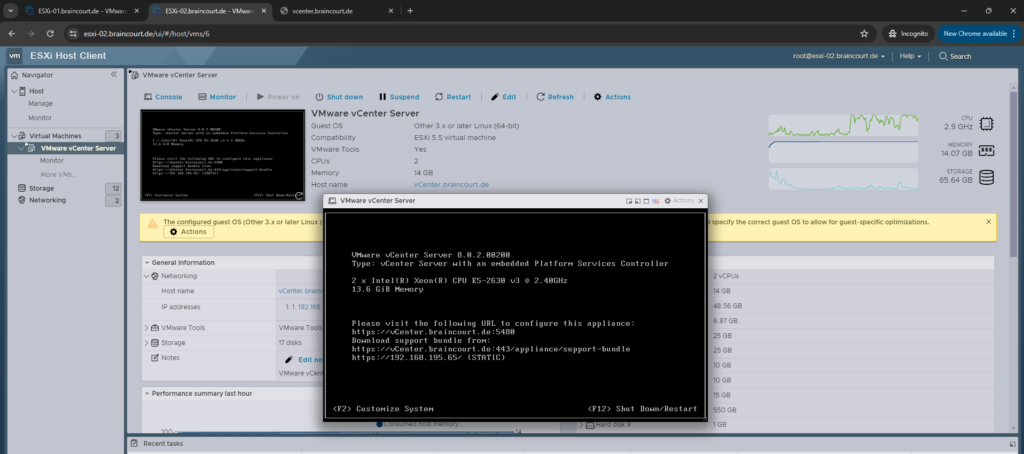
Unfortunately my previously configured static routes on the source vCenter Server Appliance were not applied on the new vCenter Server Appliance.
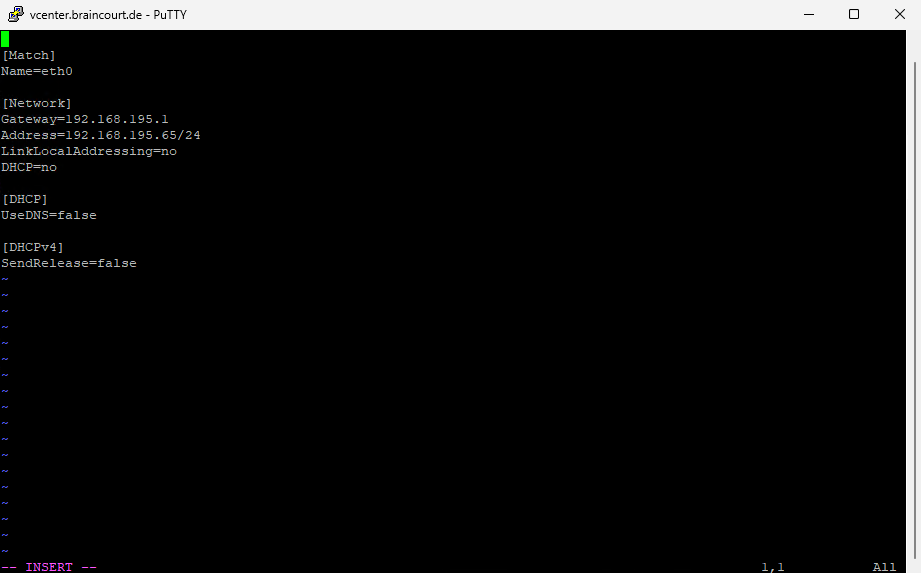
So I have to add my static routes again on the new upgraded vCenter Server.
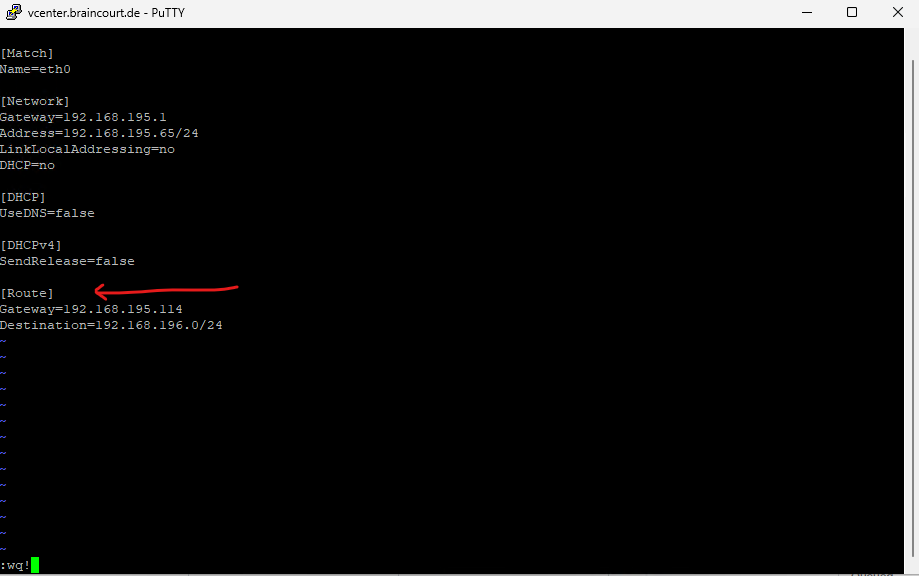
Restart the network in order the new routes to become immediately effective on the vCenter Server Appliance.
# systemctl restart systemd-networkd

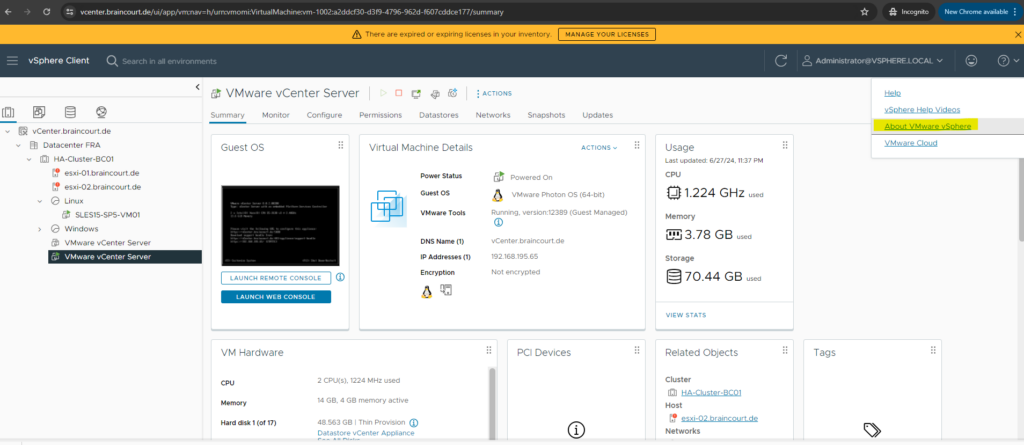
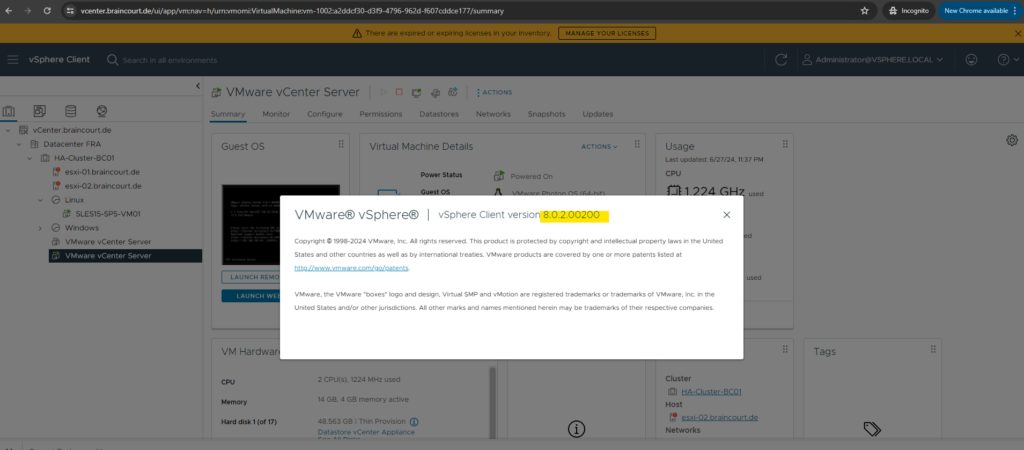
Finally I will have my vCenter Server running in the new version 8.0.2.
Links
Managing ESXi host lifecycle operations with vSphere Lifecycle Manager Images (vLCM)
https://knowledge.broadcom.com/external/article?legacyId=89519Introducing vSphere Lifecycle Management (vLCM)
https://core.vmware.com/resource/introducing-vsphere-lifecycle-management-vlcm


