Mastering Network Configuration in SUSE Linux Enterprise Server
Configuring the network in SUSE Linux Enterprise Server (SLES) can be done using various methods, including through the command line, using YaST (Yet another Setup Tool), or by manually editing network configuration files.
Below we will see each of them and how to do.
Configuring the Network by using YaST
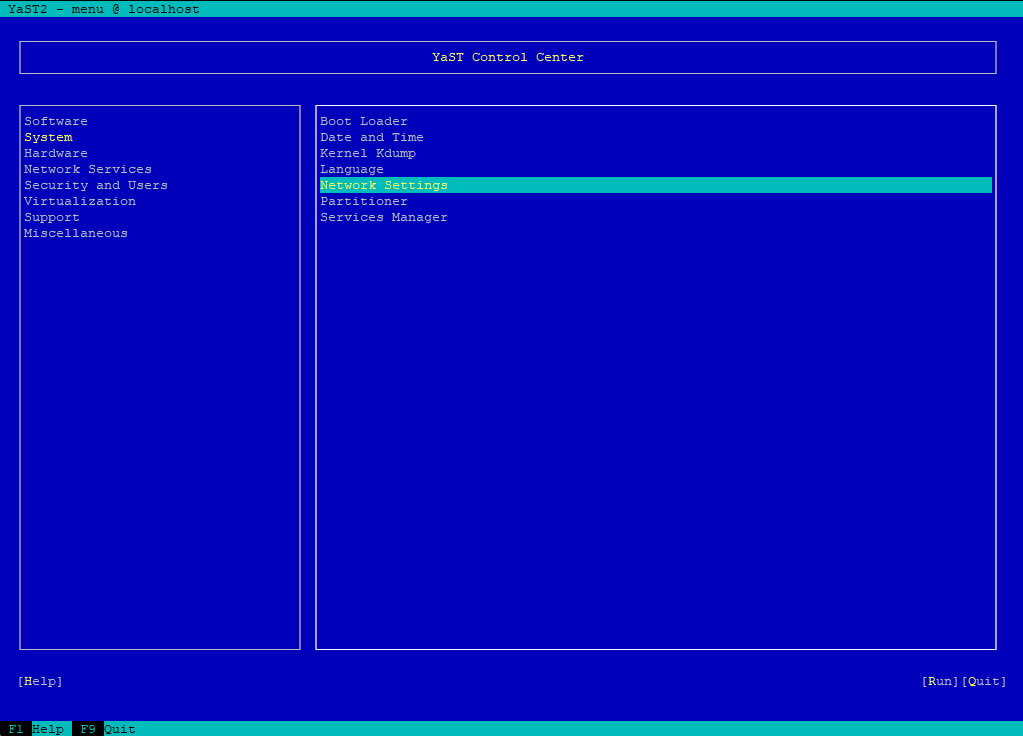
To configure the hosts network connection navigate in YaST to System -> Network Settings.
Configure a Hosts IP Address and Hostname
Select the network interface (NIC) you want to configure and click on Edit.
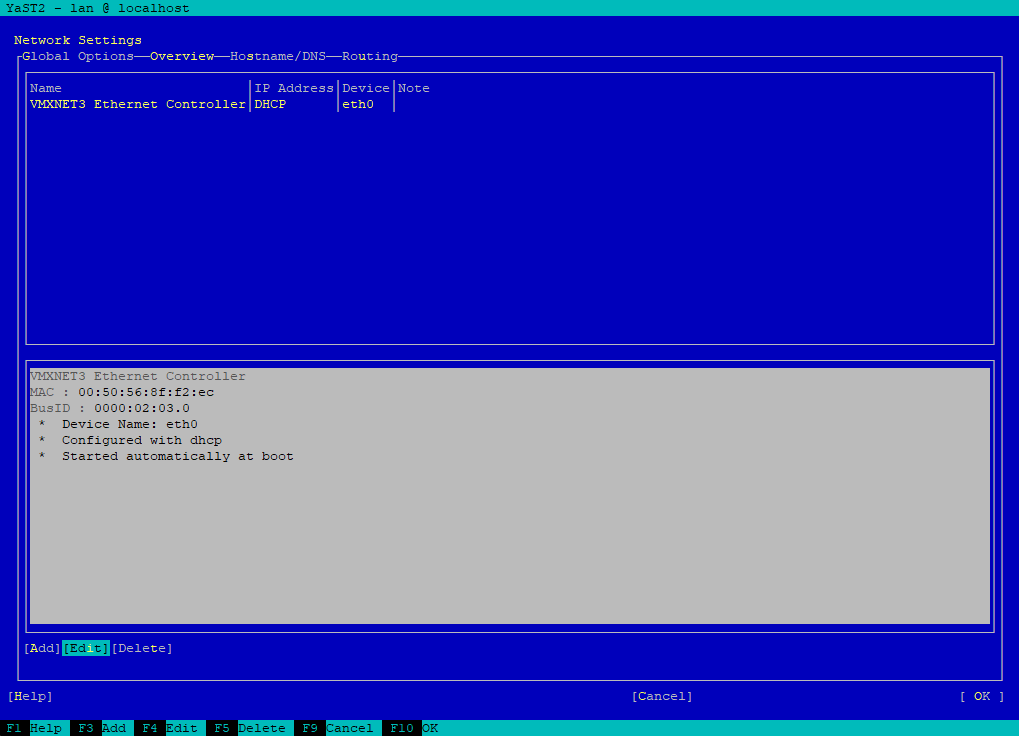
Enter a static IP address and subnet mask, to apply click on Next.
Optionally, you can enter a fully qualified Hostname for this address, which will be written to the /etc/hosts configuration file.
This will be not written into the /etc/hostname file, therefore you need to configure a static hostname under the Hostname/DNS menu in YasT as shown further down.

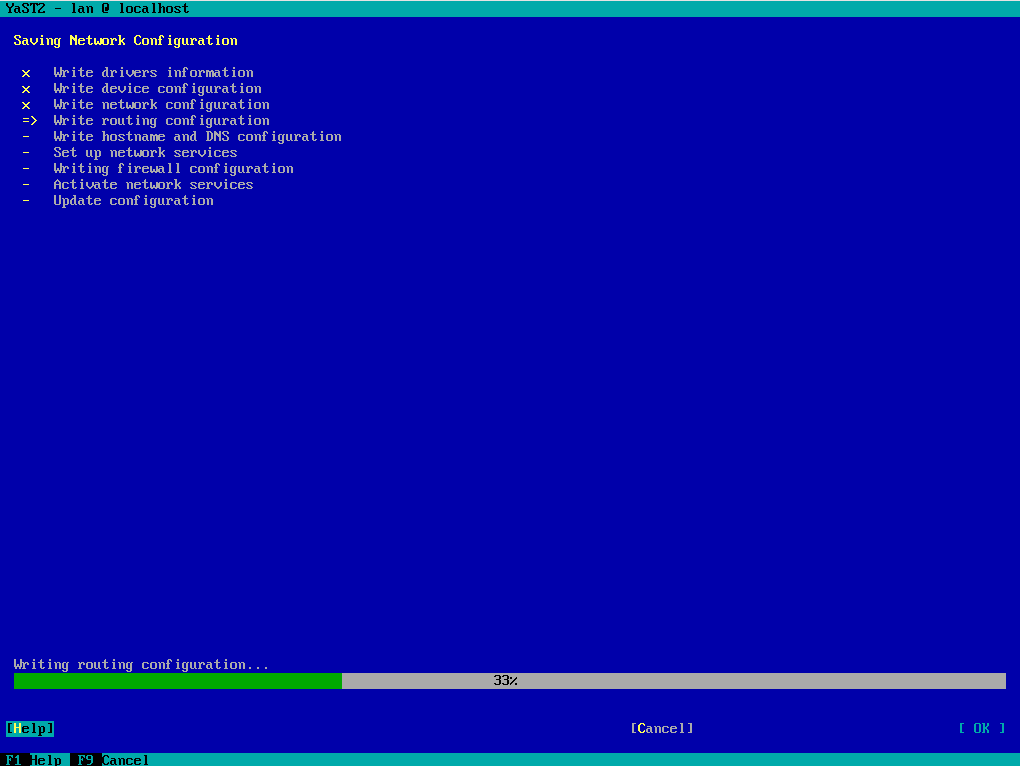
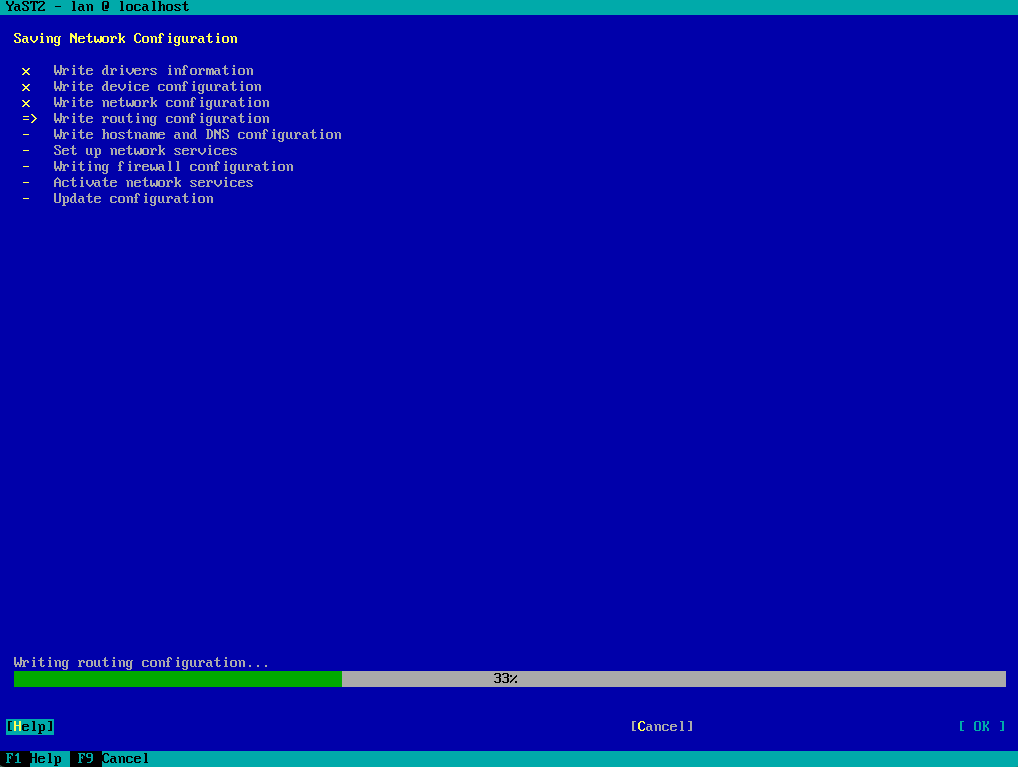
Click on OK.
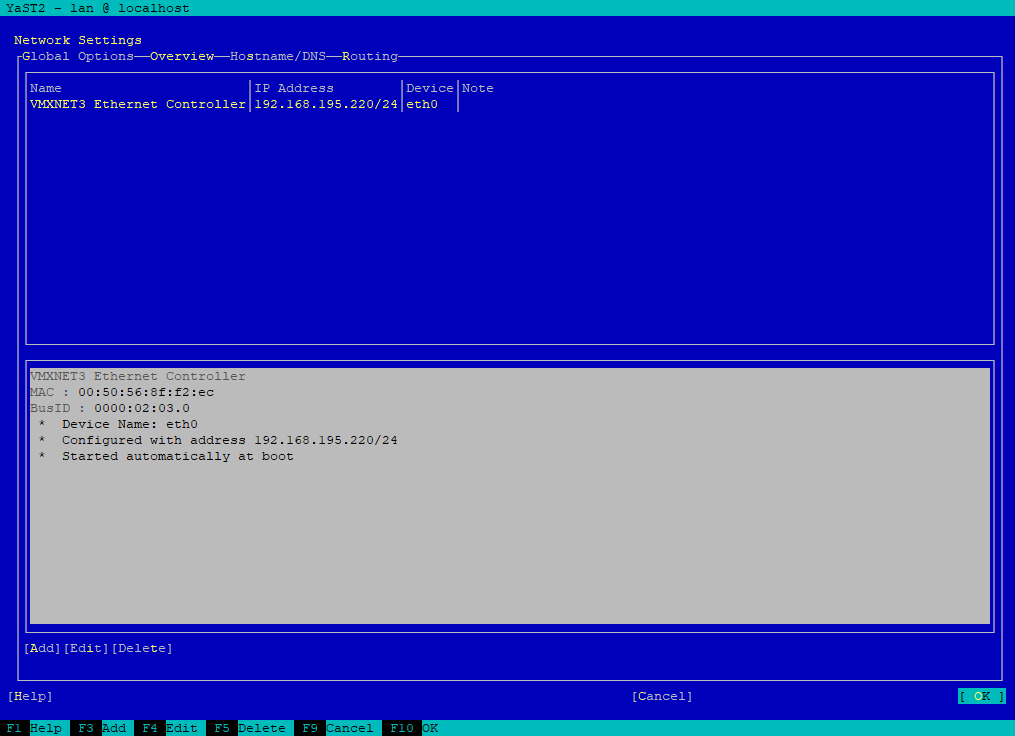
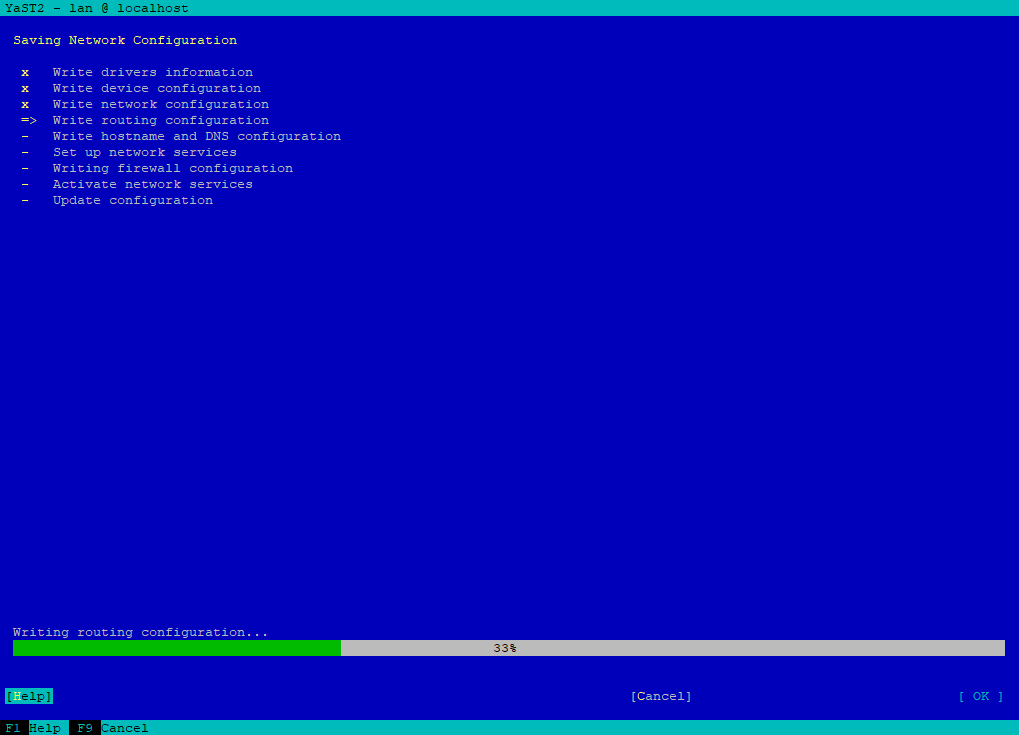
The network configuration will be saved.
Configure a Standard Gateway
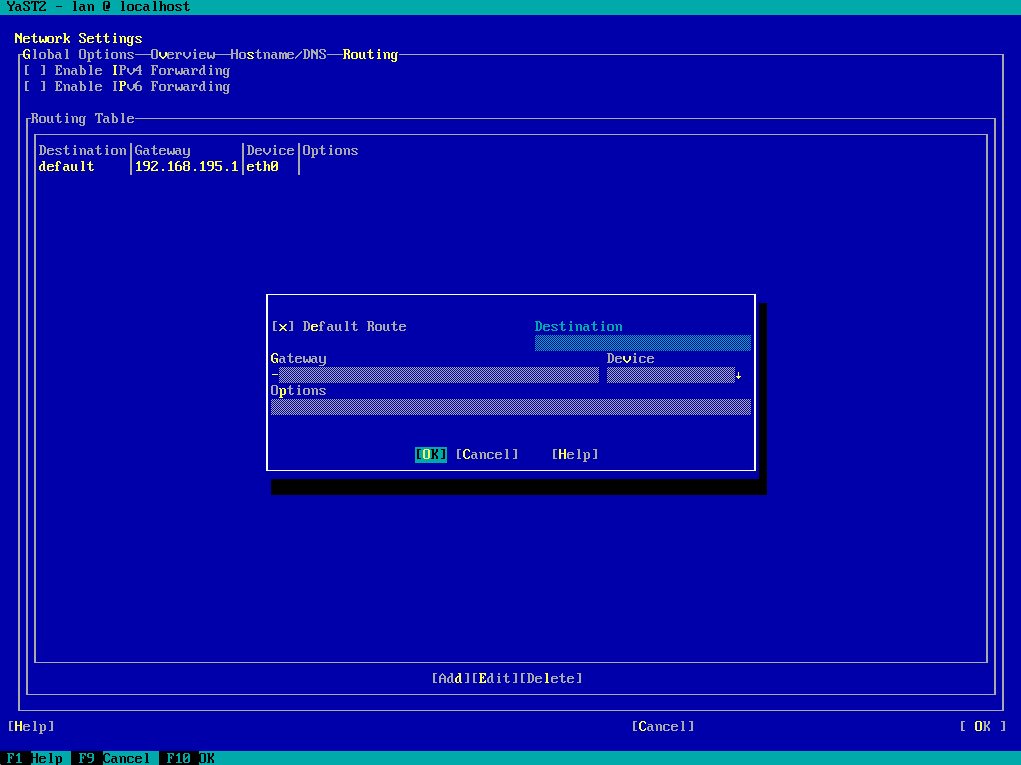
To configure a standard gateway navigate to System -> Network Settings -> Routing and click on Add.
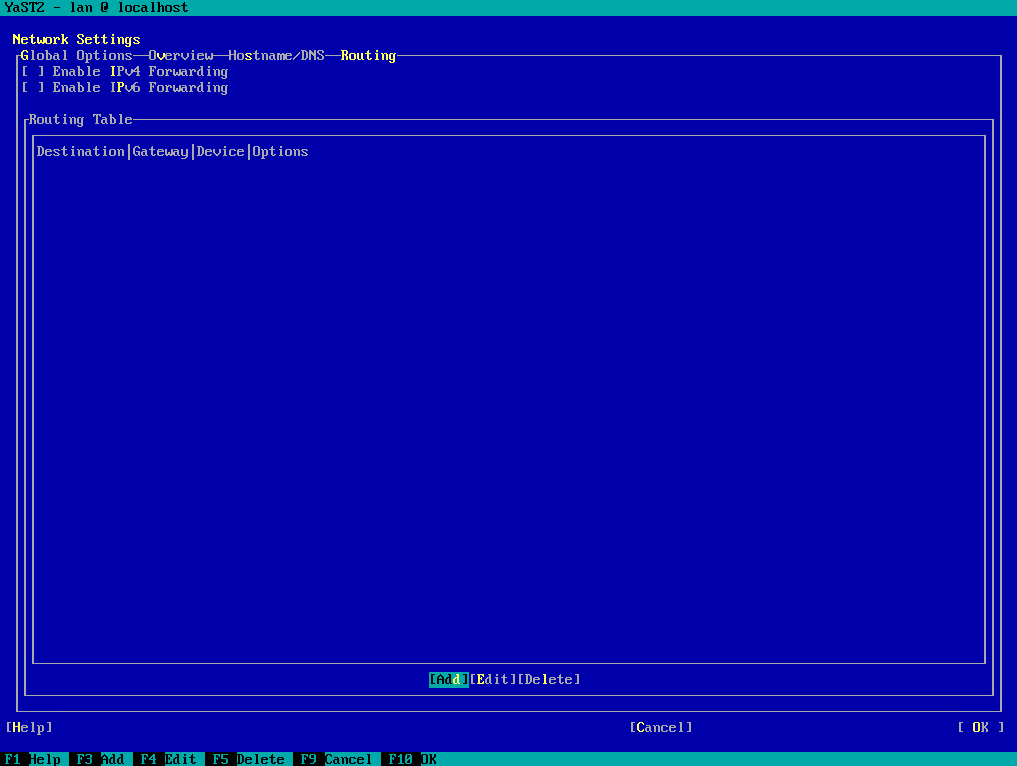
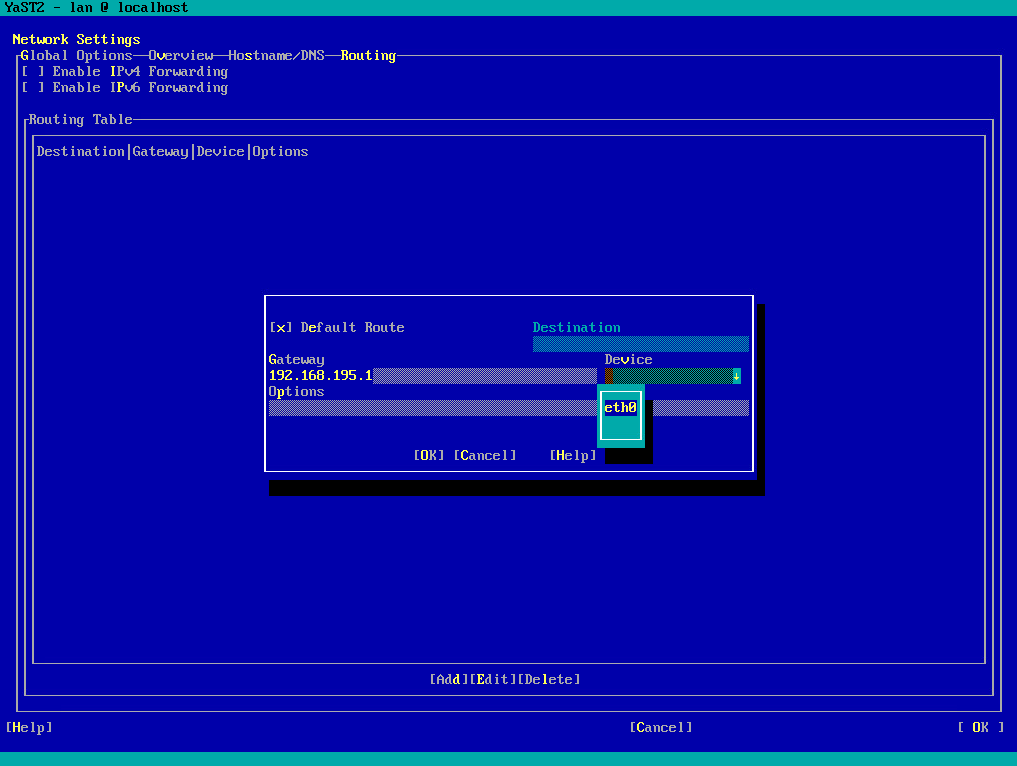
Default Route is checked by default. Enter the IP address for the standard gateway of the hosts subnet and select which device (NIC) therefore will be used.
The destination field below is just used to add static routes when Default Route is unchecked below which we will see in the next section.
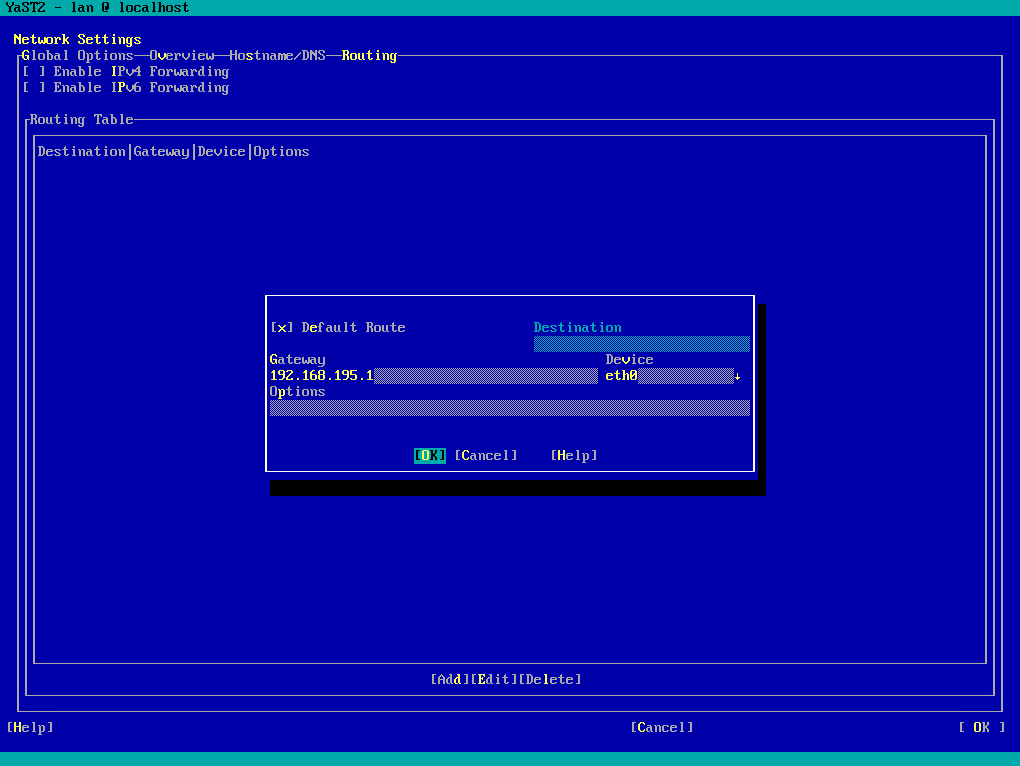
Click on OK.
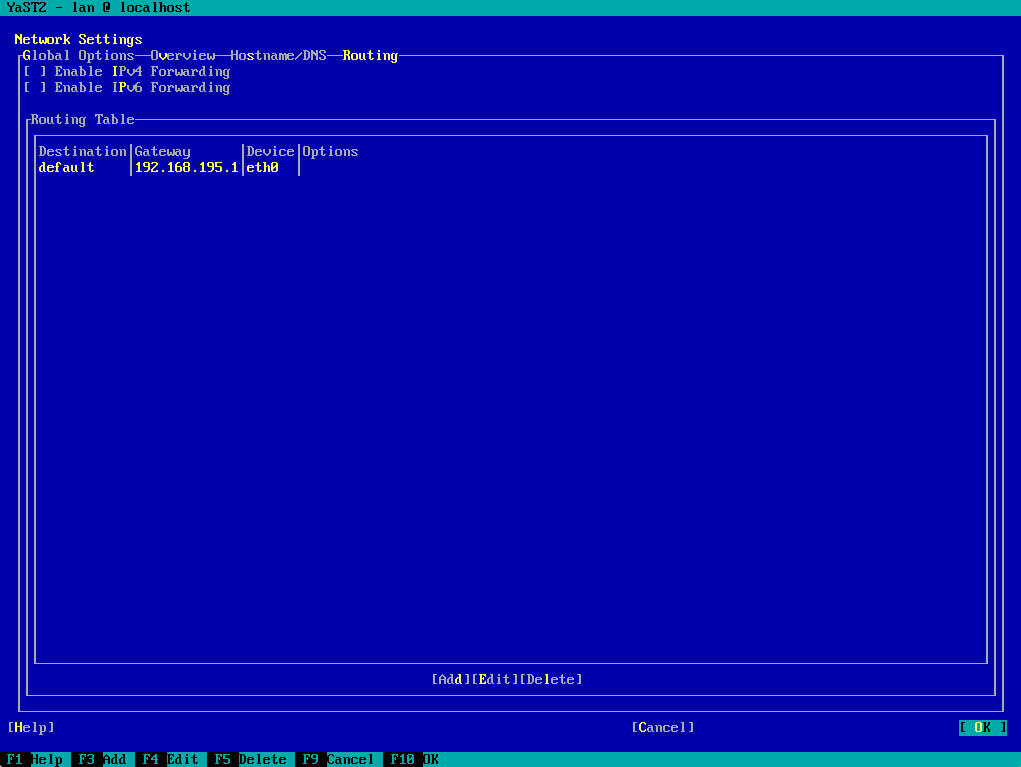
Click on OK to save the configuration.
Configure Static Routes on the Host
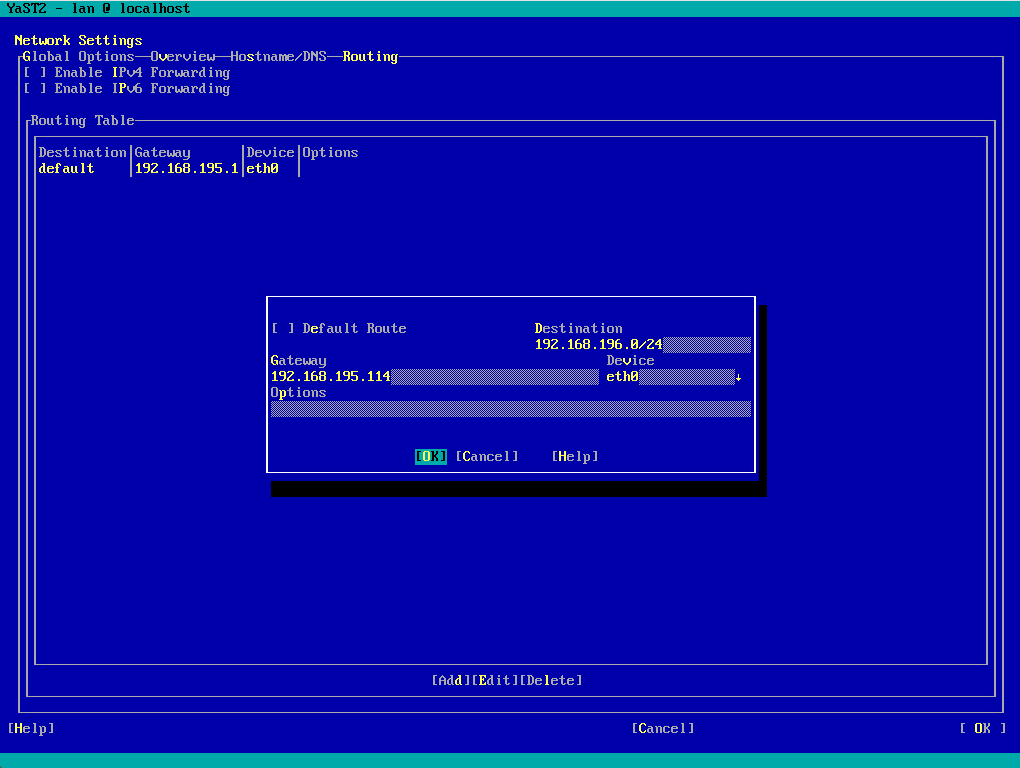
In order to add static routes on the host, navigate to System -> Network Settings -> Routing and click on Add.
Below first uncheck Default Route, we doesn’t want to add a standard gateway as in the last section, this time we want to add static routes on the host.
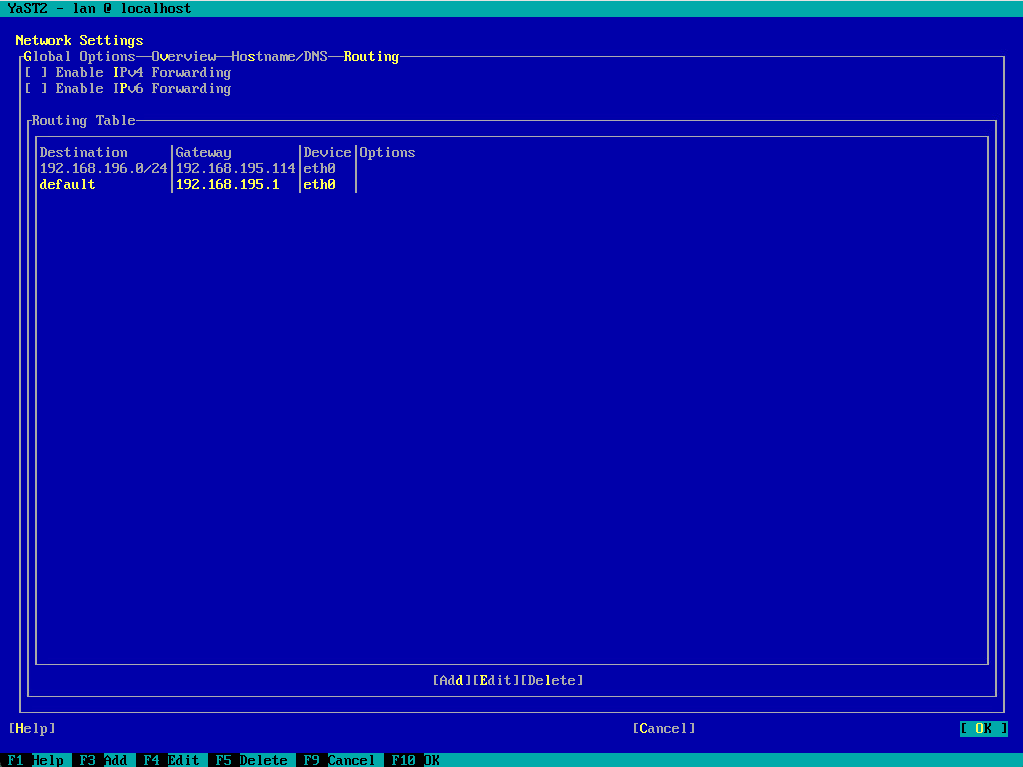
To add a static route on the host, we first need to enter here the destination network and its subnet mask, then second we need to enter the gateway IP address which should be used to route traffic to this network. Also select the network interface (NIC) which should be used to connect to the gateway. Finally click on OK.
To apply the configuration click on OK below.

Disable IPv6
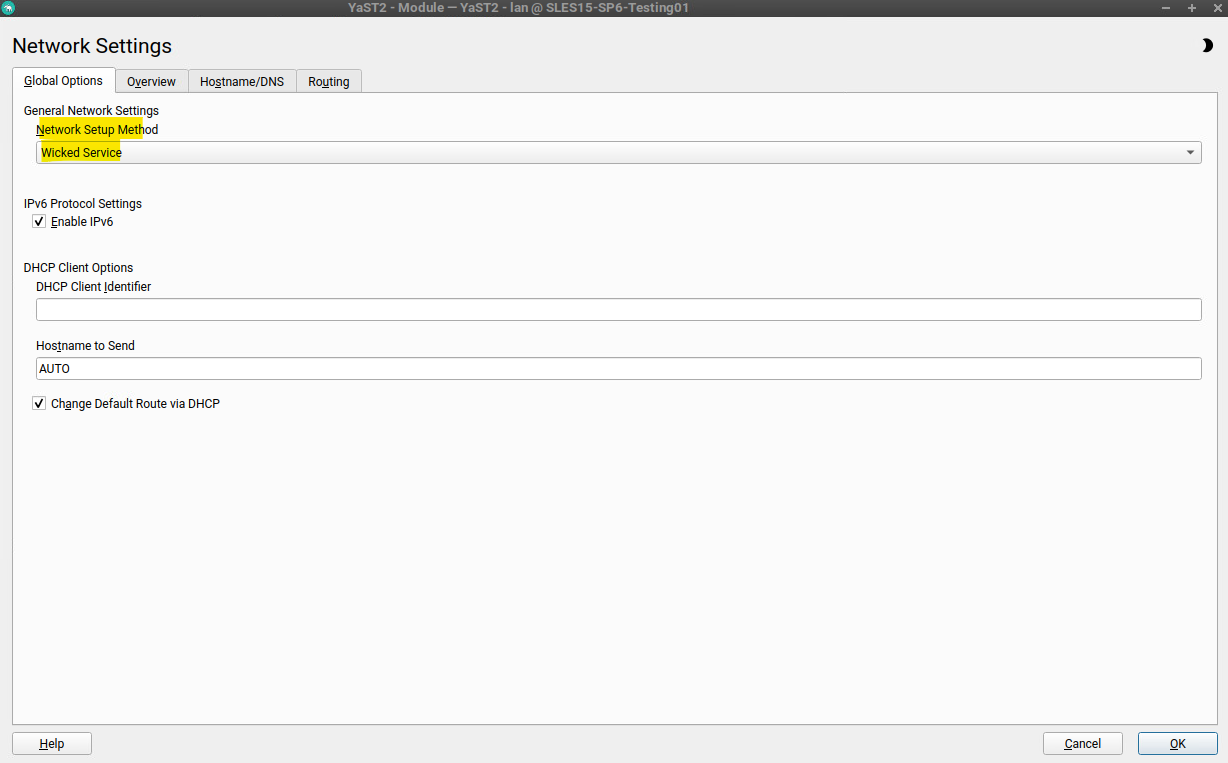
Navigate to the Global Options section in Yast.
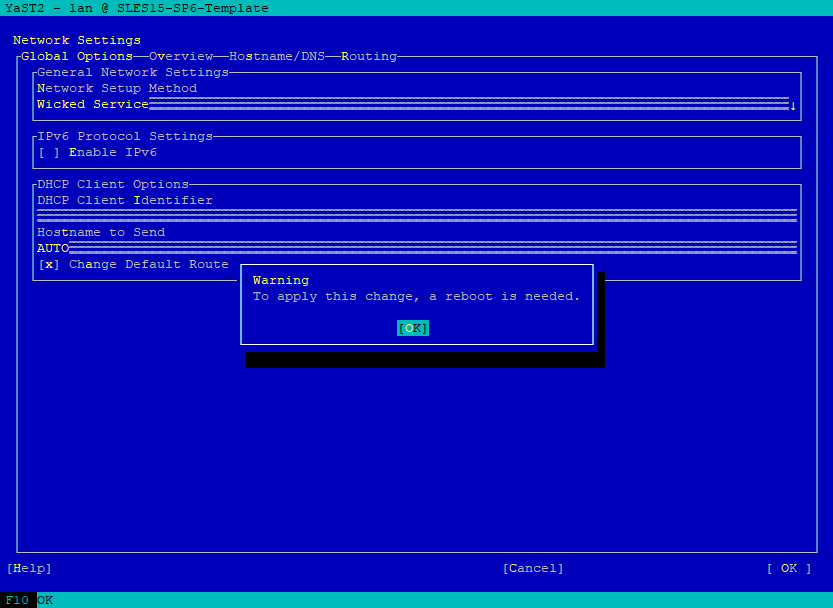
Within the IPv6 Protocol Settings section uncheck IPv6.
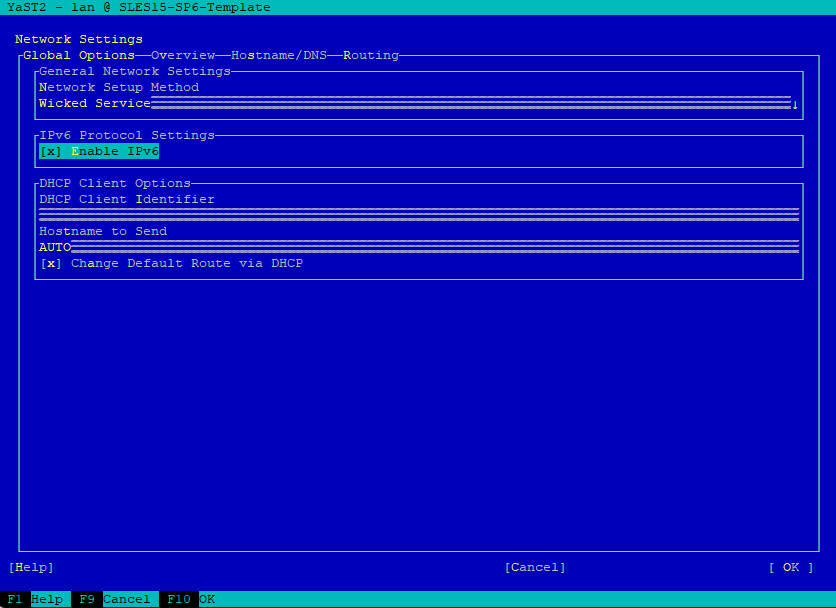
Confirm and reboot the machine to apply the change.
The machine will here not reboot by default and needs to be done explicitly after closing YaST.
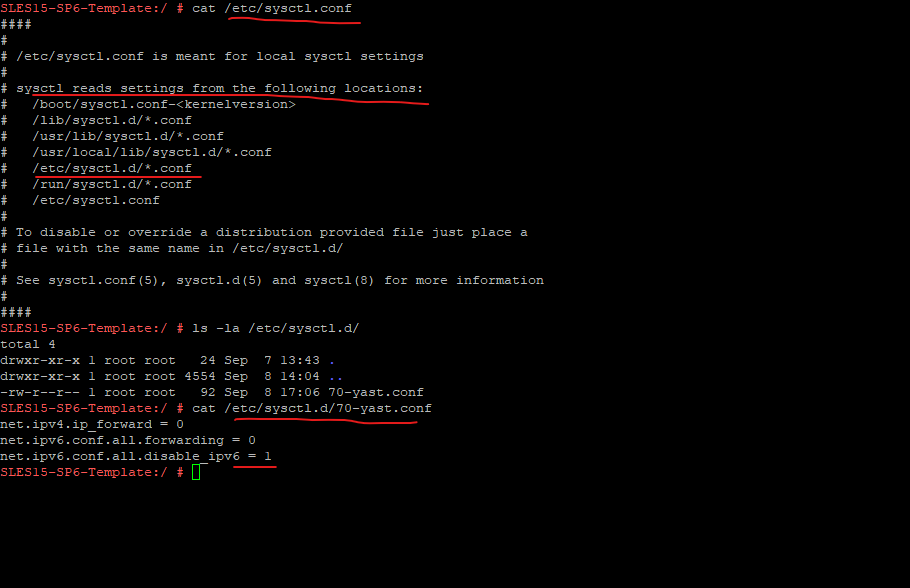
YaST will store the settings about disabling IPv6 in the /etc/sysctl.d/70-yast.conf file.
Configure Hostname and DNS
In order to configure DNS on the host, navigate to System -> Network Settings -> Hostname/DNS.
Enter Hostname and, if needed, the Domain Name. Note that the hostname is global and applies to all set network interfaces. Also enter the IP addresses of your DNS servers.
This hostname will be written into the /etc/hostname file.
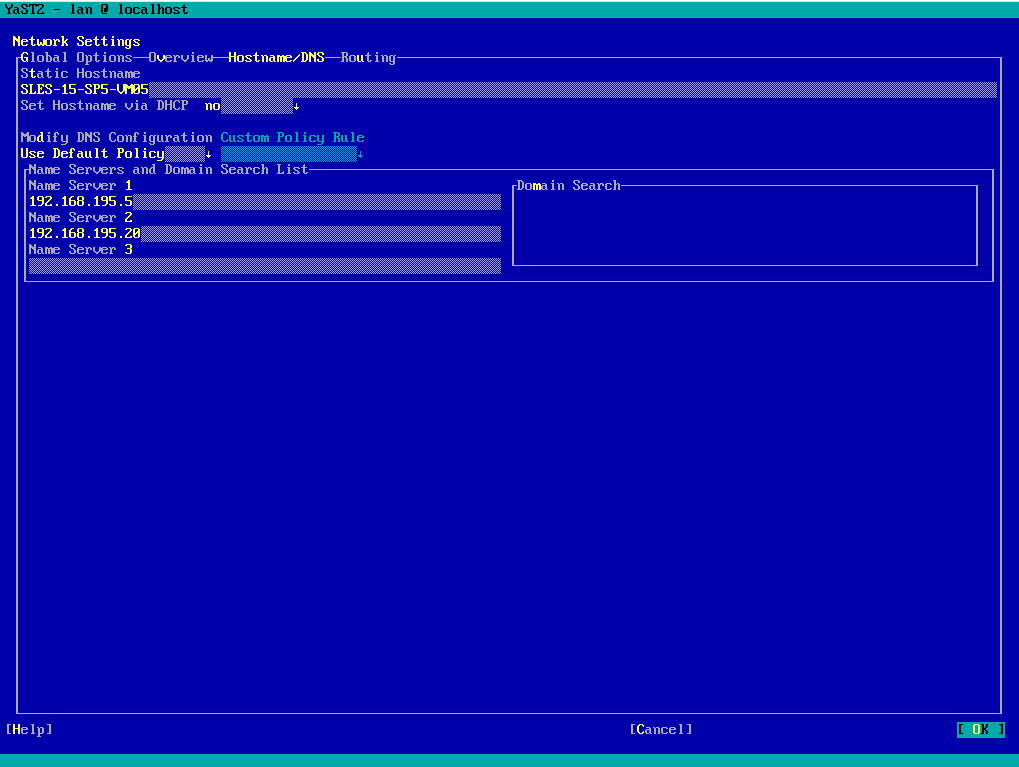
Finally click on OK to apply the configuration.
Wicked Network Management Tool
In my following post I was shown how you can configure the network in Linux by using the NetworkManager.
However, for SUSE Linux Enterprise the NetworkManager is only supported by SUSE for desktop workloads with SLED or the Workstation extension. All server certifications are done with wicked as the network configuration tool, and using NetworkManager may invalidate them. NetworkManager is not supported by SUSE for server workloads.
Source: https://documentation.suse.com/sles/15-SP5/html/SLES-all/cha-nm.html
Wicked is a network management framework used primarily in SUSE Linux Enterprise and openSUSE distributions. It provides advanced control over network configuration.
Wicked is designed to replace older tools like ifup and ifdown and offers more flexibility for managing dynamic and static networking configurations.
Wicked manages all scripts that store Linux network configuration. Wicked is able to use the familiar /etc/sysconfig/network/ifcfg-* configuration files.
Figure below from SUSE Linux Enterprise Server 15.
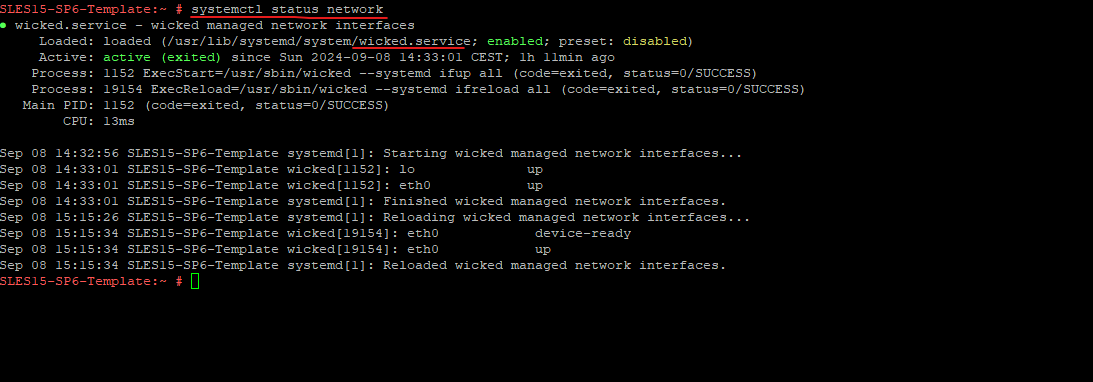
On SUSE Linux Enterprise, wicked runs by default. If you want to check what is currently enabled and whether it is running, call:
# systemctl status network
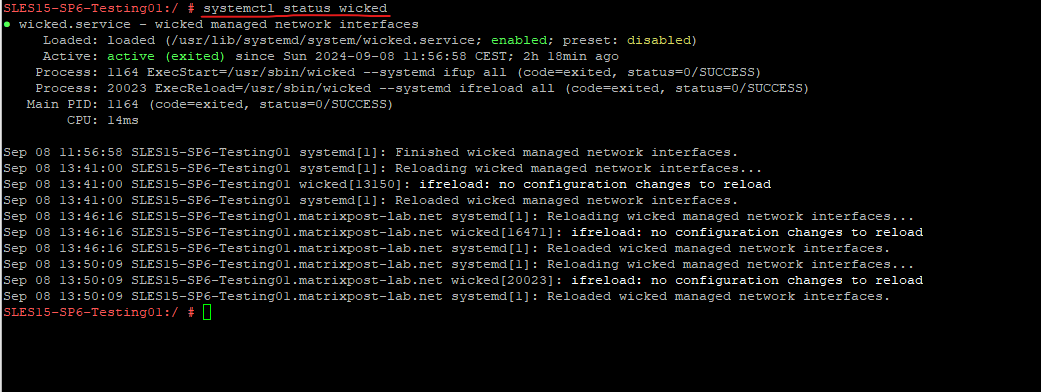
Or checking directly if the wicked daemon is running.
# systemctl status wicked
Configuring the Network by using the Command Line
Manual configuration of the network software should be the last alternative. Using YaST is recommended.
Under SUSE Linux Enterprise Server the network is managed by the wicked (network management framework) as mentioned further above.
Wicked is designed to replace older tools like ifup and ifdown and offers more flexibility for managing dynamic and static networking configurations. wicked was implemented as a group of DBus services that are integrated with systemd. So the usual systemctl commands will apply to wicked.
Wicked is able to use the familiar /etc/sysconfig/network/ifcfg-* configuration files.
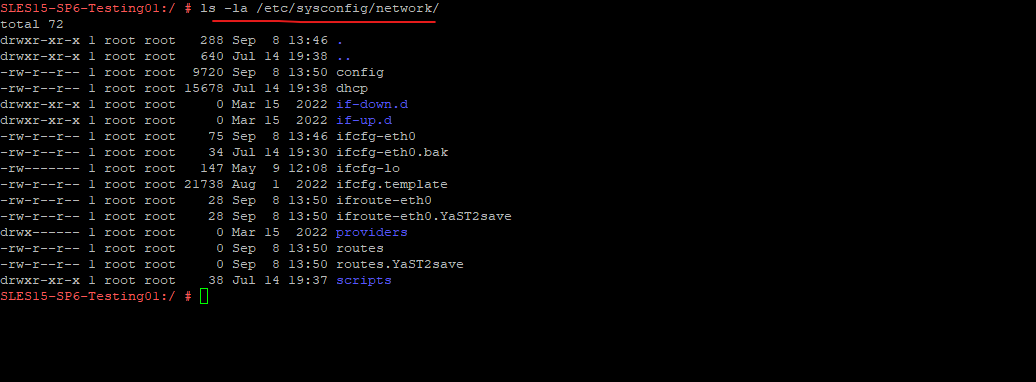
Therefore to configure the network on SUSE Linux Enterprise Serve manually from the command line, we need to adjust the configuration files under /etc/sysconfig/network/.
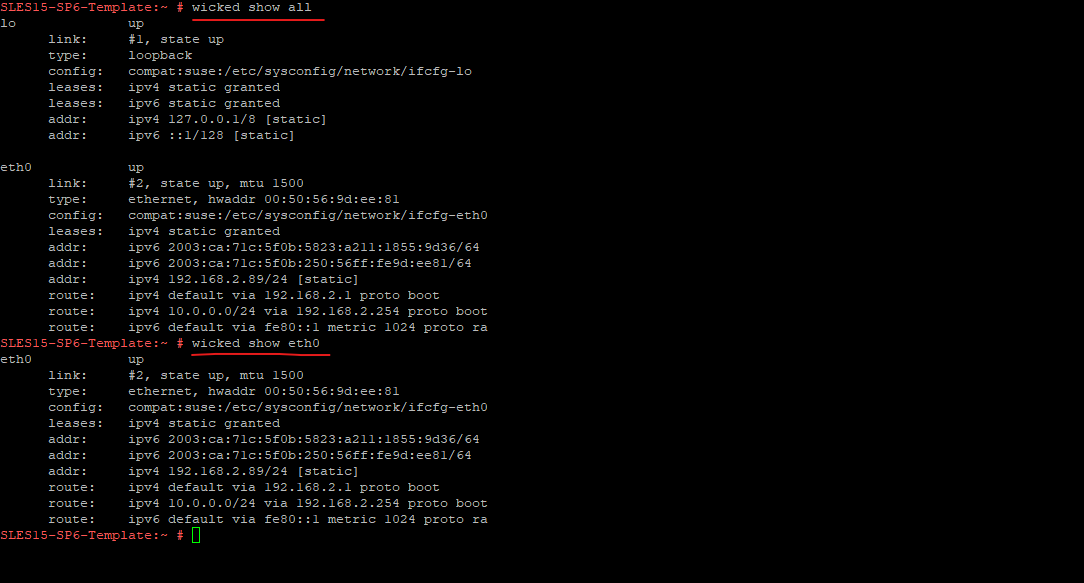
Use the client utility to display interface information for all interfaces or the interface specified with IFNAME:
# wicked show all
# wicked show IFNAME
Bringing up one interface:
# wicked ifup eth0
# wicked ifup wlan0
...
Source: https://documentation.suse.com/sles/15-SP5/html/SLES-all/cha-network.html#sec-network-manconf-wicked
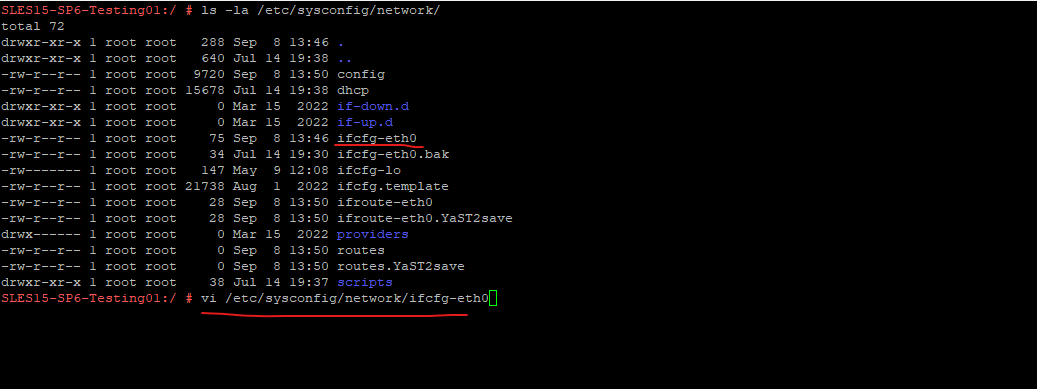
Changing IP address and Subnet Mask
To change the IP address and subnet mask for the primary network interface, we need to open below the corresponding interface configuration file, in my case this is ifcfg-eth0.
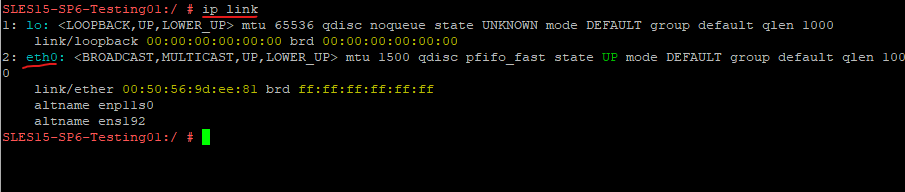
To find the correct file we need to adjust here we can enter the ip link command as shown below to determine the name for the interface.
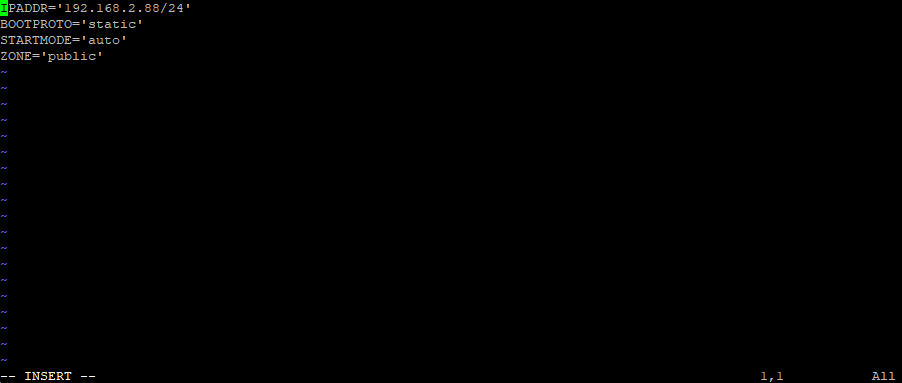
Adjust the IP address and subnet mask.
The corresponding interface name we can find by entering the ip link command.
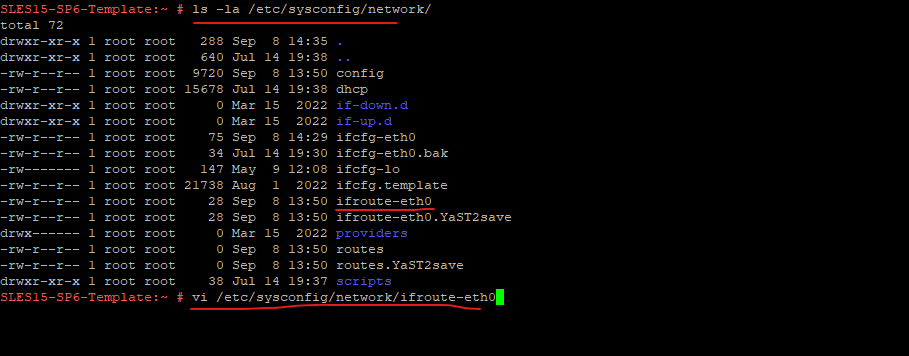
Changing the Default Gateway
To change the default gateway we can edit the /etc/sysconfig/network/ifroute-eth0 file below.
ifroute-eth0 -> eth0 is the first Ethernet Interface
This file can include the default gateway for the specific interface (ifroute-<interface_name>) and further can also include static routes for this specific interface.
Adjust the default gateway.
This is how YaST will place the default gateway into the /etc/sysconfig/network/ifroute-eth0 file.
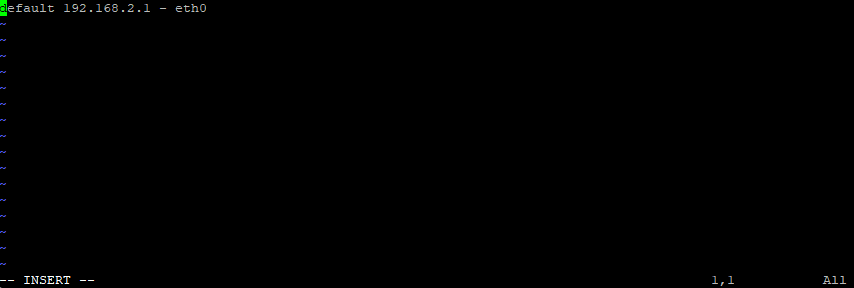
We can also use the following syntax but unfortunately not supported by YaST:
default via 192.168.2.1 dev interface
default via 192.168.2.1 dev eth0

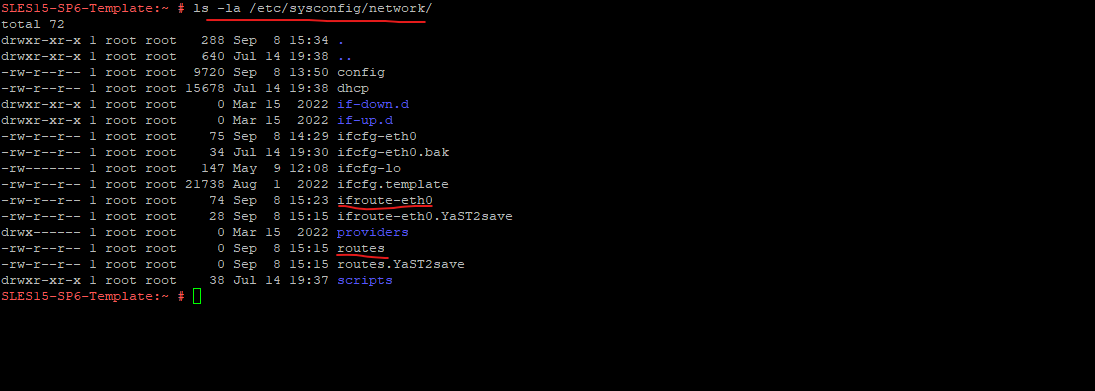
Adding Static Routes
The static routing of TCP/IP packets is determined by the /etc/sysconfig/network/routes and /etc/sysconfig/network/ifroute-* files.
All the static routes required by the various system tasks can be specified in /etc/sysconfig/network/routes: routes to a host, routes to a host via a gateway and routes to a network.
For each interface that needs individual routing, define an additional configuration file: /etc/sysconfig/network/ifroute-*. Replace the wild card () with the name of the interface.
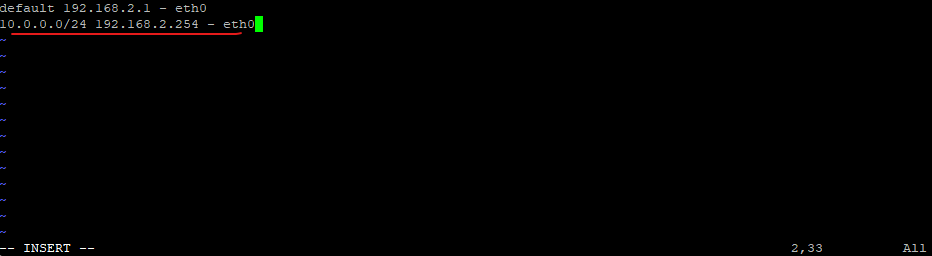
The ifroute-eth0 file below is the mentioned individual routing file and the routes file is for all static routes required by the various system tasks.
Define a route to a default gateway on the first line.
The keyword default indicates that the route is the default gateway in the same address family as the gateway. For devices without a gateway use explicit 0.0.0.0/0 or ::/0 destinations.
default via 192.168.2.1 dev eth0
10.0.0.0/24 via 192.168.2.254 dev eth0
Where 192.168.2.1 is the IP address of the default gateway. The device (dev) eth0 is the interface that is connected to, or can reach, the default gateway. Same for the static route.
This is how YaST will place static routes into the /etc/sysconfig/network/ifroute-eth0 file.
Change the Hostname
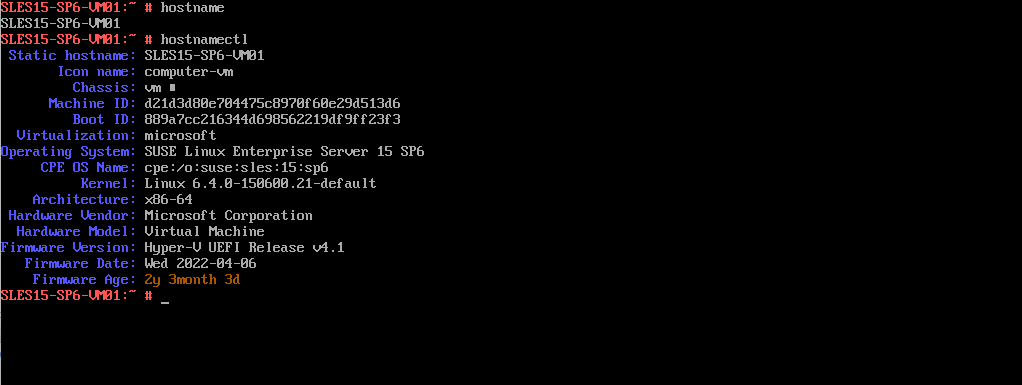
To query and display the current hostname we can use either the hostname or the hostnamectl command as shown below.
systemd-hostnamed.service and this tool distinguish three different hostnames: the high-level “pretty” hostname which might include all kinds of special characters (e.g. “Lennart’s Laptop”), the “static” hostname which is the user-configured hostname (e.g. “lennarts-laptop”), and the transient hostname which is a fallback value received from network configuration (e.g. “node12345678”).
If a static hostname is set to a valid value, then the transient hostname is not used.
Note that the pretty hostname has little restrictions on the characters and length used, while the static and transient hostnames are limited to the usually accepted characters of Internet domain names, and 64 characters at maximum (the latter being a Linux limitation).
# hostname
# hostnamectl
To modify the hostname just temporarily, you can use the following command. After a reboot, all changes will revert. The hostname will here not be written into the /etc/hostname file.
# hostname demo.example.com
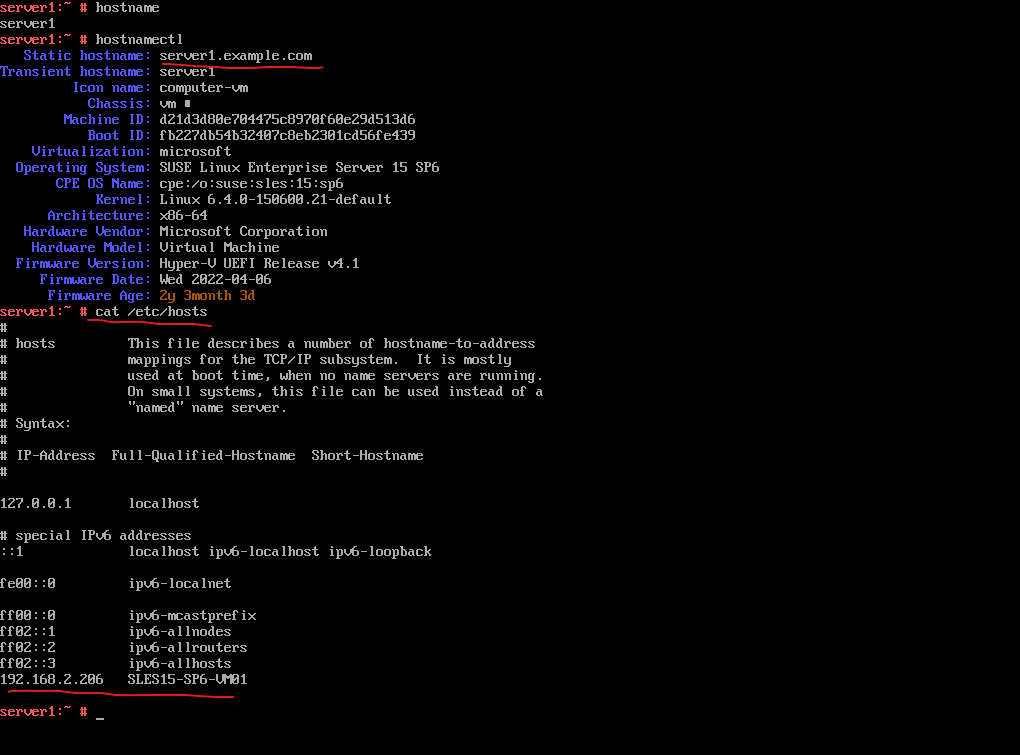
To persistently change the hostname, use the hostnamectl command, or directly modify the default configuration file /etc/hostname.
The hostnamectl set-hostname command will write the hostname into the /etc/hostname file.
# hostnamectl set-hostname server1.example.com
Finally we also need to update the /etc/hosts file to provide a working name resolution for the host itself after changing the hostname. When using YaST this will be automatically updated when entering the hostname or FQDN for the interface configuration.
When your system tries to resolve a hostname to an IP address or tries to determine the hostname for an IP address, it refers to the /etc/hosts file before using the name servers.
DNS Configuration
The domain to which the host belongs is specified in /var/run/netconfig/resolv.conf (keyword search). Up to six domains with a total of 256 characters can be specified with the search option.
When resolving a name that is not fully qualified, an attempt is made to generate one by attaching the individual search entries.
Up to three name servers can be specified with the nameserver option, each on a line of its own.
Comments are preceded by hash mark or semicolon signs (# or ;).
The /etc/resolv.conf should not be edited by hand. It is generated by the netconfig script and is a symbolic link to /run/netconfig/resolv.conf. To define static DNS configuration without using YaST, edit the appropriate variables manually in the /etc/sysconfig/network/config file:
# vi /etc/sysconfig/network/config
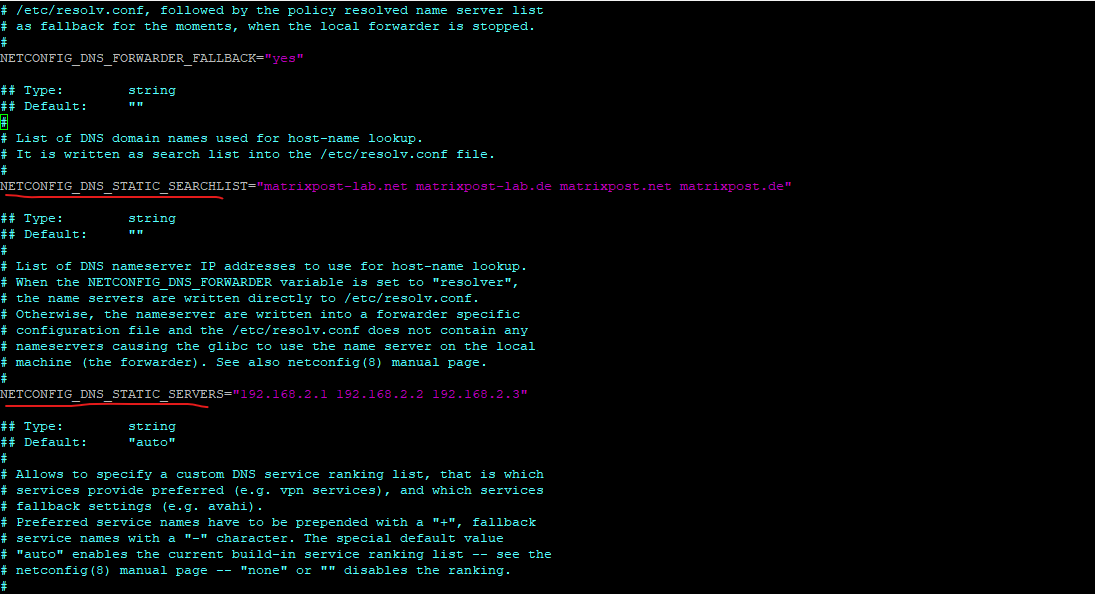
Finally after changes always call “netconfig update -f” to force adjusting of /etc/resolv.conf.
Disable IPv6
Disable on the fly – Temporary (does not persists a reboot).
echo 1 > /proc/sys/net/ipv6/conf/all/disable_ipv6
To disable IPv6 persistent across reboot.
In the file /etc/sysctl.conf add the following lines:
net.ipv6.conf.all.disable_ipv6 = 1
net.ipv6.conf.default.disable_ipv6 = 1
net.ipv6.conf.lo.disable_ipv6 = 1
Reload the options with the following command or reboot the server.
# sysctl -p

or

# reboot
Source: https://www.suse.com/support/kb/doc/?id=000016980
As shown further above, when using YaST to disabling IPv6, YaST will store the settings about disabling IPv6 in the /etc/sysctl.d/70-yast.conf file.
Links
Basic Networking
https://documentation.suse.com/sles/15-SP2/html/SLES-all/cha-network.htmlNetworking with Wicked in SUSE® Linux Enterprise 12
https://documentation.suse.com/external-tree/en-us/sles/12-SP4/networking_with_wicked_in_suse_linux_enterprise_12_guide.pdfwicked – Man Page
https://www.mankier.com/8/wickedHow to configure a hostname on a Linux system
https://www.redhat.com/sysadmin/configure-hostname-linuxConfiguring a Network Connection with YaST
https://www.novell.com/documentation/opensuse110/opensuse110_reference/data/sec_basicnet_yast.html
Tags In
Related Posts
Follow me on LinkedIn