Mastering GCP Virtual Machines – Part 3 (Connect to Windows VMs)
In Part 2 we saw the different access methods we can use to connect to our Linux virtual machine instances. Further we saw what exactly the so called Cloud Shell Instance is.
Now in this part we will see how to create a new Windows virtual machine instance (Windows Server 2025) and how to connect to by using RDP and SSH. Further we will see how to connect to the serial console.
Creating a new Virtual Machine Instance (Windows Server 2025)
About all steps to create a new virtual machine instance you can also read Part 1, in this part I will just cover the different steps when setting up a new Windows virtual machine instance.
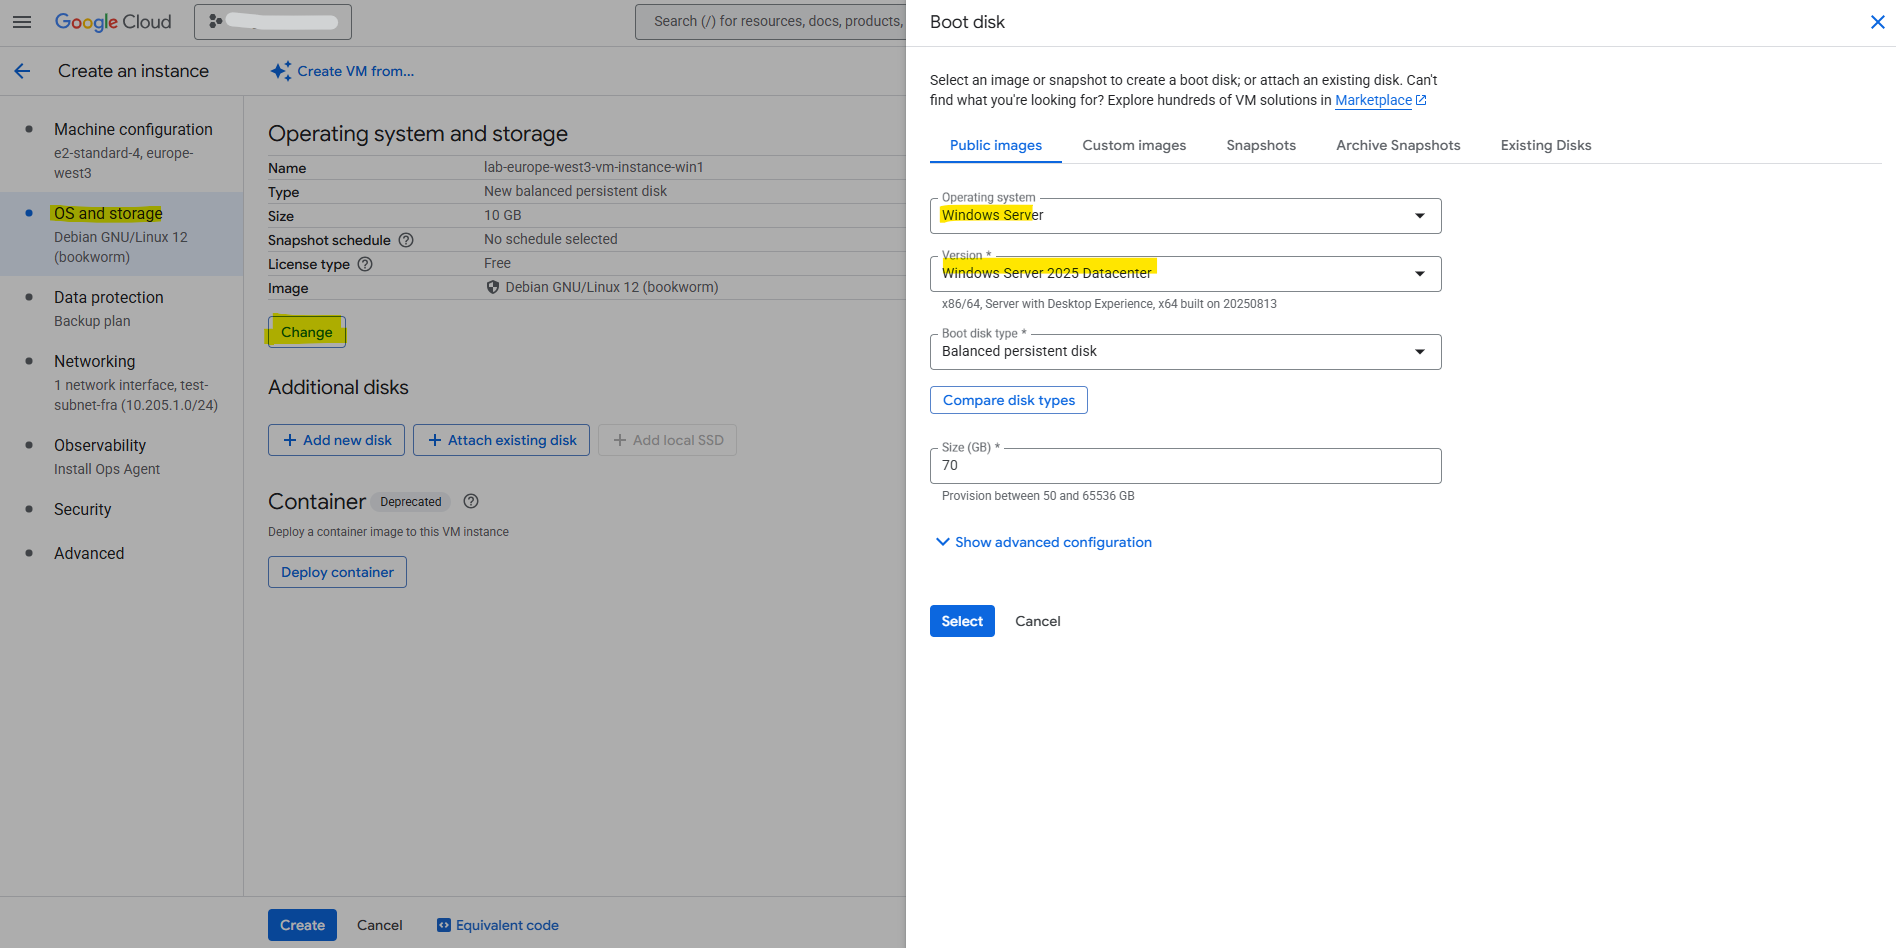
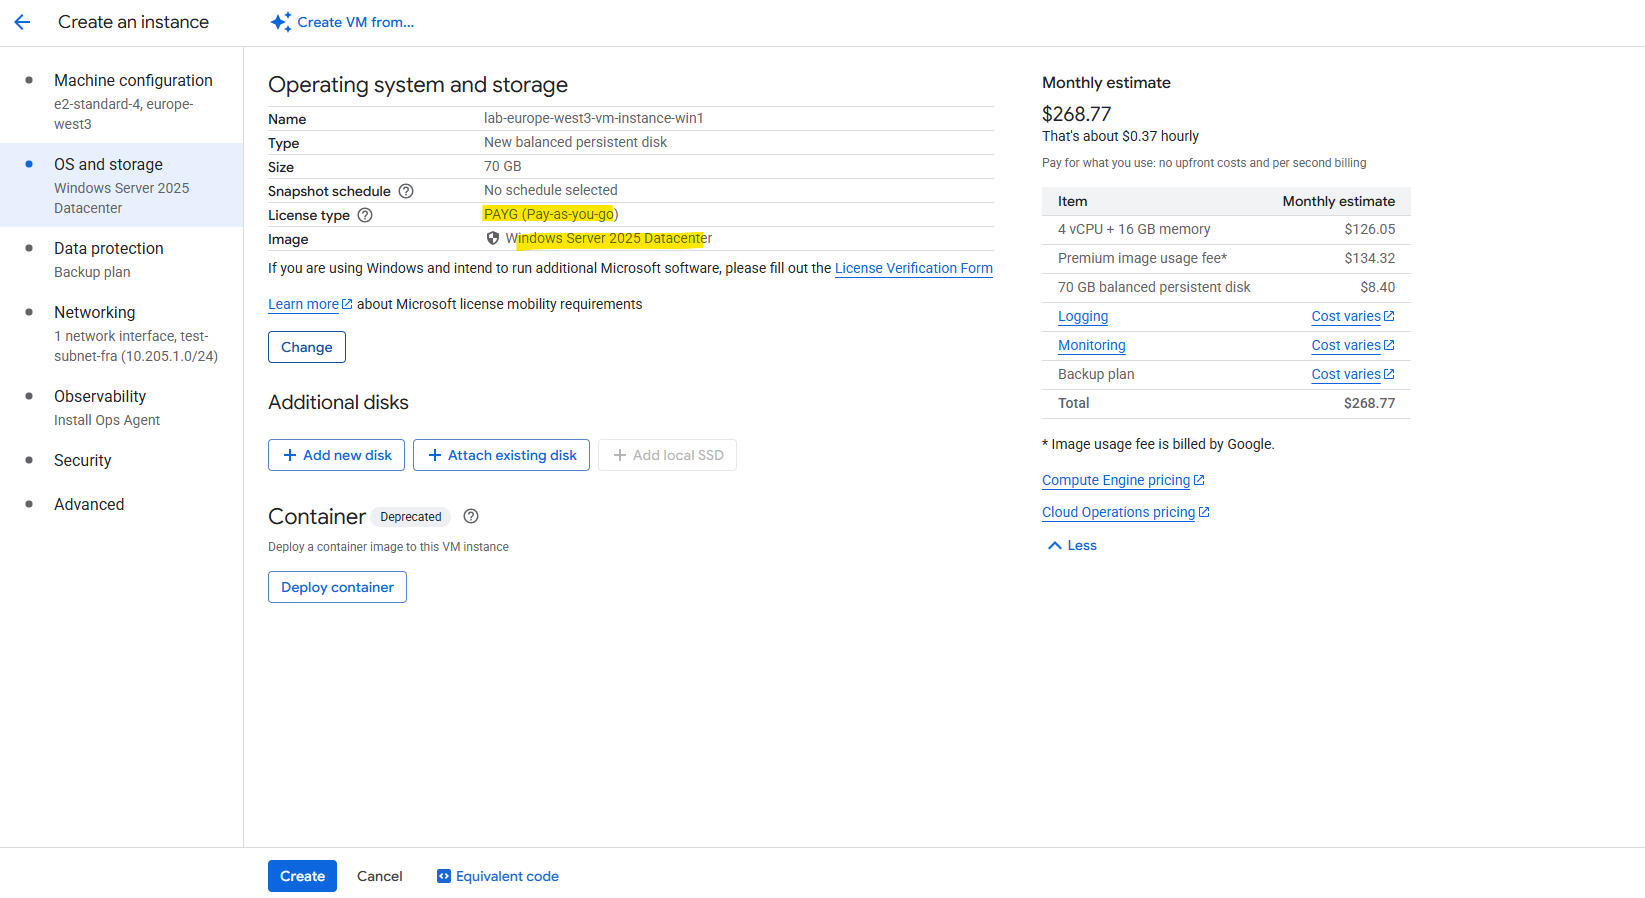
Withing the OS and storage tab we need to select for the operating system here Windows Server and then selecting the desired version, in my case here Windows Server 2025 Datacenter.
Disk and image pricing
https://cloud.google.com/compute/disks-image-pricing?hl=enAbout licenses
Bring your own license (BYOL)/Bring your own subscription (BYOS)
For Windows, contact your Google Cloud Technical Account Manager
https://cloud.google.com/compute/docs/licenses/about
As already mentioned in Part 2, for Windows VMs we can optionally also enable SSH by adding manually generated SSH keys aka Metadata-based SSH Keys Login.
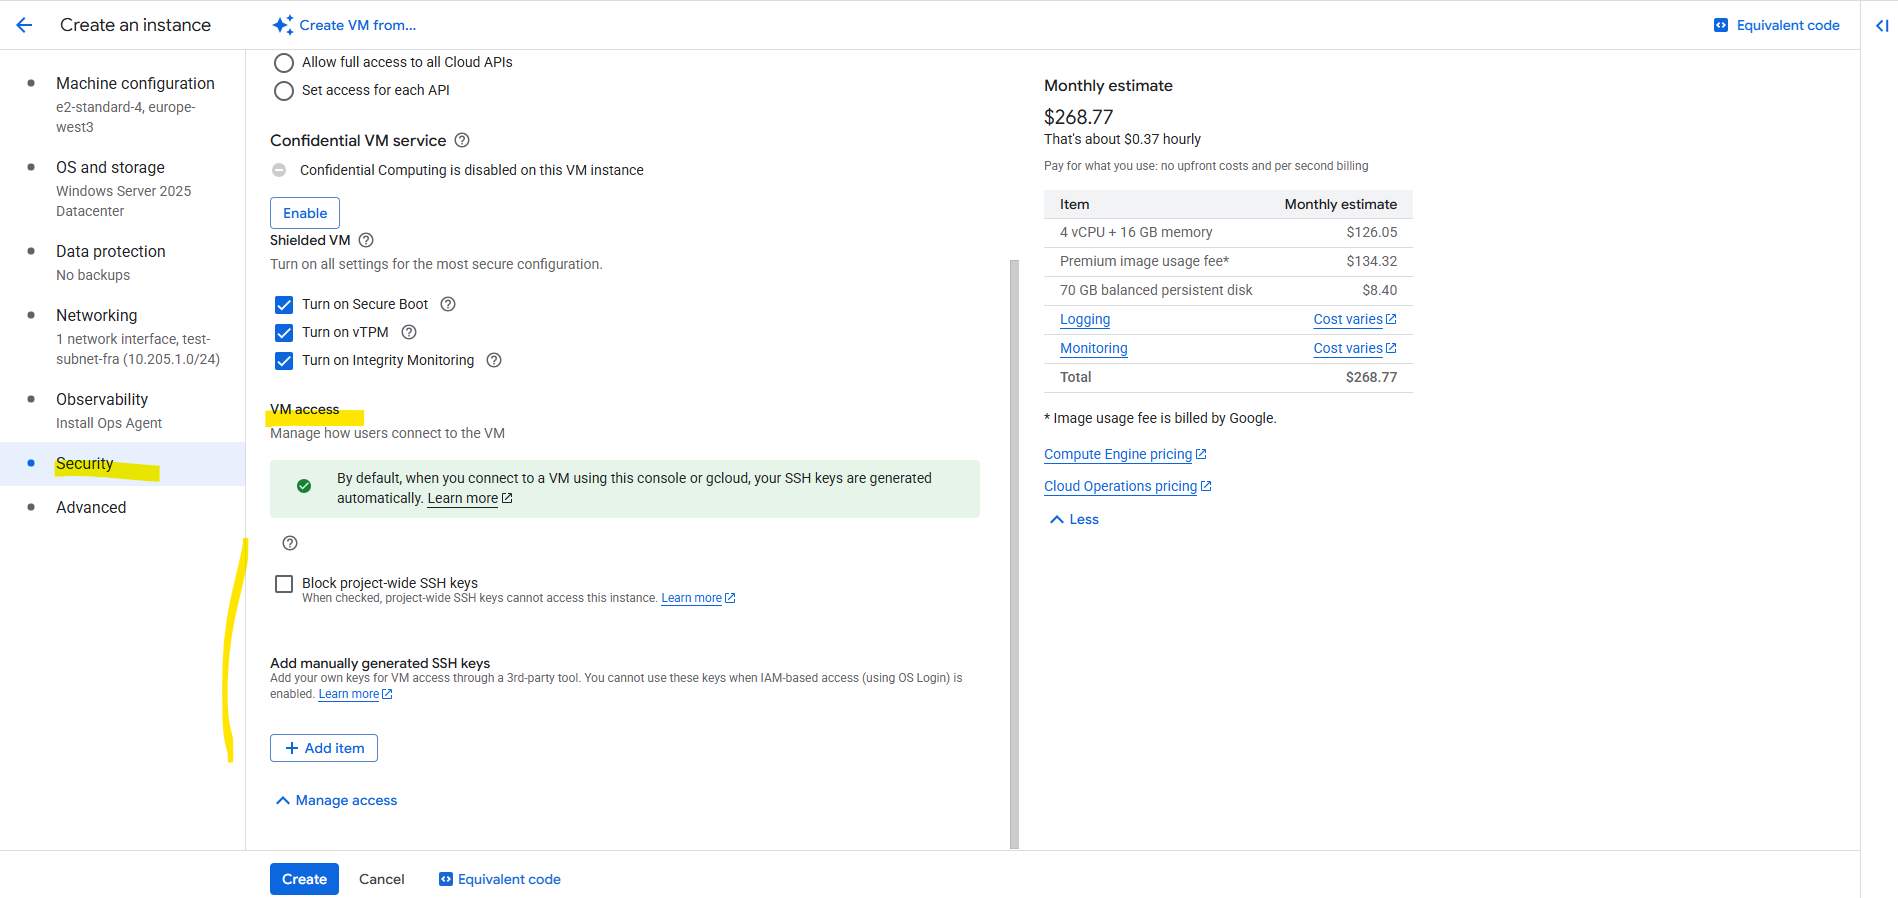
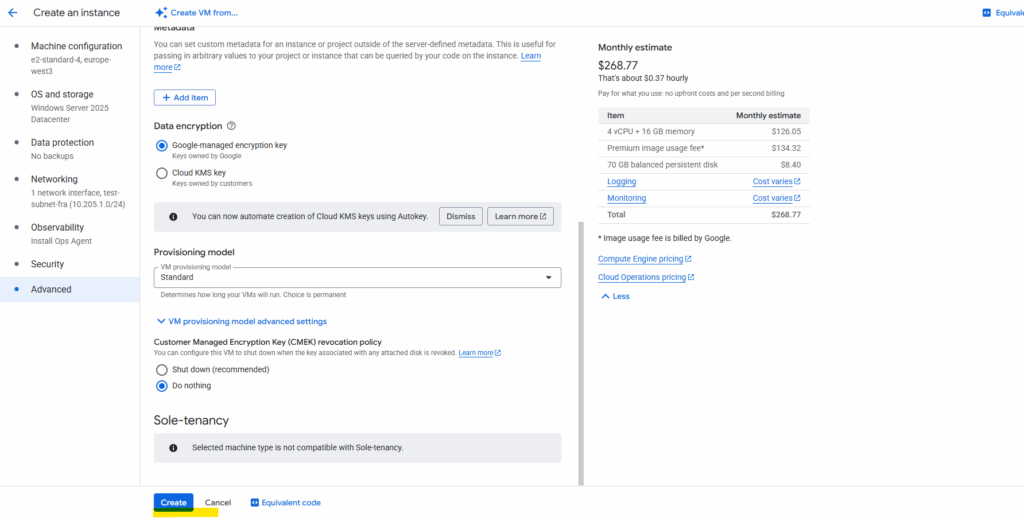
Finally click on Create.
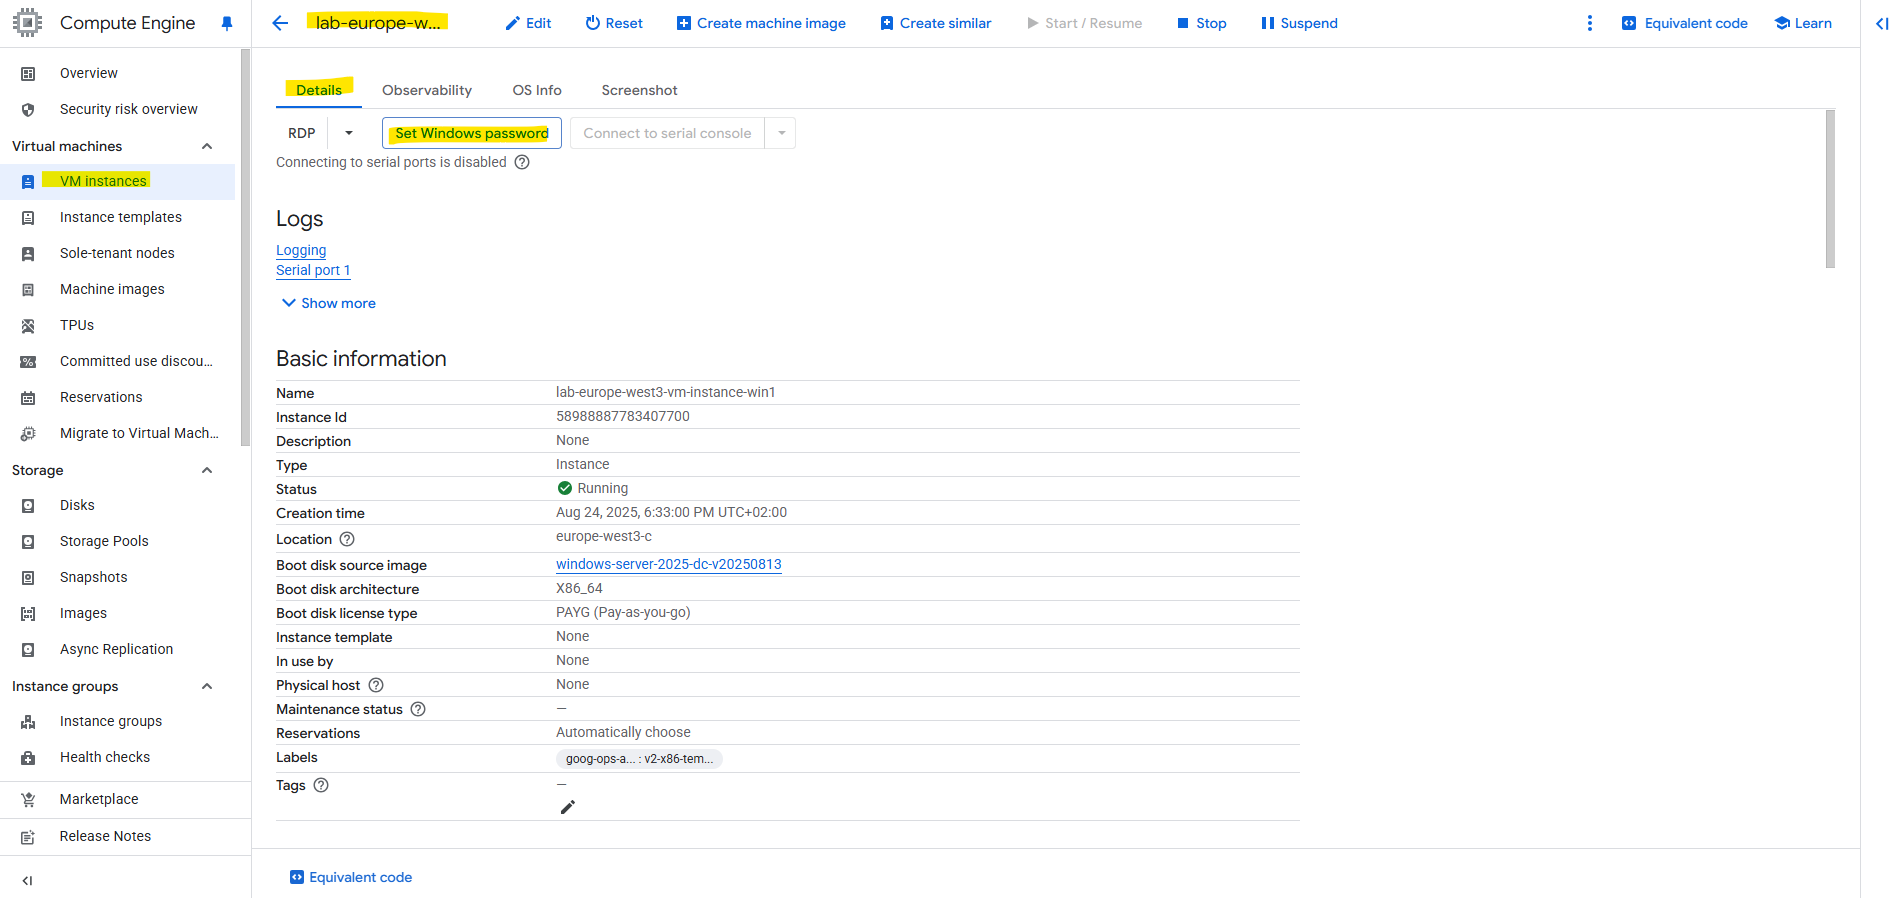
By default, Windows virtual machine (VM) instances authenticate by using a username and a password instead of by using SSH.
If we don’t enable SSH for Windows, we must generate new credentials before connecting to the VM.
You can also use this process to generate new credentials if you no longer have the original credentials. If you use this process to generate new credentials for existing users, any data that is encrypted with the current credentials, such as encrypted files or stored passwords, might not be retained.
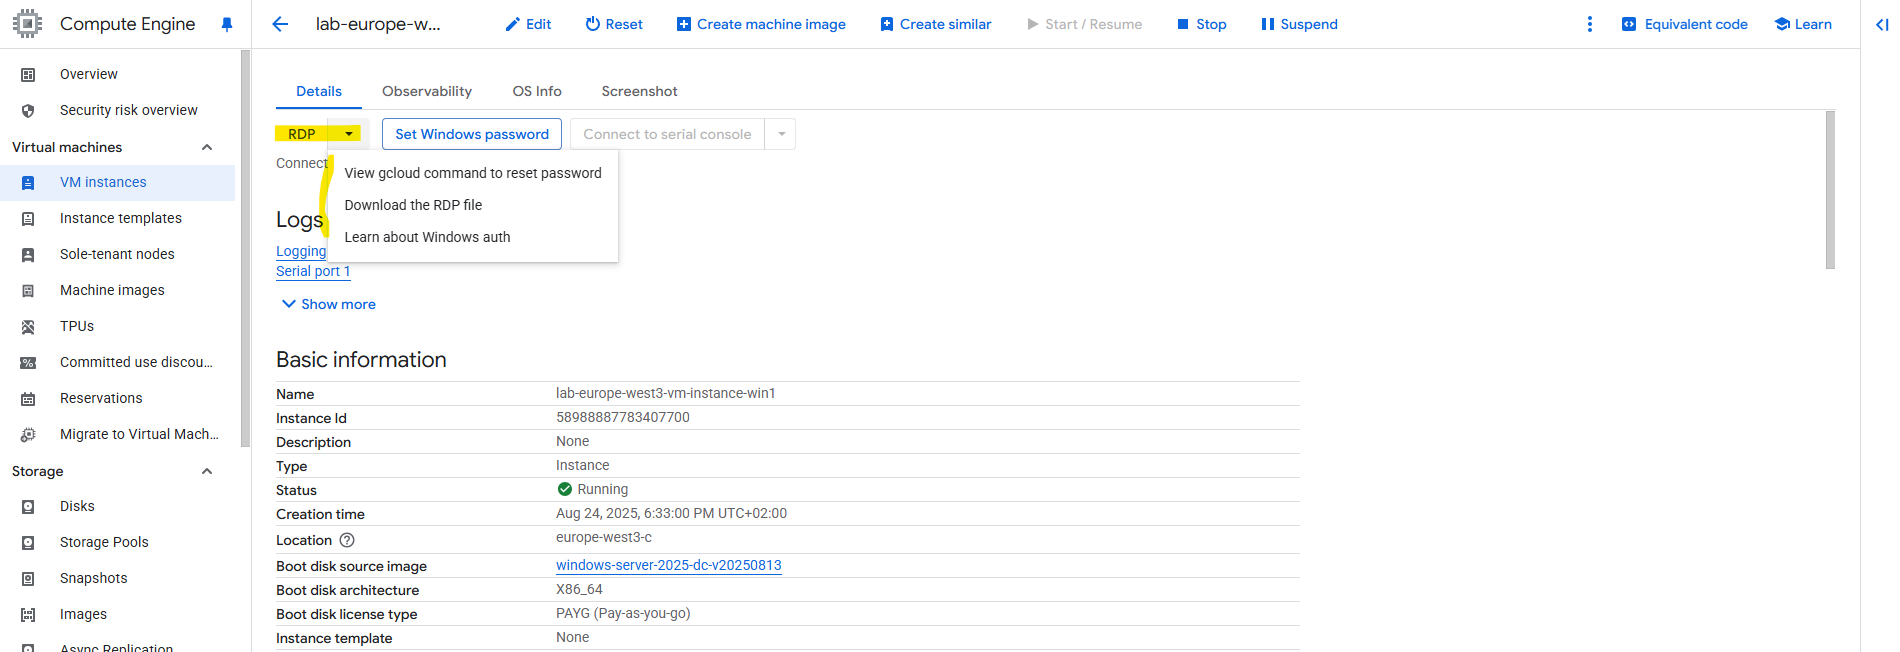
On the virtual machine instance’s details tab, click on Set Windows password.
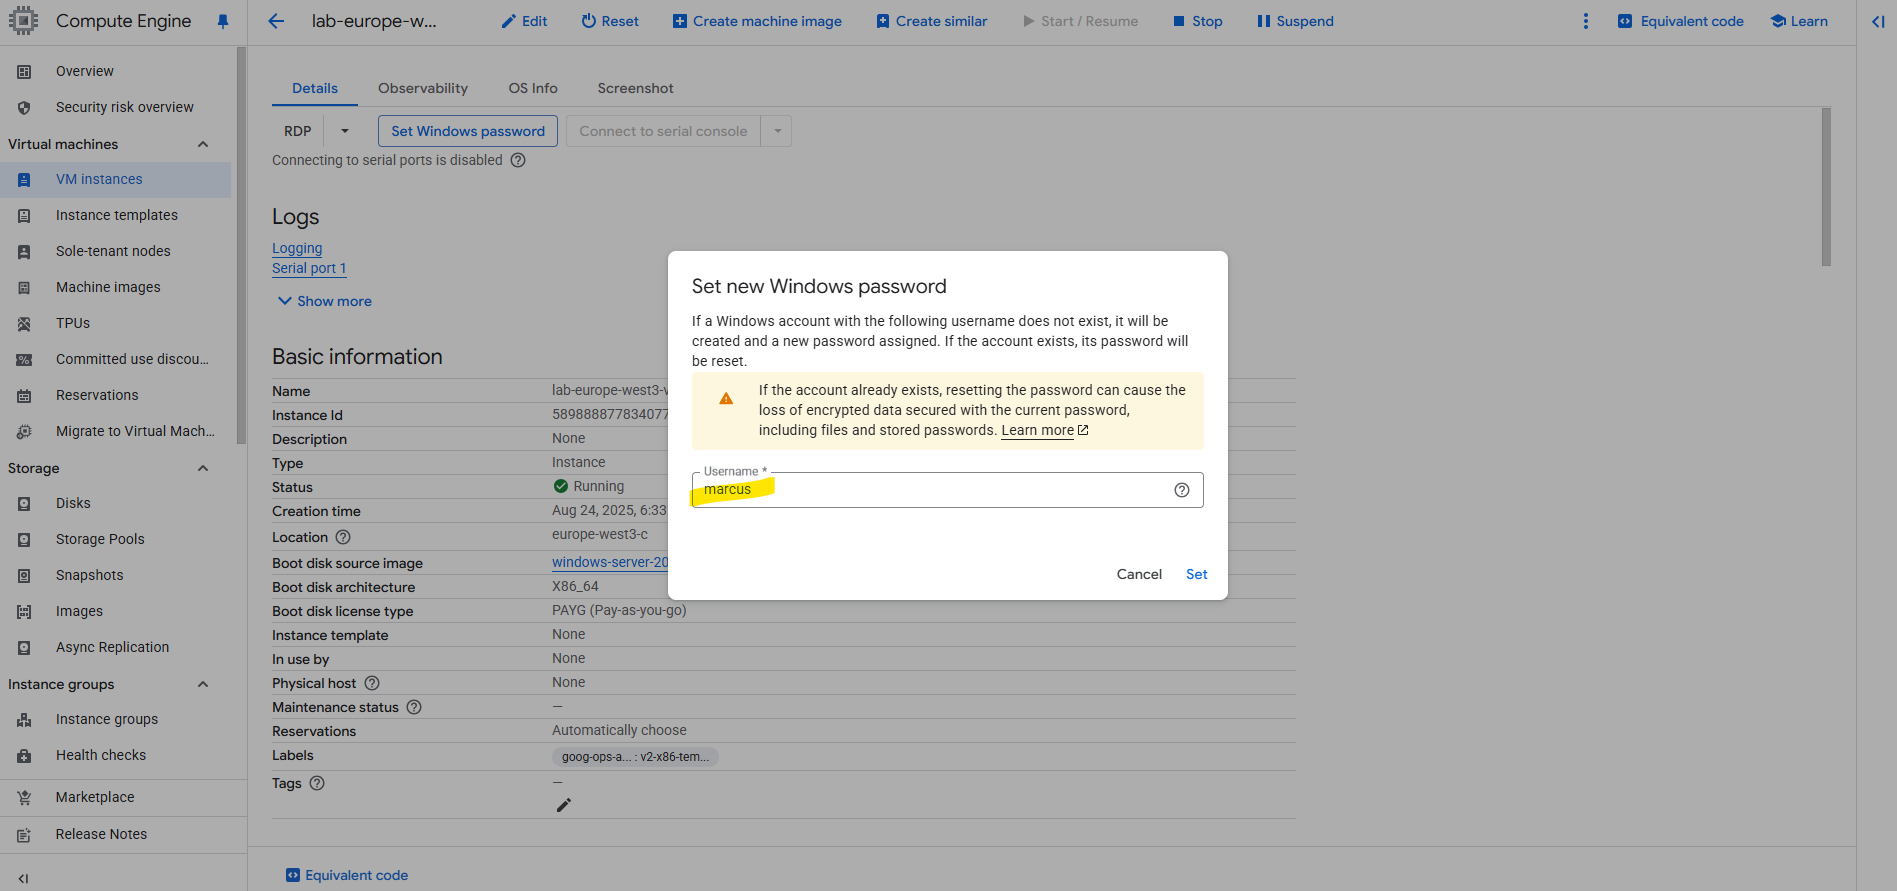
If a Windows account with the following username does not exist, it will be created and a new password assigned. If the account exists, its password will be reset.
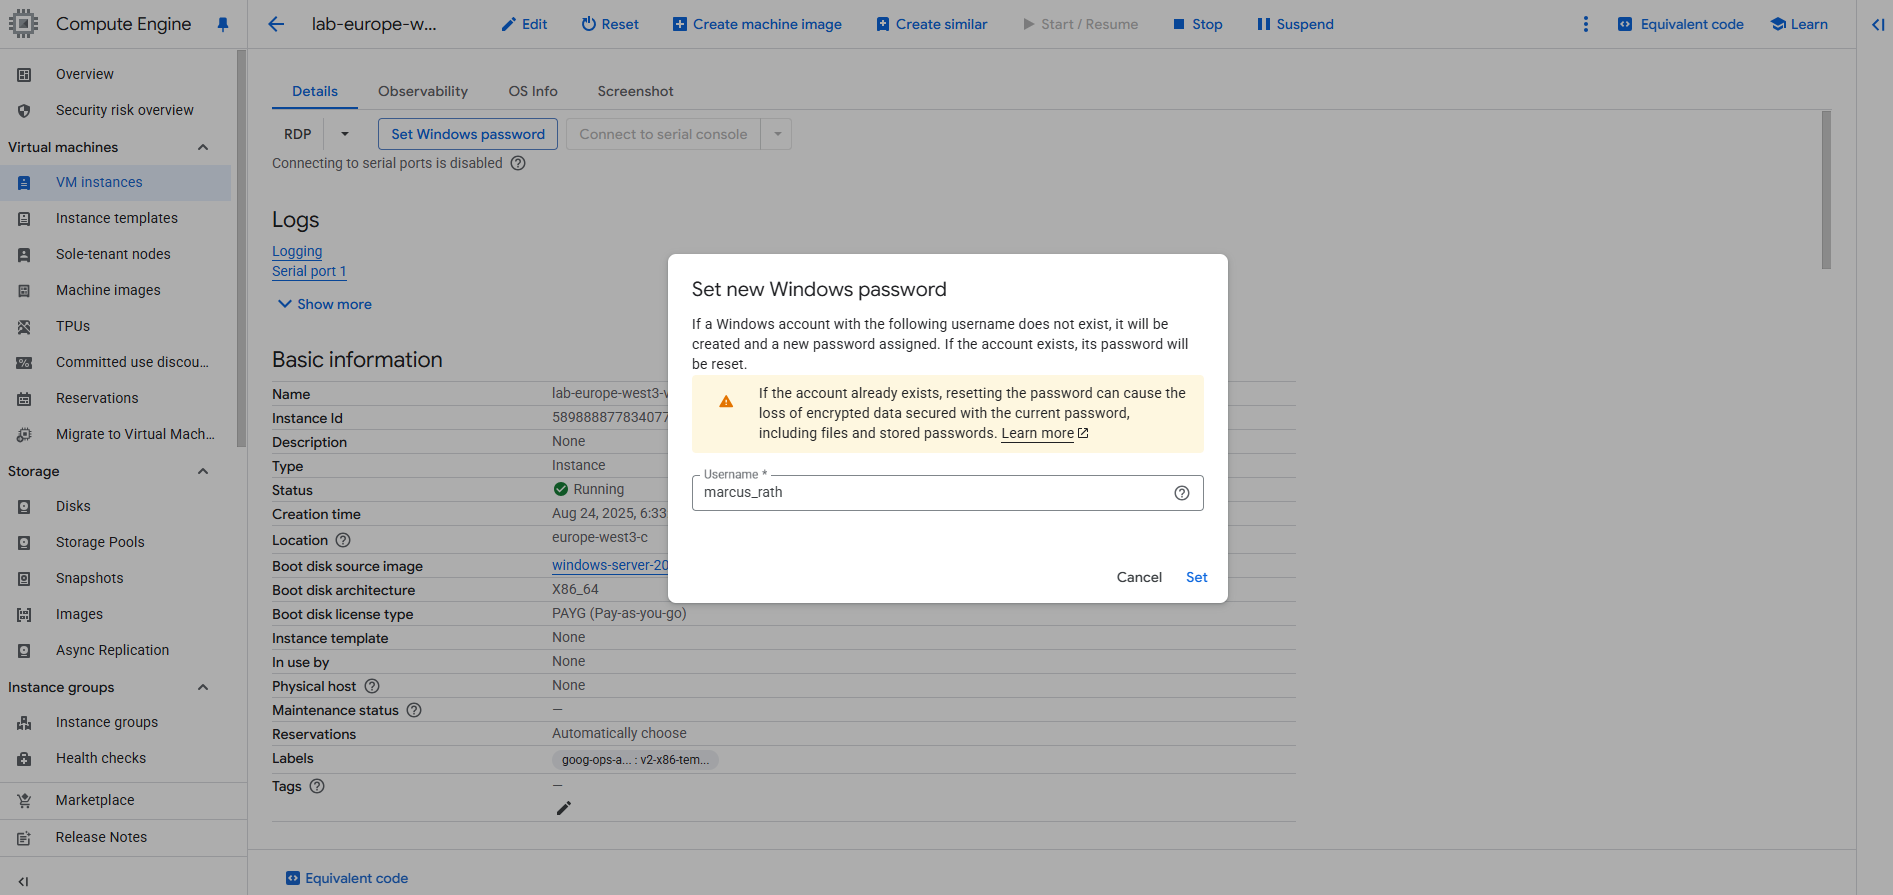
We can also change the default proposed username. Click on Set.
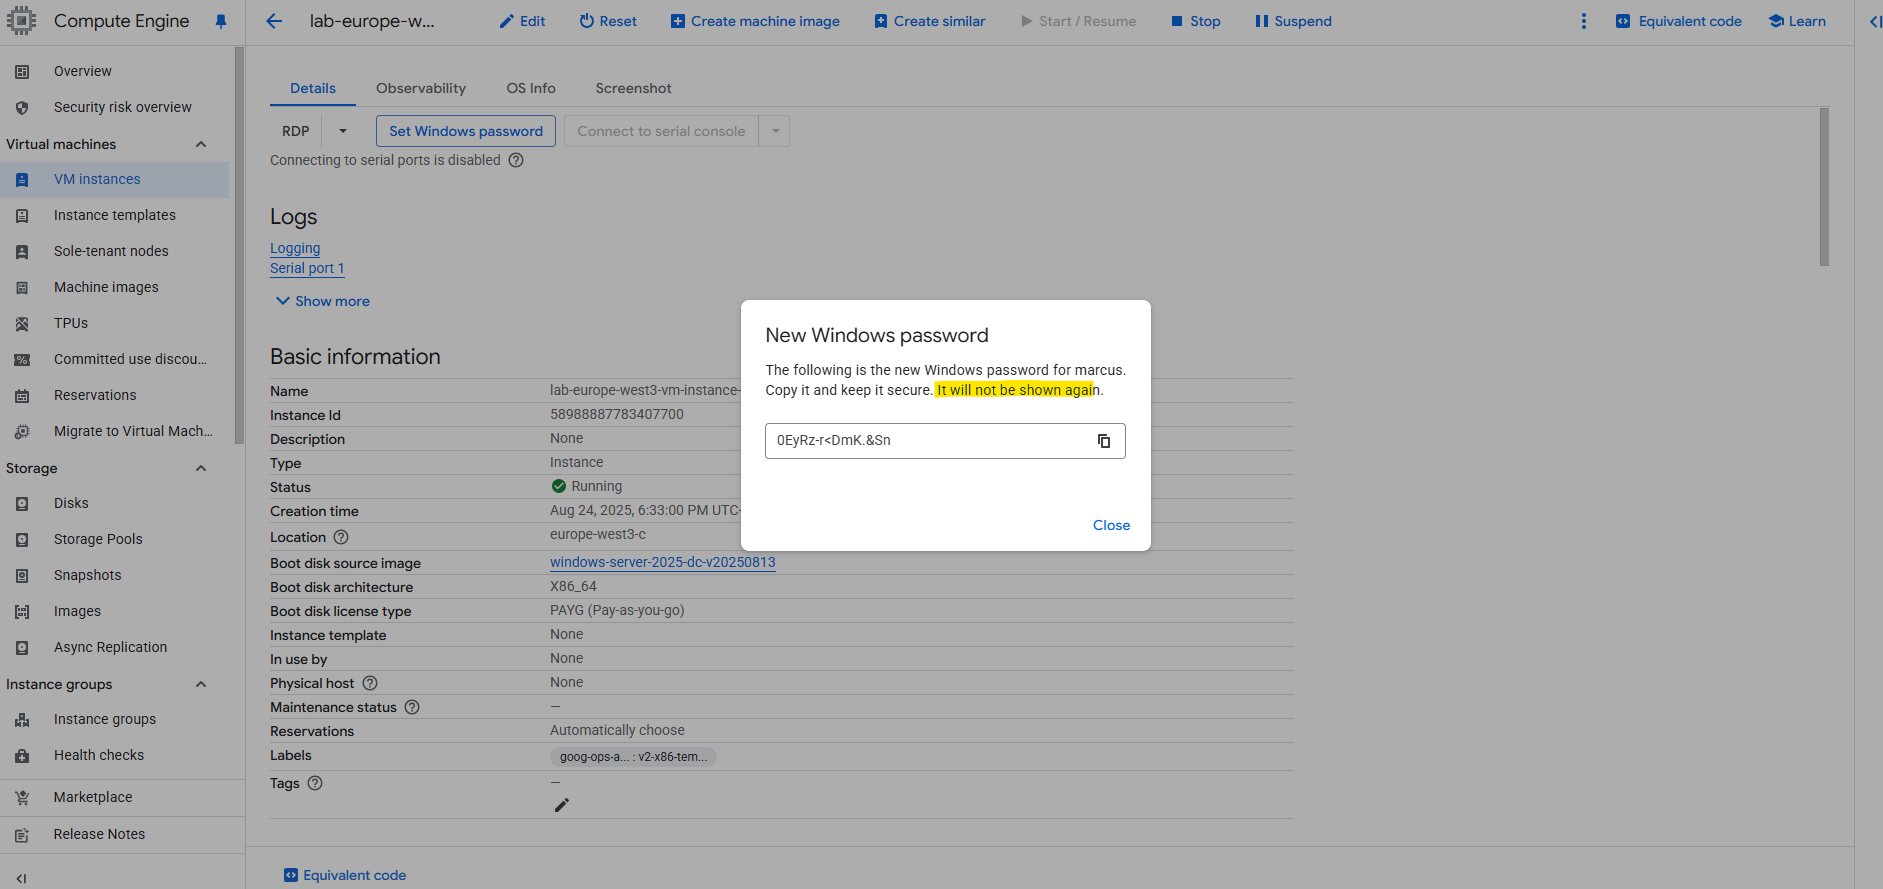
Copy the generated password, it will not be shown again.
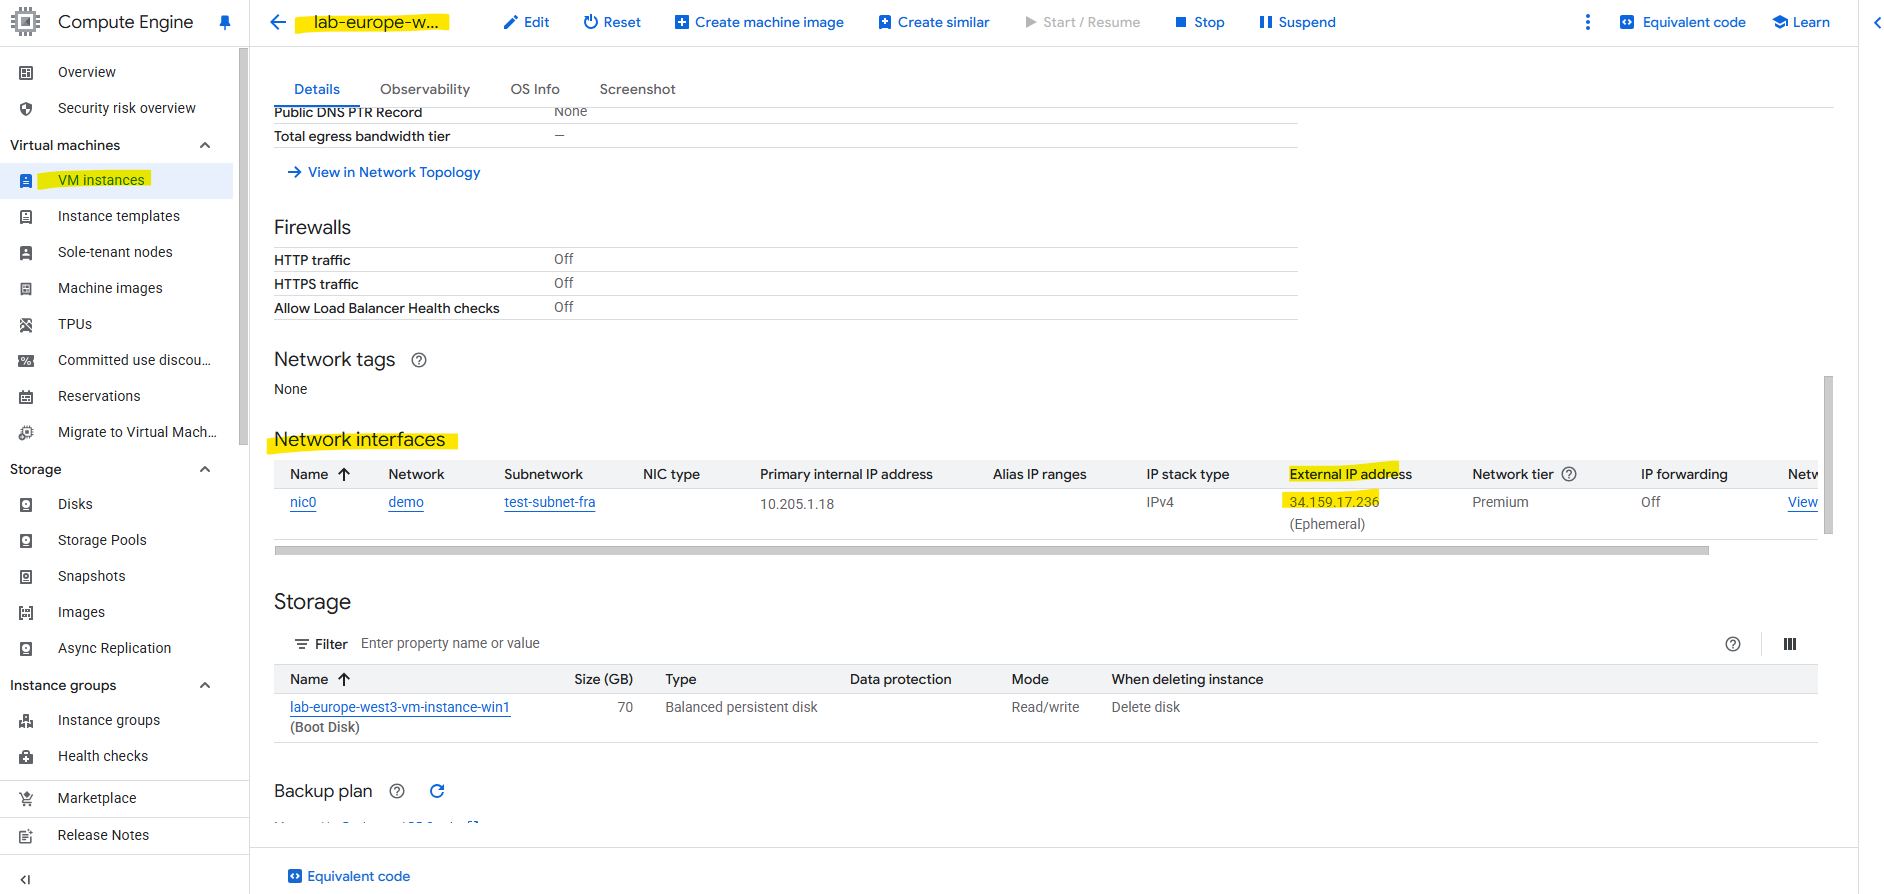
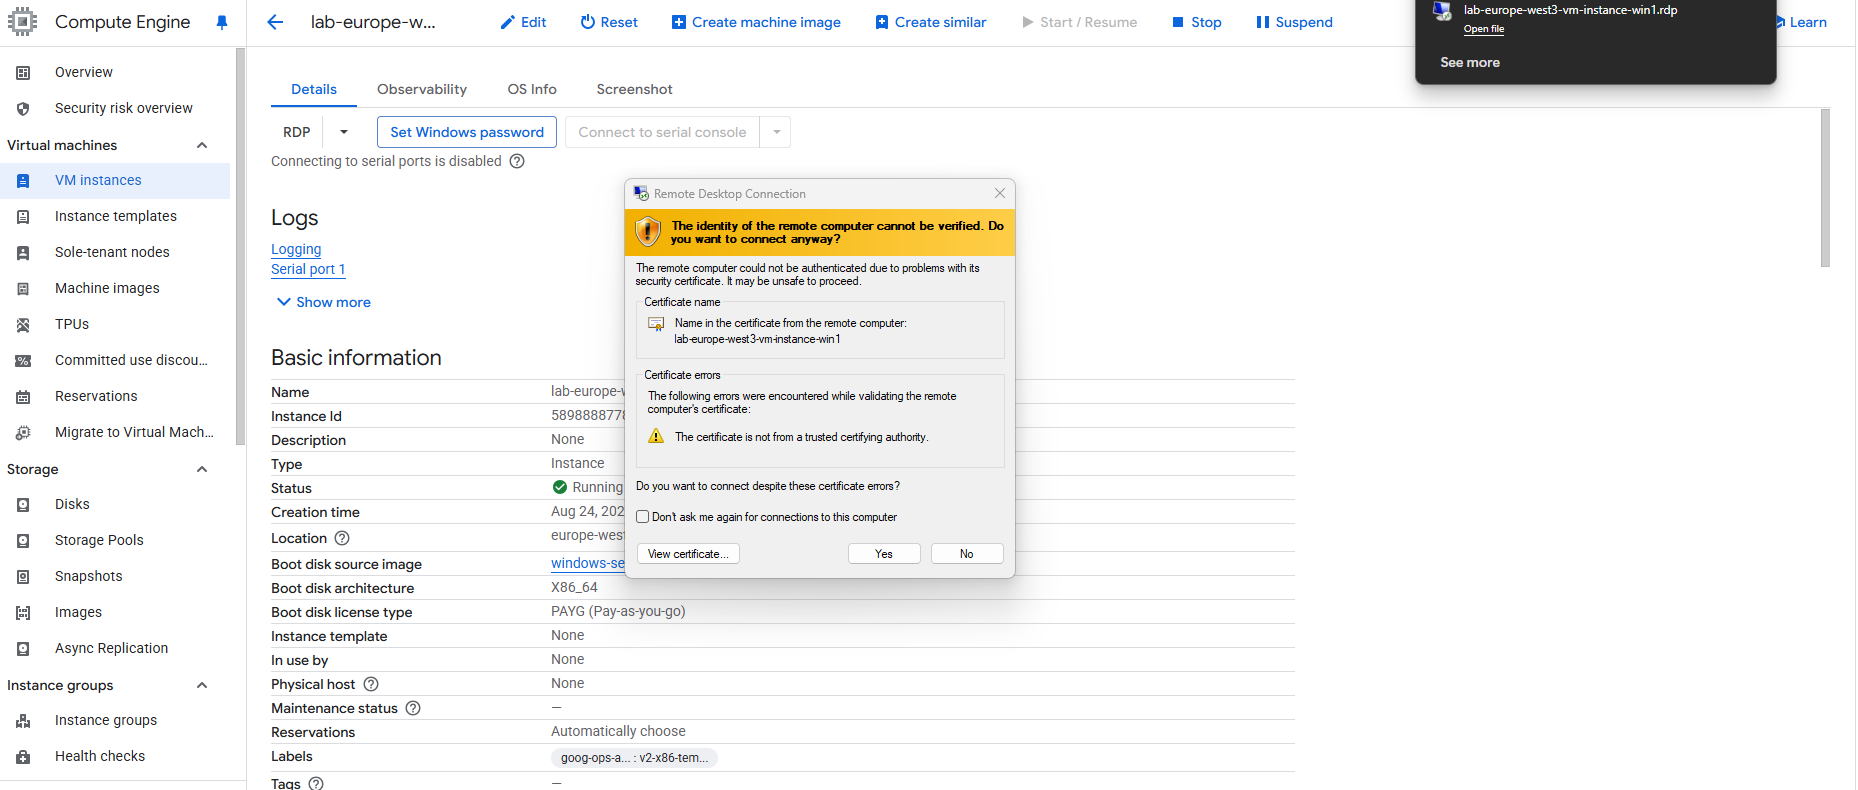
We can now connect per RDP to our virtual machine by using either its private IP address in case our network is connected through a VPN tunnel with GCP like shown here or through its public IP address.
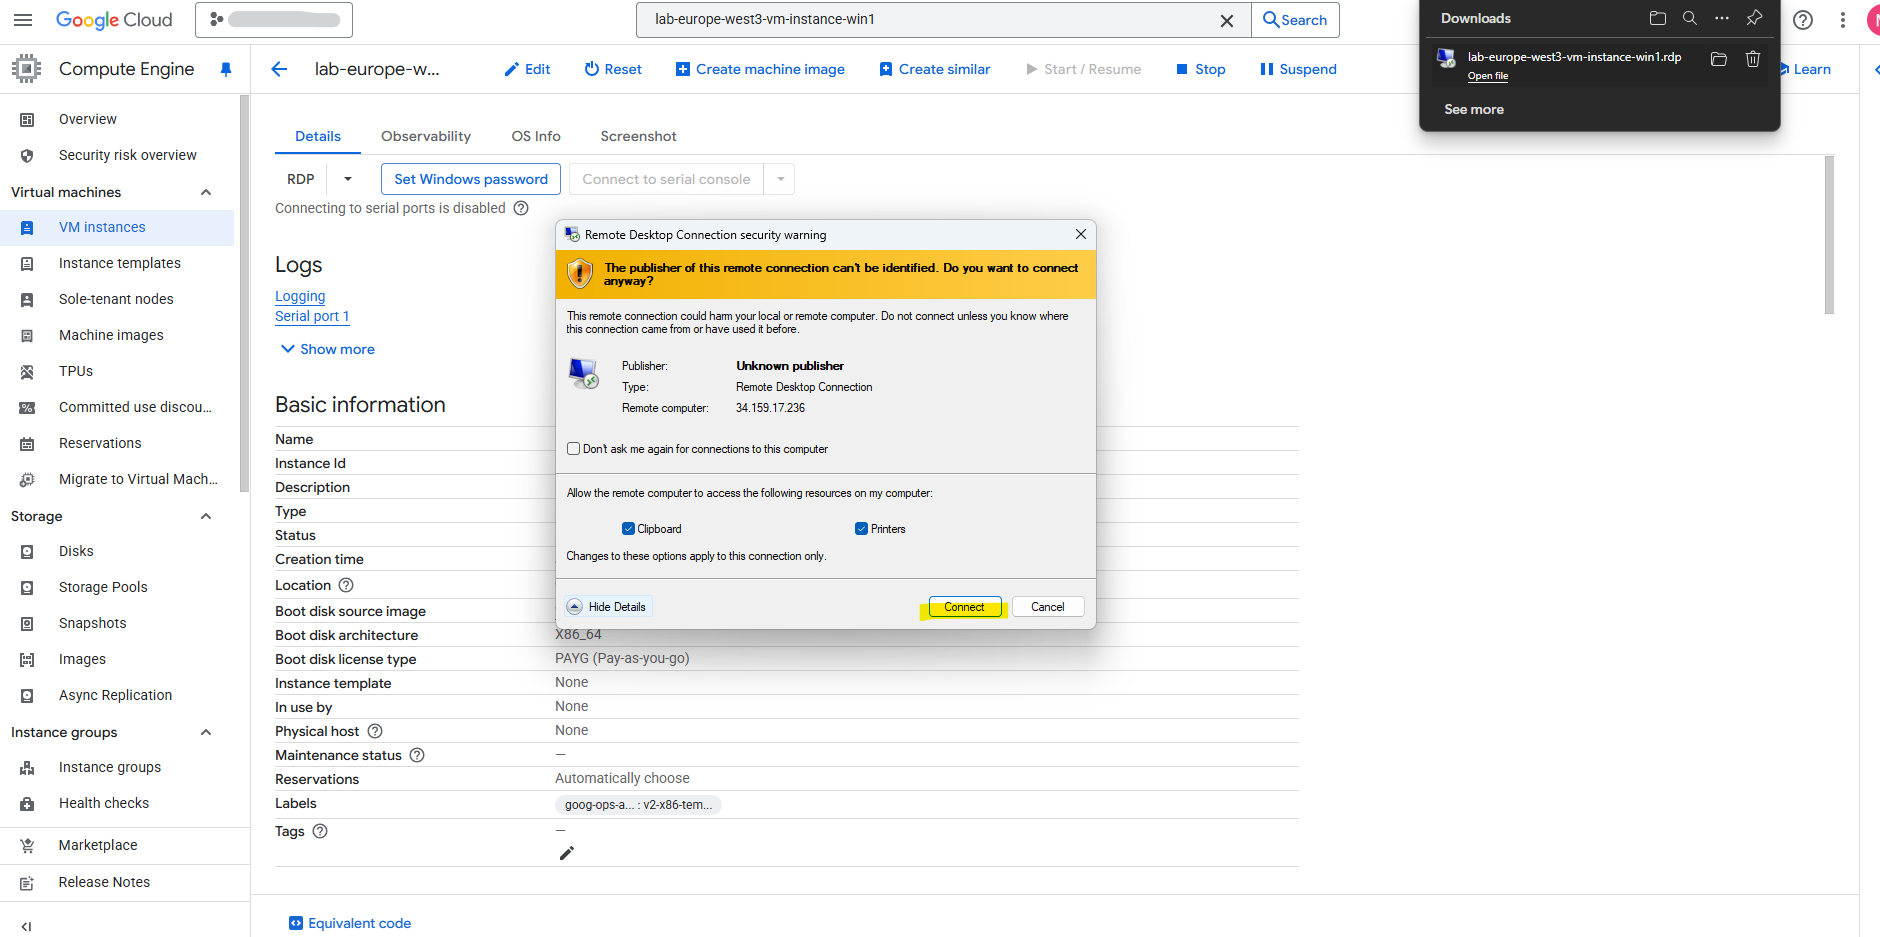
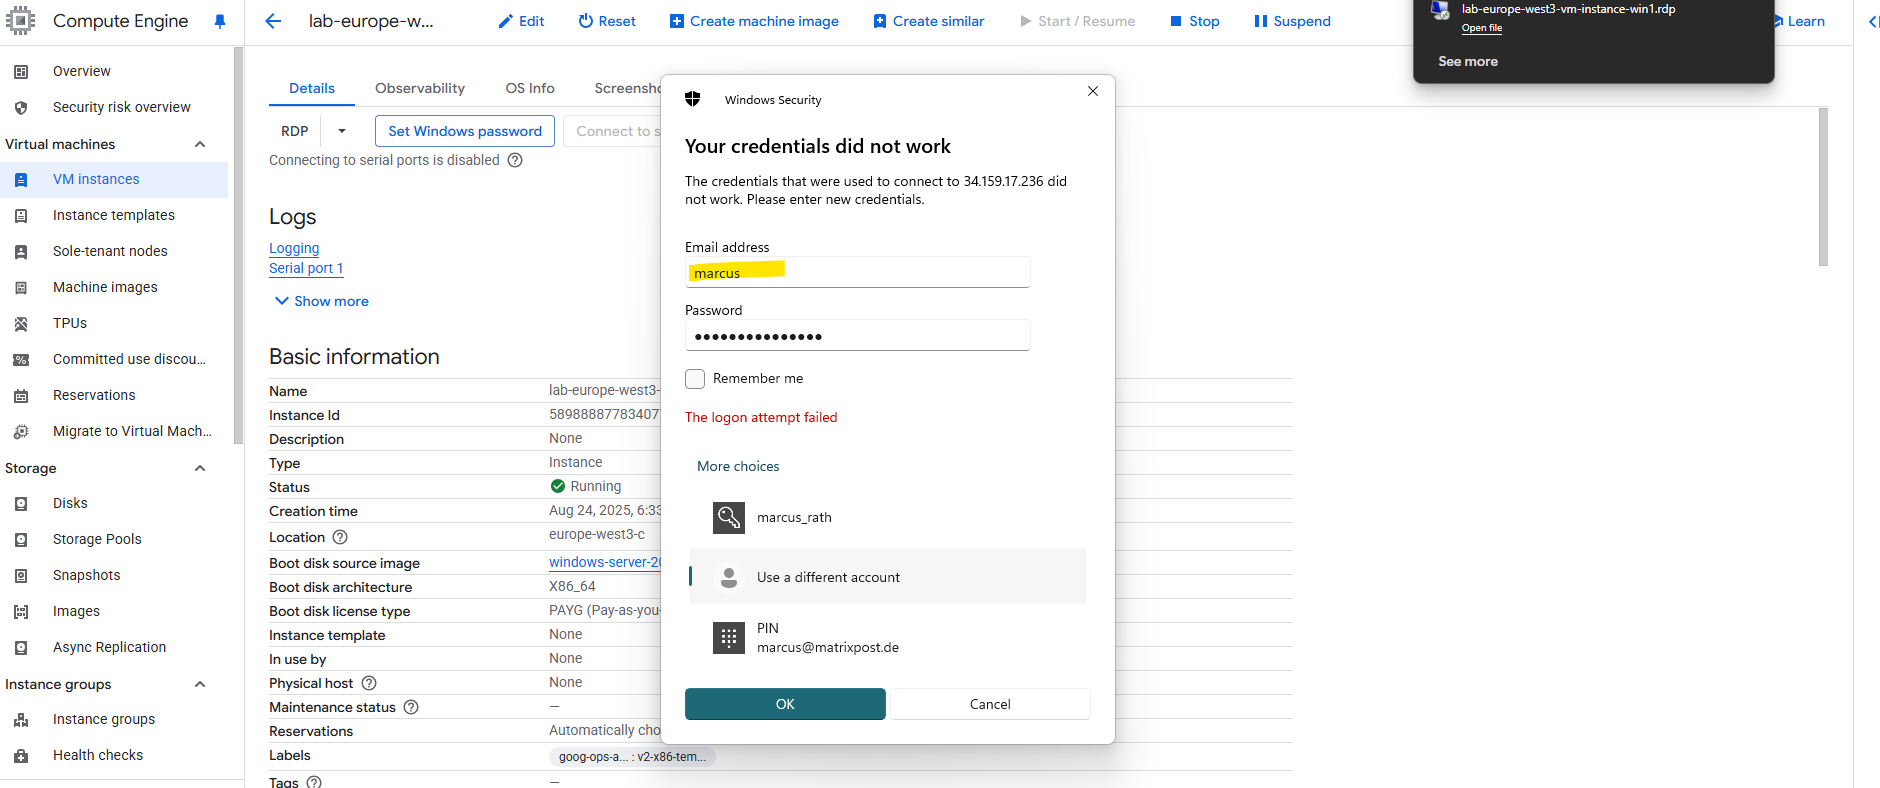
By downloading the RDP file already the public IP address and username is set and we just need to click on Connect.
Unfortunately here the first proposed username by default will be set, so in case we changed this, we need to click on More choices to change the username.
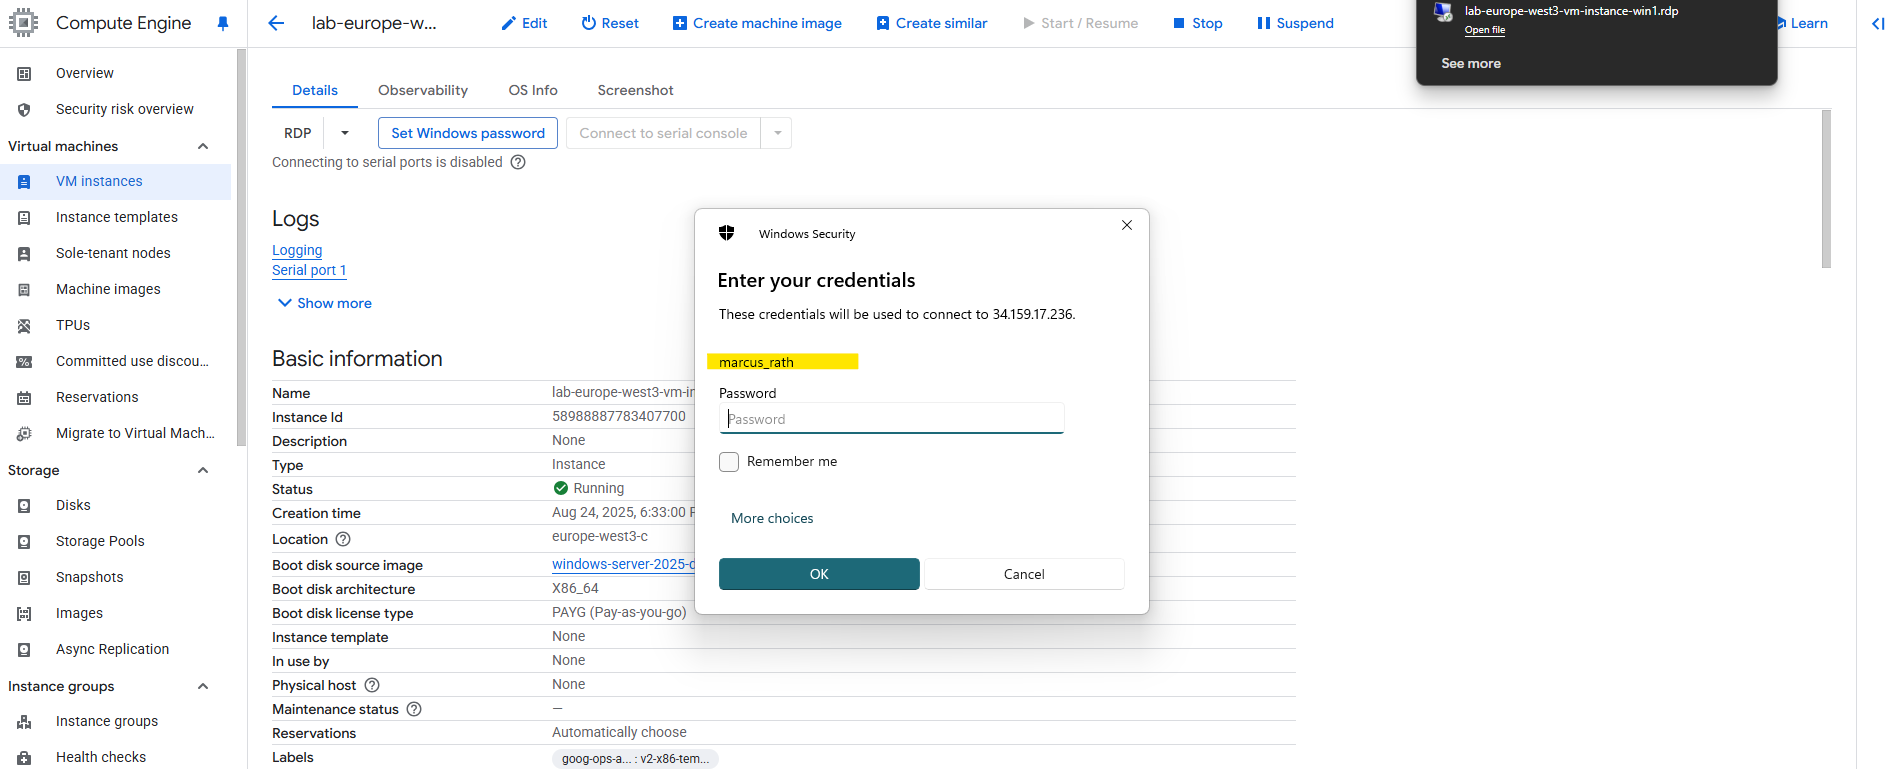
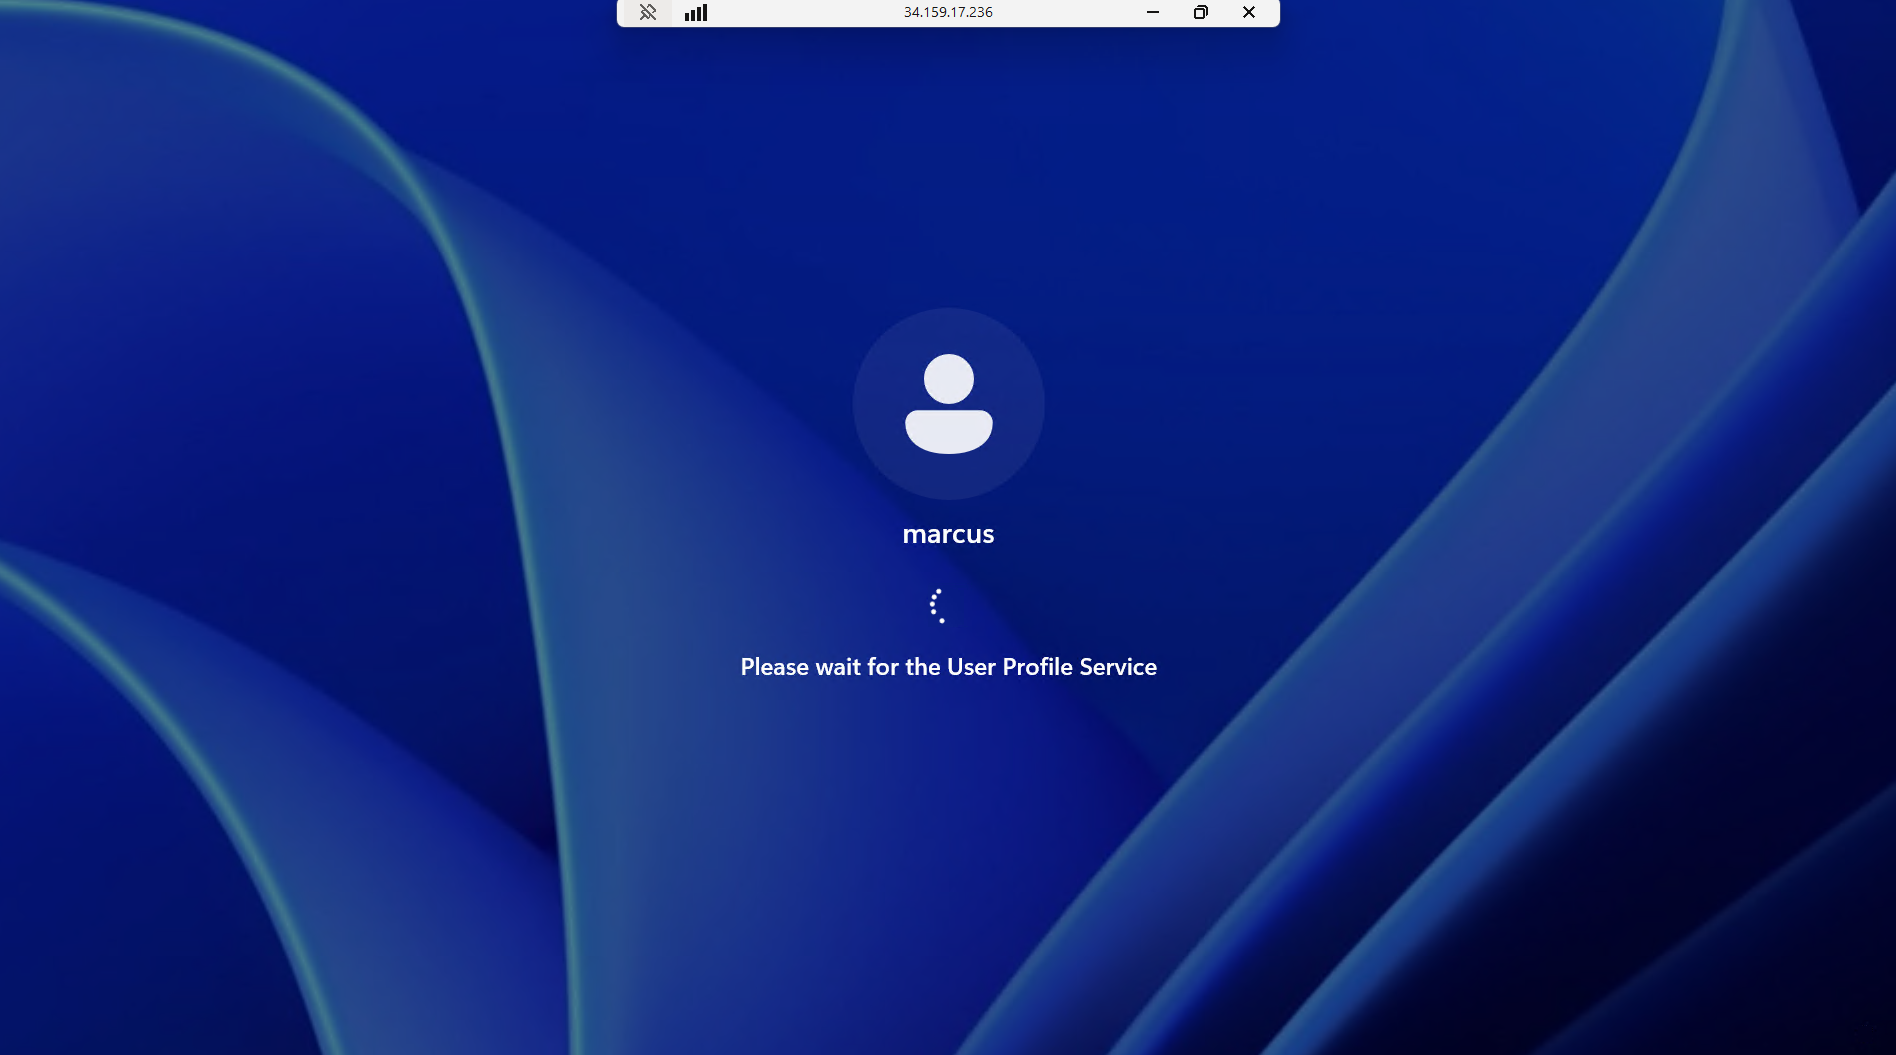
Looks good now.
Connect to Windows VMs using SSH
By default, Compute Engine uses custom project and/or instance metadata to configure SSH keys and to manage SSH access.
All Windows VMs use metadata to manage SSH keys, while Linux VMs can use metadata keys or OS Login. If you use OS Login, metadata SSH keys are disabled.
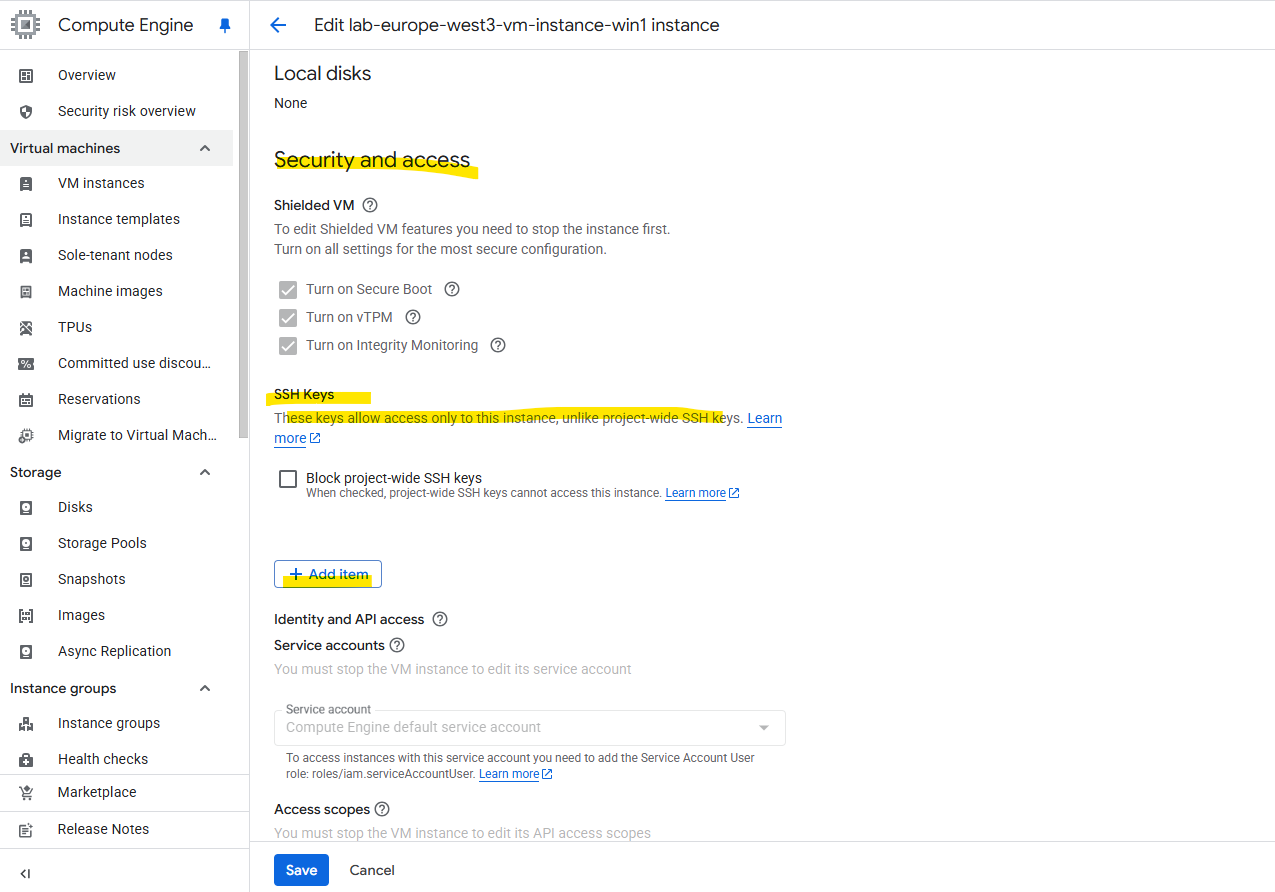
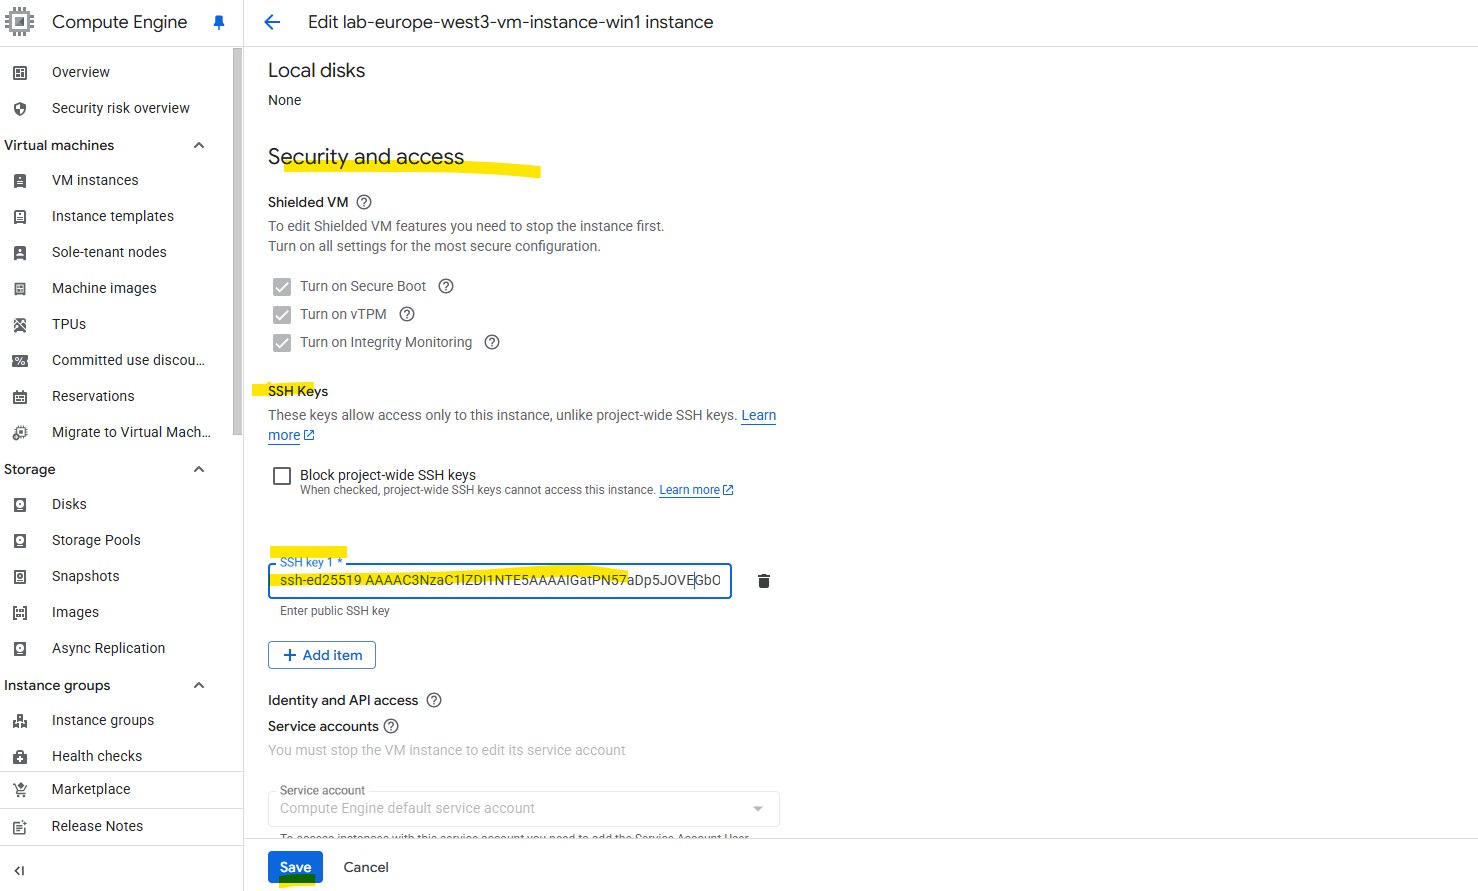
I will now also upload my public SSH key to this virtual machine instance. On the virtual machine instance click on Edit, scroll down to the Security and access section and here under SSH Keys click on + Add item as shown below.
Click on Save.
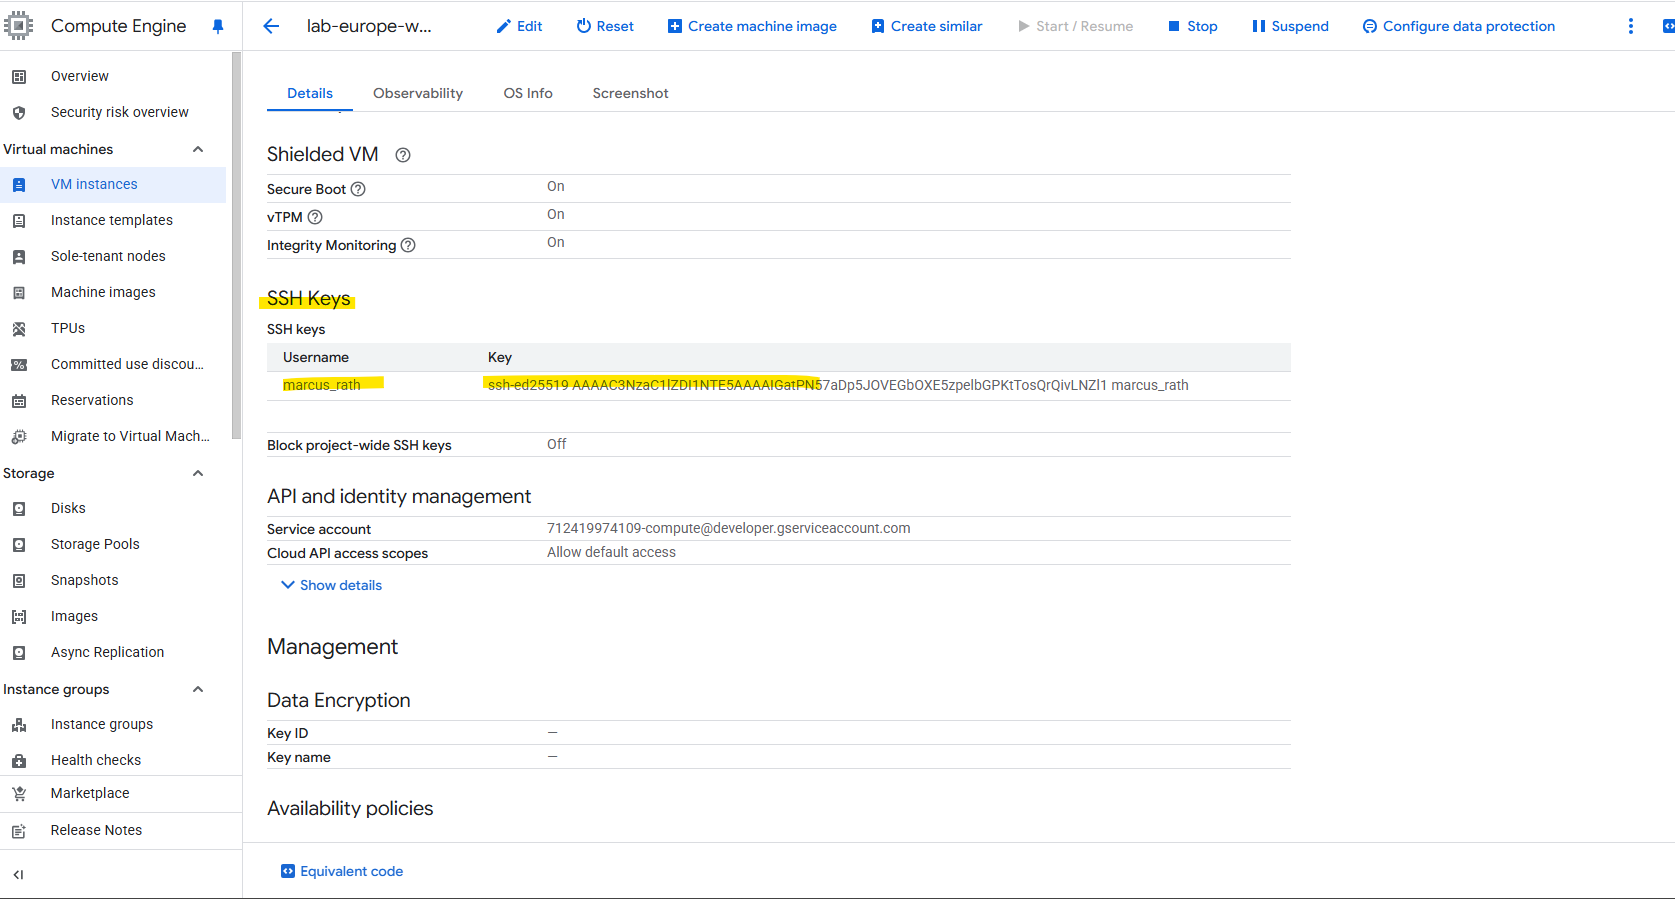
When we add a public SSH key to your Windows VM’s metadata in the GCP Console, the key is not stored directly on the machine’s file system like it would be on Linux.
So we didn’t find any local authorized_keys file under C:\Users\<username>\.ssh\authorized_keys.
Metadata Storage: Our public key is stored in the instance metadata or project metadata on the Google Cloud platform itself. This is a central, secure key-value store for our VM’s configuration.
Our Windows VM has a pre-installed component called the Google Compute Engine Windows Guest Agent. This agent is constantly running in the background.
When we attempt to connect via SSH, the agent intercepts the connection request. It then checks our public key against the keys stored in the metadata. If it finds a match, it dynamically provisions a Windows user account and authenticates our session, allowing us to connect without ever needing a local authorized_keys file.
SSH for Windows is supported on Windows Server images running the guest agent (GCEGuestAgent) version 20220527.00 or later and OpenSSH version 8.6 or later.
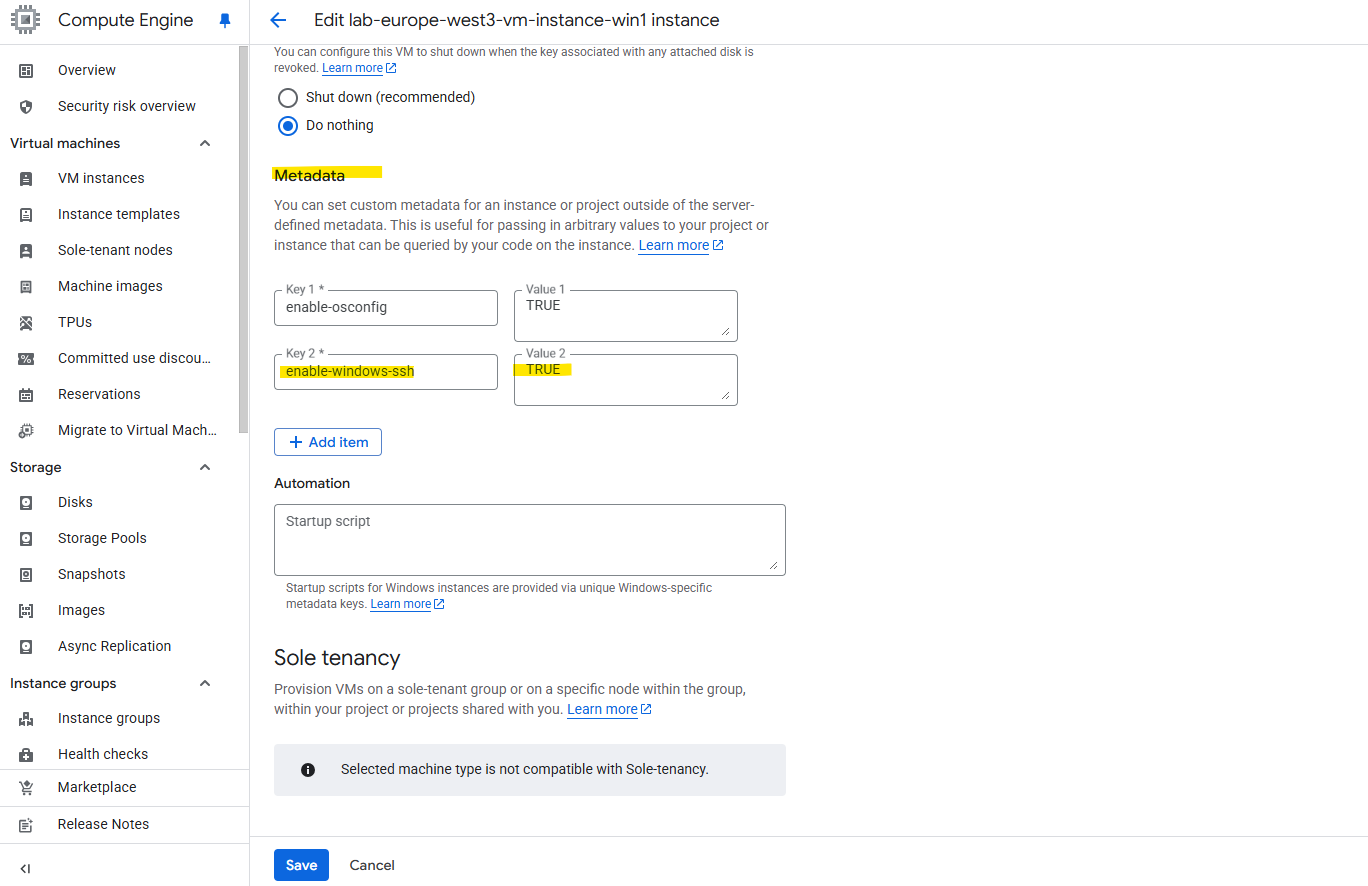
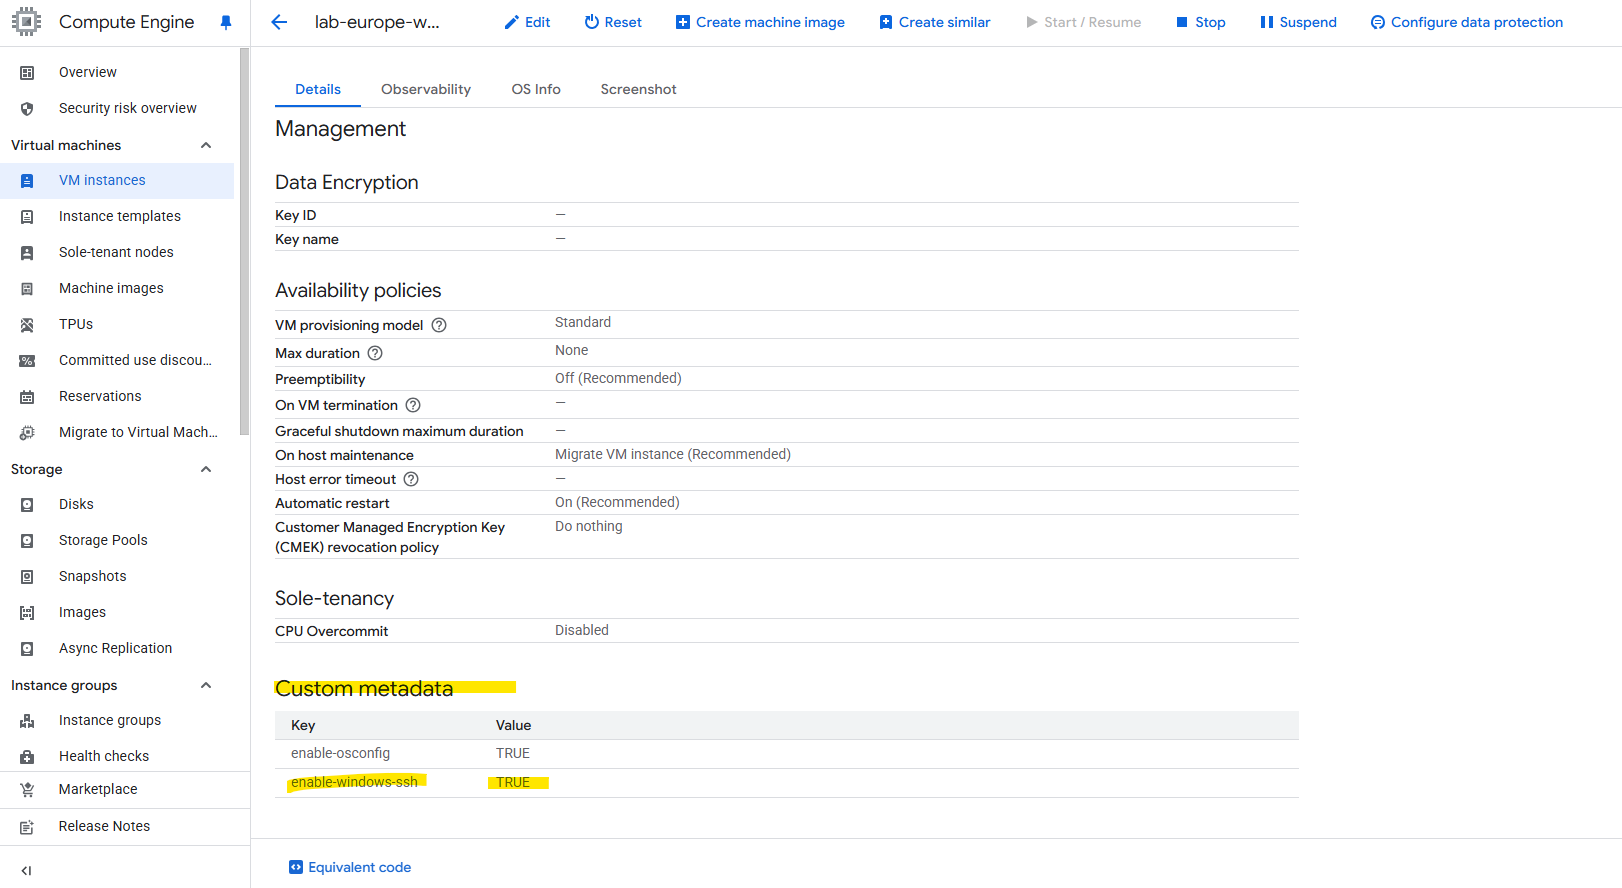
To enable SSH connections to Windows VMs, install the google-compute-engine-ssh package and set the enable-windows-ssh key to TRUE in project or instance metadata. Enabling SSH for Windows in project metadata enables SSH for all Windows VMs in your project.
Enabling SSH for Windows in instance metadata enables SSH for a single VM and overrides the value set in project metadata.
Under Metadata add the key enable-windows-ssh and under value TRUE.
To enable SSH on a running Windows VM, connect to it by using RDP, then download and install the SSH package as shown below.
Enable SSH for Windows while creating a VM
https://cloud.google.com/compute/docs/connect/windows-ssh#create_vm
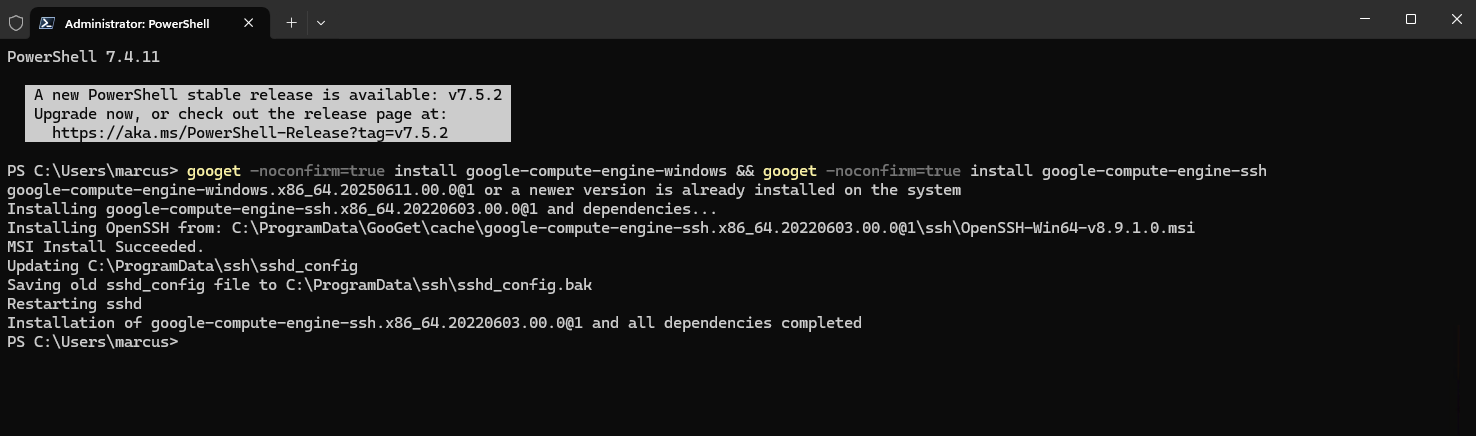
Download and install the google-compute-engine-ssh package by running the following command:
PS> googet -noconfirm=true install google-compute-engine-windows && googet -noconfirm=true install google-compute-engine-ssh
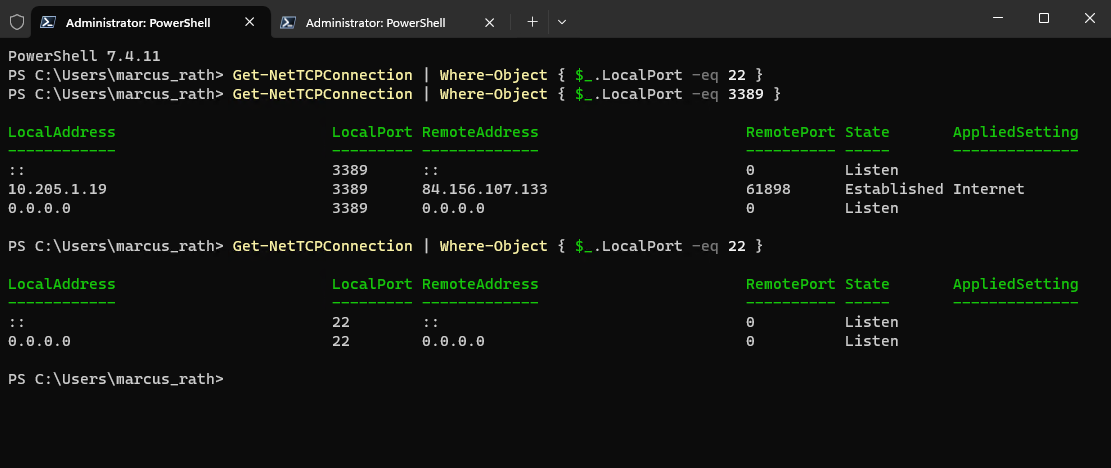
PS> Get-NetTCPConnection | Where-Object { $_.LocalPort -eq 22 }Below a screenshot from a different Windows virtual machine, before installing the google-compute-engine-ssh package we will see, that the virtual machine is just listening on TCP 3389 for RDP but we didn’t see any TCP 22 port for SSH is listening.
After installing it the second try shows now the machine is listening also on TCP port 22 for inbound SSH connections.
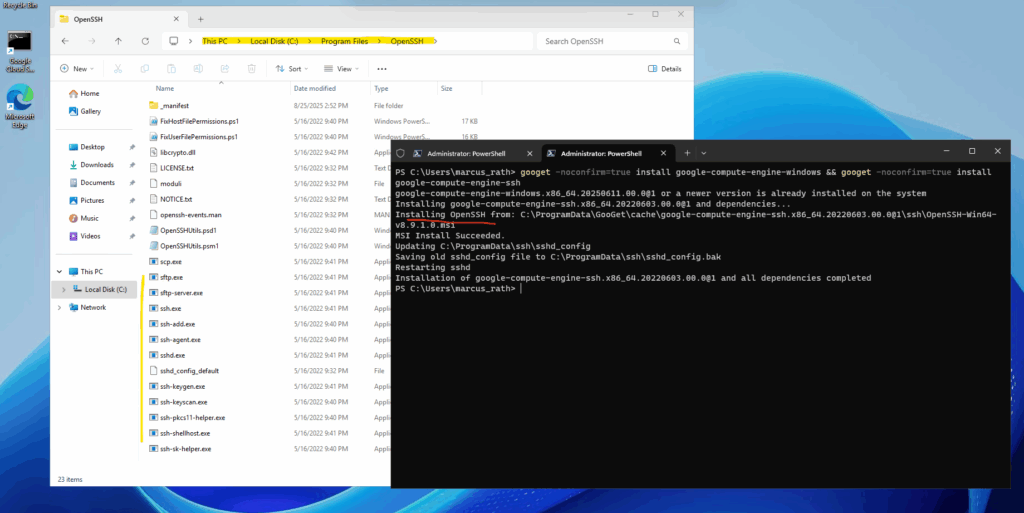
Further we will see that the ssh config is stored under C:\ProgramData\ssh.

The binaries are installed under C:\Program Files\OpenSSH.
Connect to the VM using SSH from the Google Cloud CLI
When connecting to our VM from the Google Cloud CLI by using the gcloud compute ssh command like below, we’re not using the SSH key that we manually generated and added to the instance’s metadata.
This we just need when connecting from outside the Google Cloud CLI like when using the PowerShell from a remote computer like shown further down.
When using the Google Cloud CLI, the very first time we use the gcloud compute ssh command on a new computer, it automatically checks for a key pair.
If it doesn’t find one, it generates a new 2048-bit RSA key pair for us. This key pair is stored in your local user’s .ssh/ directory, specifically in files named google_compute_engine (the private key) and google_compute_engine.pub (the public key).

$ gcloud compute ssh [INSTANCE_NAME] --zone=[ZONE]
$ gcloud compute ssh lab-europe-west3-vm-instance-win1 --zone=europe-west3-c
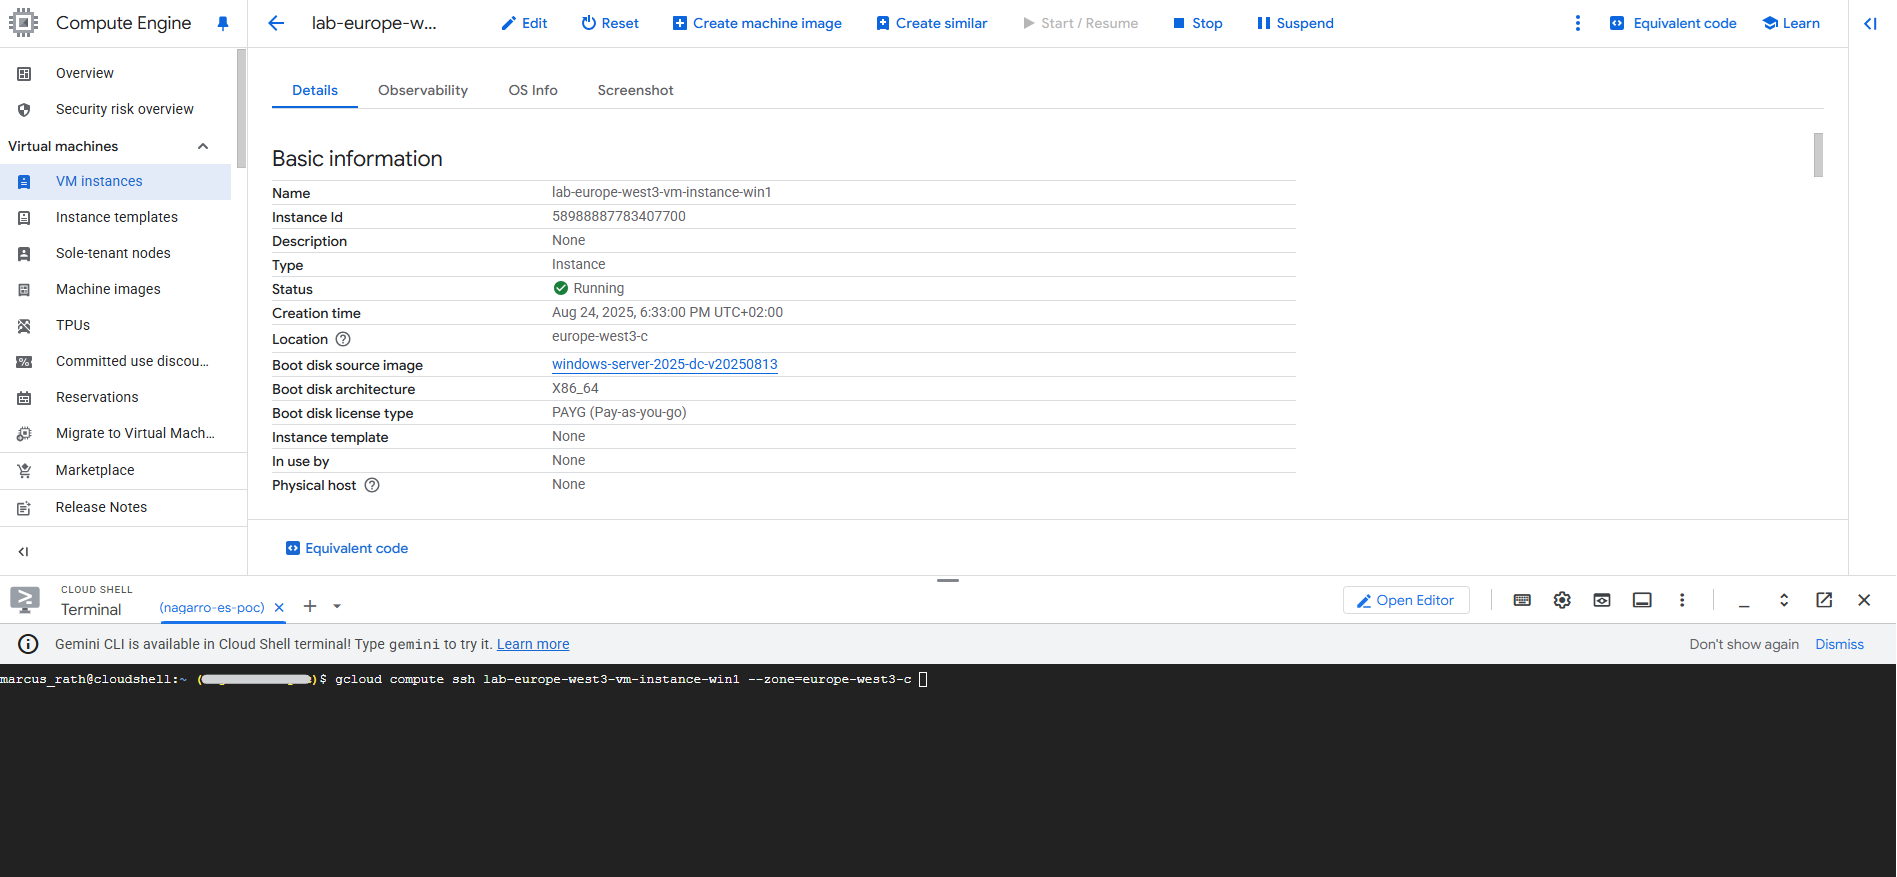
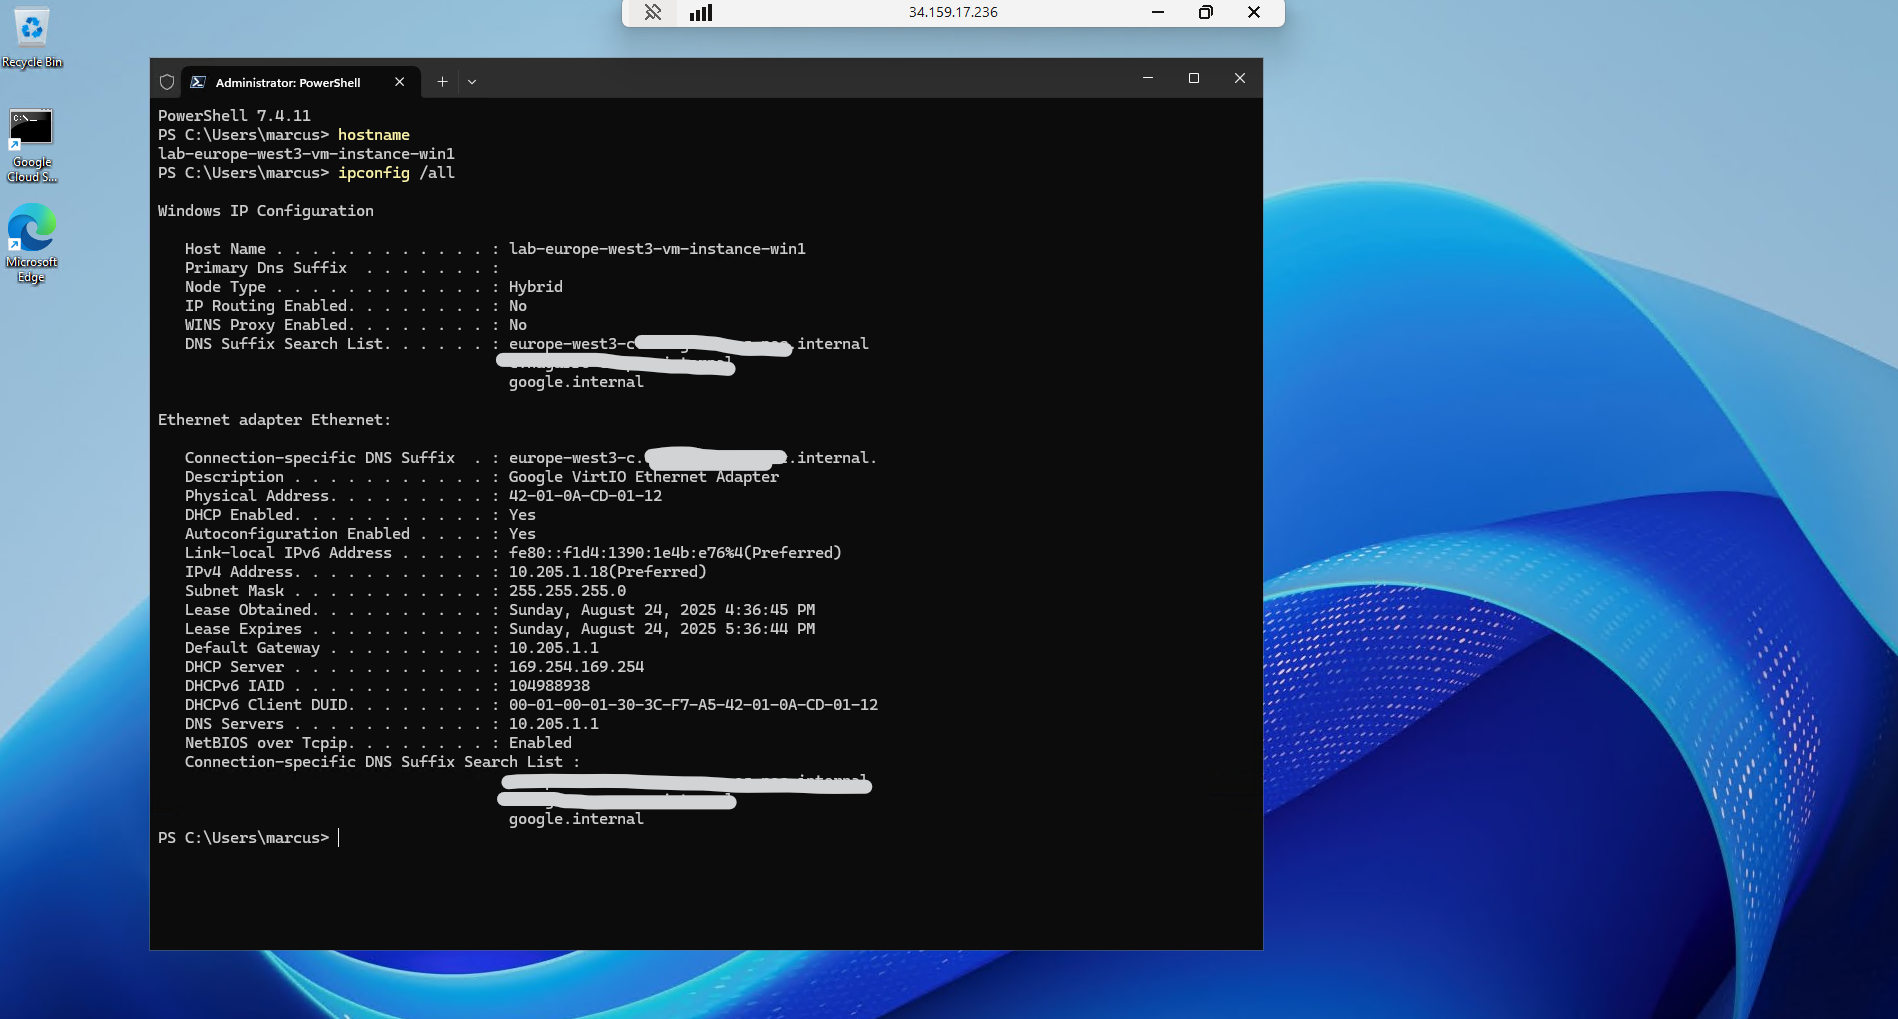
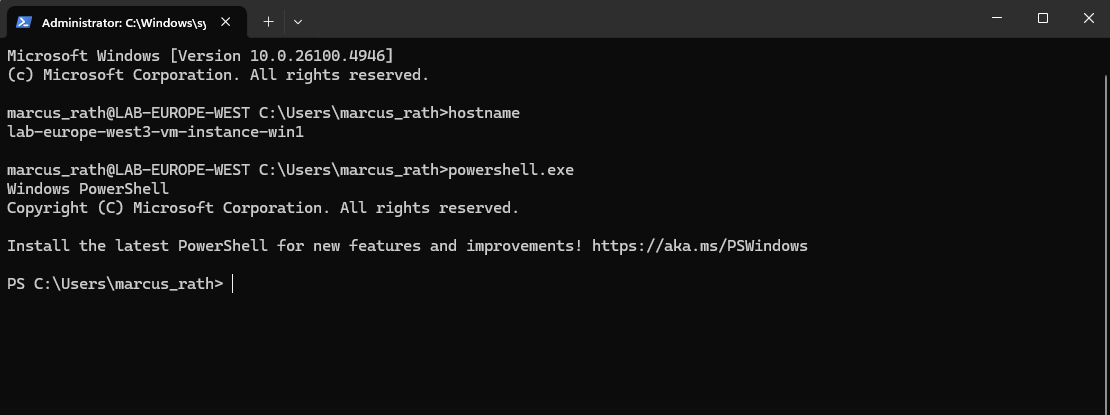
We are now connected to the CMD of our Windows machine.

From the CMD we could also start a new PowerShell session by just running.
> powershell.exe

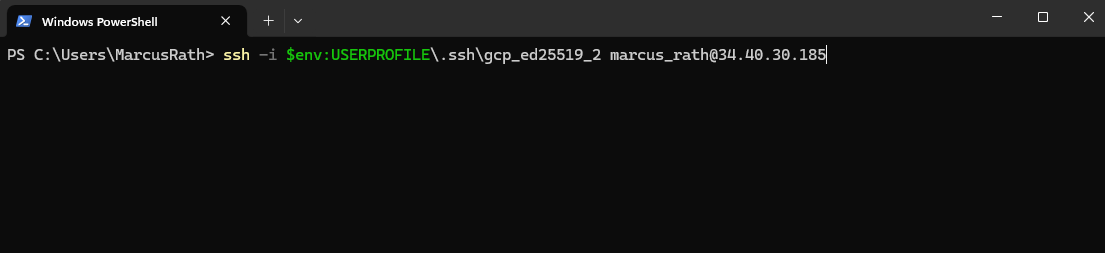
Connect to the VM using SSH from Remote (e.g. PowerShell)
As mentioned, we can also connect to our Windows virtual machine instance from remote by using SSH.
Therefore we need to use our previously and manually generated SSH key that we and added to the instance’s metadata.
Connect to the VM from remote.
PS> ssh -i $env:USERPROFILE\.ssh\<private SSH key file> <username>@<IP address or FQDN>
PS> ssh -i $env:USERPROFILE\.ssh\gcp_ed25519 marcus_rath@34.40.30.185
We can also start from the CMD a new PowerShell session.
Connect to Serial Console
For Google Cloud GCP virtual machine instances you doesn’t have a real GUI console like for Hyper-V or vSphere in on-premises environments. In case you need to troubleshoot your virtual machine and are not able to connect to anymore by using RDP or SSH, you can still access it by using the serial console.
A virtual machine (VM) instance has four virtual serial ports. Interacting with a serial port is similar to using a terminal window, in that input and output is entirely in text mode and there is no graphical interface or mouse support. The instance’s operating system, BIOS, and other system-level entities often write output to the serial ports, and can accept input such as commands or answers to prompts.
Source: https://cloud.google.com/compute/docs/troubleshooting/troubleshooting-using-serial-console
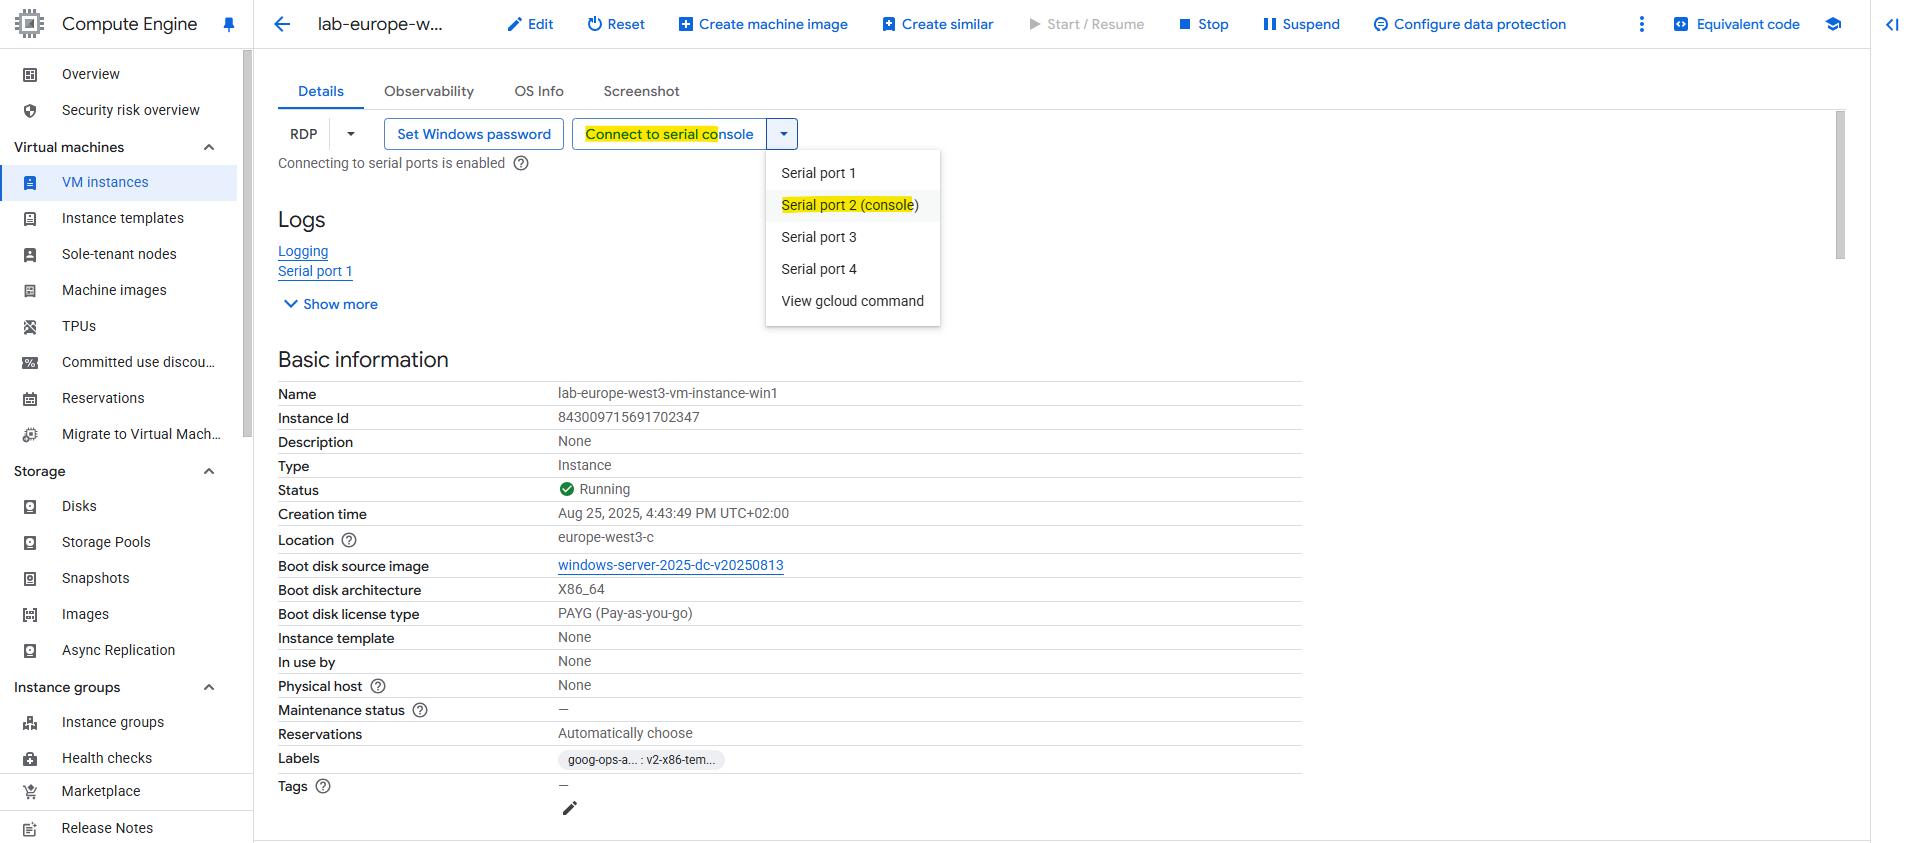
We first need to enable connecting to serial ports. Therefore click on Edit on the virtual machine instance you want to enable it and check the Enable connecting to serial ports as shown below.

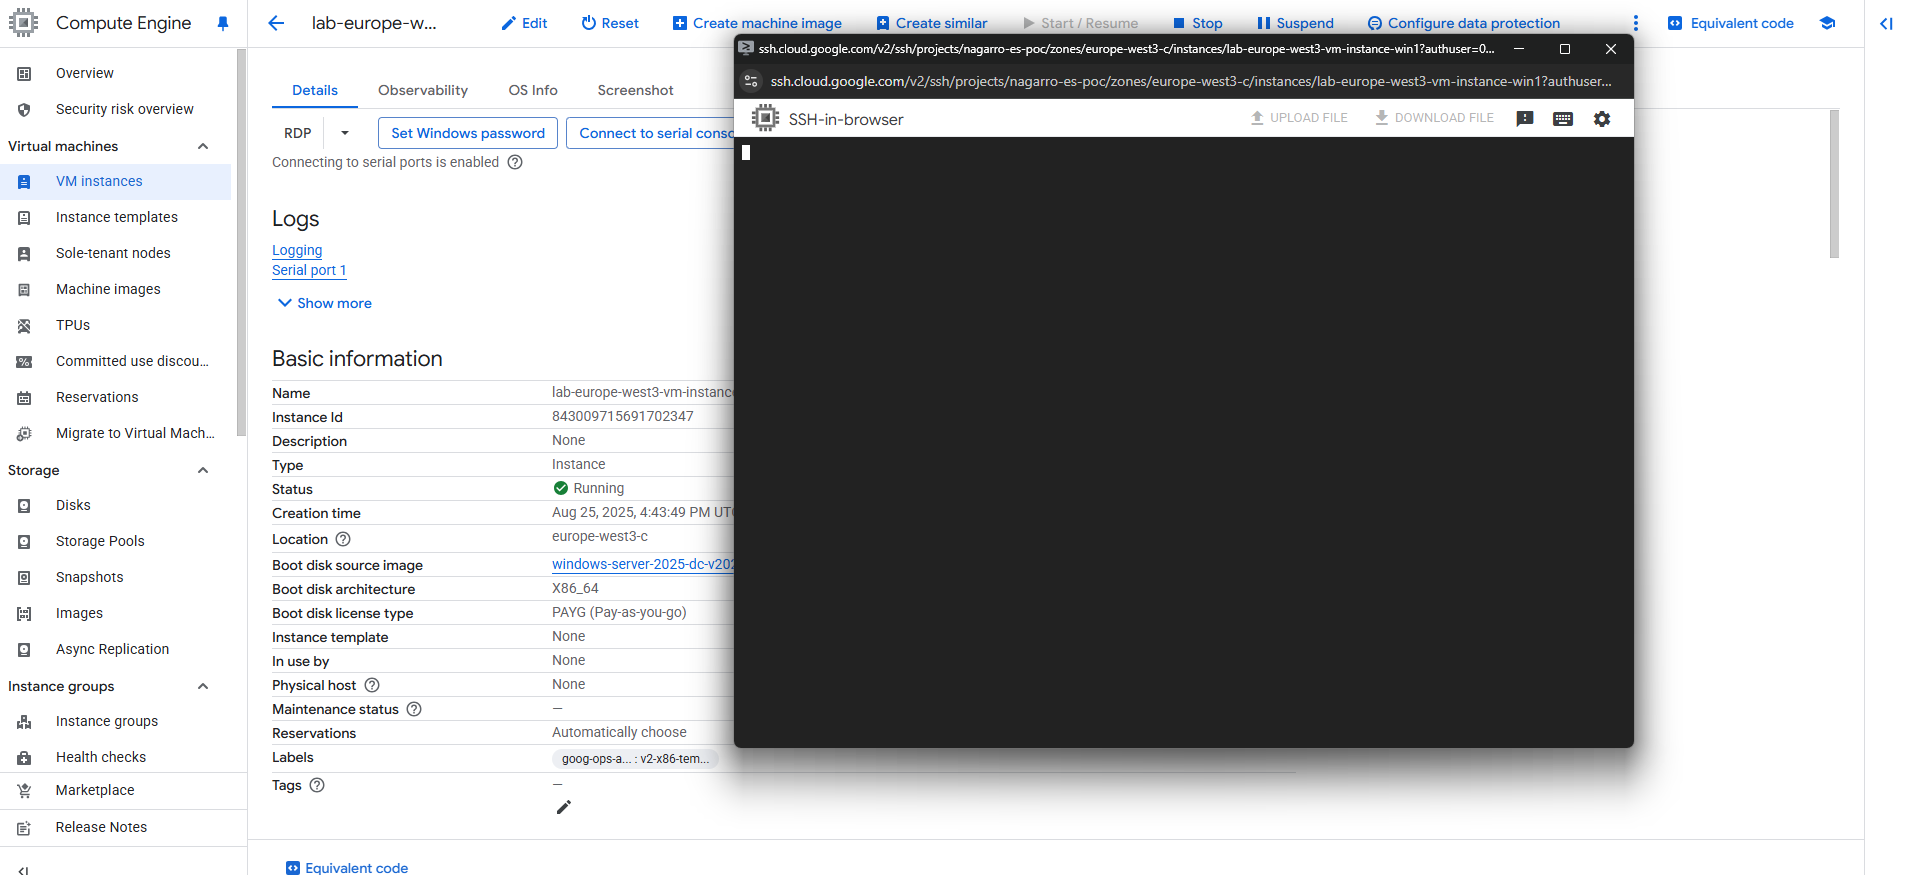
Click on Connect to serial console -> and select the entry with (console) in brackets.

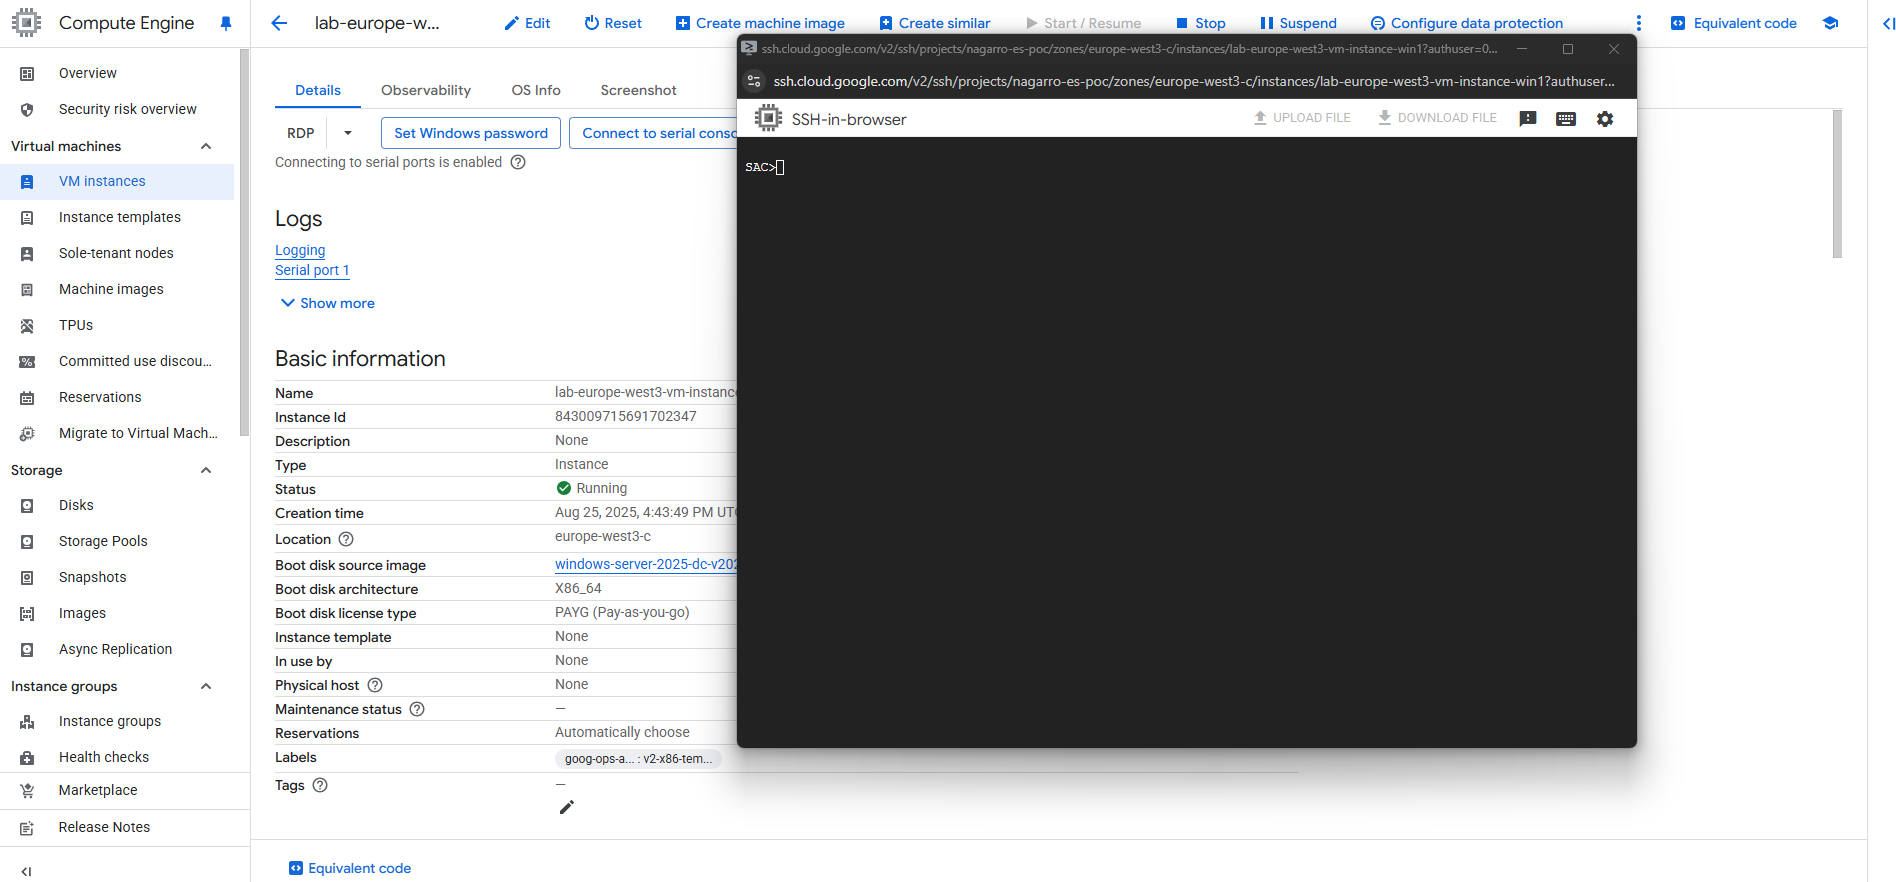
Just hit the enter key to get into the Special Administration Console (SAC).
SAC is an operating system component that runs in kernel mode and displays the following prompt when you establish an out-of-band connection to a computer that is running Emergency Management Services:
SAC>
In addition to providing a variety of commands that support remote management, SAC provides access to the Windows command prompt and to Setup logs. When you use SAC, you can create multiple user sessions or channels and switch among them so that you can use SAC commands while concurrently running command-line commands or viewing Setup logs.
Enter the following commands to finally open an administrator command prompt (CMD).
SAC>cmd
SAC>ch

CMD is on channel 1.  Switch to a channel by its number
SAC>ch -si 1

Press Enter to view and switch to the CMD channel.

Enter the credentials for the built-in-administrator account.
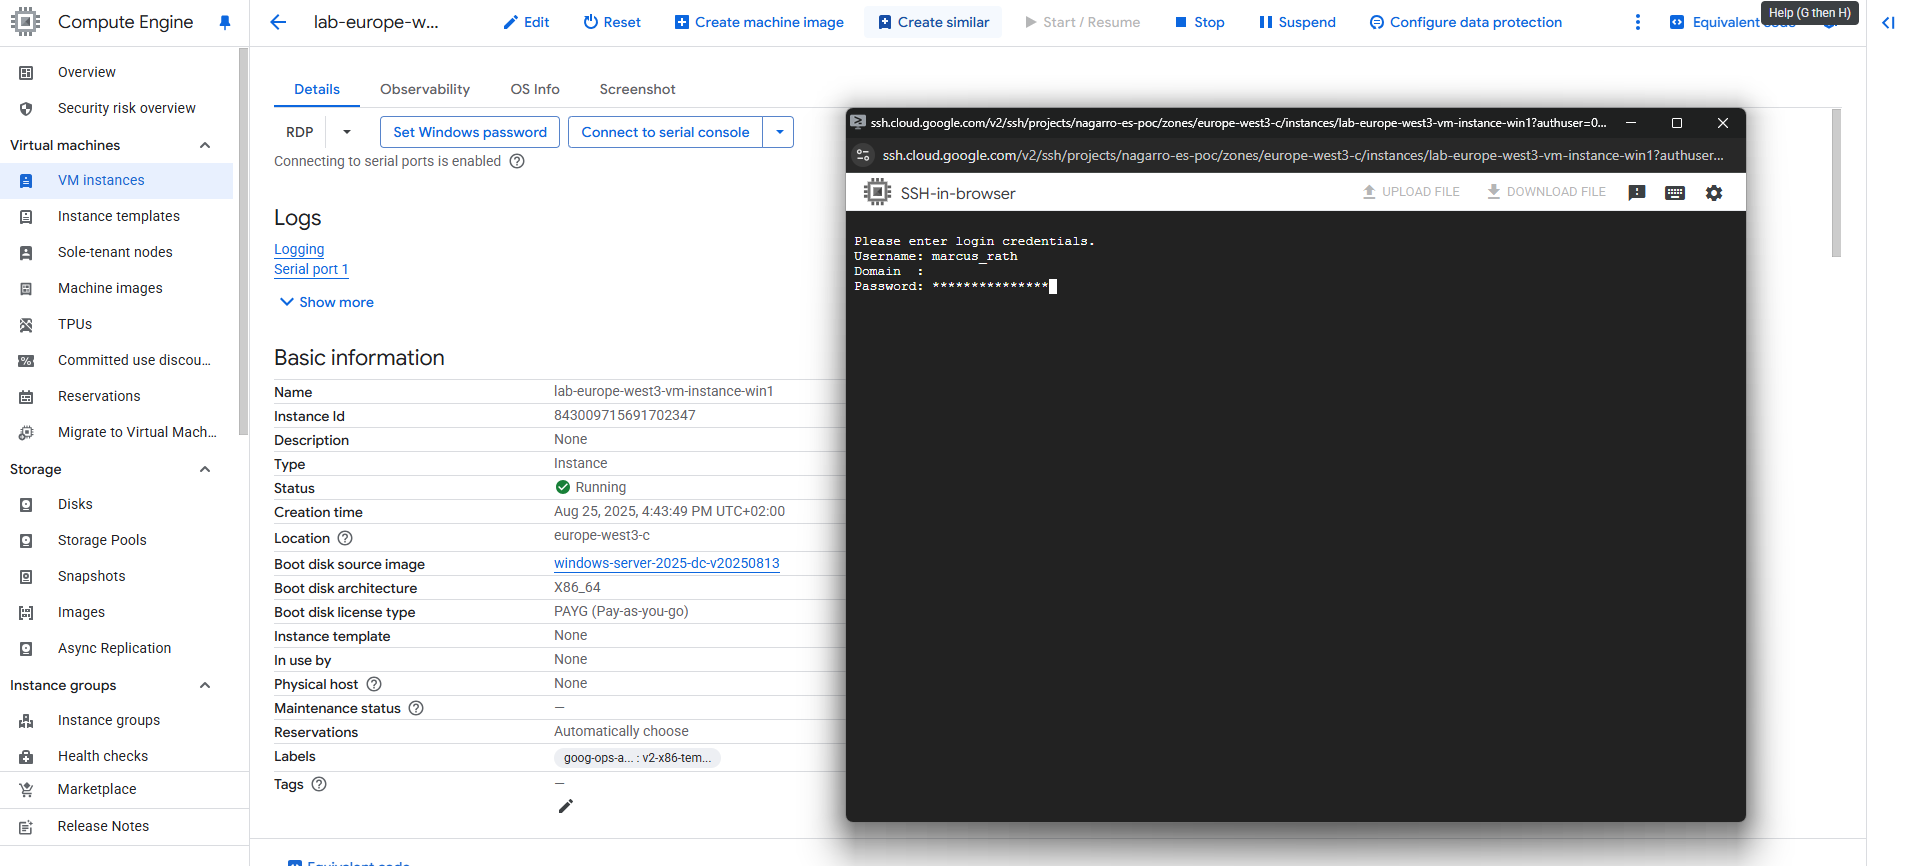
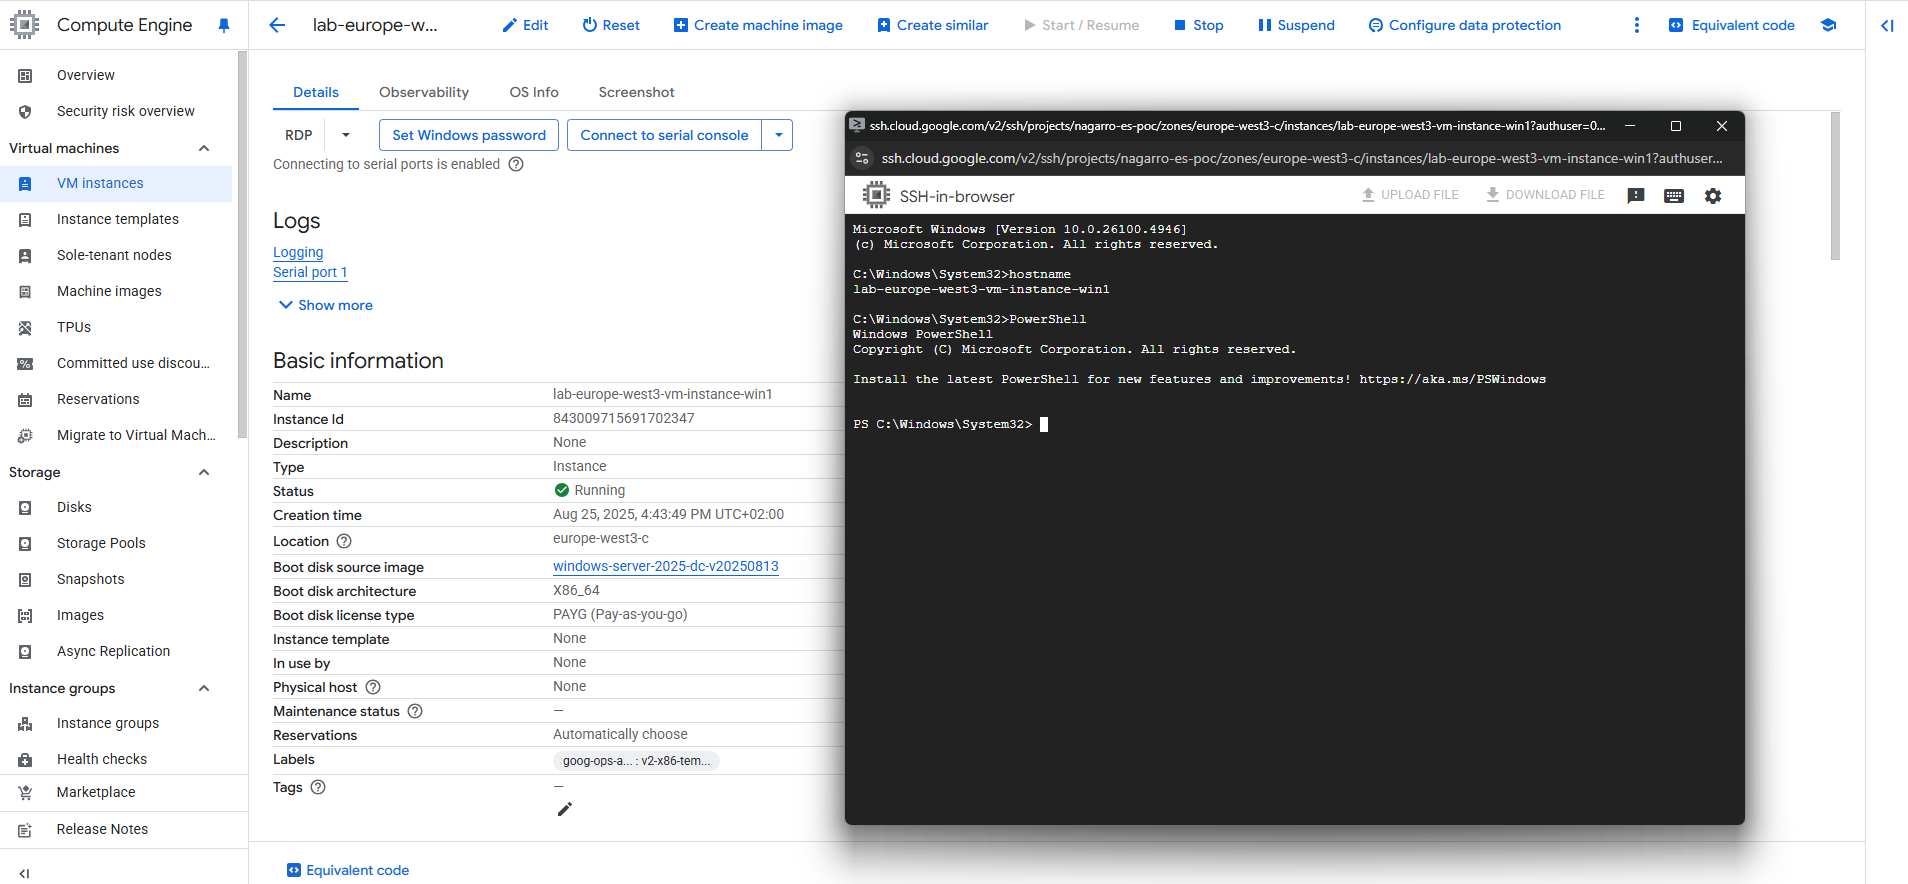
Looks good, we are now connected with an administrator command prompt (CMD) for our virtual machine.
The CMD you access via SAC is the same cmd.exe you use when connected via RDP. All the same commands and tools are available, including the ability to launch PowerShell from that CMD instance.
That is a major difference between SAC and the Windows Recovery Environment (WinRE) in that SAC is letting you manage your running OS, where WinRE boots into a different, minimal OS. While Azure VMs do not support the ability to access WinRE, with the serial console feature, Azure VMs can be managed via SAC.
Because SAC is limited to an 80×24 screen buffer with no scroll back, add | more to commands to display the output one page at a time. Use <spacebar> to see the next page, or <enter> to see the next line.
Because of SAC’s limited screen buffer, longer commands may be easier to type out in a local text editor and then pasted into SAC.

So from here we can also start a PowerShell instance by just enter PowerShell in the CMD instance and press Enter.
About the Serial Console and Special Administration Console (SAC) on Windows, you can also read my following post.
In Part 4 we will see how GCP will encrypt the virtual disks of virtual machine instances.
Further we will see how to export a disk from Google Cloud Platform (GCP) which lets us move VM data into on-premises environments like VMware vSphere.
Links
Connect to Windows VMs using RDP
https://cloud.google.com/compute/docs/instances/connecting-to-windowsConnect to Windows VMs using SSH
https://cloud.google.com/compute/docs/connect/windows-sshMetadata-managed SSH connections
https://cloud.google.com/compute/docs/instances/sshAdd SSH keys to VMs
https://cloud.google.com/compute/docs/connect/add-ssh-keys