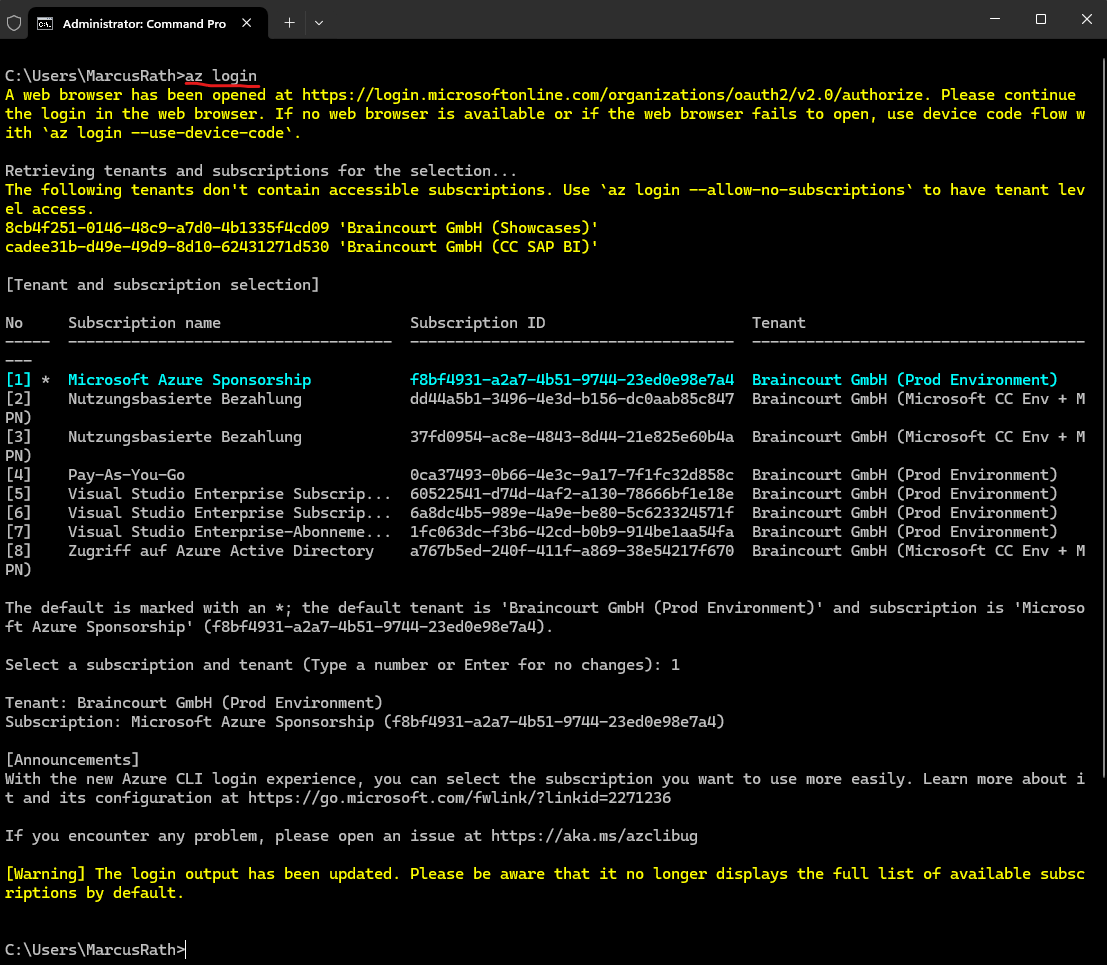
Set up Azure Bastion
About how to use Azure Key Vault stored passwords in Azure Bastion you will see in my following post.
Architecture
How it works under the hood
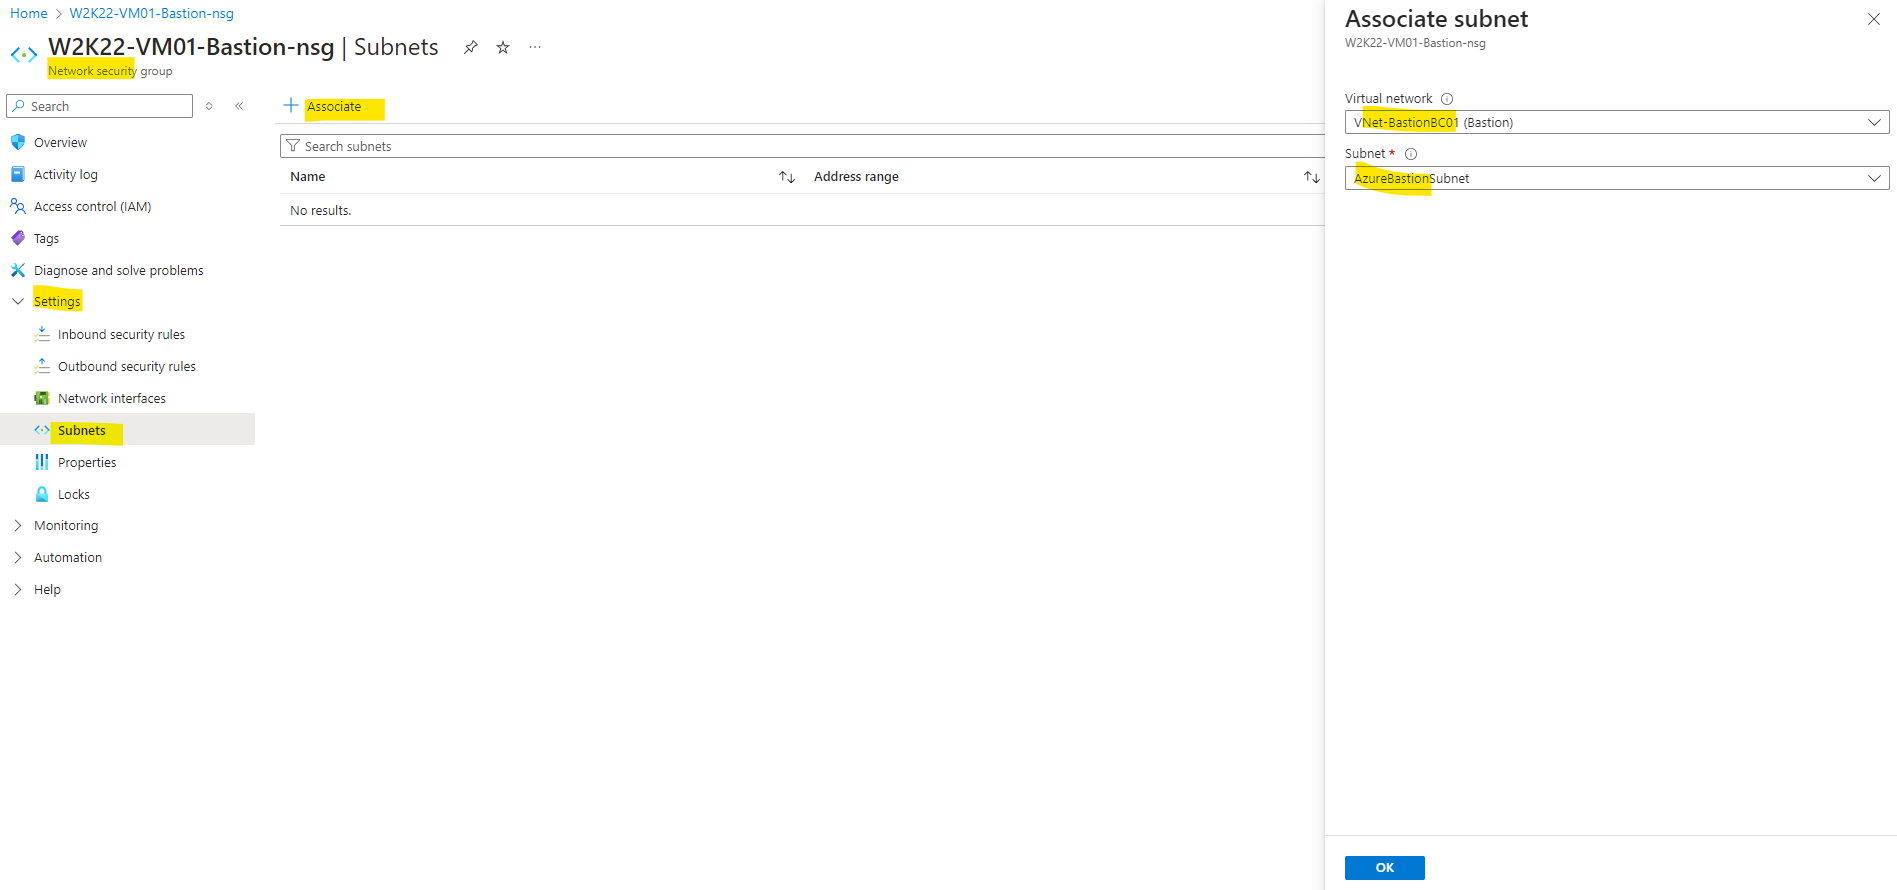
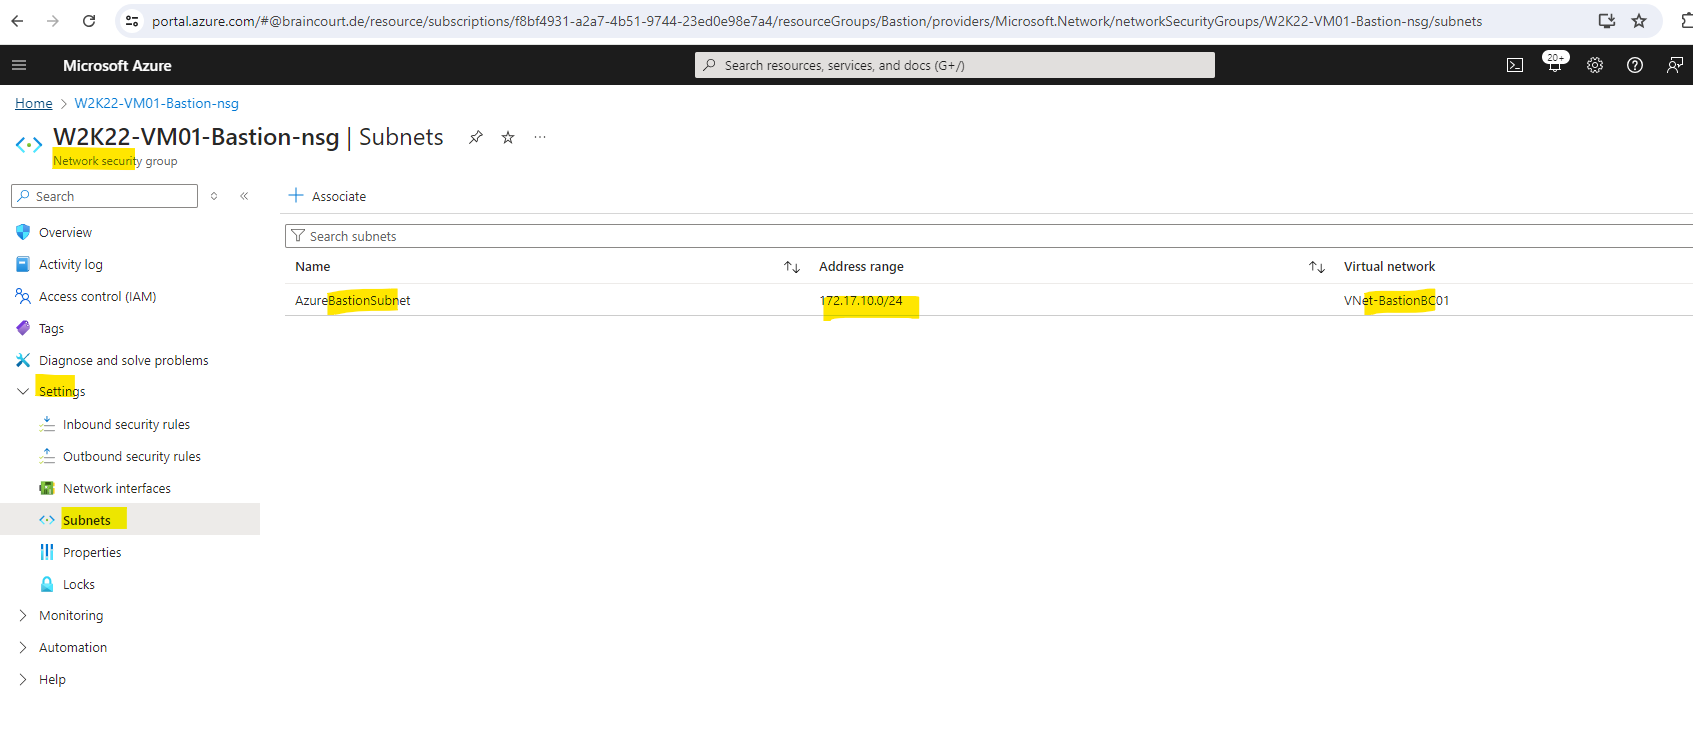
You deploy Bastion into a subnet named AzureBastionSubnet in your VNet. It spins up managed VMs (you don’t see them directly just a managed service) that handle the session proxying.
You log into the Azure Portal (or Azure CLI / PowerShell if using native client support). The portal uses WebSockets over HTTPS (443) to connect to the Bastion service.
All traffic is encrypted and stays on the Azure backbone, you never hit your VM’s public IP.
Bastion initiates an RDP (3389) or SSH (22) connection to the VM’s private IP inside the VNet. So from the VM’s perspective, it’s just a local LAN connection, no public internet needed.
Bastion takes the RDP/SSH session stream and tunnels/encapsulates it inside HTTPS back to your browser (or to the Azure CLI).
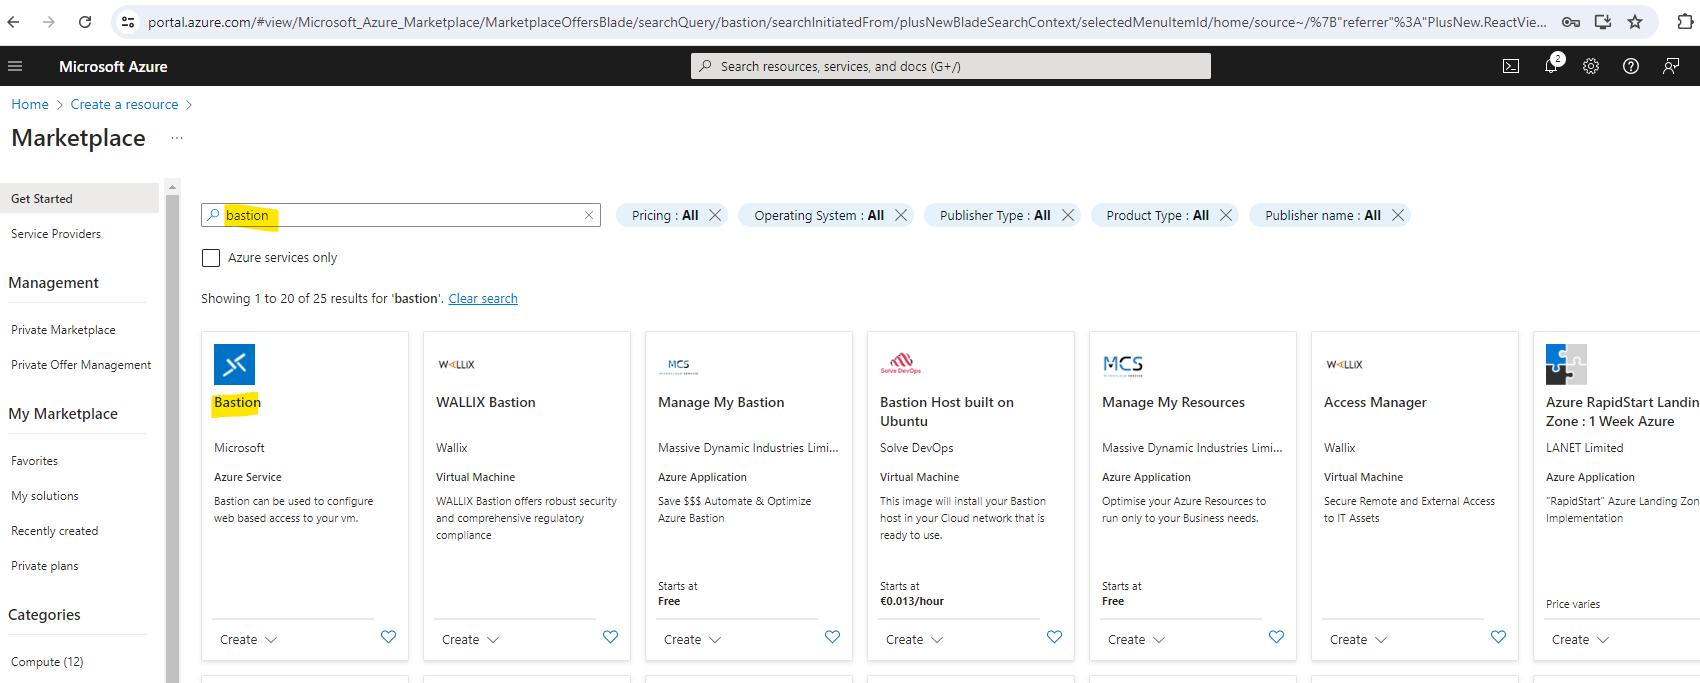
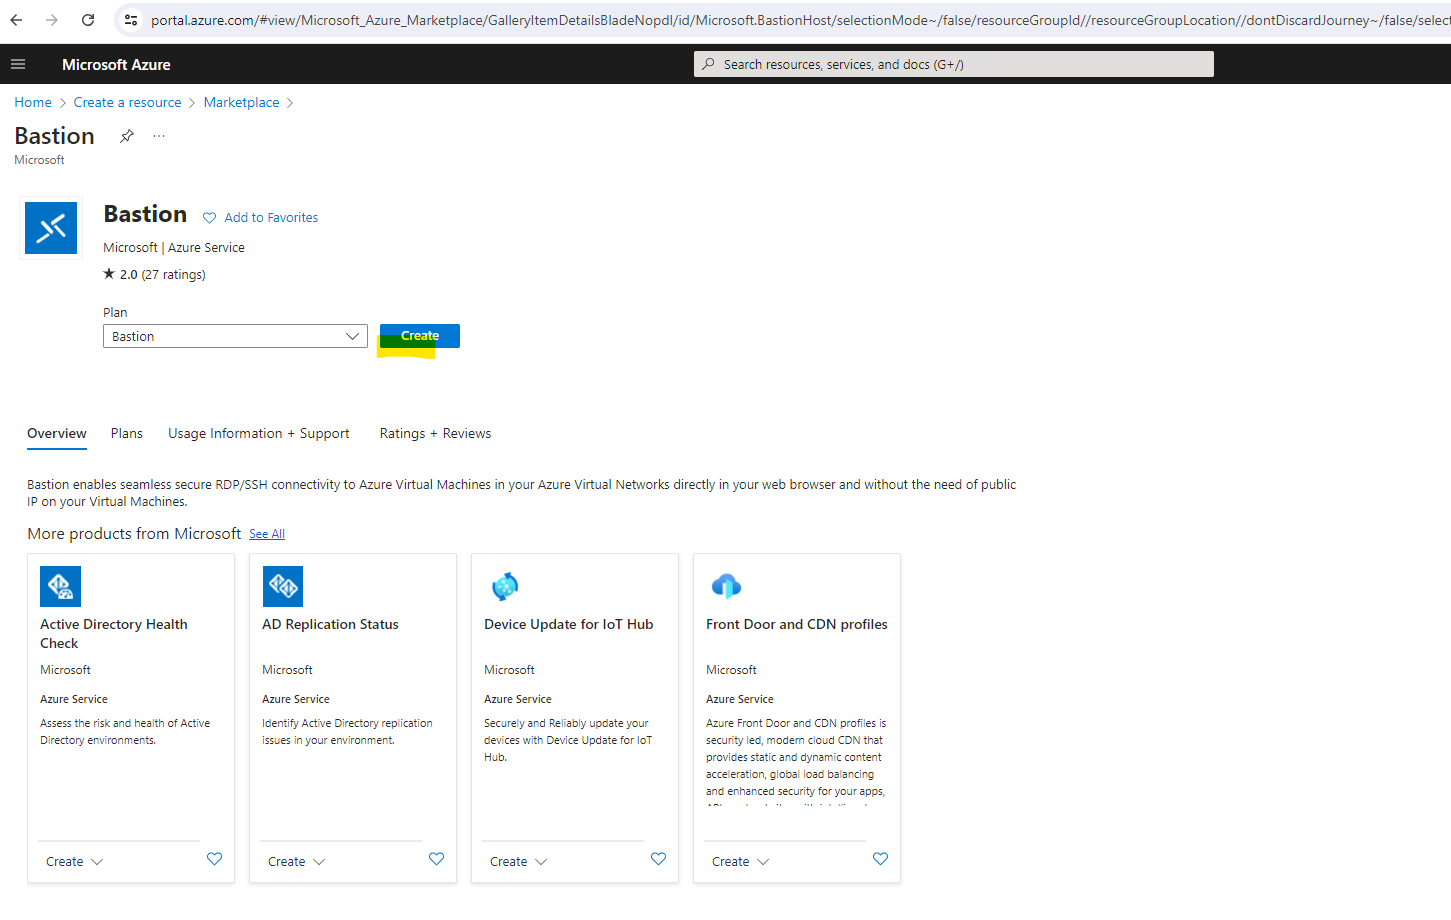
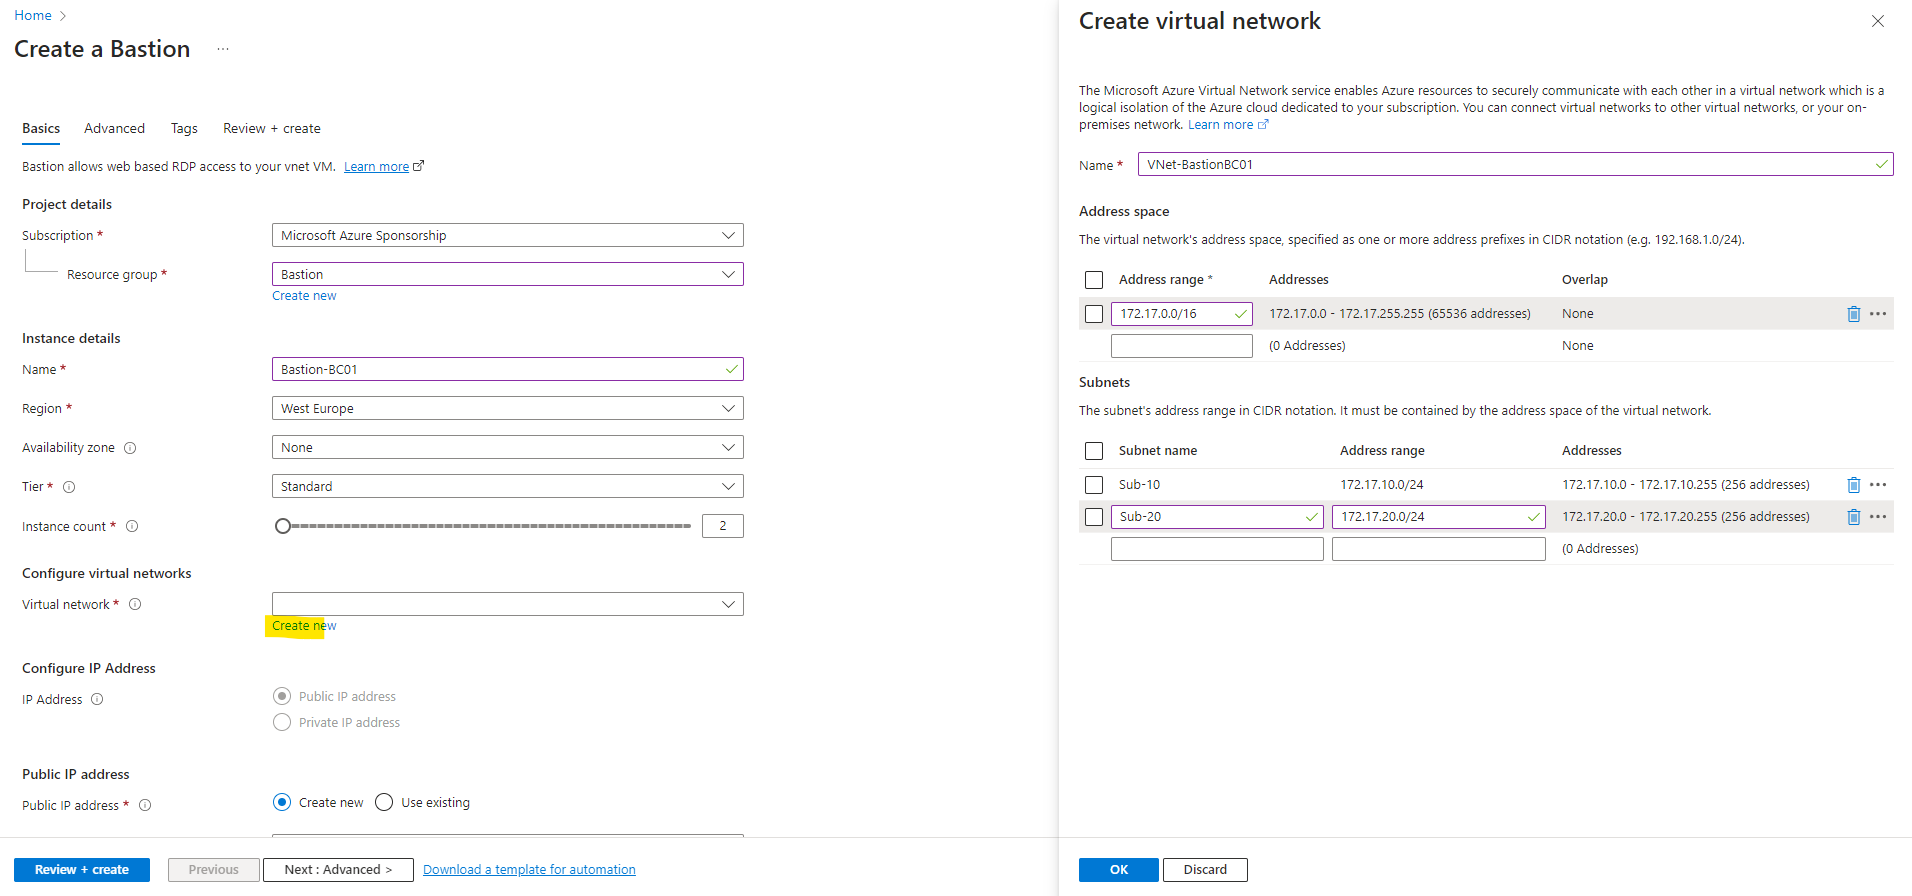
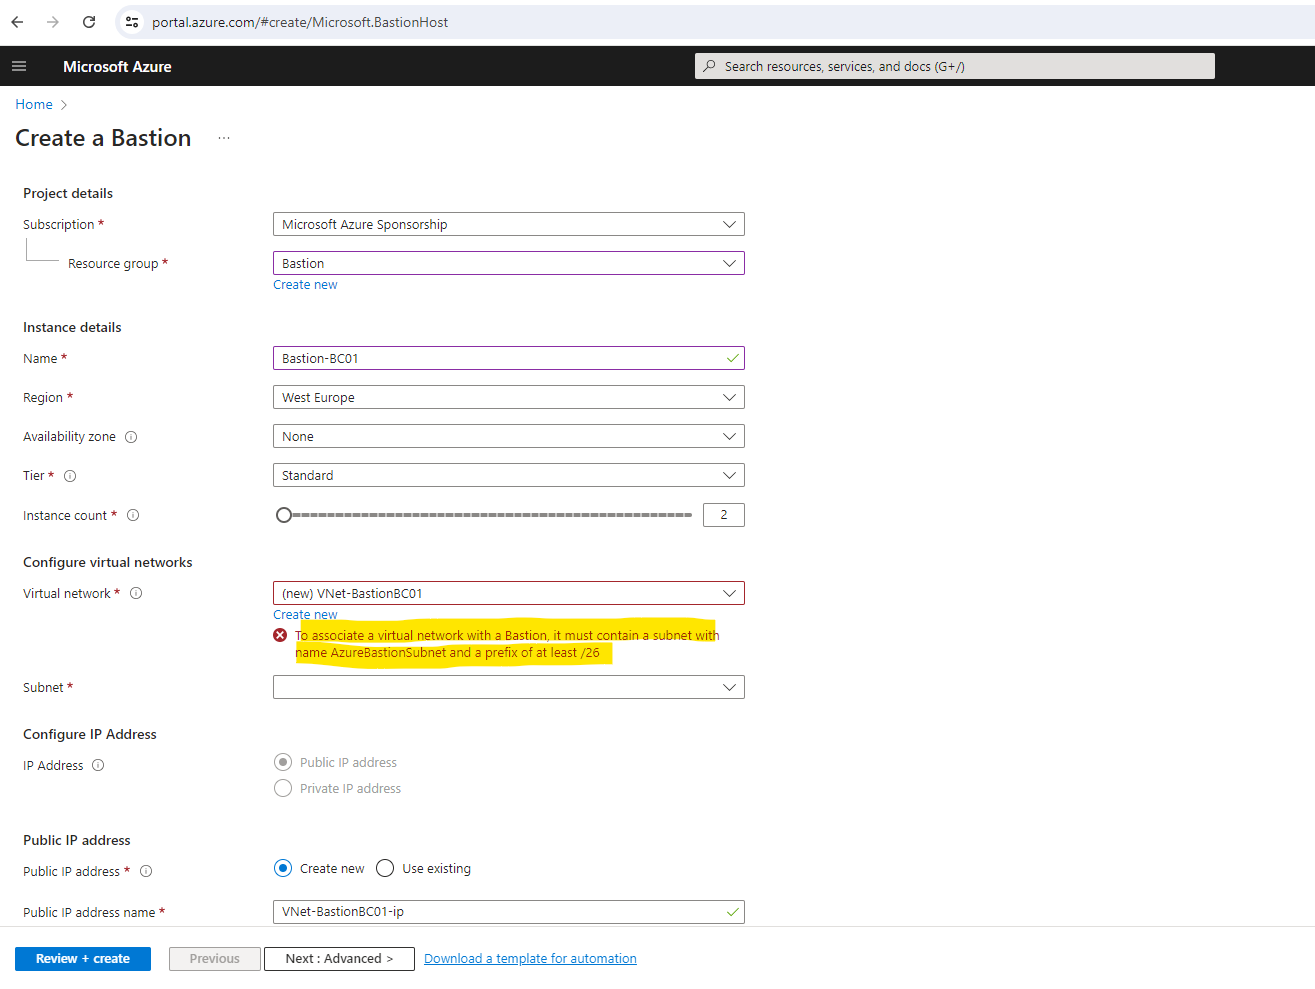
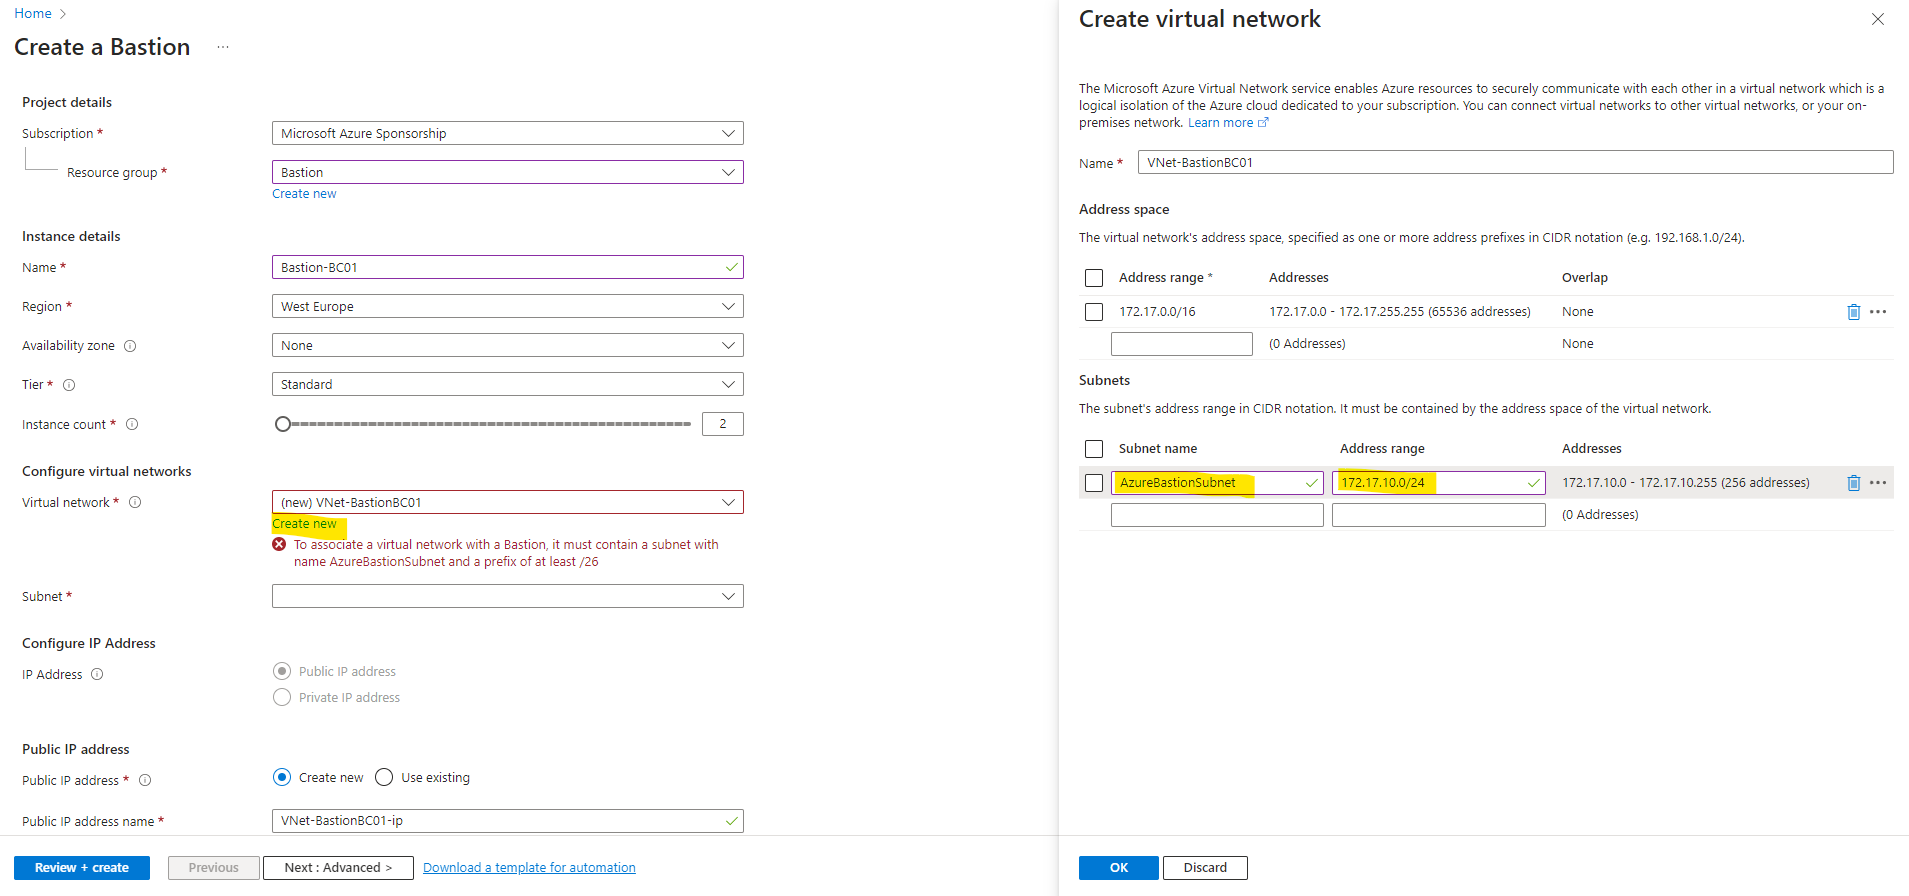
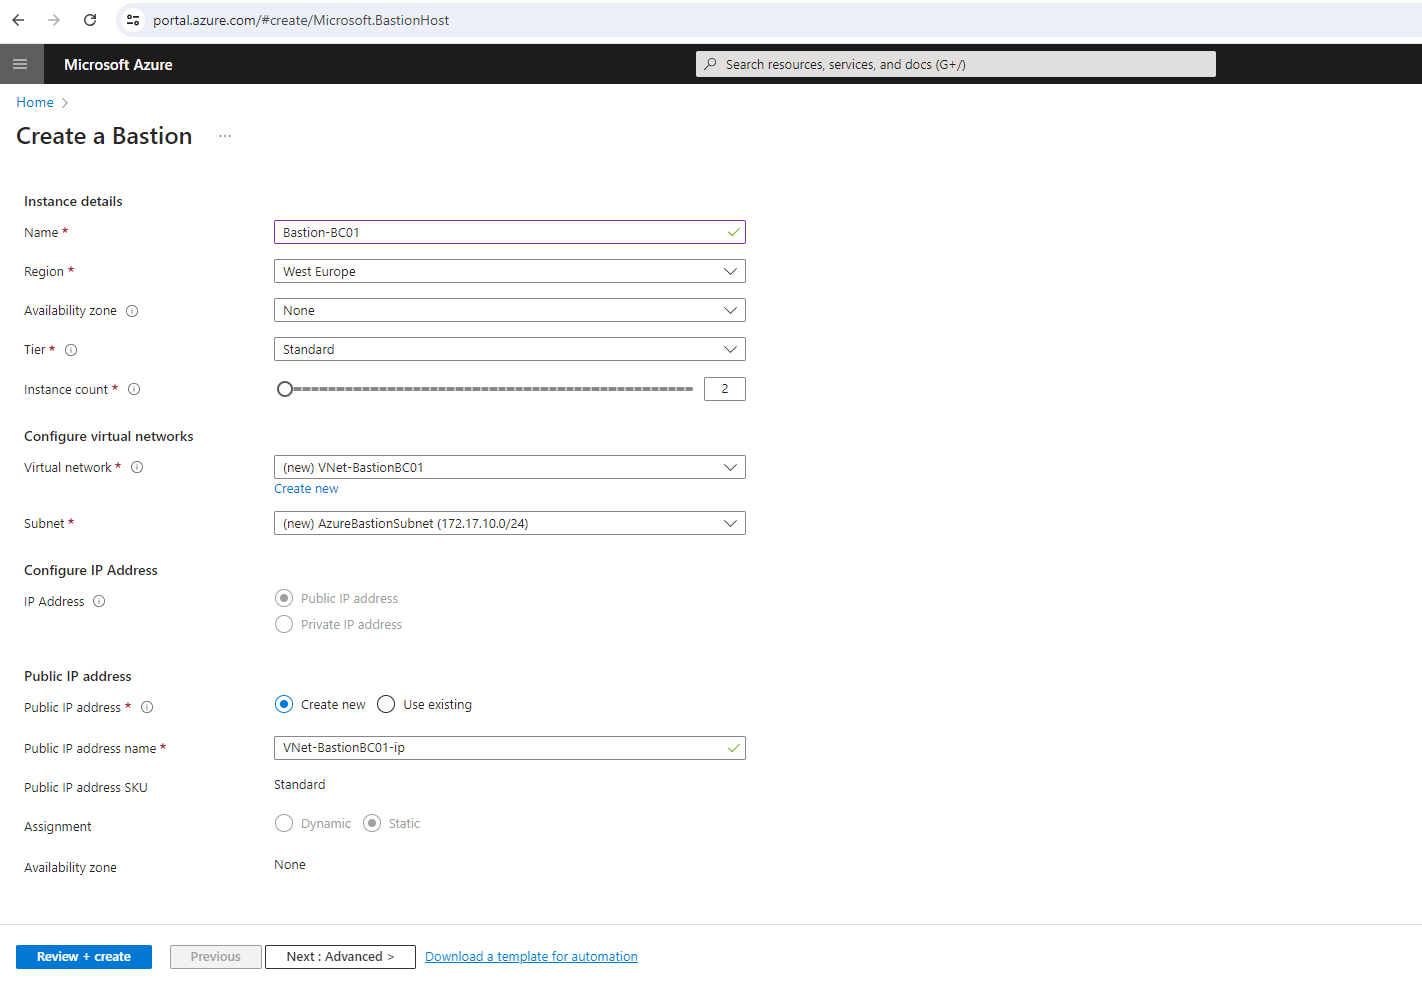
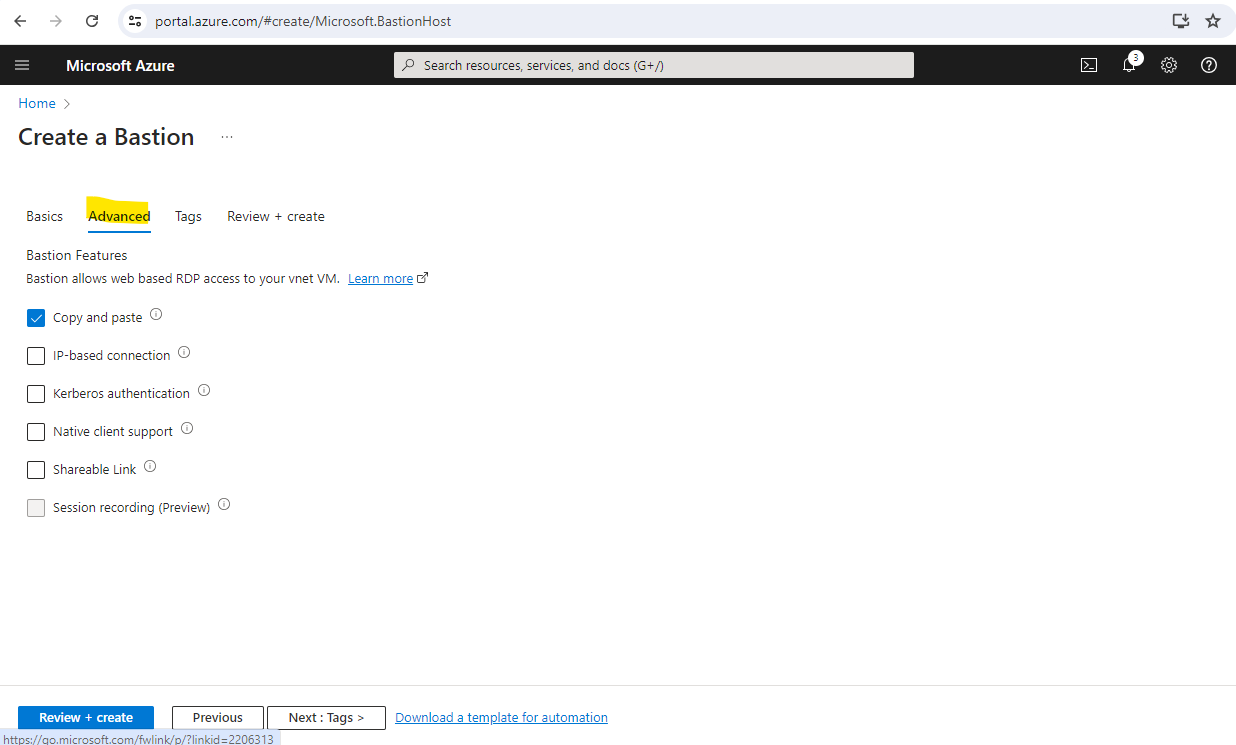
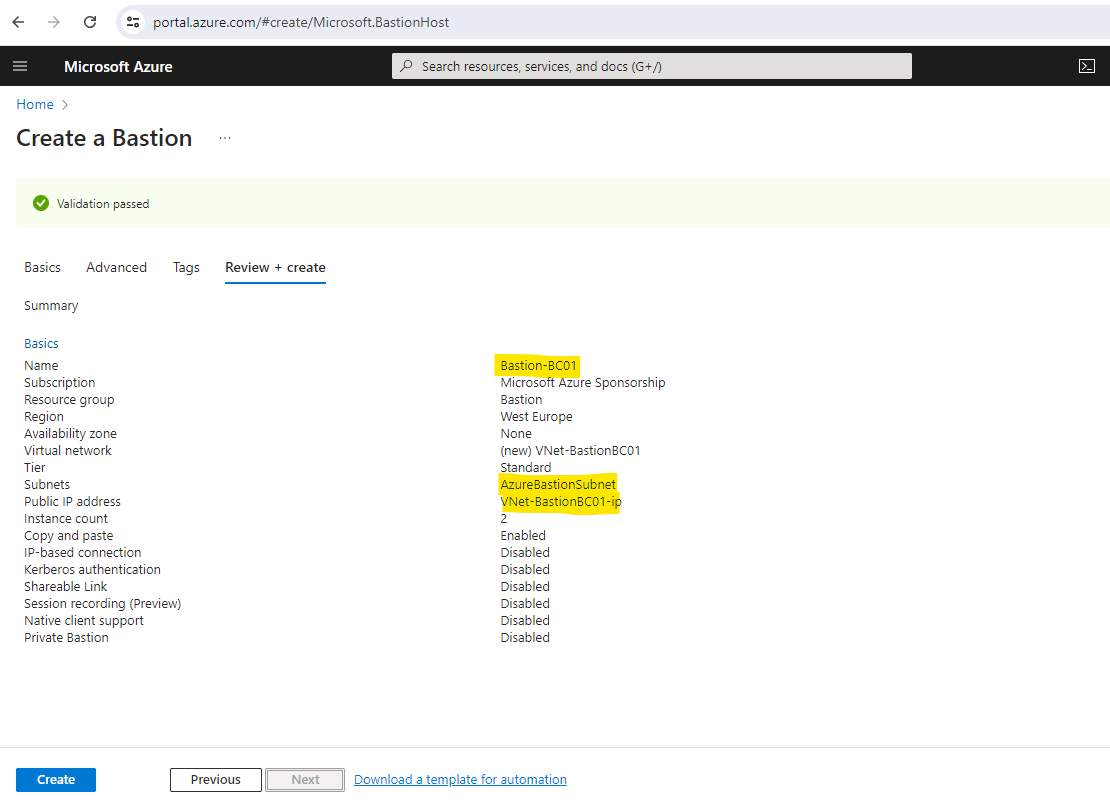
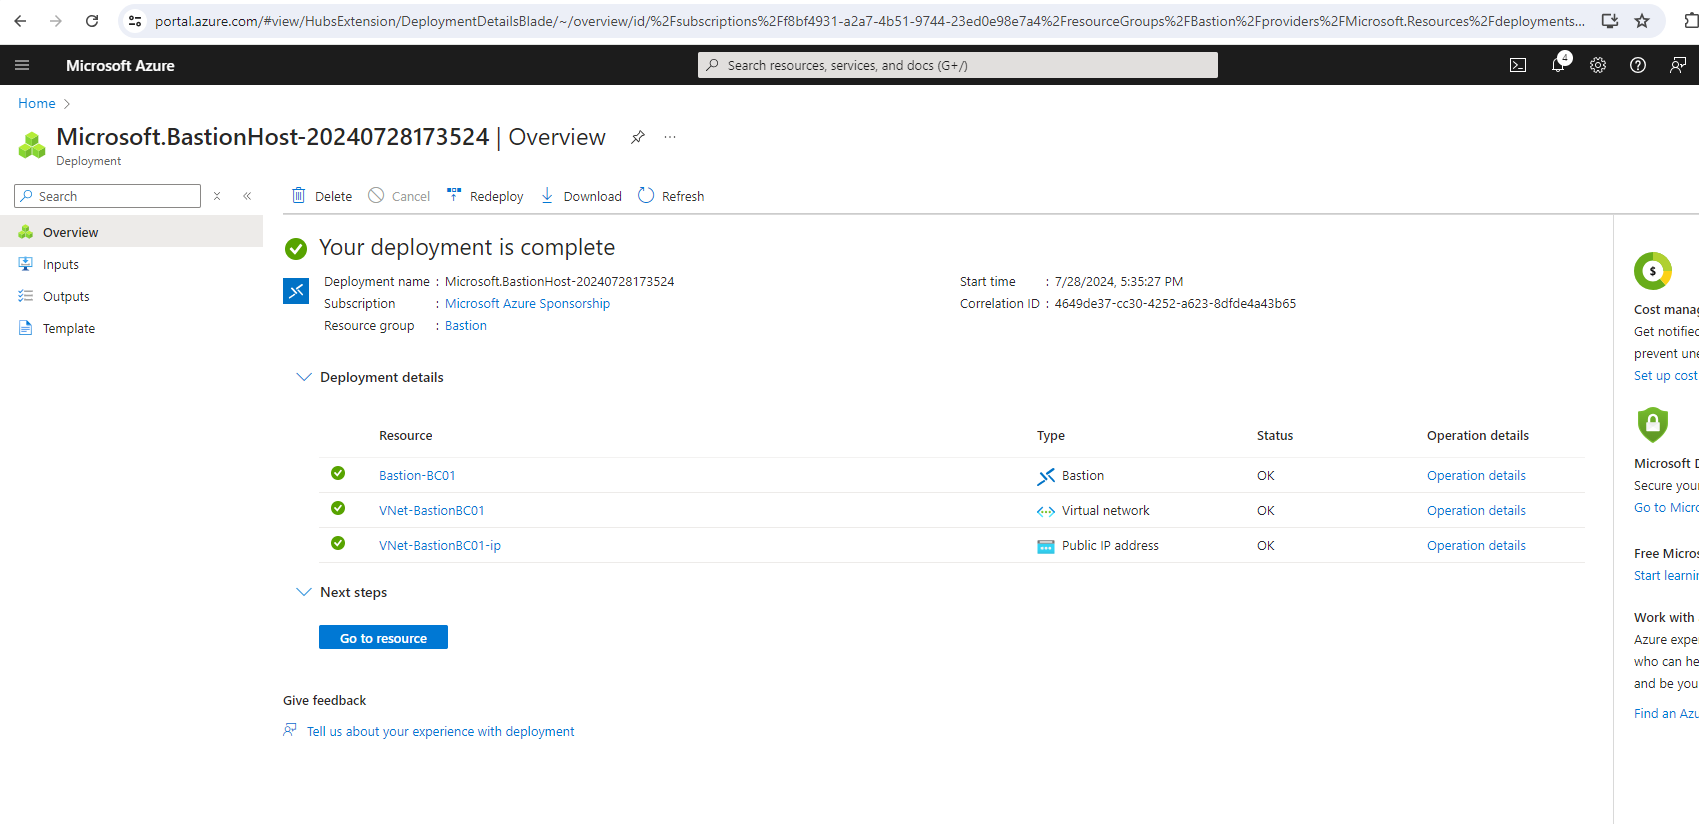
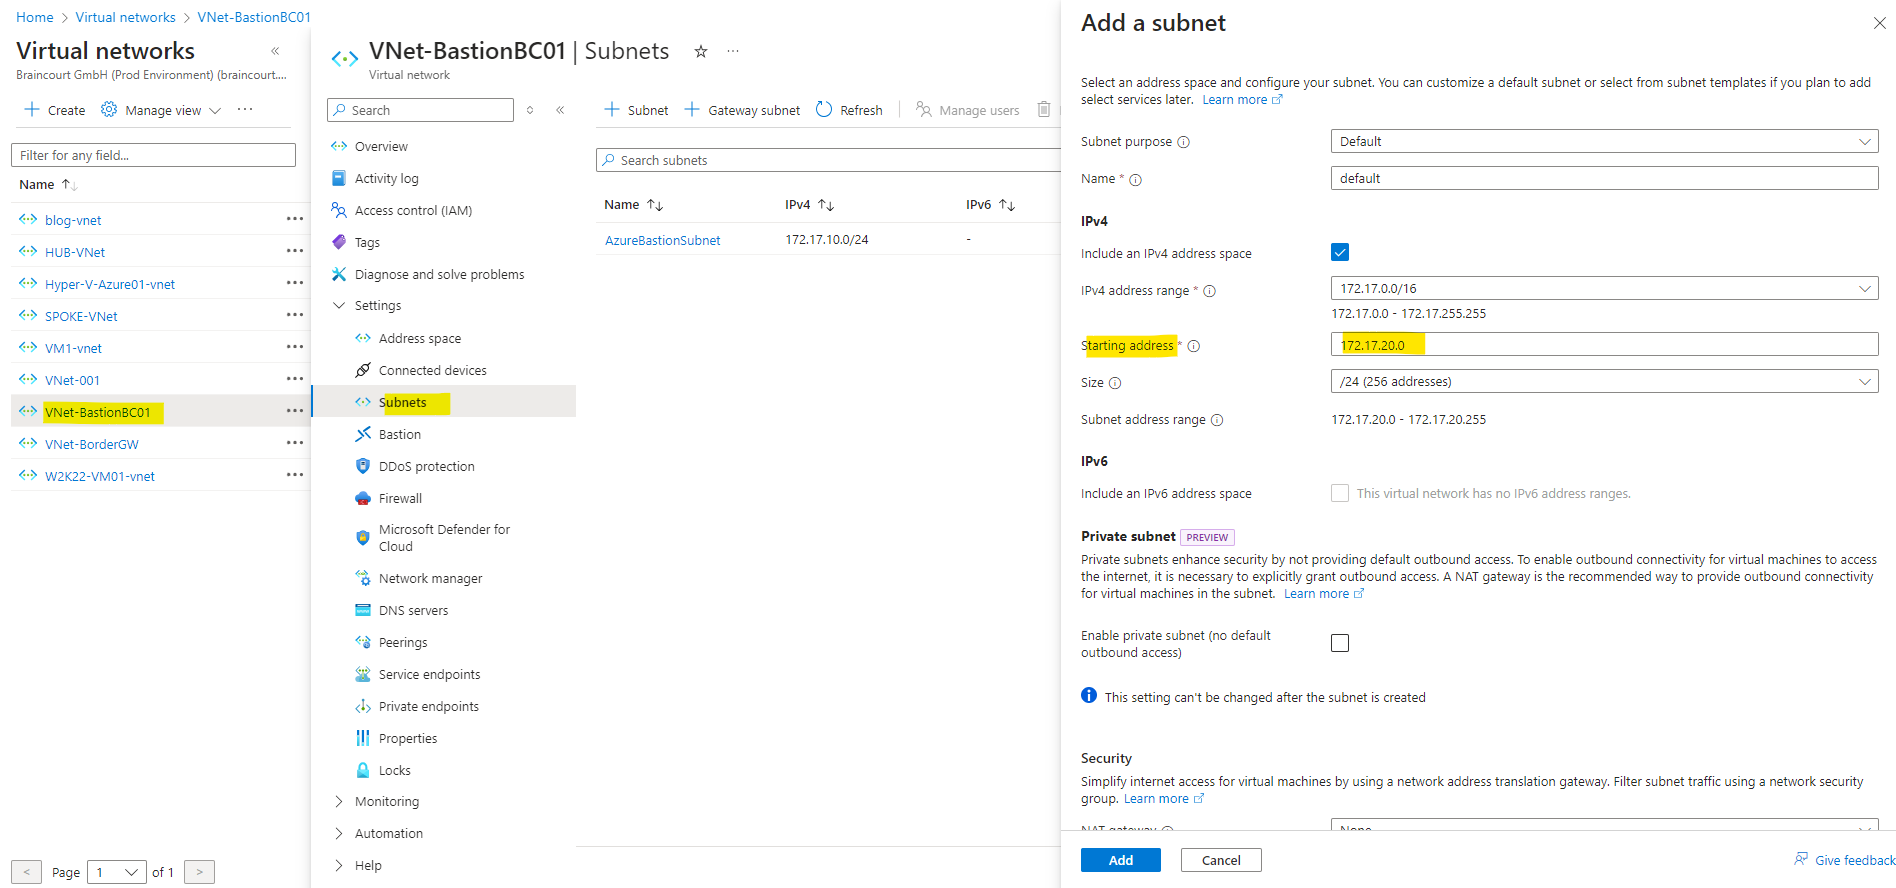
Set up the Azure Bastion PaaS Service
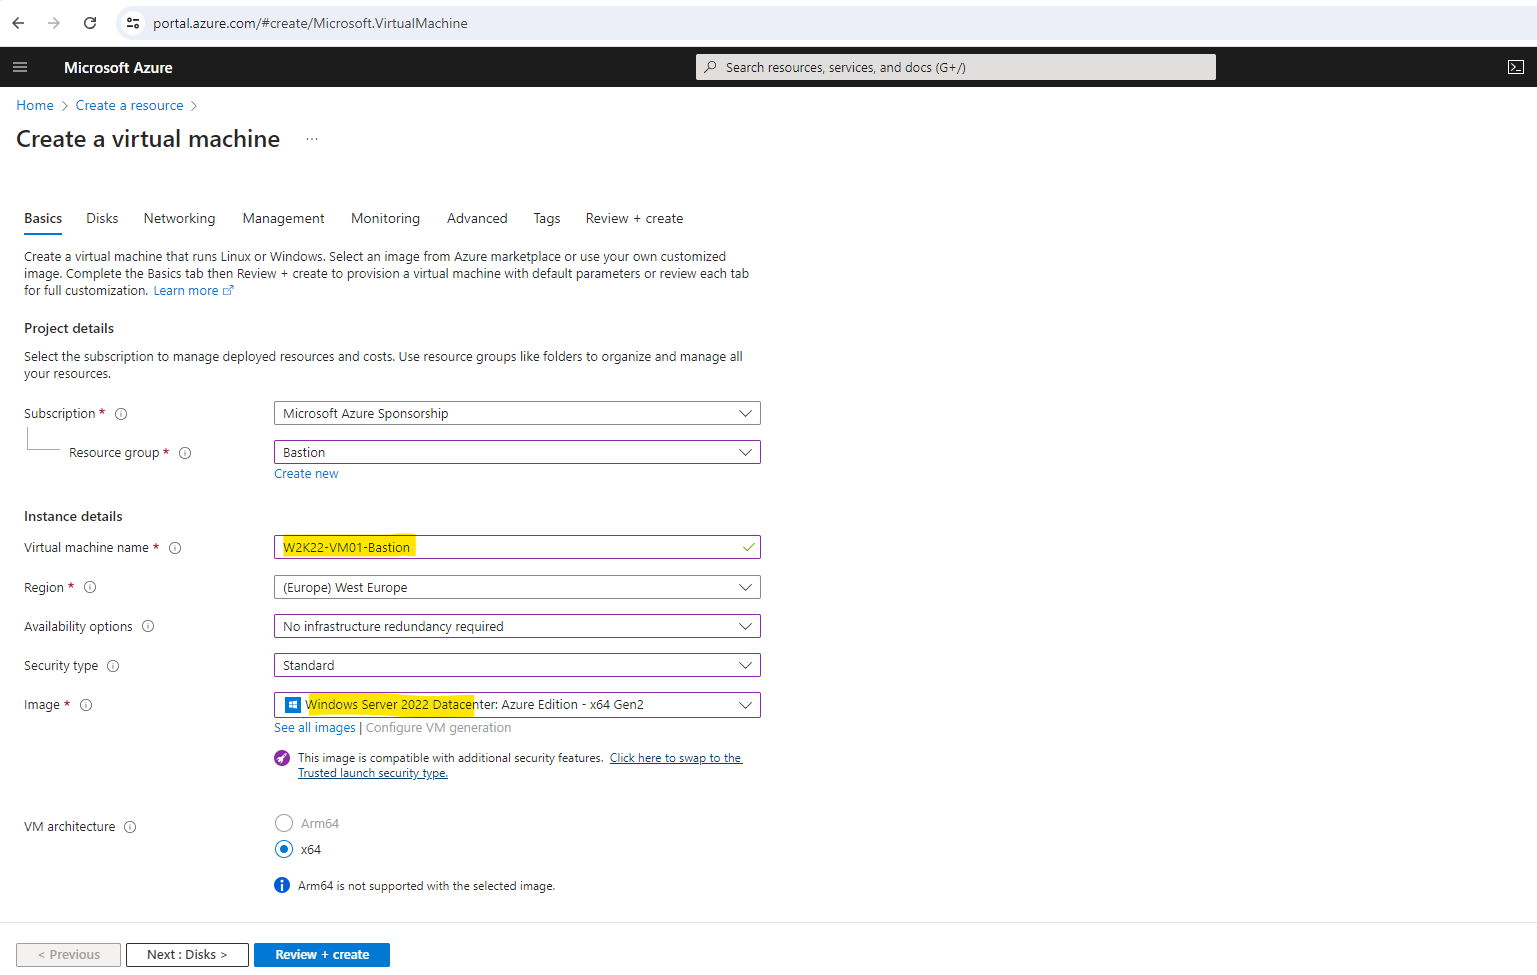
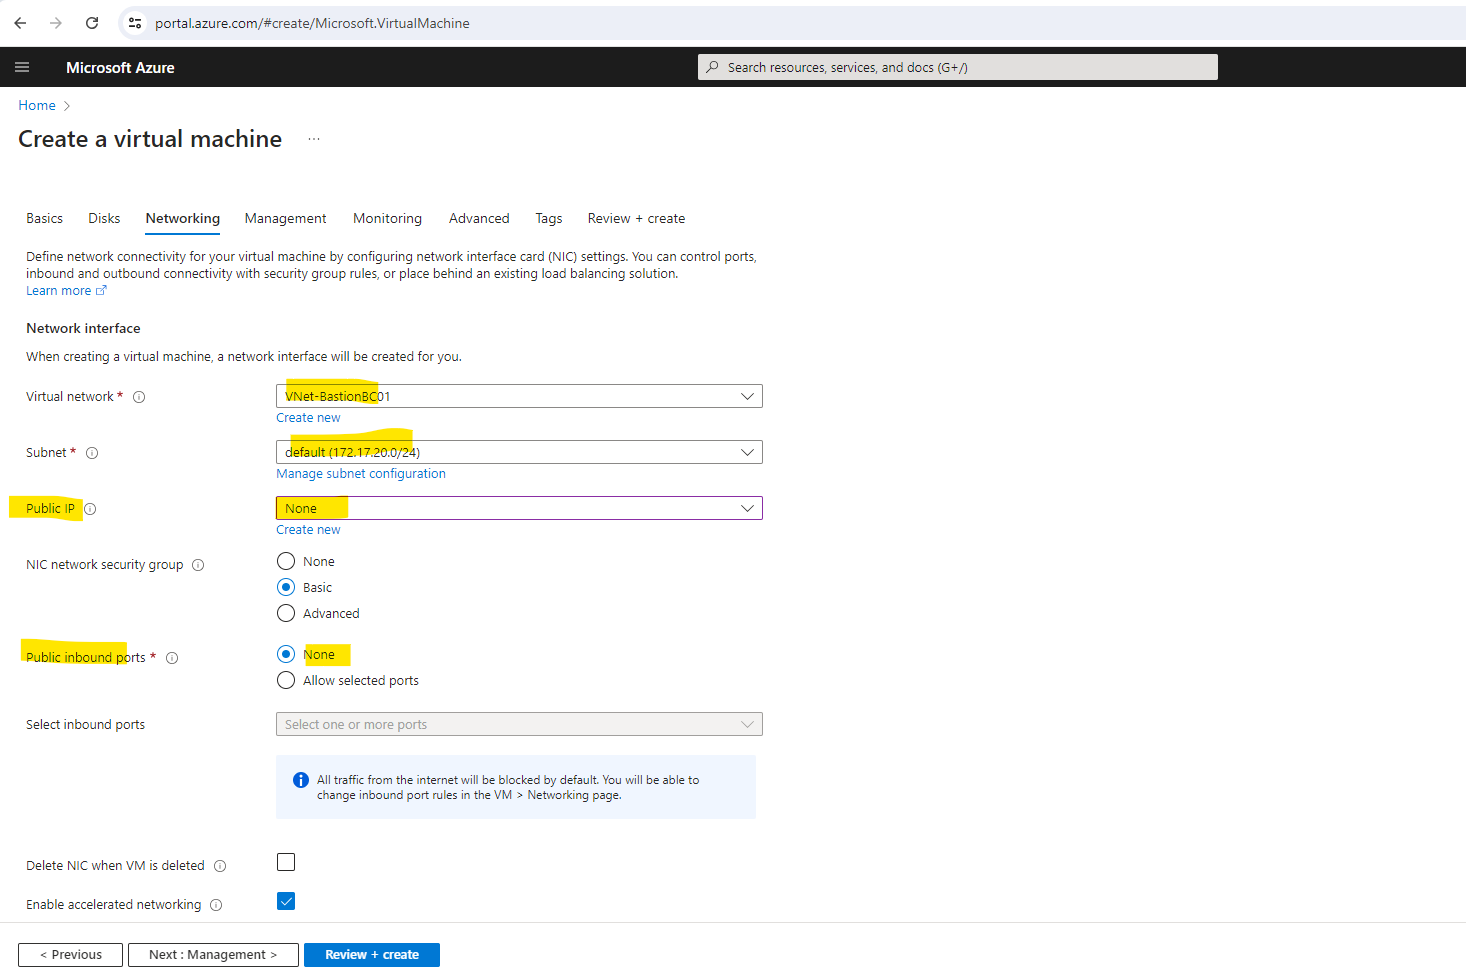
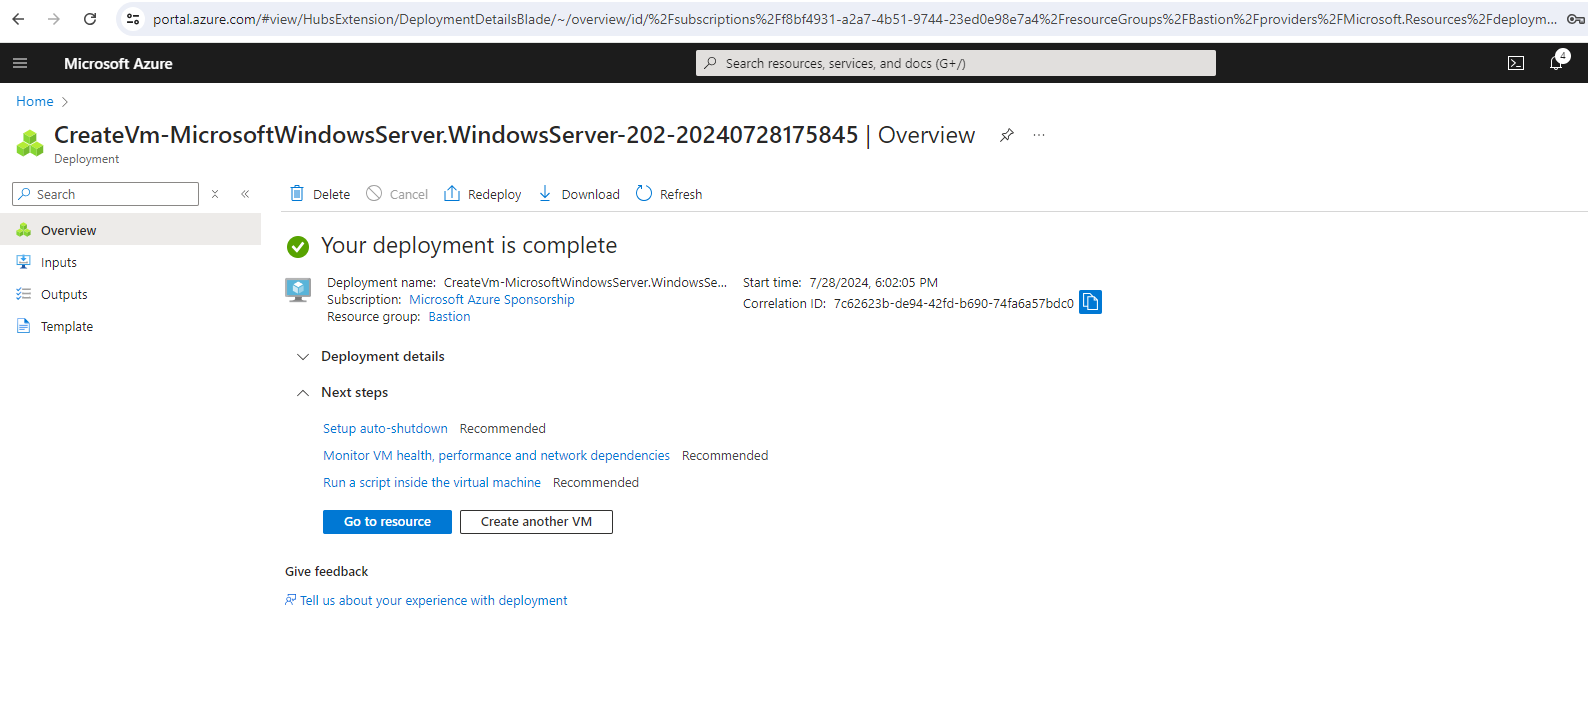
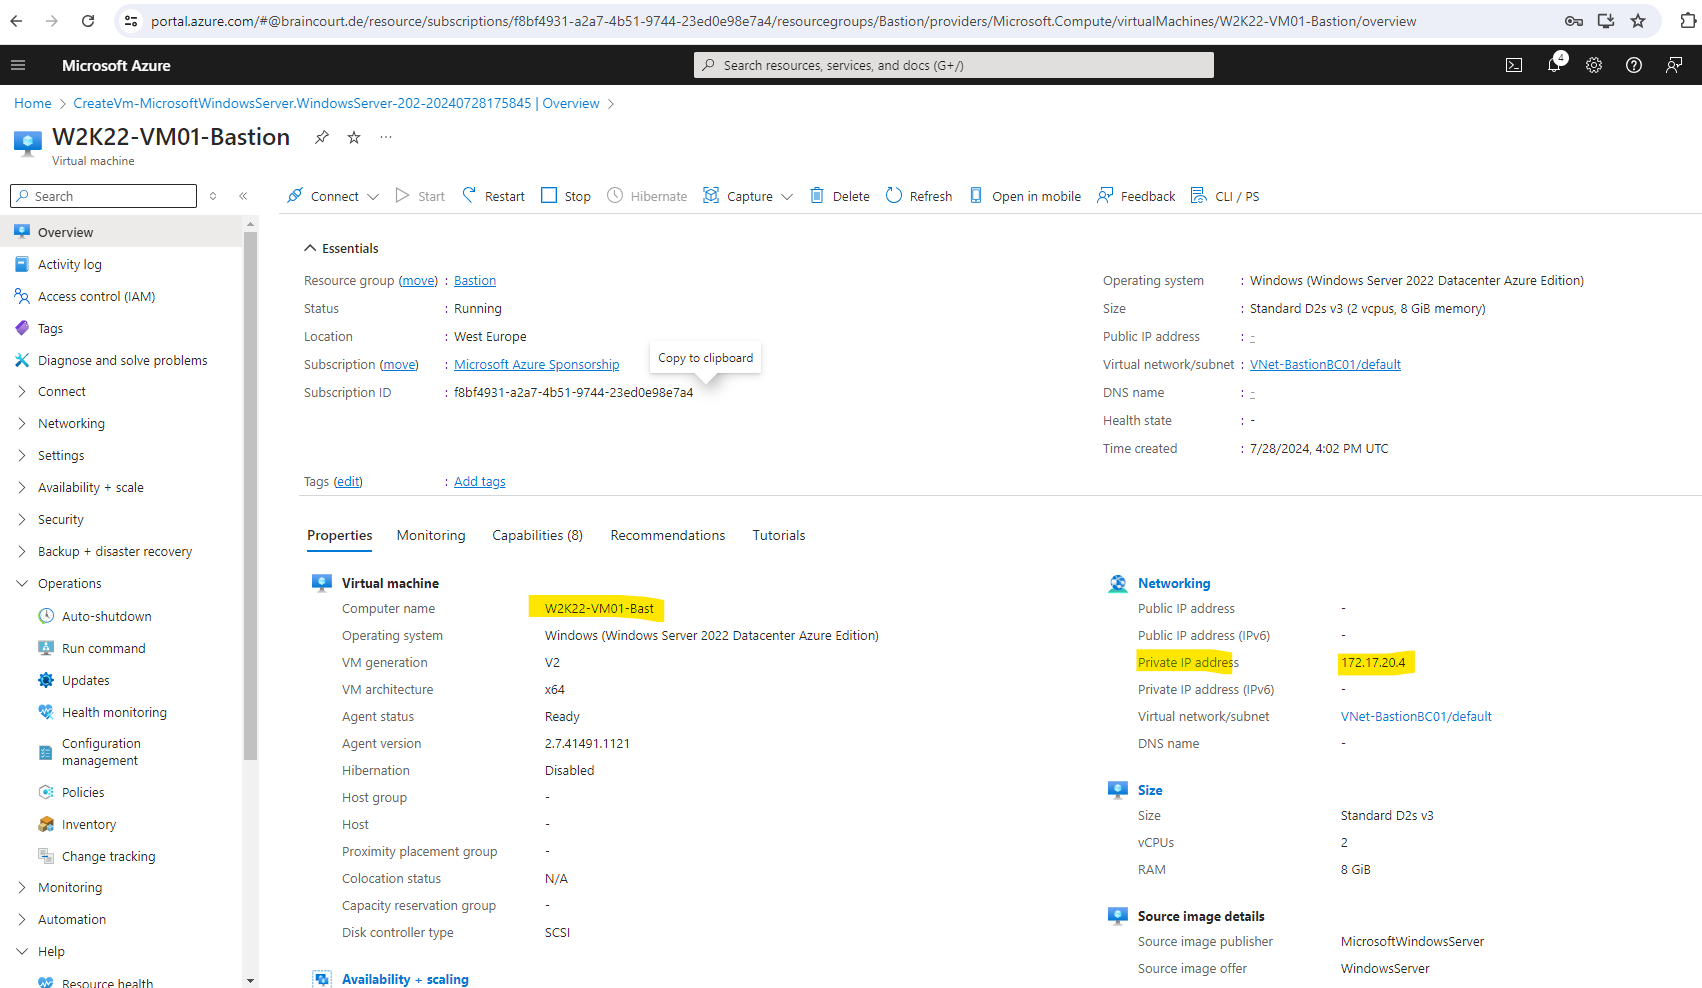
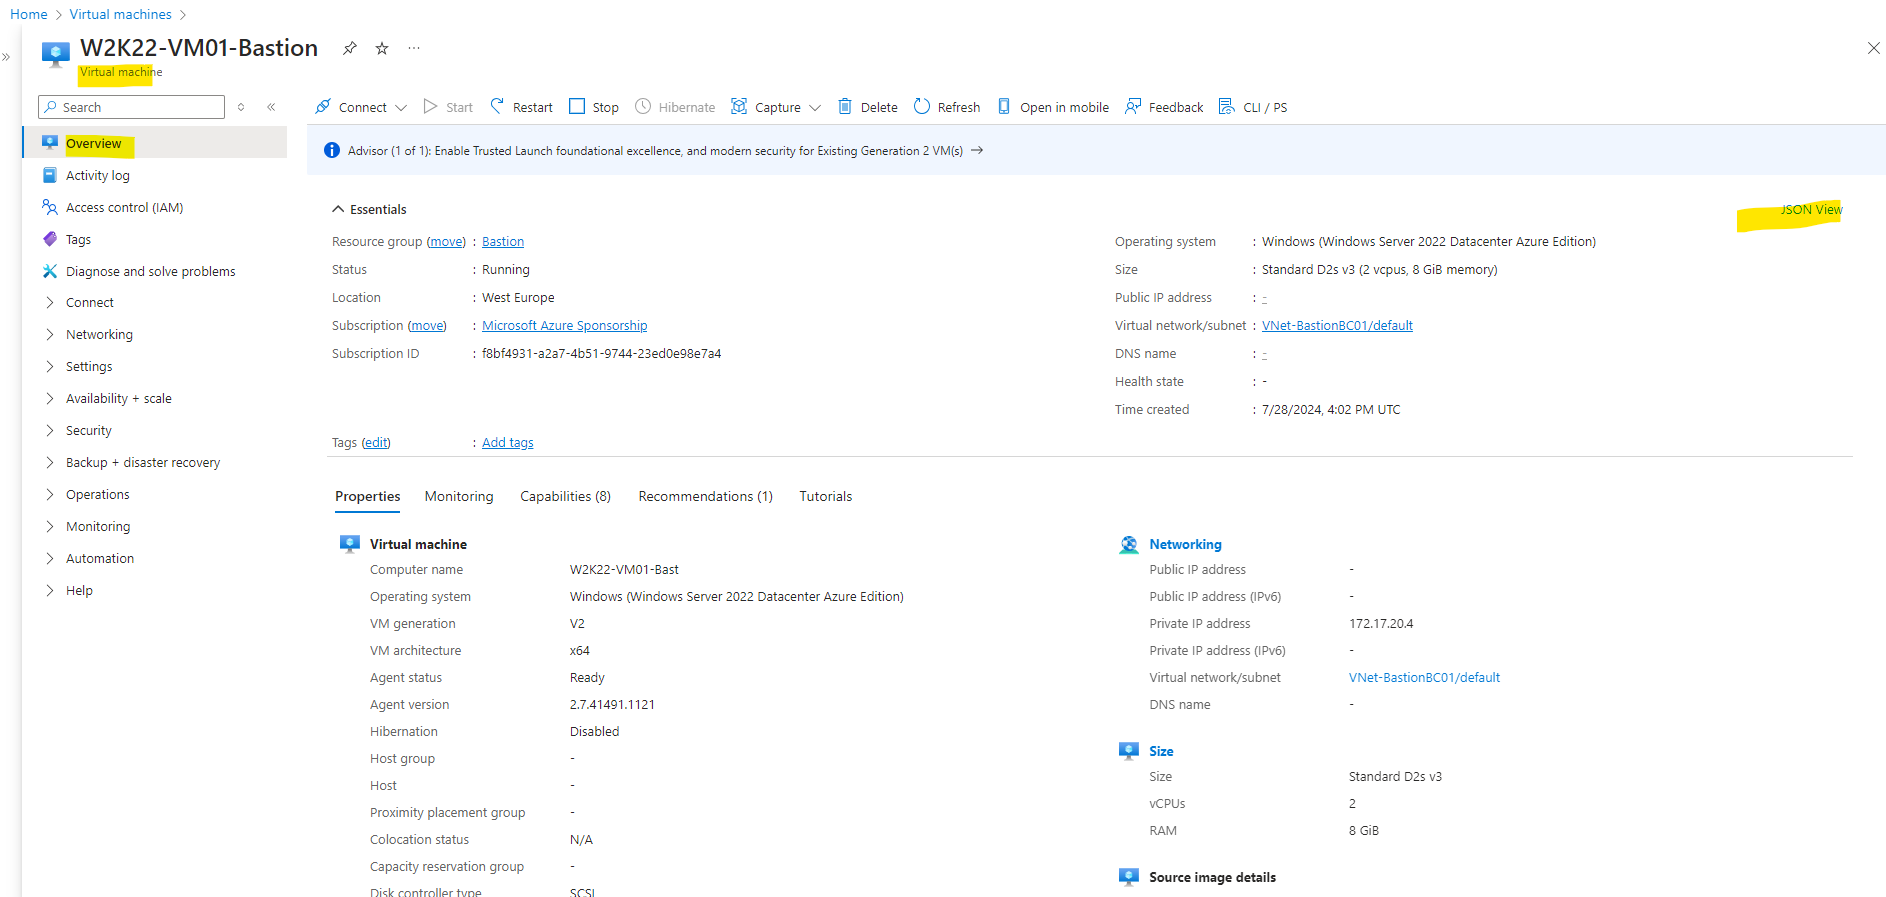
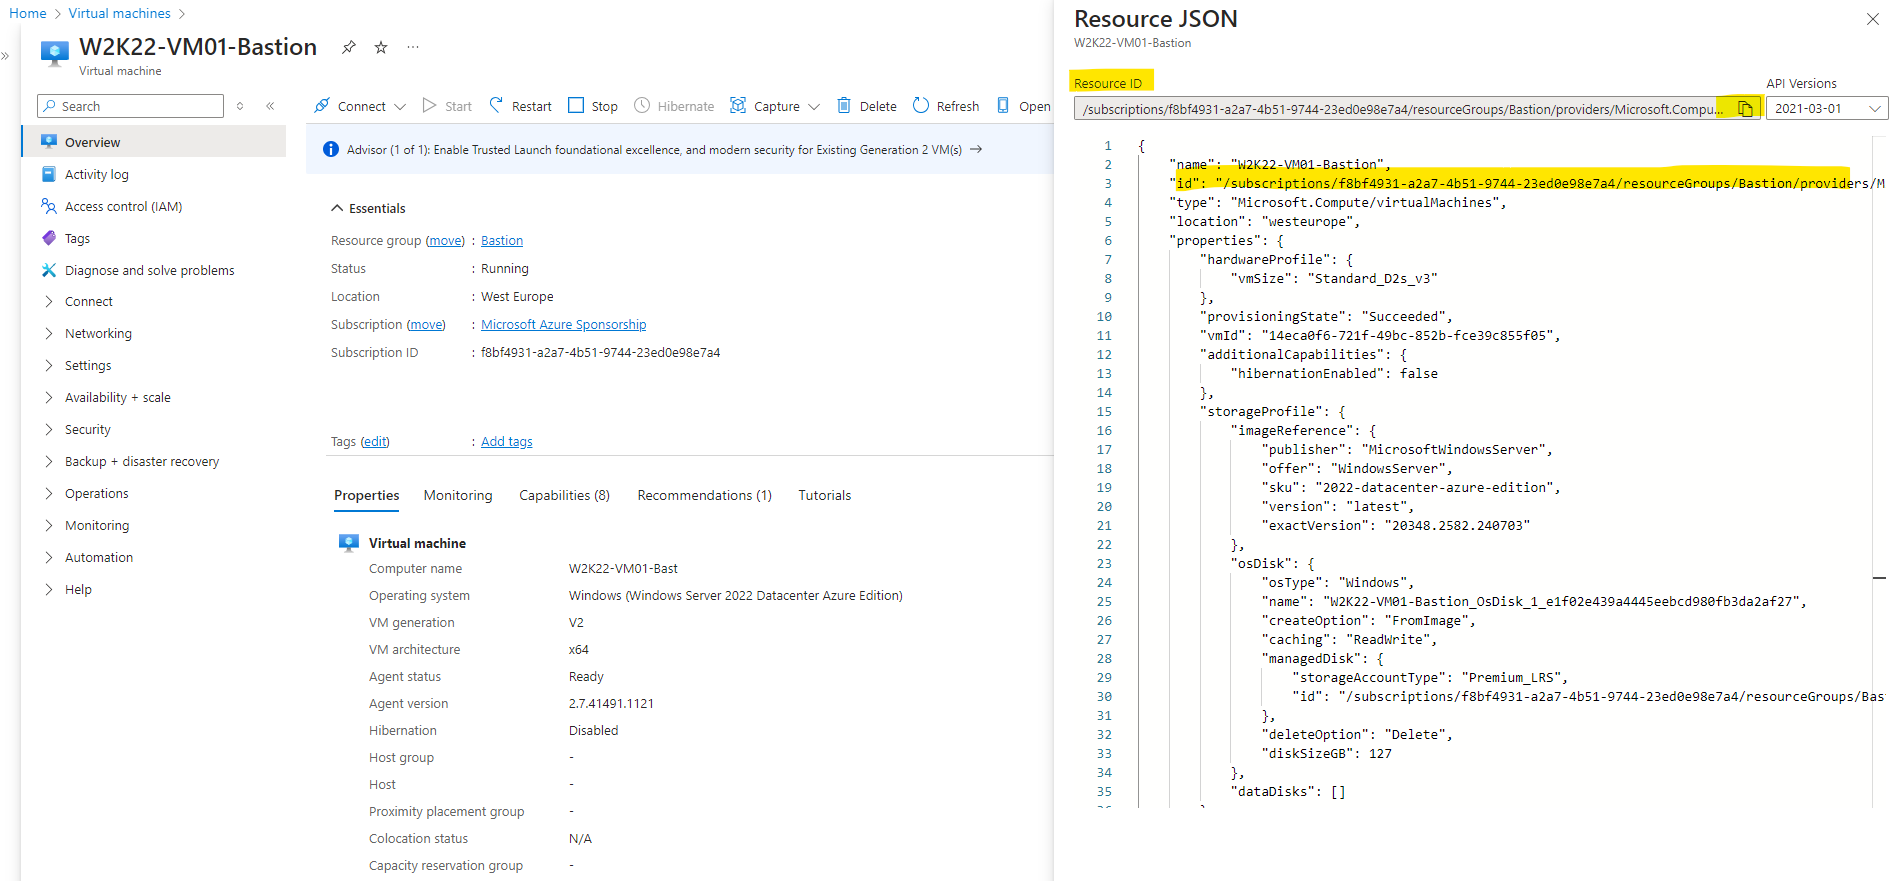
Set up a new Virtual Machine in the Virtual Network of the Azure Bastion Host

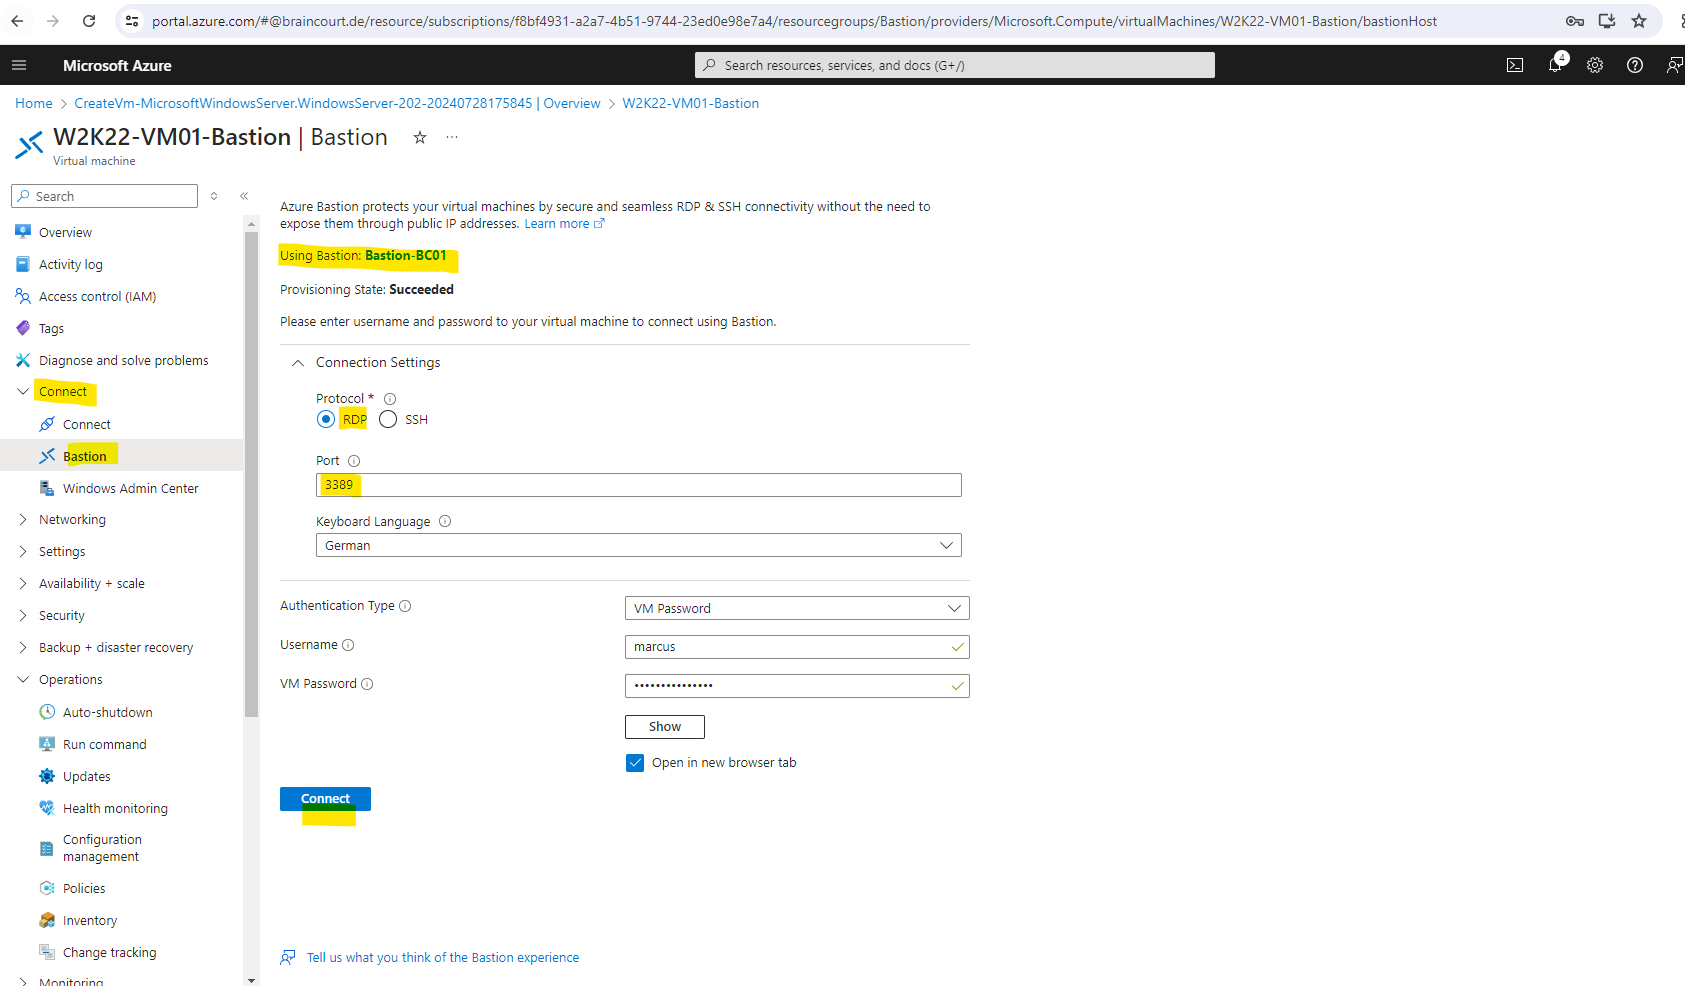
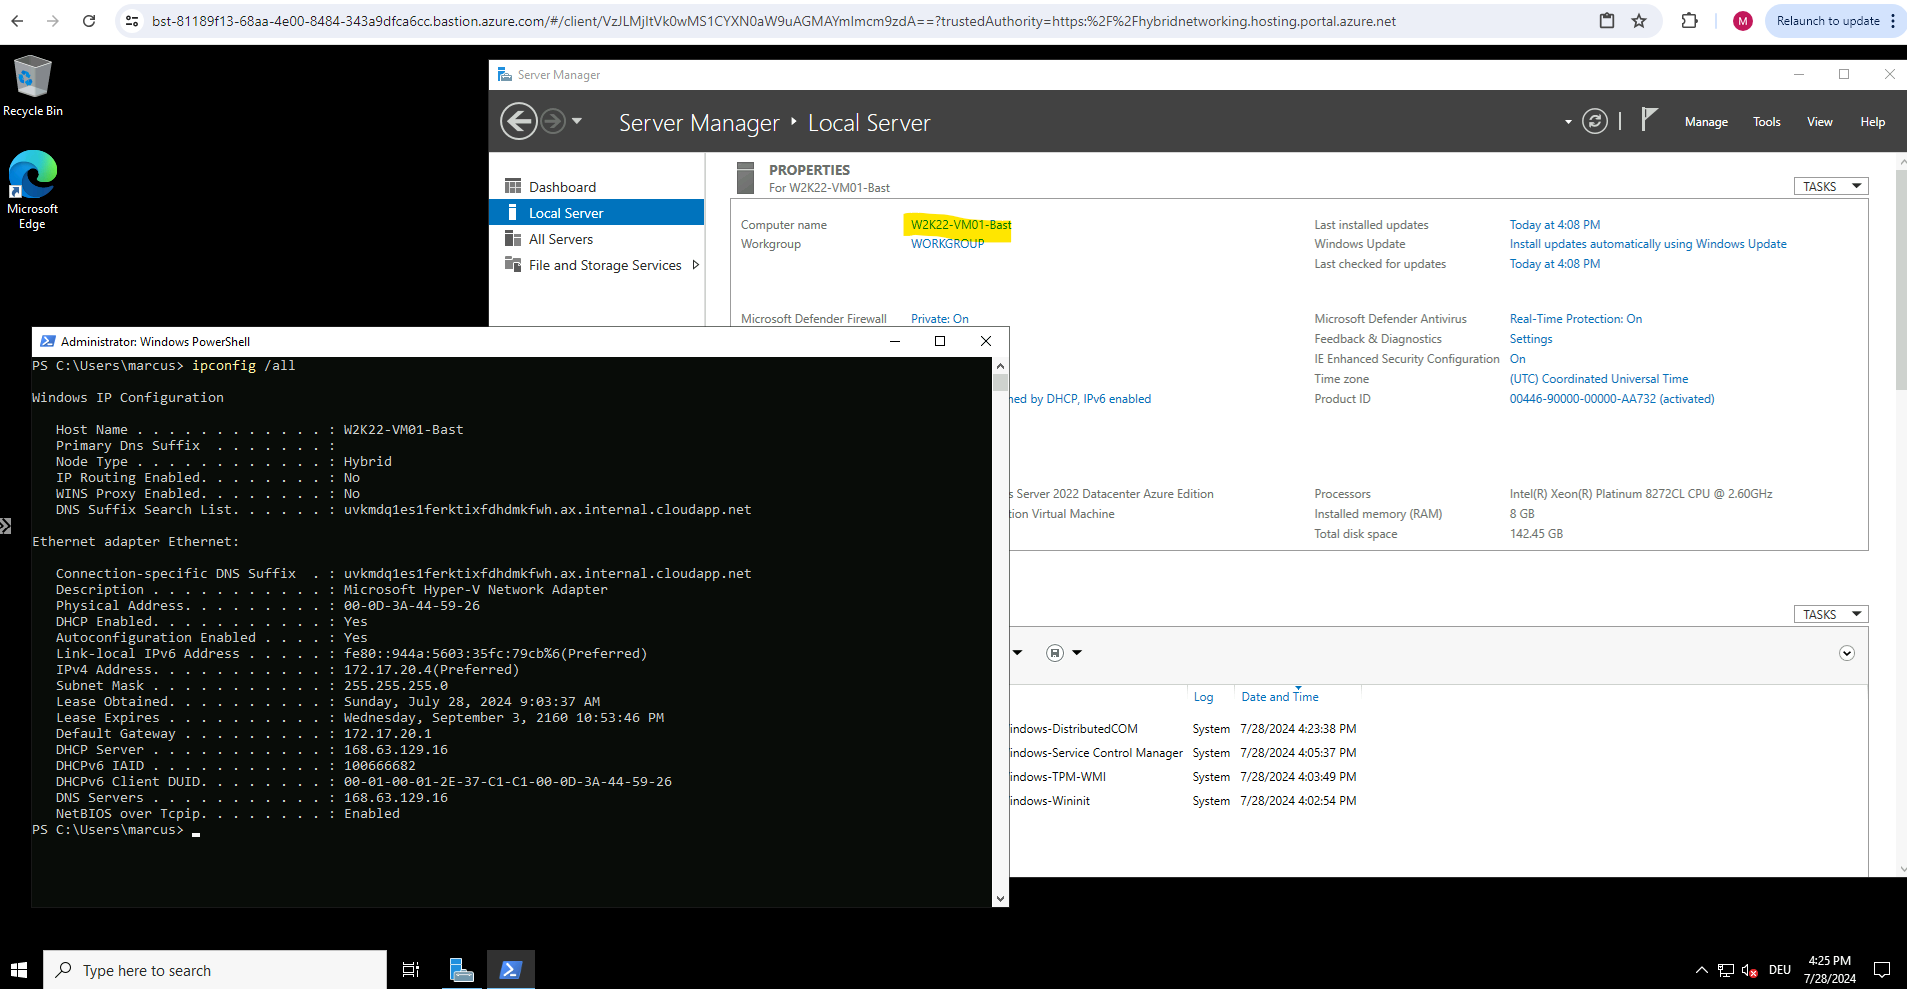
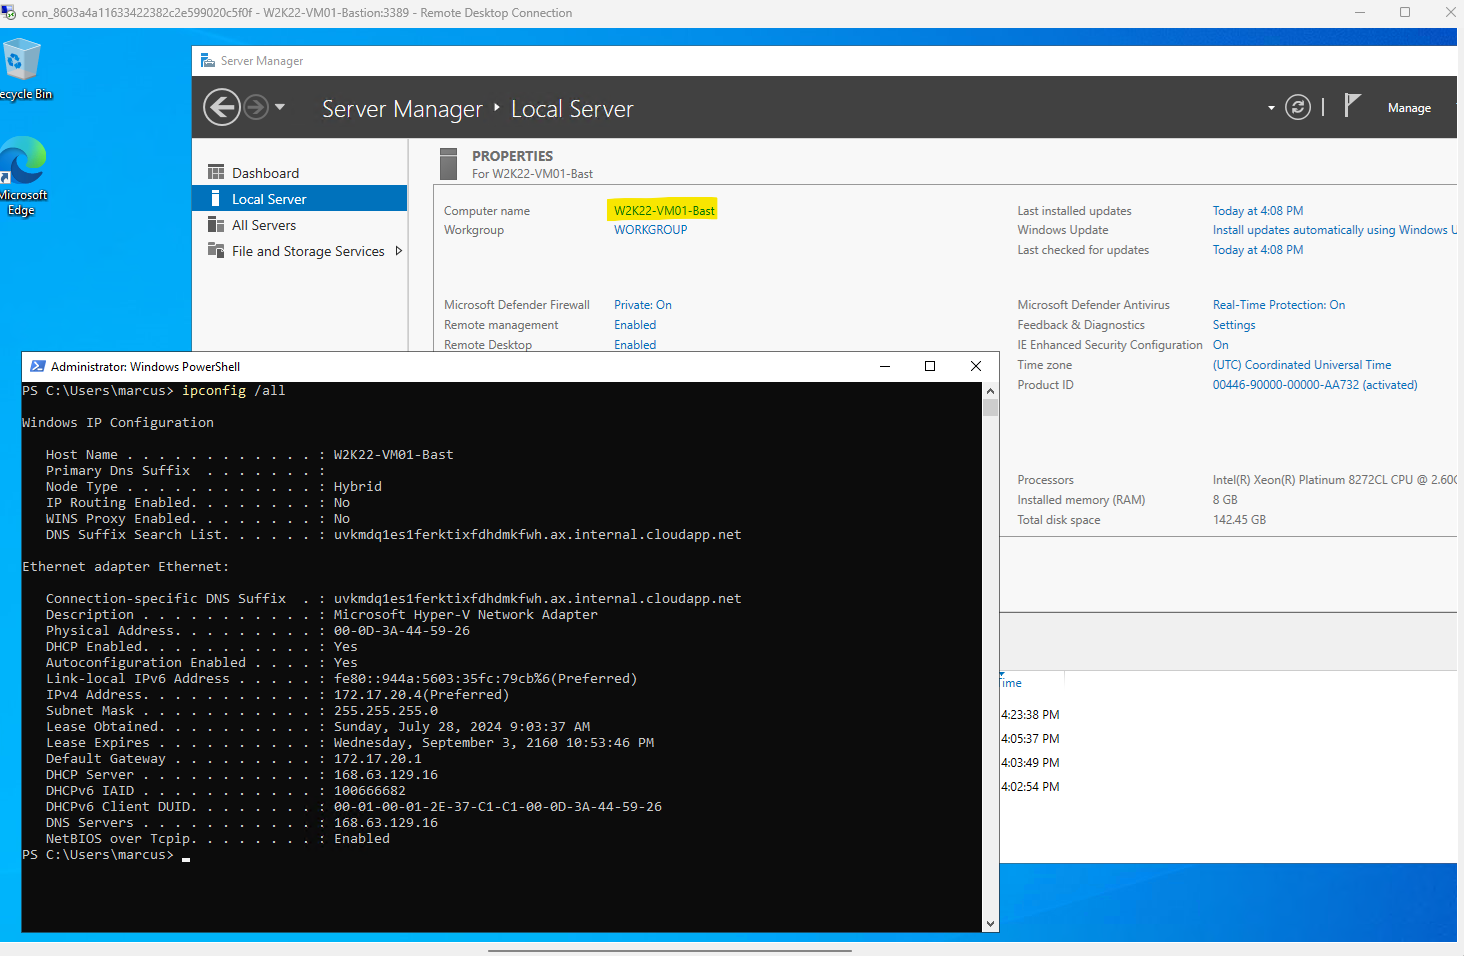
Connect to a Windows Virtual Machine via Bastion
Connect via Bastion and the Browser
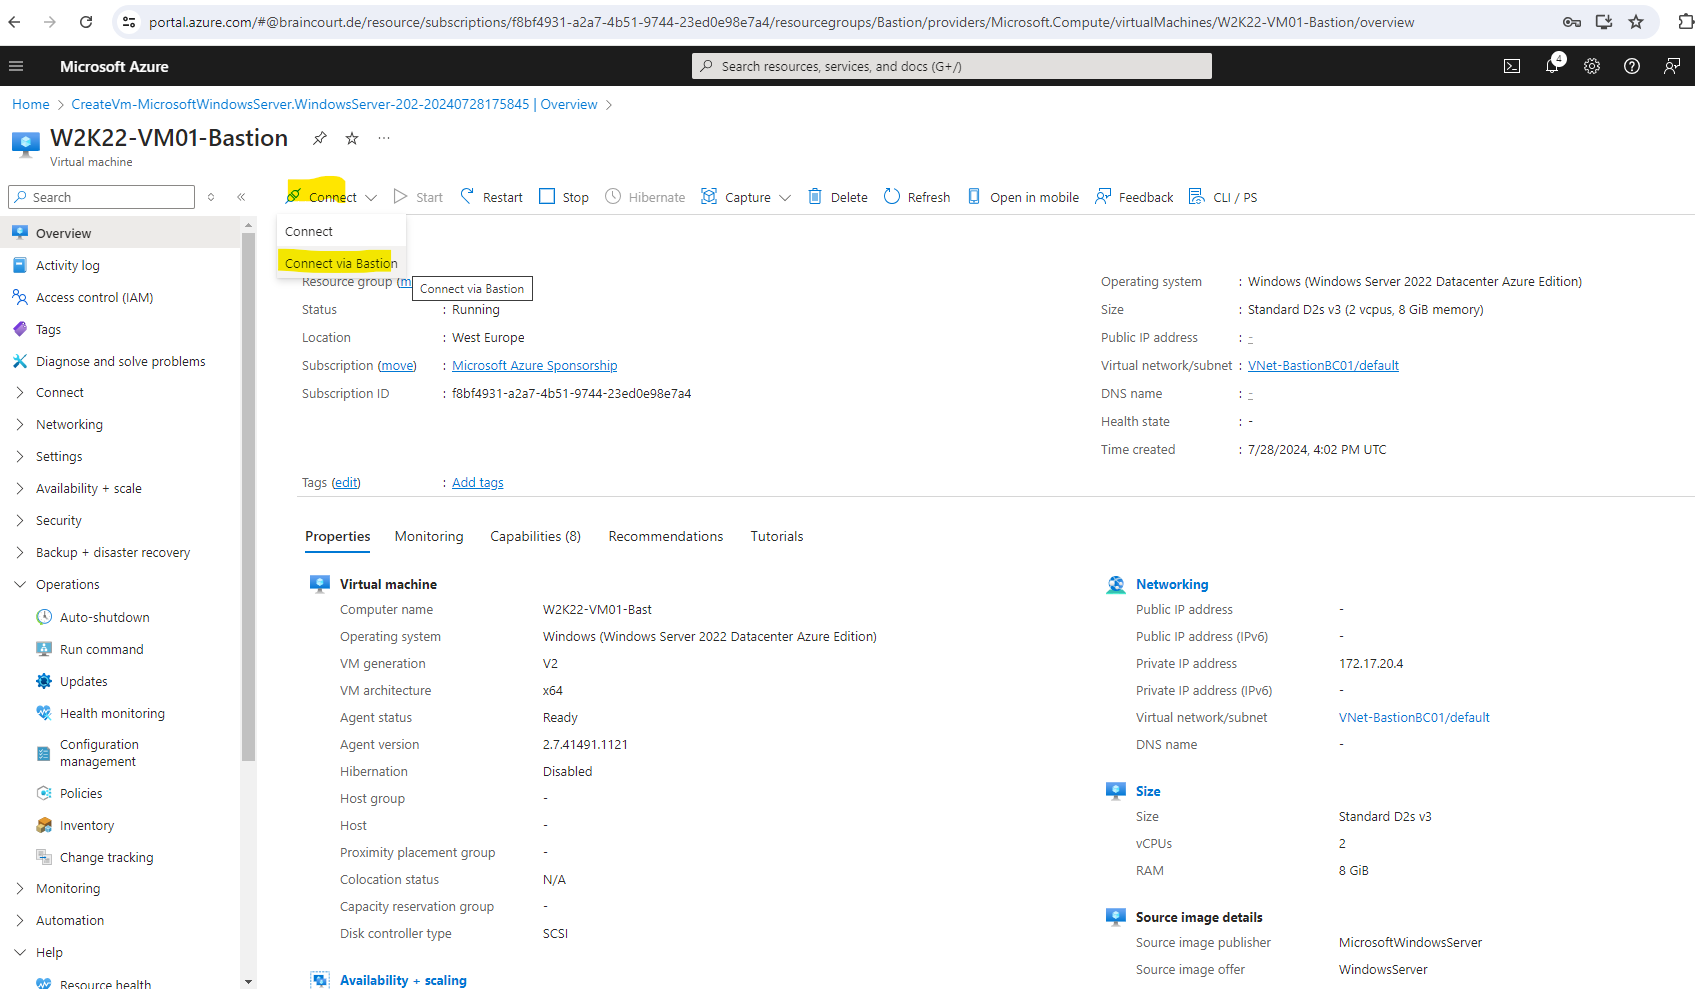
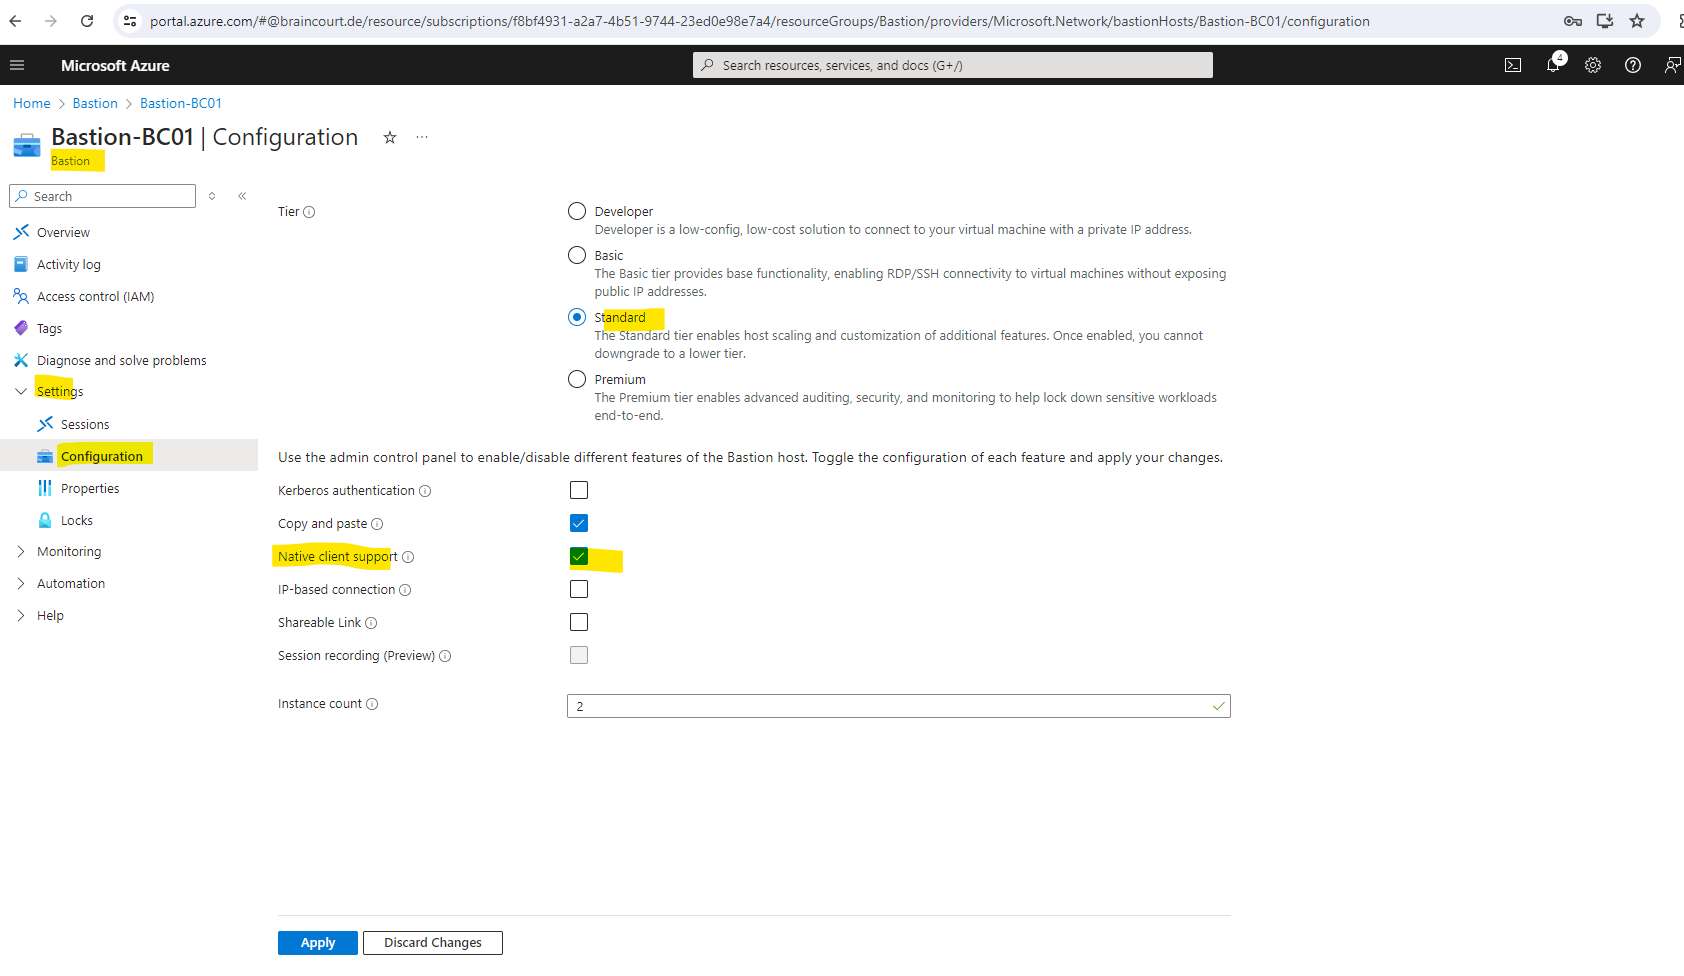
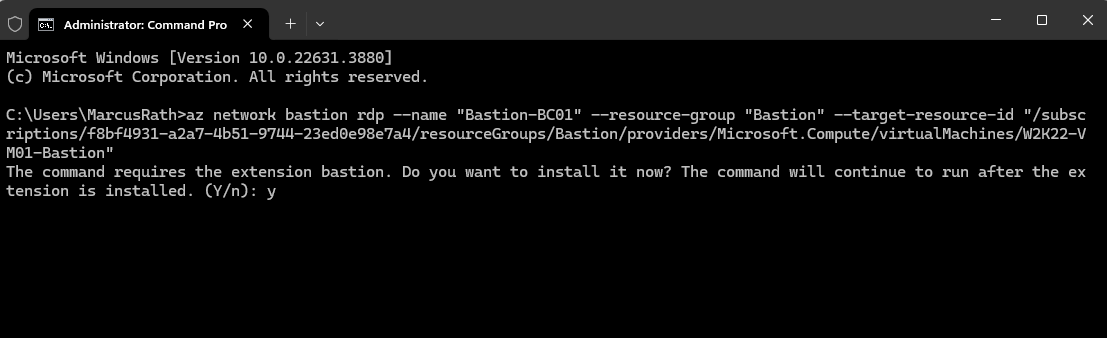
Connect via Bastion and the native RDP client
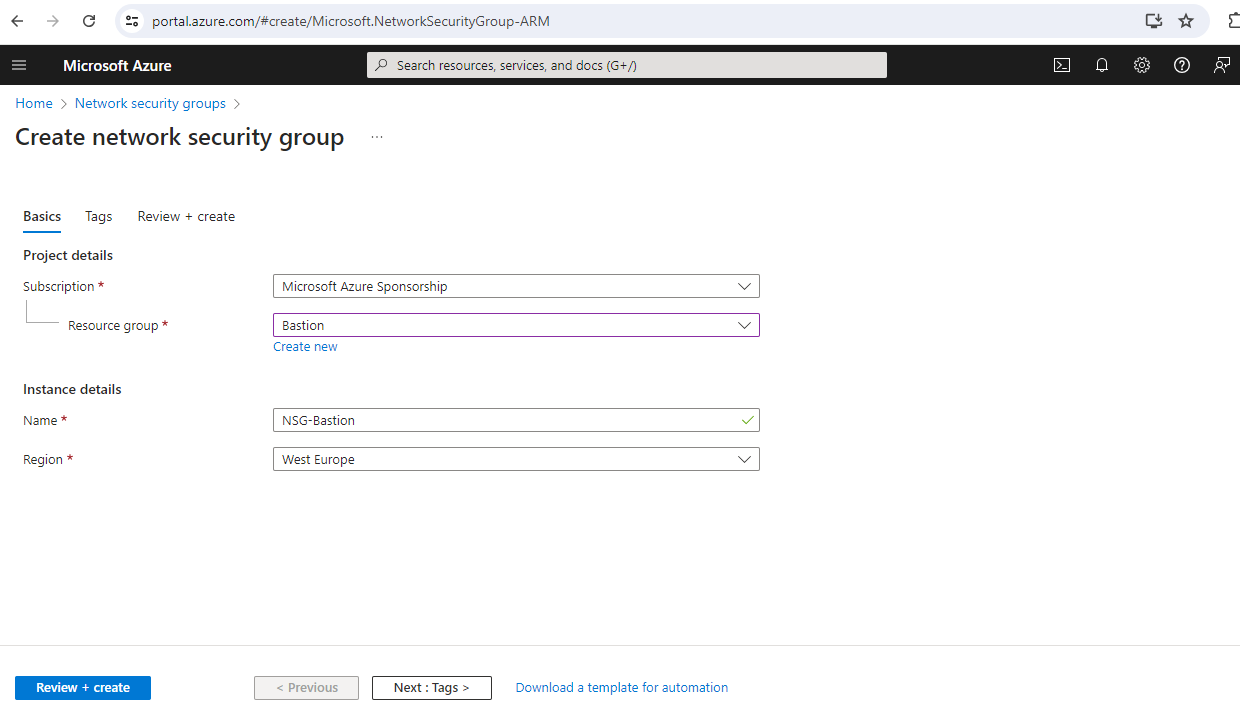
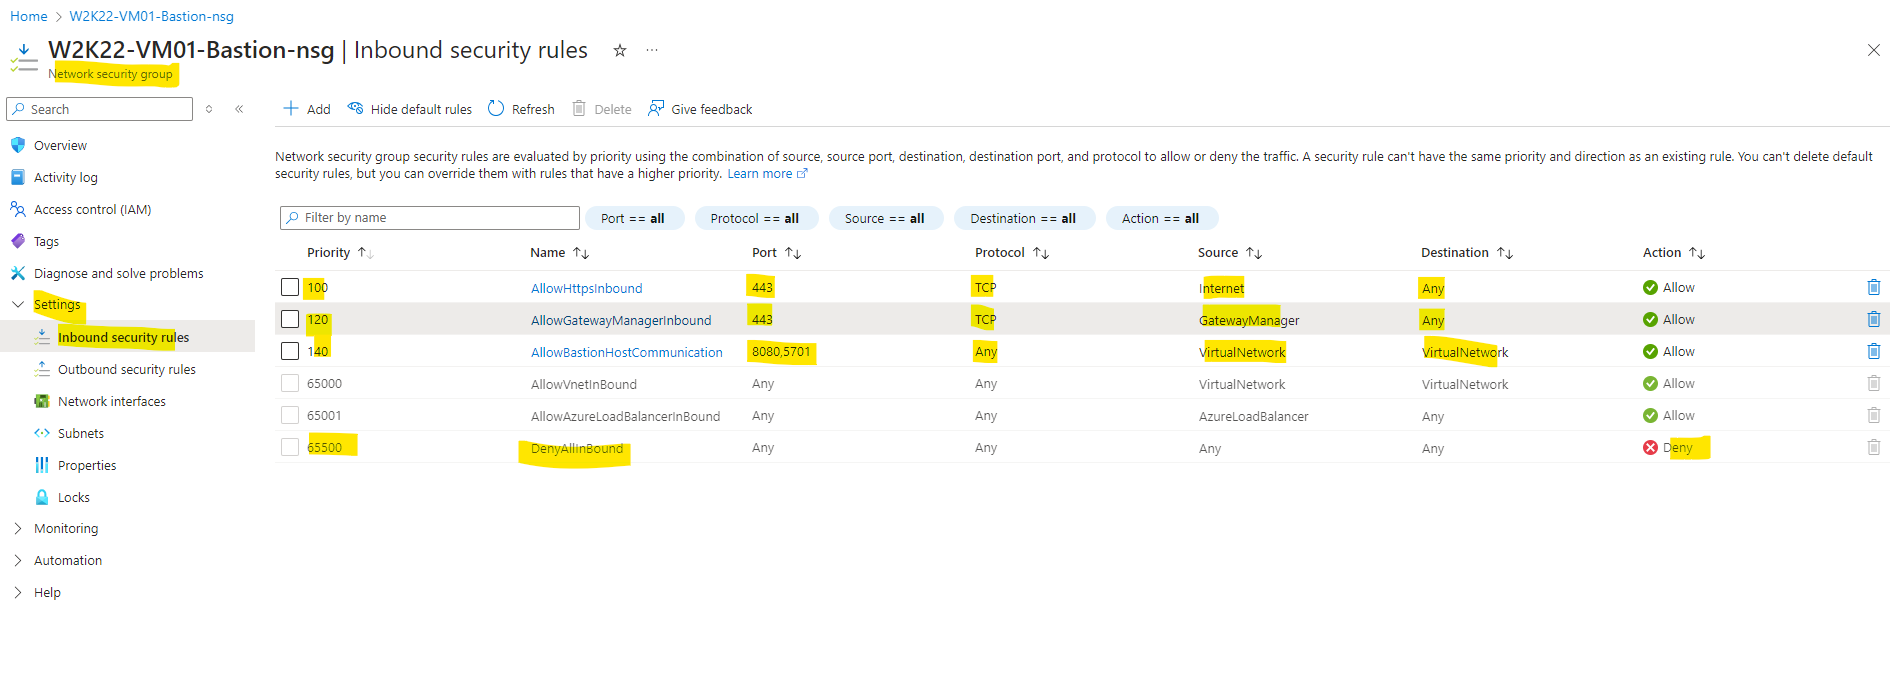
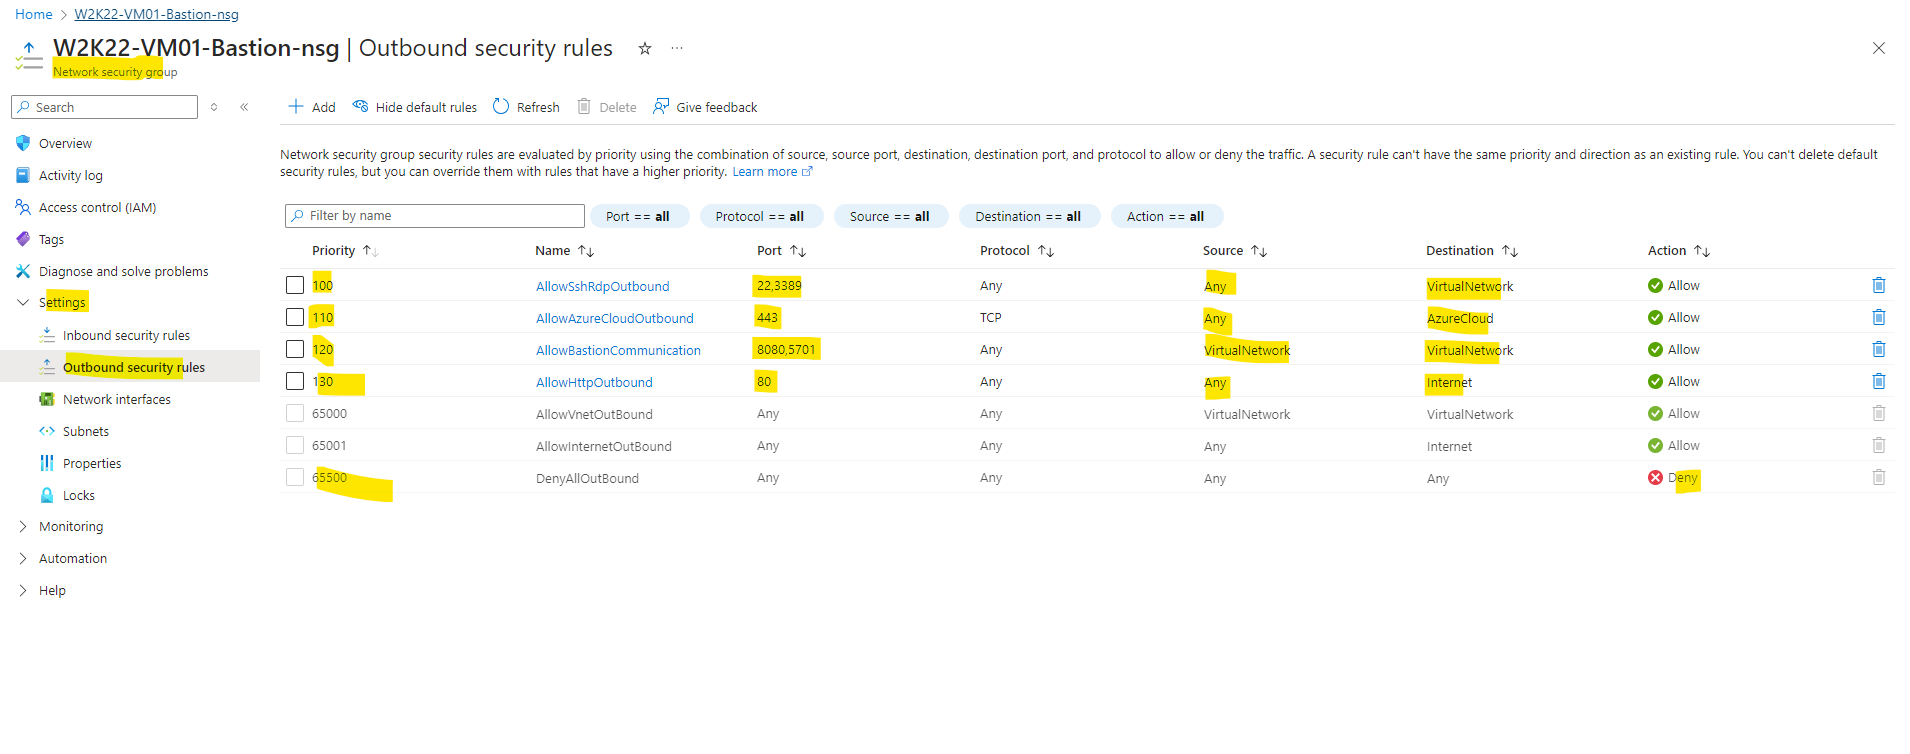
Configure a Network Security Group (NSG) for the Azure Bastion Subnet
Prerequisites for using the native RDP client
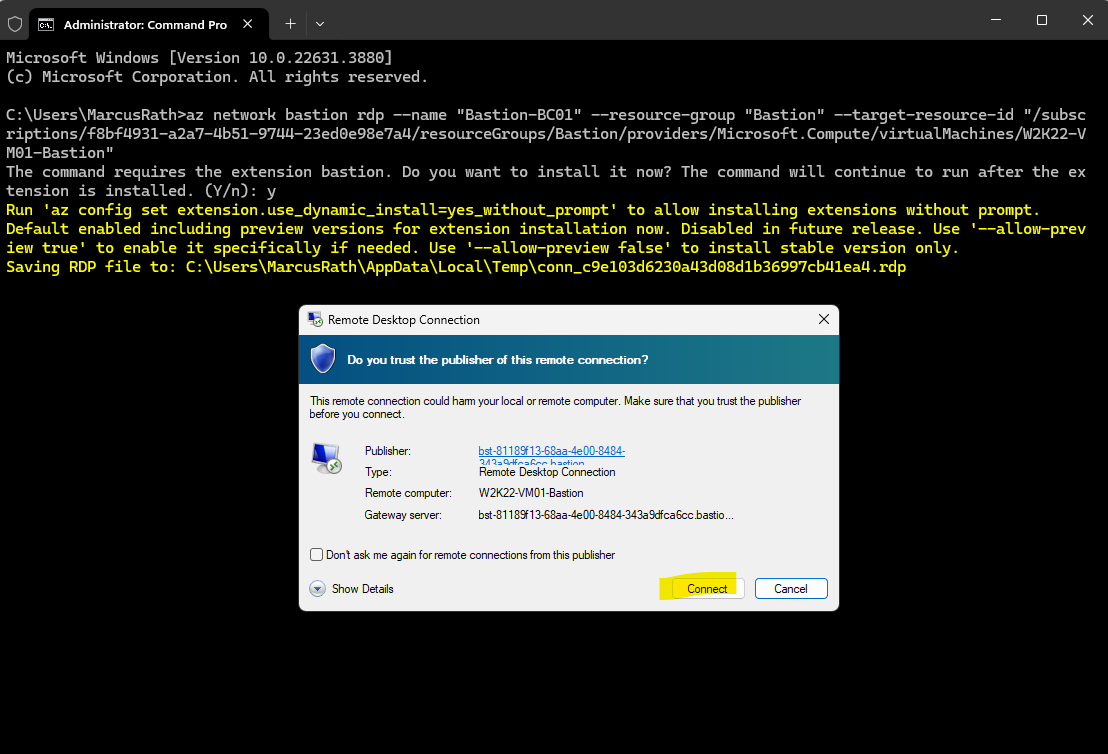
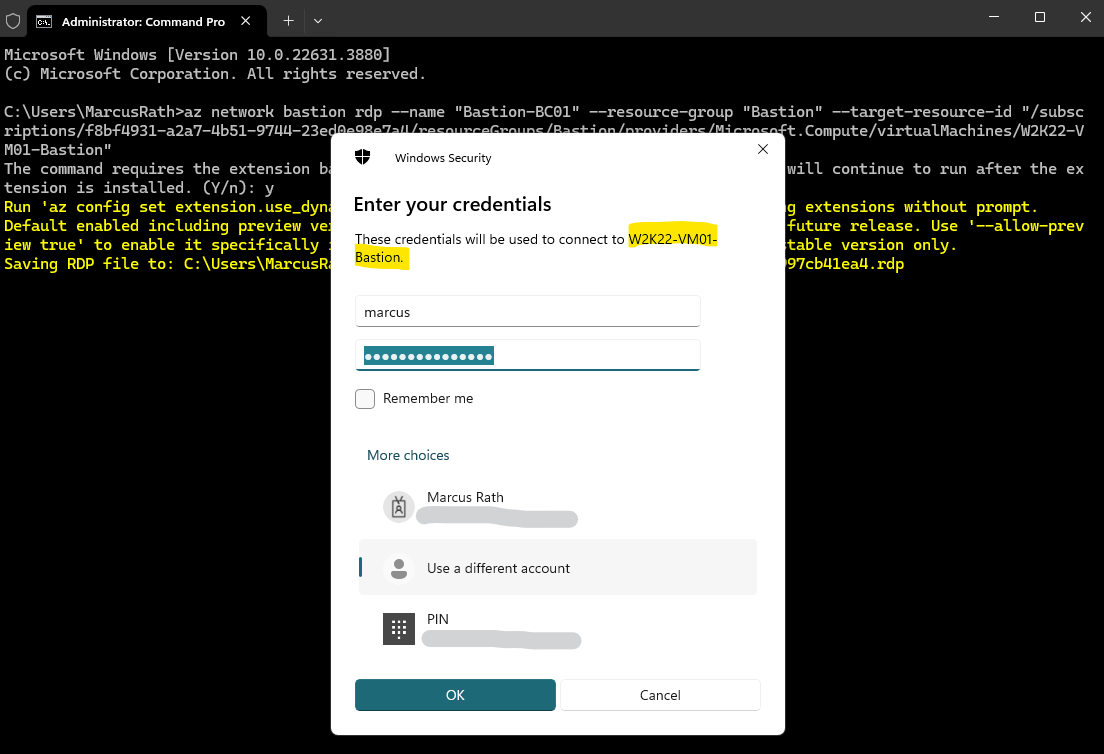
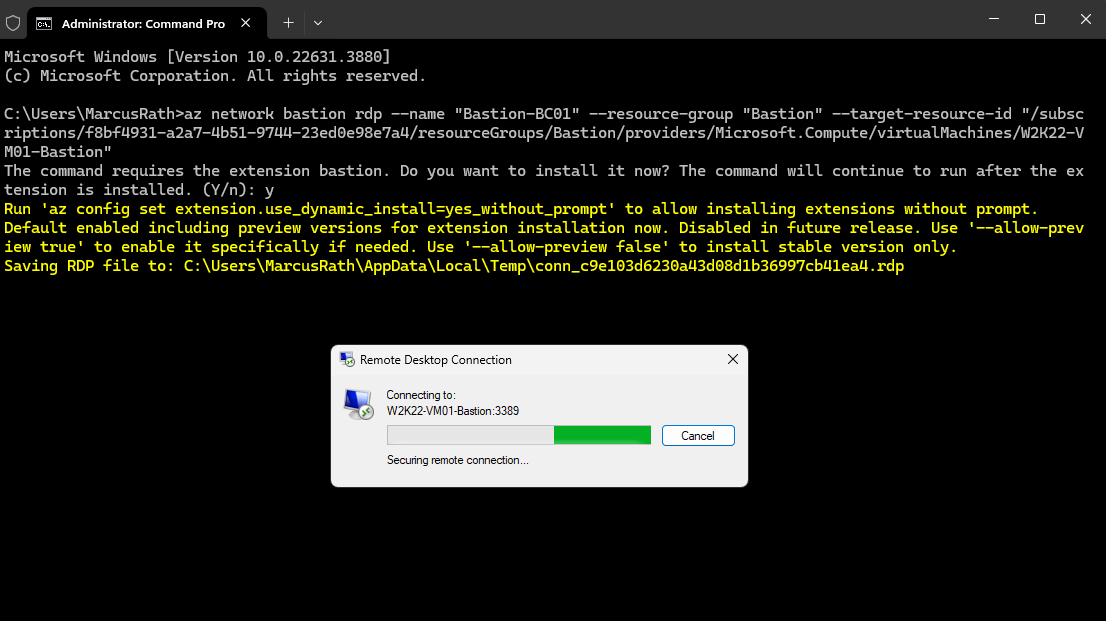
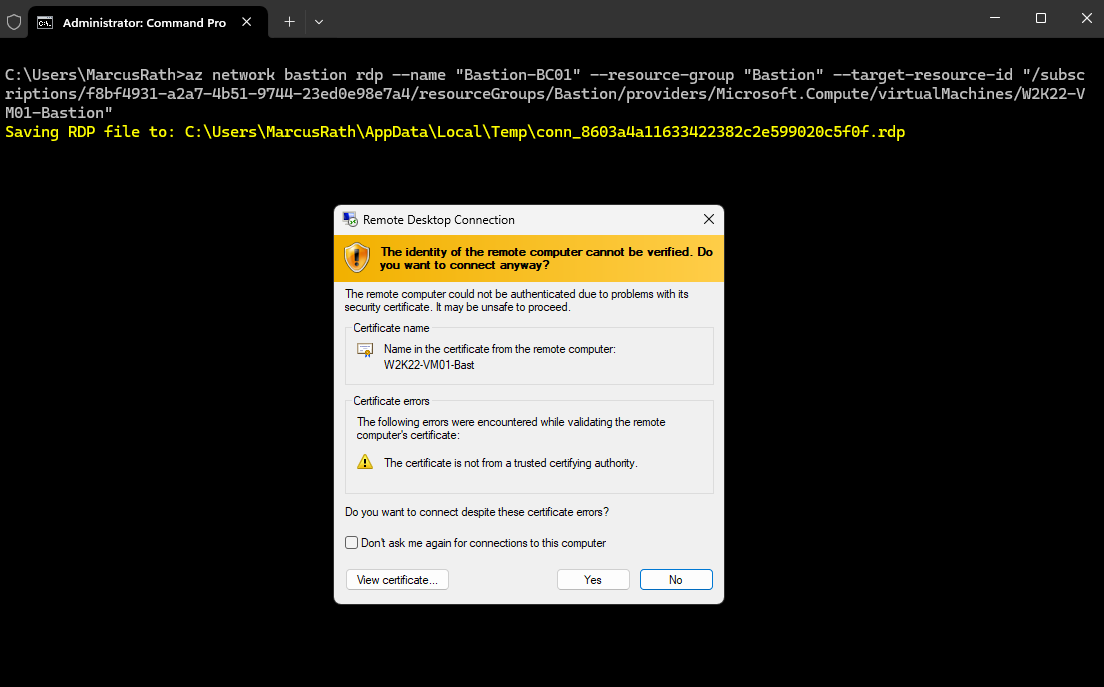
az network bastion rdp --name "<BastionName>" --resource-group "<ResourceGroupName>" --target-resource-id "<VMResourceId>"

az network bastion rdp --name "Bastion-BC01" --resource-group "Bastion" --target-resource-id "/subscriptions/f8bf4931-a2a7-4b51-9744-23ed0e98e7a4/resourceGroups/Bastion/providers/Microsoft.Compute/virtualMachines/W2K22-VM01-Bastion"
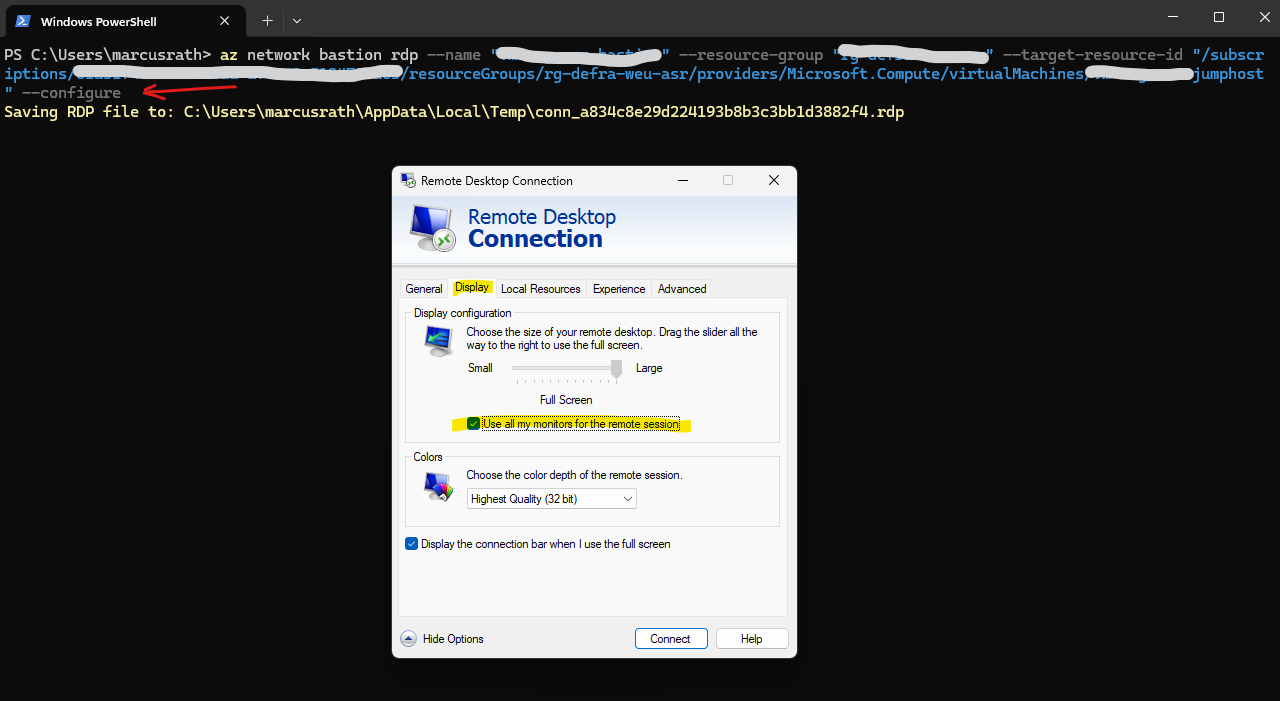
In case you will have multiple monitors, by default the rdp display settings are set to “Use all my monitors for the remote session” and you can’t change this after running the az network bastion rdp command.
In order to disable this setting, we can fortunately use the –configure flag for the az network bastion rdp command like shown below. By using this all configuring tabs on the rdp client are available.
az network bastion rdp --name "<BastionName>" --resource-group "<ResourceGroupName>" --target-resource-id "<VMResourceId>" --configure

az network bastion rdp --name "Bastion-BC01" --resource-group "Bastion" --target-resource-id "/subscriptions/f8bf4931-a2a7-4b51-9744-23ed0e98e7a4/resourceGroups/Bastion/providers/Microsoft.Compute/virtualMachines/W2K22-VM01-Bastion" --configure
Connect to a Linux Virtual Machine via Bastion
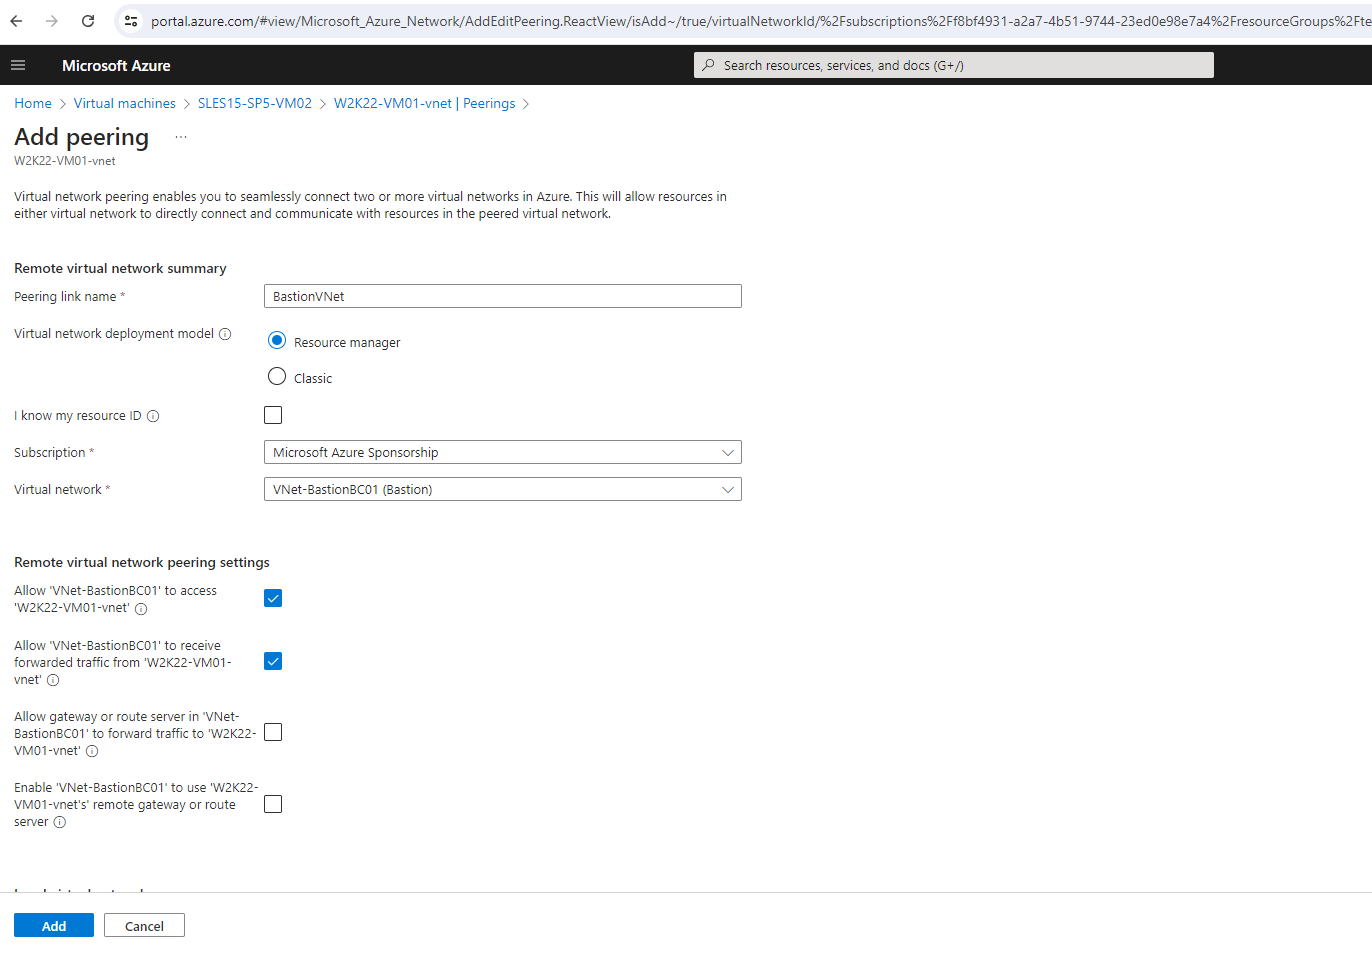
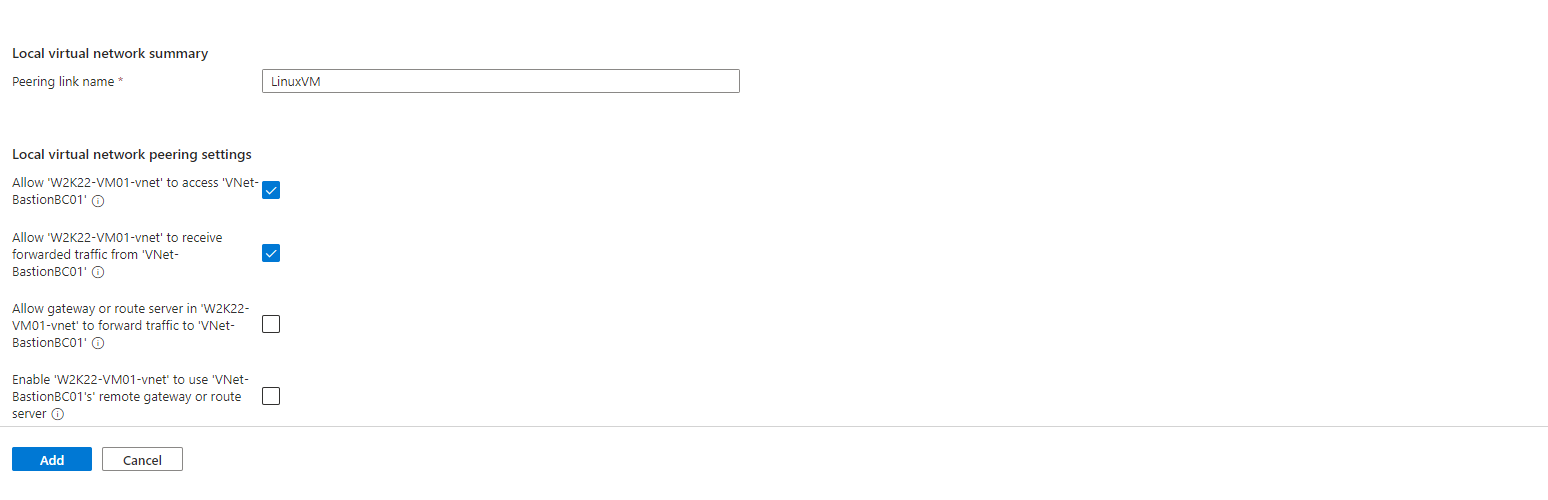
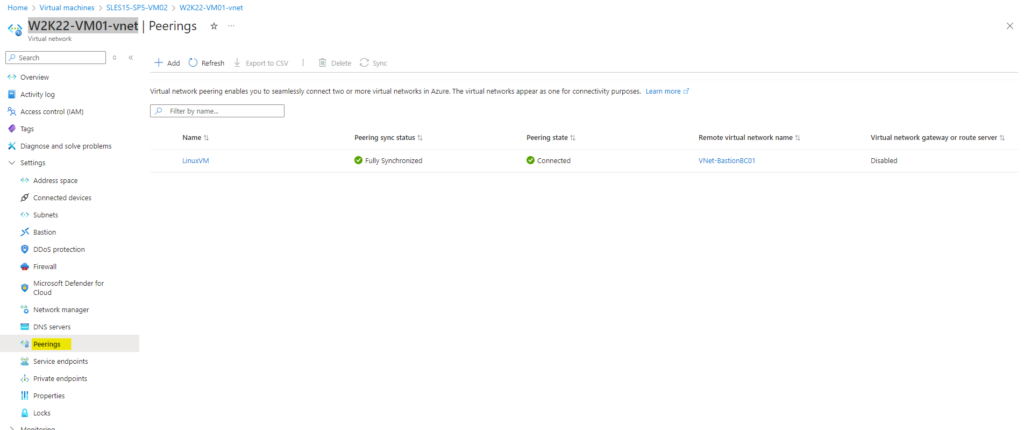
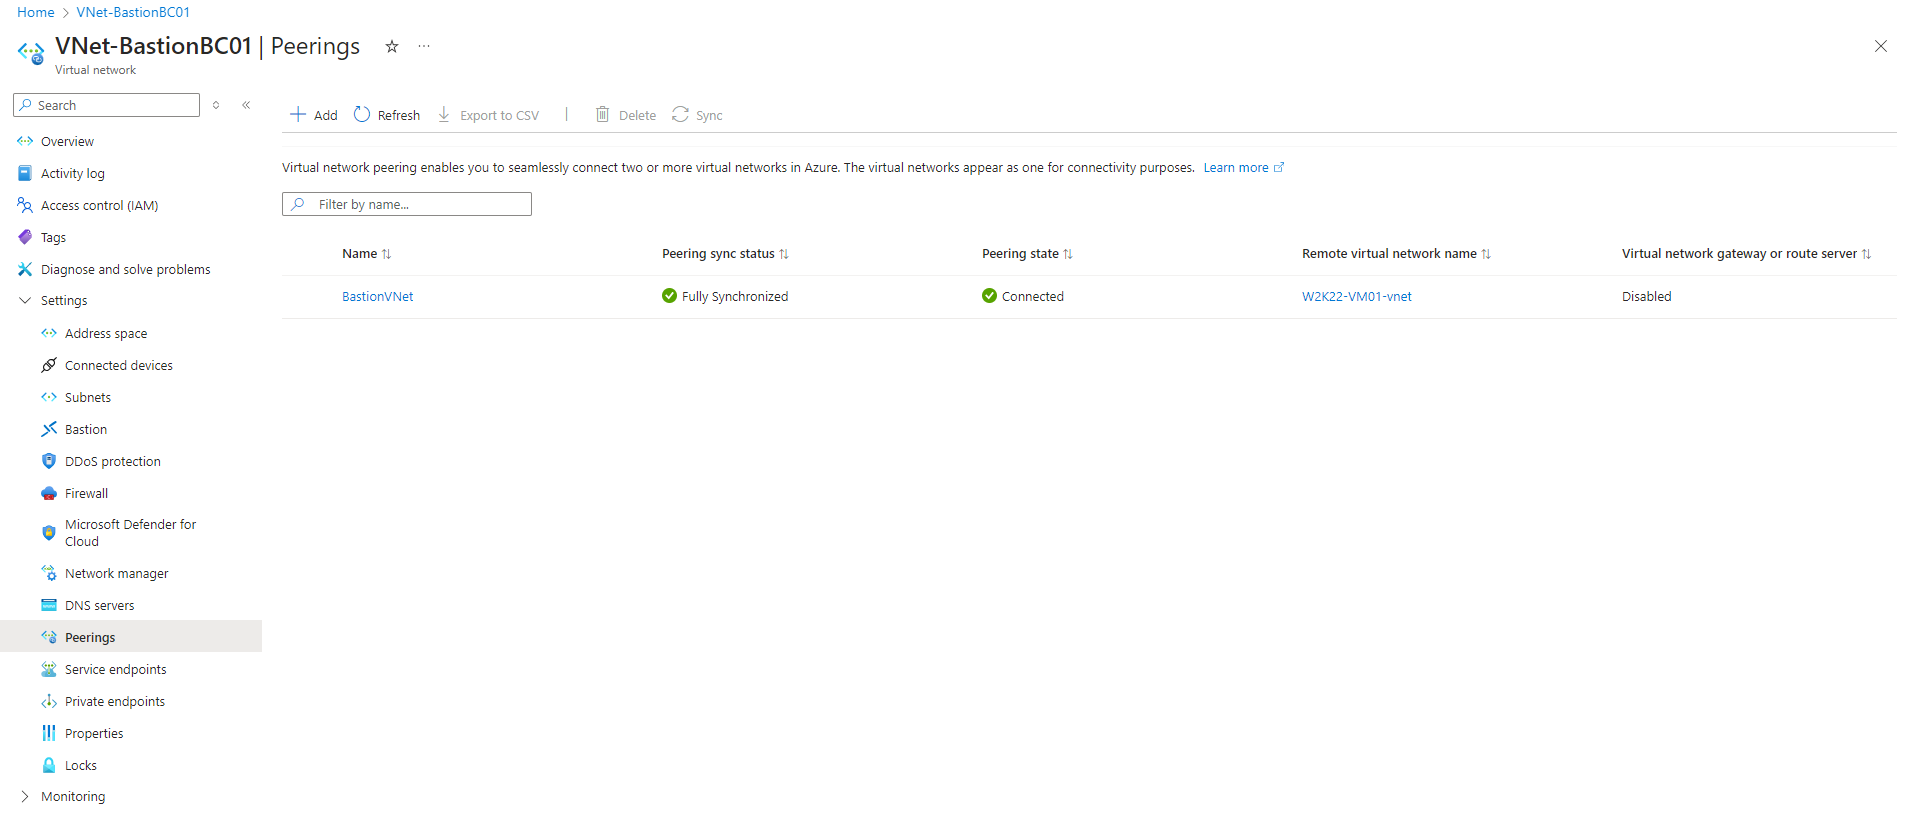
Peering my new Bastion Azure VNet with my existing VNet the Linux VM is running
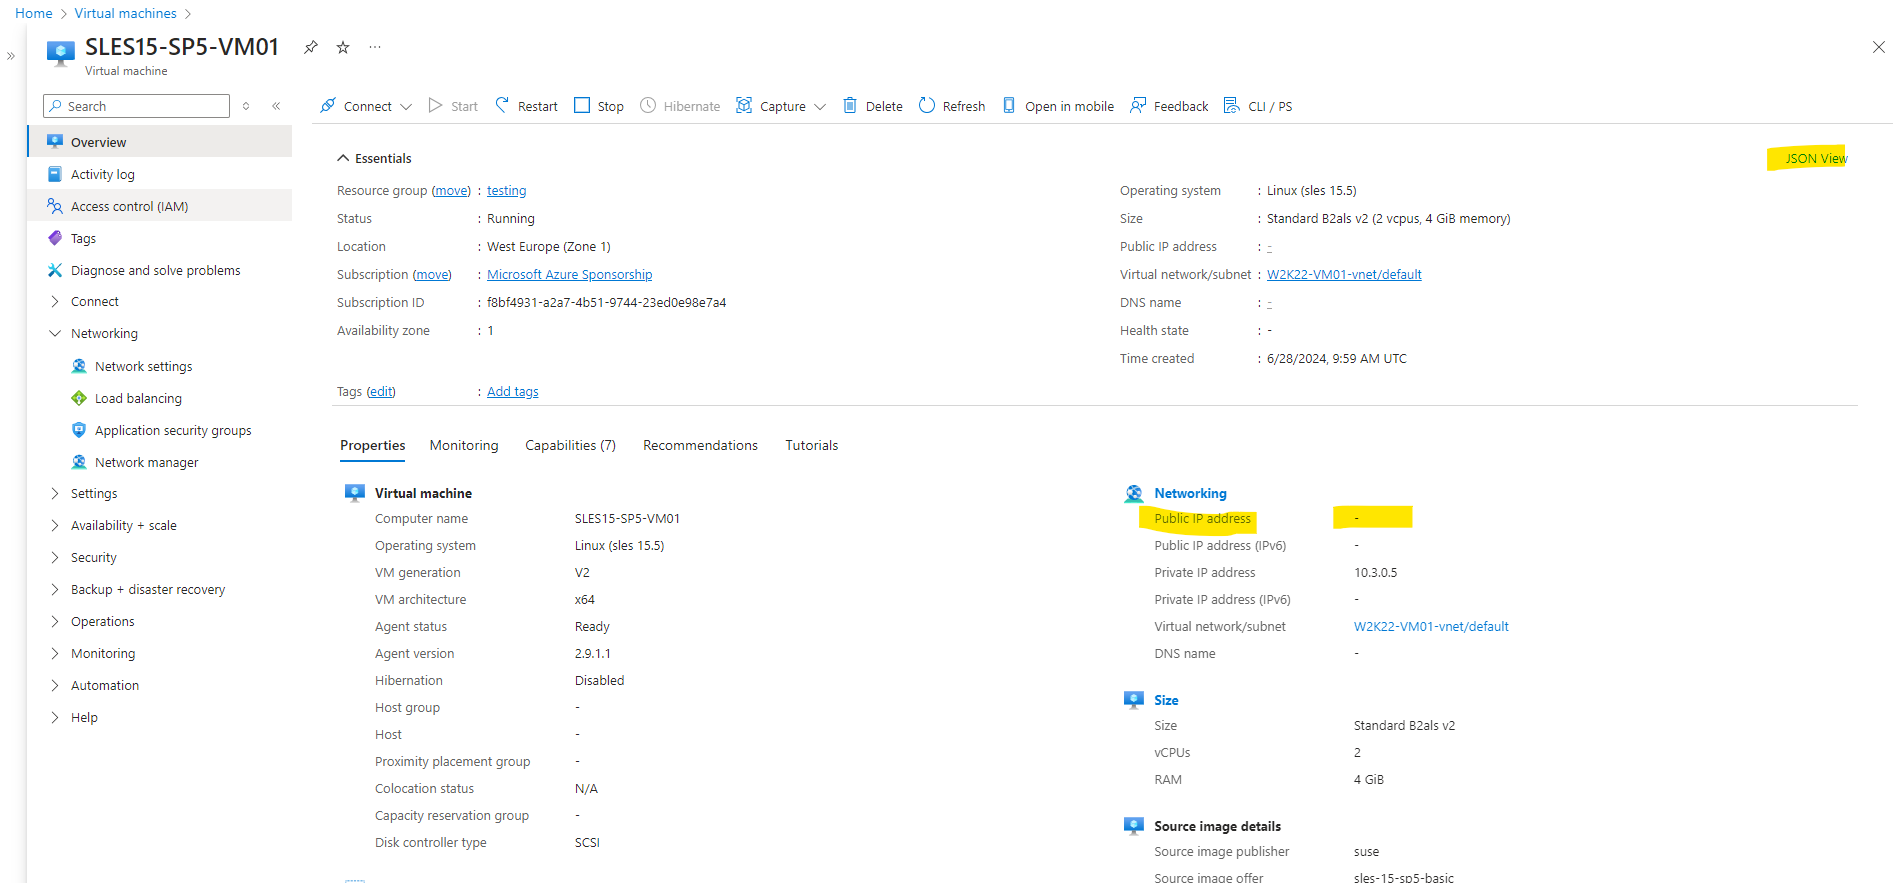
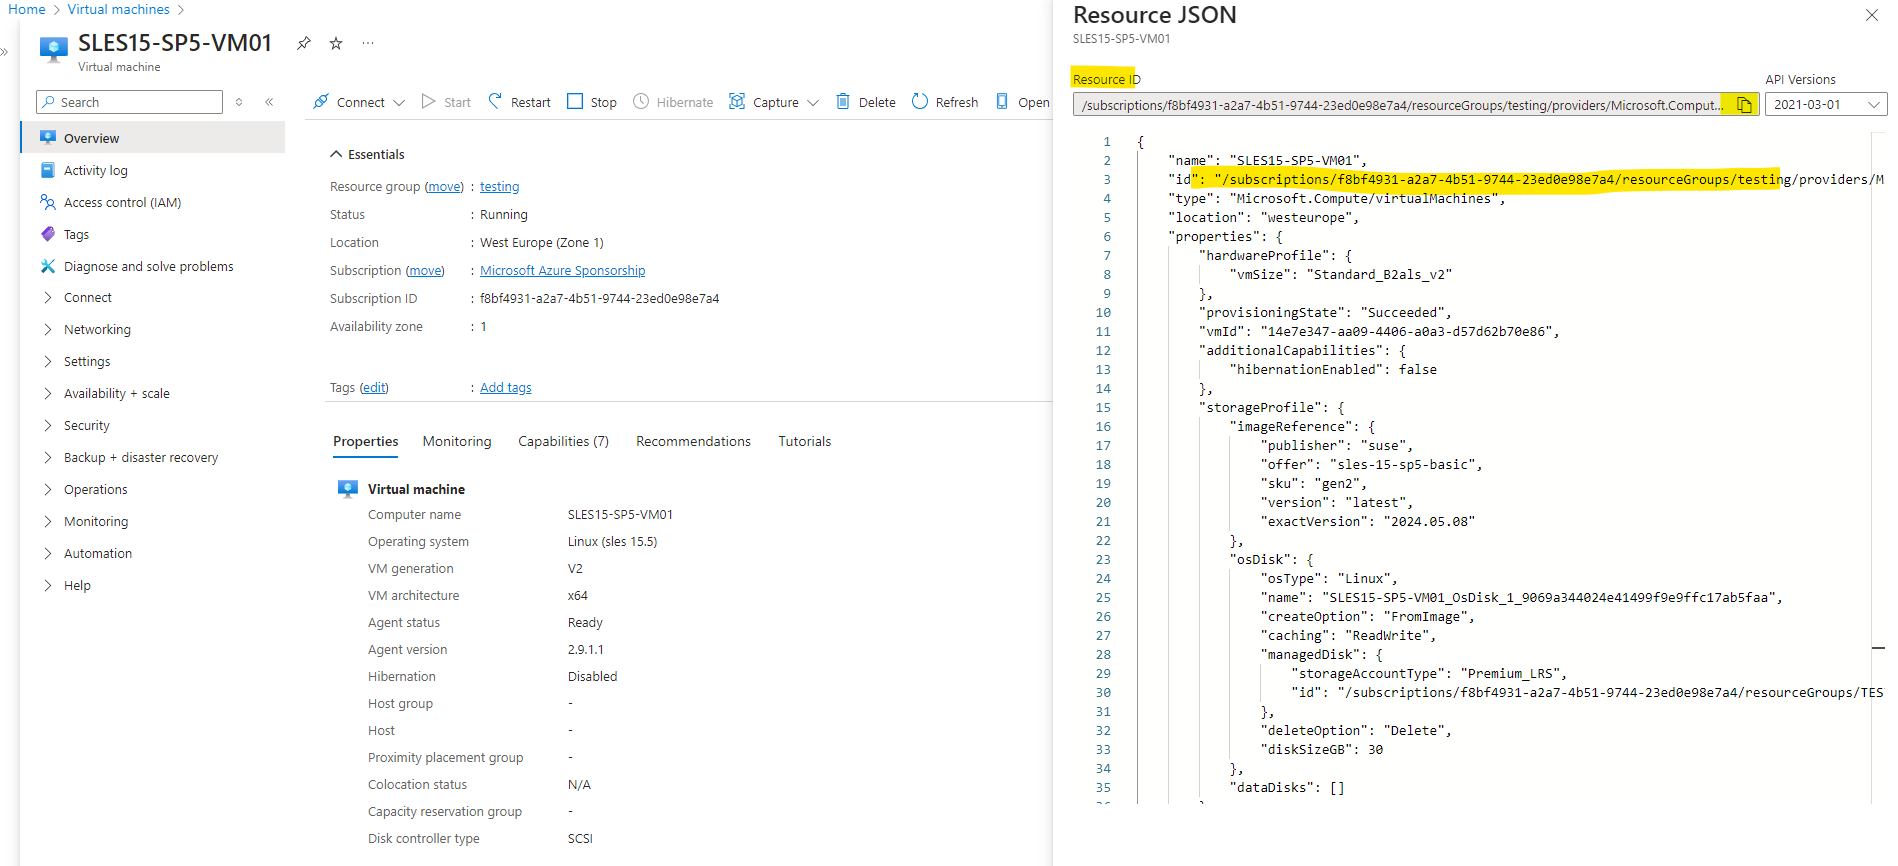
Connect to the Linux Virtual Machine using the Azure Bastion Host
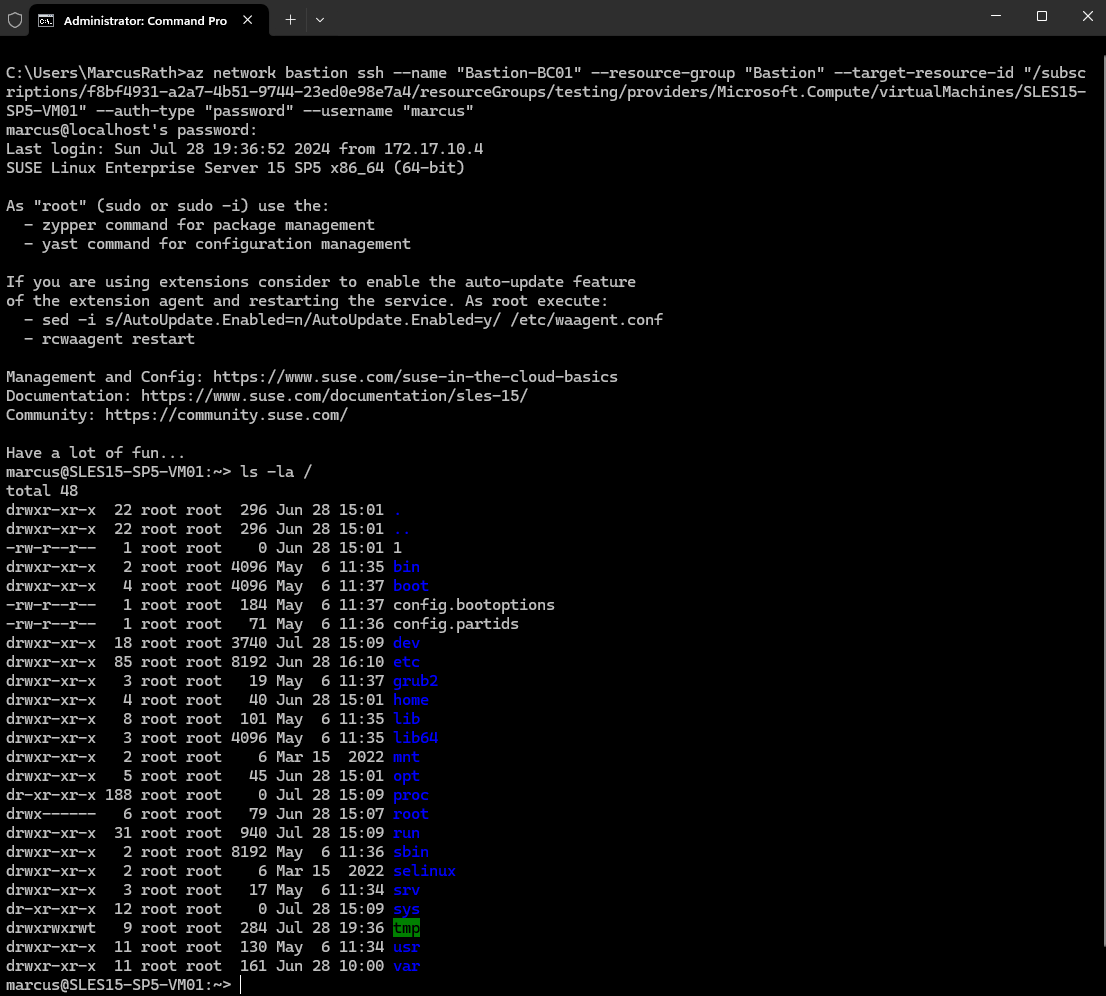
az network bastion ssh --name "<BastionName>" --resource-group "<ResourceGroupName>" --target-resource-id "<VMResourceId or VMSSInstanceResourceId>" --auth-type "password" --username "<Username>"

az network bastion ssh --name "Bastion-BC01" --resource-group "Bastion" --target-resource-id "/subscriptions/f8bf4931-a2a7-4b51-9744-23ed0e98e7a4/resourceGroups/testing/providers/Microsoft.Compute/virtualMachines/SLES15-SP5-VM01" --auth-type "password" --username "marcus"
az extension add -n ssh