Set up Red Hat Enterprise Linux 9.4 Server
In this post I will go through the separate steps to set up a Red Hat Enterprise Linux 9.4 Server which was published on 8th November 2022.
Red Hat® Enterprise Linux® Server is the most popular variant of Red Hat Enterprise Linux. Red Hat Enterprise Linux Server is the operating system: incredibly simple to control, easy to administer, and can be deployed on physical hardware systems, on virtual machines, or in the cloud—wherever it’s needed. It serves as a foundation in IT infrastructure supporting all major hardware platforms (x86, ARM, POWER and Z) and thousands of commercial and custom applications.
Source: https://www.redhat.com/en/technologies/linux-platforms/enterprise-linux/server
Installation
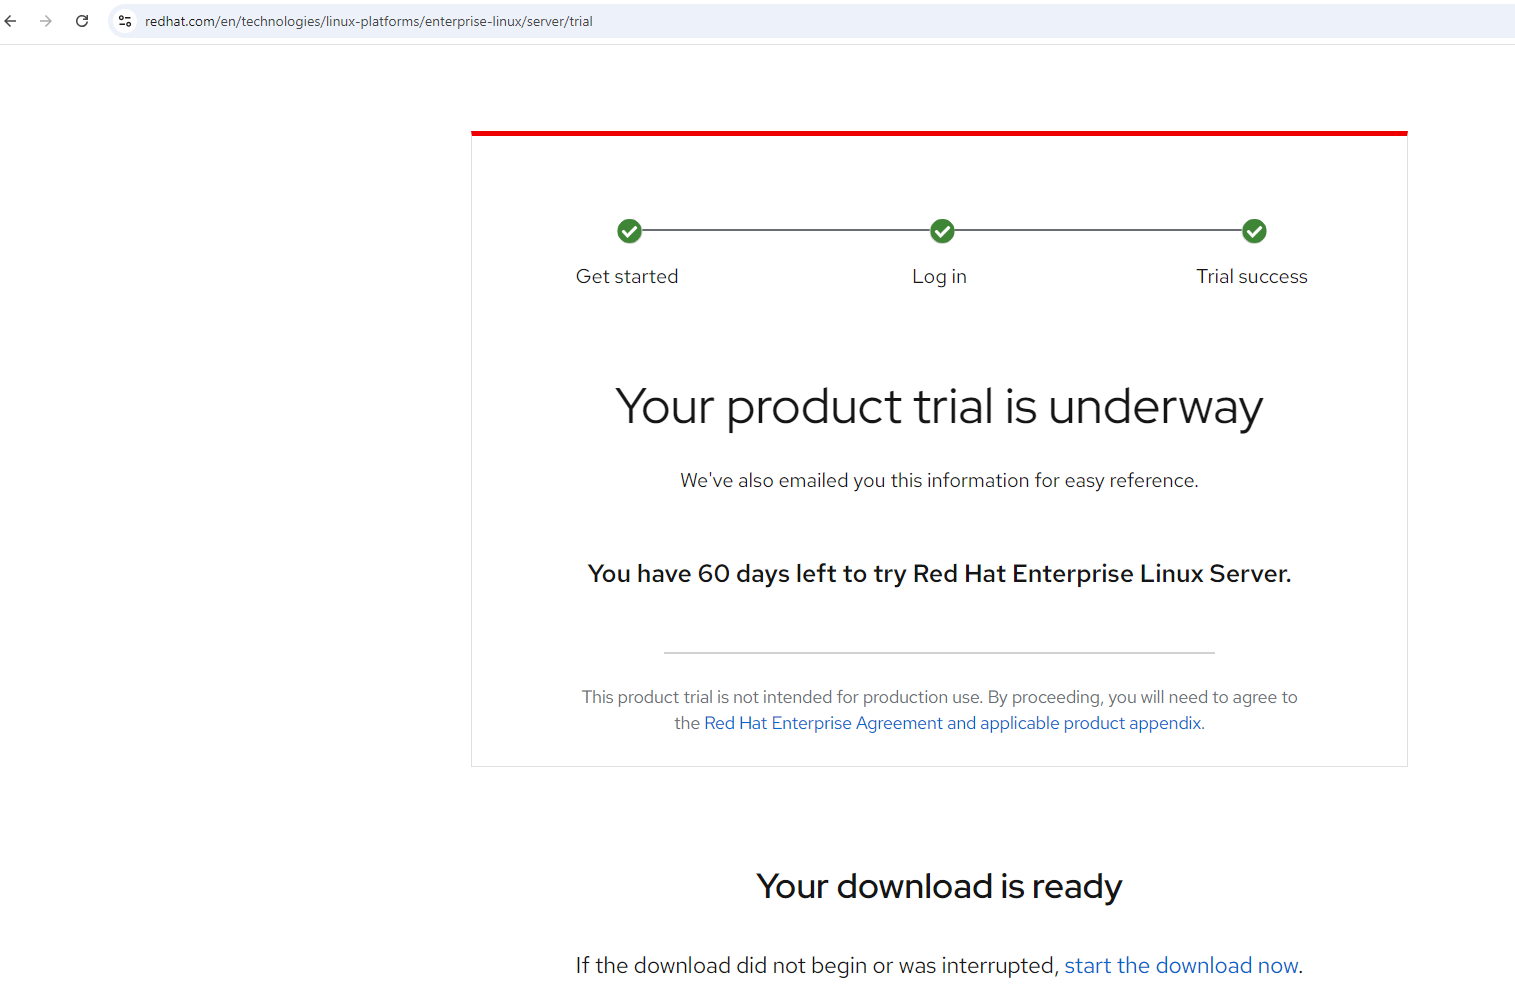
When you create an account at Red Hat you can request a trial version for 60 days which can be connected (registered) to Red Hat to gain access to updates and support.
Product Trial
https://www.redhat.com/en/technologies/linux-platforms/enterprise-linux/server/trial
Red Hat® product trials offer all the benefits included in a Red Hat subscription. But Red Hat product trials are more than just access to the latest code. They provide access to all versions of the software, to patches and other software updates.
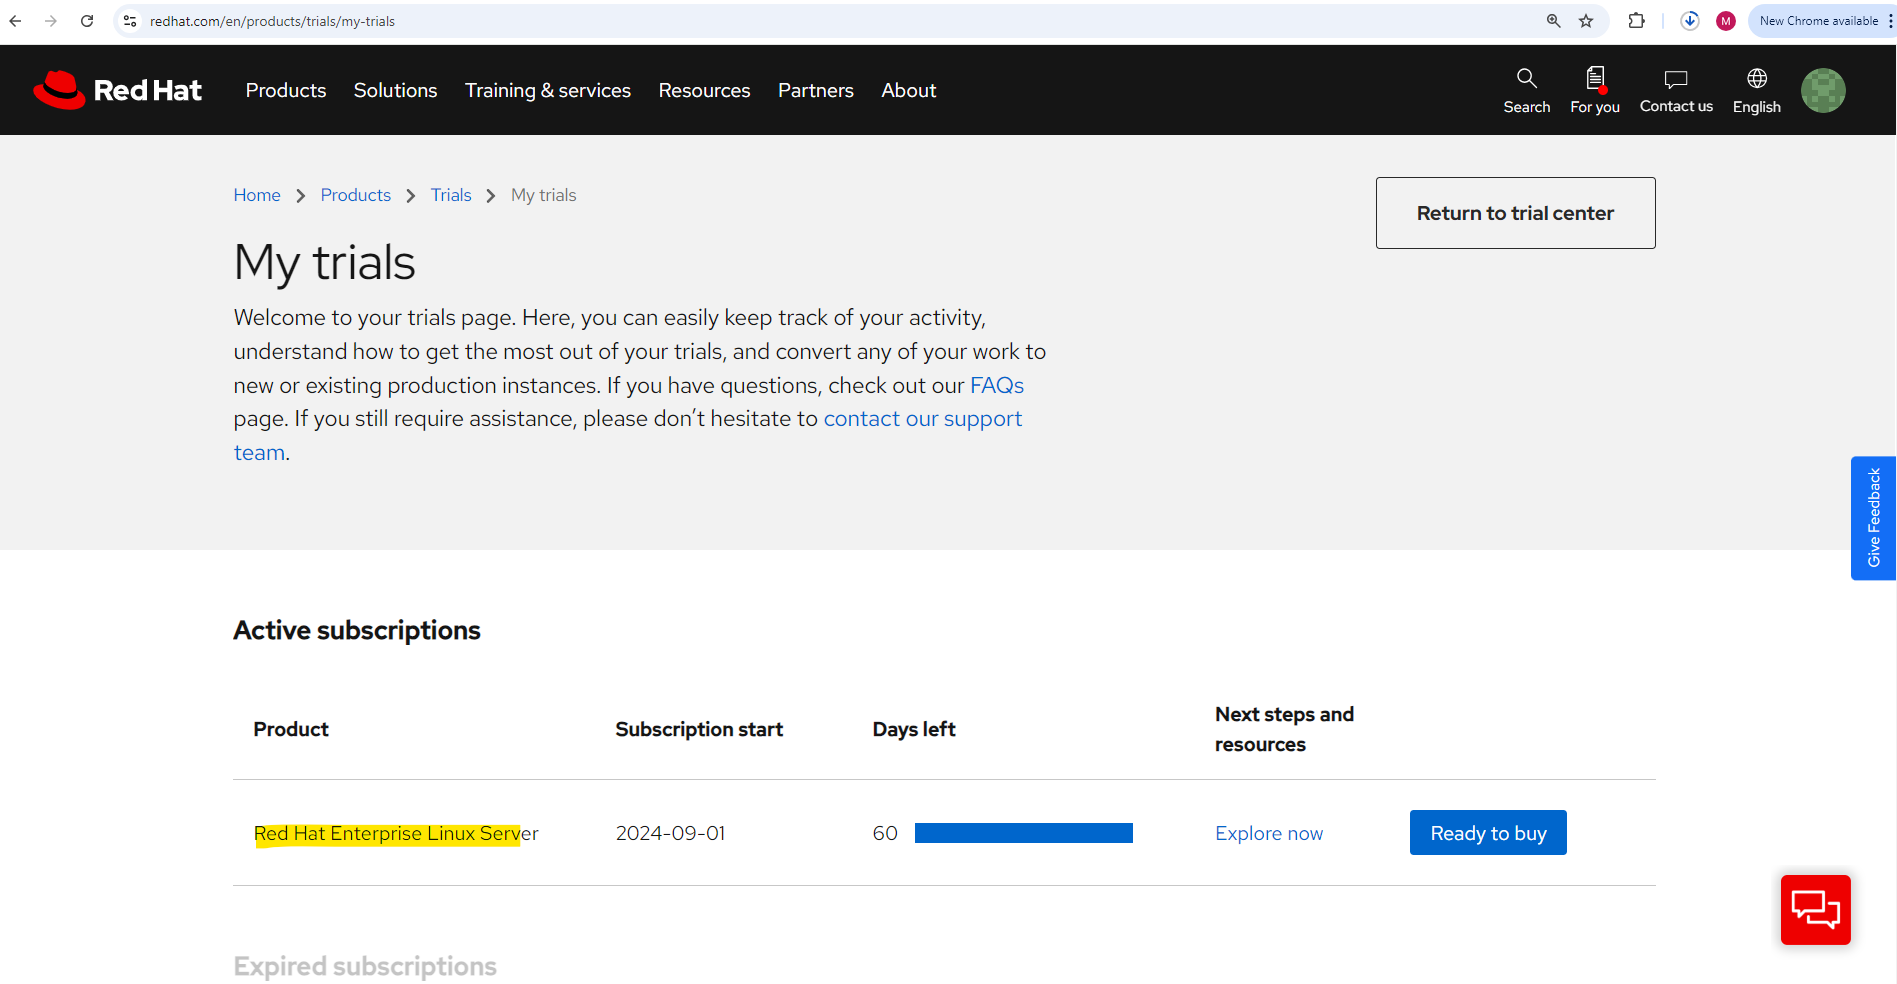
Manage all your current Red Hat product trials in one place! To see which trials you have in progress, how much time is left on each, and other available learning experiences, visit the My Trials page.
Installing Using Anaconda
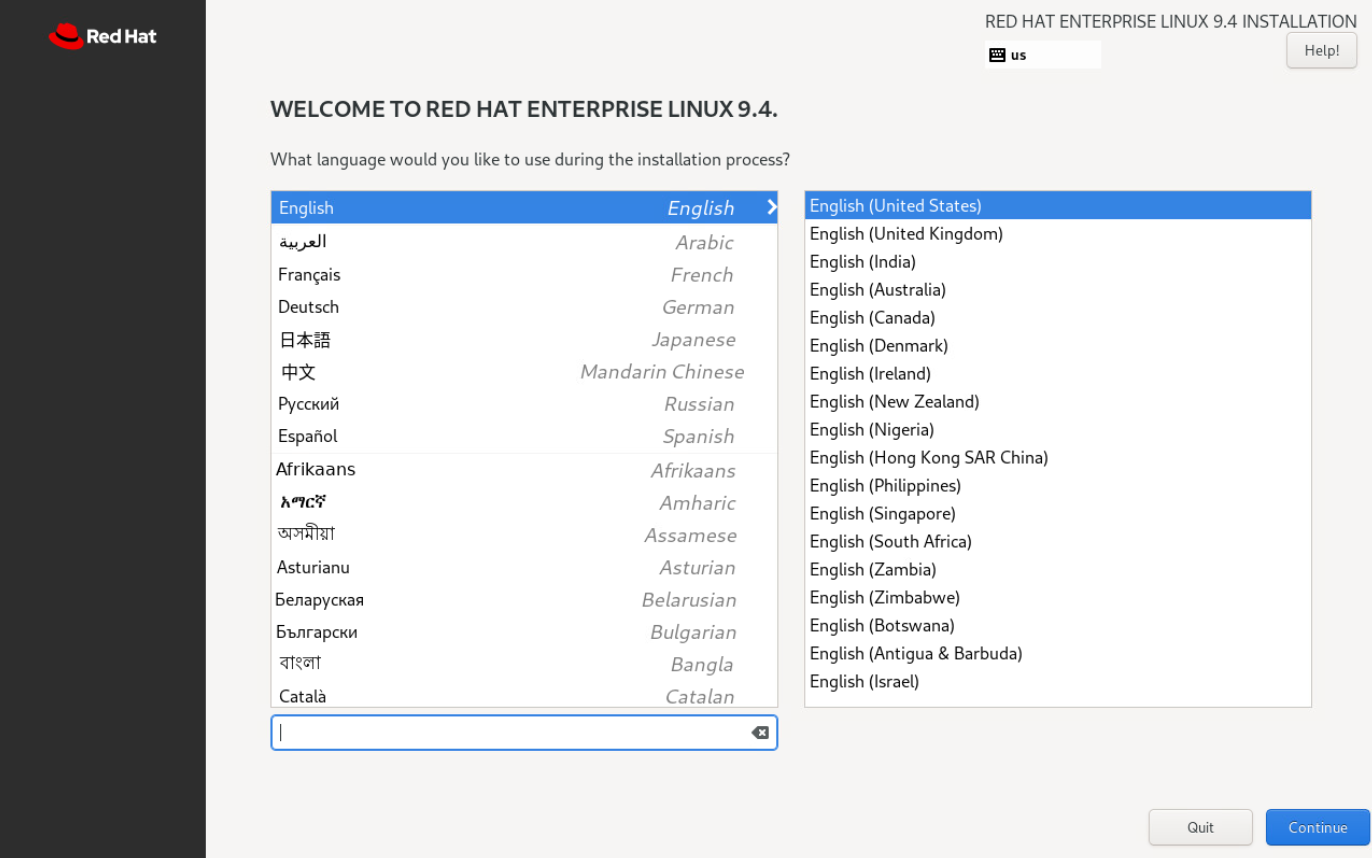
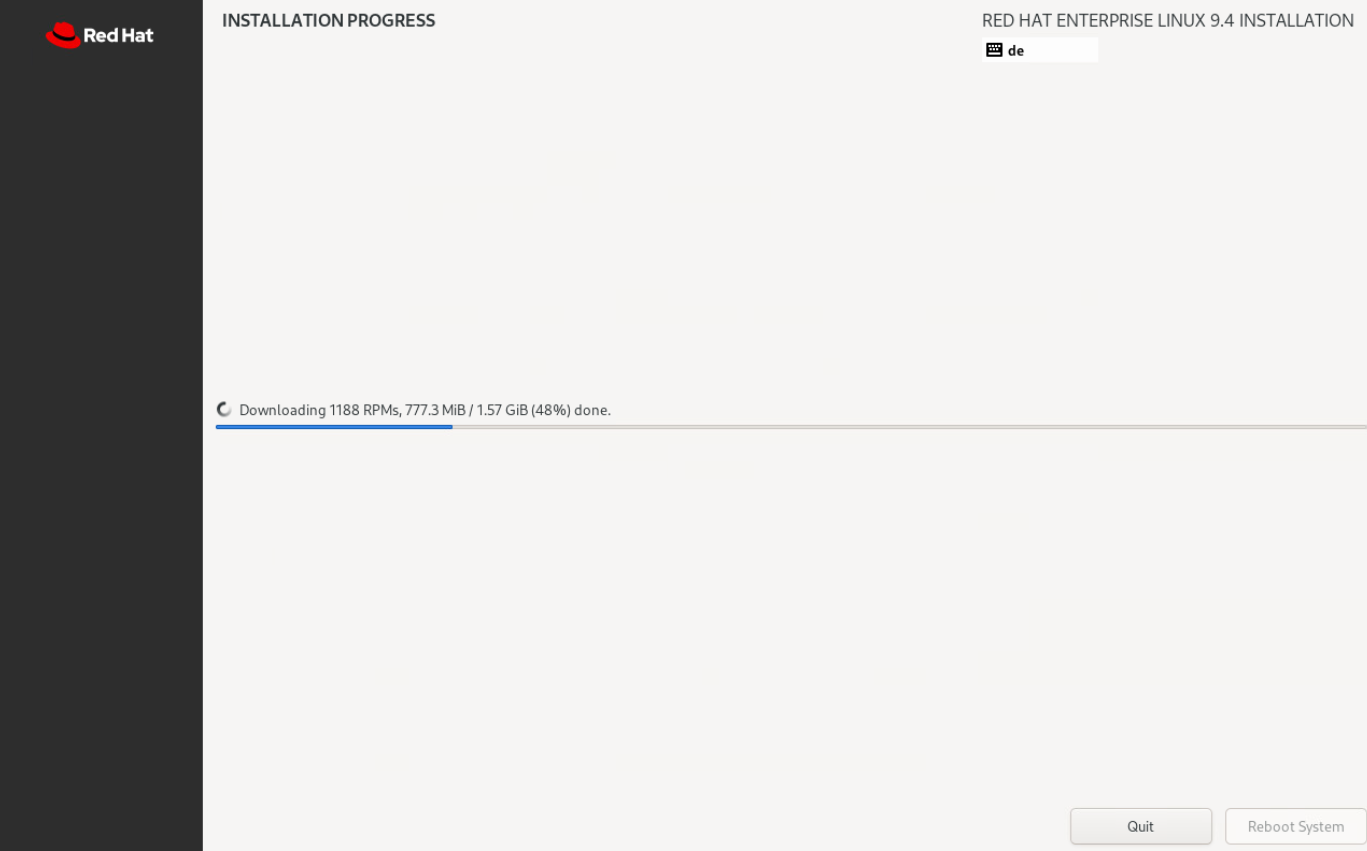
The Red Hat Enterprise Linux installer, Anaconda, is different from most other operating system installation programs due to its parallel nature. Most installers follow a fixed path: you must choose your language first, then you configure network, then installation type, then partitioning, and so on. There is usually only one way to proceed at any given time.In Anaconda you are only required to select your language and locale first, and then you are presented with a central screen, where you can configure most aspects of the installation in any order you like. This does not apply to all parts of the installation process, however – for example, when installing from a network location, you must configure the network before you can select which packages to install.
As mentioned, when using the Anaconda installer its only required to select your language and locale first
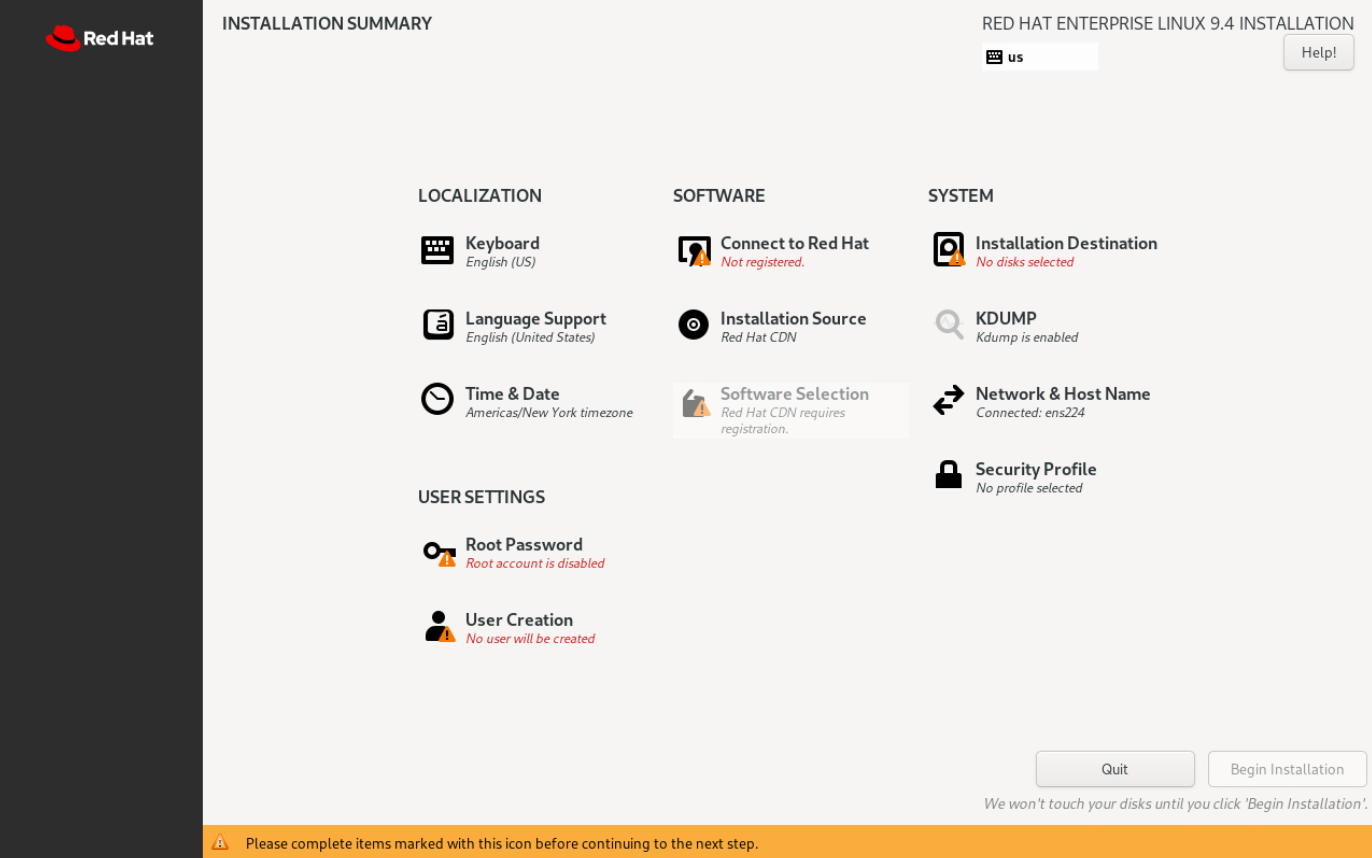
Below we are presented with a central screen as mentioned, where we can configure most aspects of the installation in any order we like.
Below you can also see that as mentioned to the beginning, we first need to connect (register) our OS to Red Hat in order to be able to select the software packages we want to install. Therefore we also first need to configure our network.
Red Hat CDN requires registration.
Registering the host to Red Hat Content Delivery Network enables the host to subscribe to and consume content for any subscriptions available to the user. This includes content such as Red Hat Enterprise Linux, Red Hat Software Collections (RHSCL), and Red Hat Satellite.
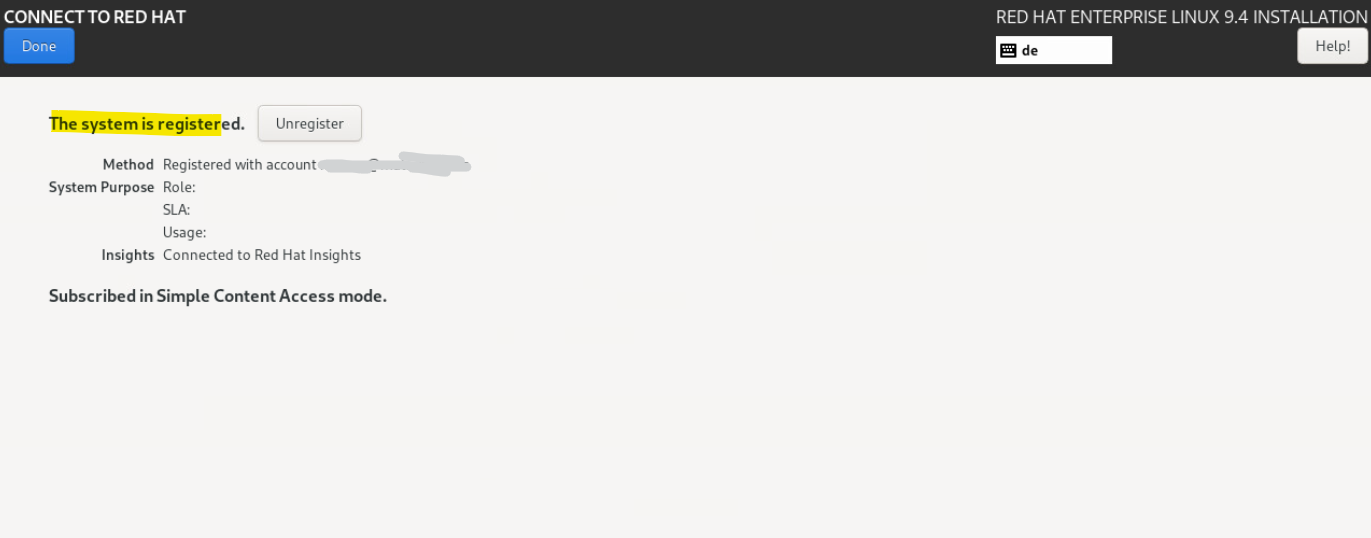
For the trial version we can authenticate to Red Hat by using our account below.

The system is now registered to Red Hat.
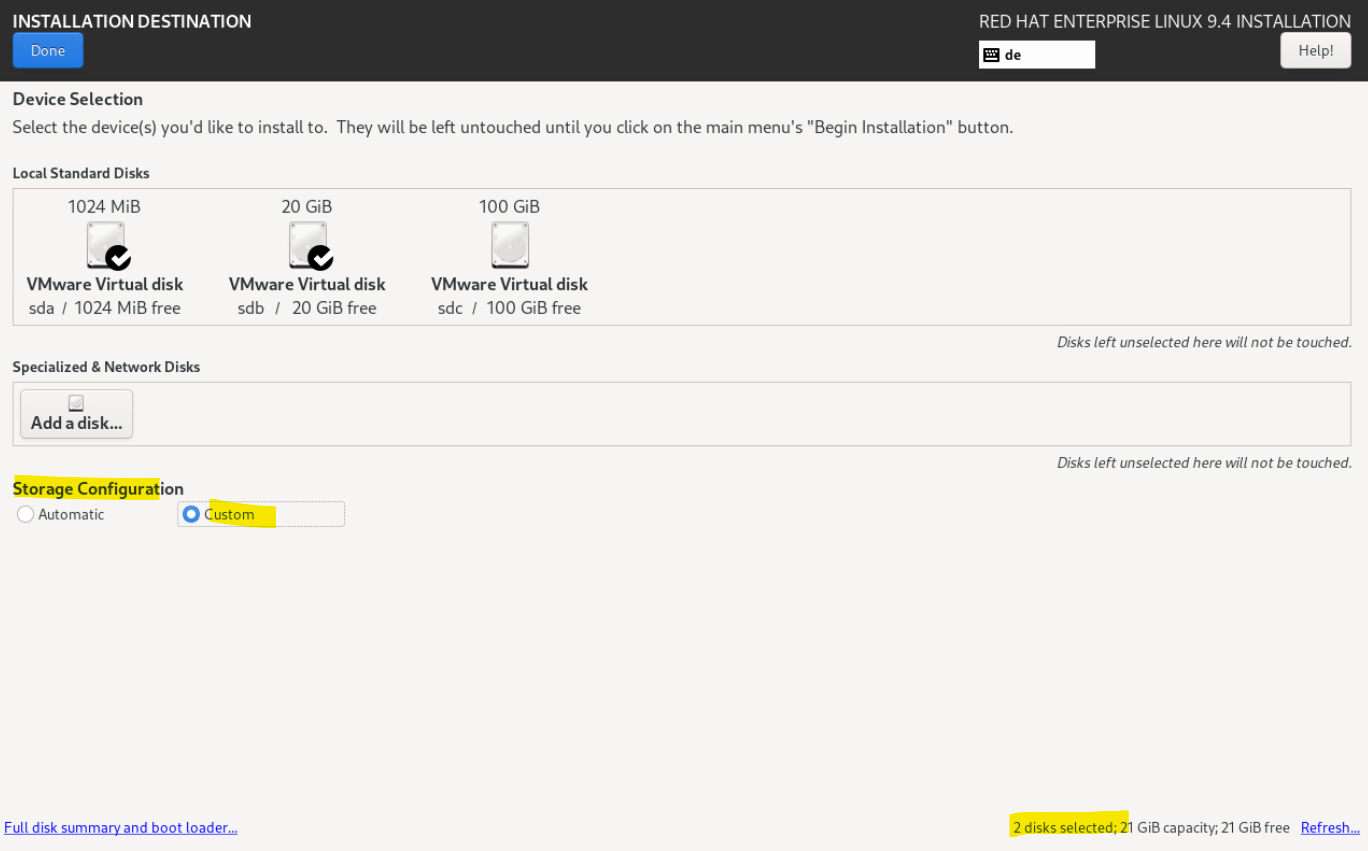
For the storage configuration we will have three virtual disks (configured in vSphere for this virtual machine). I want to use the first 1 GiB disk for the boot loader, the second disk with 20 GiB for the root file system and the last 100 GiB disk for data.
Therefore for the installation I need to select the first two disks below. For storage configuration I will have to select custom to configure this desired layout. The last disk for the data I will configure later after finishing the OS installation.
Recommended Partitioning Scheme
https://docs.redhat.com/en/documentation/red_hat_enterprise_linux/6/html/installation_guide/s2-diskpartrecommend-x86#idm140491990747664
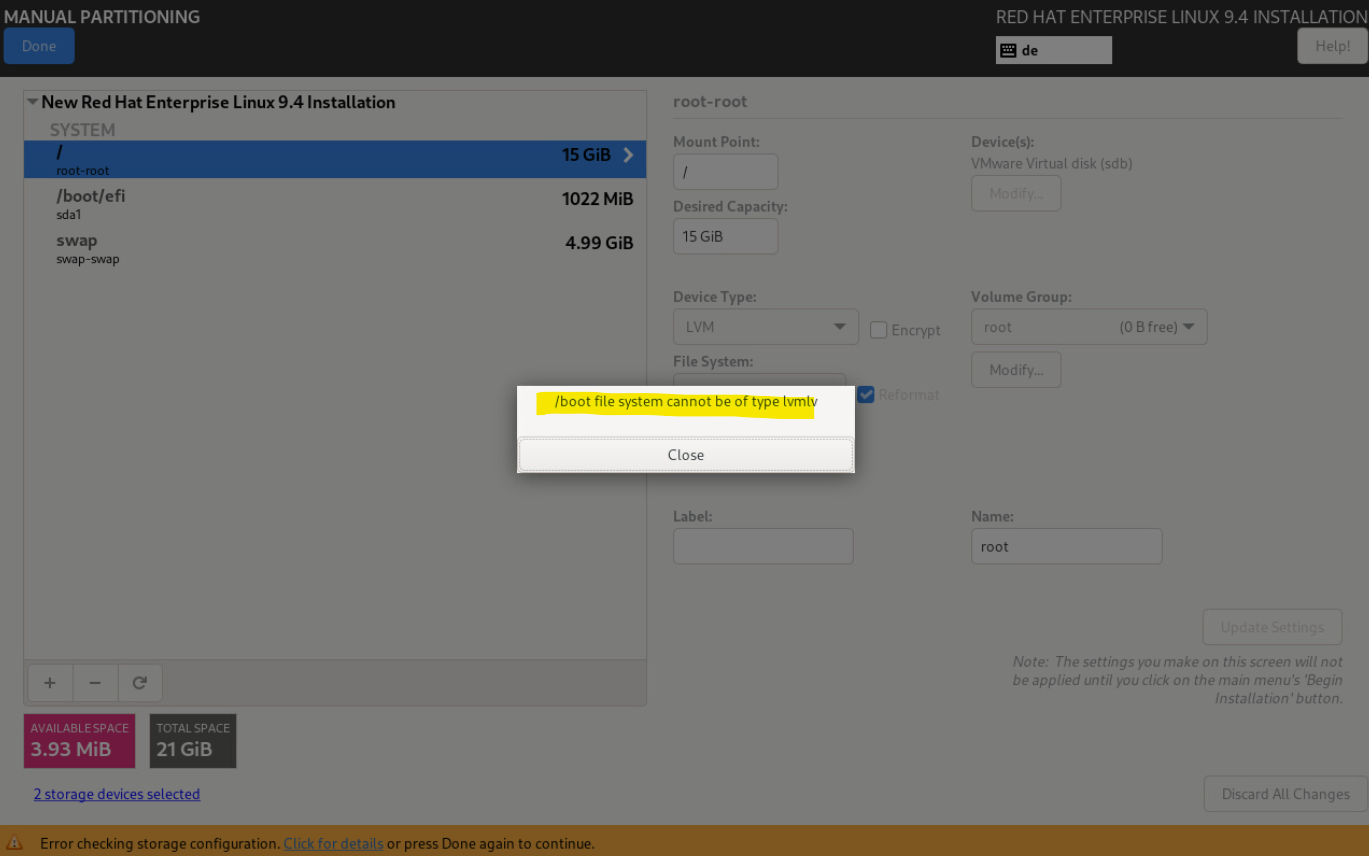
Below I was configuring for the EFI System Partition /boot/efi the dedicated 1 GiB disk (sda). The root and swap partition I was creating to be managed by the logical volume manager (LVM).
Usually the /boot directory will be created by default within the root file system, in Red Hat Linux Enterprise 9.4 this seems to not work when the root file system is configured for LVM regarding the screenshot below.
As workaround I created a dedicated standard partition (sdb1) and file system on the second disk with 1 GiB just exclusively for the /boot directory.
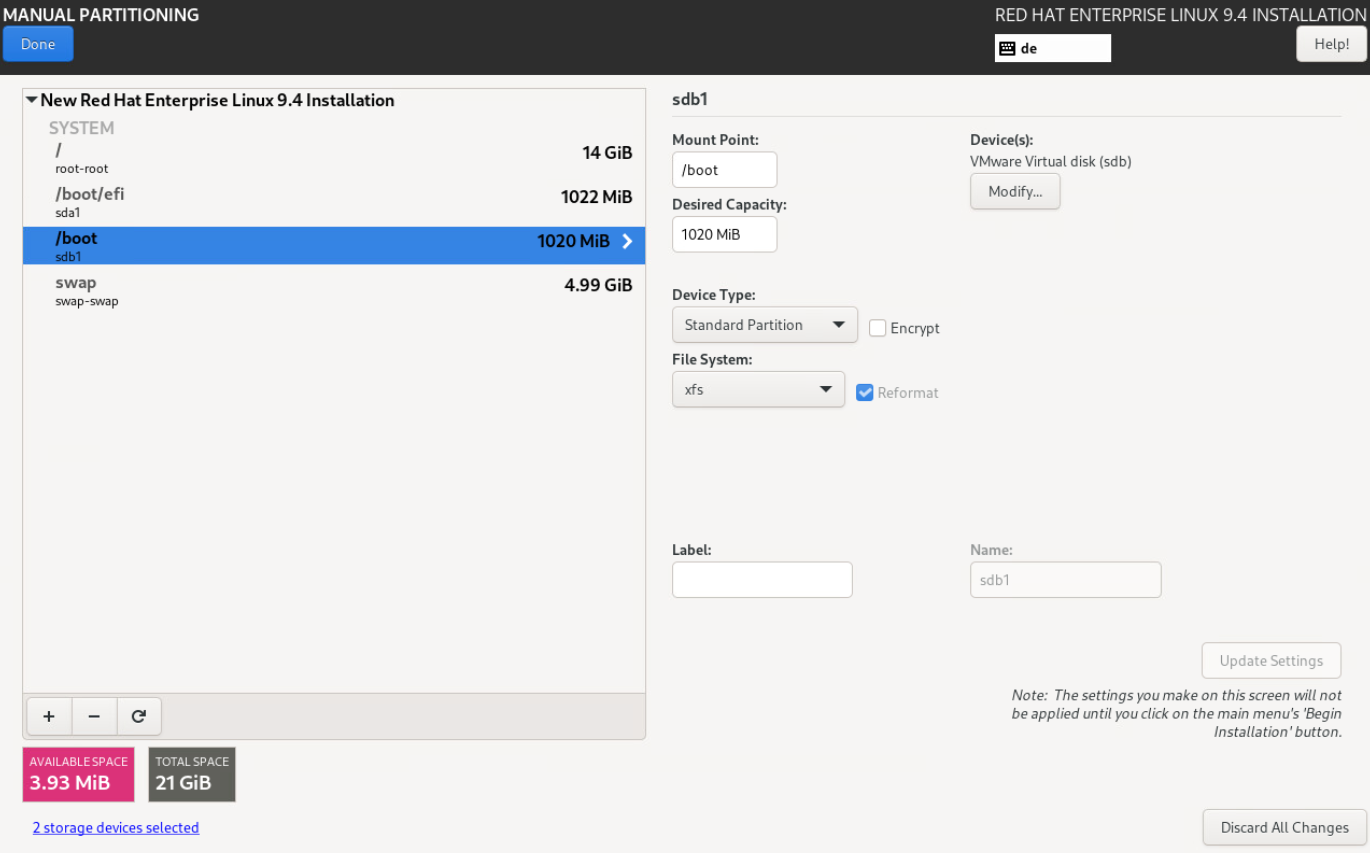
The partitioning scheme later looks like this here. Here you can see that the above root / volume is also places as mentioned on the second disk sdb with 20 GB. This disk will have two partitions (sdb1 & sdb2), on sdb1 is placed the /boot directory as mentioned and on the second partition sdb2 the root / volume.
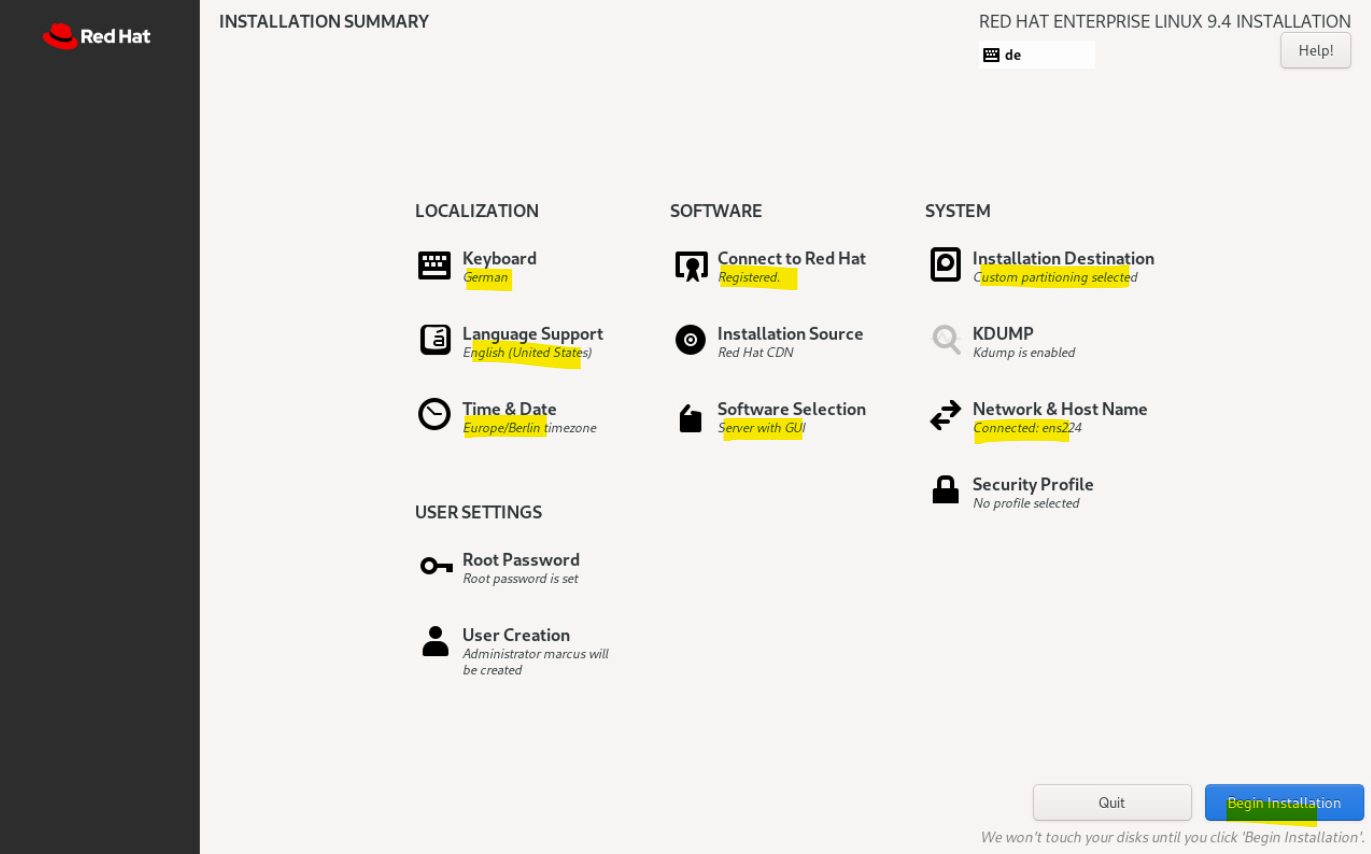
Under Software Selection I will install the server with GUI.

KDUMP (shown in the central screen below) is a feature of the Linux kernel that creates crash dumps in the event of a kernel crash. When triggered, kdump exports a memory image (also known as vmcore) that can be analyzed for the purposes of debugging and determining the cause of a crash. The dumped image of main memory, exported as an Executable and Linkable Format (ELF) object, can be accessed either directly through /proc/vmcore during the handling of a kernel crash, or it can be automatically saved to a locally accessible file system, to a raw device, or to a remote system accessible over network.
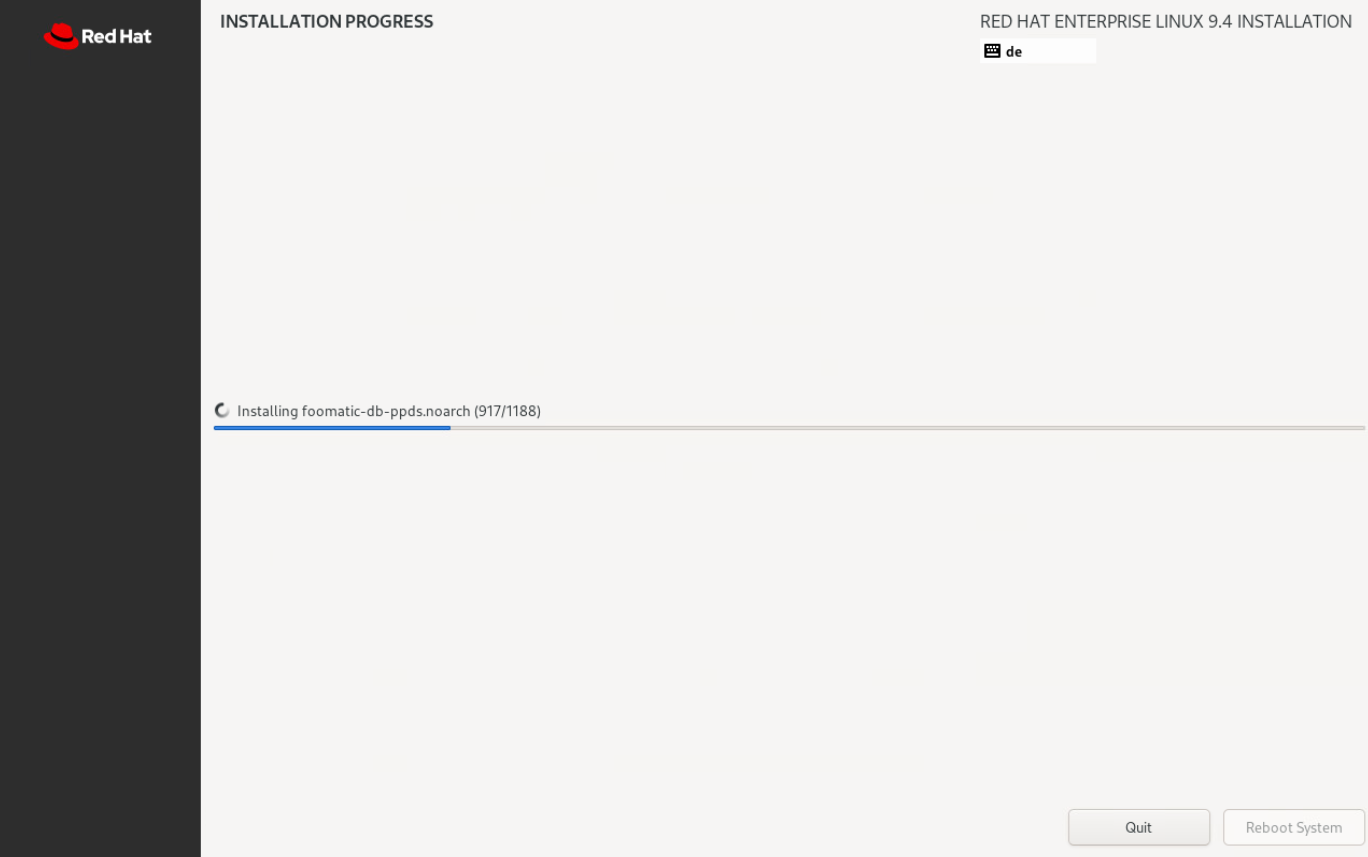
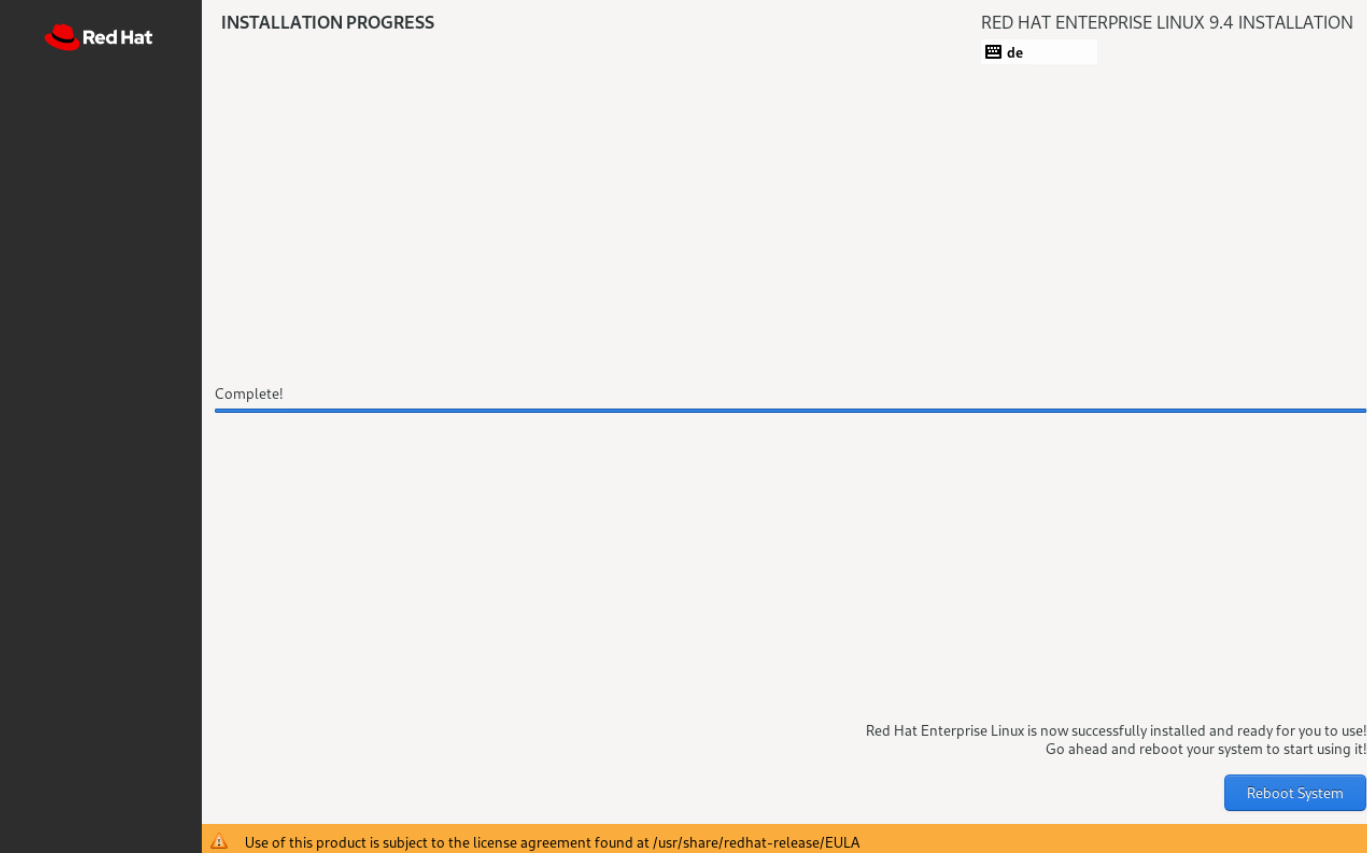
Finally we can click on Begin Installation.
When the installation is completed we first need to reboot the system.
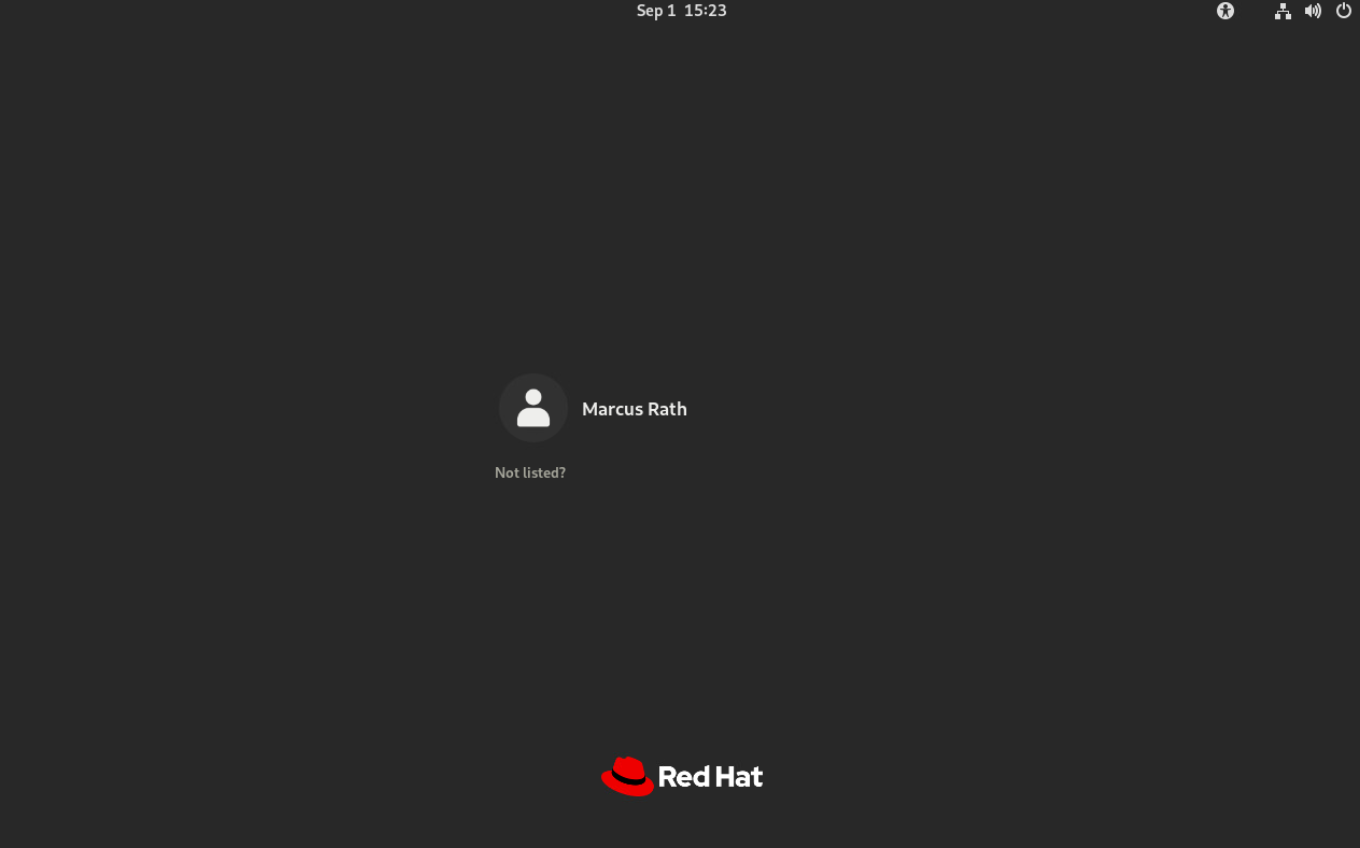
Finally we can login to our Red Hat Linux Enterprise Server.

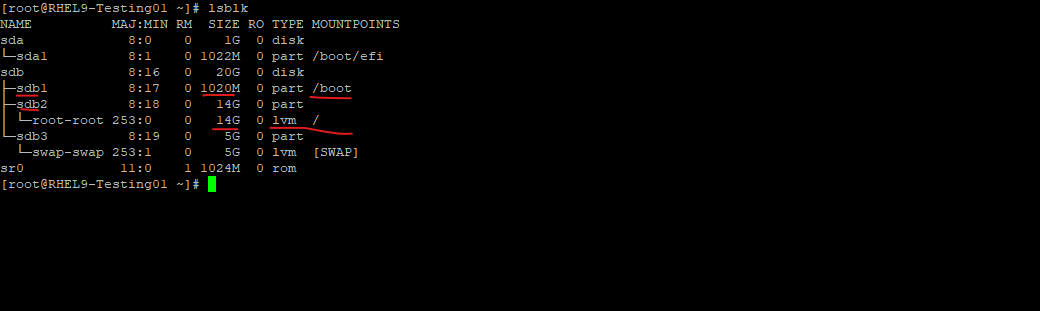
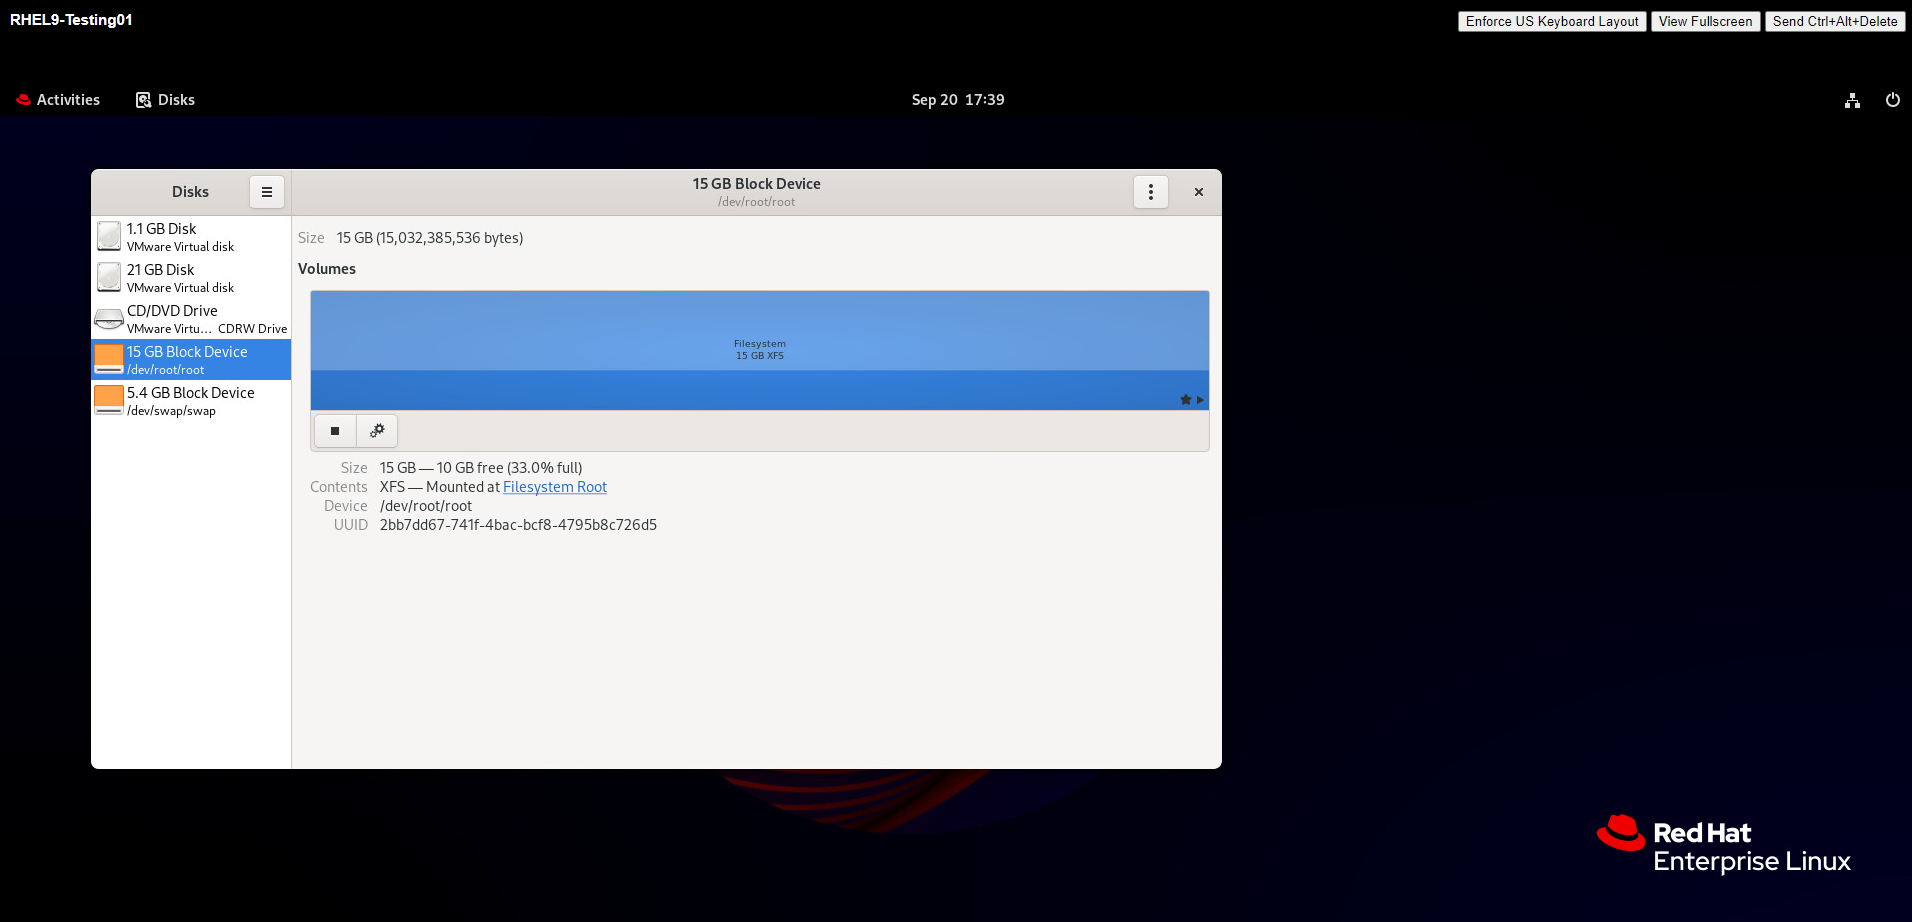
The partitioning scheme we can also check by using the Disks tool on the GUI.

Here we can see our root volume.
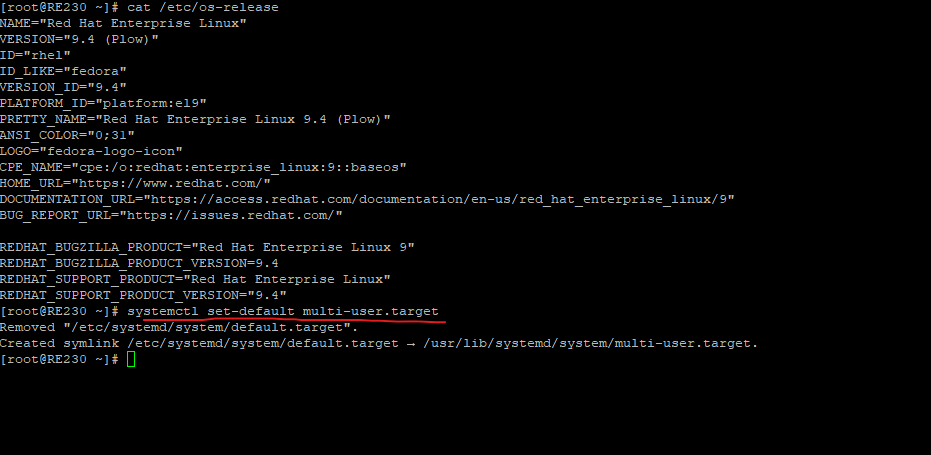
I will now first change the default runlevel from graphical.target (5) into multi-user.target (3) without GUI and just text console.
# systemctl set-default <desired>.target
# systemctl set-default multi-user.target
If the server is in rescue mode or in a chrooted environment, the default target can be set with the following command syntax:
ln -sf /lib/systemd/system/.target /etc/systemd/system/default.target
Source: https://access.redhat.com/solutions/2142121
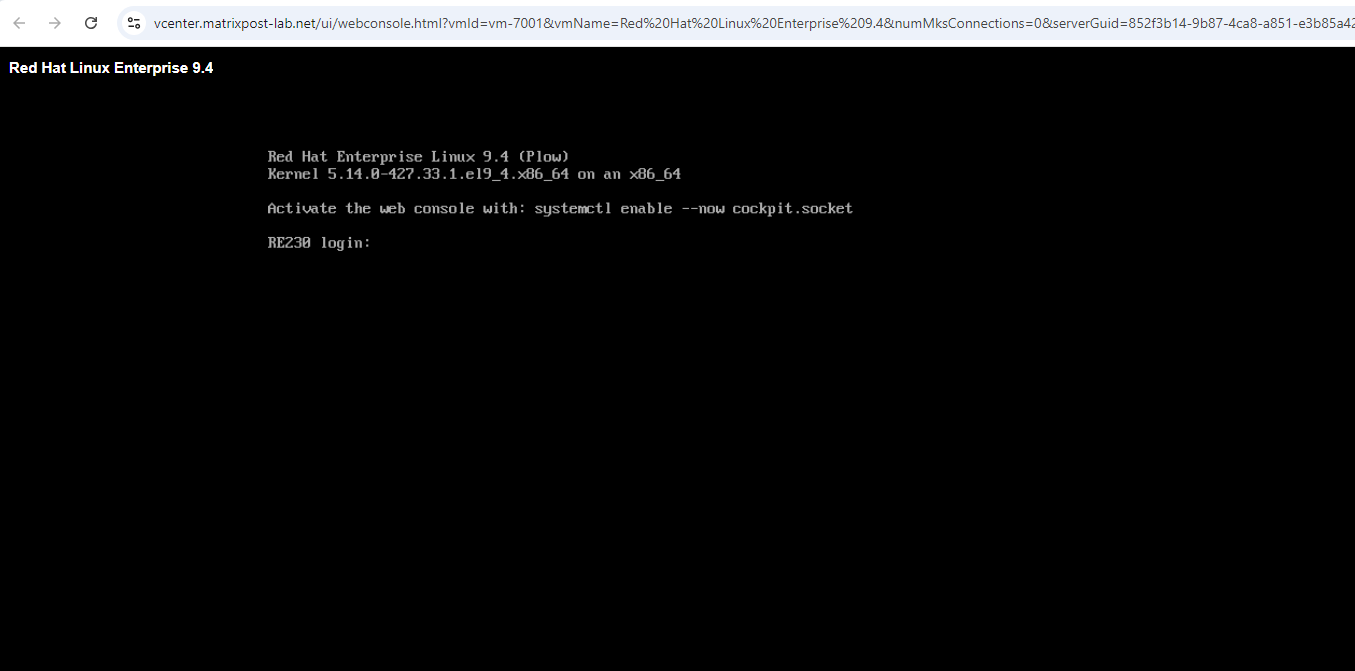
After rebooting the host is booting just to runlevel 3 as desired.
We can boot into runlevel 5 (graphical.target) for Multi-user, graphical mode by just entering startx.
The startx script is a front end to xinit that provides a somewhat nicer user interface for running a single session of the X Window System. It is often run with no arguments.
Source: https://www.x.org/releases/X11R7.5/doc/man/man1/startx.1.html

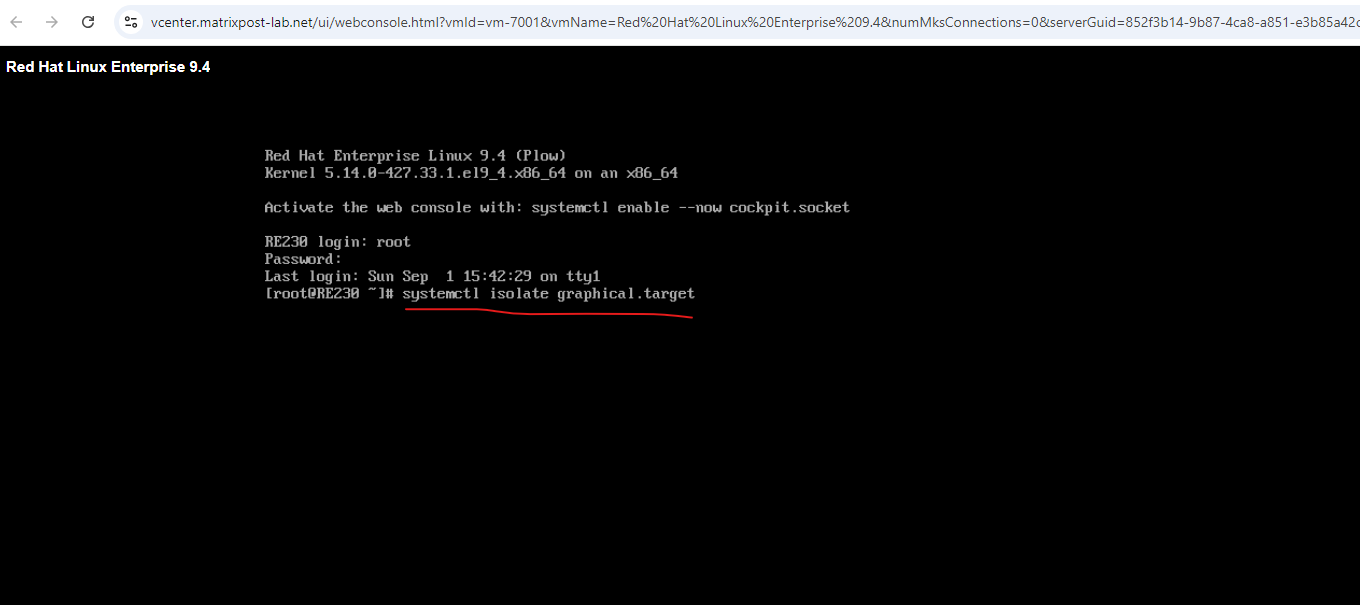
We can also change runlevels on the fly:
# systemctl isolate [multi-user.target | graphical.target]
On the logon screen this command will change immediately to the GUI logon screen.
Assign Subscriptions to receive Updates
The yum update command returns the following error even though the system is registered properly.
This system is registered with an entitlement server, but is not receiving updates. You can use the subscription-manager to assign subscriptions.
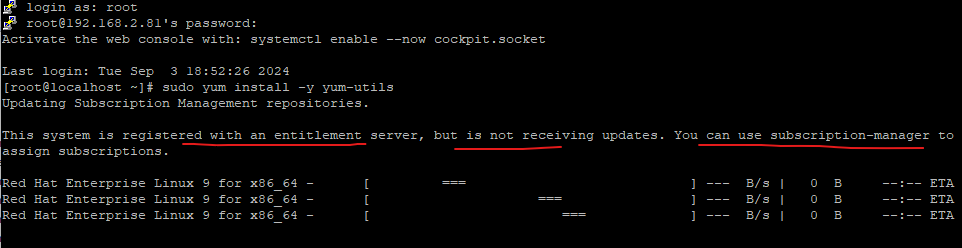
Attach the active subscription to the system using any of the below commands:
# subscription-manager attach --auto
# yum clean all
# rm  -rf /var/cache/yum/*
# subscription-manager refresh
Source: https://access.redhat.com/solutions/5524661
More about how to manage updates by using the yum or dnf command on RHEL/CentOS/Fedora/Oracle Linux you will see in my following post.
Change Hostname
To first show the actual hostname we can use one of the following two commands.
> hostname

> hostnamectl
To change the hostname we need to edit the /etc/hostname file as usual in Linux. Open the file and add or change the hostname.
> sudo nano /etc/hostname
Next edit the /etc/hosts file and replace any appearing old hostname with the new.
> sudo nano /etc/hosts
Finally reboot the computer to take effect.
Configure Network
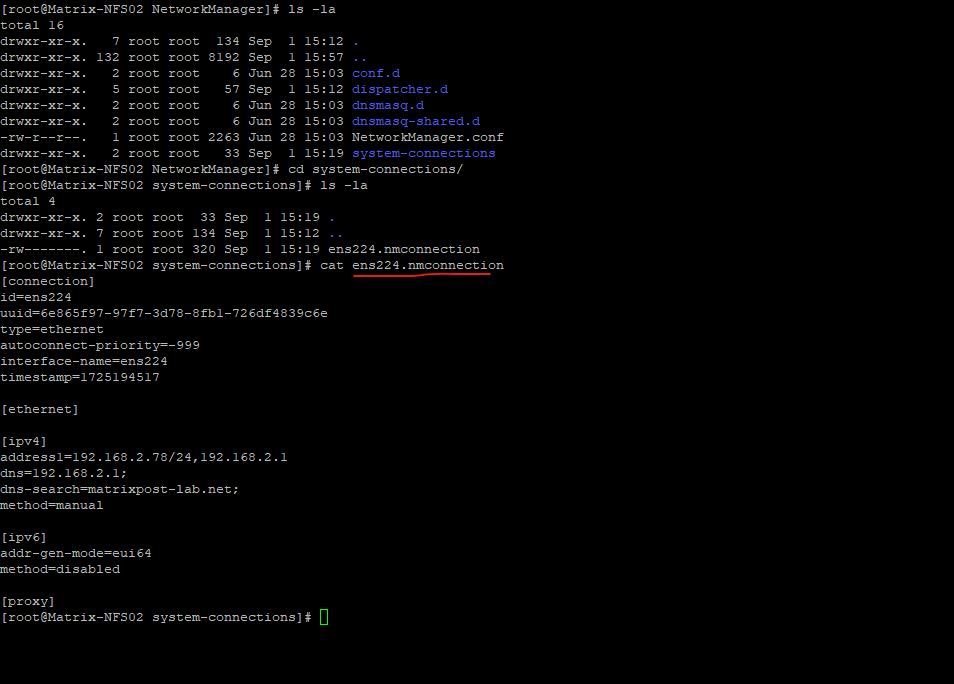
Unlike the deprecated ifcfg format, the keyfile format supports all connection settings that NetworkManager provides.
In the Red Hat Enterprise Linux 9, the keyfile format will be the default.
The keyfile format is similar to the INI format. For example, the following is an Ethernet connection profile in keyfile format:
[connection]
id=example_connection
uuid=82c6272d-1ff7-4d56-9c7c-0eb27c300029
type=ethernet
autoconnect=true

[ipv4]
method=auto

[ipv6]
method=auto

[ethernet]
mac-address=00:53:00:8f:fa:66
Key file format are stored under /etc/NetworkManager/system-connections
!! Note !!
Typos or incorrect placements of parameters can lead to unexpected behavior. Therefore, do not manually edit or create NetworkManager profiles.Use the nmcli utility, the
networkRHEL system role, or the nmstate API to manage NetworkManager connections. For example, you can use the nmcli utility in offline mode to create connection profiles.
More about the nmcli and NetworkManager we will use to configure the network in Red Hat Linux Enterprise 9 you will find in my following post.
Red Hat initiated the NetworkManager project in 2004 with the goal of enabling Linux users to deal more easily with modern networking needs, particularly wireless networking.
Configure the Firewall
With the introduction of the Red Hat Enterprise Linux 7.0 (RHEL) in 2011, iptables was superceded as firewalld was born. At its core, firewalld is a zone-based firewall.
Zone-based firewalls are network security systems that monitor traffic and take actions based on a set of defined rules applied against incoming/outgoing packets.
More about firewalld and its zones you will find in my following post. SUSE Linux Enterprise Server 15 GA also introduces firewalld as the new default software firewall, replacing SuSEfirewall2.
Links
Recommended Partitioning Scheme
https://docs.redhat.com/en/documentation/red_hat_enterprise_linux/6/html/installation_guide/s2-diskpartrecommend-x86#idm140491990747664Red Hat Developer
https://developers.redhat.comEASY ACCESS TO THE LATEST TOOLS
https://www.redhat.com/en/technologies/linux-platforms/enterprise-linux/developer-program
Tags In
Follow me on LinkedIn