Installing AudioCodes Mediant VE SBC on Hyper-V
In the following post … I had set up the AudioCodes Mediant VE SBC in Azure. Now I want to do the same but at on-premise in my own network with an virtual Hyper-V VM placed inside the perimeter network.
Installation Manual
https://www.audiocodes.com/media/13255/mediant-virtual-edition-sbc-installation-manual-ver-72.pdf
I will install the Mediant VE SBC on an Dell PowerEdge R740 Hyper-V Server with multiple network adapters including both, Intel and Broadcom network adapters.
When using the Broadcom adapters for the VM you have to disable Virtual Machine Queues (VMQ) on the Broadcom adapter. (see Section 3.5.2 in the PDF form AudioCodes)
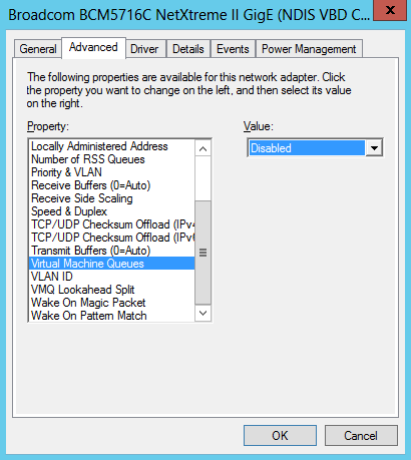
As I will place the VM inside the perimeter network which is using an Intel Ethernet adapter, I can skip this section.
Install the Mediant VE SBC on Microsoft Hyper-V
Extract the zip file containing the SBC virtual machine installation received from AudioCodes to a local directory.


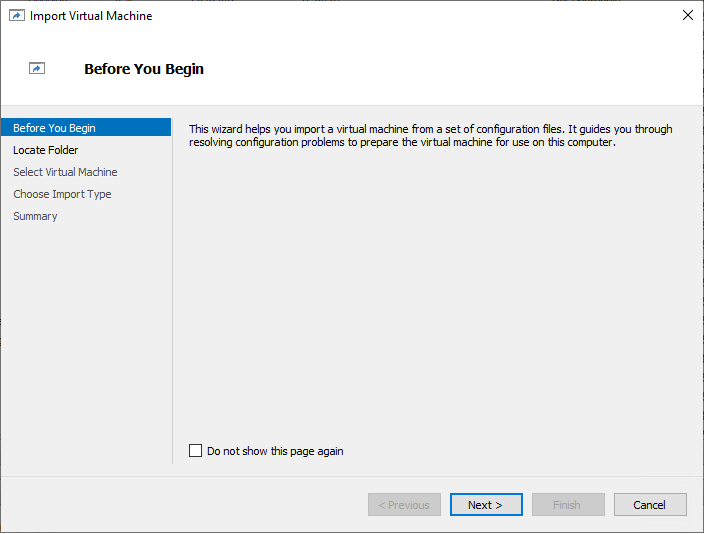
Start the Import Virtual Machine wizard on Hyper-V
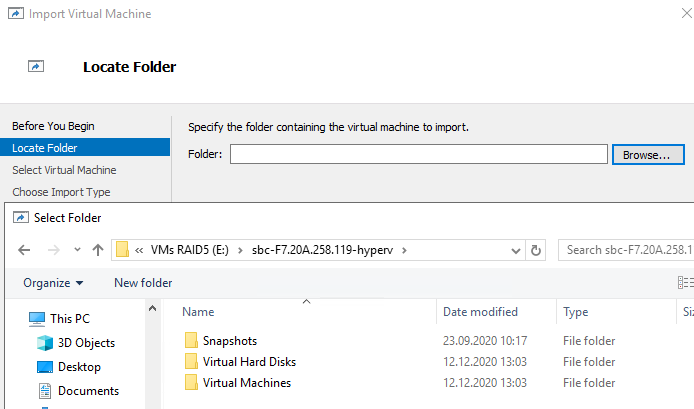
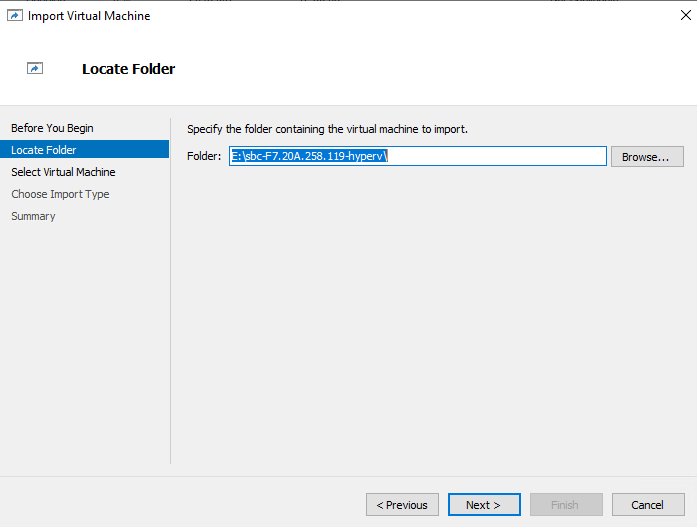
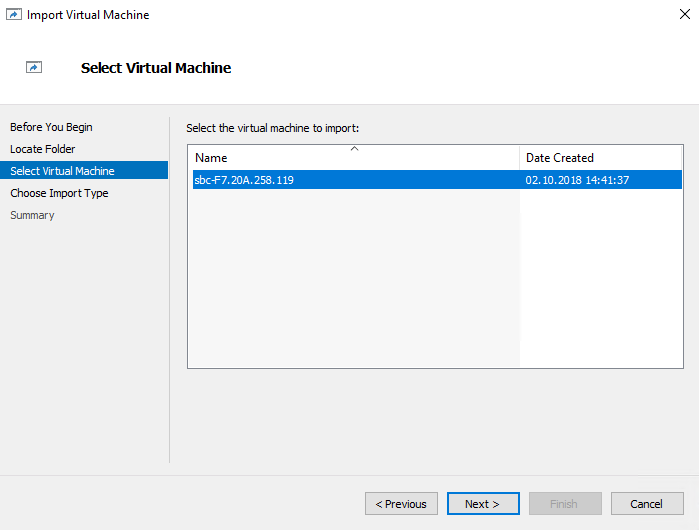
Select the folder where the VM is located from your extract.
Choose Import Type – Copy the virtual machine
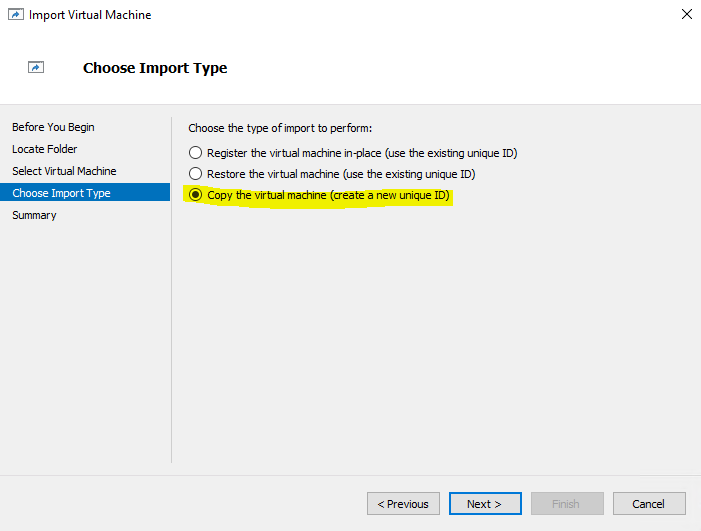
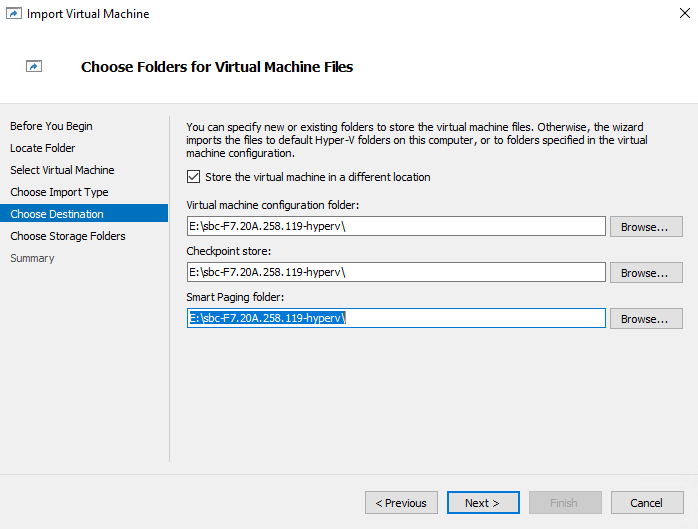
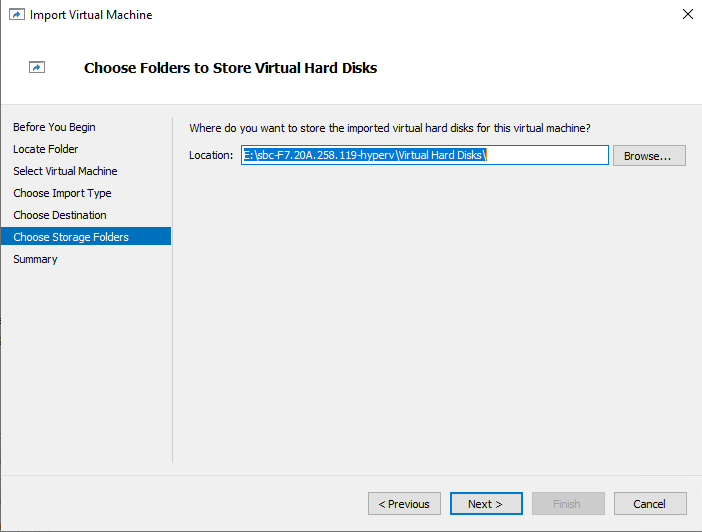
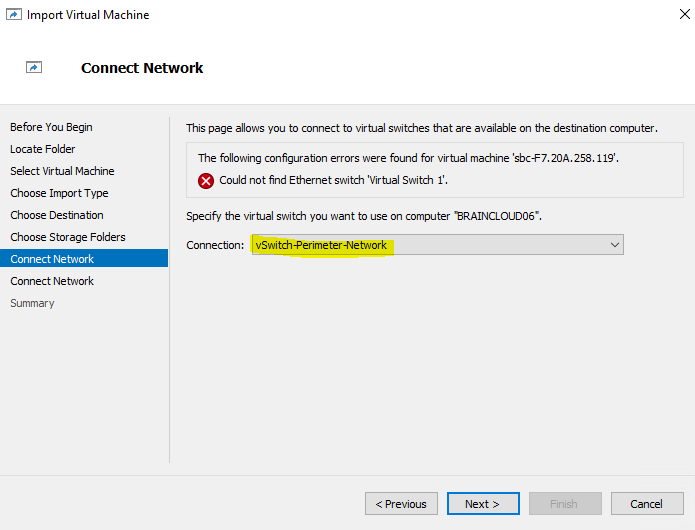
The Image is using a virtual switch named Virtual Switch 1 which not exists on my Hyper-V Server, so choose a virtual switch that is suitable for your deployment, In my case as mentioned I will place the VM inside the perimeter network, so I will choose this virtual switch.
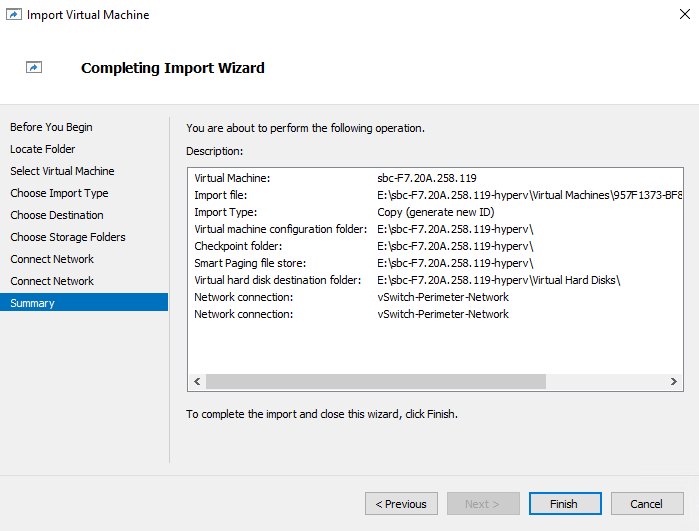
Adjusting Virtual Machine in Hyper-V
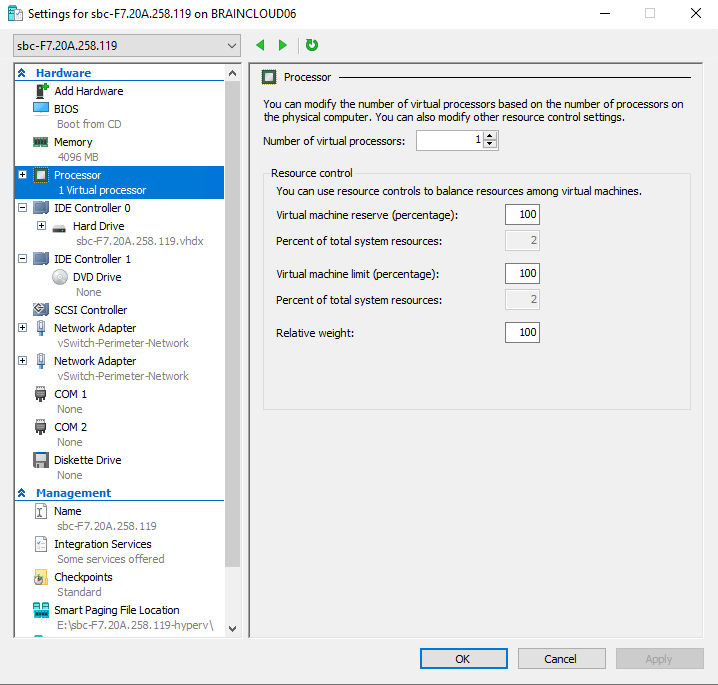
Adjust here the Processor and Memory appropriate to your demployment and start the VM.
The VM from AudioCodes consists of two virtual network adapters. I will provision the SBC in my perimeter network with only one internal interface using NAT 1:1, therefore I need only the first interface.
You cannot delete one of the interfaces in Hyper-V settings of the VM as this will break the configuration, but for provisioning the SBC later you can use only one of them for your deployment.
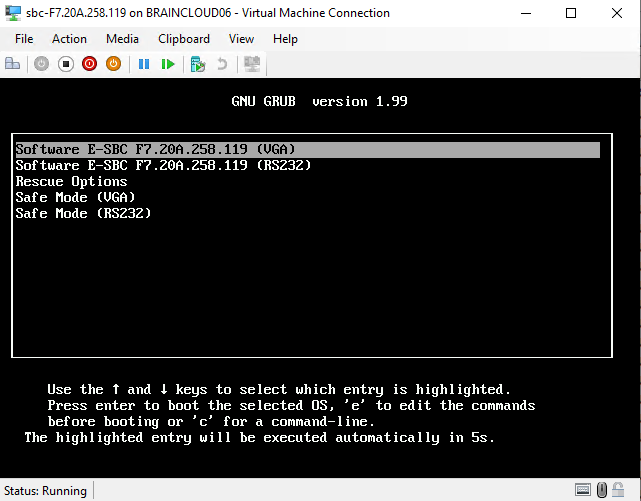
As you can see the image runs on CentOS
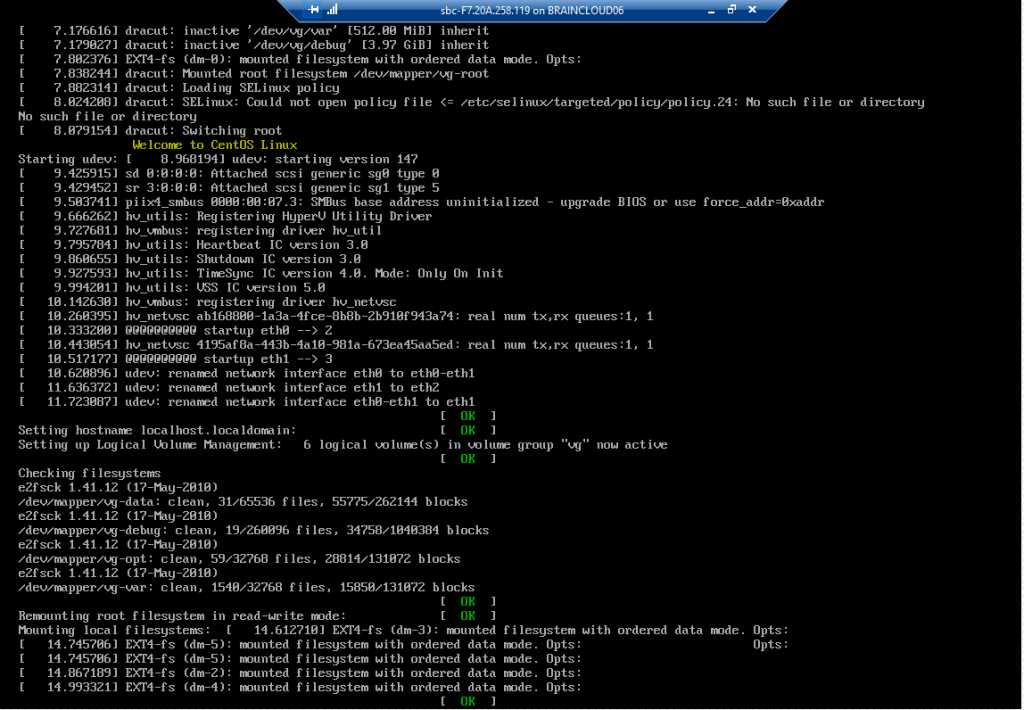
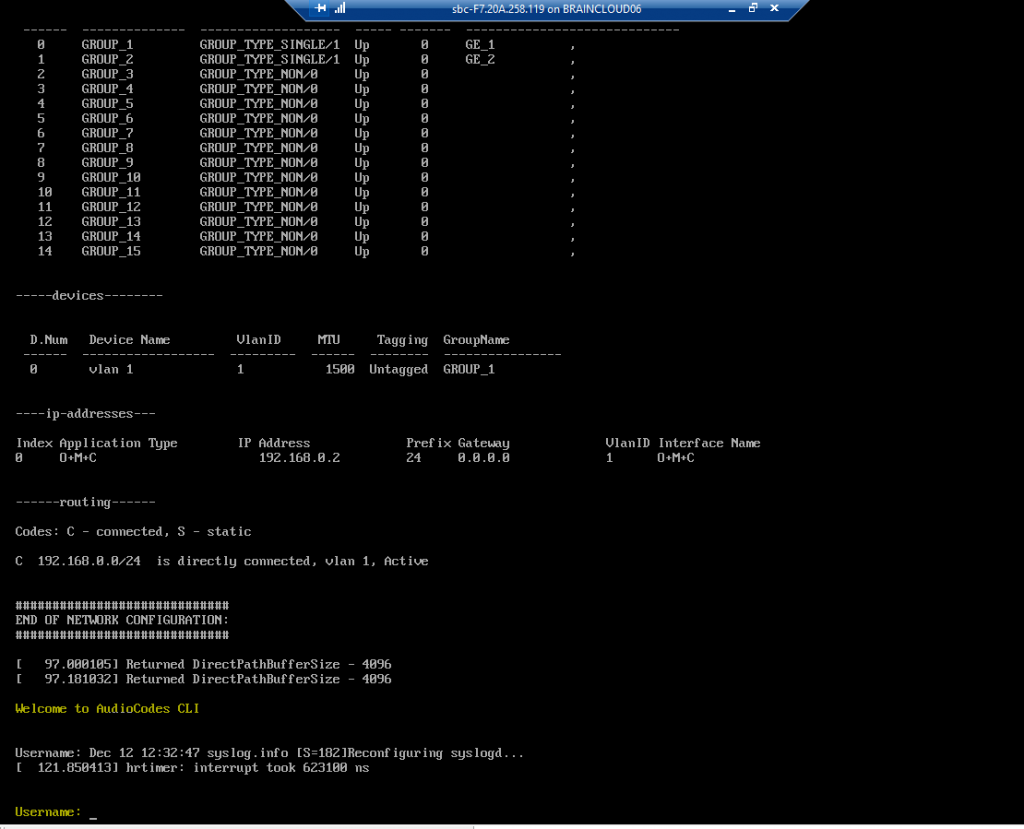
In the Sreenshot above, you will see that the VM becomes always after initial setup by default the ip address 192.168.0.2.
You can also check the ip with the command show network arp or show network interface.
Default Login
Username: Admin
Password: Admin
Reconfigure the IP address by using the Command-Line Interface
(CLI)
After installation, the Mediant VE SBC is assigned a default IP address that will most likely be inaccessible from the customer’s network. This address is assigned to the first virtual network interface card, connected to the ‘trusted’ virtual network switch during Mediant VE SBC installation.
Reconfigure the IP address in order to connect to the Mediant VE SBC’s Web-based Management Tool.
We can use therefore the CLI Configuration Wizard or the configure network command.
To access the CLI Wizard, enter the following command at the root-prompt level:
# configure-wizard
Source: https://www.audiocodes.com/media/13244/gateway-and-sbc-cli-reference-guide-ver-72.pdf
To use the configure network command, we first need to switch to the Privileged User mode.
For switching between command modes, we use the following commands on the root-level prompt.
Switching from Basic User to Privileged User mode. Type enable below.
Mediant SW> enable
Switching from Privileged User to Basic User mode
Mediant SW# disable
Reconfigure the IP address in Privileged User mode.
Mediant SW# configure network
Mediant SW# interface network-if 0
Mediant SW(network-if-0)# ip-address <new IP>
Mediant SW(network-if-0)# prefix-length <24 e.g.>
Mediant SW(network-if-0)# activate
Mediant SW(network-if-0)# exit
!! Note !!
The configuration is still not saved and after a reboot it will be lost.
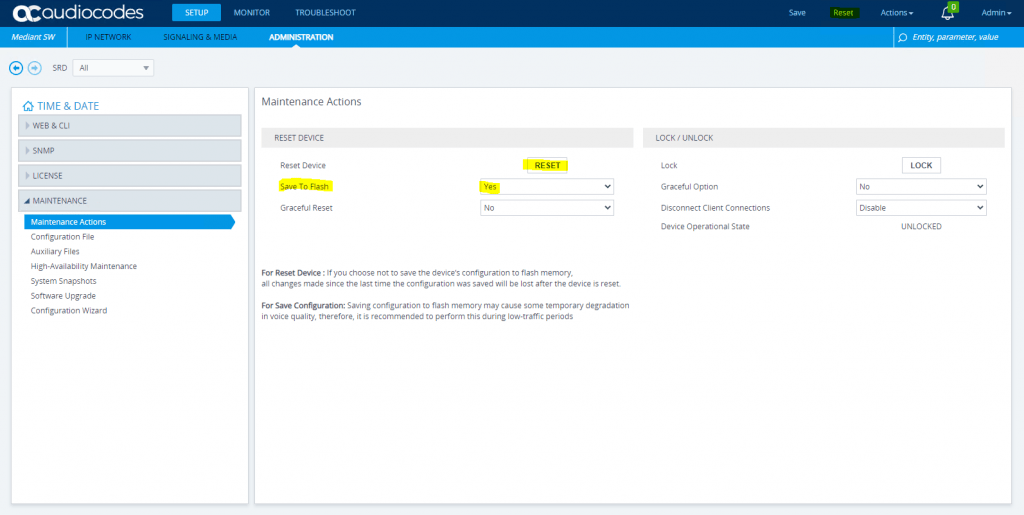
Therefore you should first save the configuration in the web interface.
To reboot the device, you can click on Reset inside the web interface and be sure that Save to Flash is preselected, otherwise also the configuration will be lost.
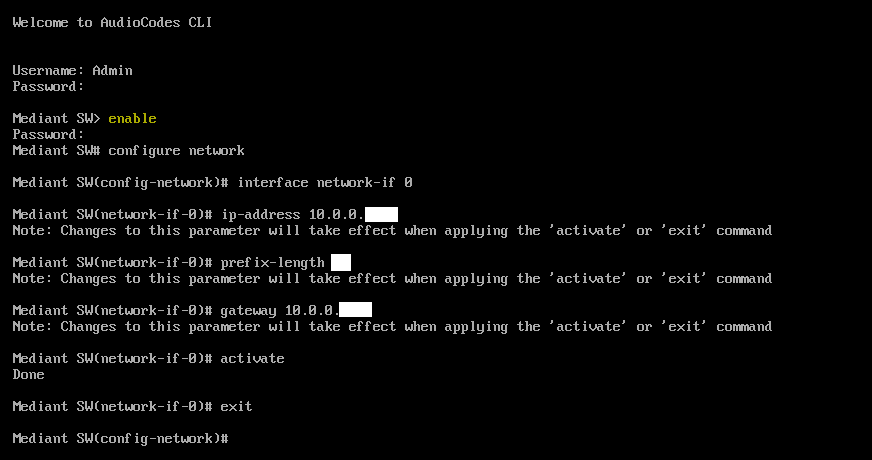
From now on we can connect through the web interface and the new ip address to provision the SBC!
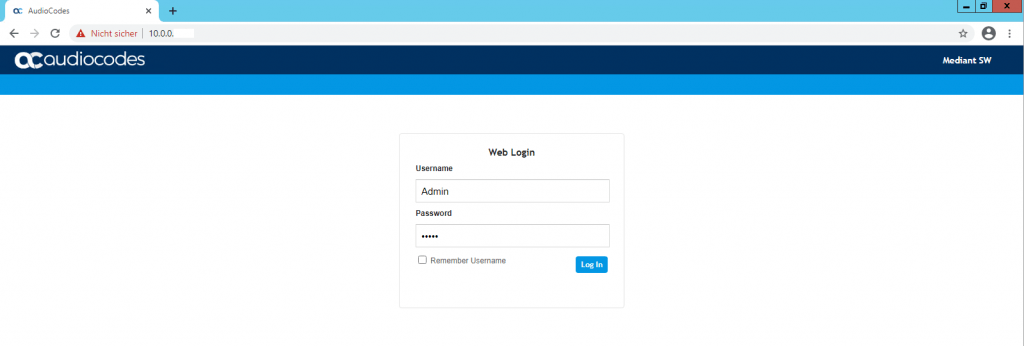
SETUP – IP Network – CORE ENTITIES – IP Interfaces
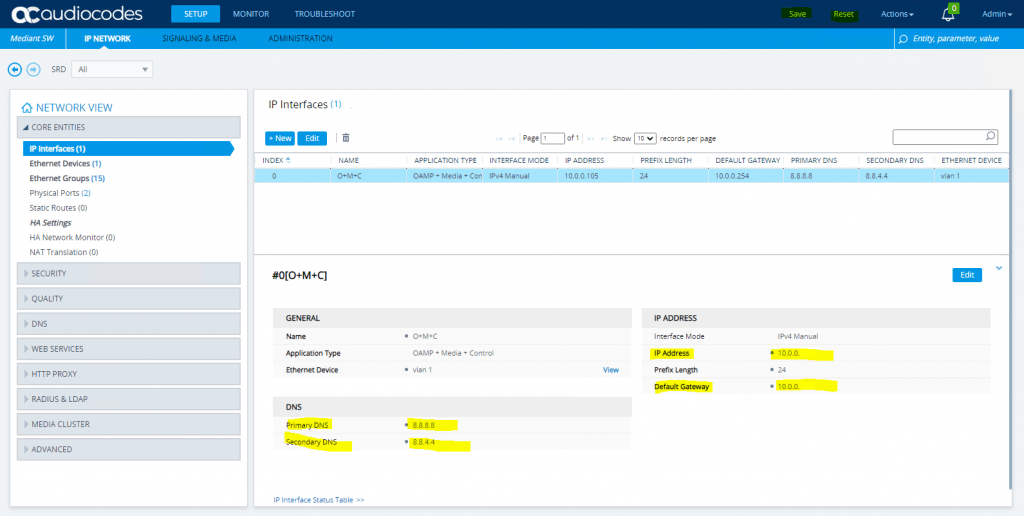
For details about provisioning the sbc you can visit the following post.
Changing MAC Addresses from ‘Dynamic’ to ‘Static’
By default, the MAC addresses of the SBC Virtual Machine are set dynamically by the hypervisor. Consequently, they might be changed under certain circumstances – for example, after moving the virtual machine between Hyper-V hosts.
To prevent this, it’s advisable to change the MAC Addressees from Dynamic to Static.
Links
Installation Manual
https://www.audiocodes.com/media/13255/mediant-virtual-edition-sbc-installation-manual-ver-72.pdfCommand-Line Interface (CLI)
https://www.audiocodes.com/media/13244/gateway-and-sbc-cli-reference-guide-ver-72.pdf
Related Posts
Follow me on LinkedIn


