How to boot Linux from an Installation/Live CD to either repair a broken System or just to reset the Root Password
When your Linux system fails to boot or you’ve forgotten the root password, a Live CD, USB or ISO for virtual machines can be a lifesaver.
Whether you need to repair critical system files, recover data, or reset passwords, booting into a live Linux environment gives you the tools to fix your system without requiring a full reinstall.
Below we will see how to mount the installation CD/ISO on a broken Linux system or for which we need to reset the root password.
Next we will identify the disk or LVM volume group/logical volume on which the broken root file system will run or we need to reset the root password for.
Then we mount this root file system on the rescue/live system and its /mnt folder.
Finally we change root to the mounted root file system on /mnt and are then able to reset the password as usual, or we can repair files.
In case we just forgot the root accounts password, there is a much faster way to reset the password by using the GRUB2 Boot loader and its kernel boot parameters as shown in my following post.
Boot the server from the installation CD/ISO
In my case I will use my lab vSphere environment and therefore mount a ISO file (SLES 15 SP6 image) for the virtual CD/DVD drive.
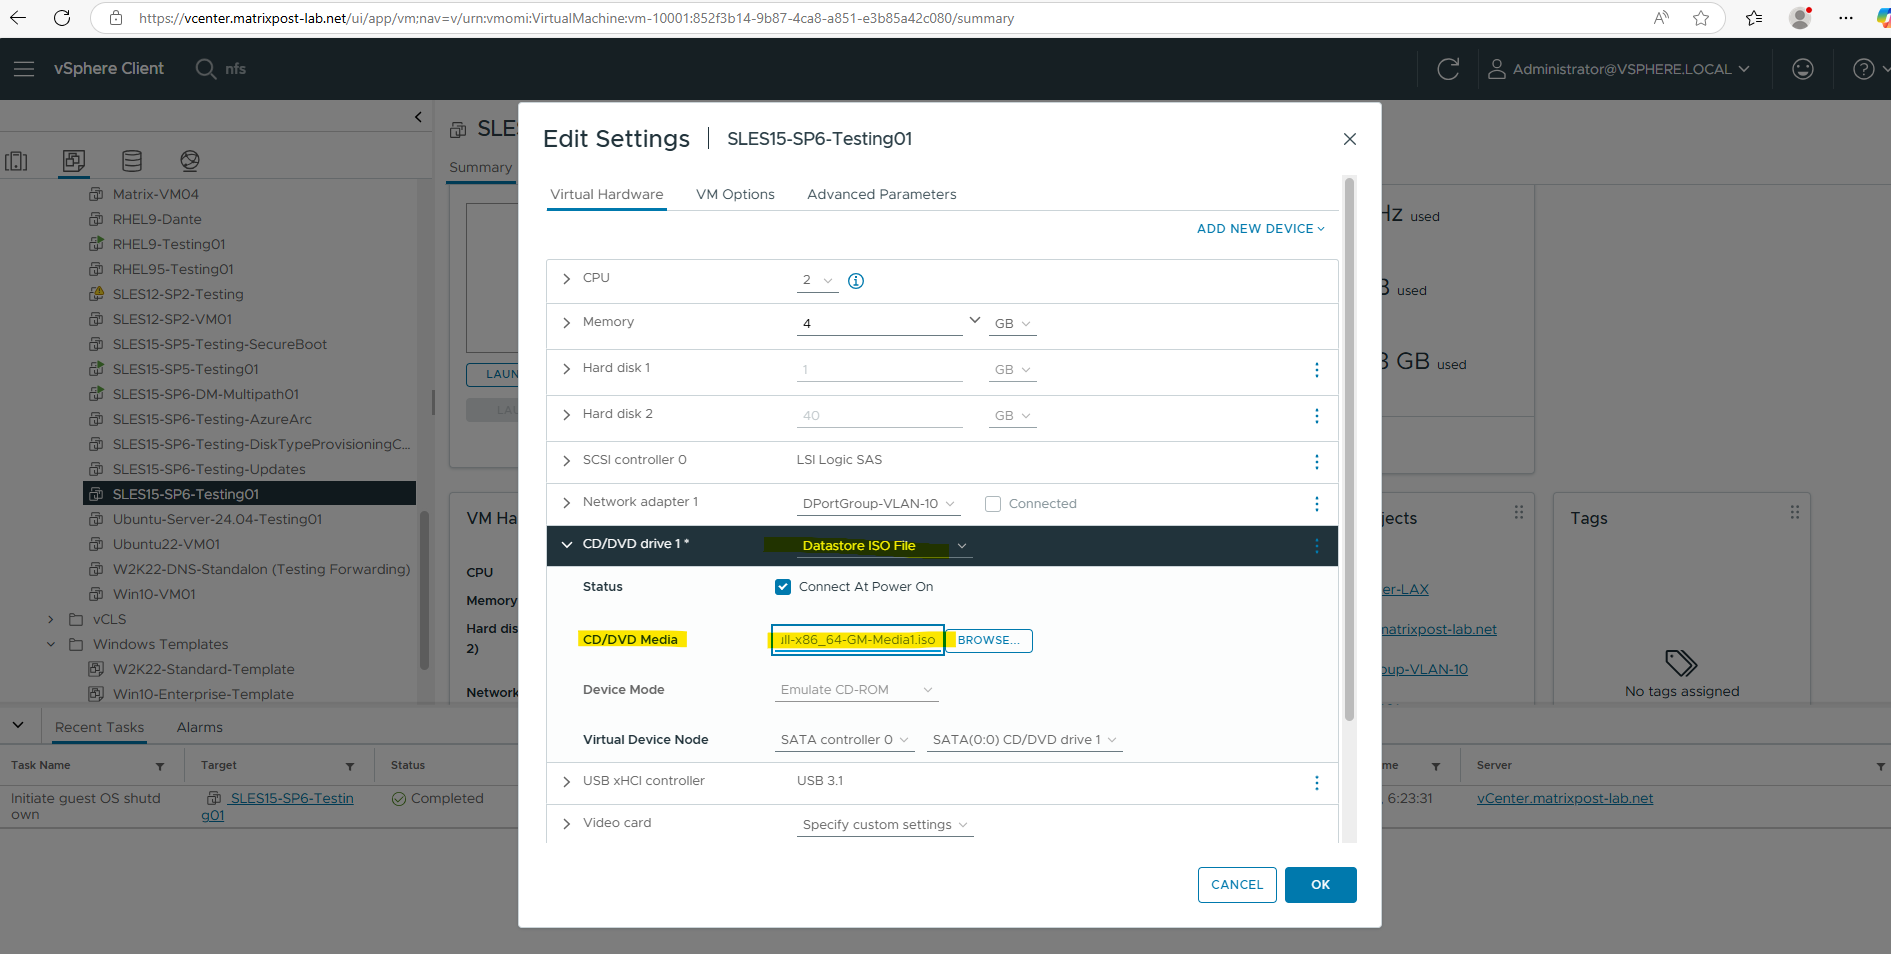
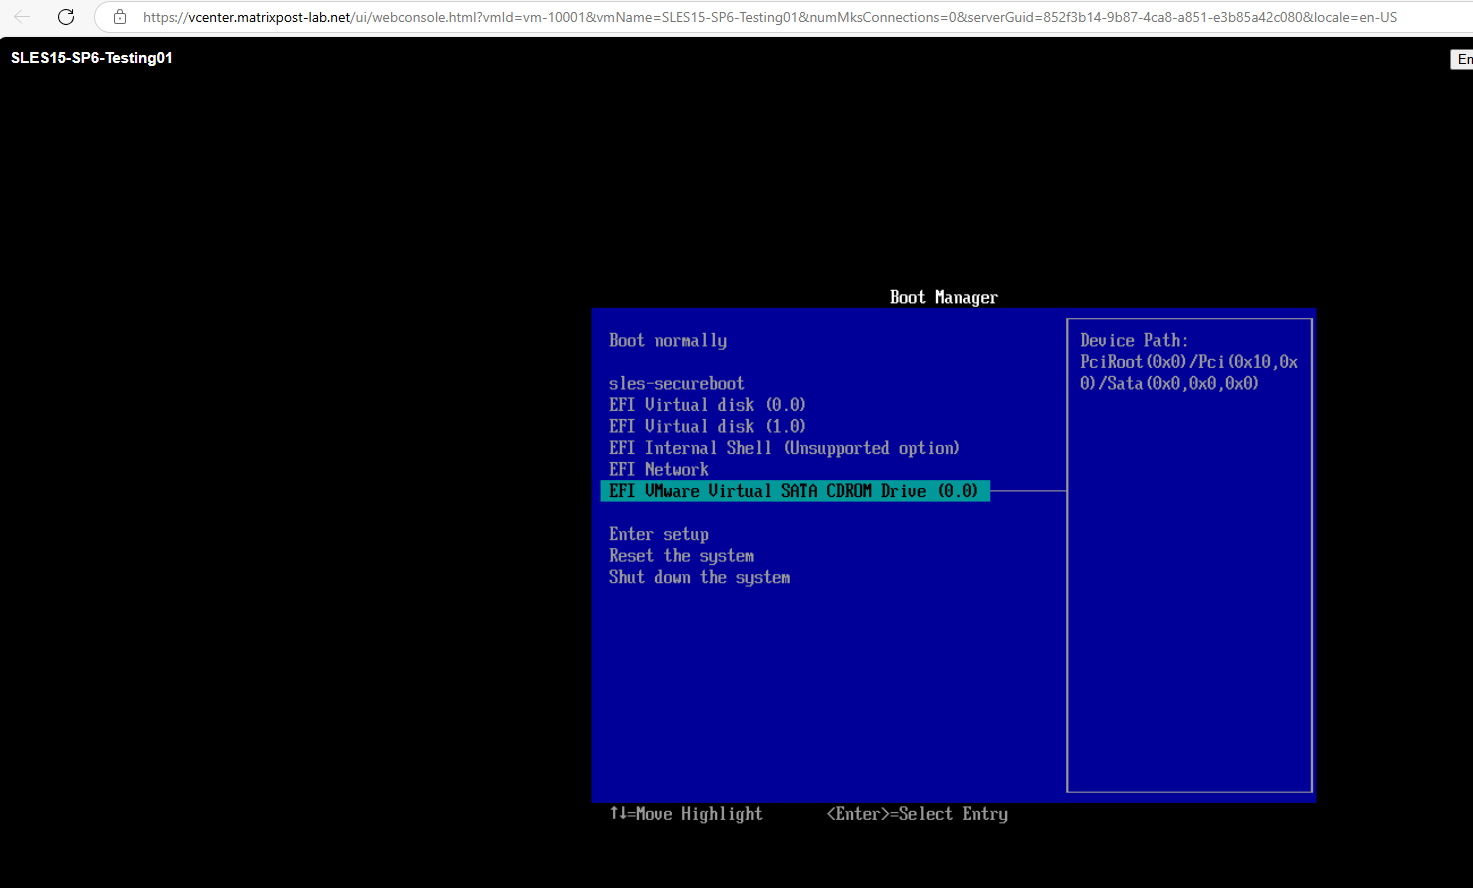
To boot from the CD/DVD drive and finally from the mounted ISO, I will first force the virtual machine to boot into the EFI setup as shown below.

Select EFI VMware Virtual SATA CDROM Drive to boot from.
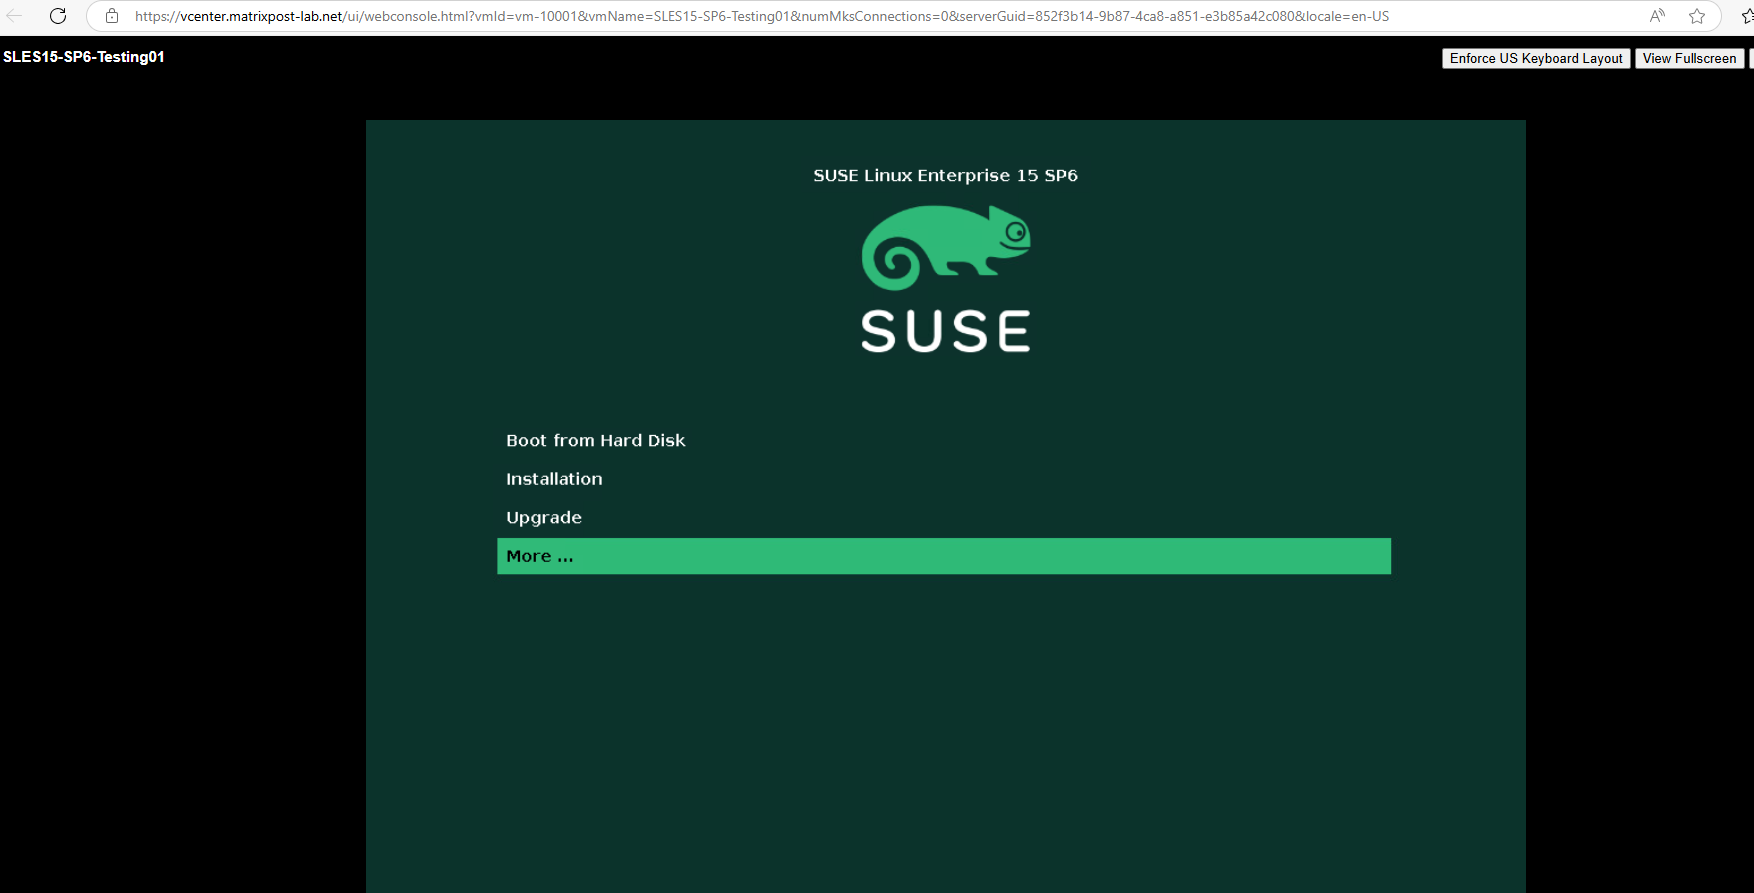
Boot the Rescue/Live System
Select More …
Select Rescue System
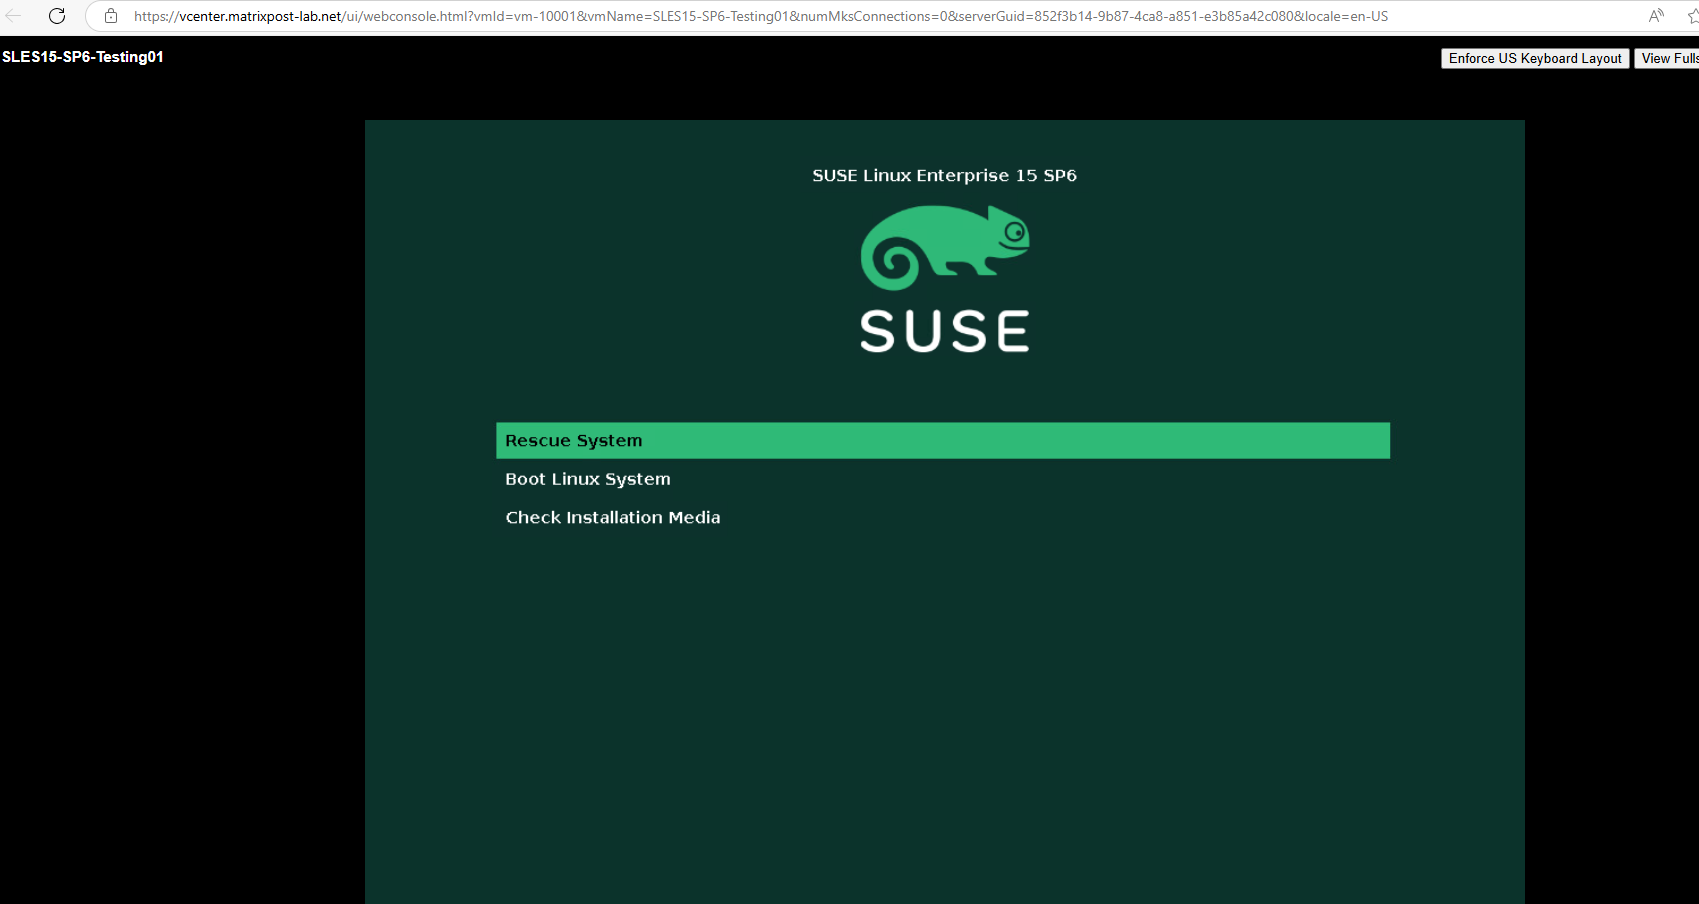
Choose a keyboard map

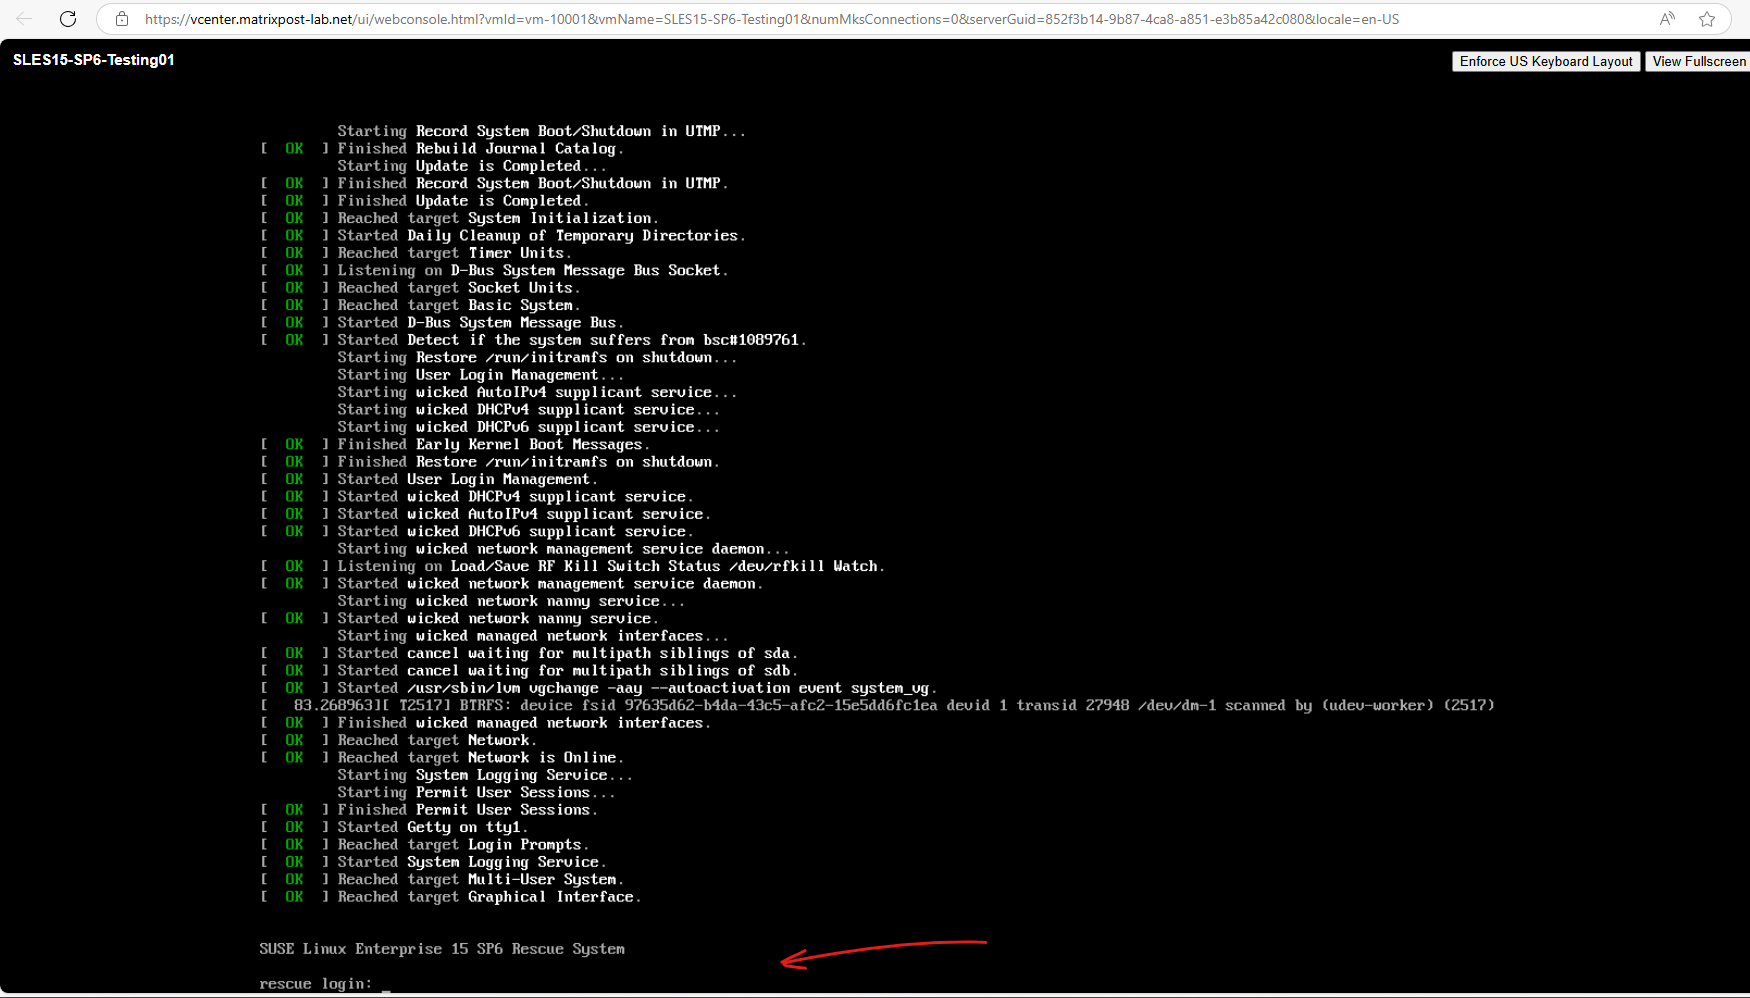
Sign-in to the Rescue/Live System
Just enter root for the rescue login, no password is required for the rescue system.

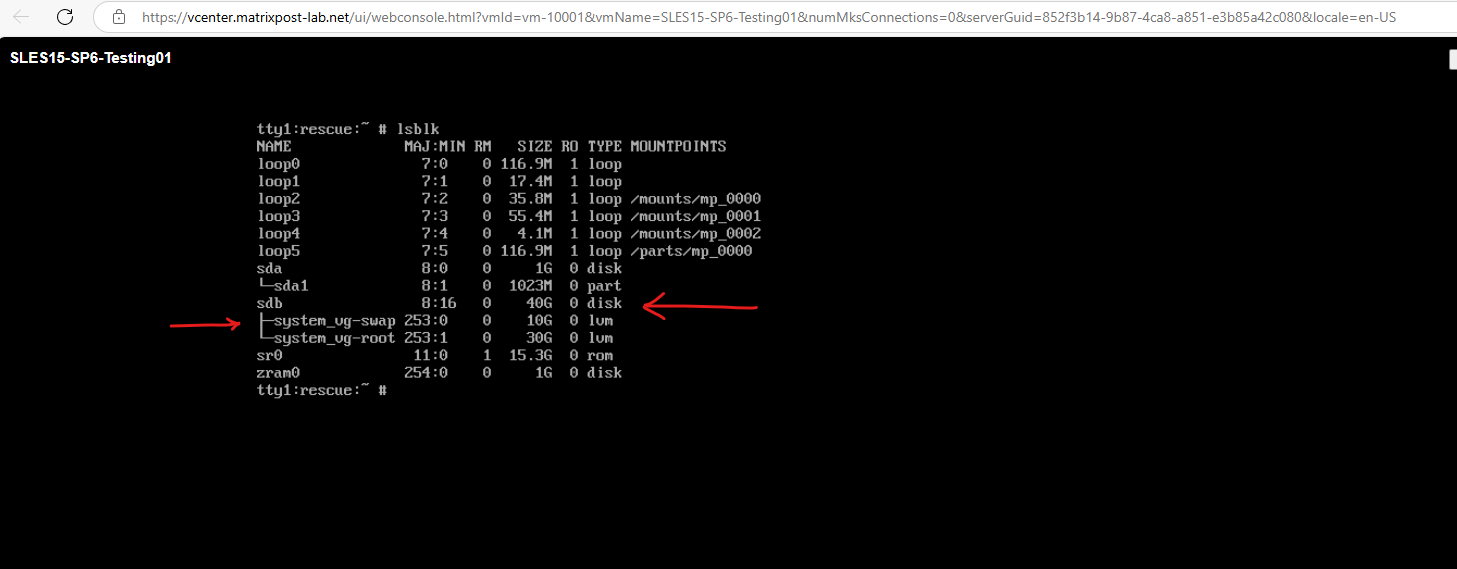
Determine the Root Partition of the broken System
Type lsblk or fdisk -l to list the disks and partitions and to locate the root partition.
In my case I know that the root file system is on sdb with 40 GB and the 1 GB sda disk is the bootloader.
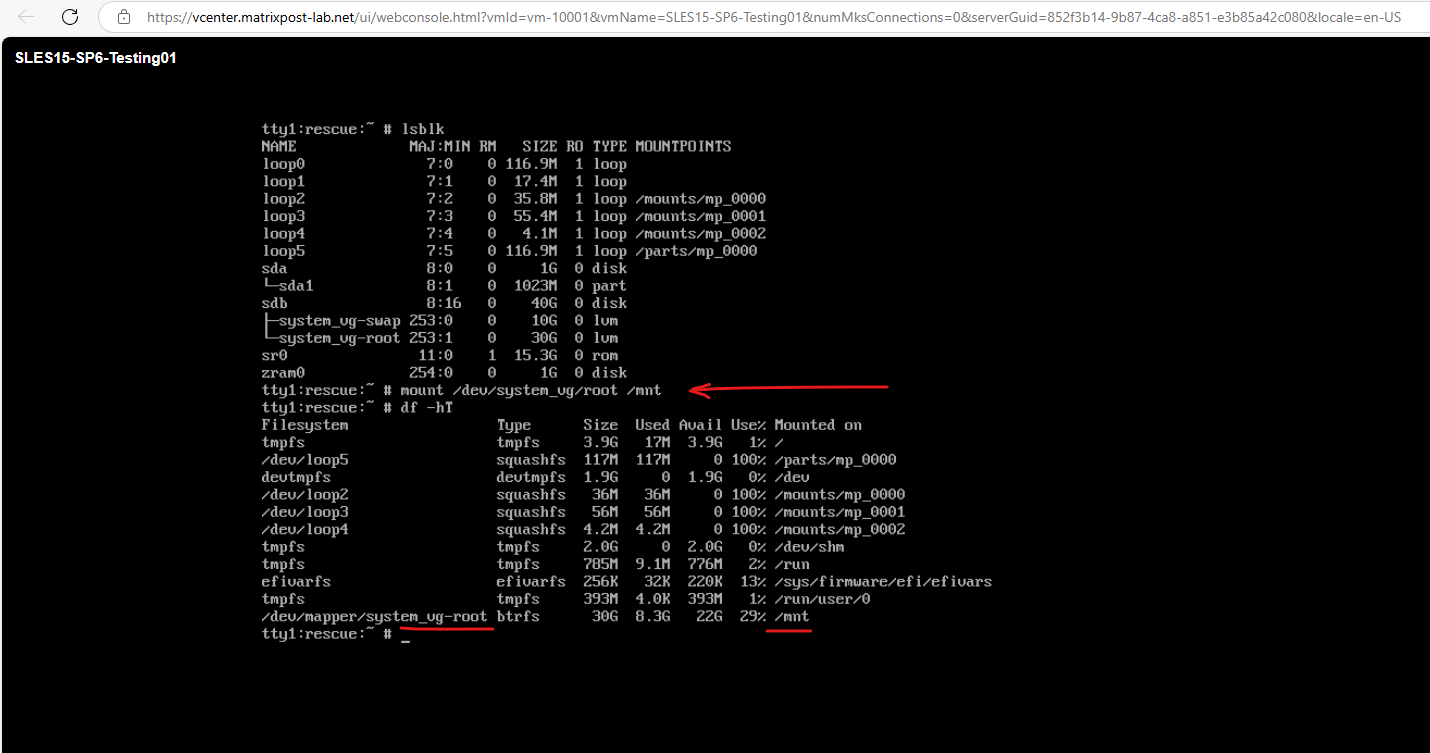
Mount the broken Root File System
Mount the root file system on the rescue system.
# mount /dev/<LVM volume group>/<logical volume> /mnt

or on systems without LVM just
# mount /dev/sdb /mnt

# mount /dev/system_vg/root /mnt
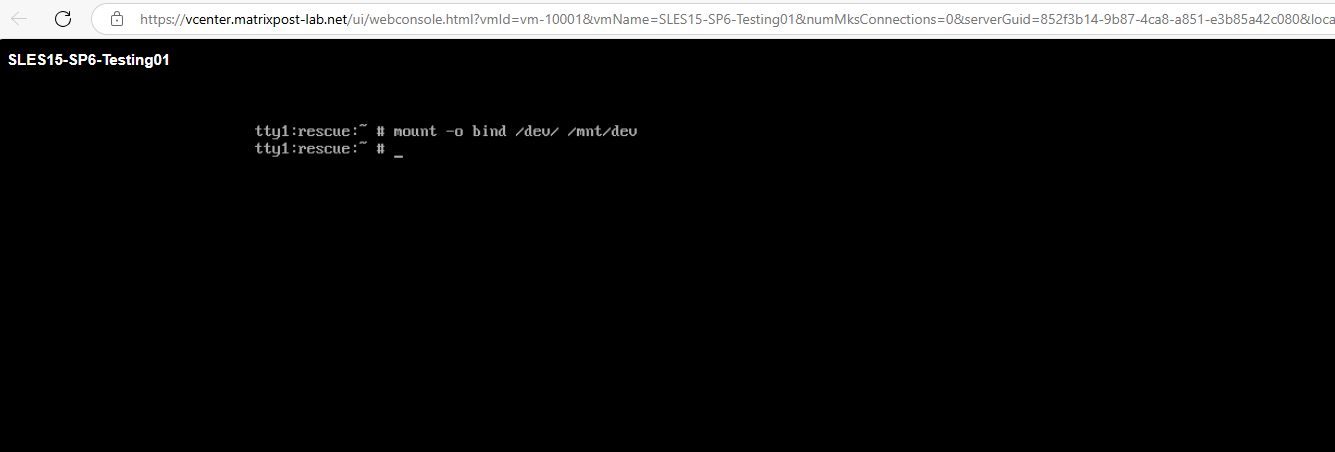
Run the following to make the device files available (this is needed for access to the urandom device which may be used by the passwd command below).
Ensures tools in the chroot environment (e.g., grub-install, passwd) can interact with hardware devices (disks, terminals, etc.).
# mount -o bind /dev /mnt/dev
Change Root to the broken Root File System
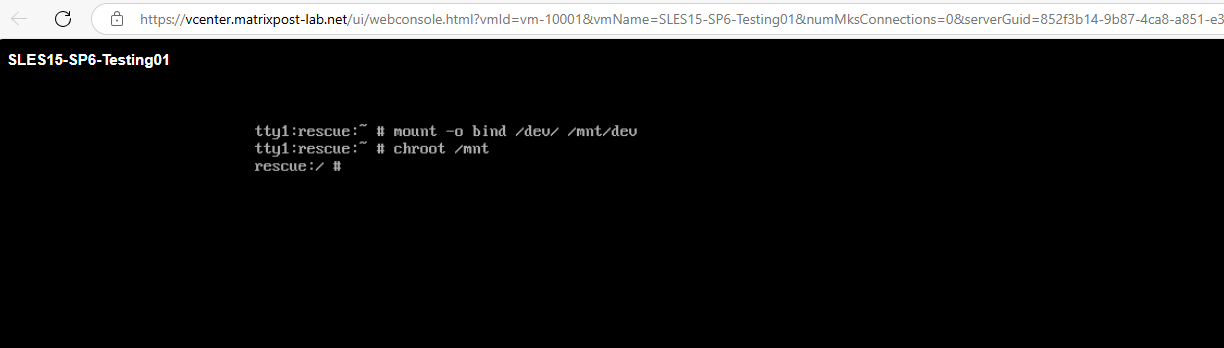
Change root to the mounted broken root file system on /mnt by running the following command.
The chroot /mnt command temporarily changes the root directory ( / ) to /mnt, making the system treat /mnt as the new root filesystem.
Programs run inside chroot see /mnt as / (e.g., /mnt/etc becomes /etc).
# chroot /mnt
Reset the Root Password or repair broken Files
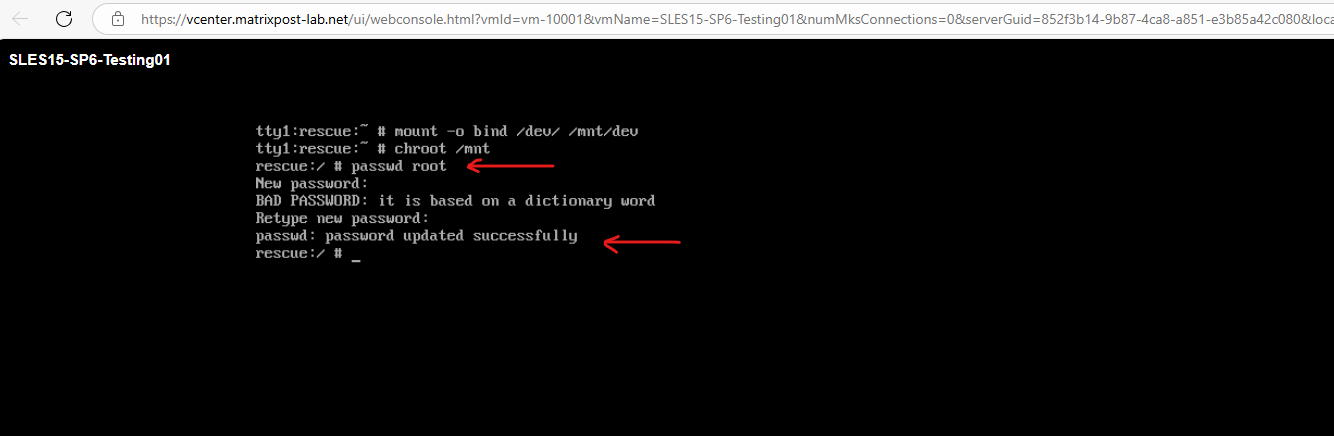
Now we can reset the password for the root user as usual.
# passwd root
Finally leave the chroot environment and reboot the system.
# exit
# reboot -f
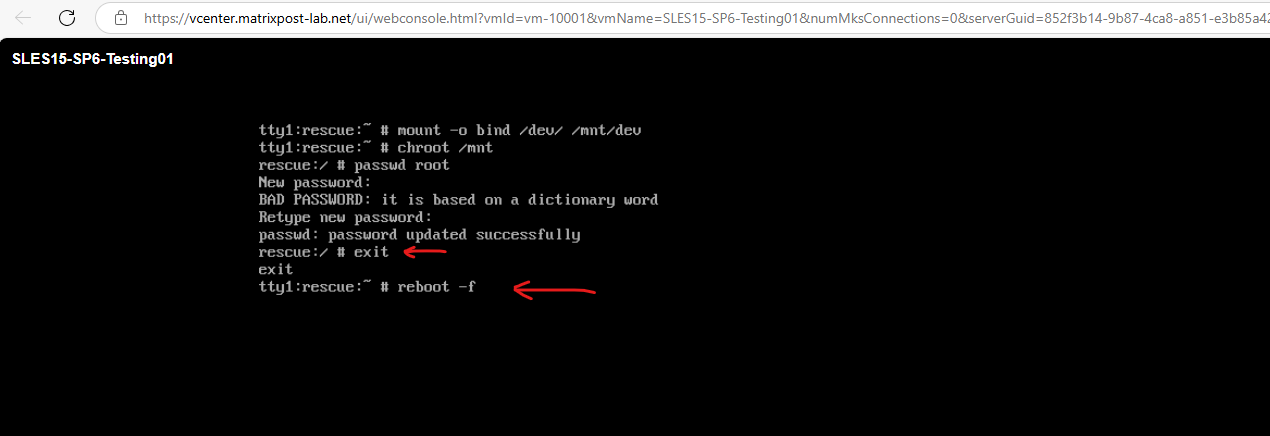

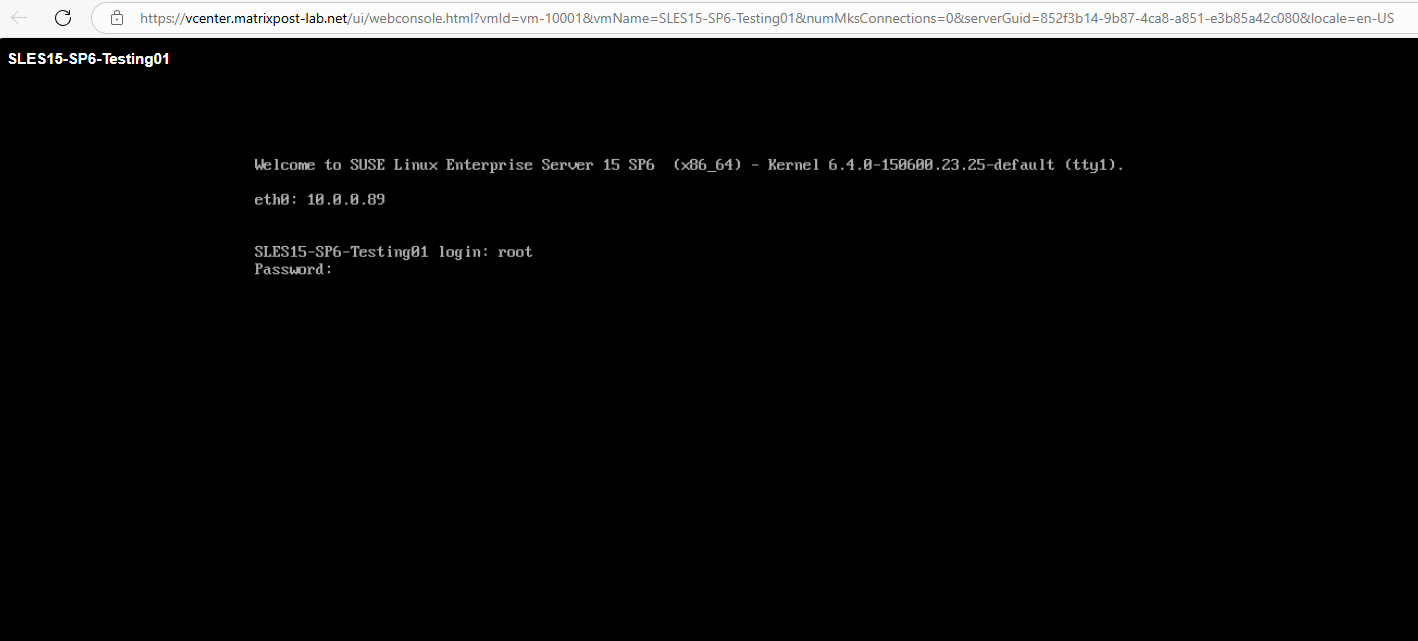
We should now be able to login with the new password we previously set.