Set up Checkmk on SUSE Linux Enterprise Server (SLES)
Introduction and History
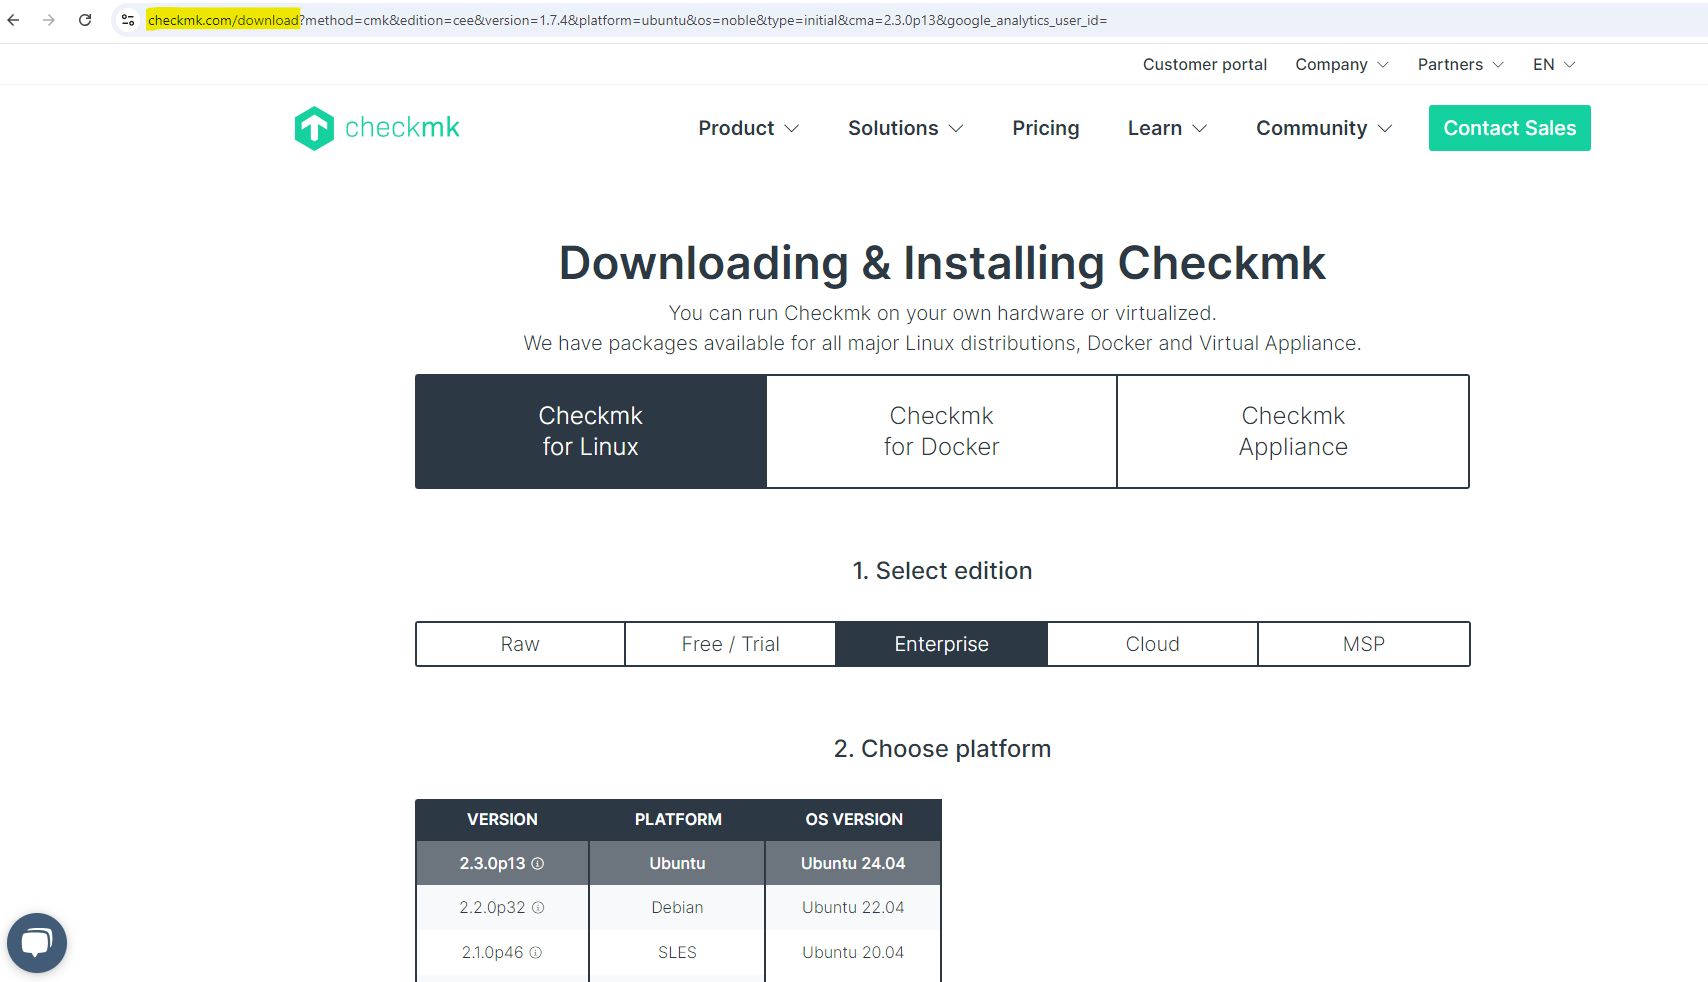
Download and Install checkmk
# wget https://download.checkmk.com/checkmk/2.3.0p12/check-mk-raw-2.3.0p12-sles15sp5-38.x86_64.rpm
# zypper install ./check-mk-raw-2.3.0p12-sles15sp5-38.x86_64.rpm
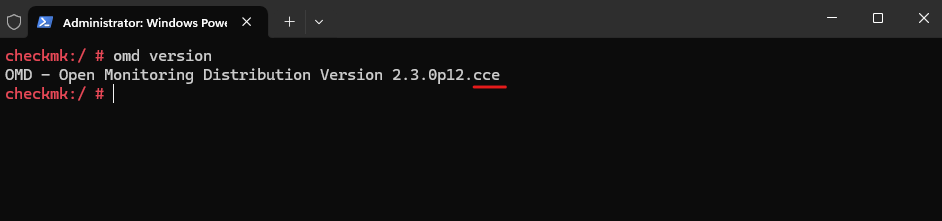
$ omd version

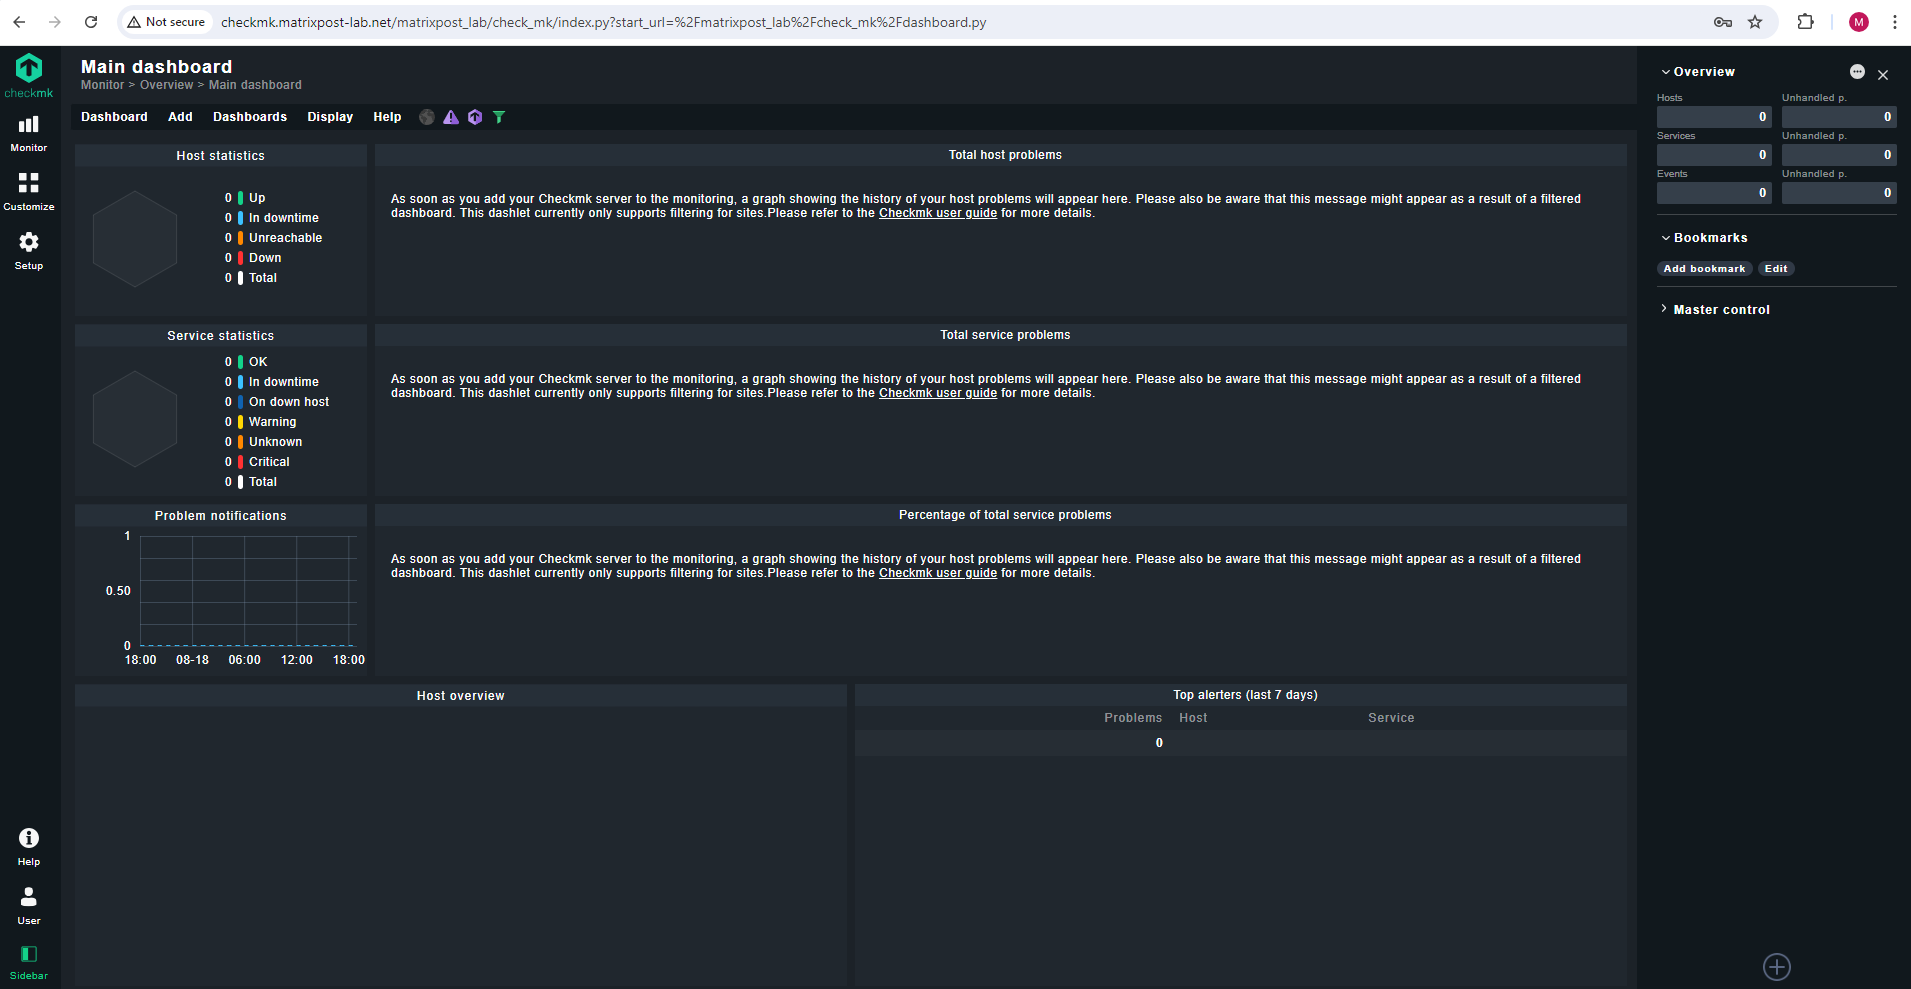
Create a checkmk Monitoring Site
$ sudo omd create matrixpost_lab
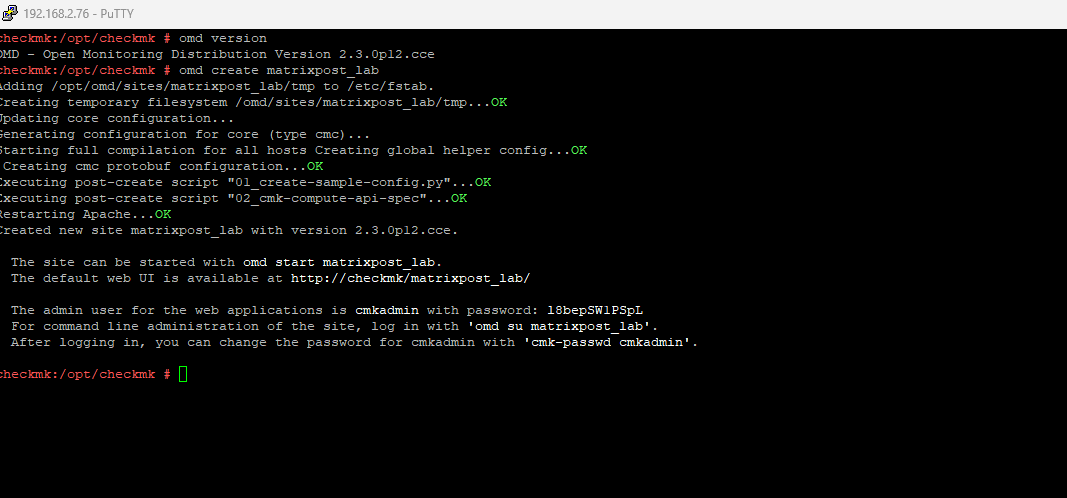
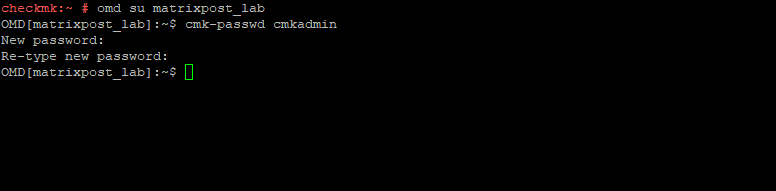
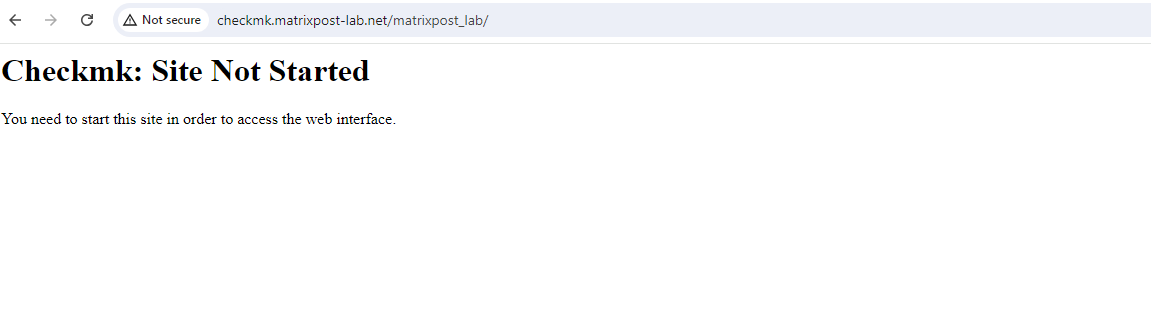
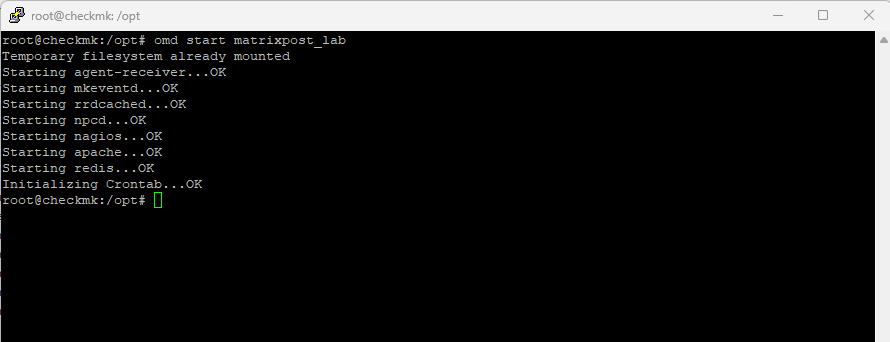
$ omd start matrixpost_lab
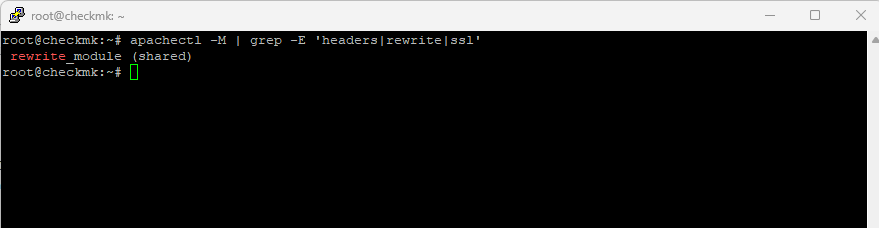
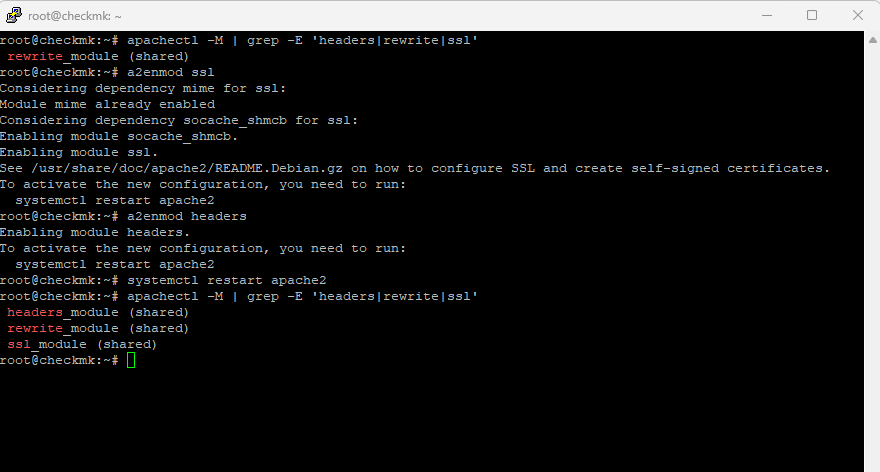
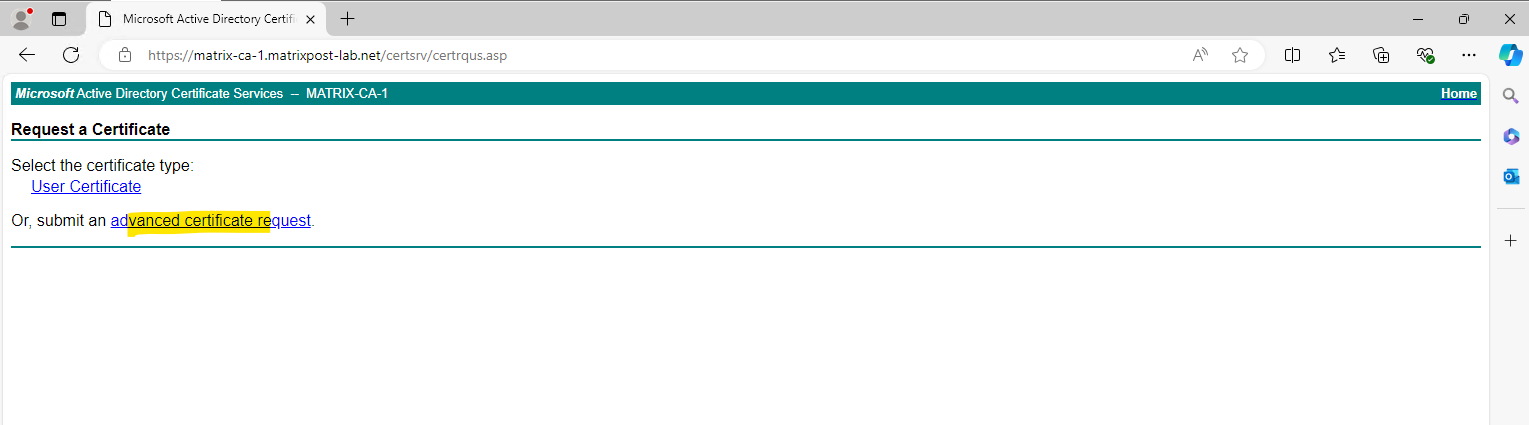
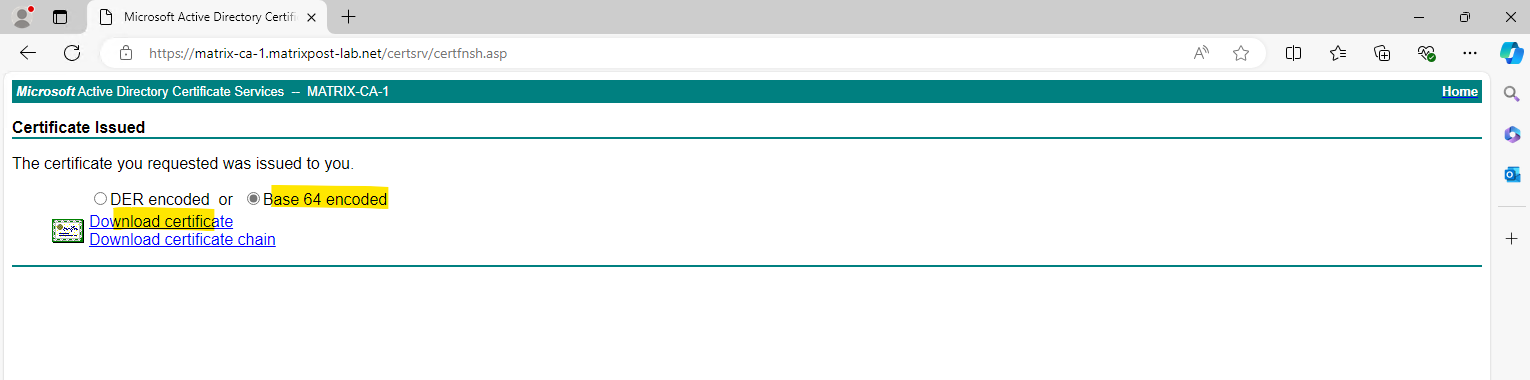
Securing the web interface with HTTPS
apachectl -M | grep -E 'headers|rewrite|ssl'
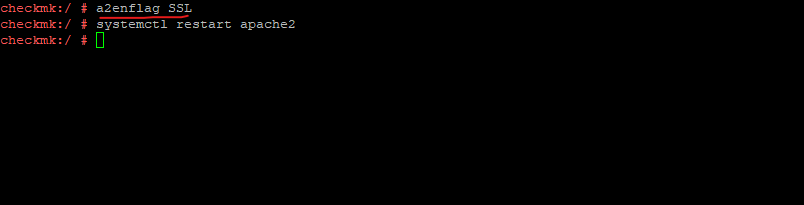
# a2enmod ssl
# a2enmod headers
# systemctl restart apache2
find /etc/apache2/ -type f -exec grep -Hn '^\s*SSLCertificate.*File' {} \;
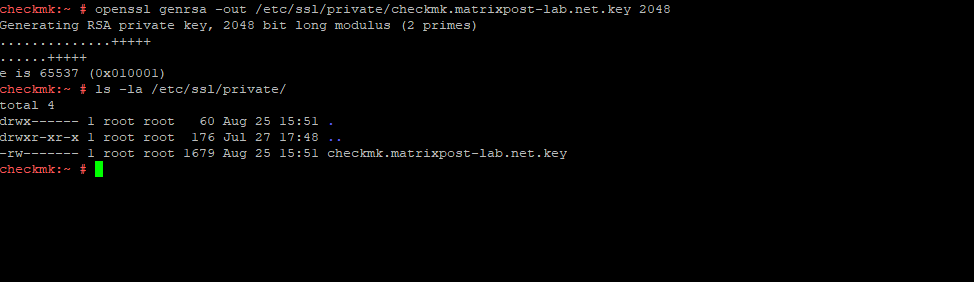
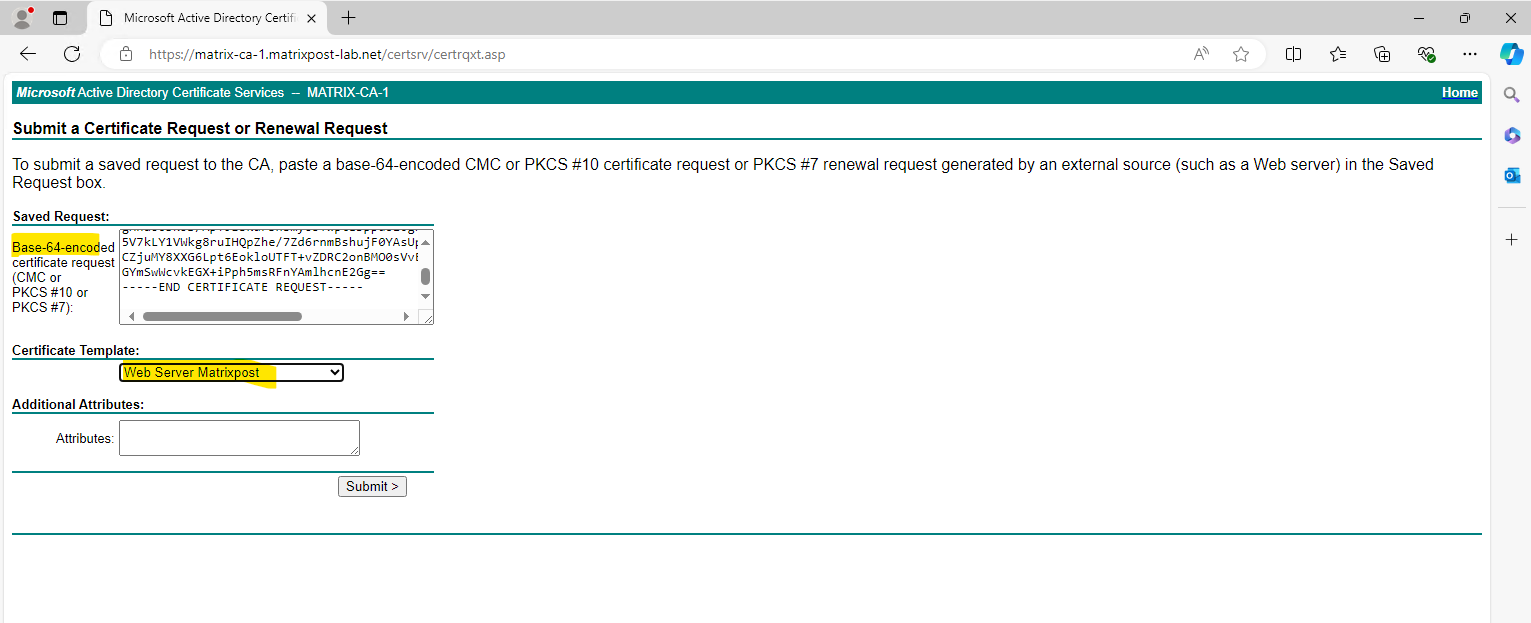
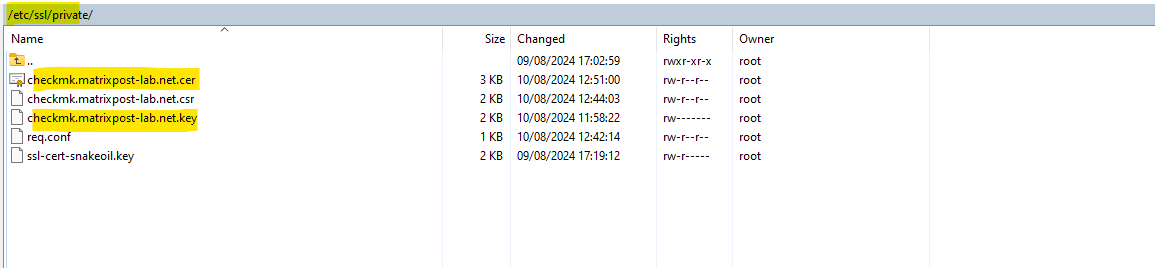
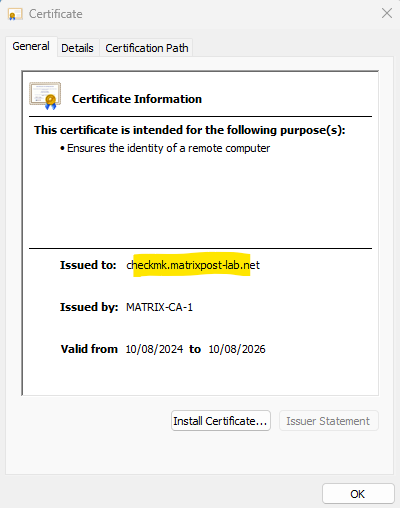
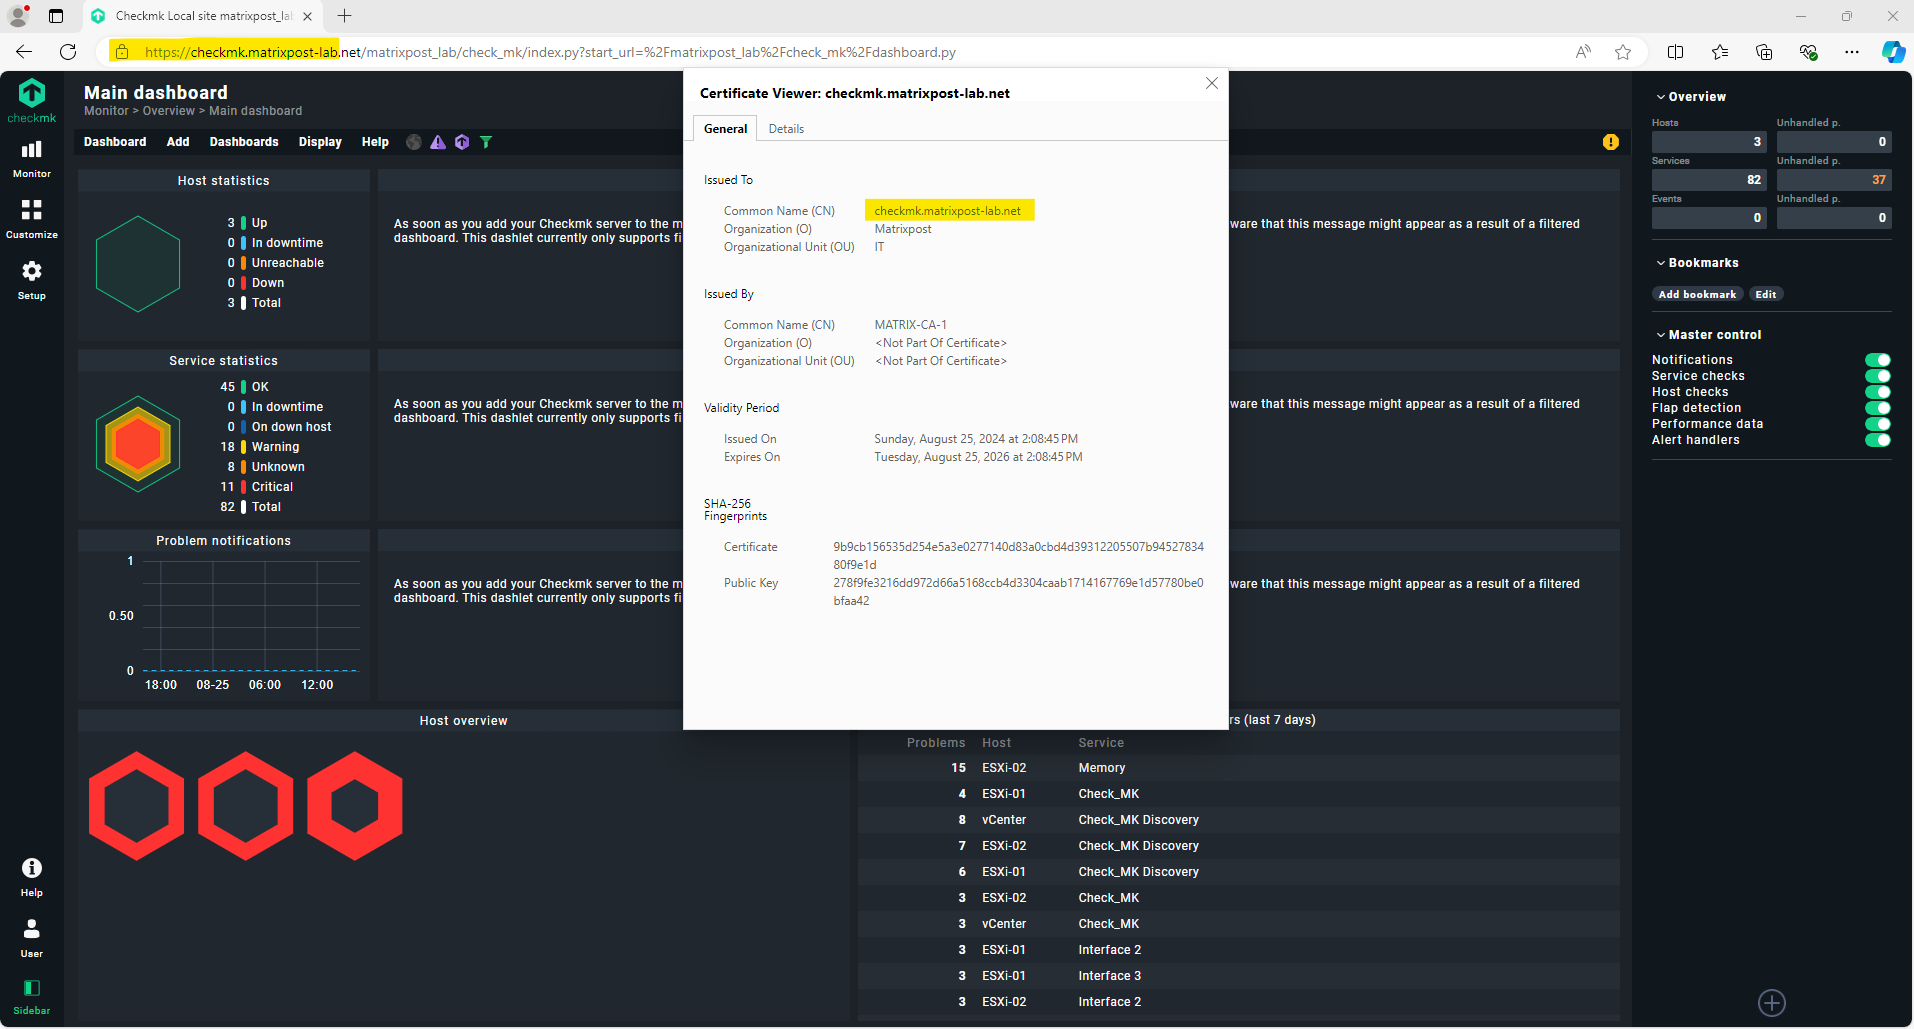
# openssl genrsa -out /etc/ssl/private/checkmk.matrixpost-lab.net.key 2048
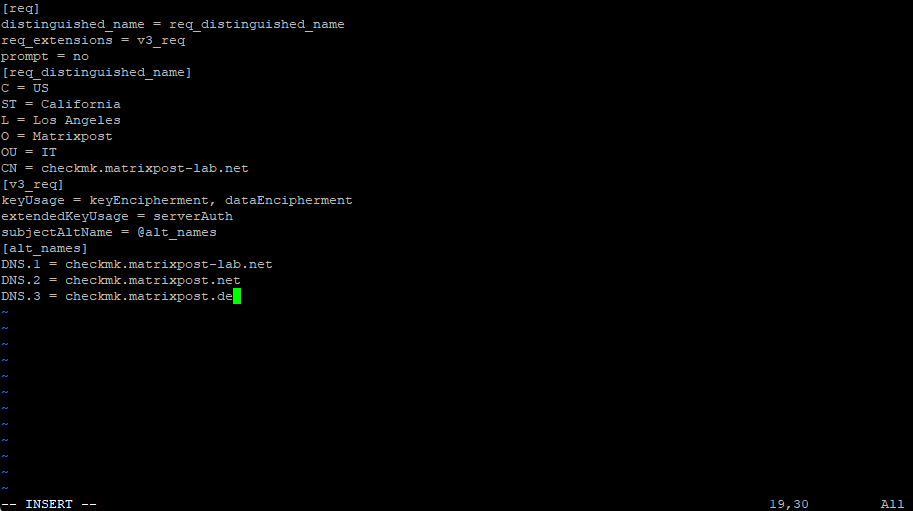
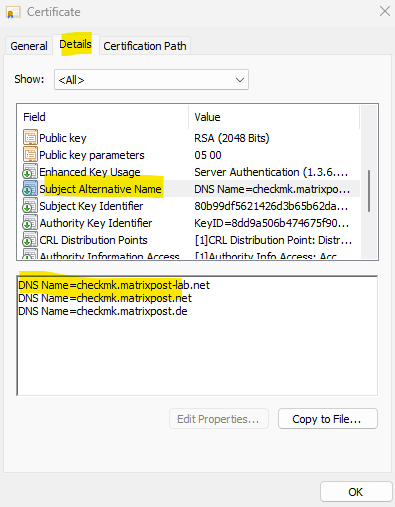
[req]
distinguished_name = req_distinguished_name
req_extensions = v3_req
prompt = no
[req_distinguished_name]
C = US
ST = California
L = Los Angeles
O = Matrixpost
OU = IT
CN = checkmk.matrixpost-lab.net
[v3_req]
keyUsage = keyEncipherment, dataEncipherment
extendedKeyUsage = serverAuth
subjectAltName = @alt_names
[alt_names]
DNS.1 = checkmk.matrixpost-lab.net
DNS.2 = checkmk.matrixpost.net
DNS.3 = checkmk.matrixpost.de
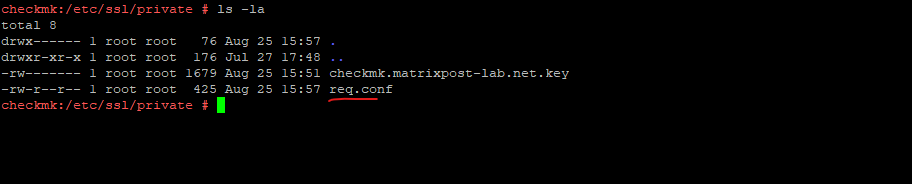
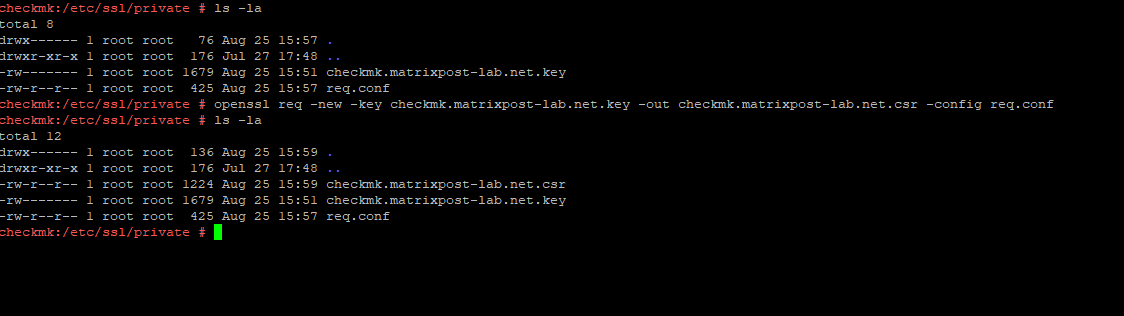
# openssl req -new -key checkmk.matrixpost-lab.net.key -out checkmk.matrixpost-lab.net.csr -config req.conf
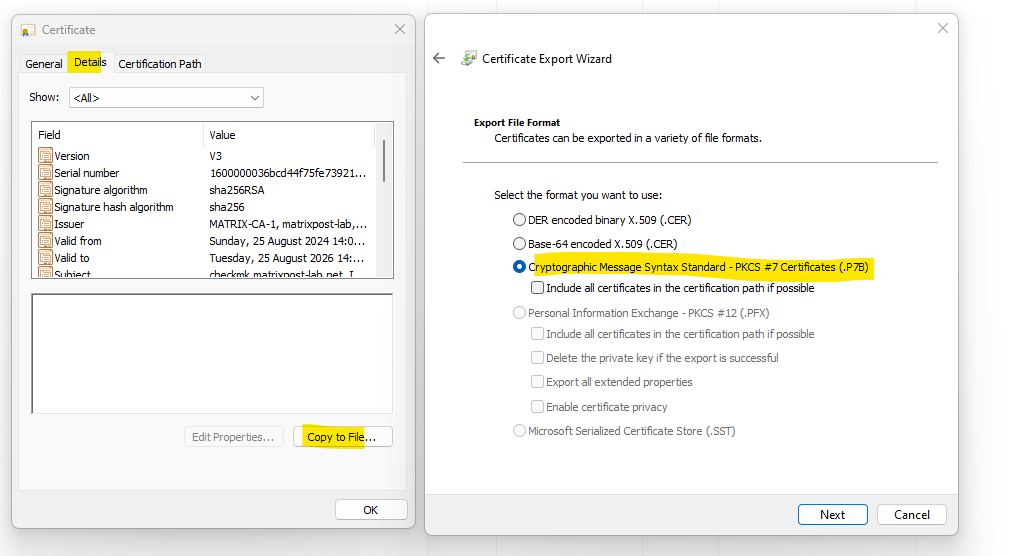
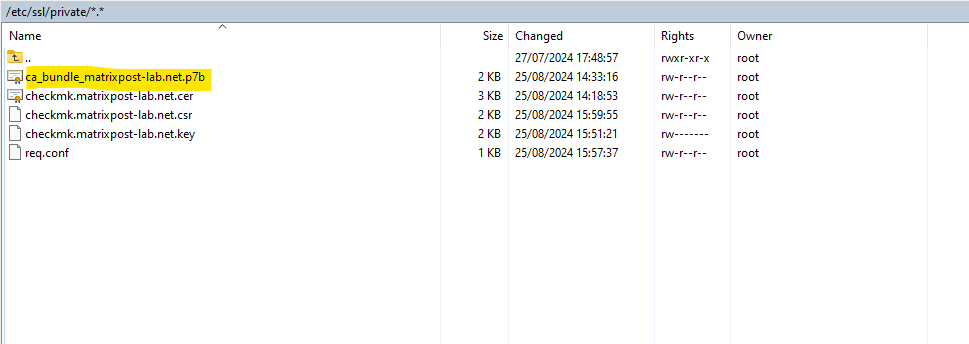
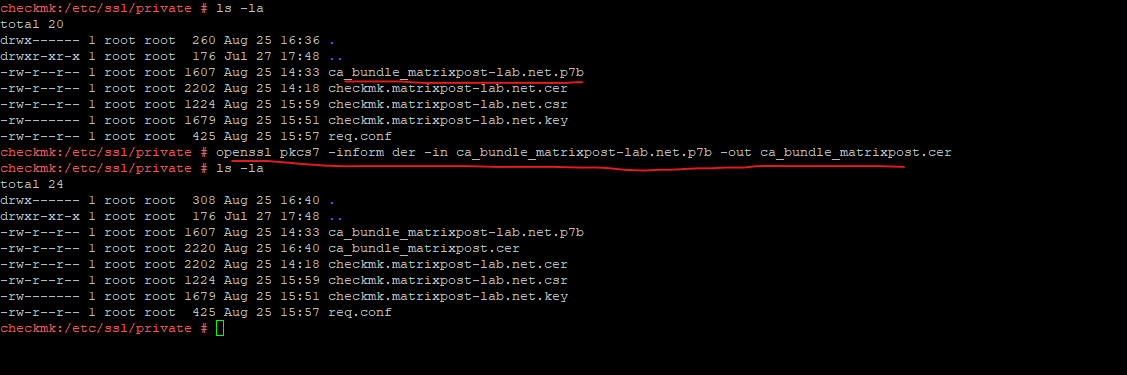
# openssl pkcs7 -inform der -in ca_bundle_matrixpost-lab.net.p7b -out ca_bundle_matrixpost.cer
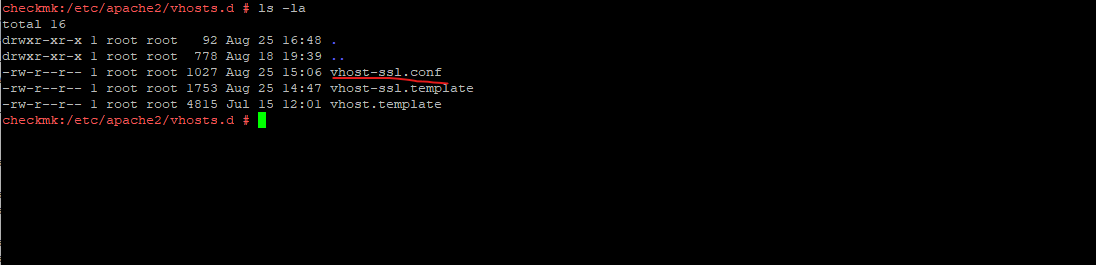
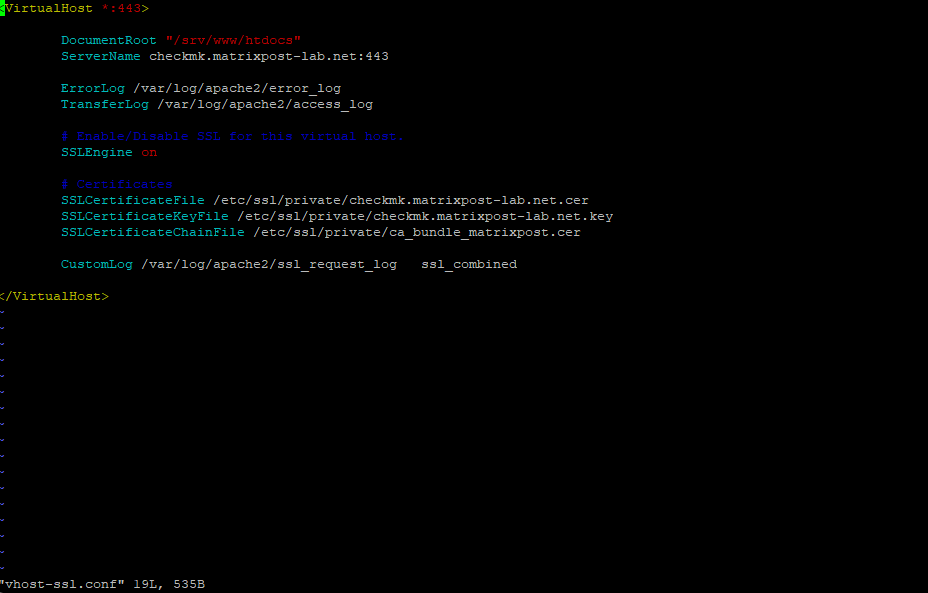
<VirtualHost *:443>

	DocumentRoot "/srv/www/htdocs"
	ServerName checkmk.matrixpost-lab.net:443

	ErrorLog /var/log/apache2/error_log
	TransferLog /var/log/apache2/access_log

	# Enable/Disable SSL for this virtual host.
	SSLEngine on

	# Certificates
	SSLCertificateFile /etc/ssl/private/checkmk.matrixpost-lab.net.cer
 	SSLCertificateKeyFile /etc/ssl/private/checkmk.matrixpost-lab.net.key
	SSLCertificateChainFile /etc/ssl/private/ca_bundle_matrixpost.cer

	CustomLog /var/log/apache2/ssl_request_log   ssl_combined

</VirtualHost>
Display Checkmk Version
To display the installed version of Checkmk we can run the following command on the shell.
# omd version
When you display the version of a Checkmk site with the omd version command, you will see a further suffix, which the OMD views as a part of the version number. So below we can see that I will run the Checkmk Cloud version.
This suffix enables the same versions of various Checkmk editions to be distinguished.
- .cre
 Checkmk Raw
.cee Checkmk Enterprise
.cce Checkmk Cloud
.cme Checkmk MSP
Source: https://docs.checkmk.com/latest/en/cmk_versions.html
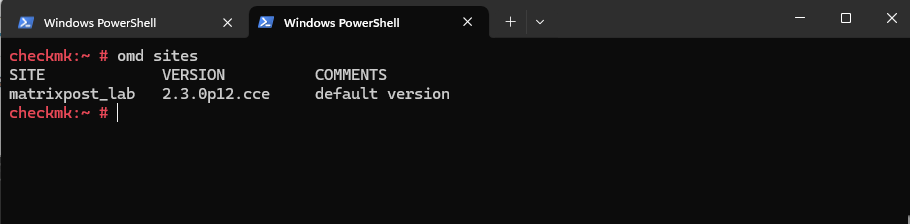
List all available Sites on the Checkmk Server
If you want to list all sites running on a specific server, use:
checkmk:~ # omd sites