VMware Virtual Machine using dedicated EFI System Partition Disk boots directly into GRUB2 Command Shell instead of booting the OS
A few weeks ago I encountered an issue on VMware’s vSphere environment with SUSE Linux Enterprise Server (SLES) virtual machines they will use a dedicated disk for the EFI System Partition on which the GRUB2 boot loader is located.
When using a dedicated disk for the EFI System Partition and placing the root filesystem on another disk by using a LVM Logical Volume for, the virtual machine running on VMware ESXi 8.0 Update 2 is booting directly into the GRUB2 command shell instead of booting the OS.
To come right to the point, finally this issue is related to VMware’s ESXi host and its Virtual machine hardware version resp. a new feature from since version 17.
VMware introduced a new feature named Virtual machine EFI Quick Boot which is enabled by default since ESXi 7.0 (Virtual Hardware Version 17) or newer versions. Details about you will find in the Reason for this Issue section below.
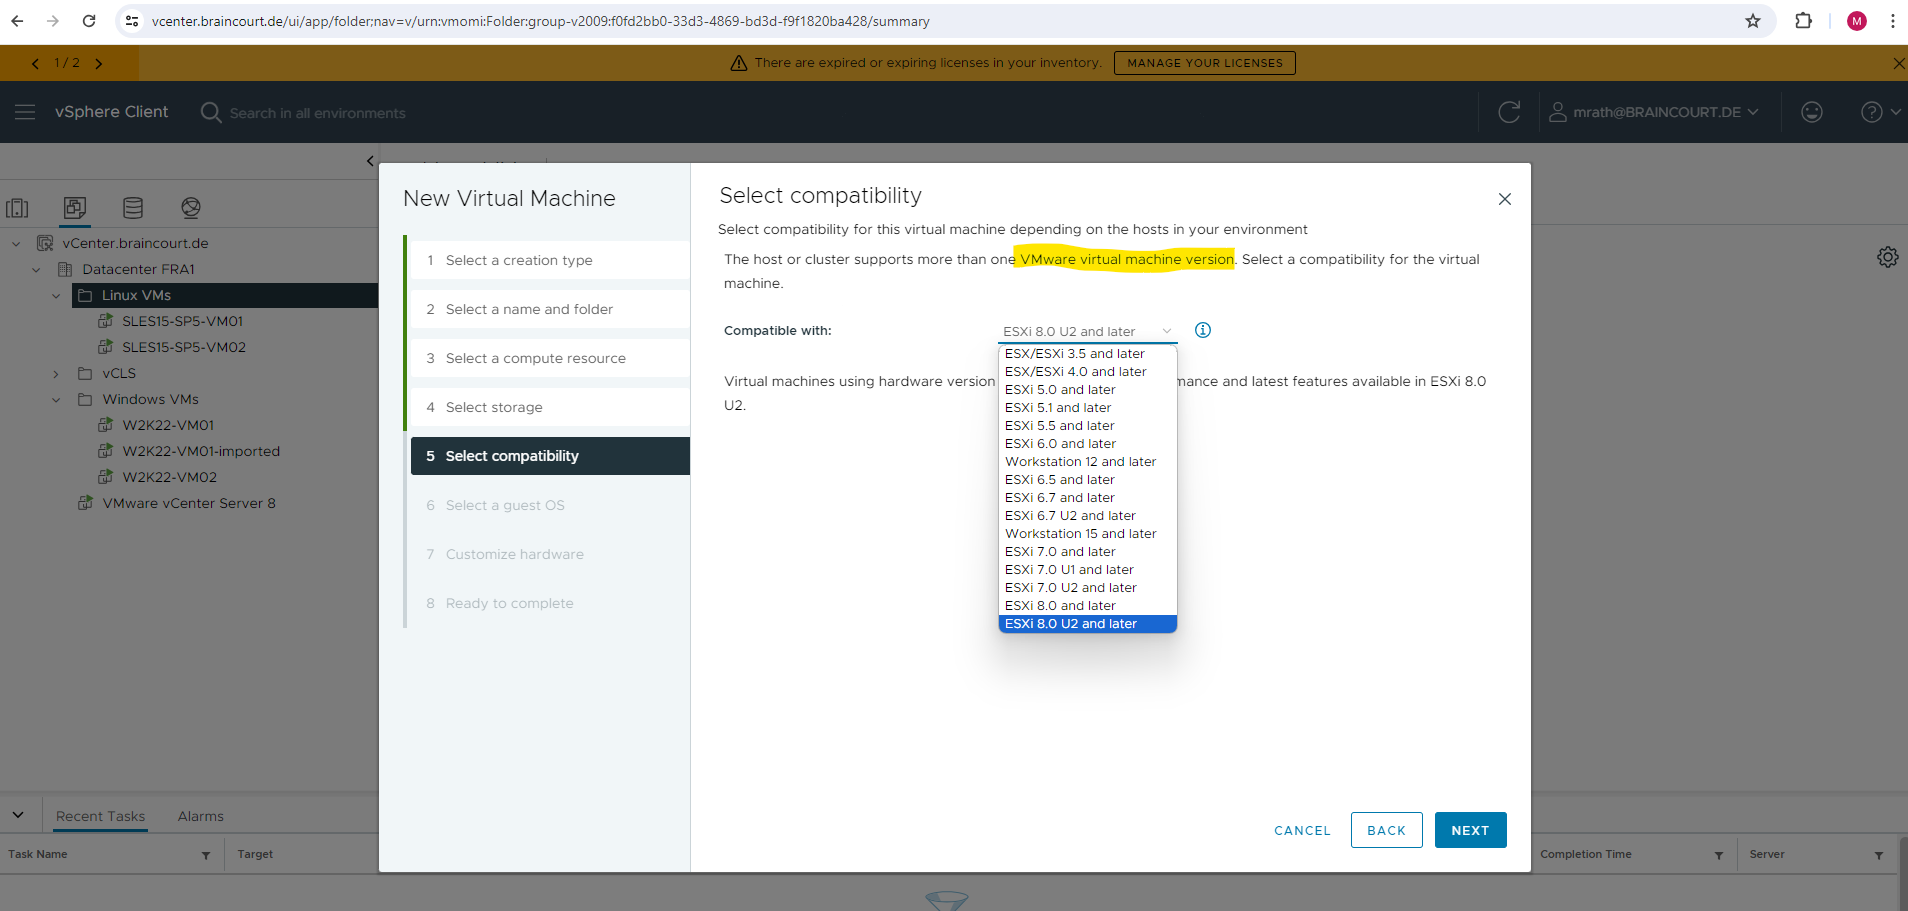
VMware Hardware Version
The hardware version of a virtual machine (VM) reflects the virtual hardware features and functions that the VM supports, which in turn relate to the hardware available on a physical host. When you create a VM, you can choose either the default hardware version or an earlier version. If you choose the latter, however, this may limit the VM’s functionality.
Hardware Features Available with Virtual Machine Compatibility Settings
https://docs.vmware.com/en/VMware-vSphere/8.0/vsphere-vm-administration/GUID-789C3913-1053-4850-A0F0-E29C3D32B6DA.html
Virtual hardware includes BIOS and Extensible Firmware Interface (EFI), while its version determines the amount of virtual PCI slots, maximum number of virtual cores, maximum memory size, and other characteristics typical for a physical machine. As an example, the maximum memory size in ESXi 6.0 (hardware version 11) is 4,080 GB, while in ESXi 6.5 (hardware version 13), it is as much as 6,128 GB.
A VMware product is unable to power on a VM if its hardware version is higher than this product supports. For example, VMware Fusion 6.x (VMware hypervisor for Macintosh) can only run a VM on a VMware hardware version 10 or lower. In order to run a VM on hardware version 11, you need VMware Fusion 7.x.
Source: https://www.nakivo.com/blog/vmware-hardware-version-overview-upgrades-and-compatibility/
Issue – The VM is booting directly into the GRUB2 Command Shell
Below you will see what happens when I will power on this virtual machine.
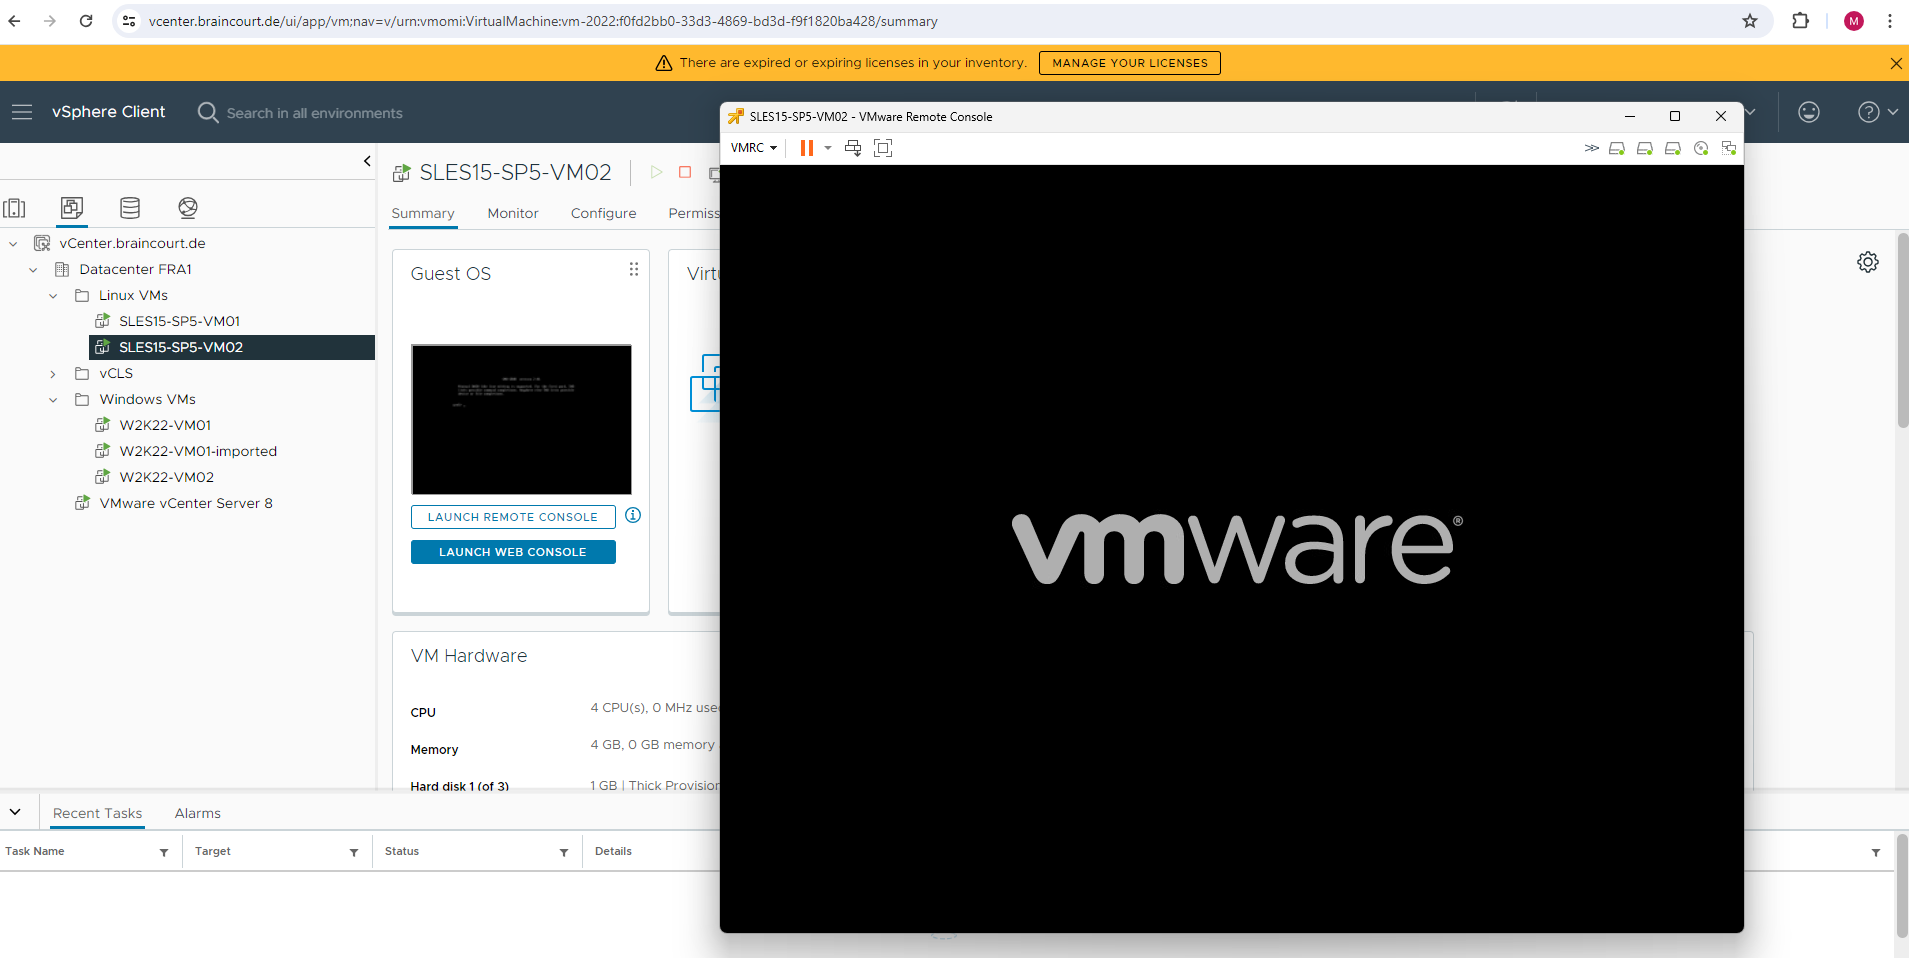
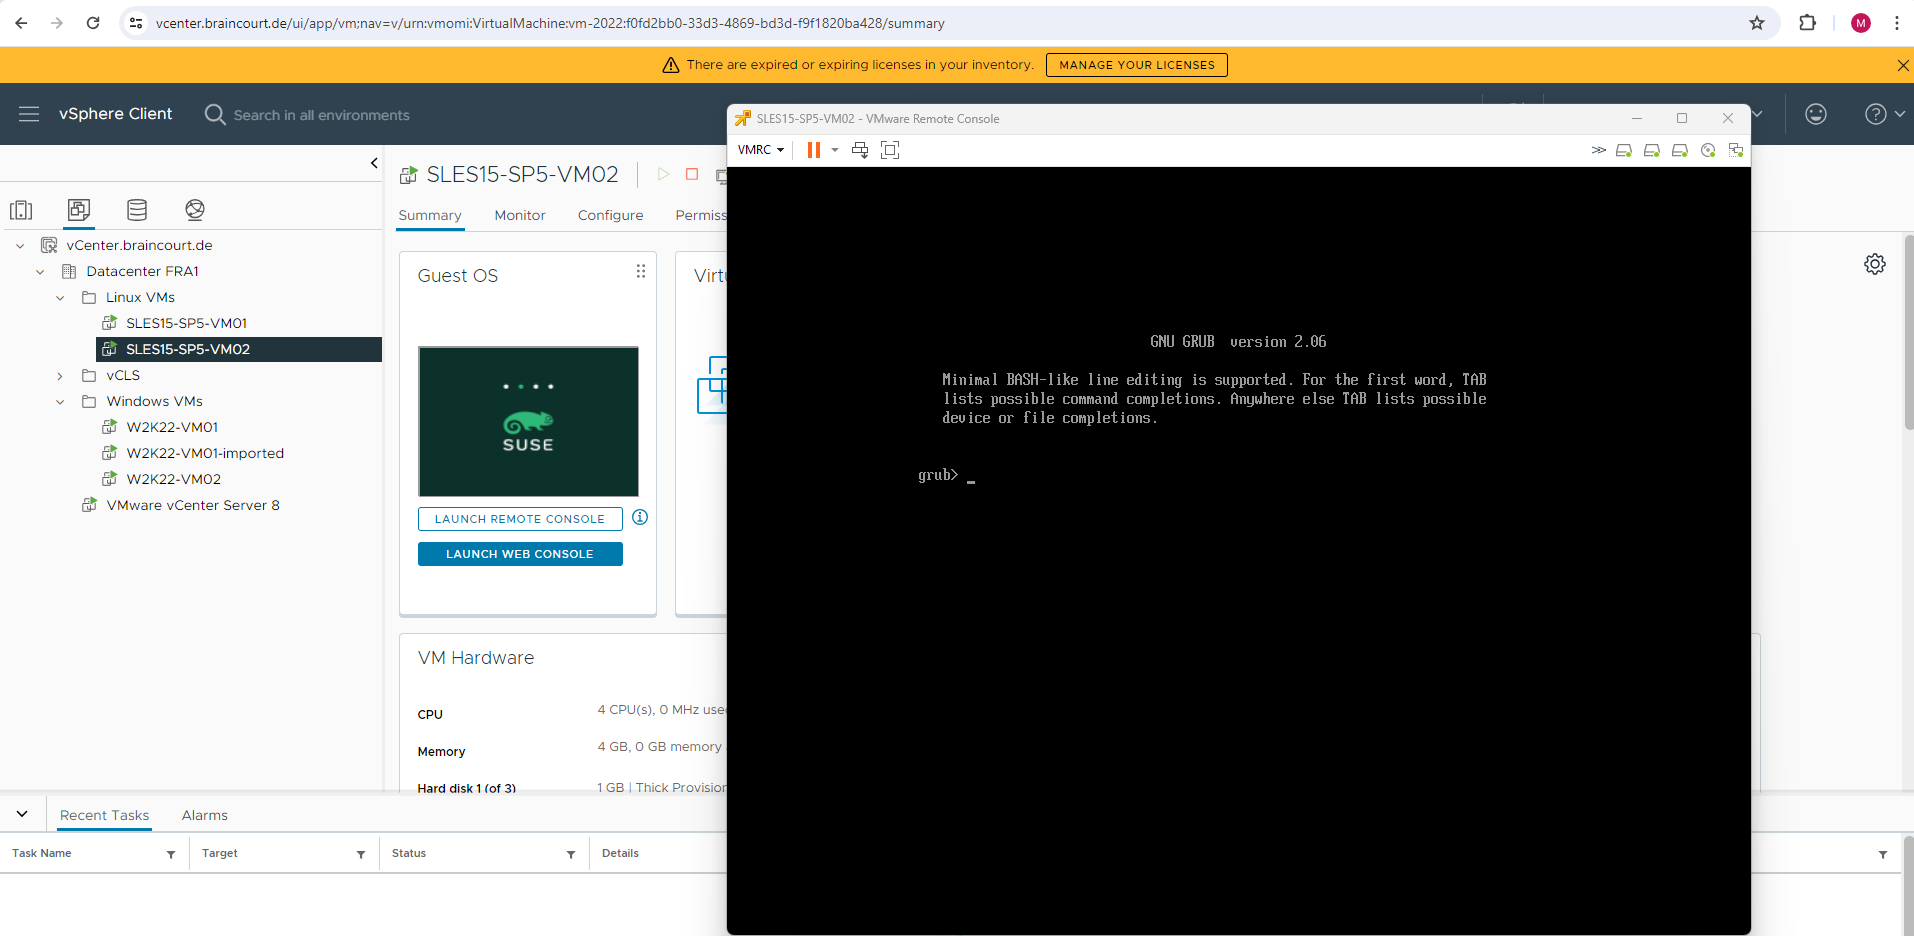
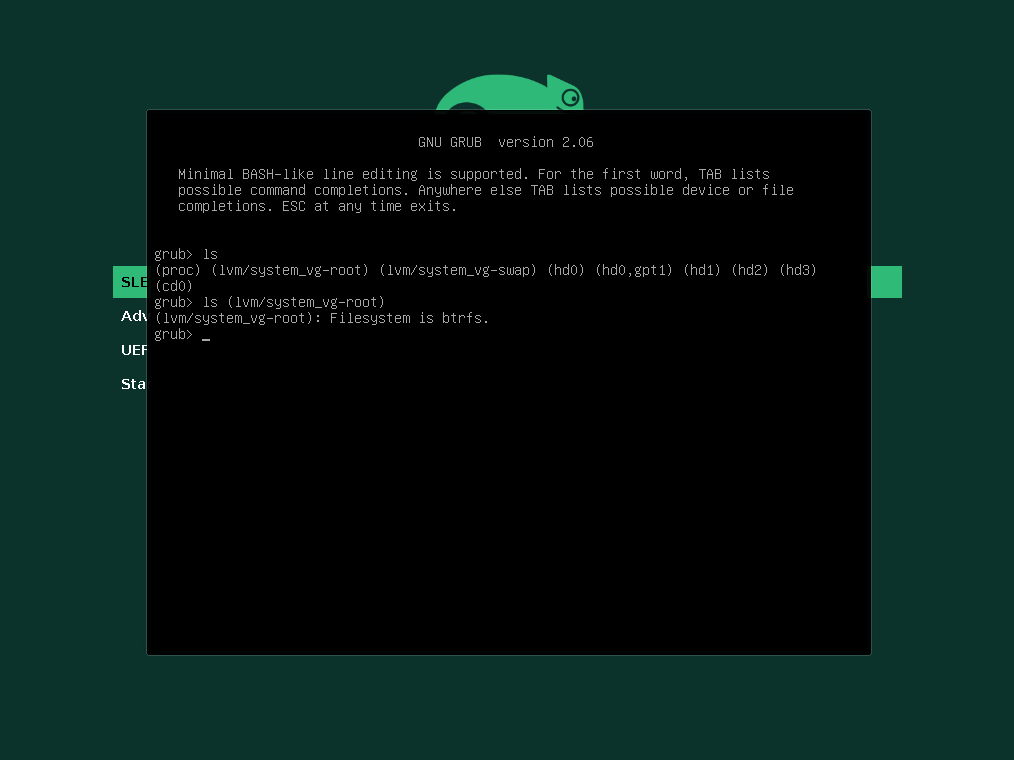
Immediately after powering on the virtual machine it will boot directly into the GRUB2 command shell instead booting the OS like shown below.
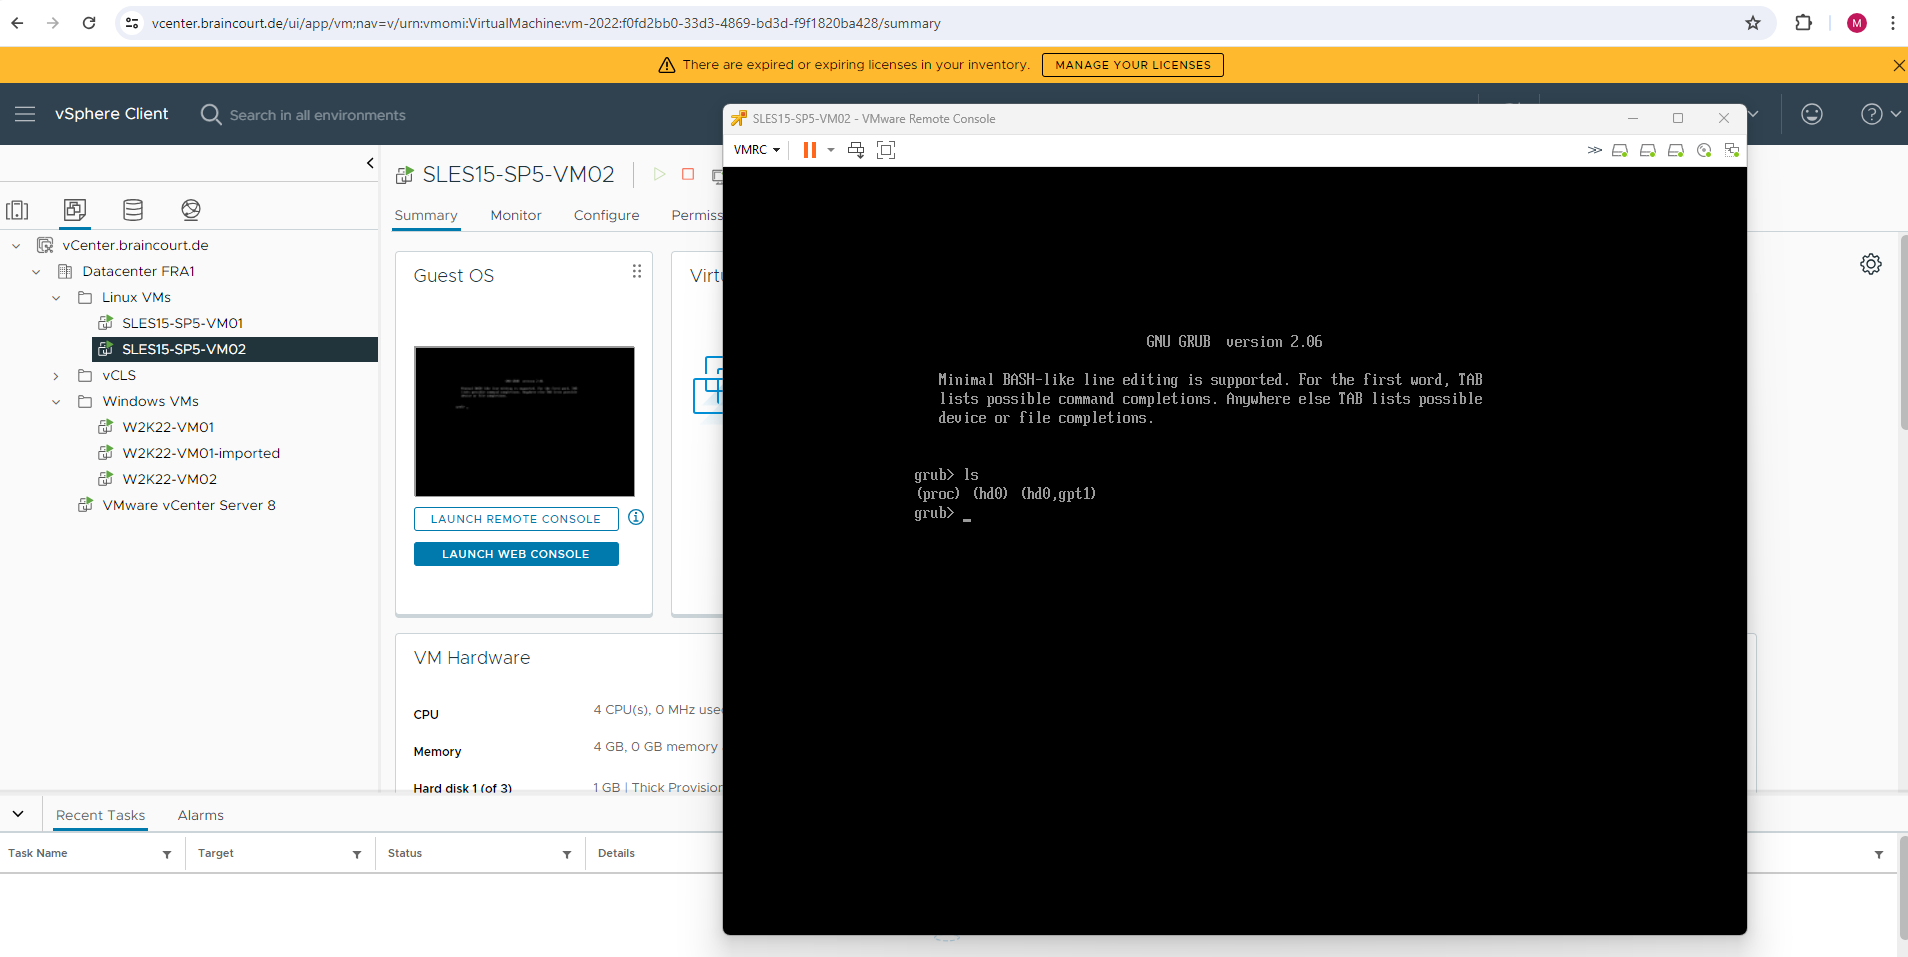
When executing the ls command within the GRUB2 command shell and using no further arguments, it will print all devices known to GRUB2 as shown below.
Because it shows only the first disk (hd0), GRUB2 for whatever reason was not able to detect and access my second disk (hd1) on which finally the LVM Logical Volume and root filesystem is located.
Therefore the GRUB2 boot loader is not able to mount the root filesystem and load the kernel in order to pass over the control to systemd and its first init process to finally boot the OS.
GRUB 2 can read files directly from LVM and RAID devices. So this cannot be the issue here.
Source: https://www.gnu.org/software/grub/manual/grub/grub.html
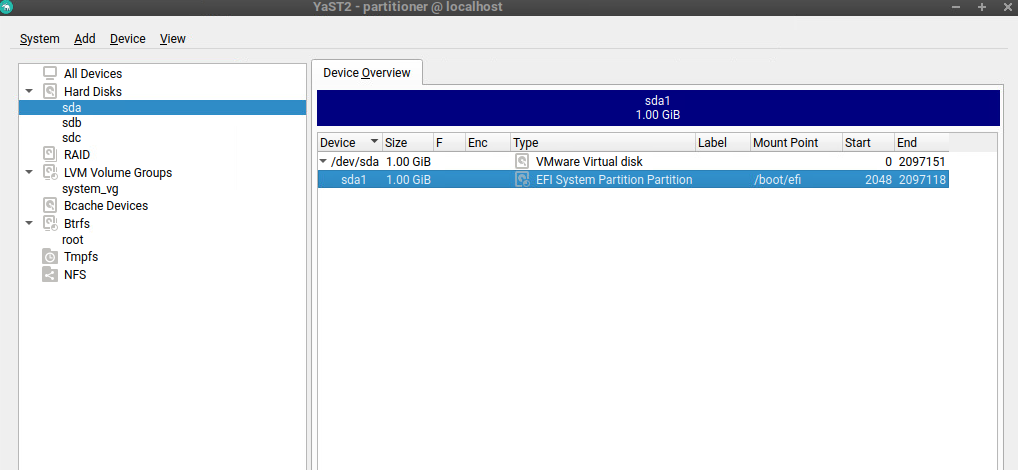
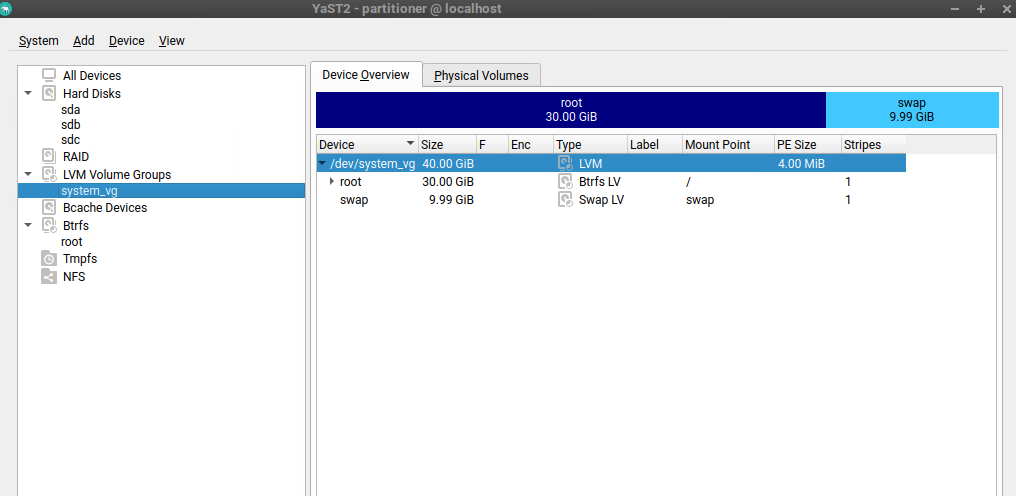
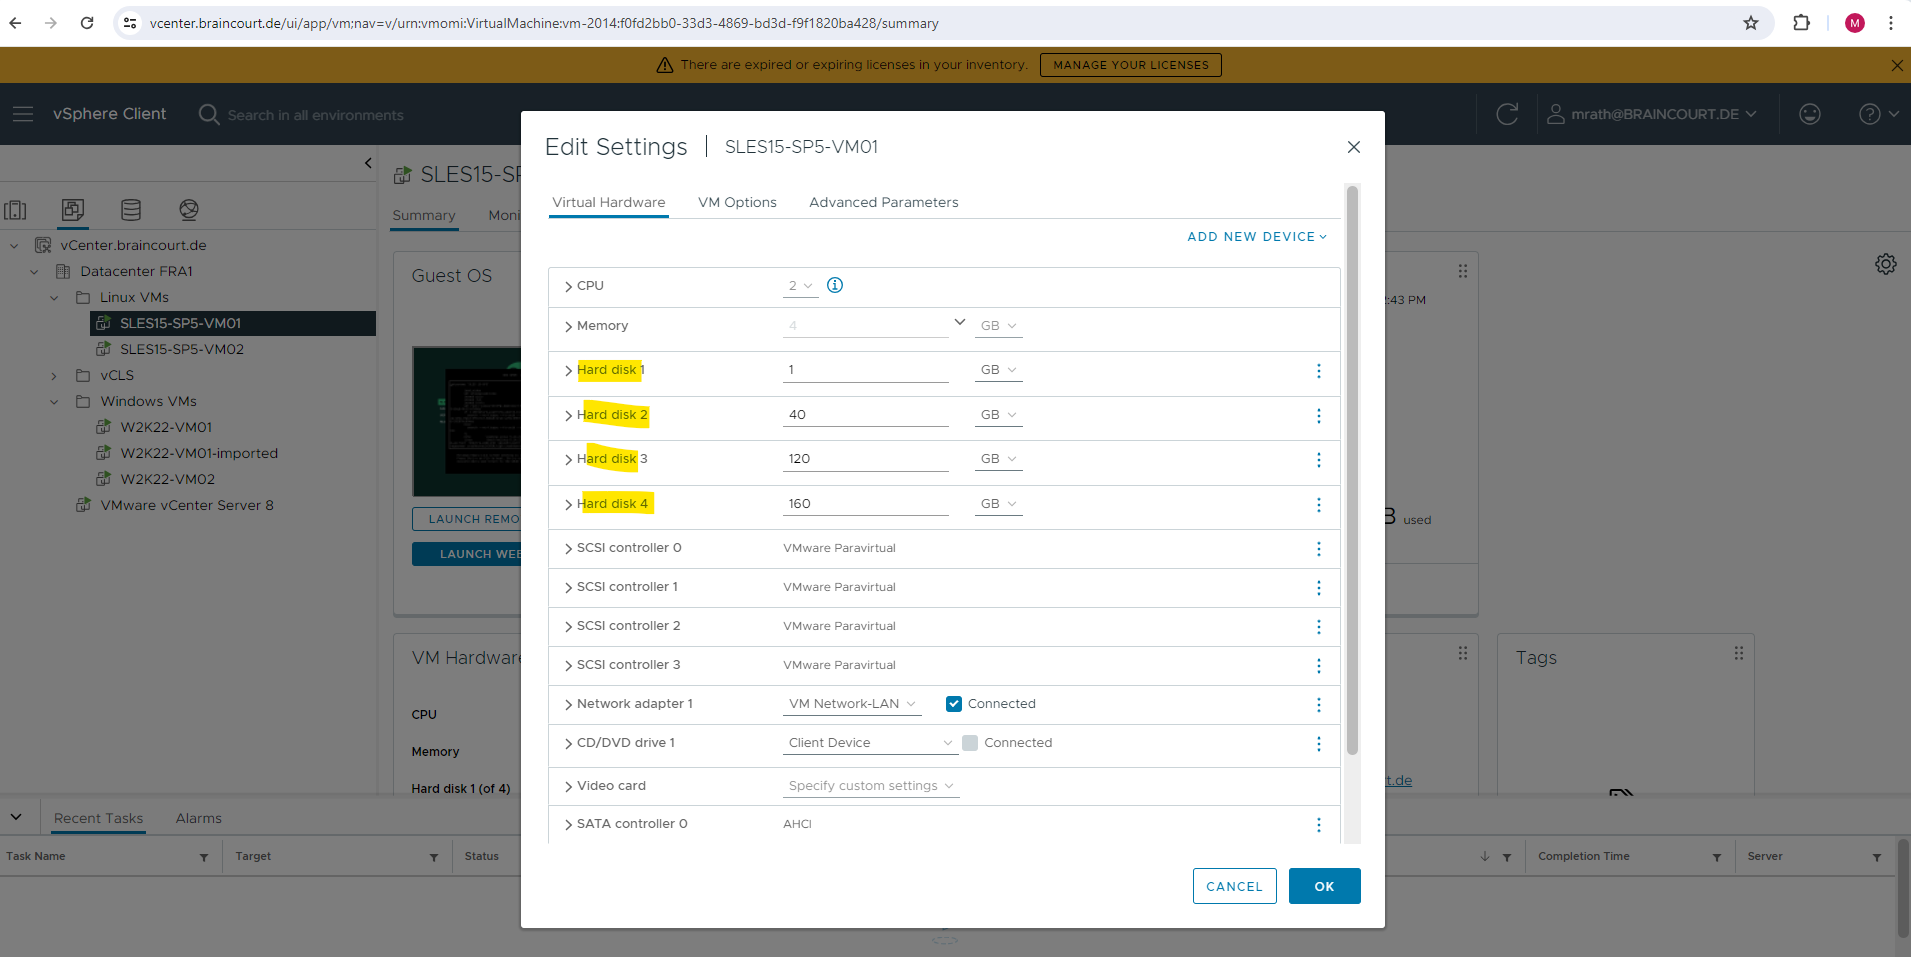
Here you can see the partitioning configuration with the dedicated disk for the EFI System Partition on which the GRUB2 boot loader is stored.
The root filesystem and swap space is placed on a LVM Logical Volume.
Reason for this Issue
As mentioned to the beginning, finally the reason for this issue is VMware’s ESXi hosts and their corresponding Virtual machine hardware versions.
VMware introduced a new feature named Virtual machine EFI Quick Boot which is enabled by default since ESXi 7.0 (Virtual Hardware Version 17) or newer versions.
Virtual machine EFI Quick Boot works by configuring the virtual machines EFI firmware to only make the device available from which the OS is going to boot.
Other devices like network adapters and disks which are not going to be used for the boot are normally not initialized at this point, as these can add up additional time.
Typically the operating system’s boot loader will be fetched from the device, and when the operating system itself boots, it will probe and initialize the remaining devices.
This can lead to issues when the bootloader expects devices it was not booted from to be already present and available while loading a pre-boot / pre-OS environment, e.g. to install the actual operating system on these devices.
VMware engineering is aware of this problem, and working on implementing a solution in a future vSphere release.
Source: https://knowledge.broadcom.com/external/article/326253/pxe-deployment-for-windows-guest-os-in-v.html
So finally the Virtual machine EFI Quick Boot feature is configuring here the virtual machines EFI firmware in that way, that my second disk with the root filesystem on the LVM Logical Volume will not be initialized by the EFI when powering on the virtual machine and therefore is not present to the GRUB2 boot loader.
Solution
The workaround for this issue is to just disable the Virtual machine EFI Quick Boot feature for all affected virtual machines within the vSphere client or ESXi Host Client.
Therefore we first need to power off the virtual machine, then on the VM configuration within the vSphere client navigate to the Advanced Parameter tab and add the following parameter.
That’s all!
efi.quickBoot.enabled = FALSE

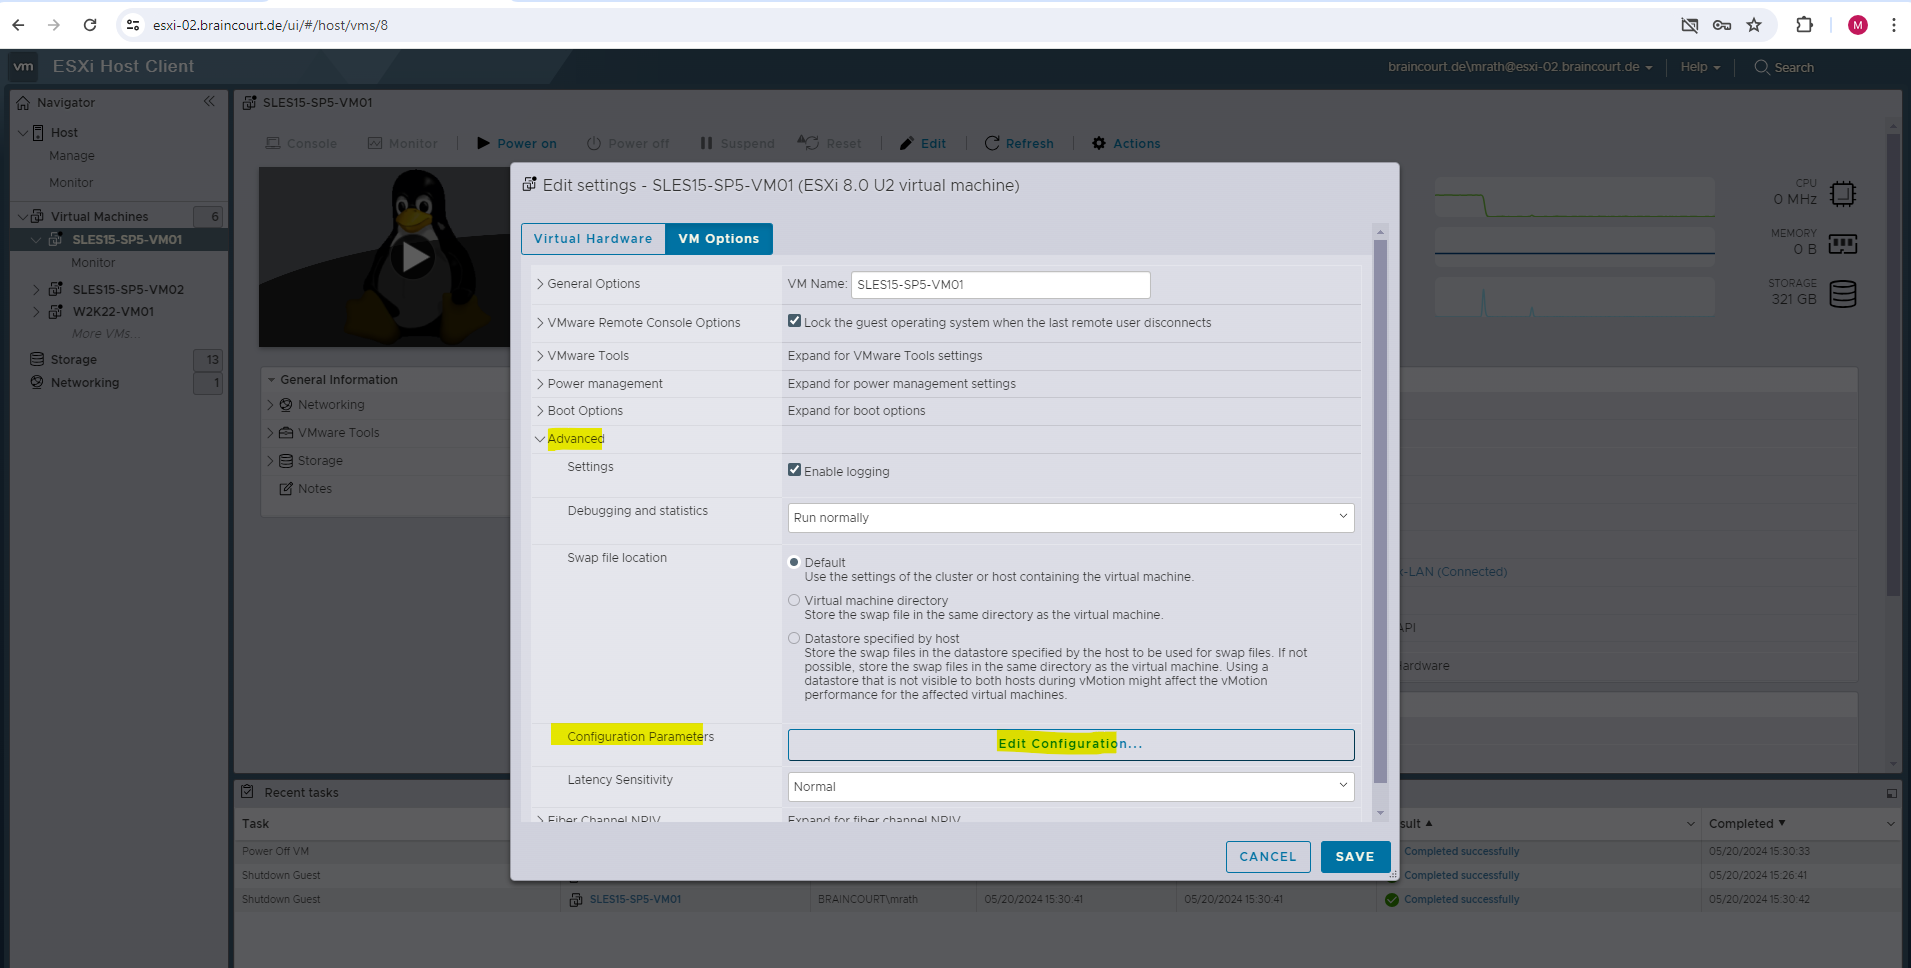
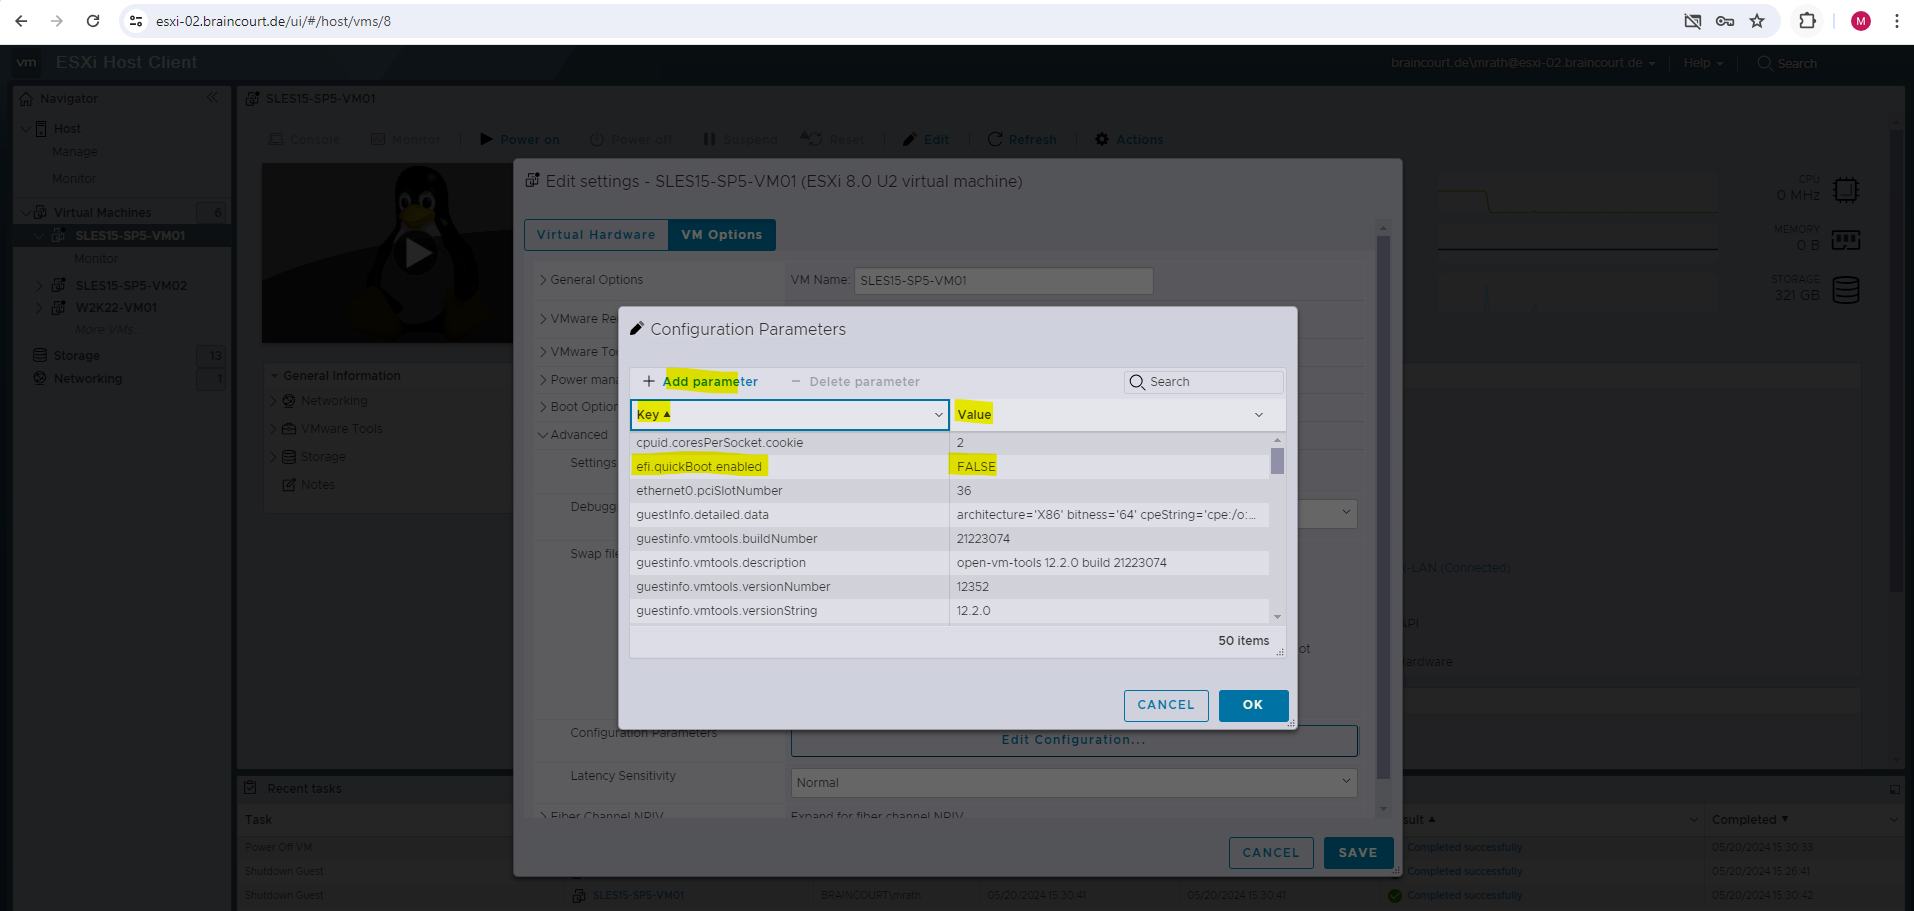
On the ESXi Host Client we can also adjust the VM configuration by navigating to the VM Options and here under Advanced -> Configuration Parameters click on Edit Configuration …
And adding efi.quickBoot.enabled = FALSE
When I will now power on the virtual machine, the OS will boot as expected.
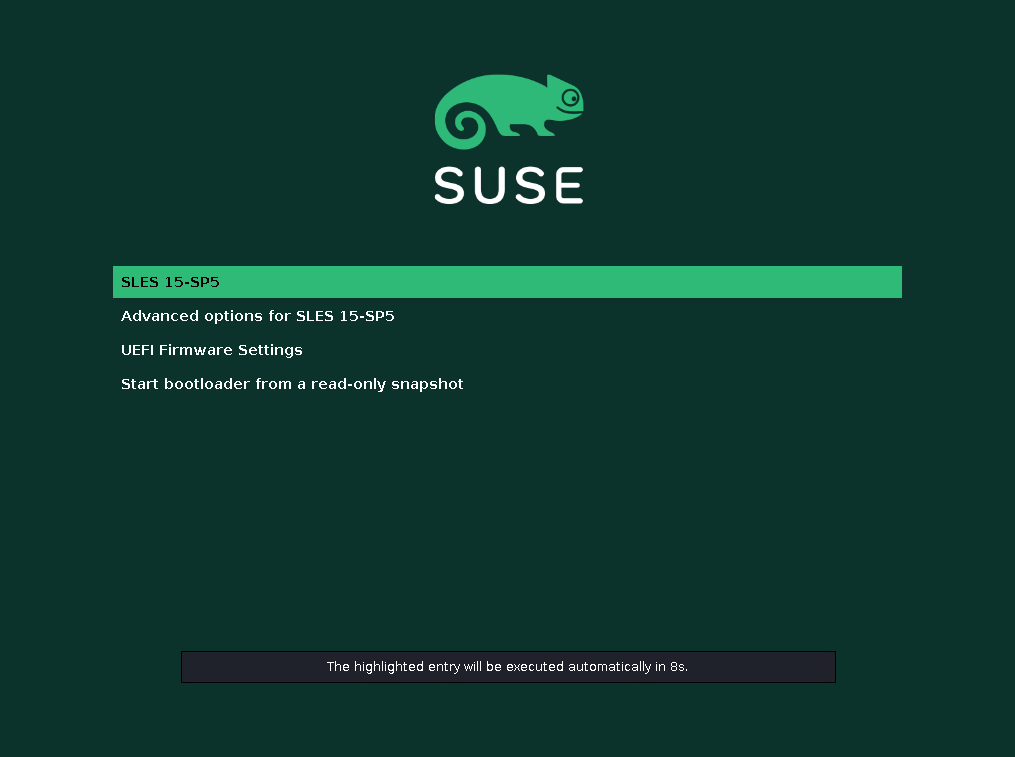
I also wanted to see what the GRUB2 boot loader now sees after this change. To boot this time intentionally into the GRUB2 Command Shell, in the GRUB 2 boot screen shown below, highlight the entry you want to modify using the arrow keys ↑ and ↓. Press the E key.
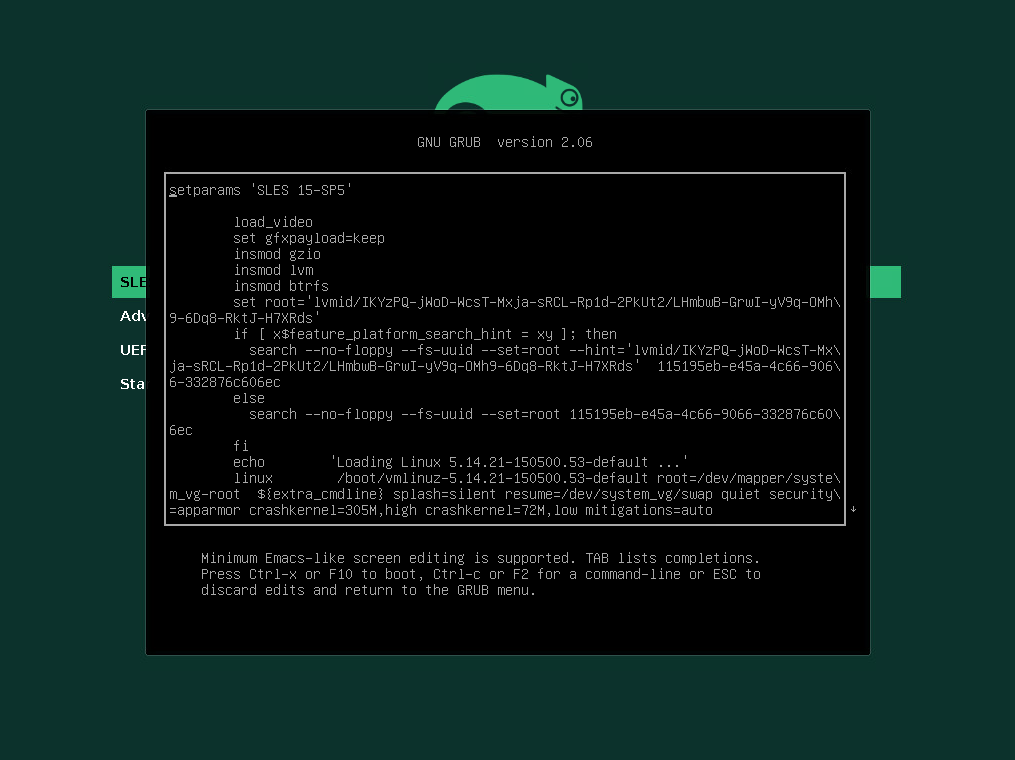
You will be presented with an editor and the content of the selected boot entry. It will look similar to the following. Here press Ctrl-c or F2 to enter to the GRUB2 Command Shell.
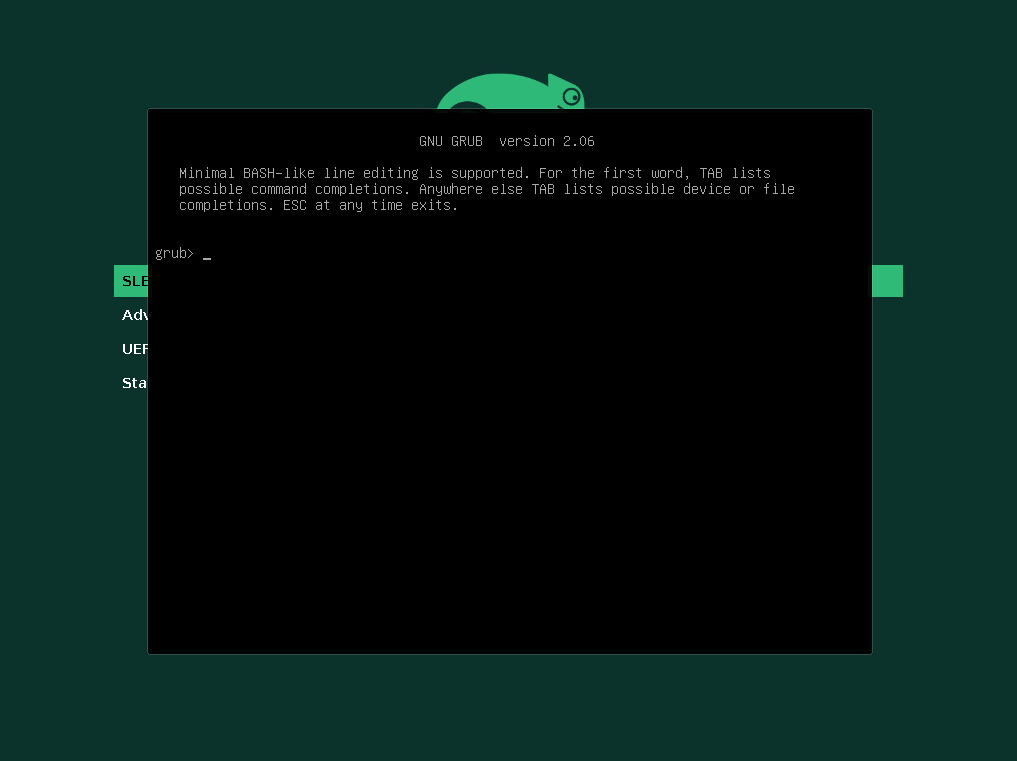
The GRUB2 Command Shell is shown up.
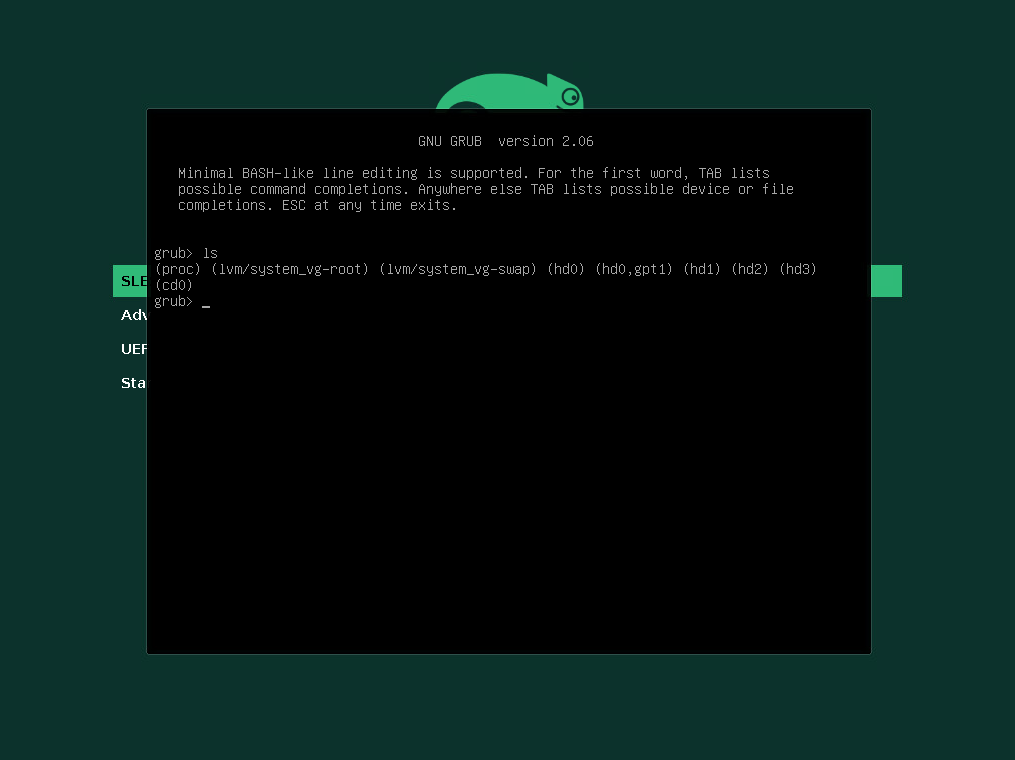
Now we can check again which devices resp. disks GRUB2 will see and be able to access by executing the ls command and no further arguments, this will print all devices known to GRUB2 as shown below.
So this time my second disk (hd1) on which the LVM Logical Volume with the root filesystem is stored is shown up. Further also my third disk (hd2) and fourth disk (hd3) is shown up which I will use for the data.
To check the filesystem type for a specific disk we can use the ls command and in parentheses the device name as follows:
grub> ls (lvm/system_vg-root)
Here you can see my configured disks in vSphere for this virtual machine.
GRUB2 Configuration
Below just to show how you can adjust settings for the GRUB2 boot loader. Four our issue we doesn’t need to change here anything!
Before I finally found the real reason for this issue, I first thought this is related to the GRUB2 boot loader itself regarding the initialization time for my second disk and root filesystem.
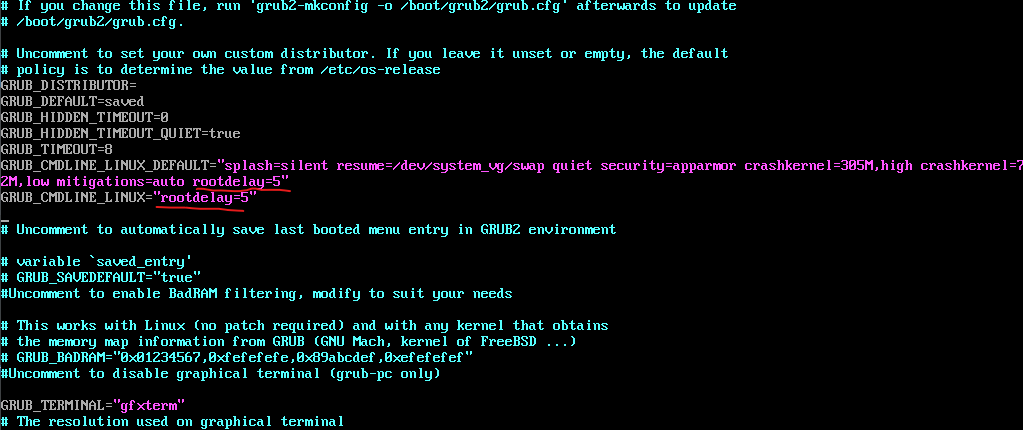
Therefore I was adding a rootdelay in the /etc/default/grub file as shown below.
rootdelay = Delay (in seconds) to pause before attempting to mount the root filesystem
Source: https://www.kernel.org/doc/Documentation/admin-guide/kernel-parameters.txt
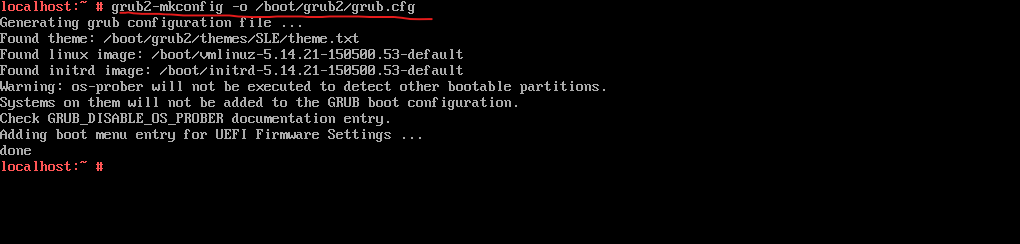
Finally we need to execute the following command to write the new configuration to GRUB.
# grub2-mkconfig -o /boot/grub2/grub.cfg
Boot Process on Linux
Below there is an interesting article by SUSE in general about Booting a Linux system.
For terminology clarification -> two different processes are commonly named init:
- The initramfs process mounting the root file system
- The operating system process that starts all other processes that is executed from the real root file system
In both cases, the systemd program is taking care of this task. It is first executed from the initramfs to mount the root file system. When that has succeeded, it is re-executed from the root file system as the initial process.
SUSE Linux Enterprise Server uses the boot loader GRUB 2 on all architectures. Depending on the architecture and firmware, starting the GRUB 2 boot loader can be a multi-step process. The purpose of the boot loader is to load the kernel and the initial, RAM-based file system (initramfs).
After turning on the computer, the BIOS or the UEFI initializes the screen and keyboard, and tests the main memory. Up to this stage, the machine does not access any mass storage media. Subsequently, the information about the current date, time, and the most important peripherals are loaded from the CMOS values. When the boot media and its geometry are recognized, the system control passes from the BIOS/UEFI to the boot loader.
On a machine equipped with a traditional BIOS, only code from the first physical 512-byte data sector (the Master Boot Record, MBR) of the boot disk can be loaded. Only a minimal GRUB 2 fits into the MBR. Its sole purpose is to load a GRUB 2 core image containing file system drivers from the gap between the MBR and the first partition (MBR partition table) or from the BIOS boot partition (GPT partition table). This image contains file system drivers and therefore is able to access /boot located on the root file system. /boot contains additional modules for GRUB 2 core as well as the kernel and the initramfs image. When it has access to this partition, GRUB 2 loads the kernel and the initramfs image into memory and hands control over to the kernel.
When booting a BIOS system from an encrypted file system that includes an encrypted /boot partition, you need to enter the password for decryption twice. It is first needed by GRUB 2 to decrypt /boot and then for systemd to mount the encrypted volumes.
On machines with UEFI the boot process is much simpler than on machines with a traditional BIOS. The firmware is able to read from a FAT formatted system partition of disks with a GPT partition table.
This EFI system-partition (in the running system mounted as /boot/efi) holds enough space to host a fully-fledged GRUB 2 which is directly loaded and executed by the firmware.
The kernel resides directly in /boot together with other boot-related files. To determine the kernel version you can execute the uname -r command.
If the BIOS/UEFI supports network booting, it is also possible to configure a boot server that provides the boot loader. The system can then be booted via PXE. The BIOS/UEFI acts as the boot loader. It gets the boot image from the boot server and starts the system. This is completely independent of local hard disks.
When the boot loader has passed on system control, the boot process is the same on all architectures. The boot loader loads both the kernel and an initial RAM-based file system (initramfs) into memory and the kernel takes over.
After the kernel has set up memory management and has detected the CPU type and its features, it initializes the hardware and mounts the temporary root file system from the memory that was loaded with the initramfs.
The initramfs provides a minimal Linux environment that enables the execution of programs before the actual root file system is mounted. This minimal Linux environment is loaded into memory by BIOS or UEFI routines and does not have specific hardware requirements other than sufficient memory. The initramfs archive must always provide an executable named init that executes the systemd daemon on the root file system for the boot process to proceed.
Before the root file system can be mounted and the operating system can be started, the kernel needs the corresponding drivers to access the device on which the root file system is located. These drivers may include special drivers for certain kinds of hard disks or even network drivers to access a network file system. The needed modules for the root file system are loaded by init on initramfs. After the modules are loaded, udev provides the initramfs with the needed devices. Later in the boot process, after changing the root file system, it is necessary to regenerate the devices. This is done by the systemd unit systemd-udev-trigger.service.
More about the boot process you will find in the following article by SUSE https://documentation.suse.com/sles/15-SP4/html/SLES-all/cha-boot.html.
initrd/initramfs
An initrd (initial RAM disk) is an image file containing a root file system image which is loaded by the kernel and mounted from /dev/ram as the temporary root file system. Mounting this file system requires a file system driver.
Beginning with kernel 2.6.13, the initrd has been replaced by the initramfs (initial RAM file system), which does not require a file system driver to be mounted. SUSE Linux Enterprise Server exclusively uses an initramfs. However, since the initramfs is stored as /boot/initrd, it is often called initrd.
Source: https://documentation.suse.com/sles/15-SP4/html/SLES-all/cha-boot.html
An initramfs (initial ram file system) is used to prepare Linux systems during boot before the init process starts.The initramfs usually takes care of mounting important file systems (by loading the proper kernel modules and drivers) such as /usr or /var, preparing the /dev file structure, etc. Users who use an encrypted file system will also have the initramfs ask them for the passphrase before it can mount the file systems. When the file systems are mounted, control is passed on to init which then takes care of further starting all necessary services and booting up the remainder of the system.
VMware ESXi Quick Boot for the Hypervisor
The Quick Boot feature is also available for the ESXi Host (Hypervisor) itself to reboot without first performing a power-on self-test (POST) and initializing the hardware.
Quick Boot is a vSphere feature that speeds up the upgrade process of an ESXi server. A regular reboot involves a full power cycle that requires firmware and device initialization. Quick Boot optimizes the reboot path to avoid this, saving considerable time from the upgrade process.
Not all servers or configurations support the Quick Boot feature. The Quick Boot support depends on the requirements described below. You can only enable the Quick Boot feature in the Update Manager UI if the system is supported. The Quick Boot feature includes some prechecks functionality to prevent the usage on an unsupported configuration. If any of these precheck are not met, a regular reboot is performed. Hardware vendor can define additional requirements, not validated by our prechecks.
Source: https://knowledge.broadcom.com/external/article?legacyId=52477
More about you will find in the following articles.
Using Quick Boot in VMware ESXi 7.0 on Lenovo ThinkSystem Servers
https://lenovopress.lenovo.com/lp1463.pdfWhat is VMware ESXi Quick Boot and how to configure it
https://4sysops.com/archives/what-is-vmware-esxi-quick-boot-and-how-to-configure-it/vSphere Quick Boot | VMware
https://core.vmware.com/video/vsphere-quick-boot
Links
PXE Deployment for Windows guest OS in virtual machines may fail when using VM hardware version 16 or higher
https://knowledge.broadcom.com/external/article/326253/pxe-deployment-for-windows-guest-os-in-v.htmlGrub error after upgrading VMware Compatibility from 15 to 19
https://forums.debian.net/viewtopic.php?t=153326Virtual machine hardware versions
https://knowledge.broadcom.com/external/article?legacyId=1003746Introduction to the boot process
https://documentation.suse.com/sles/15-SP4/html/SLES-all/cha-boot.htmlBOOTING LINUX FROM LVM VOLUMES
https://www.system-rescue.org/lvm-guide-en/Booting-linux-from-LVM-volumes/Snapshot of logical volumes
https://access.redhat.com/documentation/en-us/red_hat_enterprise_linux/8/html/configuring_and_managing_logical_volumes/snapshot-of-logical-volumes_configuring-and-managing-logical-volumesLVM Volume Snapshots
https://documentation.suse.com/de-de/sles/12-SP5/html/SLES-all/cha-lvm-snapshots.htmlClassic SysAdmin: How to Rescue a Non-booting GRUB 2 on Linux
https://www.linuxfoundation.org/blog/blog/classic-sysadmin-how-to-rescue-a-non-booting-grub-2-on-linux
Tags In
Follow me on LinkedIn