Export/Import Virtual Machines in VMware vSphere
We can export and import virtual machines in vSphere by using either the vSphere client or we can also export and import virtual machines directly on the ESXi hosts by using their ESXi Host Client.
Both ways will export the virtual machines or virtual appliances in Open Virtual Format (OVF) and Open Virtual Appliance (OVA).
In order to import (aka deploy) a virtual machine or virtual appliance we can then use these OVF or OVA templates in the same environment or in a different environment.
In previous versions of vSphere, you needed to install the Client Integration Plug-in to deploy and export OVF or OVA templates.
vSphere 6.5 no longer requires that you install the Client Integration Plug-in to export OVF templates or to deploy OVF and OVA templates.
Introduction
OVF is an open standard which contains multiple files as a package. For example, .ovf, .vmdk, .nvram, and so on. OVF supports exchange of virtual appliances across products and platforms. OVA is a single-file distribution of the OVF file package. When you export a virtual machine as an OVF file, you download an OVF file and the virtual disk files.
The OVF and OVA formats offer the following advantages:
- OVF and OVA files are compressed, allowing for faster downloads.
- The vSphere Client validates an OVF or OVA file before importing it, and ensures that it is compatible with the intended destination server. If the appliance is incompatible with the selected host, it cannot be imported and an error message appears.
- OVF and OVA can encapsulate multi-tiered applications and more than one virtual machine.
Exporting OVF templates allows you to create virtual appliances that other users can import later. You can use the export function to distribute pre-installed software as a virtual appliance, or to distributing template virtual machines to users. You can make the OVF or OVA file available to users who cannot access your vCenter Server inventory.
Deploying an OVF or OVA template allows you to add pre-configured virtual machines or vApps to your vCenter Server or ESXi inventory. Deploying an OVF or OVA template is similar to deploying a virtual machine from a template. However, you can deploy an OVF or OVA template from any local file system accessible from the vSphere Web Client, or from a remote Web server. The local file systems can include local disks (such as C:), removable media (such as CDs or USB keychain drives), and shared network drives.
Export a Virtual Machine (OVF Template)
To export a virtual machine in vSphere we can use either the vSphere client, the ESXi Host client or the command line utility ovftool.
Open Virtualization Format (OVF) Tool
VMware OVF Tool is a command-line utility that helps you import and export OVF packages to and from many VMware products.
https://developer.broadcom.com/tools/open-virtualization-format-ovf-tool/latest
In order to export a virtual machine we first need to power off the virtual machine.
When using the vSphere client, select the virtual machine and right click on it. Select Template -> Export OVF Template as shown below. We finally export the virtual machine as an OVF template.
An OVF template captures the state of a virtual machine or vApp into a self-contained package. The disk files are stored in a compressed, sparse format.
You cannot export encrypted virtual machines.

In the Annotation field we can enter optional a description. By checking the Enable Advanced options checkbox we can include additional information or configurations in the exported template like BIOS, UUID, MAC, boot order, PCI Slot numbers, and configuration settings used by other applications.
Use the advanced options only when absolutely required, selecting them will limit the portability.

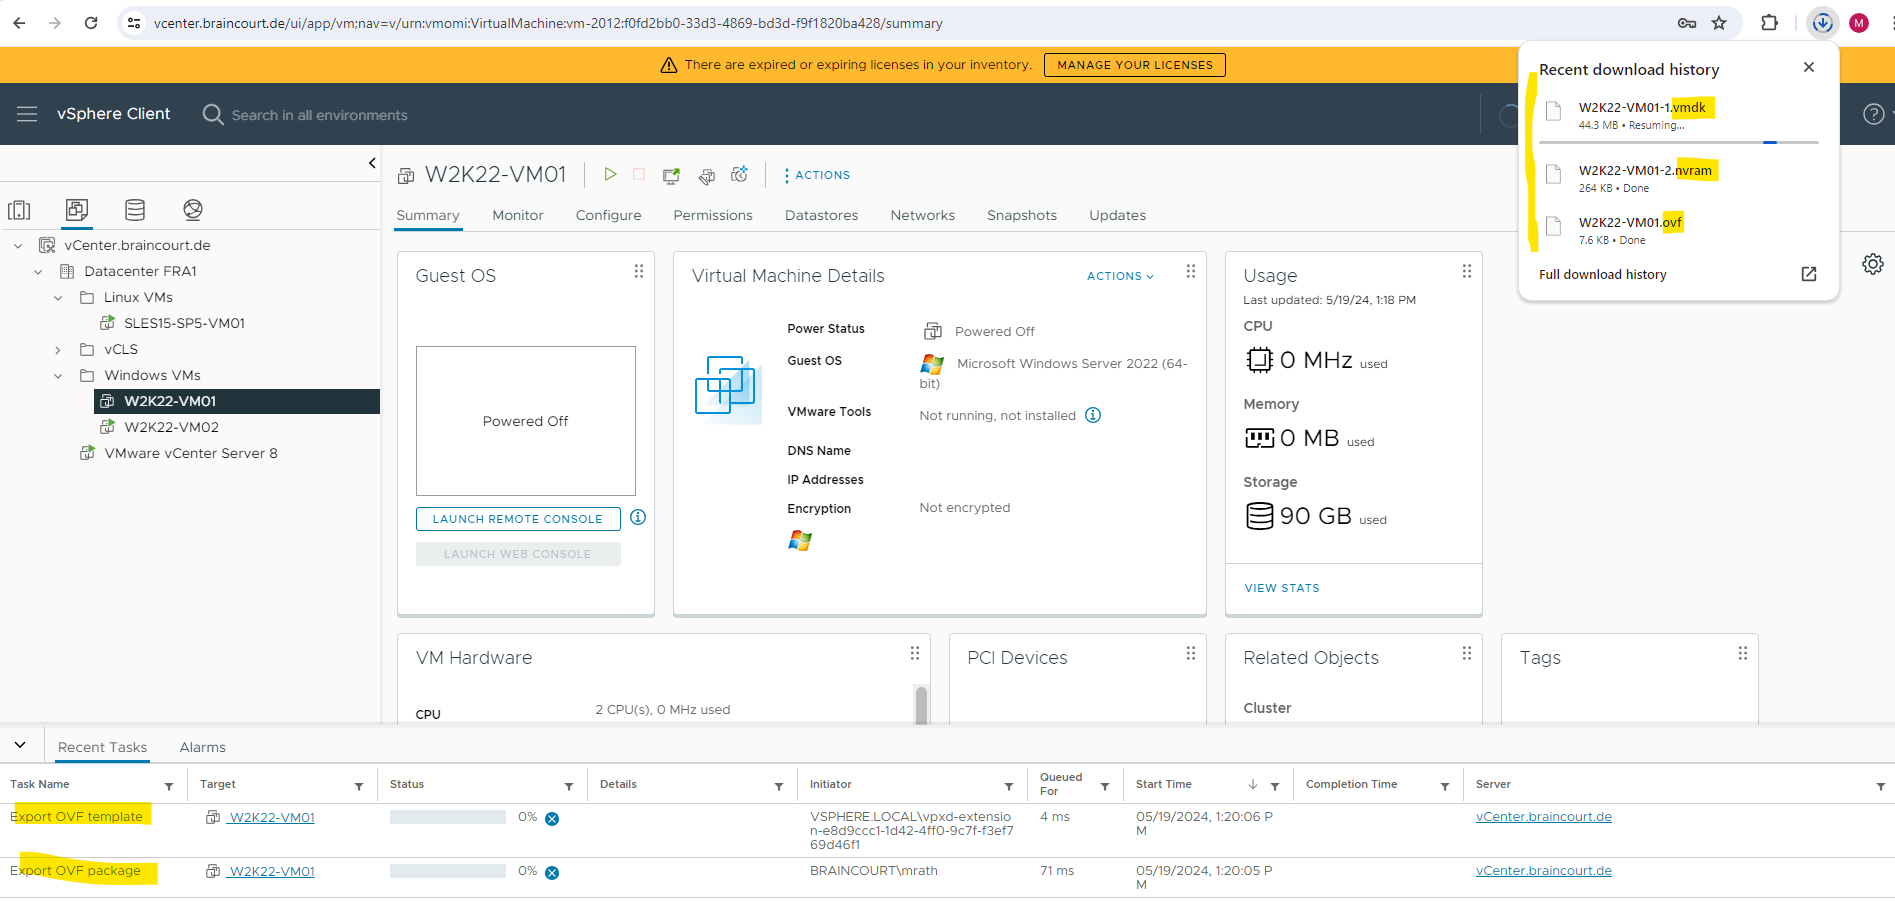
To save each file associated with the template (.ovf, .vmdk, .nvram, .iso, .mf), click OK and respond to the prompts.
.nvram file -> Stores the BIOS or UEFI customizations of a virtual machine. Usually the only important items in this file are the boot drive setting and the boot order (in the case of multiple virtual disks).
.mf file -> The Manifest File. This file contains SHA-1 hash values of the other files in the OVF package (typically the .ovf file and .vmdk files). Its purpose is to ensure the integrity and authenticity of the package by allowing verification that the files have not been tampered with.
.vmdk file -> Virtual Machine Disk file.
.ovf file -> Metadata of the virtual machine.
More about virtual machine files you will find in the following article by VMware.
Virtual Machine Files
https://docs.vmware.com/en/VMware-vSphere/7.0/com.vmware.vsphere.vm_admin.doc/GUID-CEFF6D89-8C19-4143-8C26-4B6D6734D2CB.html
Also keep in mind to check before you export the virtual machine, that there are not connected or selected any unnecessary .iso files on the virtual CD/DVD drive as shown below.
Even if not connected and just selected a for example an .iso file, it will be exported later. Therefore switch here to Client Device to avoid unnecessary exported files.
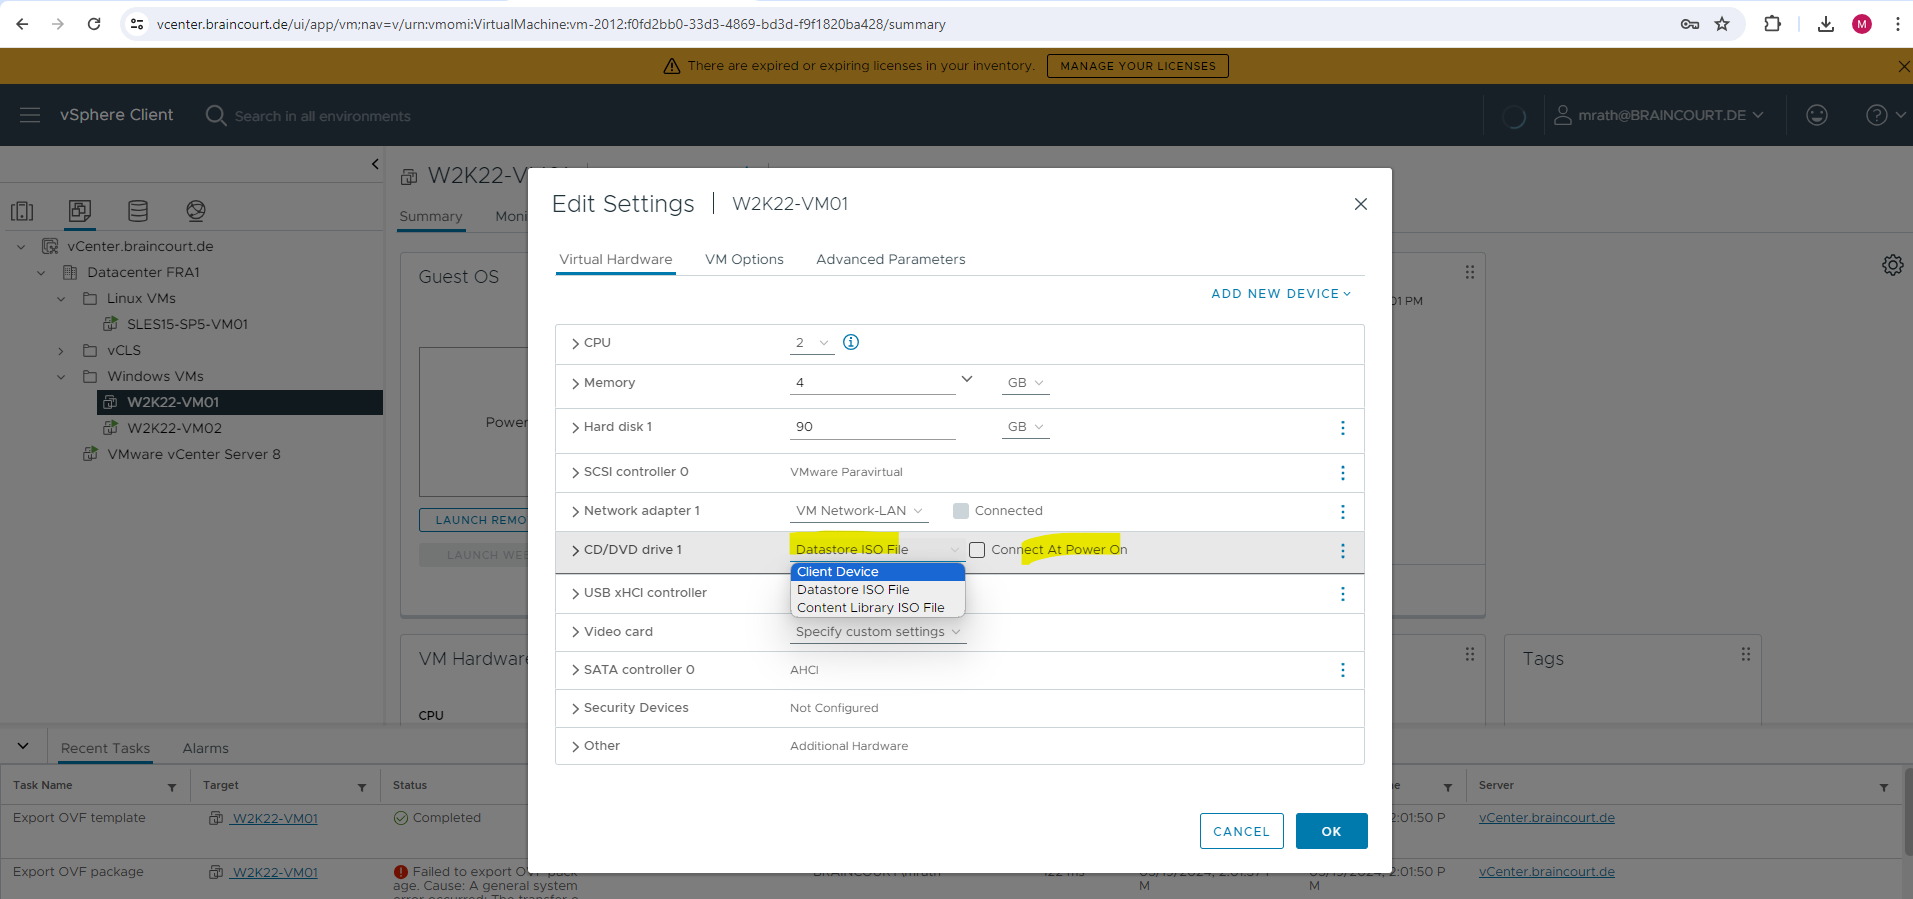
If connected or just selected here the .iso file will also be exported.
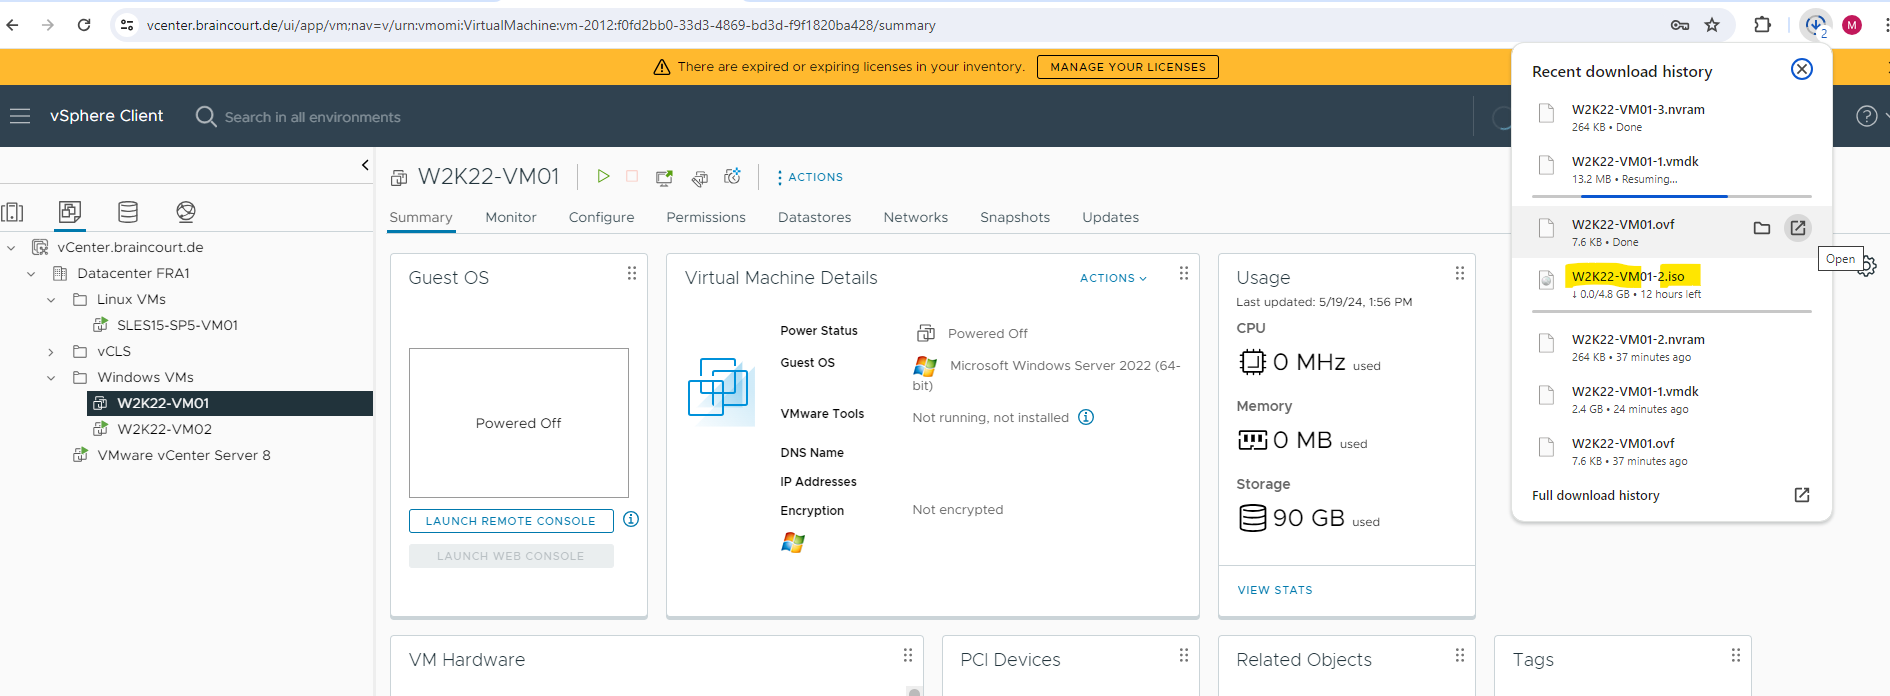
Finally I will have the following files by the export of the virtual machine.

The .ovf file will include as mentioned the metadata about the virtual machine and is finally a .xml file as shown below.

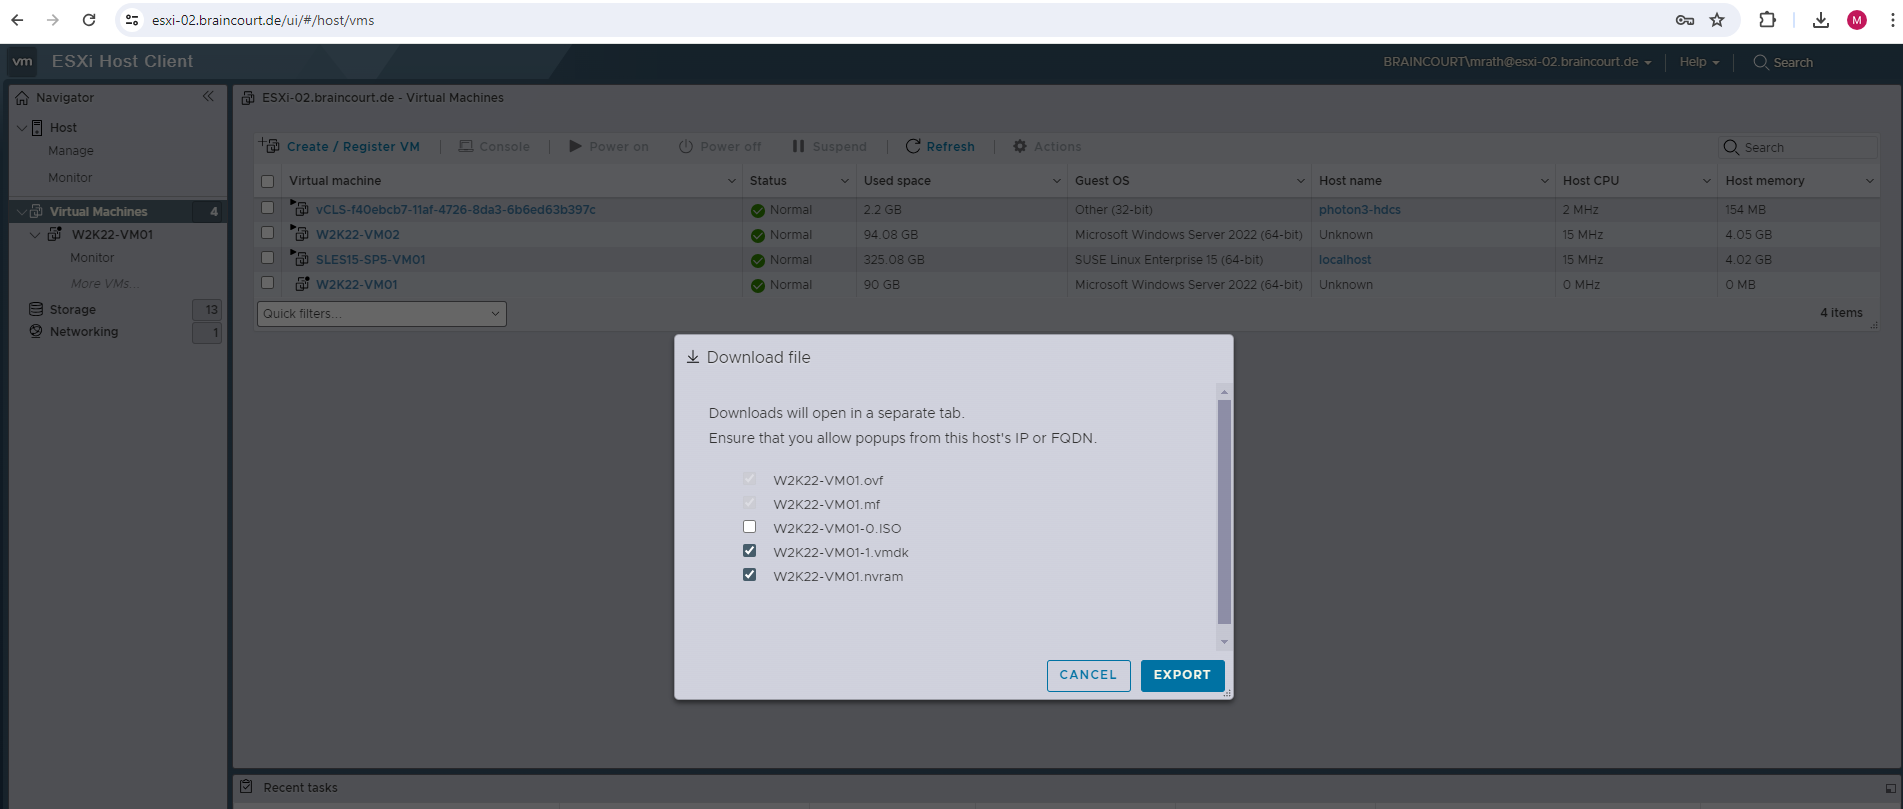
As mentioned to the beginning, we can also export a virtual machine by using the ESXi Host client as shown below.
Just right click on the virtual machine and select Export.
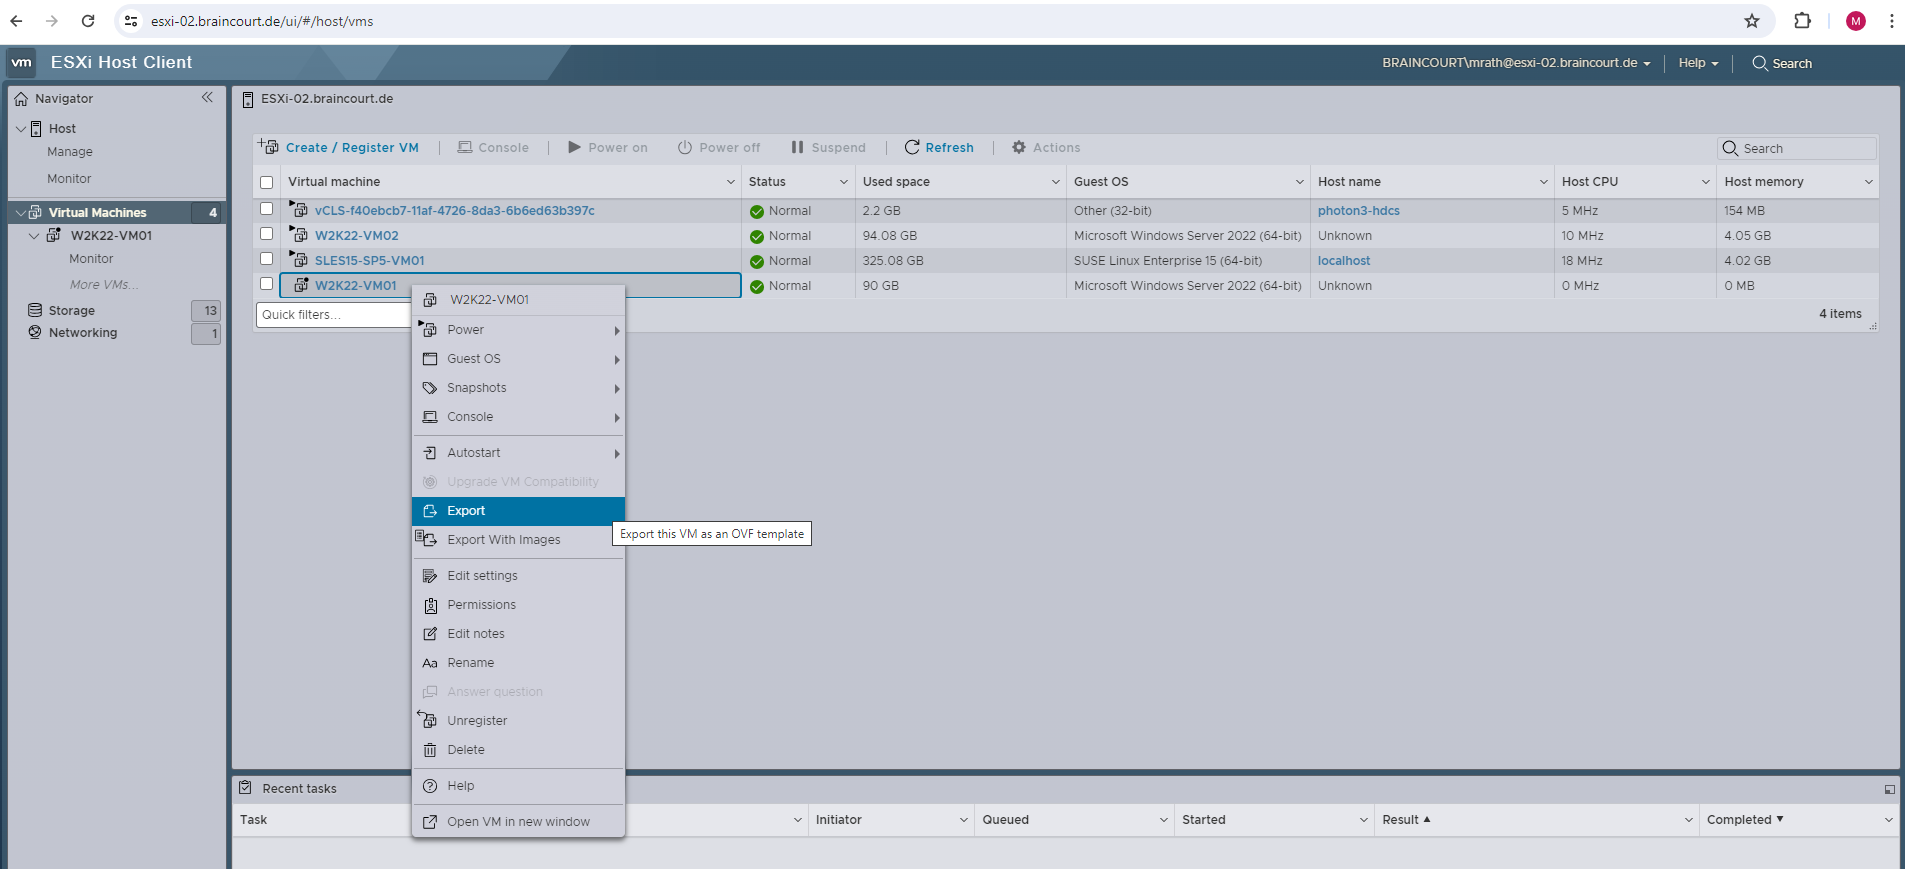
Here we can select which files we want to download and in contrast to the vSphere client previously, we can decide below to download or not also the mapped .iso file from the virtual CD/DVD drive.
Import/Deploy a Virtual Machine (OVF Template)
We can import a virtual machine or by VMware terminology deploy an OVF or OVA template from a local file system or from a URL.
Some of the pages in the Deploy OVF Template wizard only appear if the OVF template that you deploy requires additional customization, contains deployment options or has one or multiple vService dependencies.
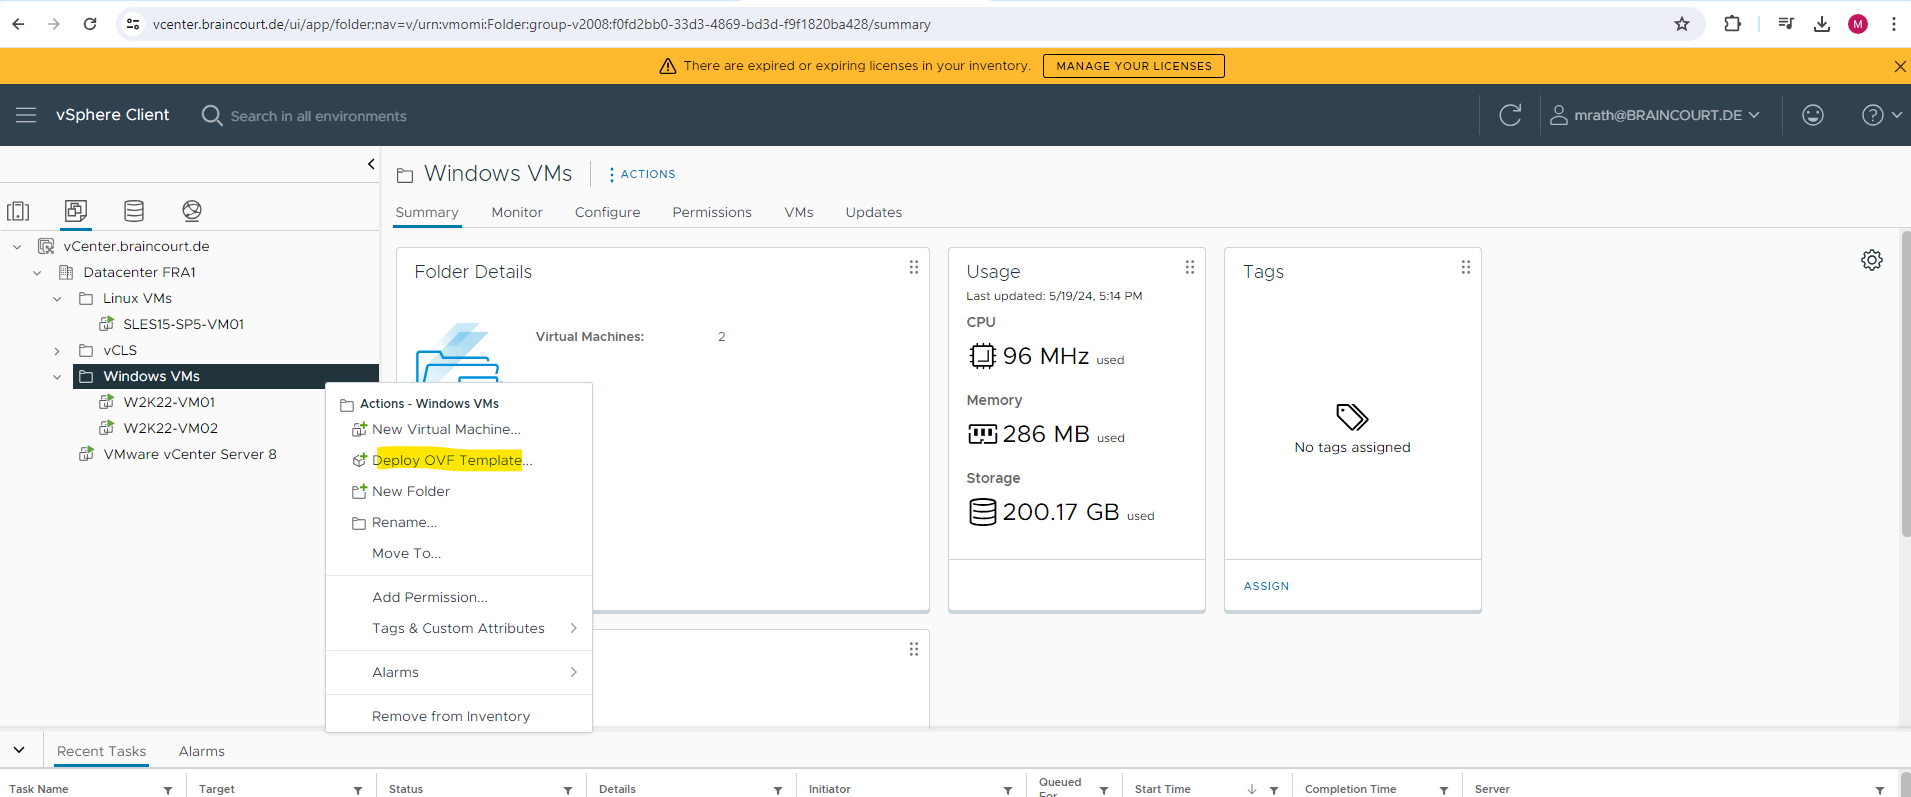
Right-click any inventory object that is a valid parent object of a virtual machine, such as a data center, folder, cluster, resource pool, or host, and select Deploy OVF Template.
I will right click on the folder where my Windows virtual machines are homed as shown below.
In the next section we will see how to Import/Deploy from local file.
Import/Deploy from local file
The Deploy OVF Template wizard opens. On the Select an OVF template page, specify the location of the source OVF or OVA template and select all the files of the package.
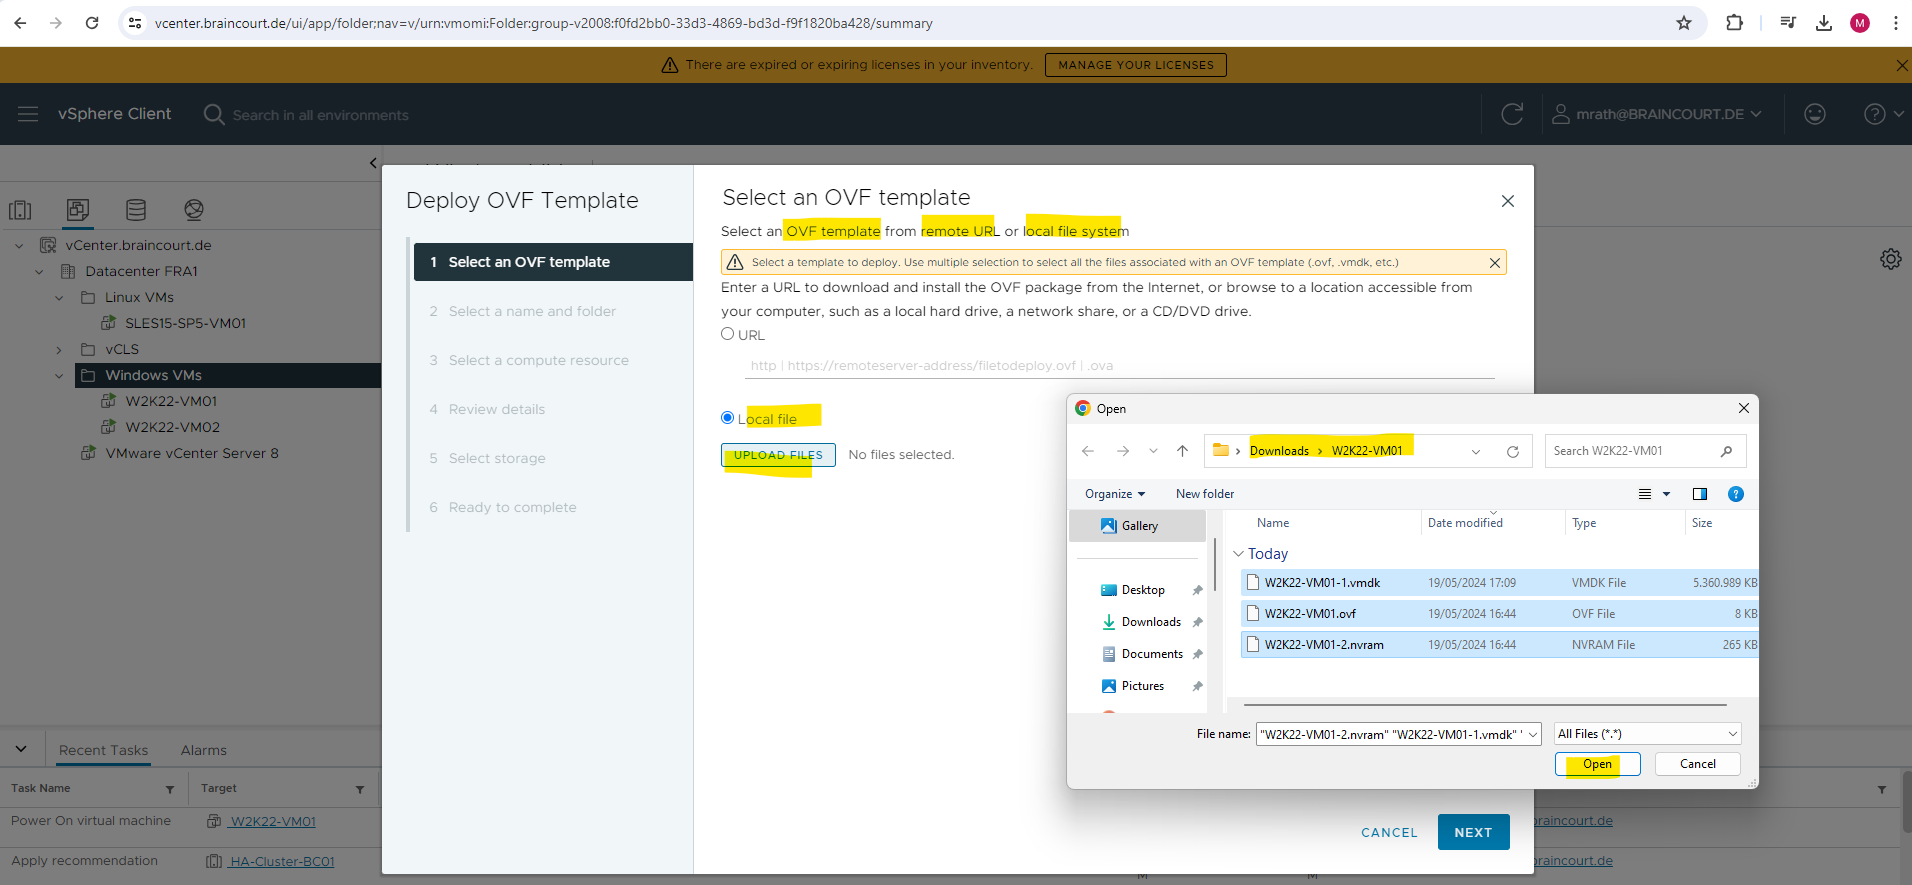
Click on Next.

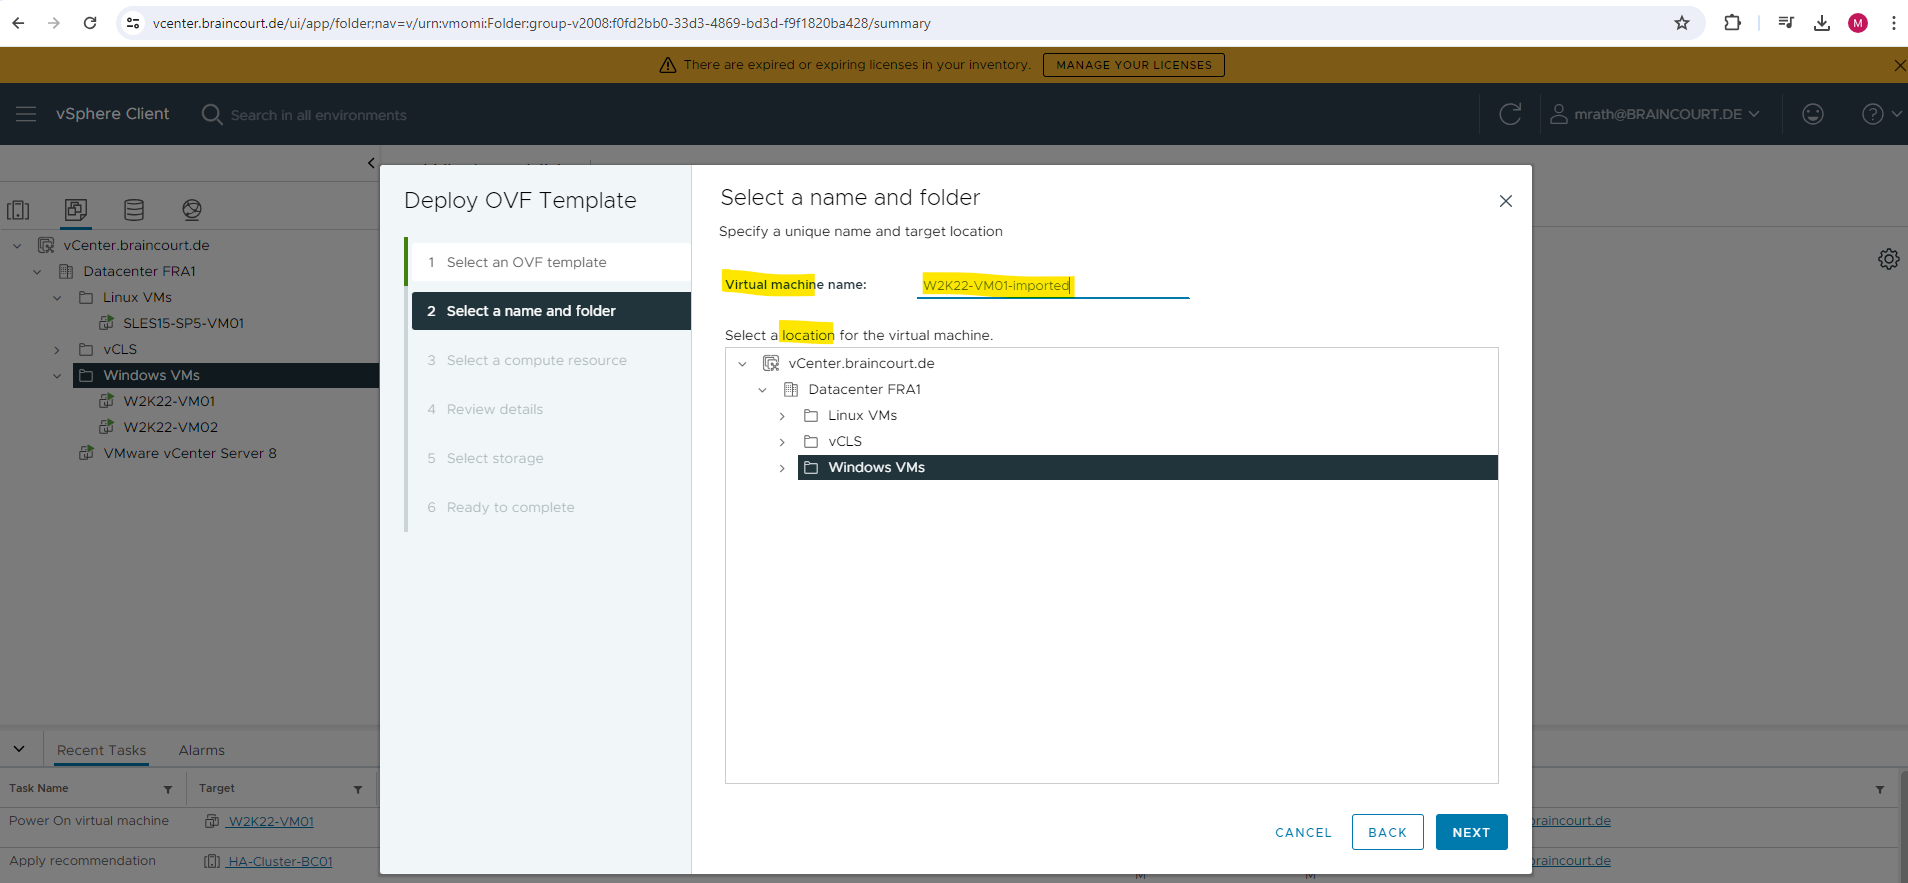
Below we have to specify a new unique virtual machine name and further select a target location.
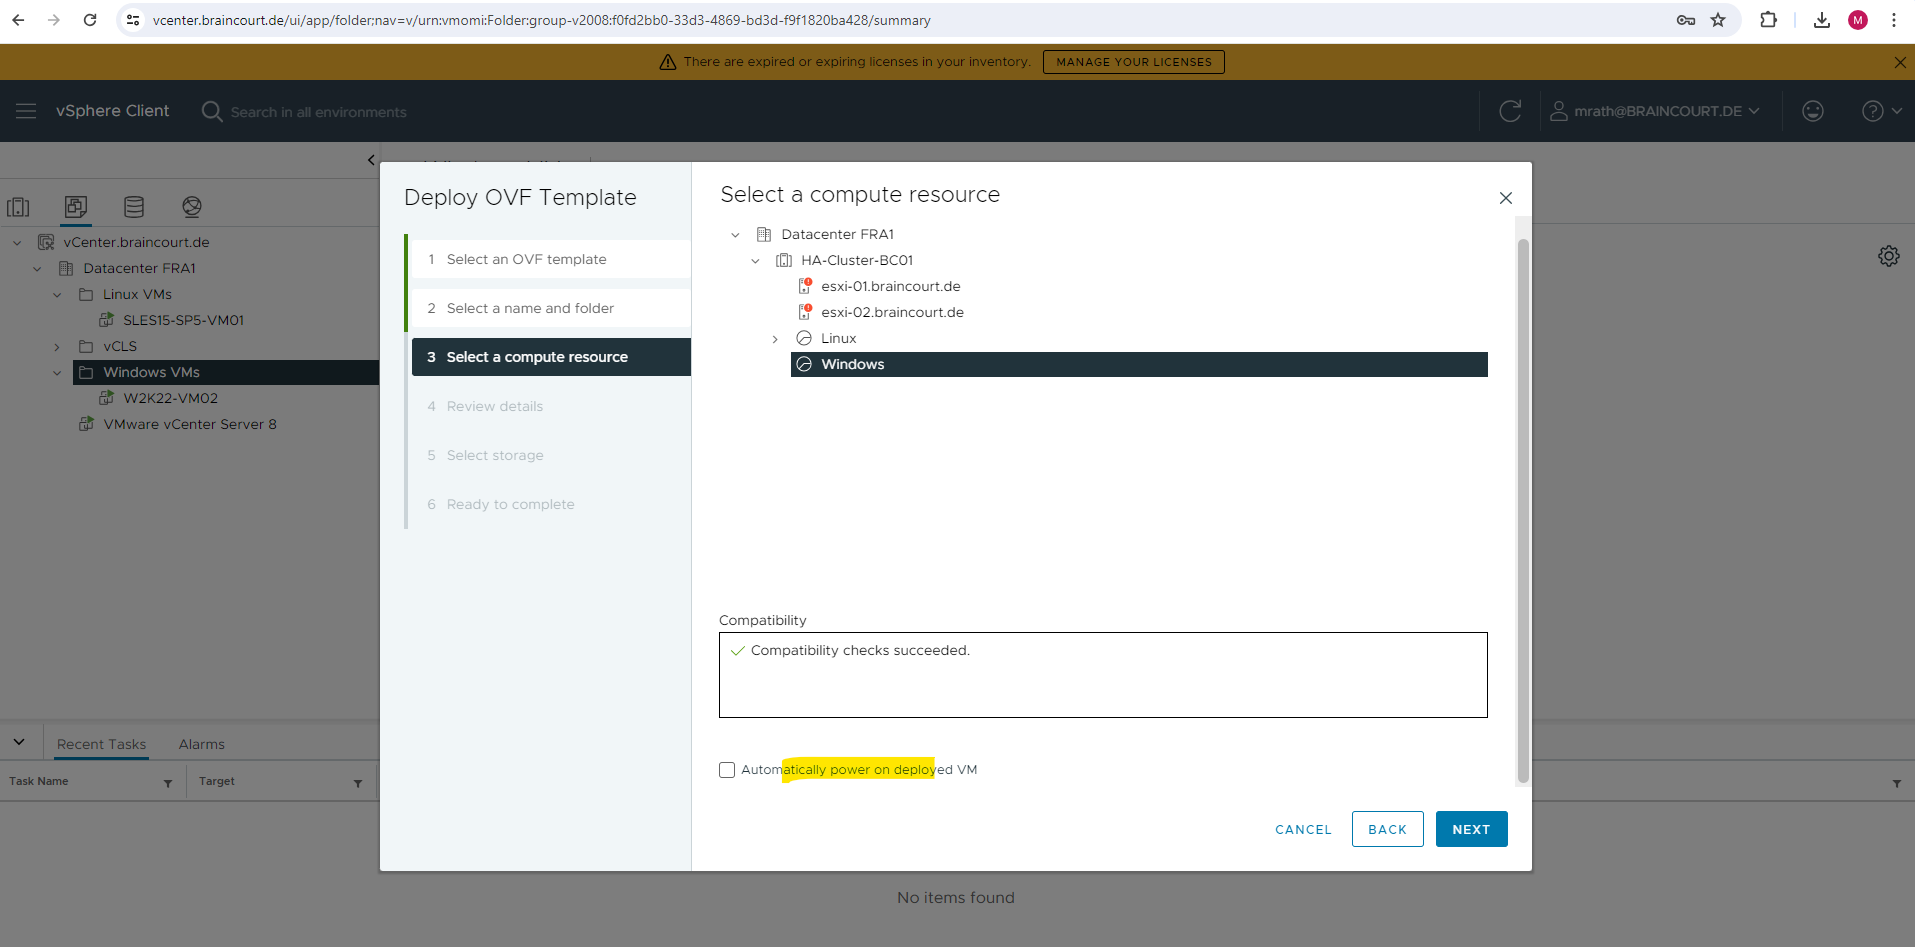
Below we can select a compute resource for the virtual machine and optional automatically power on the deployed VM.
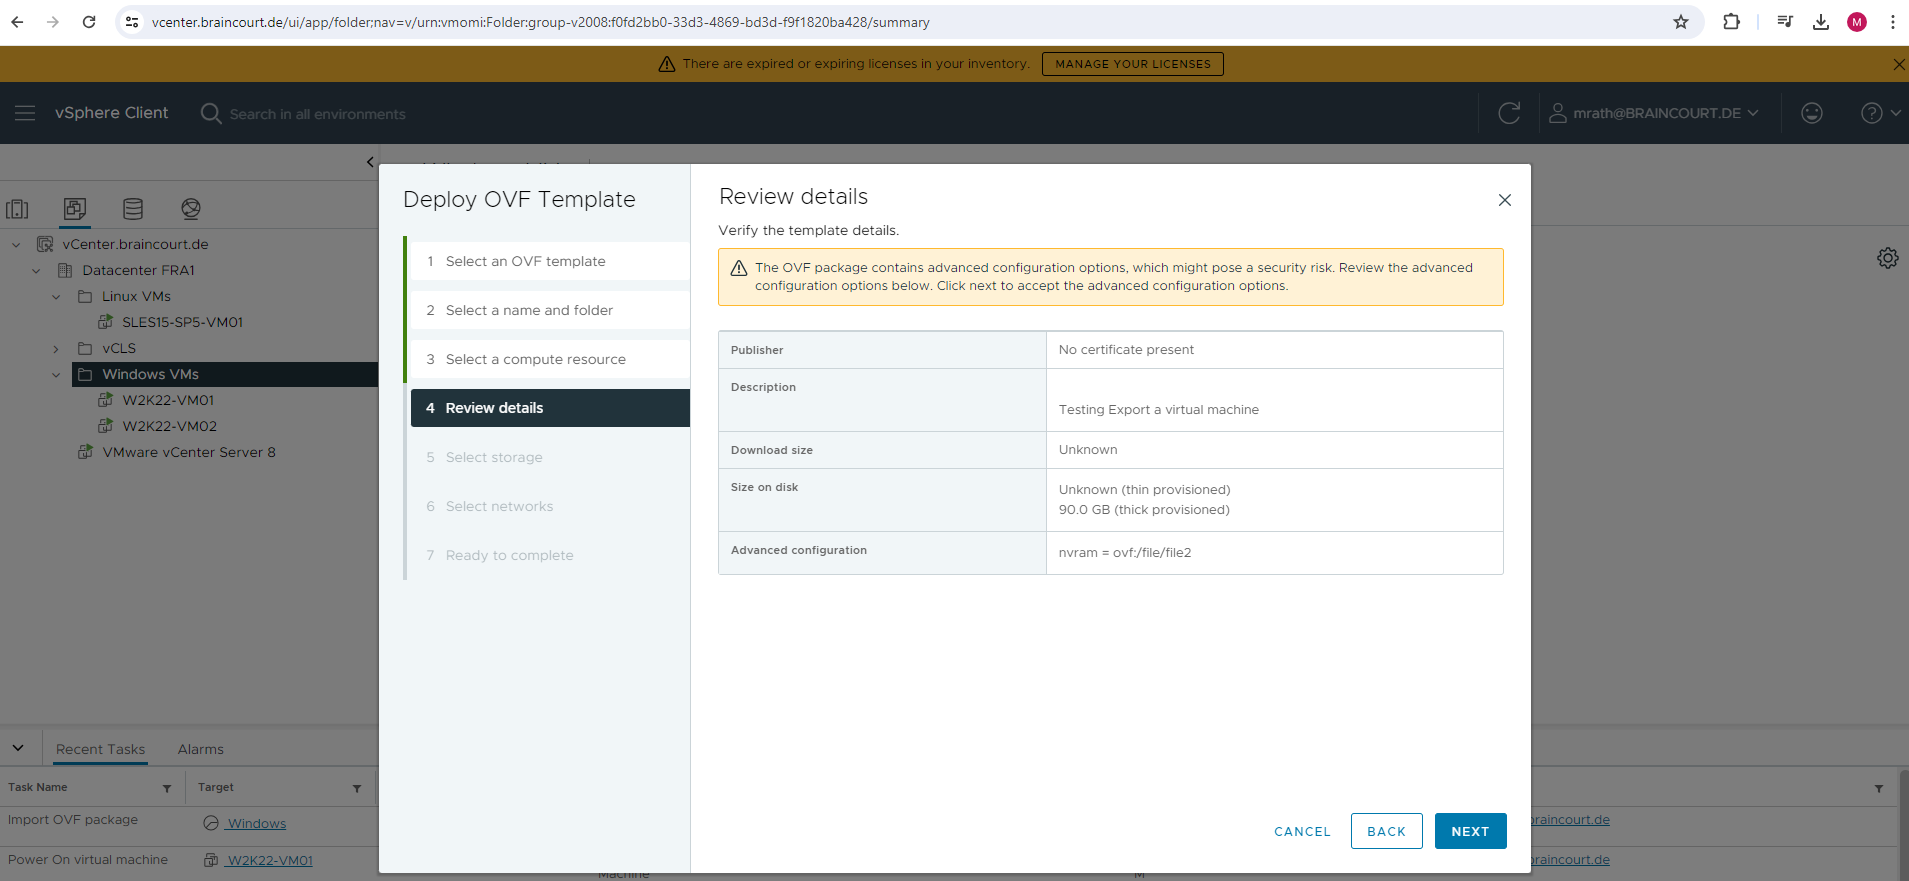
Review the details page.
Select a storage for the configuration and disk files.

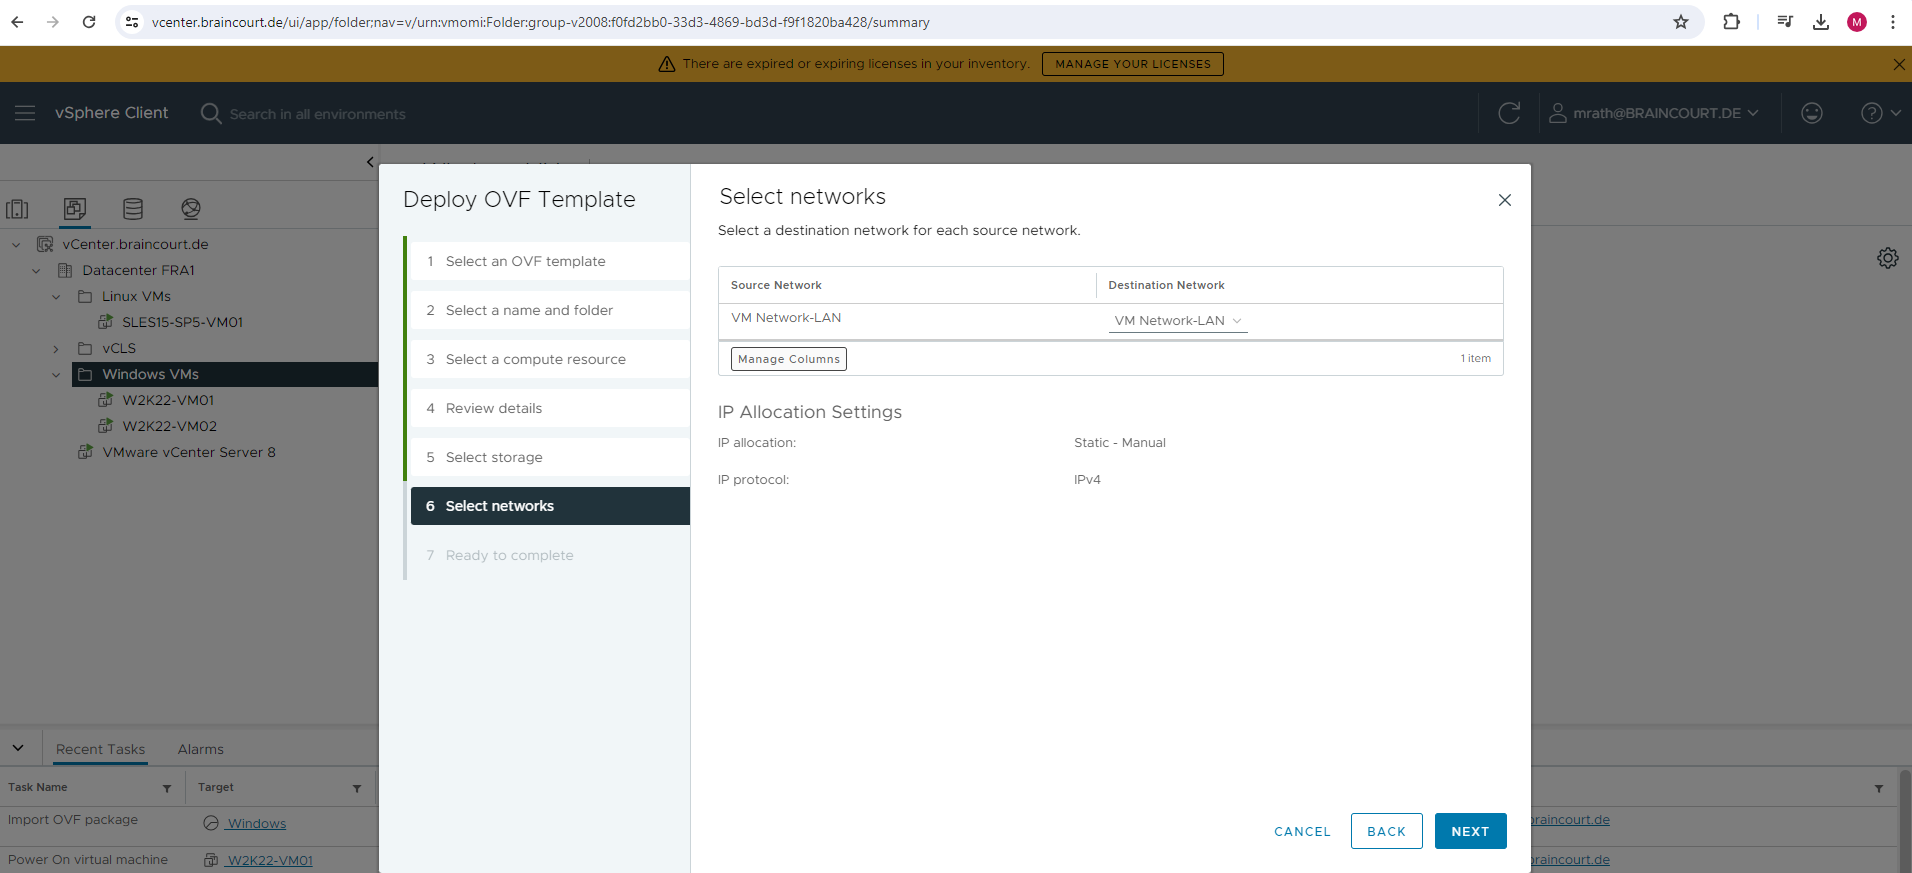
Select the destination network for the virtual machine.
Review all settings and finally click on FINISH to deploy the OVF template.

The import of the OVF package and deployment of the OVF template will start.

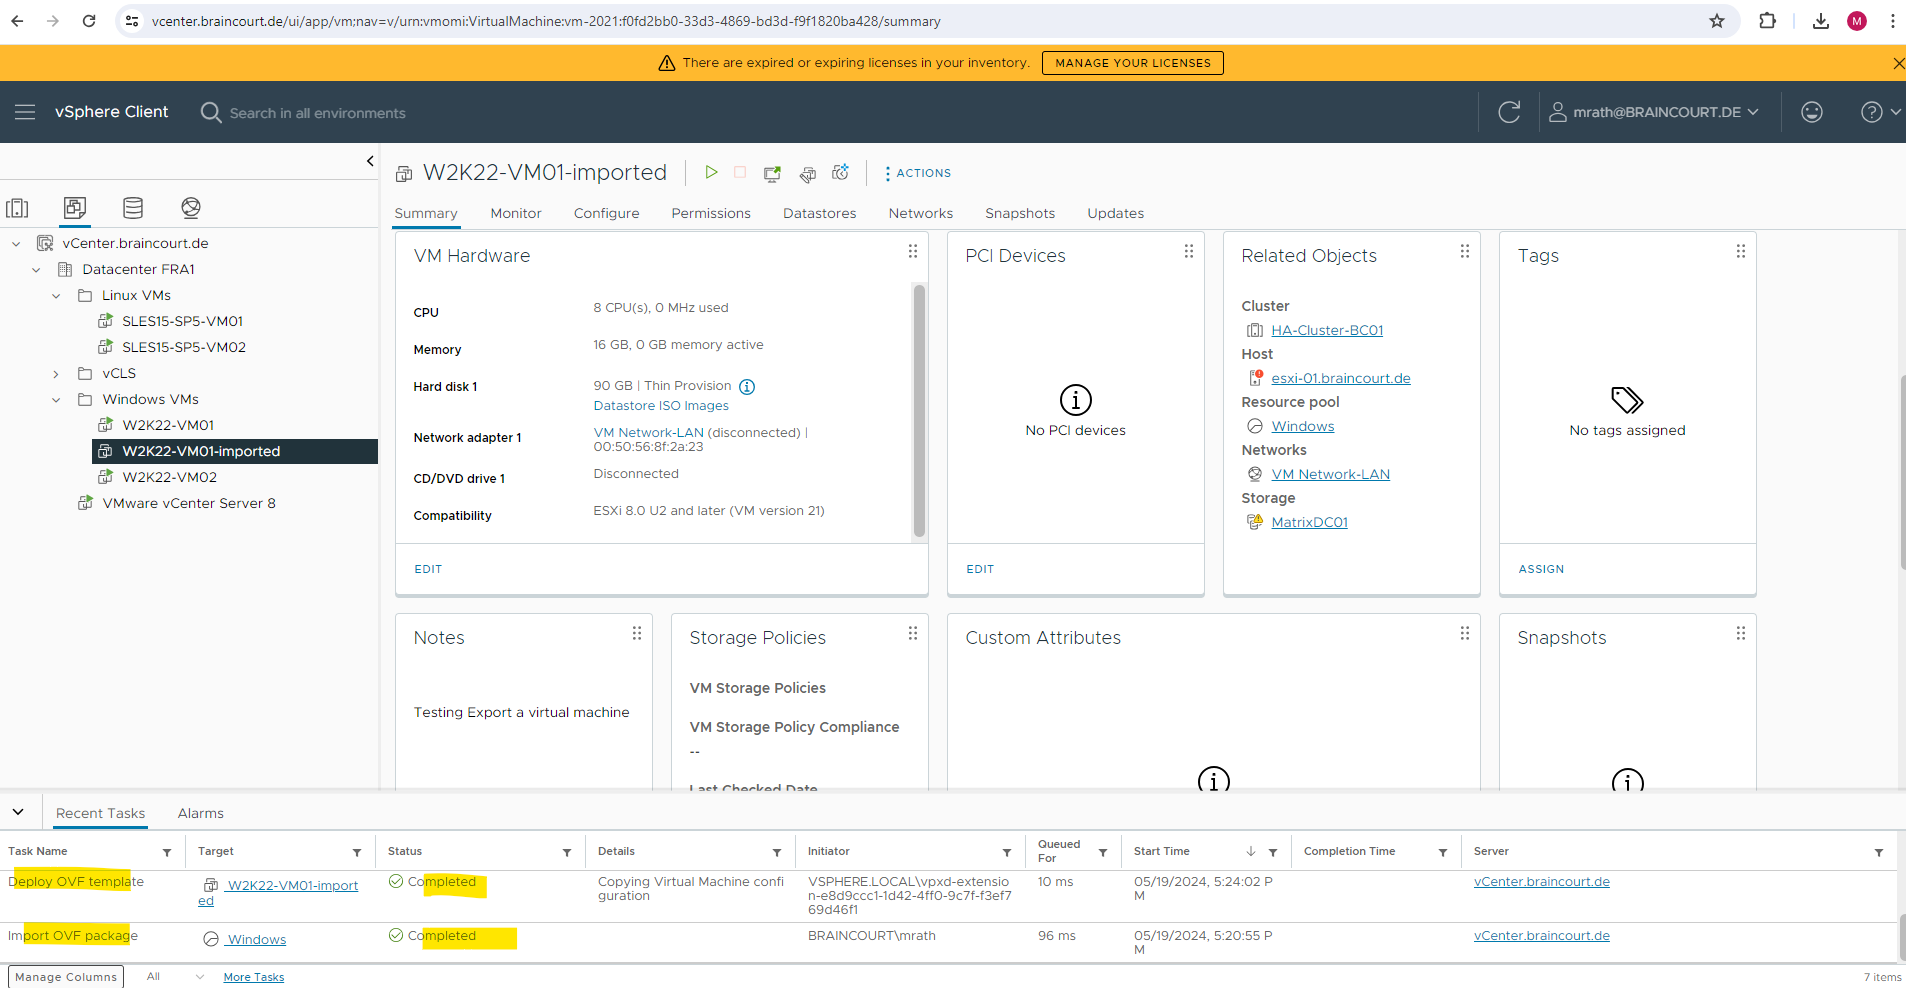
Finally the virtual machine was imported (deployed) successfully.
In the next section we will see how to Import/Deploy from a URL on the Internet.
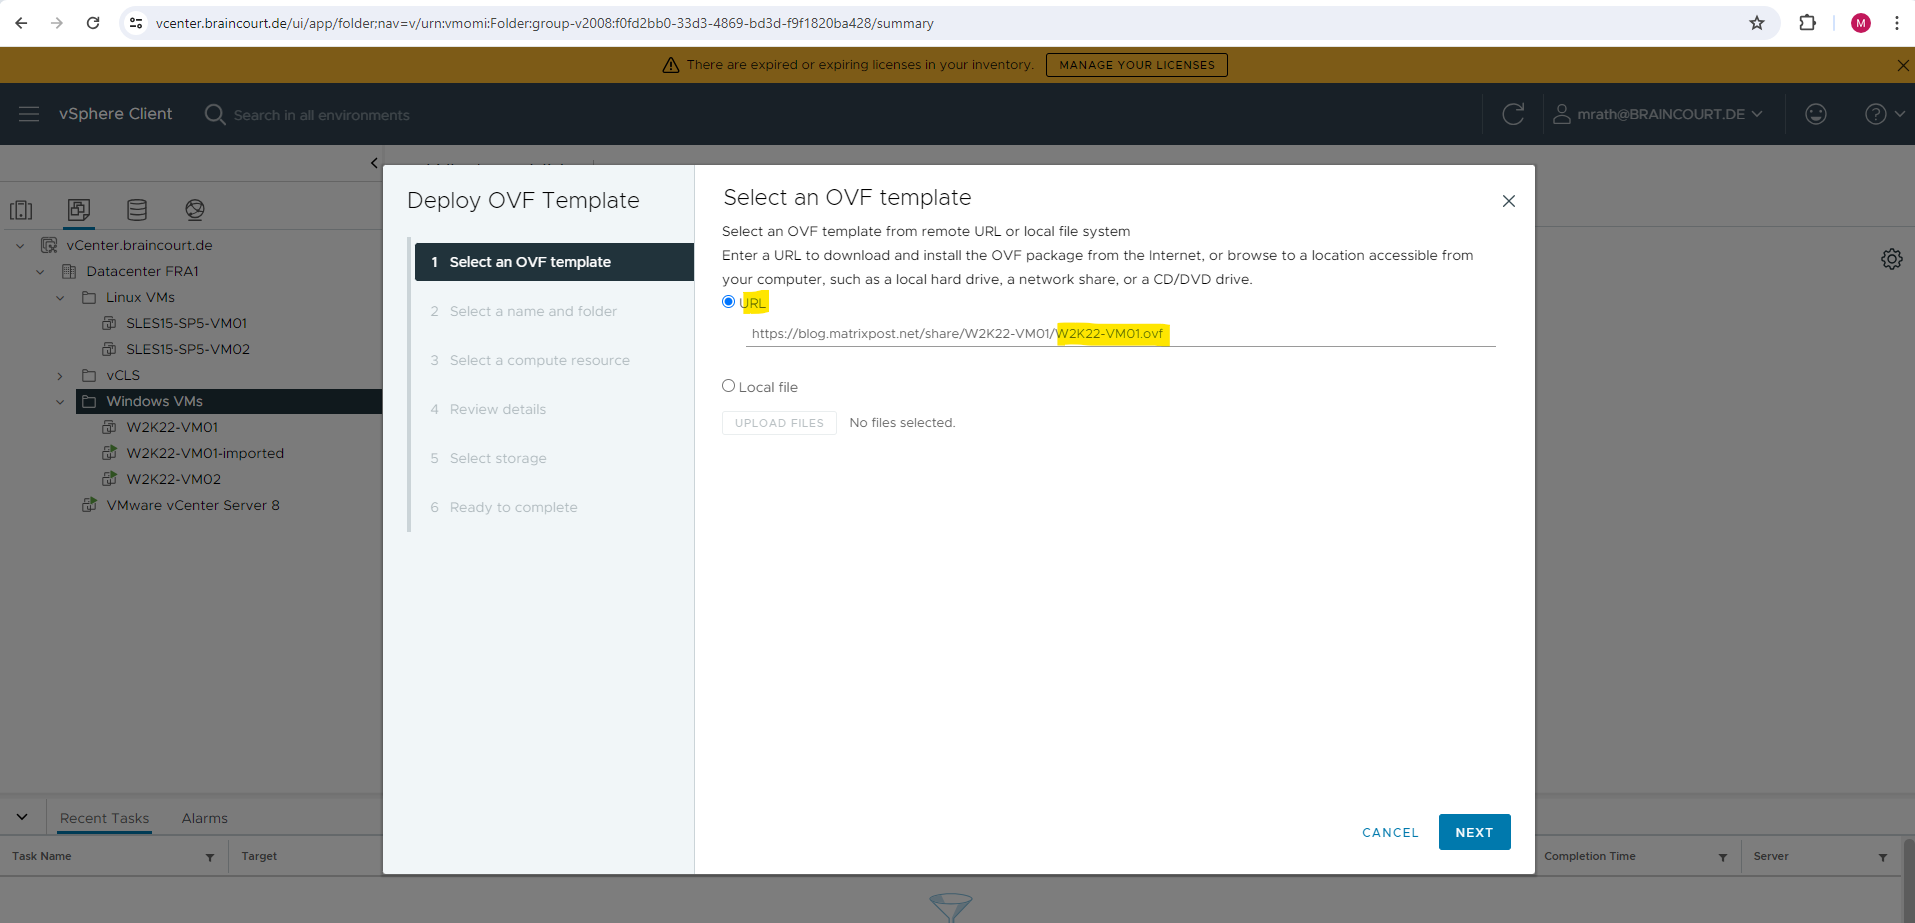
Import/Deploy from URL
This time enter a URL to download and install the OVF package from the Internet.

In my case I will use for demonstration purpose the server where my blog is hosted. We need to enter here the URL and path of our .ovf file where all the metadata of our virtual machine is stored.
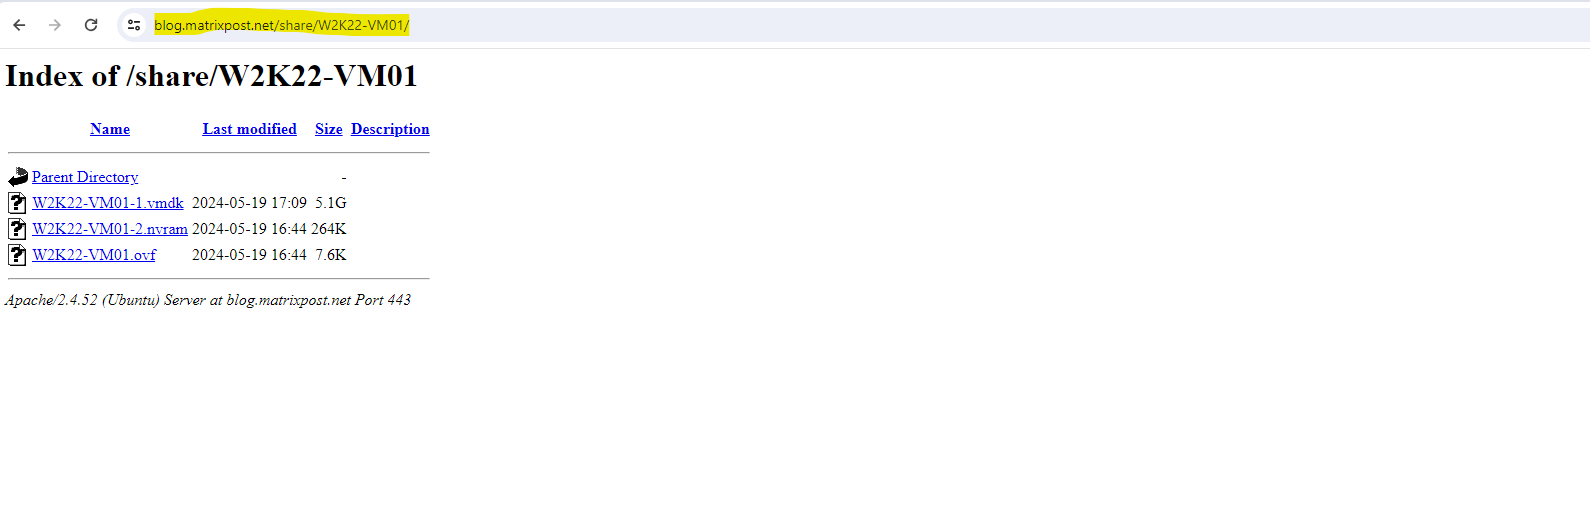
In contrast to import from the local file system where we needed to select all virtual machine files previously, we here just need to enter here the URL for the .ovf file which is referencing to the other files like the .vmdk and .nvram file and downloading them by default.
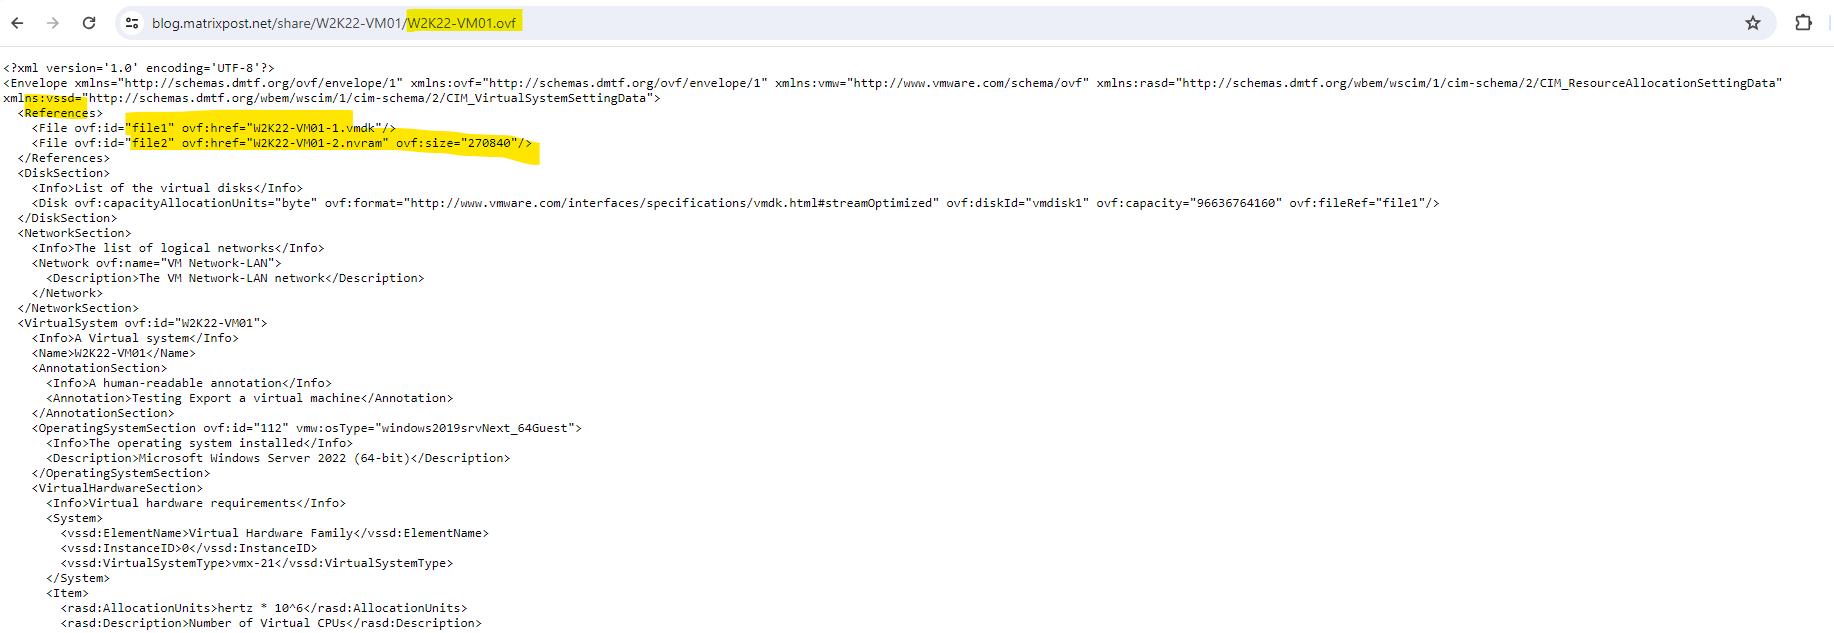
Here you can see the content of the .ovf file containing the metadata of our virtual machine.
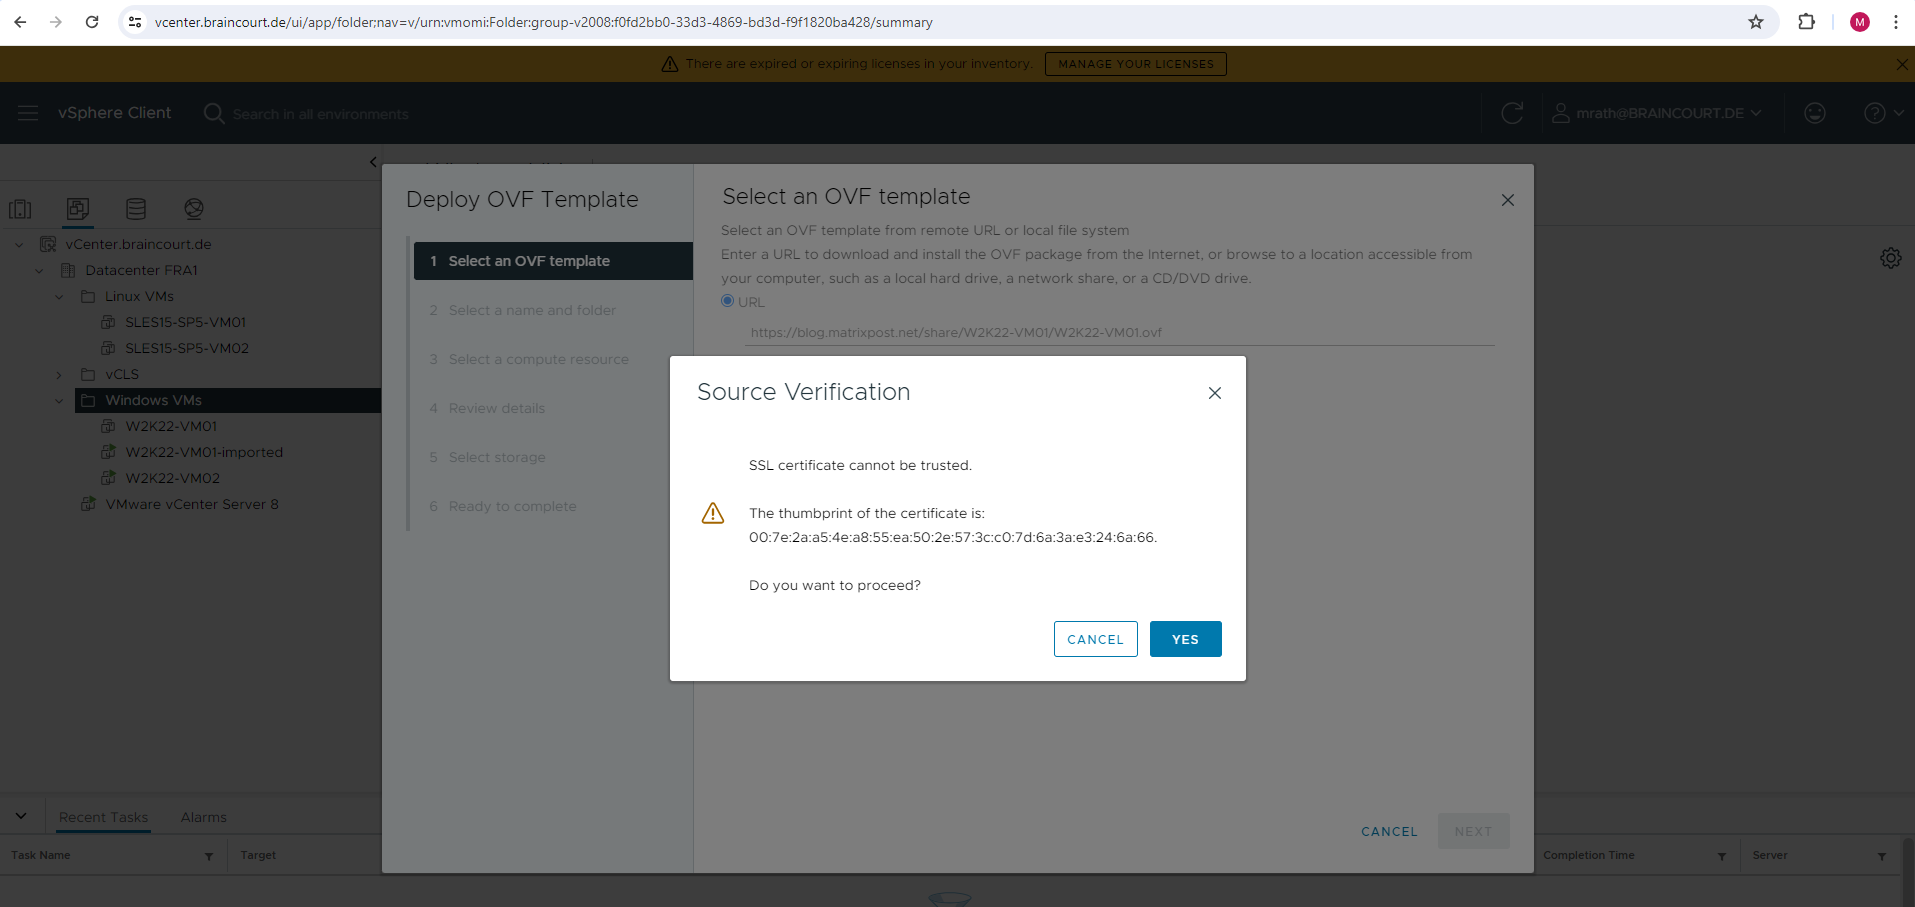
Seems that VMware is not trusting the Let’s Encrypt certificates my web server is using.
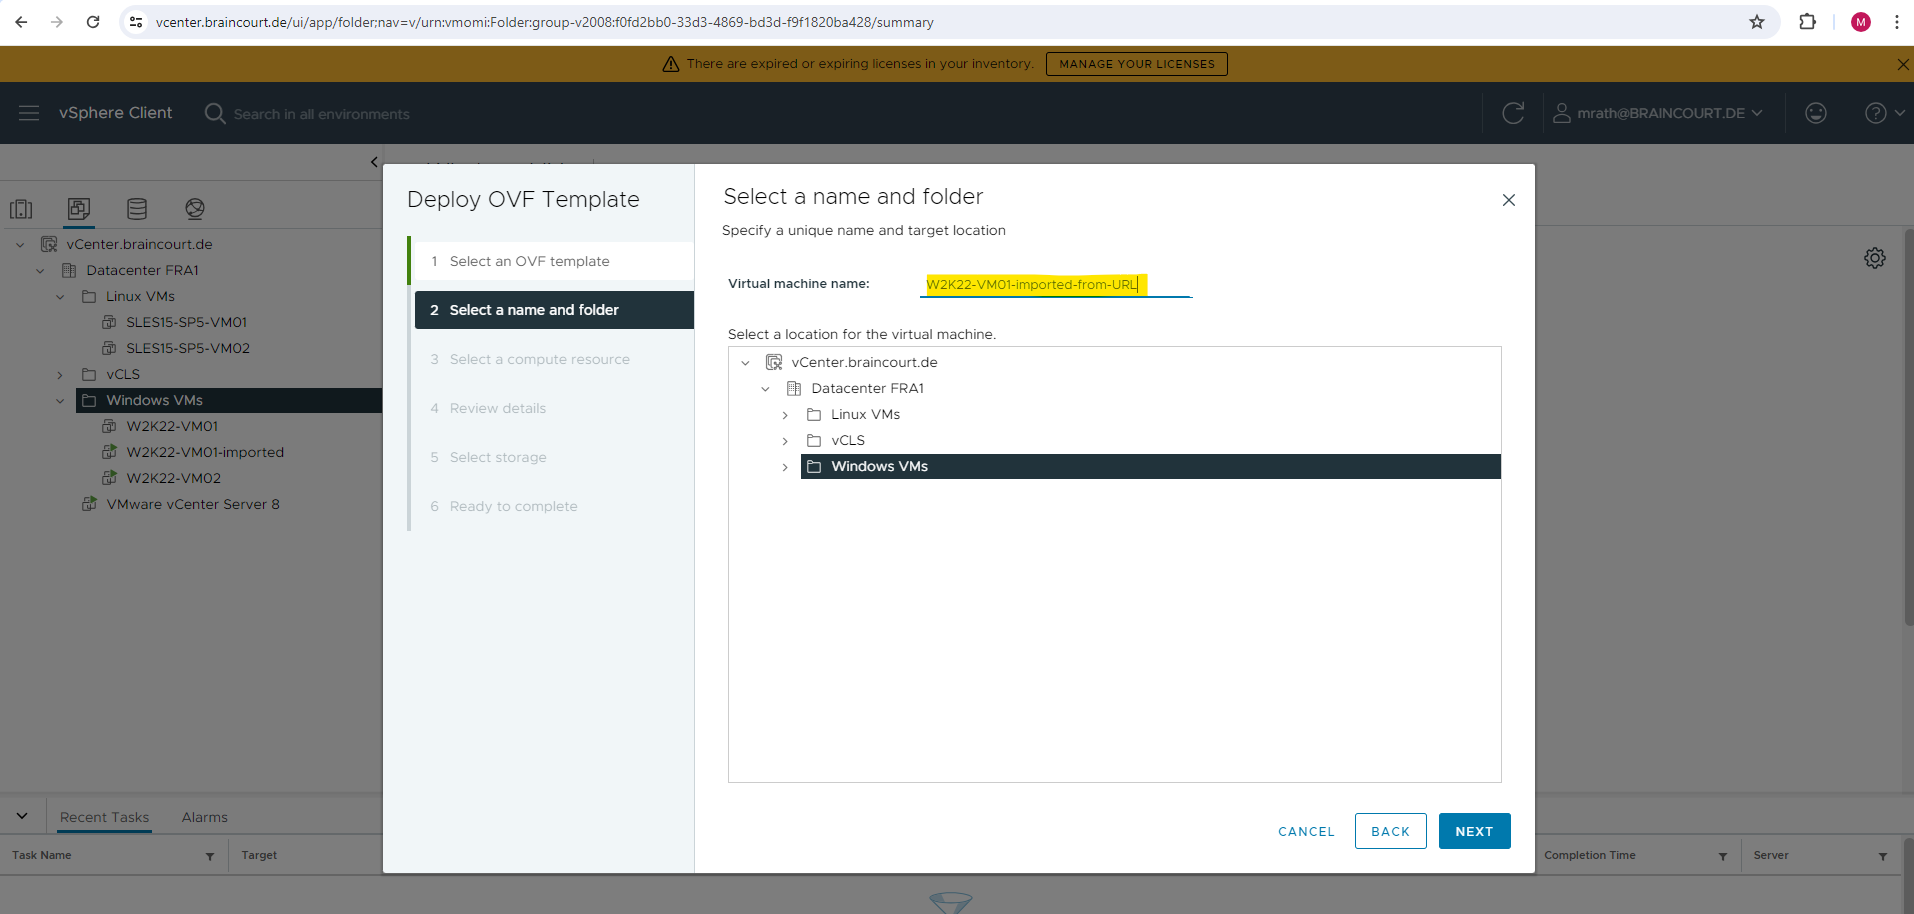
Below we have to specify a new unique virtual machine name and further select a target location.
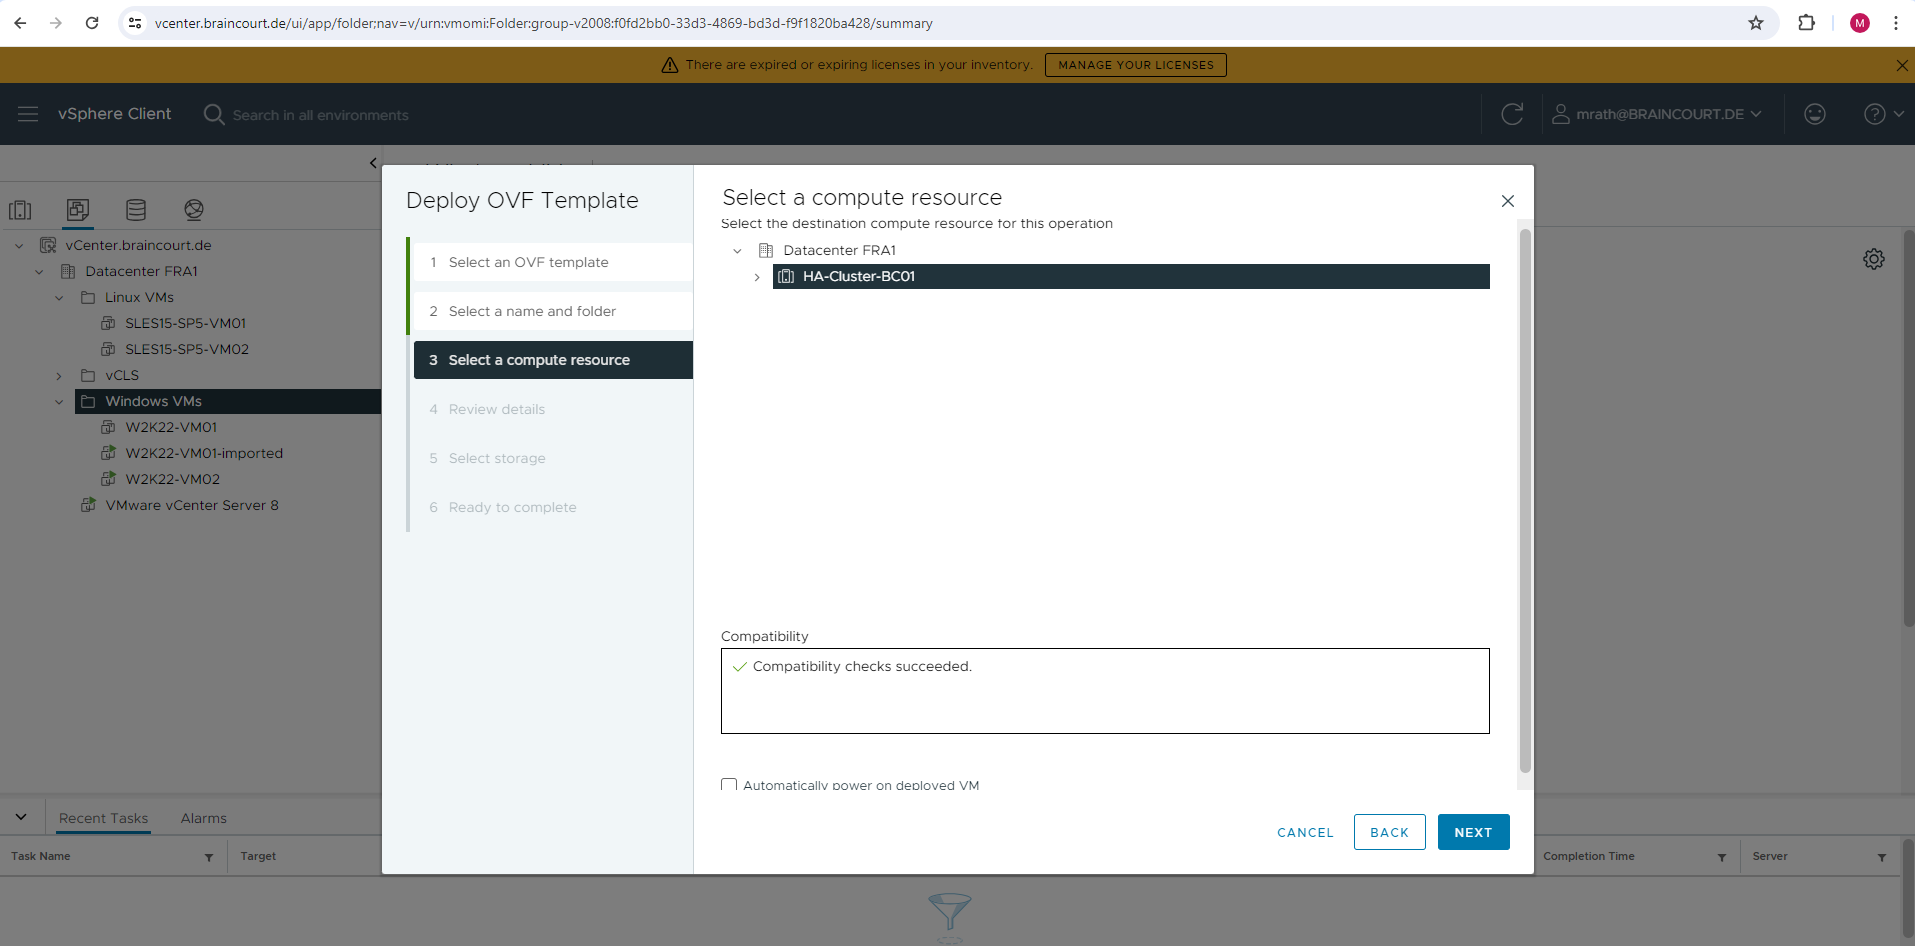
Below we can select a compute resource for the virtual machine and optional automatically power on the deployed VM.
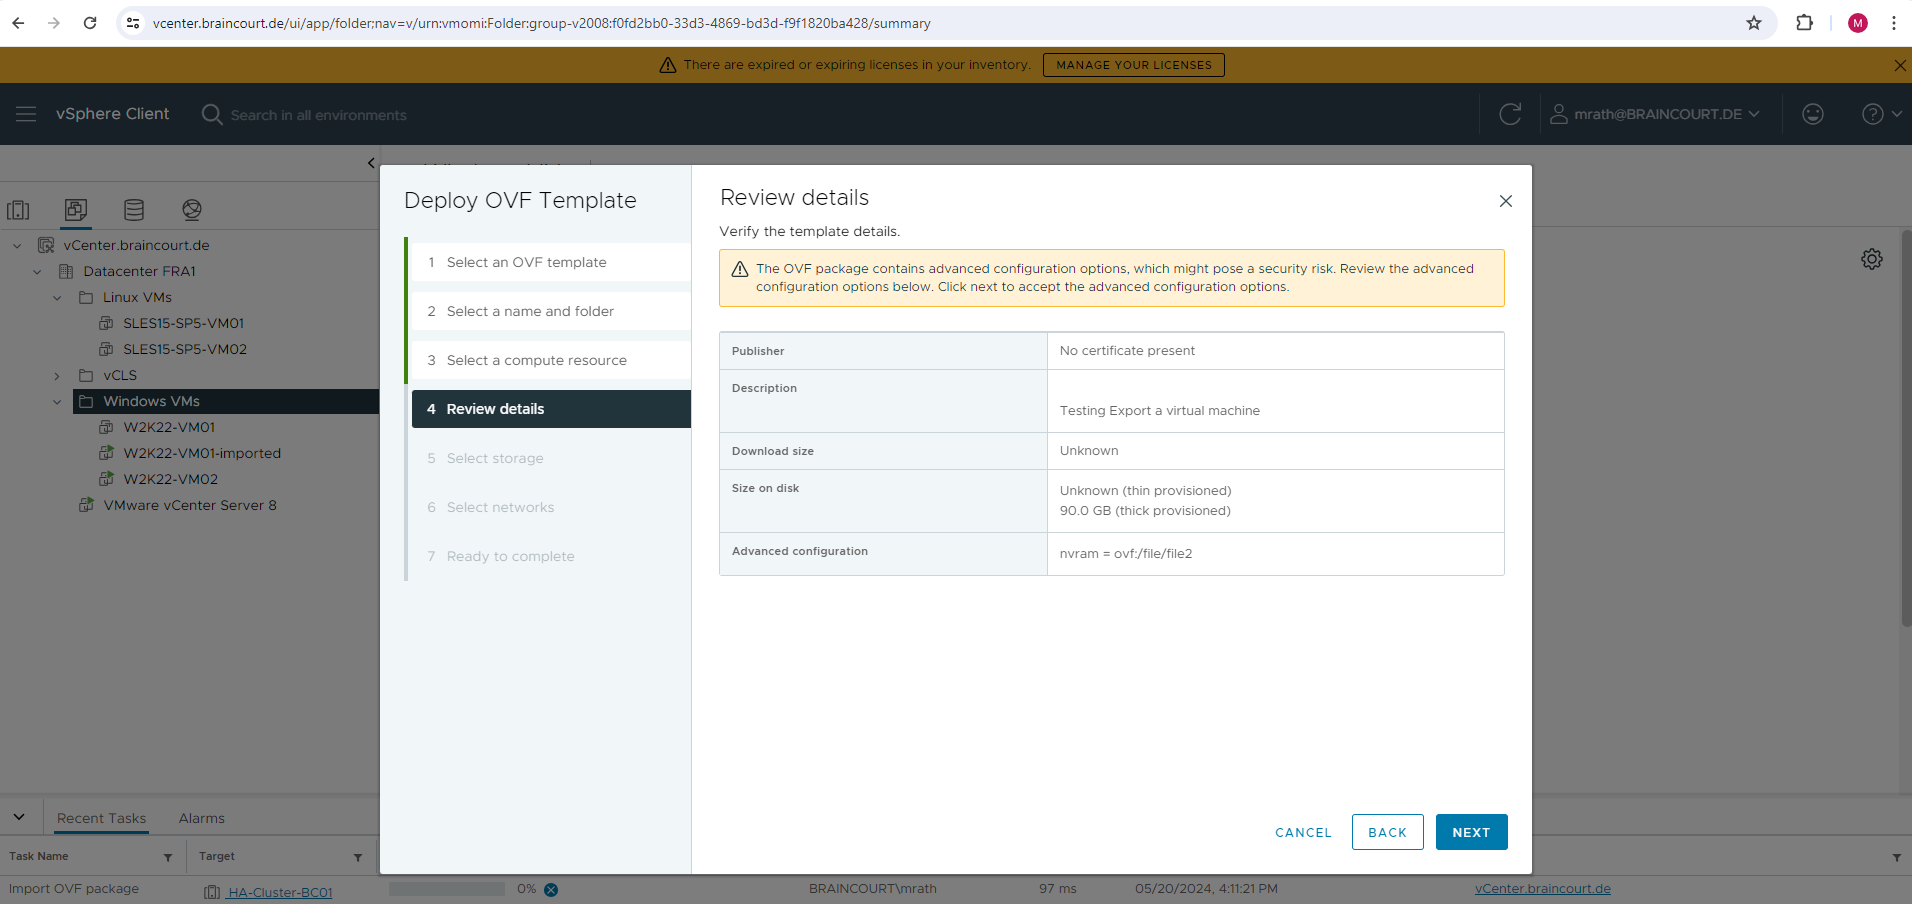
Review the details page.
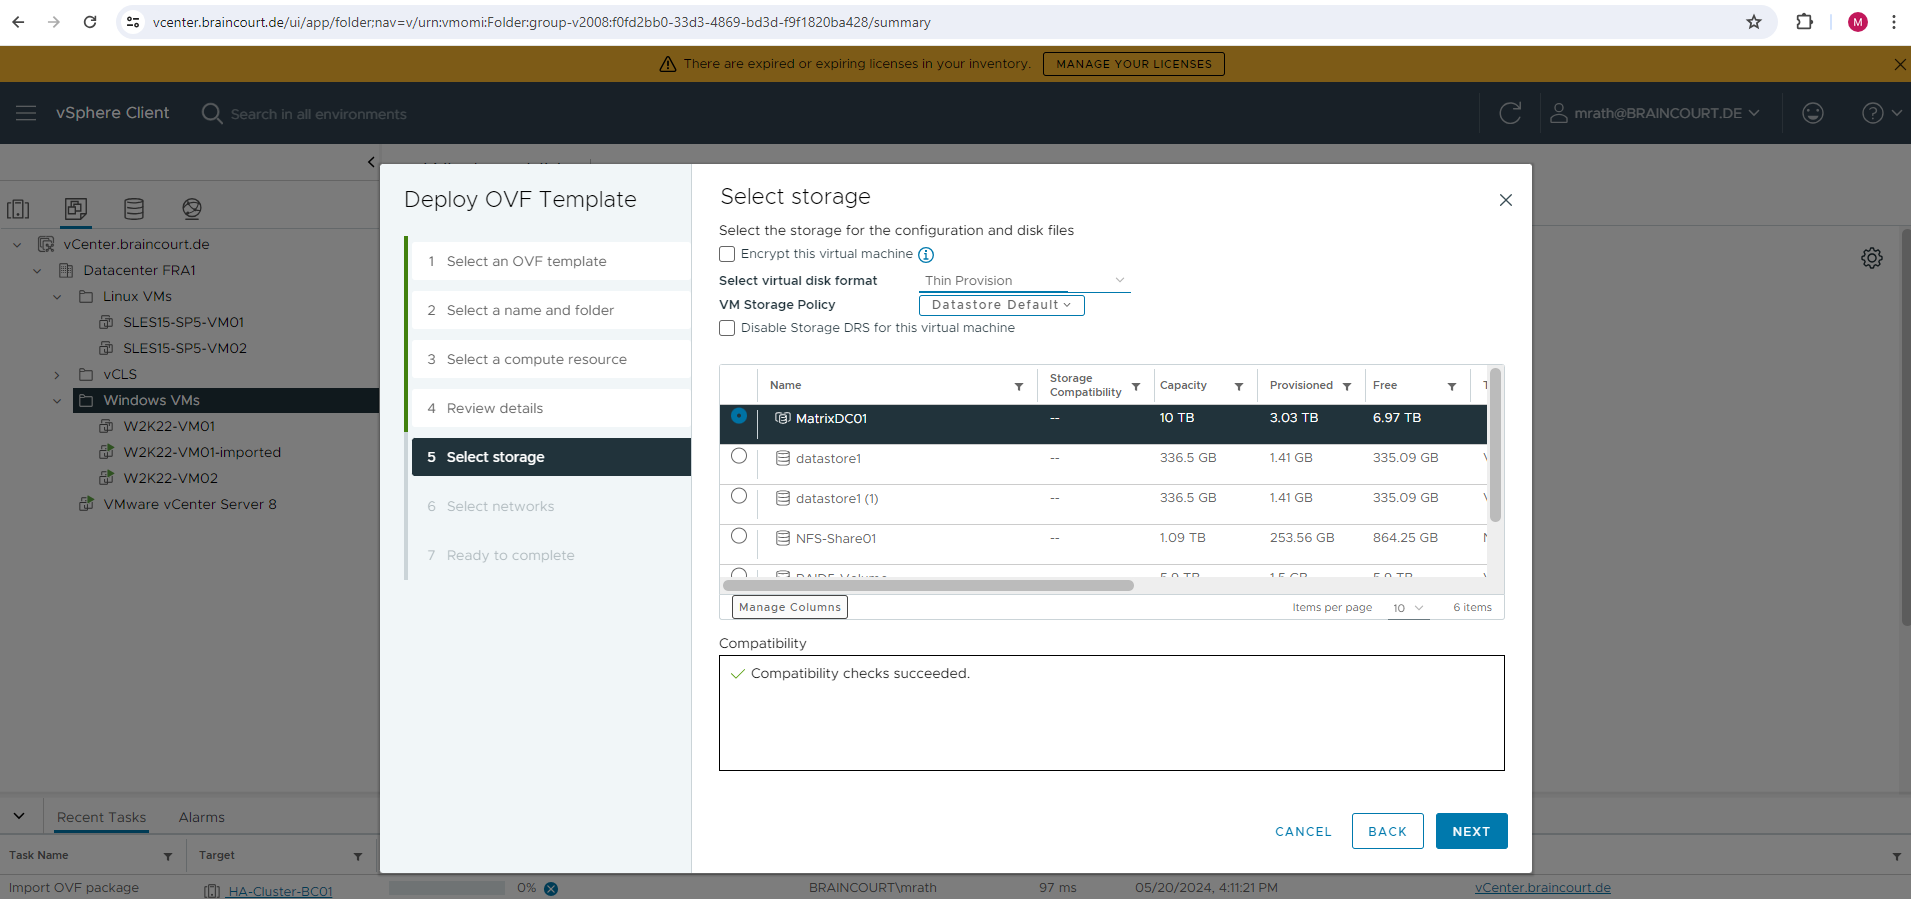
Select a storage for the configuration and disk files.
Select the destination network for the virtual machine.
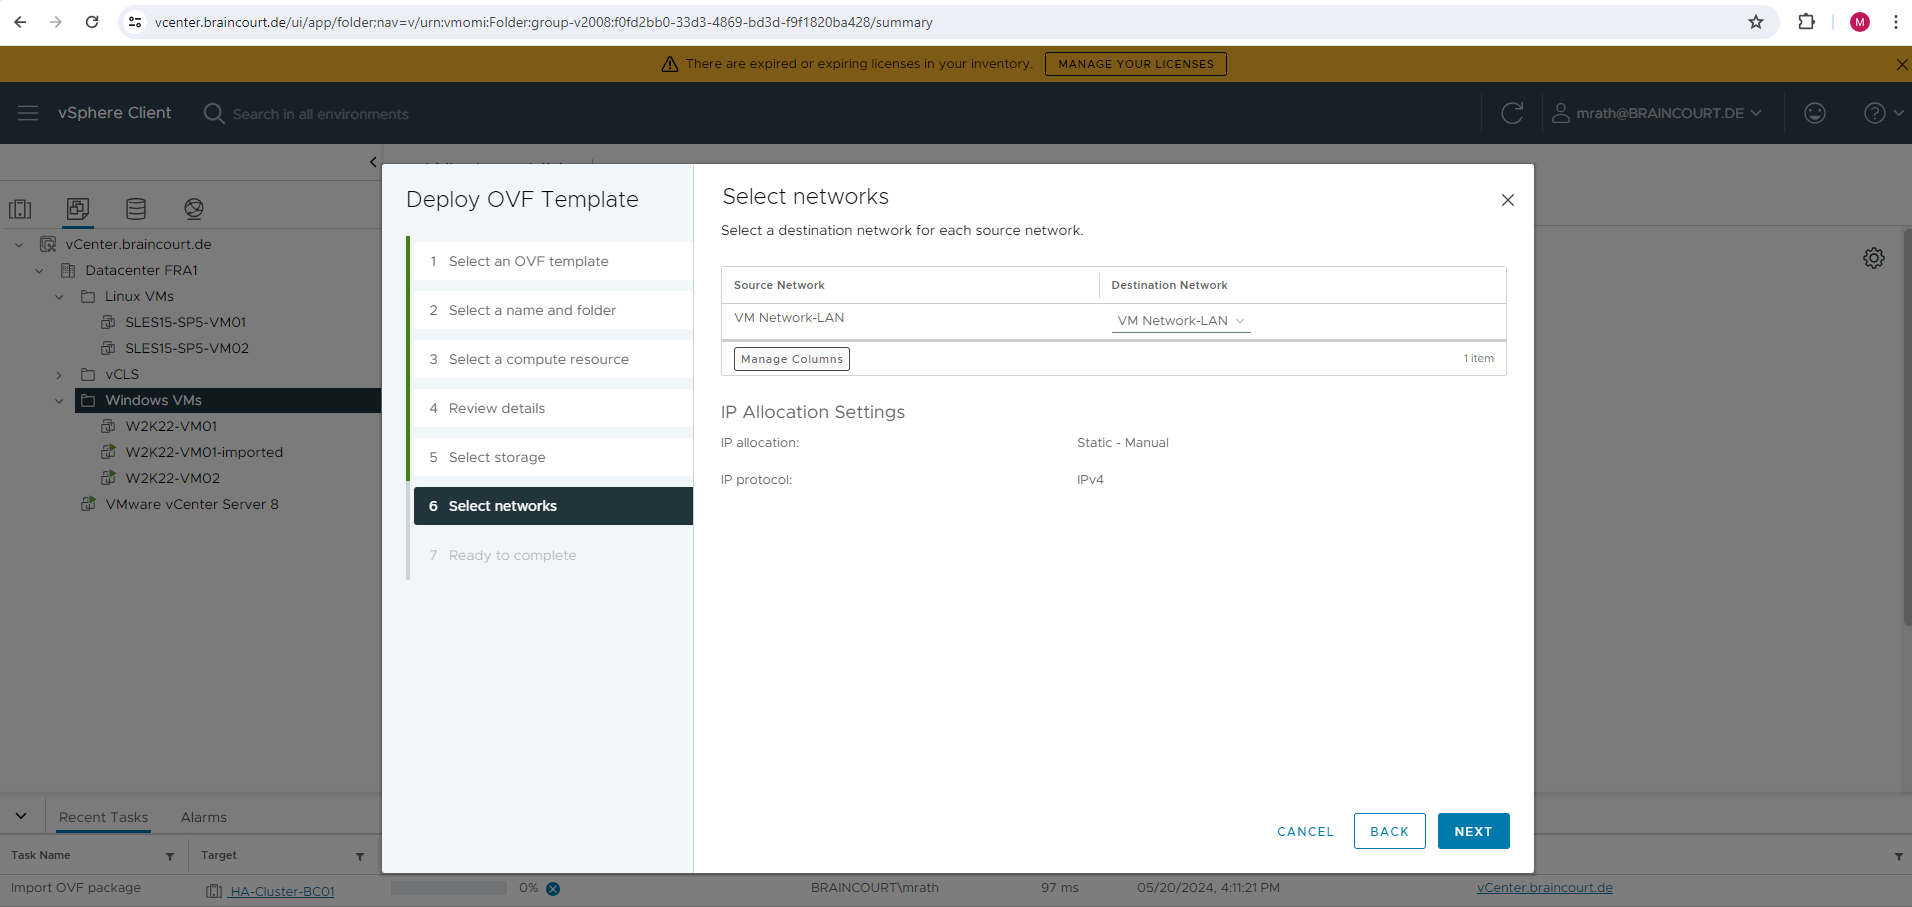
Review all settings and finally click on FINISH to deploy the OVF template.
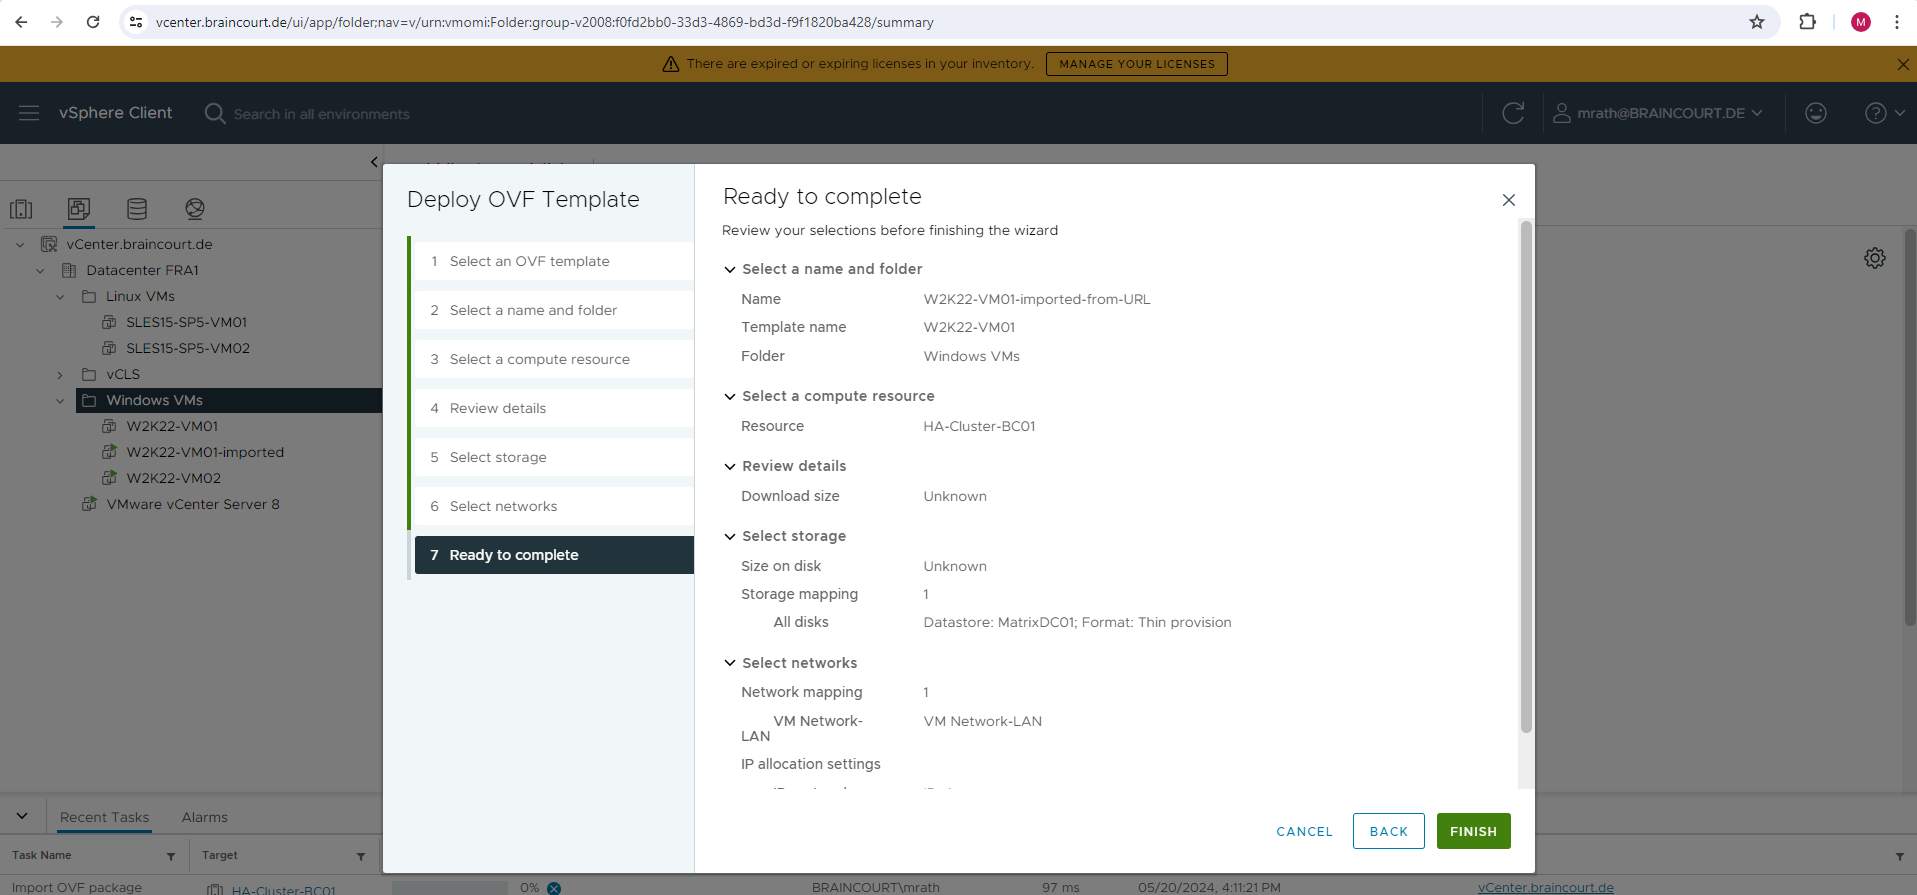
The import of the OVF package and deployment of the OVF template will start.
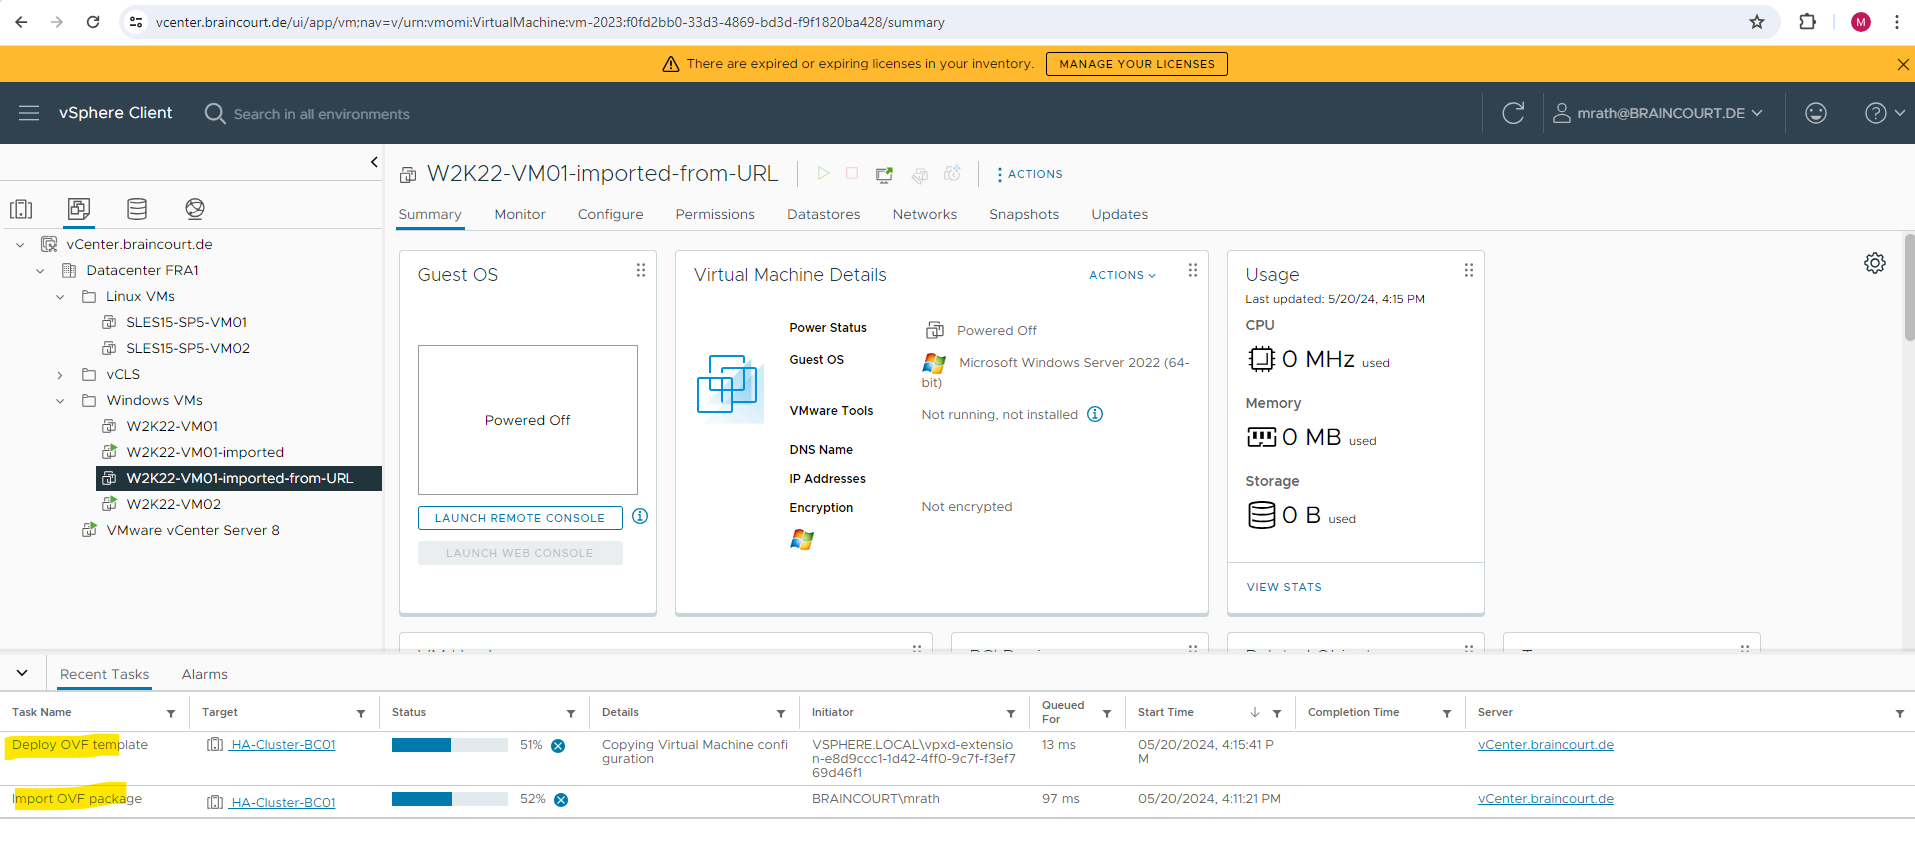
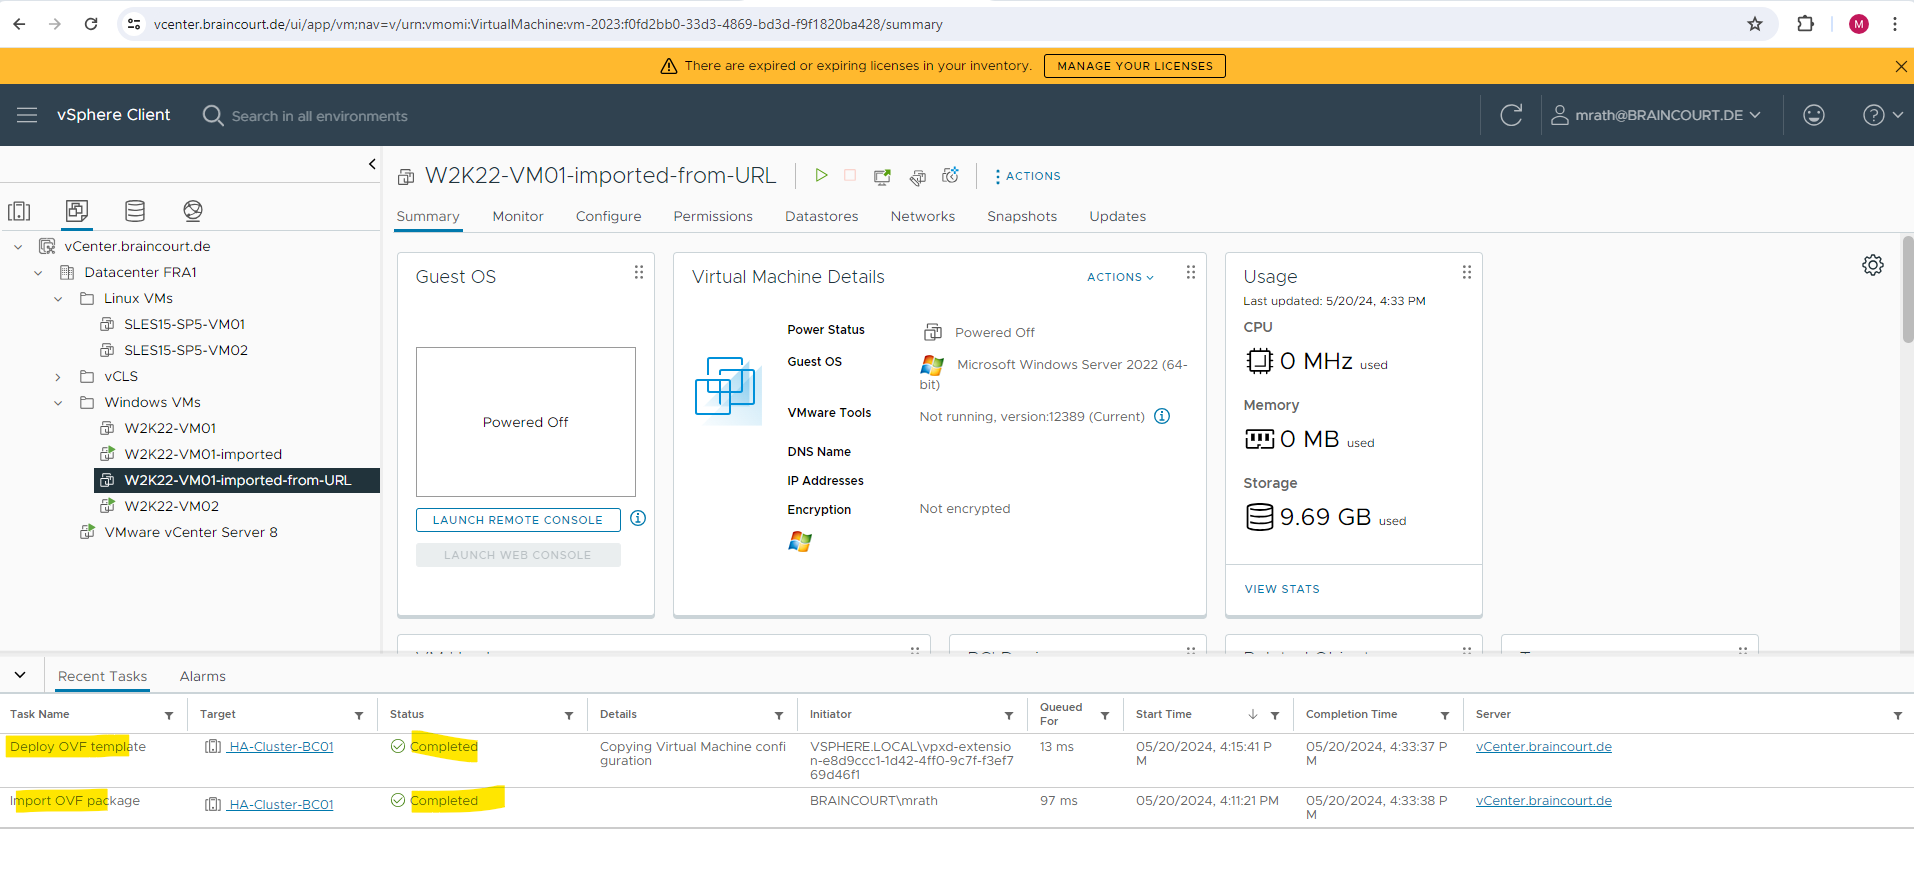
Finally the virtual machine was imported (deployed) also this time successfully.
By the way this time much faster as previously when deploying the files from my local computer which is connected by a P2S VPN to my vSphere lab environment and therefore not as fast as downloading the files directly from the Internet.
Links
Deploy and Export OVF and OVA Templates
https://docs.vmware.com/en/VMware-vSphere/8.0/vsphere-vm-administration/GUID-AFEDC48B-C96F-4088-9C1F-4F0A30E965DE.htmlOVF Tool User Guide
https://docs.vmware.com/en/VMware-vSphere/8.0/ovf-tool-user-guide/GUID-84A7C807-98FC-421B-9897-562850E75FA0.html
Tags In
Latest posts
Protecting NetApp ONTAP Workloads with Autonomous Ransomware Protection (ARP) – Part 2 – Simulating Ransomware Attacks on VMware VMFS Datastores
Follow me on LinkedIn