Install Windows Subsystem for Linux (WSL)
Microsoft introduced in Windows 10 1609 a subsystem for Linux and later also for Windows Server 2019.
The Windows Subsystem for Linux lets developers run a GNU/Linux environment — including most command-line tools, utilities, and applications — directly on Windows, unmodified, without the overhead of a traditional virtual machine or dualboot setup.
What is WSL 2?
WSL 2 is a new version of the Windows Subsystem for Linux architecture that powers the Windows Subsystem for Linux to run ELF64 Linux binaries on Windows. Its primary goals are to increase file system performance, as well as adding full system call compatibility.
This new architecture changes how these Linux binaries interact with Windows and your computer’s hardware, but still provides the same user experience as in WSL 1 (the current widely available version).
Individual Linux distributions can be run with either the WSL 1 or WSL 2 architecture. Each distribution can be upgraded or downgraded at any time and you can run WSL 1 and WSL 2 distributions side by side. WSL 2 uses an entirely new architecture that benefits from running a real Linux kernel.
Source: https://docs.microsoft.com/en-us/windows/wsl/about
Installation
I will use for the installation the following well documented installation guide from Microsoft.
Windows Subsystem for Linux Installation Guide for Windows 10
https://docs.microsoft.com/en-us/windows/wsl/install-win10
There are two options available for installing Windows Subsystem for Linux (WSL):
- Simplified install (preview release):
wsl --installThewsl --installsimplified install command requires that you join the Windows Insiders Program and install a preview build of Windows 10 (OS build 20262 or higher), but eliminates the need to follow the manual install steps. All you need to do is open a command window with administrator privileges and runwsl --install, after a restart you will be ready to use WSL. - Manual install: Follow the steps listed below.The manual install steps for WSL are listed below and can be used to install Linux on any version of Windows 10.
I will set up the subsystem through the manual steps as follows.
First I will have to enable the Windows Subsystem for Linux feature on Windows 10. Therefore I can use the command line or Programs and Features.
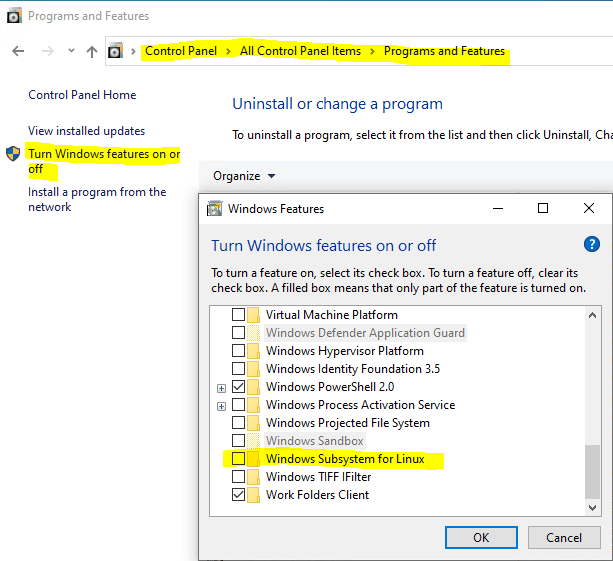
dism.exe /online /enable-feature /featurename:Microsoft-Windows-Subsystem-Linux /all /norestart
We recommend now moving on to step #2, updating to WSL 2, but if you wish to only install WSL 1, you can now restart your machine and move on to Step 6 – Install your Linux distribution of choice. To update to WSL 2, wait to restart your machine and move on to the next step.
To update to WSL 2, you must be running Windows 10.
- For x64 systems: Version 1903 or higher, with Build 18362 or higher.
- For ARM64 systems: Version 2004 or higher, with Build 19041 or higher.
- Builds lower than 18362 do not support WSL 2.
Before installing WSL 2, you must enable the Virtual Machine Platform optional feature. Your machine will require virtualization capabilities to use this feature.
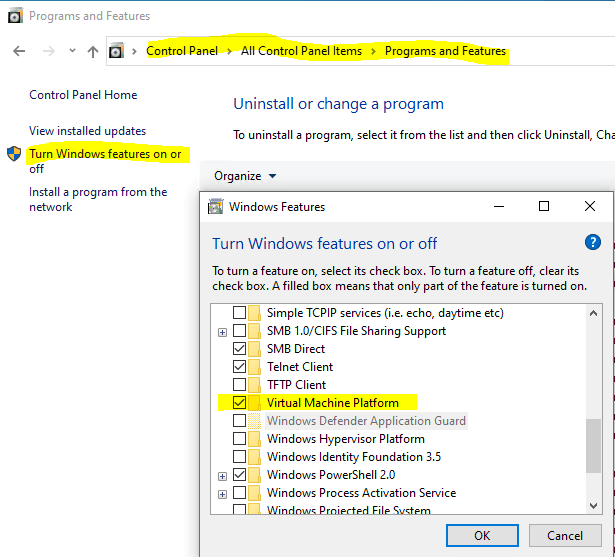
dism.exe /online /enable-feature /featurename:VirtualMachinePlatform /all /norestart
Restart your machine to complete the WSL installation and update to WSL 2.
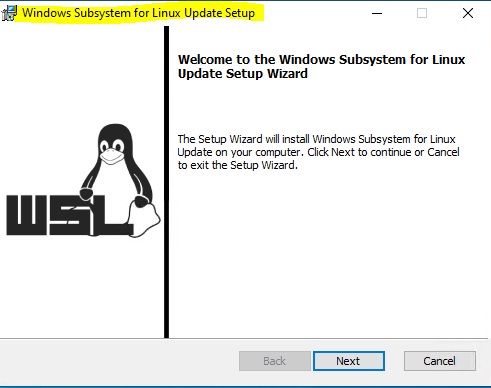
Download the Linux kernel update package
https://wslstorestorage.blob.core.windows.net/wslblob/wsl_update_x64.msi
If you’re using an ARM64 machine, please download the ARM64 package instead. If you’re not sure what kind of machine you have, open Command Prompt or PowerShell and enter: systeminfo | find “System Type”. Caveat: On non-English Windows versions, you might have to modify the search text, for example, in German it would be systeminfo | find “Systemtyp”.
Run the update package downloaded in the previous step. (Double-click to run – you will be prompted for elevated permissions, select ‘yes’ to approve this installation.)
Once the installation is complete, move on to the next step – setting WSL 2 as your default version when installing new Linux distributions. (Skip this step if you want your new Linux installs to be set to WSL 1).
For more information, read the article changes to updating the WSL2 Linux kernel, available on the Windows Command Line Blog.
# You can use CMD or PowerShell
wsl –set-default-version 2
Now we have to choose which linux distribution we want to install.
The following links will open the Microsoft store page for each distribution:
- Ubuntu 16.04 LTS
- Ubuntu 18.04 LTS
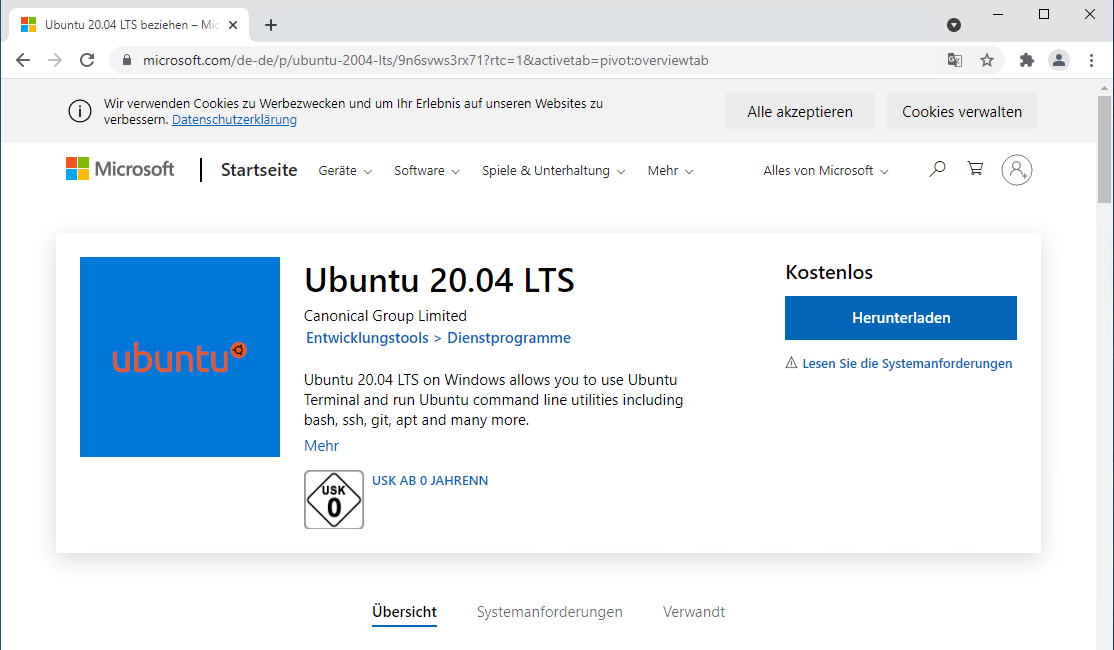
- Ubuntu 20.04 LTS
- openSUSE Leap 15.1
- SUSE Linux Enterprise Server 12 SP5
- SUSE Linux Enterprise Server 15 SP1
- Kali Linux
- Debian GNU/Linux
- Fedora Remix for WSL
- Pengwin
- Pengwin Enterprise
- Alpine WSL
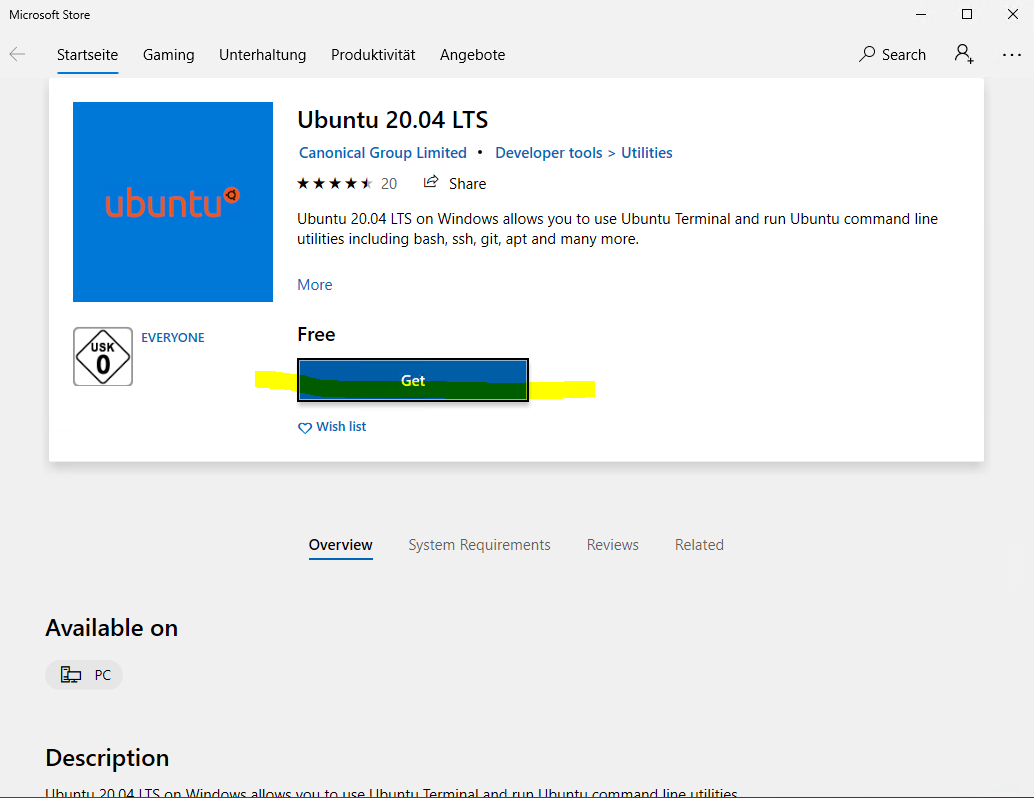
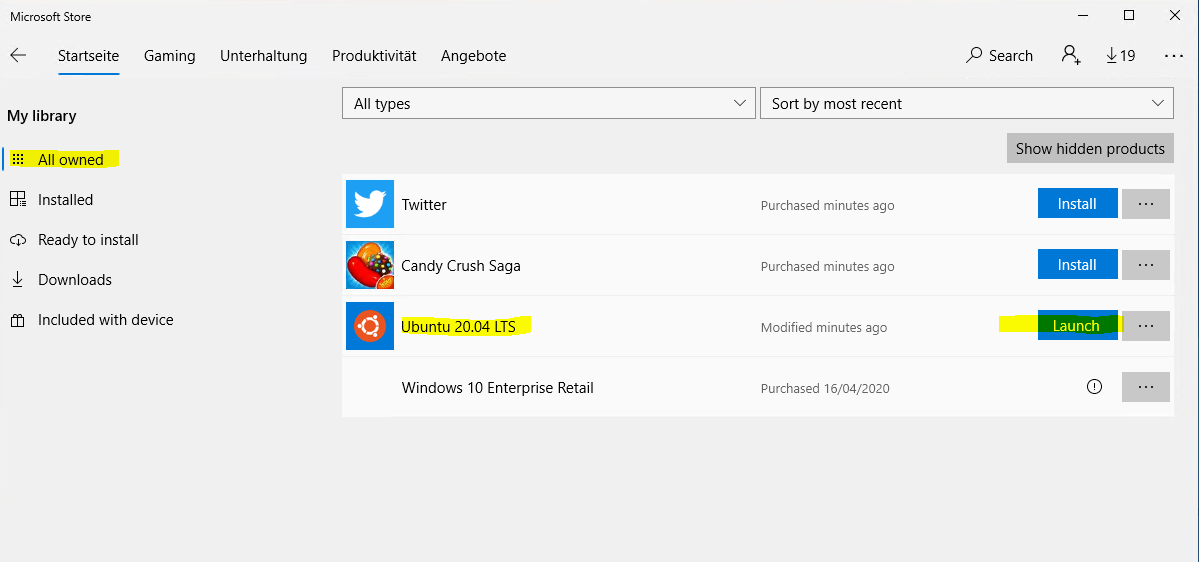
I will use Ubuntu 20.04 LTS.

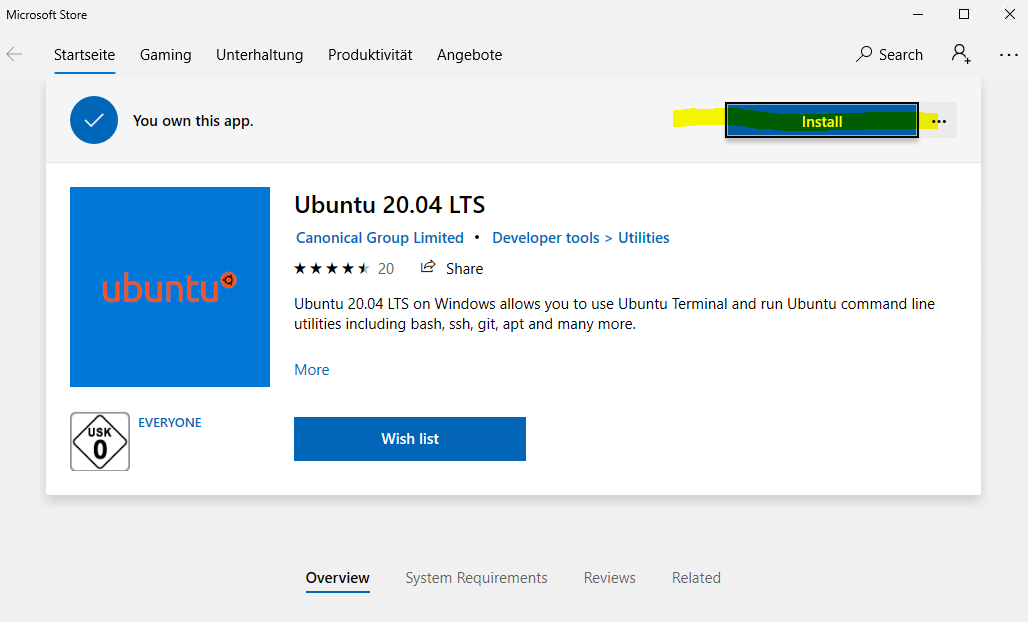


Click on Launch to install Ubuntu.
In my case I will run into the following error.
WslRegisterDistribution failed with error: 0x80370102
Error: 0x80370102 The virtual machine could not be started because a required feature is not installed.
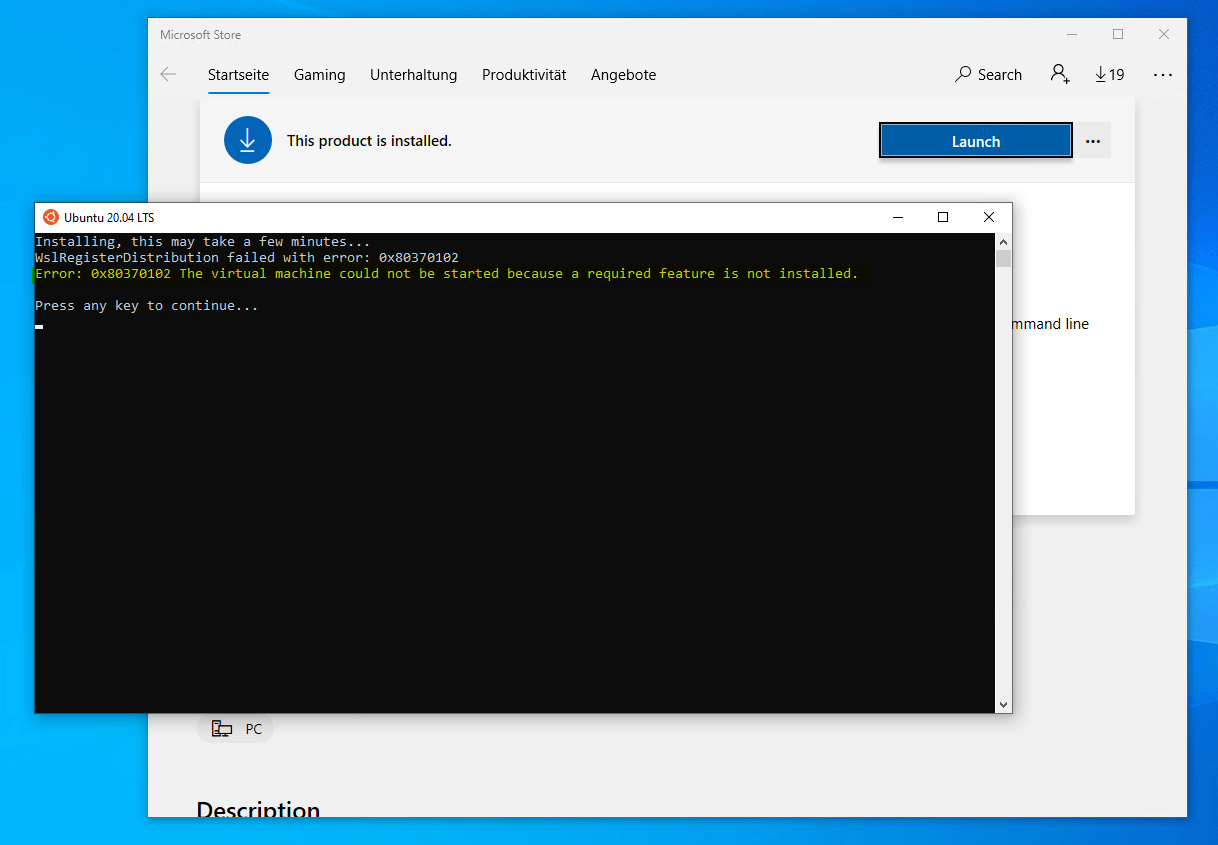
The reason for is, that I will use here a Windows 10 virtual machine running on Hyper-V, and for the virtual machine, I will first need to enable nested virtualization in order to run WSL successfully.
Does WSL 2 use Hyper-V?
The newest version of WSL uses Hyper-V architecture to enable its virtualization. This architecture will be available in the ‘Virtual Machine Platform’ optional component.
Source: https://docs.microsoft.com/en-us/windows/wsl/wsl2-faq#does-wsl-2-use-hyper-v–will-it-be-available-on-windows-10-home-
Therefore I need to first shutdown the virtual machine and run the following PowerShell command on the corresponding Hyper-V server.
Set-VMProcessor -VMName <VMName> -ExposeVirtualizationExtensions $true
Now I can start the virtual machine and have to go back to Microsoft Store to finish the previous installation.
Click on Launch again.
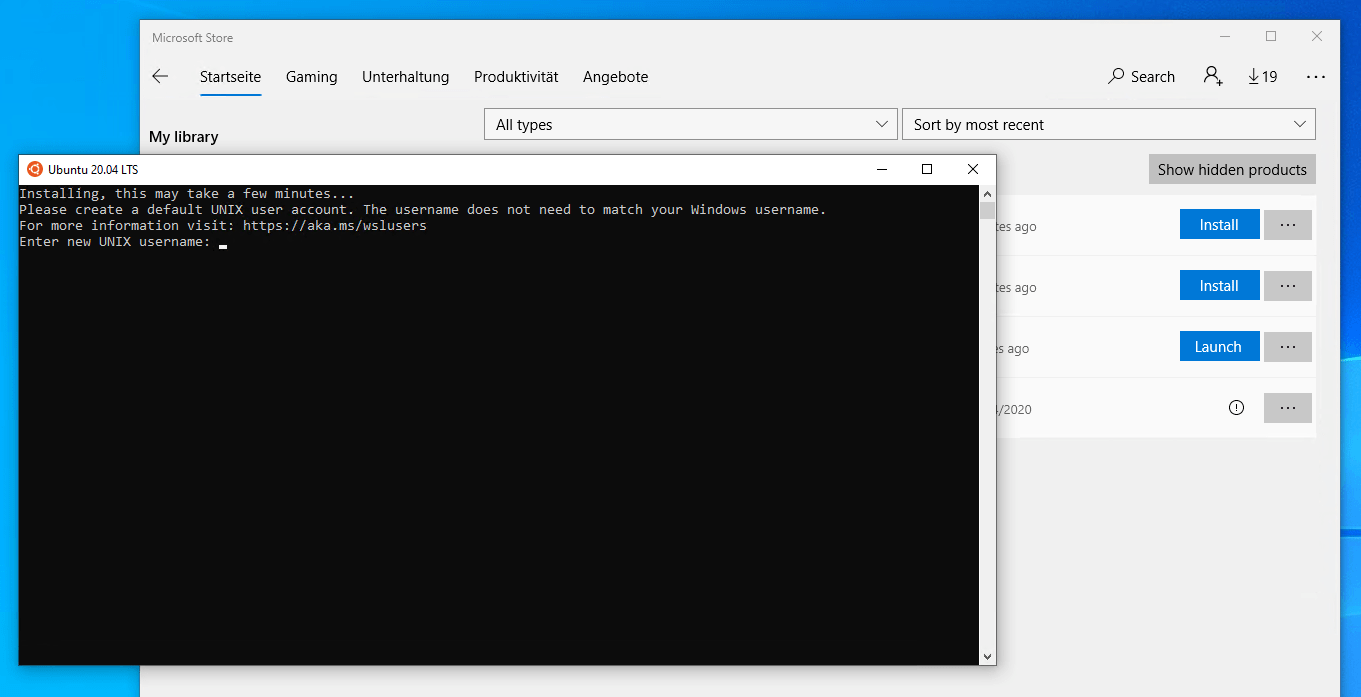
The first time you launch a newly installed Linux distribution, a console window will open and you’ll be asked to wait for a minute or two for files to de-compress and be stored on your PC. All future launches should take less than a second.
You will then need to create a user account and password for your new Linux distribution.
This User Name and Password is specific to each separate Linux distribution that you install and has no bearing on your Windows user name.
Once you create a User Name and Password, the account will be your default user for the distribution and automatically sign-in on launch.
This account will be considered the Linux administrator, with the ability to run sudo (Super User Do) administrative commands.
Each Linux distribution running on the Windows Subsystem for Linux has its own Linux user accounts and passwords. You will have to configure a Linux user account every time you add a distribution, reinstall, or reset.
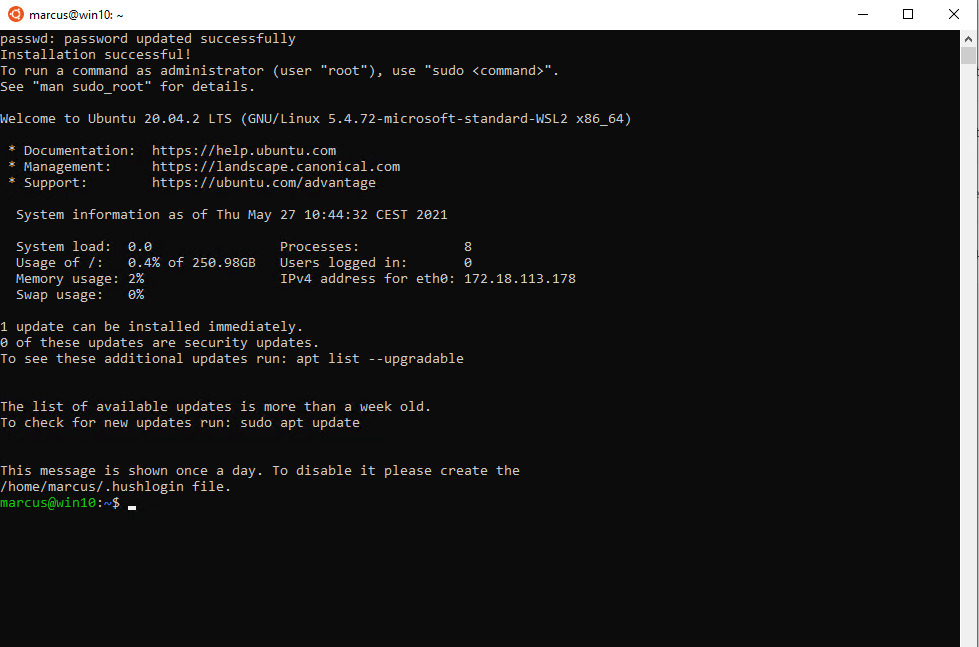
Most distributions ship with an empty or minimal package catalog. We strongly recommend regularly updating your package catalog and upgrading your installed packages using your distribution’s preferred package manager. For Debian/Ubuntu, use apt:
sudo apt update && sudo apt upgrade
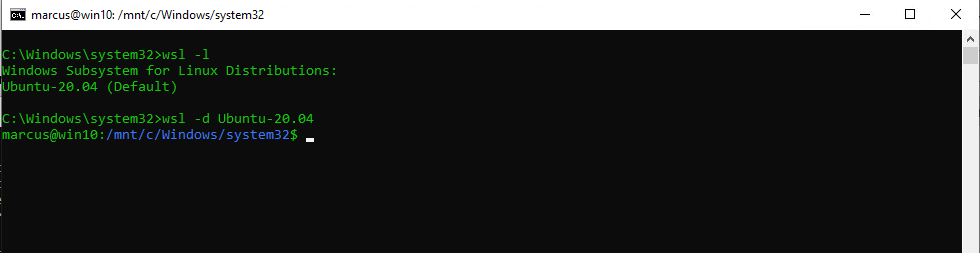
To quickly launch WSL, you can also use the wsl command in CMD or PowerShell as follows, instead going each time first to the Microsoft Store.
# List available installed distributions on windows
wsl -l
# Launch the specific distribution
wsl -d <name distribution>
# or launch the default distribution only with
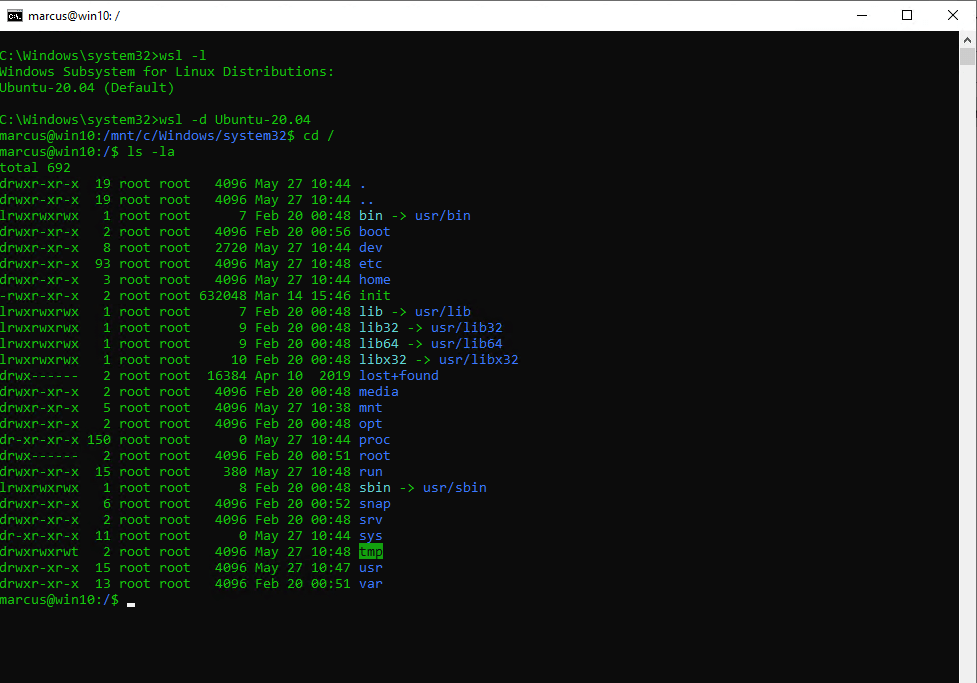
wsl
# set default distribution
wsl –setdefault <name distribution>
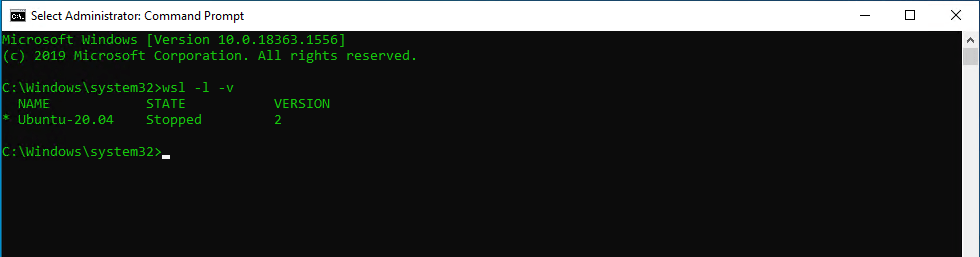
Set your distribution version to WSL 1 or WSL 2
You can check the WSL version assigned to each of the Linux distributions you have installed by opening the PowerShell command line and entering the command (only available in Windows Build 18362 or higher): wsl -l -v
wsl -l -v
or
wsl –list –verbose
# To set a distribution to be backed by either version of WSL please run:
wsl –set-version <distribution name> <versionNumber 1 or 2>
Additionally, if you want to make WSL 2 your default architecture you can do so with this command:
wsl –set-default-version 2
Links
Windows Subsystem for Linux Installation Guide for Windows 10
https://docs.microsoft.com/en-us/windows/wsl/install-win10
Ubuntu on WSL
https://ubuntu.com/wsl
What is the Windows Subsystem for Linux?
https://docs.microsoft.com/en-us/windows/wsl/about
WSL 2 FAQs
https://docs.microsoft.com/en-us/windows/wsl/wsl2-faq