Set up and deploy BgInfo from Sysinternals in your Network
In this post we will see how we can set up and deploy BgInfo on the servers located in our on-premise network by using a group policy.
BgInfo runs on Windows client system Windows 8.1 and higher and on Windows server system Windows Server 2012 and higher.
About how to deploy BgInfo by using Microsoft Intune you can read my following post.
BGInfo automatically displays relevant information about a Windows computer on the desktop’s background, such as the computer name, IP address, service pack version, and more. You can edit any field as well as the font and background colors, and can place it in your startup folder so that it runs every boot, or even configure it to display as the background for the logon screen.
Because BGInfo simply writes a new desktop bitmap and exits, you don’t have to worry about it consuming system resources or interfering with other applications.
Source: https://learn.microsoft.com/en-us/sysinternals/downloads/bginfo
Set up and configure BgInfo
First we need to download the latest version of BGInfo from the following page.
BgInfo
https://learn.microsoft.com/en-us/sysinternals/downloads/bginfo
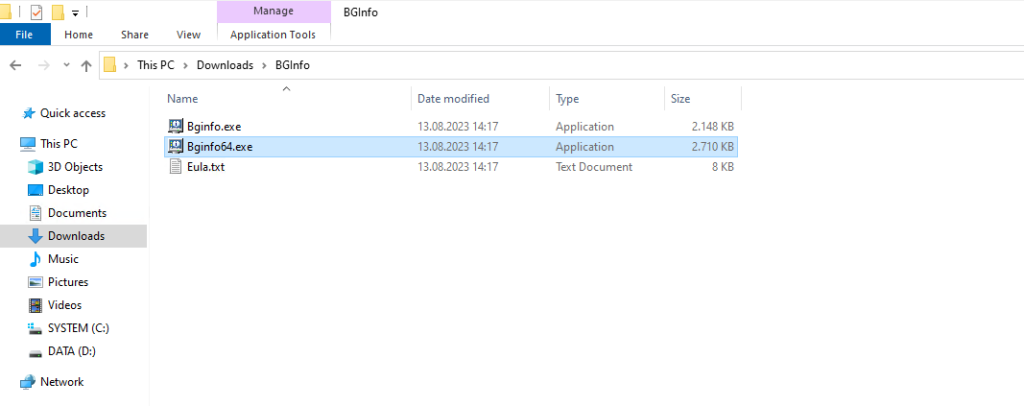
When unzipping the file you will get a 32-bit and 64-bit version of BgInfo.
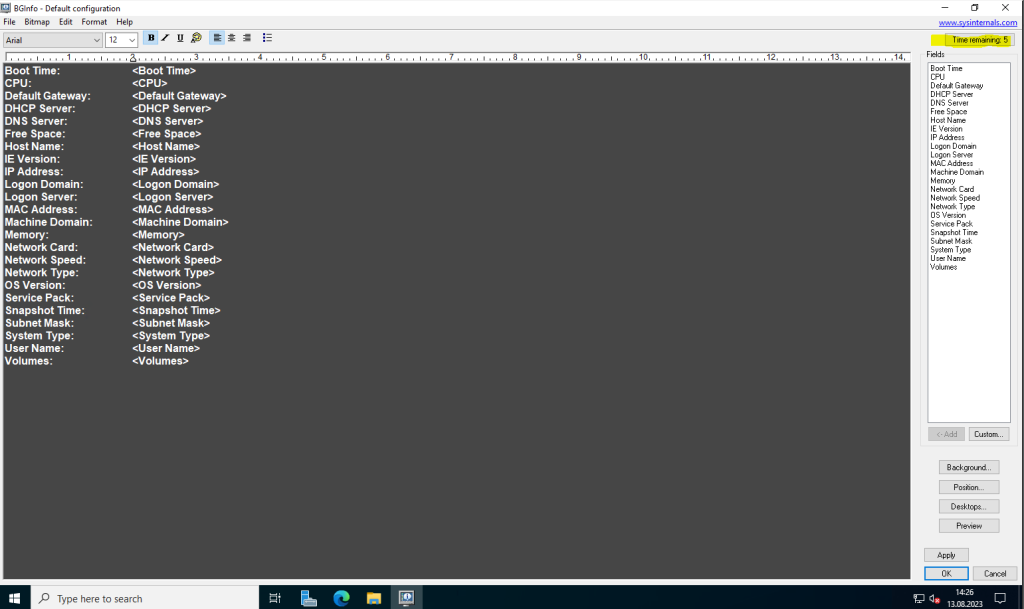
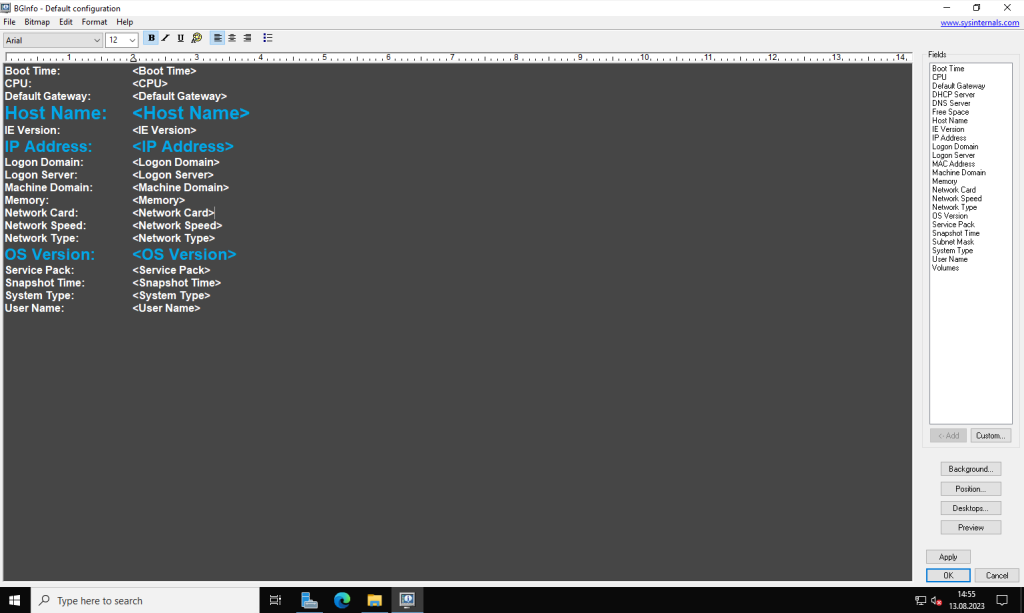
When we double click on one of them, it will open the default configuration of BgInfo like shown below.
The default configuration will also automatically applied to the desktop background on the computer you executed. If left untouched it will automatically apply these settings and exit after its 10 second count-down timer expires.
Selecting any button or menu item will disable the timer, allowing you to customize the layout and content of the background information.
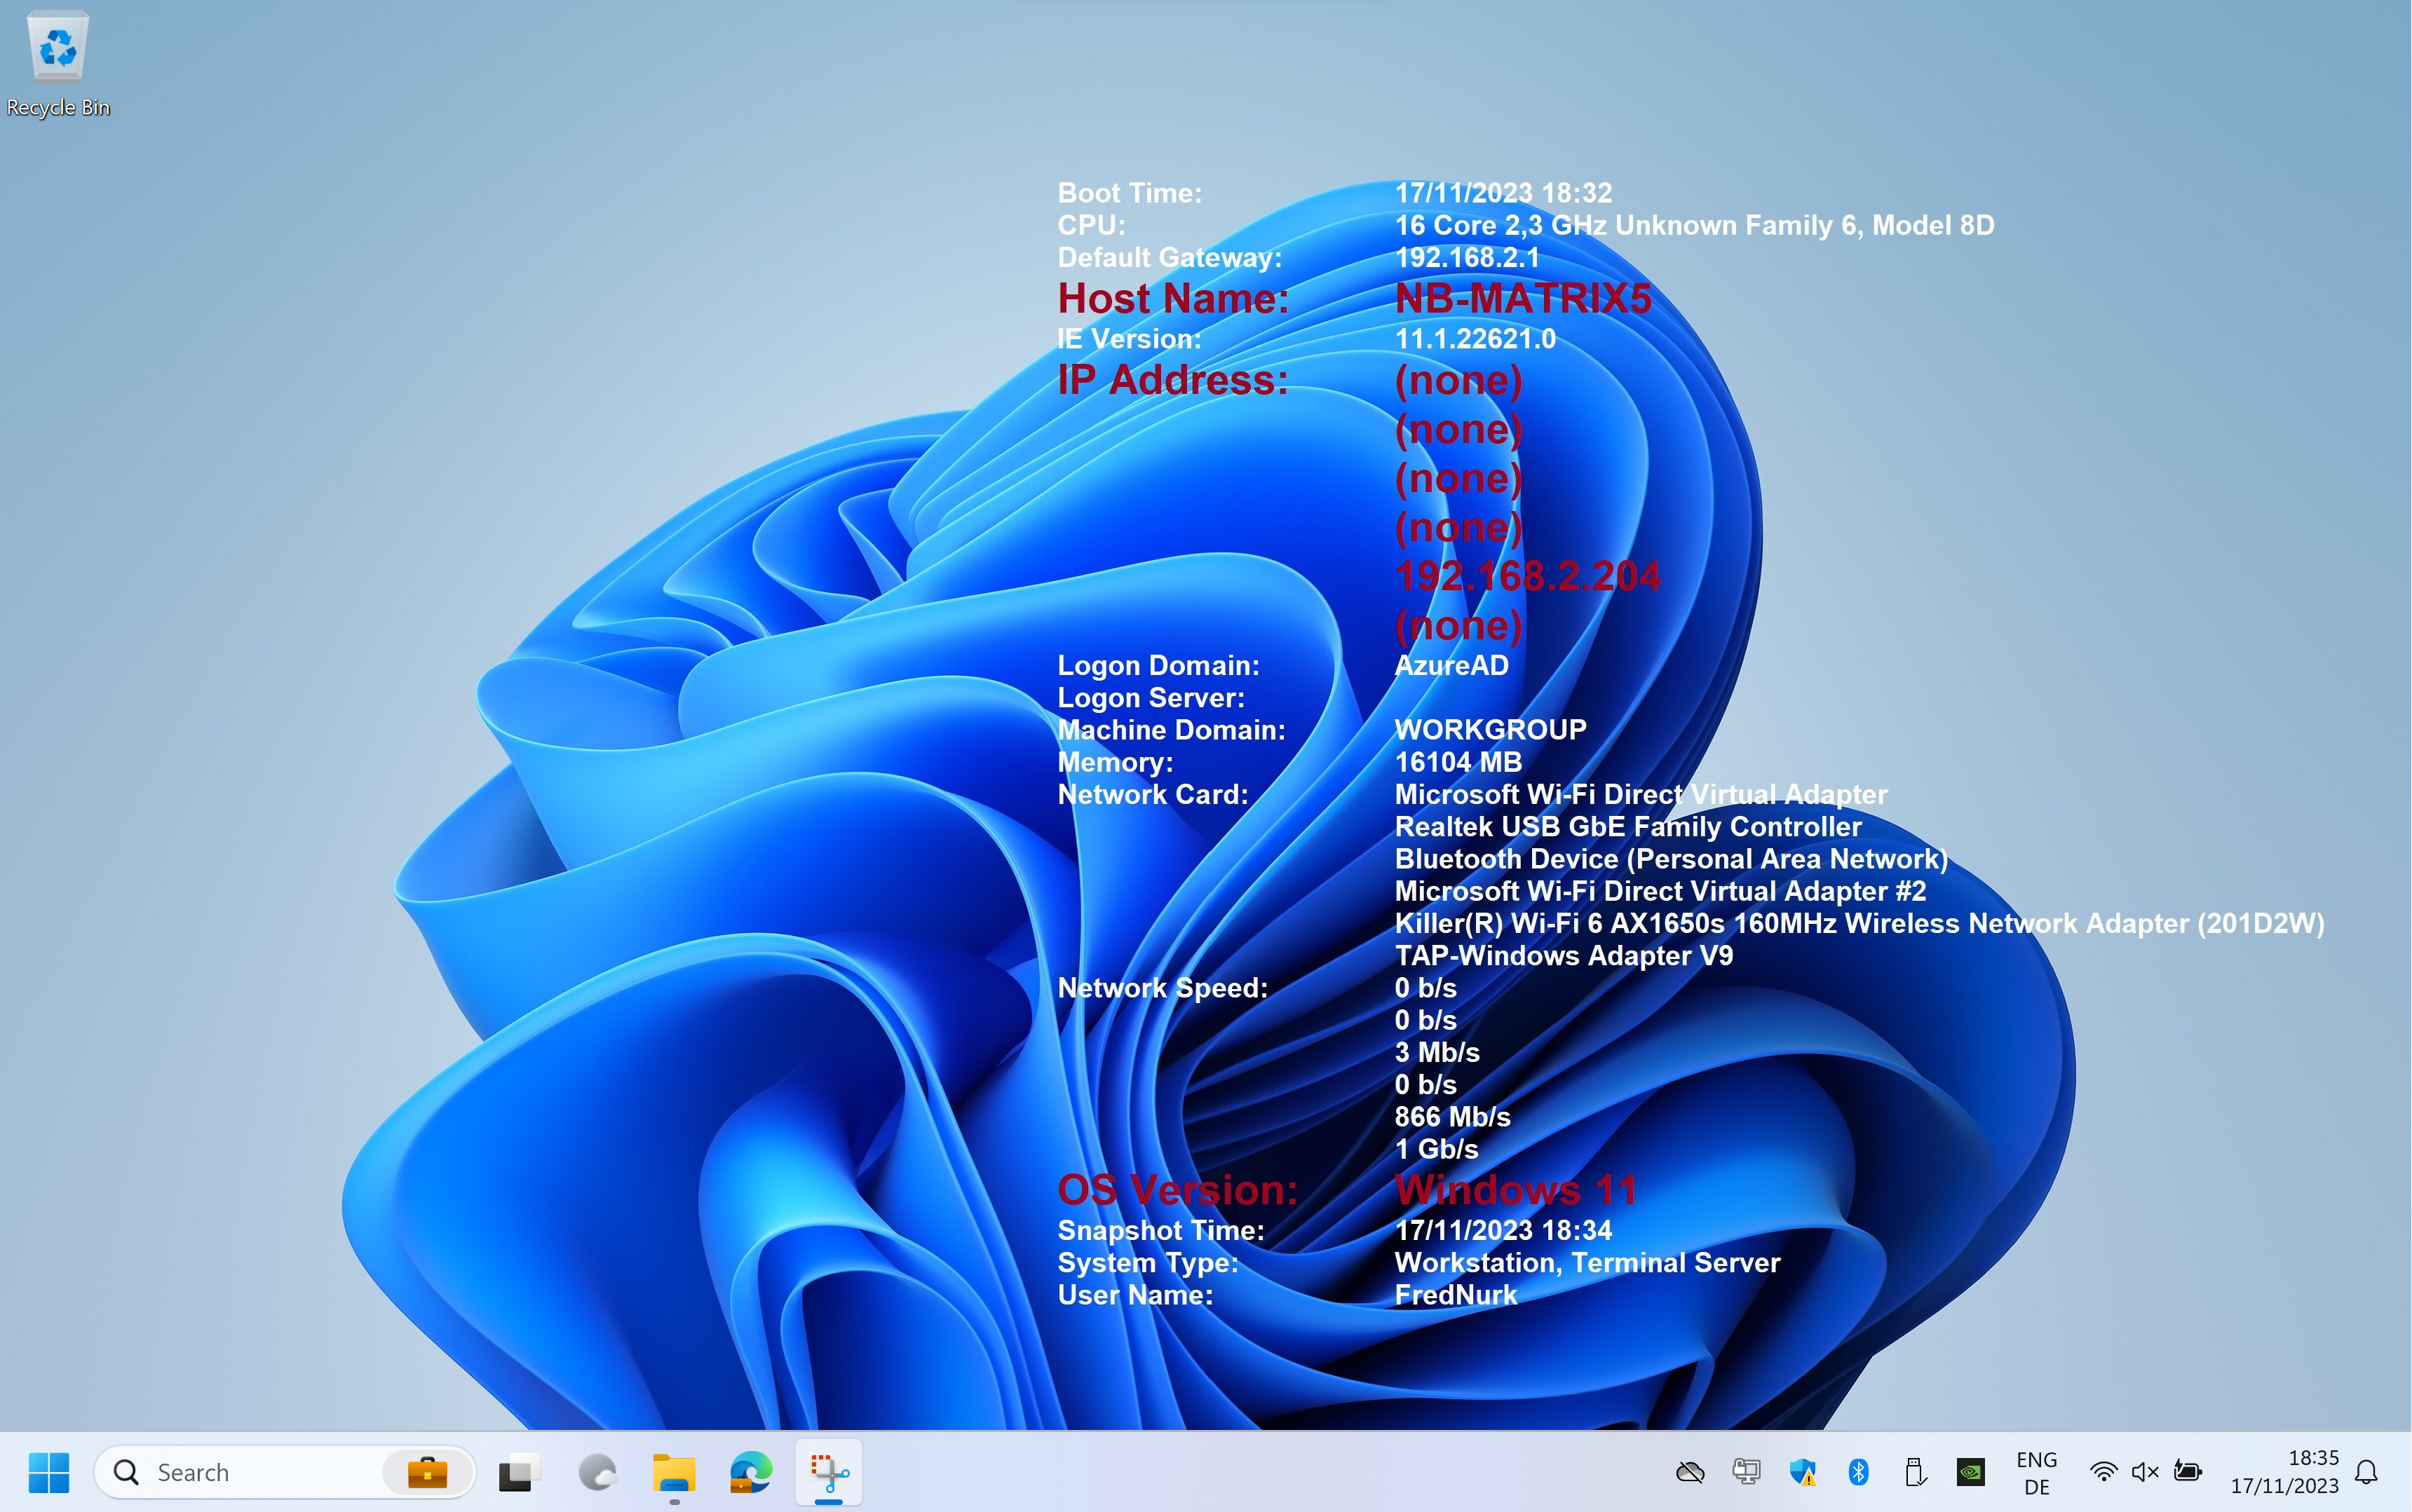
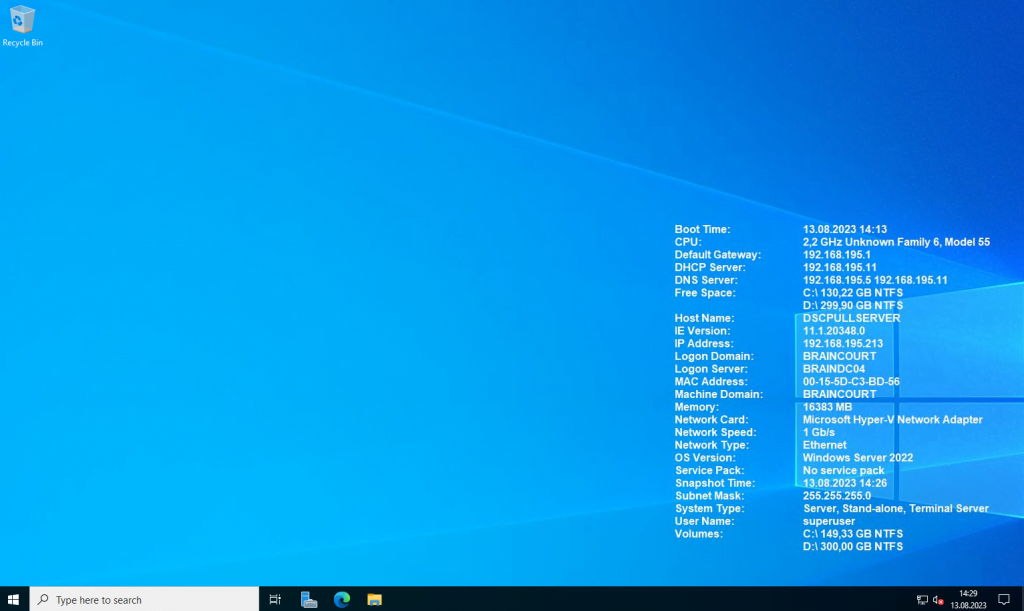
Here you can see the applied default configuration on the computer BgInfo was executed.
You can easily remove fields from the default configuration by just editing the display area. Adding is also simple by first position the cursor in the display area and then clicking on the desired field and the Add button.
The display area is like a classic text editor where you can also adjust the font and colors.
Below I removed some fields I doesn’t need or want to display and changed the font style including colors from some fields.
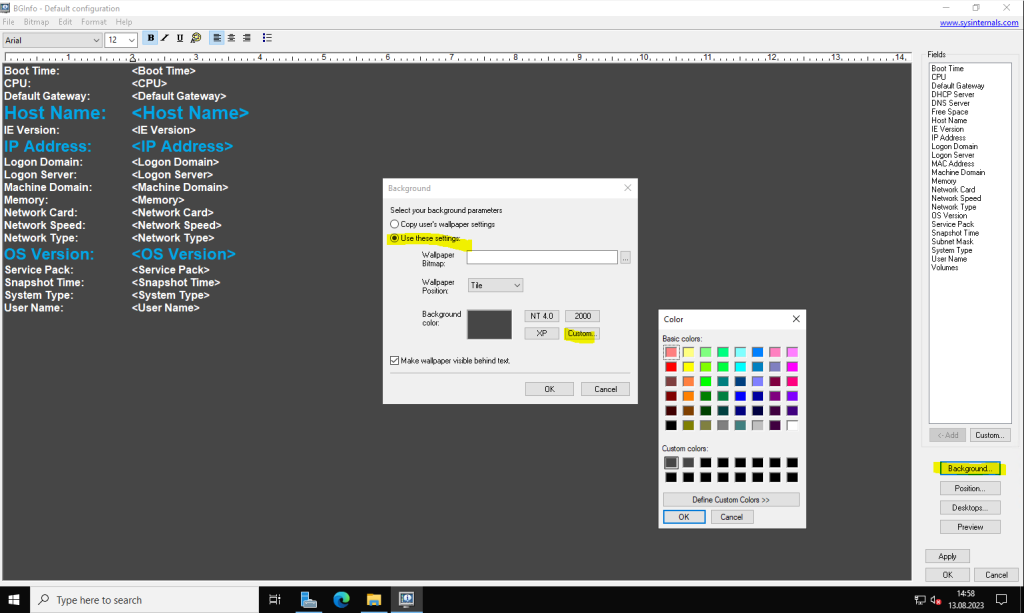
By clicking on the Background button on the right we can also change the background color or adding a wallpaper. In my case I will just use the default background color like shown below.
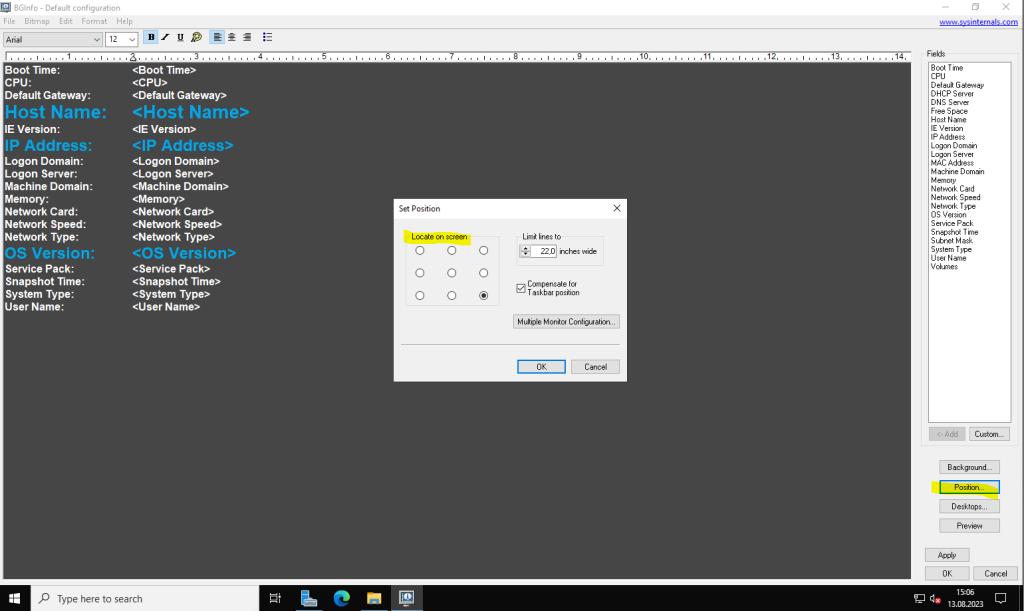
You can also adjust the position where the information block will be displayed on the desktop background by clicking on the Position button as shown below.
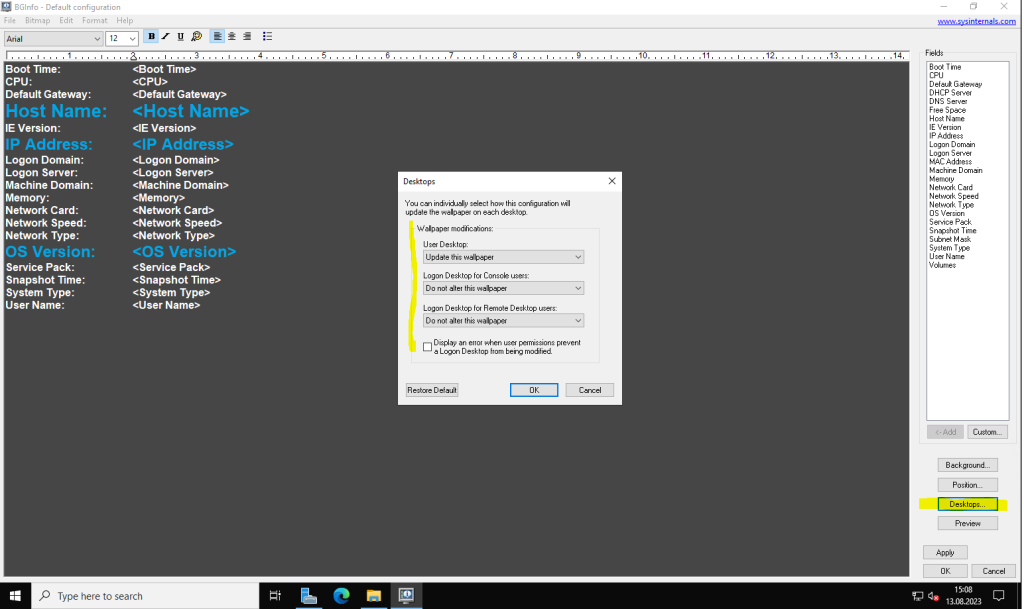
By clicking on the Desktops button as shown below, you can also define where the information block will everywhere dispayed like default on the user desktop or also if wanted on the logon desktop.
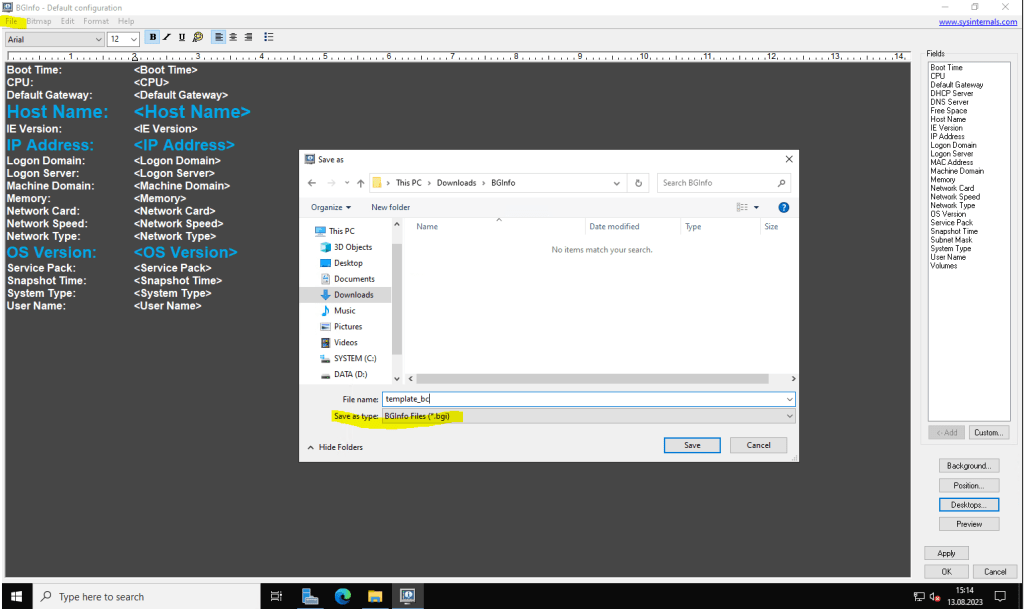
Now after modifying the default configuration we need to save the new custom configuration as a template we want to use for deploying within our network.
Therefore finally click on File – Save As … and enter a name for the new configuration. This will create a new custom BgInfo configuration file we will use to deploy on our servers in the network.
Deploy BgInfo in your network by using a group policy
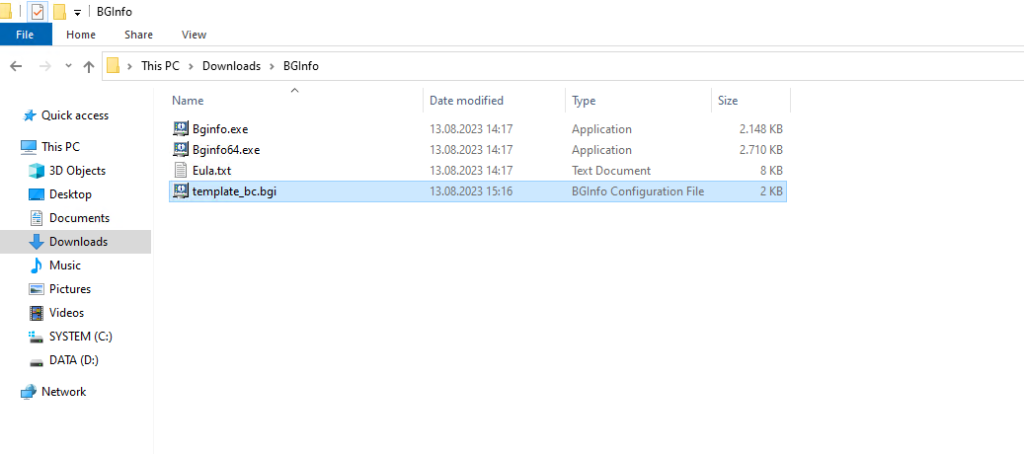
First we need to copy the Bginfo.exe or Bginfo64.exe, depending on the destination architecture of your servers, I will just use the 64-bit version, and our custom configuration file, which is our template, on one of our domain controller’s NETLOGON folder to get synchronized to all other domain controllers in our network.
I will create here a dedicated subfolder named BgInfo in the NETLOGON folder to store both files.

Next I will create a new group policy named BgInfo which will distribute the BgInfo.exe and its corresponding configuration file to all servers we applied the group policy later.
Therefore on the destination servers also a dedicated folder for those two files should be created.
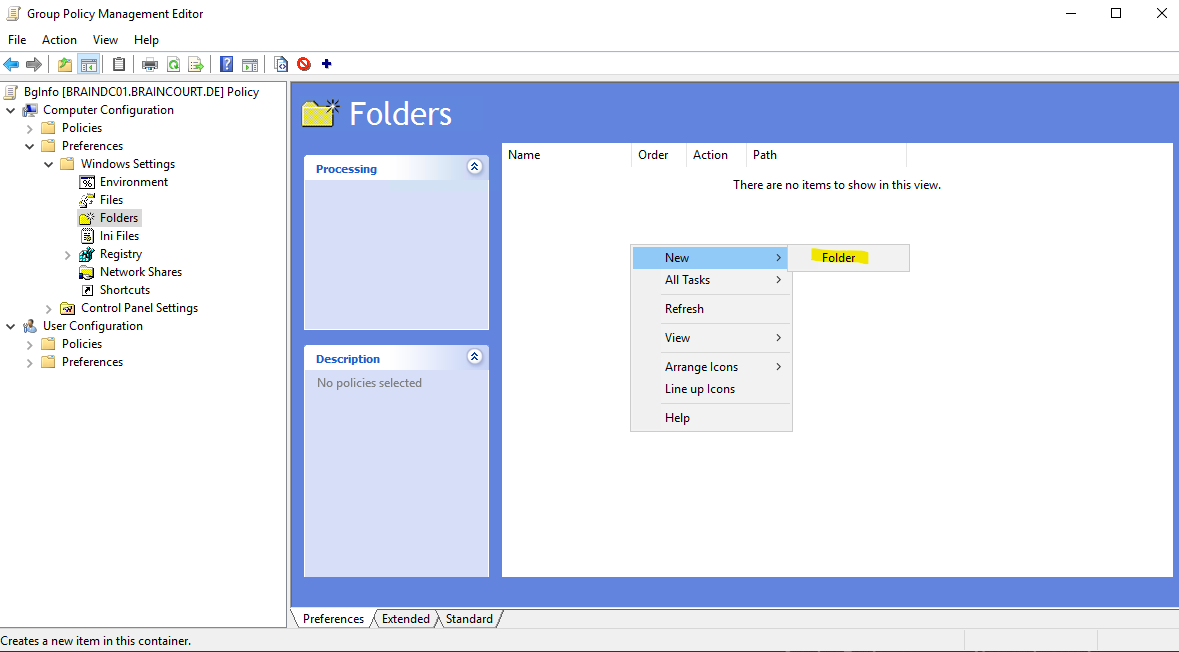
So go to Computer Configuration/Preferences/Windows Settings/Folders and click on New – Folder.
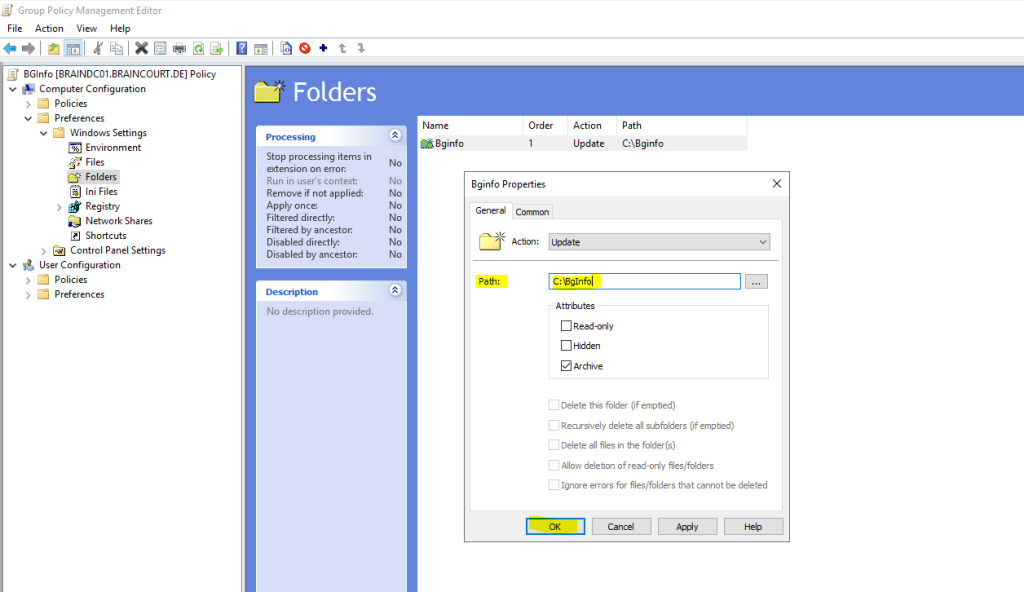
For the Path type C:BgInfo, the rest you can leave at its default settings.
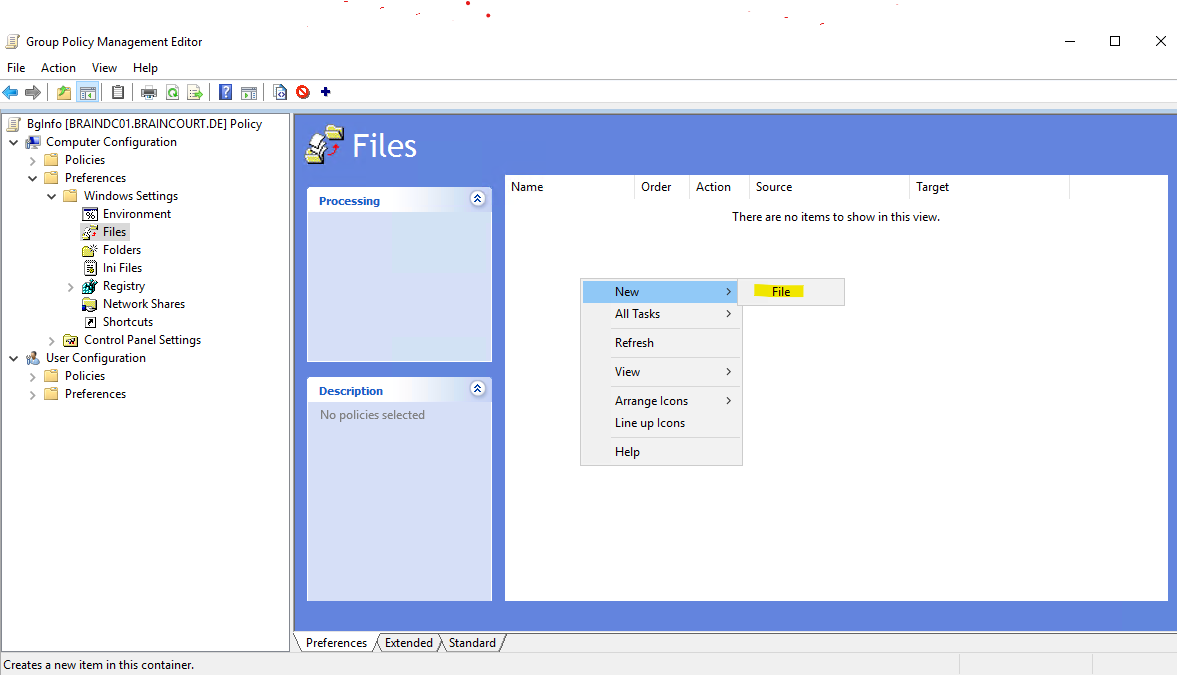
Next click on Files to distribute those two files in the previously created folder.
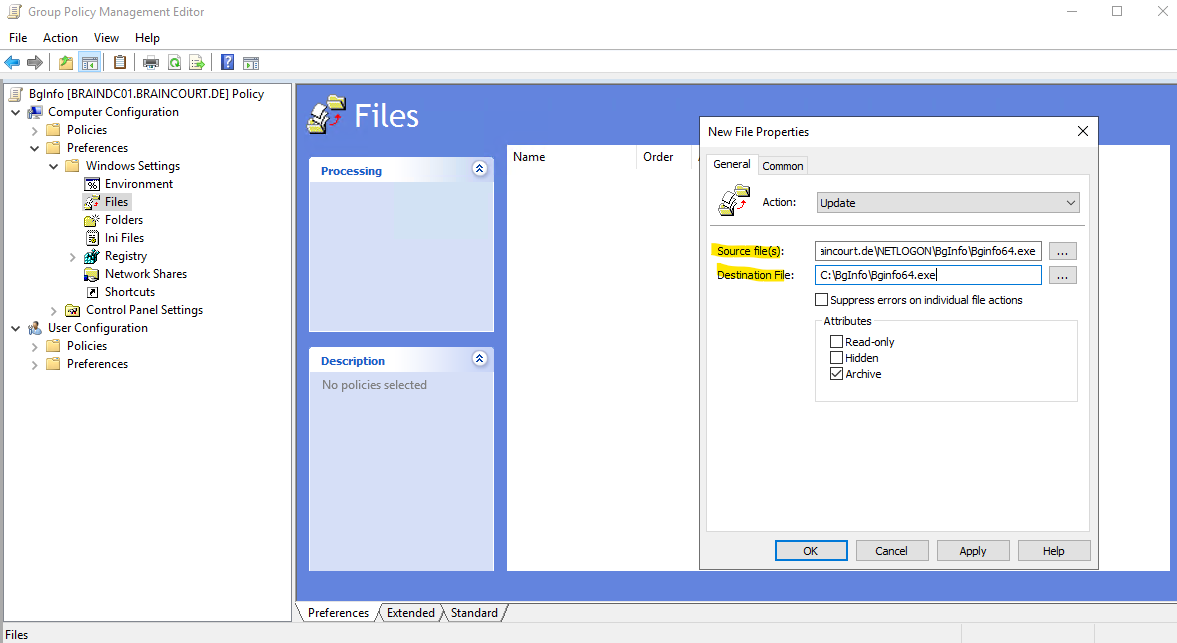
For the source file(s) we enter \<yourdomain>NETLOGON<your dedicated folder>Bginfo.exe or Bginfo64.exe depending on your configuration.
In my case I need to enter \braincourt.deNETLOGONBgInfoBginfo64.exe as shown below.
For the destination file(s) we will enter the path of our previously created folder plus the executable, so in my case it is C:BgInfoBginfo64.exe.
Under Action we also use Update.
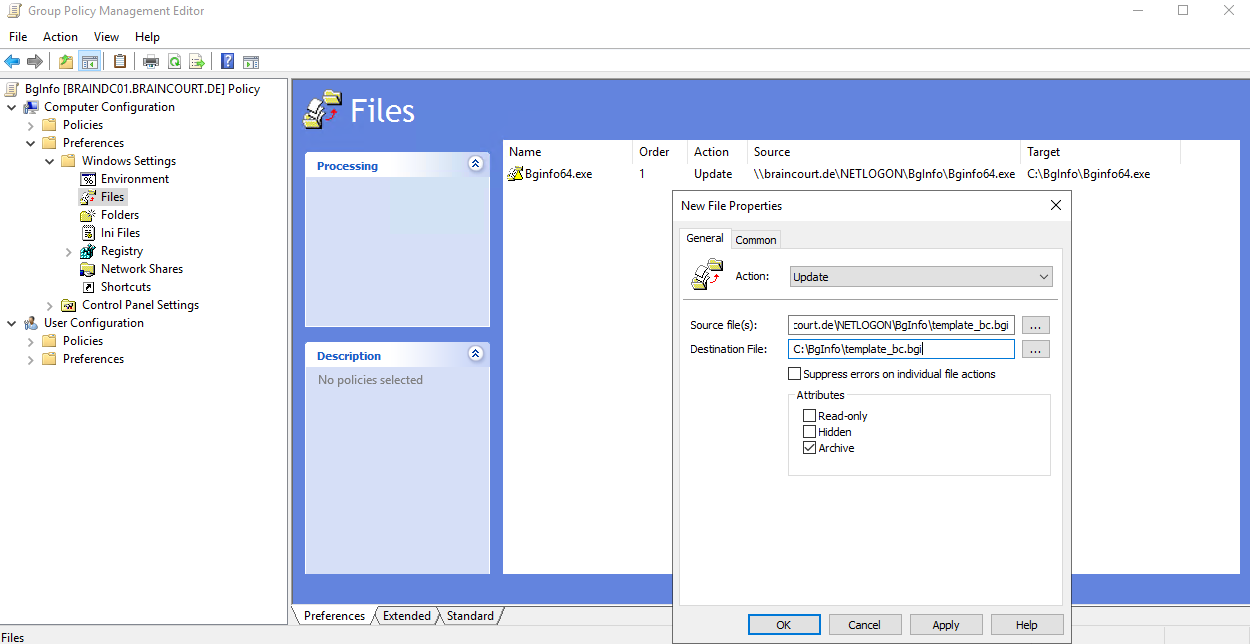
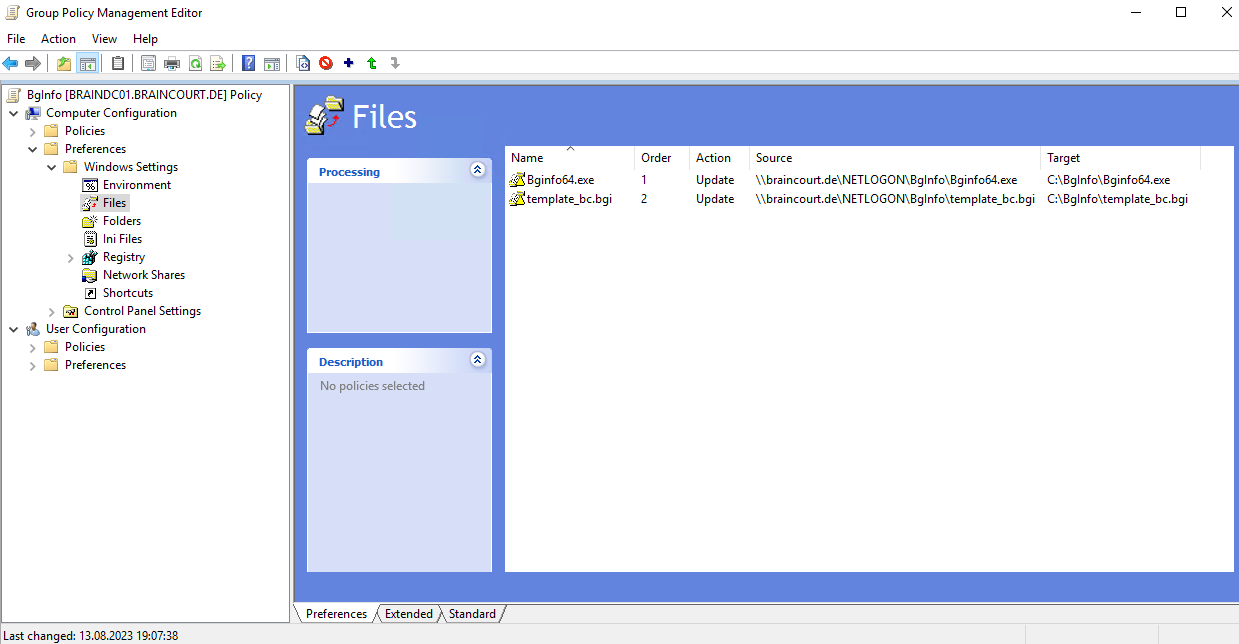
Further we need to distribute the configuration file. So create a second file. For the source file(s) I need to enter \braincourt.deNETLOGONBgInfotemplate_bc.bgi. Adjust this to your environment.
For the destination file I will use C:BgInfotemplate_bc.bgi.
By placing BGInfo in your Startup folder, you can ensure that the system information being displayed is up to date each time you boot. Once you’ve settled on the information to be displayed, use the command-line option /timer:0 to update the display without showing the dialog box.
You can also use the Windows Scheduler to run BGInfo on a regular basis to ensure long-running systems are kept up to date.
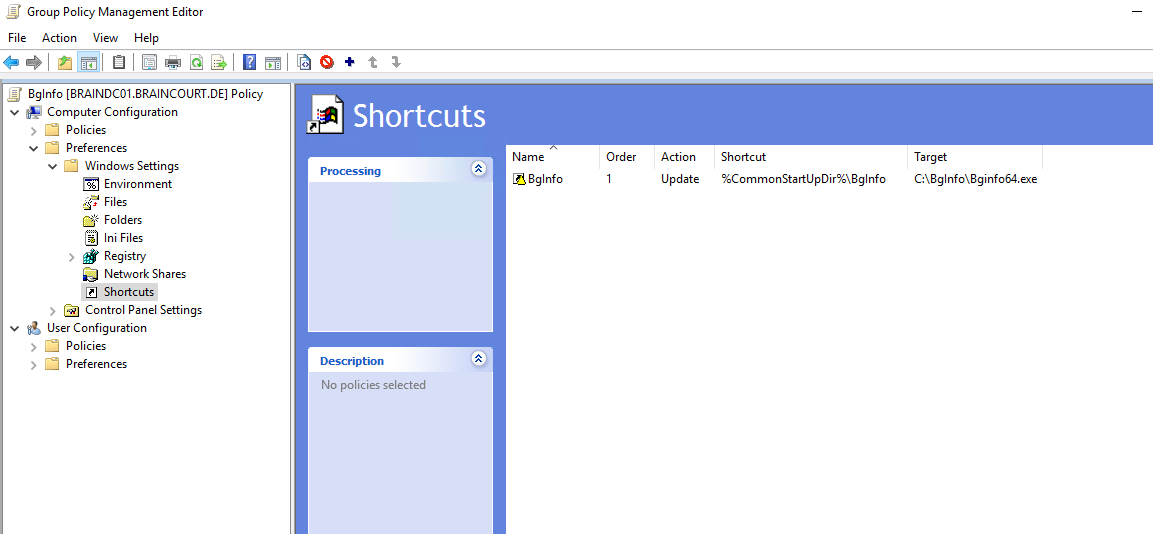
In order to place BGInfo in the Startup folder of each server, we also need to create within our group policy a new Shortcut which points to the BGInfo executable.
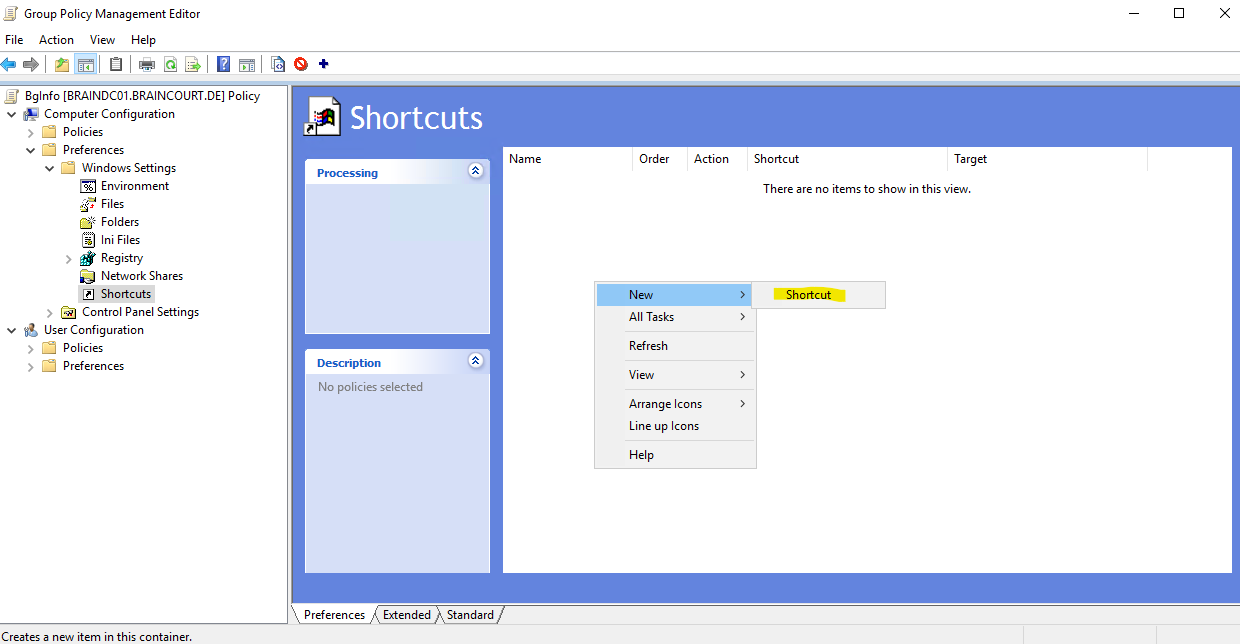
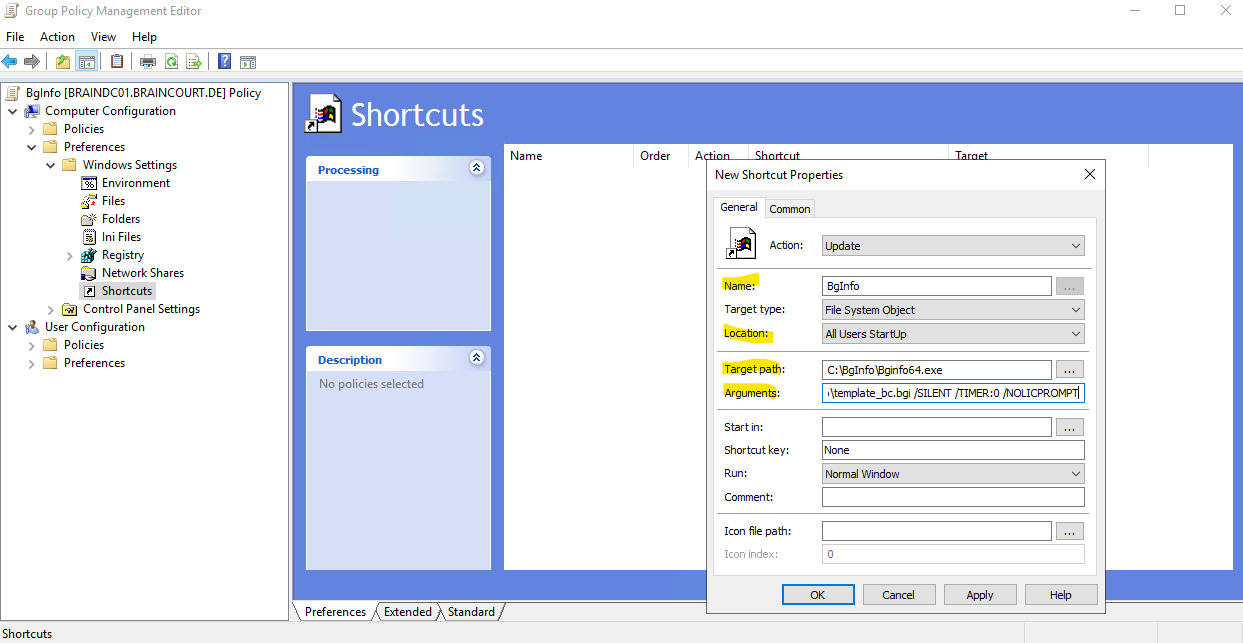
Within the arguments, we can set some command line options as shown below which will automatically import settings including our custom configuration file.
Target path: C:BgInfoBginfo64.exe
Arguments: C:BgInfotemplate_bc.bgi /SILENT /TIMER:0 /NOLICPROMPT
/timer:0 to update the display without showing the dialog box.Location: select All Users Startup
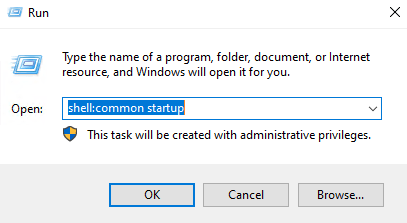
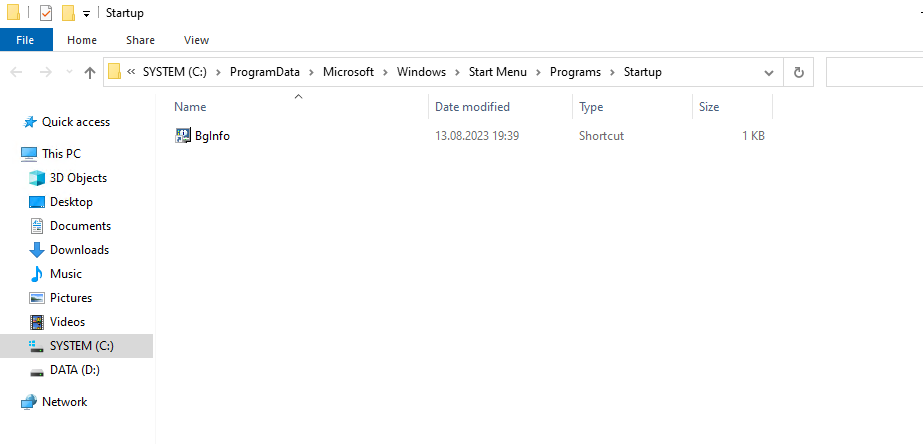
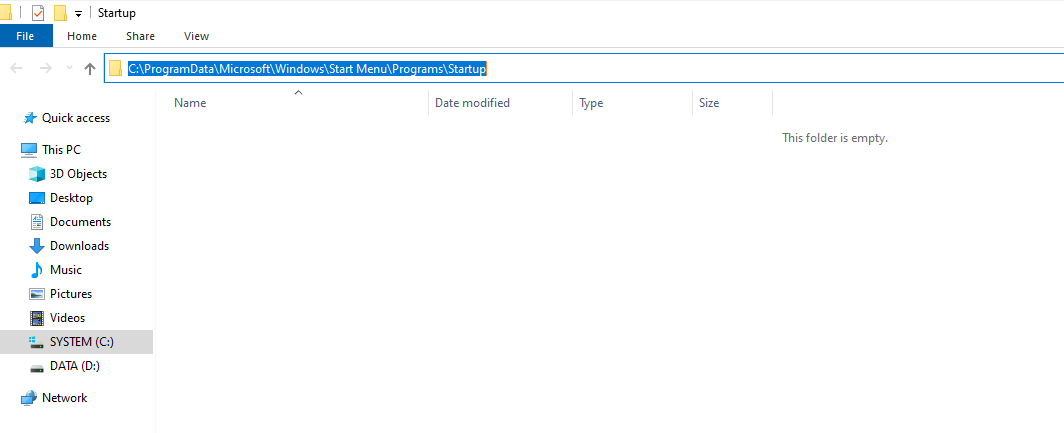
To check if the group policy after applied to the servers is creating the shortcut, you can open the All Users Startup folder by using the following command in the Run command Window.
shell:common startup
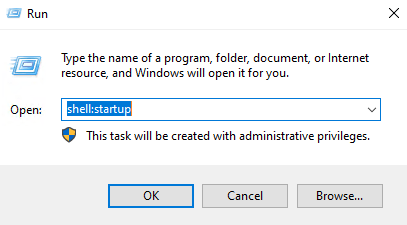
In order to open the Current Users Startup folder you can use the following command in the Run command Window.
shell:startup
To check if it works, I will first place just one server into an OU to which I will apply later the group policy.
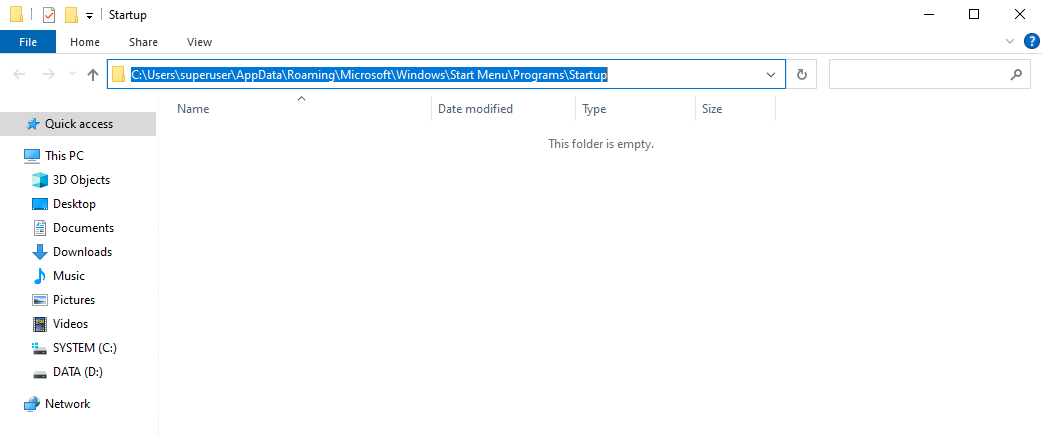
So far neither the C:BgInfo folder was created …
… nor the shortcut to BgInfo.
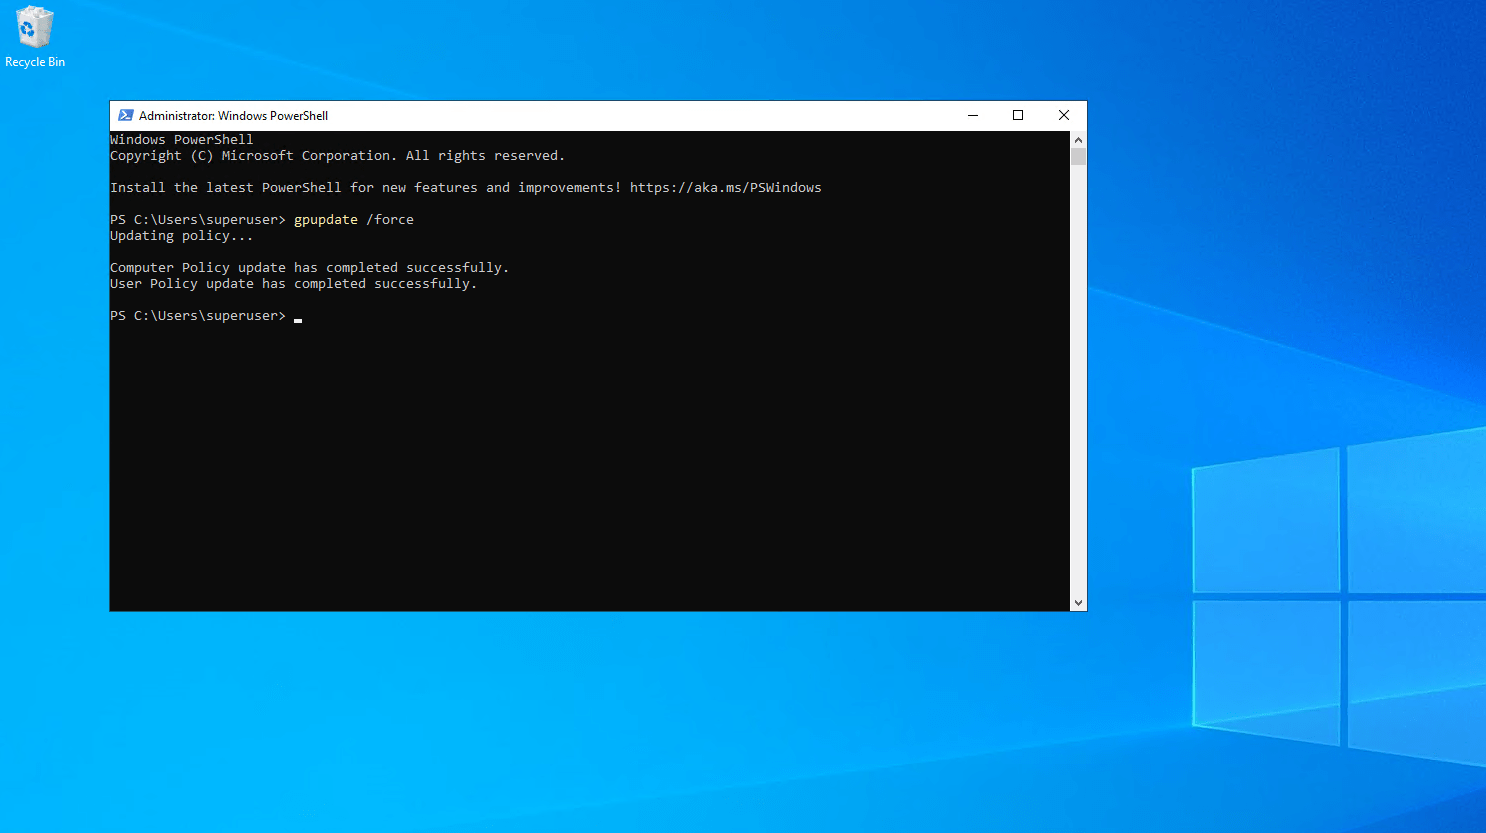
After applying the group policy to the server OU, I will force to update them by executing the gpupdate /force command like shown below.
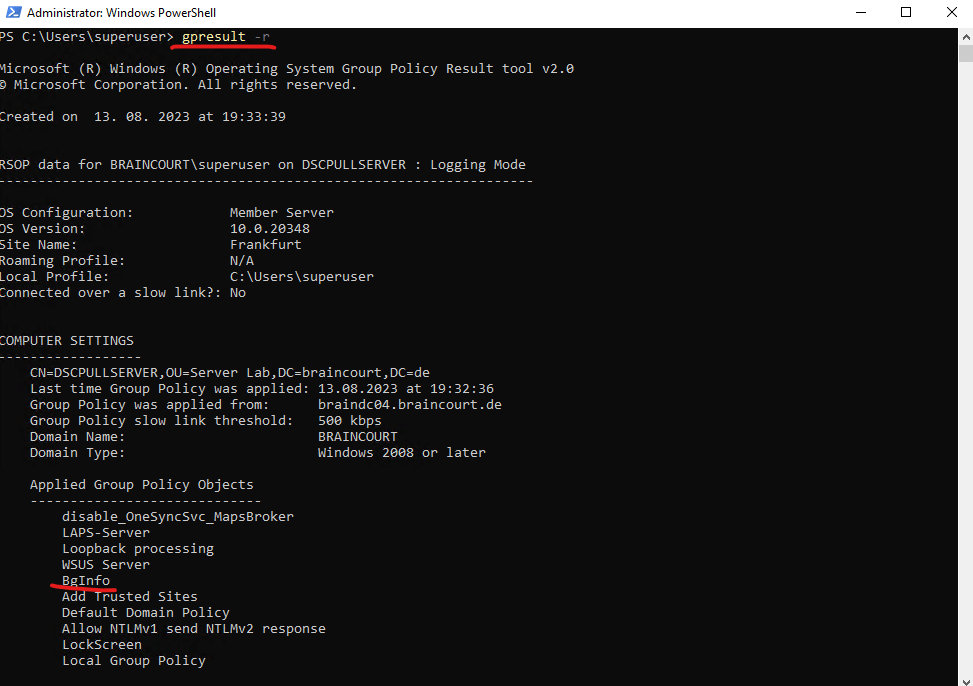
Checking if the policy is applied by executing the gpresult -r command will show me that the policy is now applied to the server.
In order BgInfo will create the new background desktop including our information block, we first need to restart the server, because the policy so far just created the needed files and configuration and placed the executable into the Startup folder resp. created a link to, which will then finally trigger the included executable during boot from the server.
After the restart the background desktop was created successfully.

Loopback processing of Group Policy
When using group policies to apply BgInfo you may run into an issue in case the logged on user have its own group policy which sets a desktop background applied to the OU where the user is placed into.
By default the user’s Group Policy Objects determines which user settings apply. That means when a user will log on to a computer, the user settings from the group policy which is applied to the user’s OU will take effect in place of the user settings from the group policy which is applied to the computer’s OU.
This is where loopback processing comes in. When loopback processing is enabled, then, when a user logs on to a computer, the computer’s Group Policy Objects determine which set of Group Policy Objects applies. Not just the Computer Configuration settings but also the User Configuration settings!
This policy setting directs the system to apply the set of Group Policy objects for the computer to any user who logs on to a computer affected by this setting. It is intended for special-use computers, such as those in public places, laboratories, and classrooms, where you must modify the user setting based on the computer that is being used.
Computer Configuration – Administrative Templates – System – Group Policy – Configure user Group Policy loopback processing mode
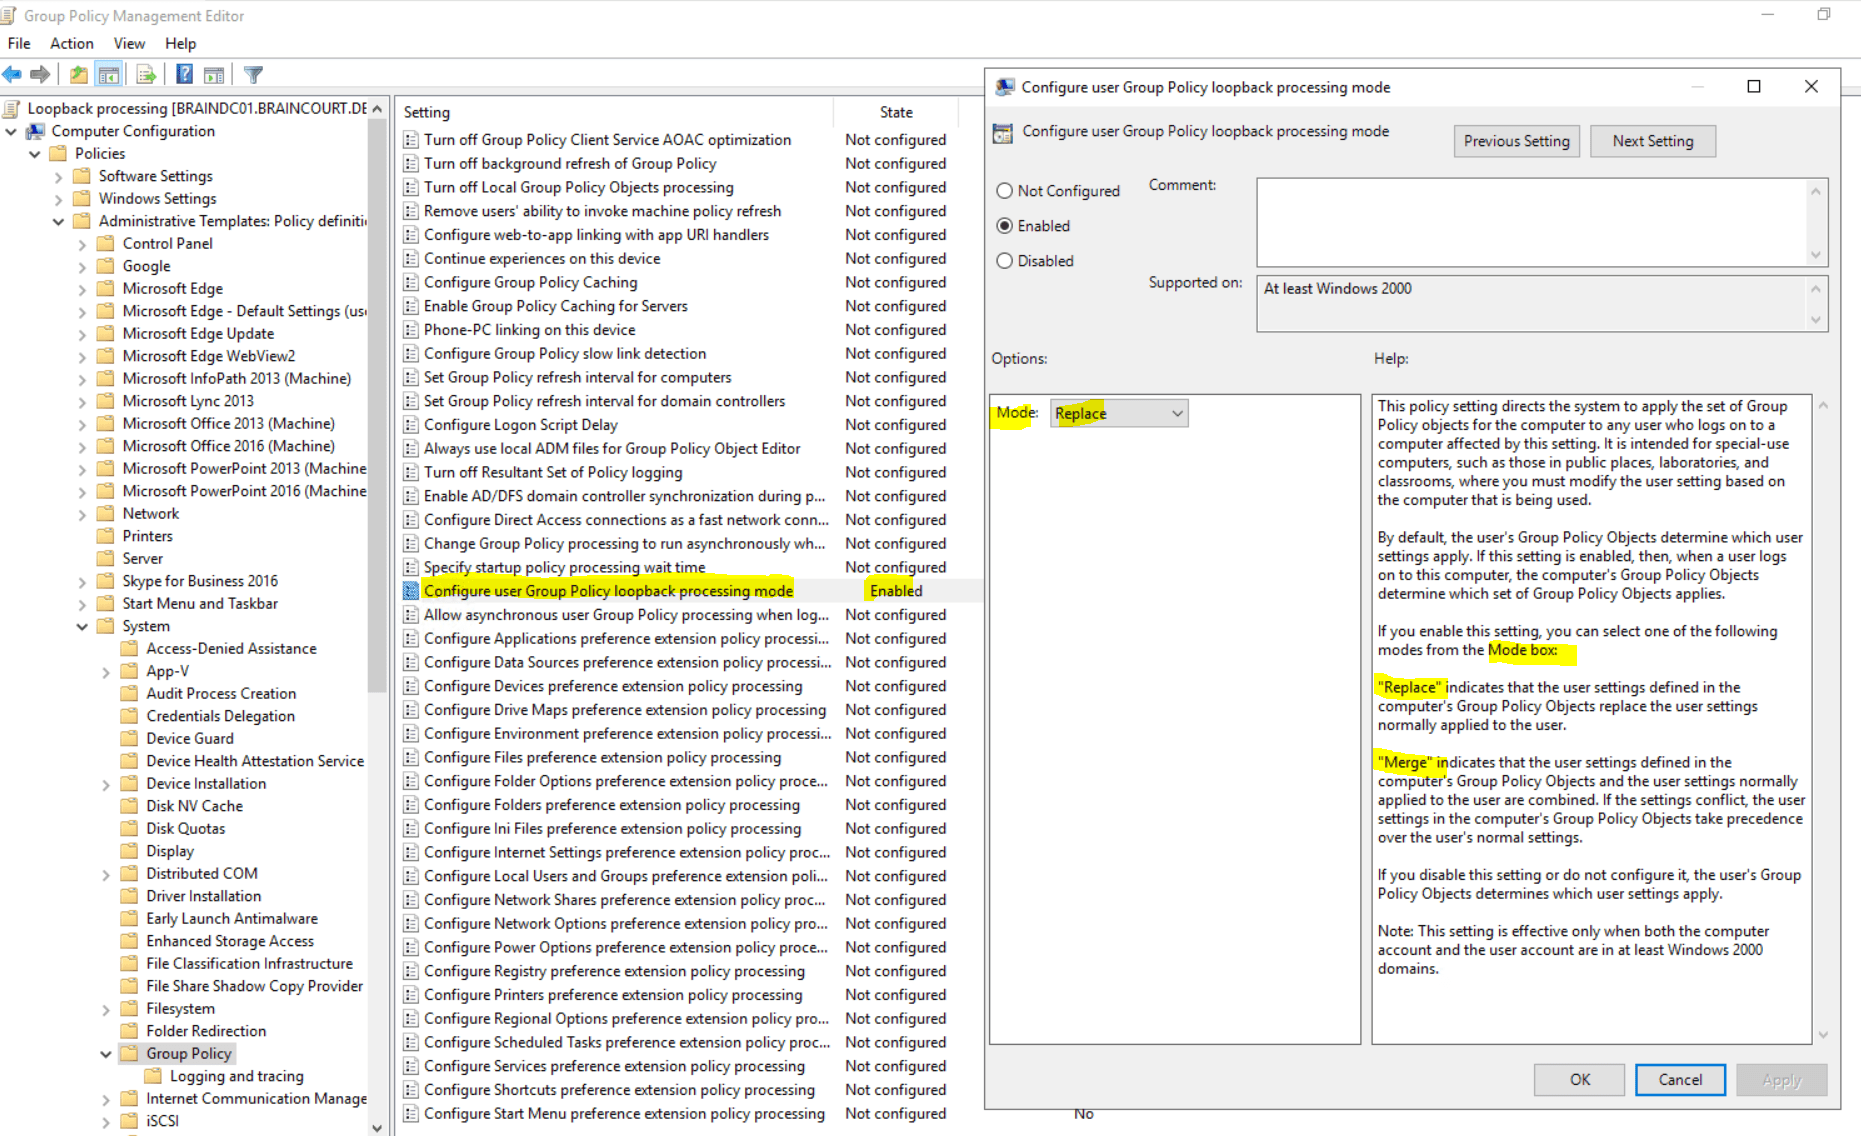
You can choose for this policy between two modes, replace or merge.
Replace: indicates that the user settings defined in the computer’s Group Policy Objects replace the user settings normally applied to the user.
Merge: indicates that the user settings defined in the computer’s Group Policy Objects and the user settings normally applied to the user are combined. If the settings conflict, the user settings in the computer’s Group Policy Objects take precedence over the user’s normal settings.
So in case you run into that issue, enable loopback processing on a Group Policy Object which is applied to the server’s OU you want to apply BgInfo to, despite of the user’s actual group policy ‘user’ settings.
Links
BgInfo
https://learn.microsoft.com/en-us/sysinternals/downloads/bginfoMark’s Windows IT Pro Magazine Power Tools article
https://web.archive.org/web/20170806013538/https://windowsitpro.com/systems-management/bginfoLoopback processing of Group Policy
https://learn.microsoft.com/en-us/troubleshoot/windows-server/group-policy/loopback-processing-of-group-policy