Code Signing in Visual Studio
In this post I want to show how you can sign your Visual Studio application by using a X.509 code sign certificate. At the end I will also show how you can sign your assembly with a strong name.
By using a X.509 code sign certificate to sign your application, you can avoid warning messages during download and installation of your software. The signing will establish a chain of trust and also prevents from altering code after creation.
One approach to providing guarantees of the authenticity and integrity of files is attaching digital signatures to those files. A digital signature attached to a file positively identifies the distributor of that file and ensures that the contents of the file were not changed after the signature was created.
Source: https://docs.microsoft.com/en-us/windows/win32/seccrypto/cryptography-tools#introduction-to-code-signing
Signing your assembly with a strong name is different to code signing and will just gives your software a globally unique identity.
Strong names are used to guarantee that the assembly cannot be spoofed by someone else, and to make sure that component dependencies and configuration statements map to the correct component and component version.
Source: https://docs.microsoft.com/en-us/visualstudio/ide/managing-assembly-and-manifest-signing?view=vs-2022
You can sign your application either directly in the Visual Studio GUI or by using the Visual Studio Developer Command.
Getting a X.509 Code Sign Certificate
For this post I will use a X.509 code sign certificate from the internal CA in my lab environment which is a Windows Server 2019 where the Active Directory Certificate Services (AD CS) are installed.
This certificate is only trustworthy within my lab environment of course, if you need do sign your code for external clients, either your clients needs to import your root certificate from the internal CA or you have to use a certificate from a public CA.
Therefore I will open the MMC console with the Certificates Snap-in to request a new certificate from my internal CA.
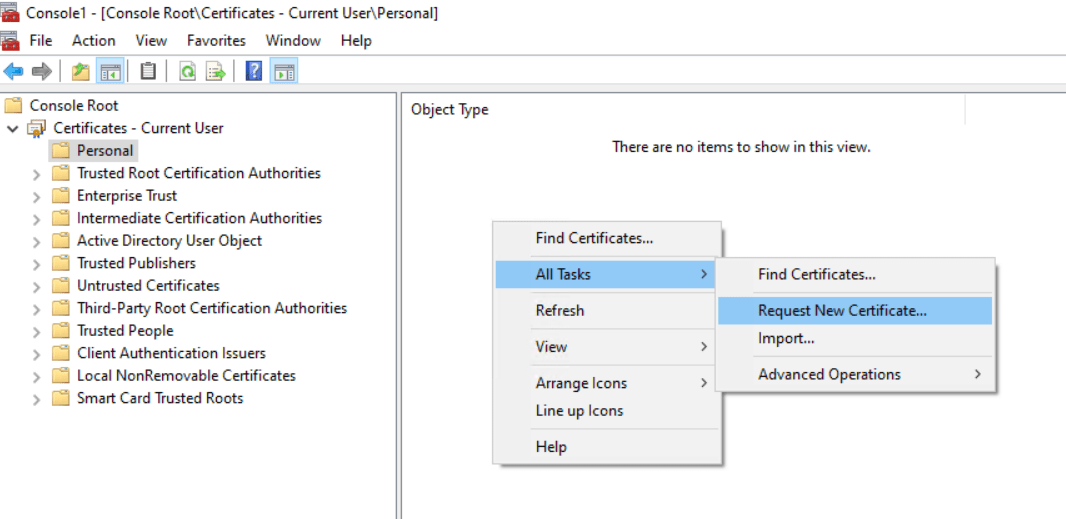
The Active Directory Certificate Services (AD CS) also provides a code signing template which is by default not allowed to enroll to the users.
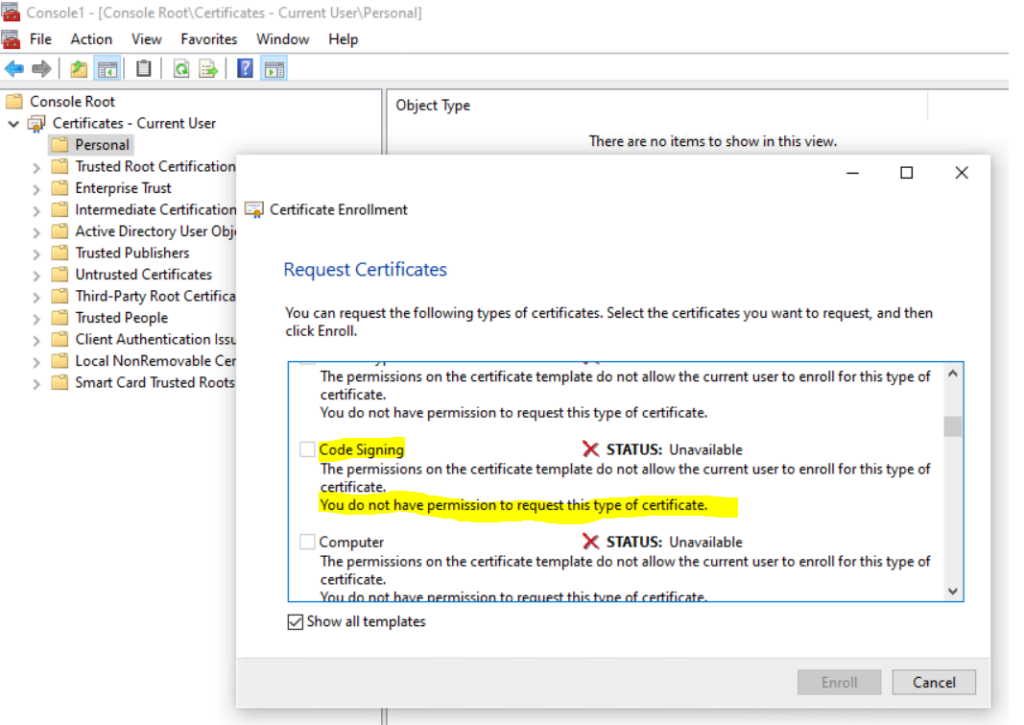
Therefore I first need to create a new code signing template which is allowed to enroll to the users.
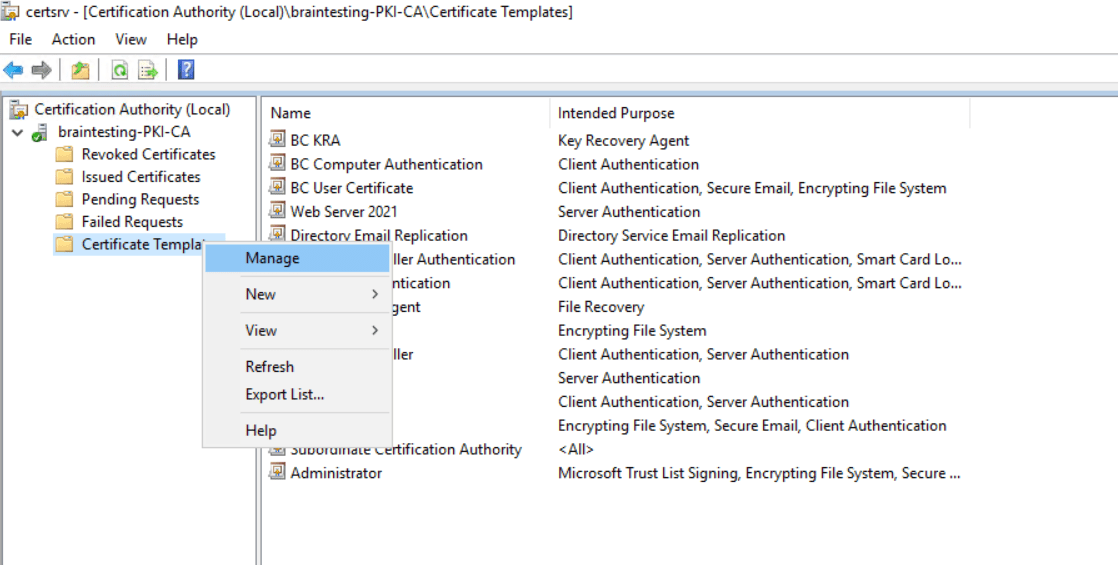
At my CA I will right click on Certificate Templates and select Manage as follows.
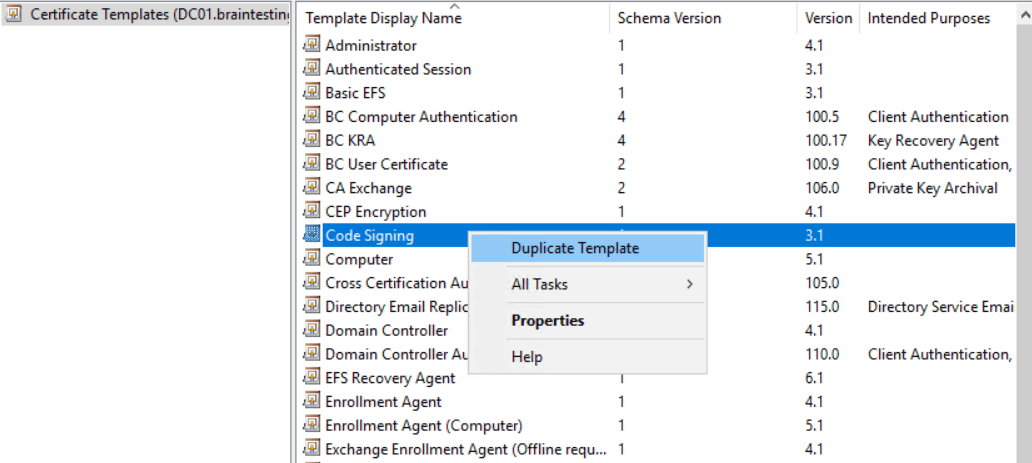
Here I will duplicate the Code Signing template.
I will need to adjust the following properties of the new code signing template.
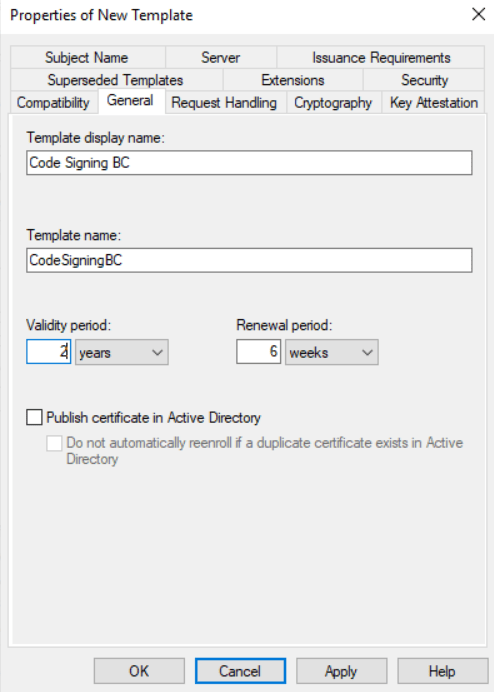
The name and validity of the new code signing template.
The setting Publish certificate in Active Directory is typically only used with user certificates, so I will not check it.
Source: https://docs.microsoft.com/en-us/previous-versions/windows/it-pro/windows-server-2008-R2-and-2008/cc730861(v=ws.11)?redirectedfrom=MSDN
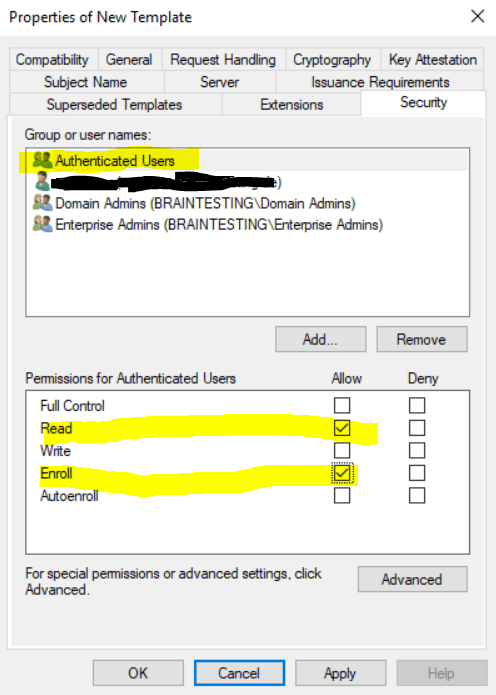
Under Security I will need to check for Authenticated Users also Enroll, Read is checked by default.
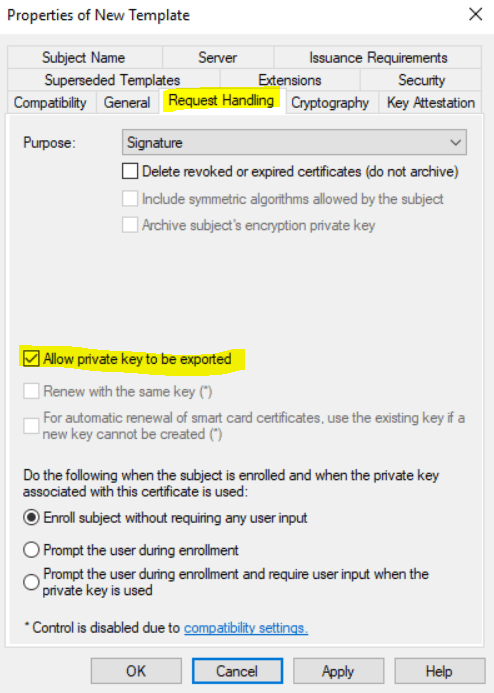
Under Request Handling I will check Allow private key to exported so the user is able to use this certificate also on a different computer.
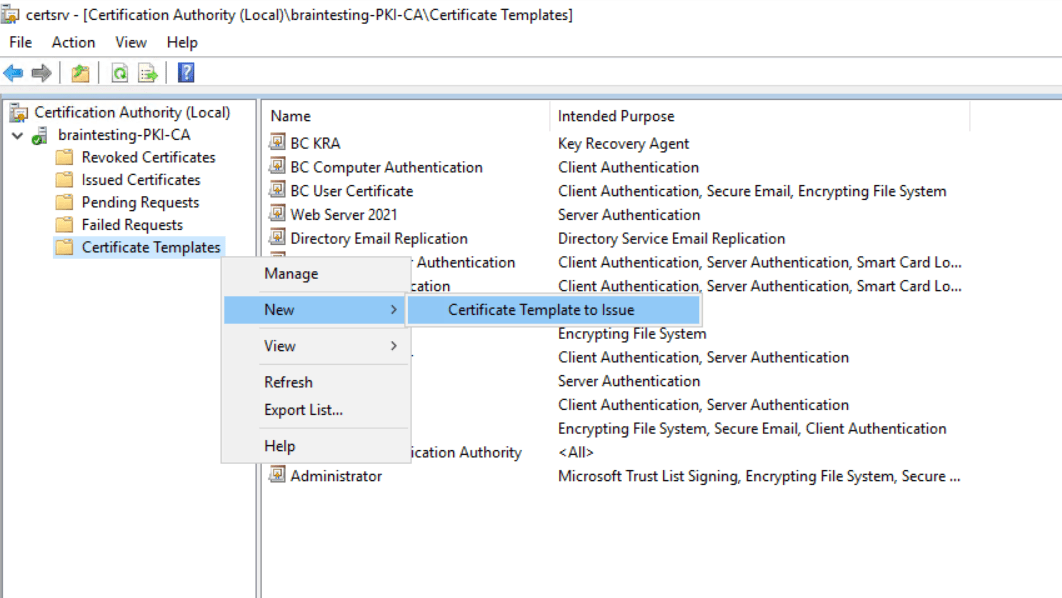
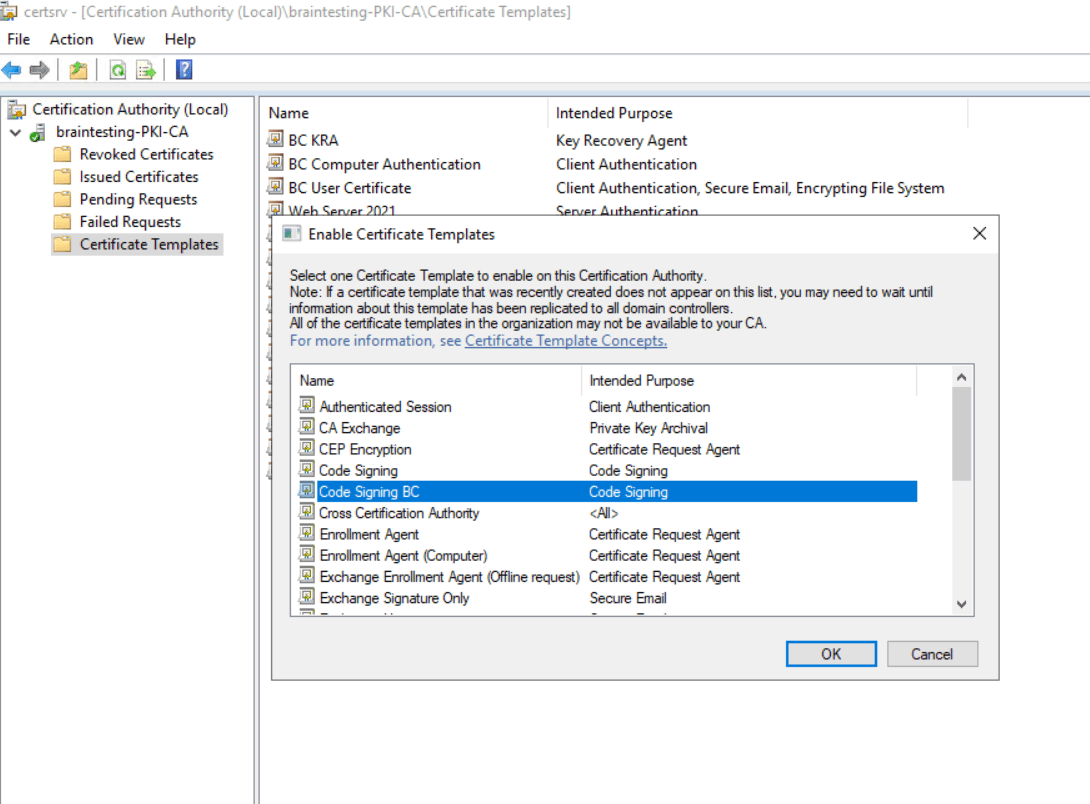
Now I can click on Apply and OK to finish it. The last step is to issue the new template to the CA. Therefore we can close the actual window and on the CA console we click again on Certificate Templates and this time we choose New -> Certficate Template to Issue.
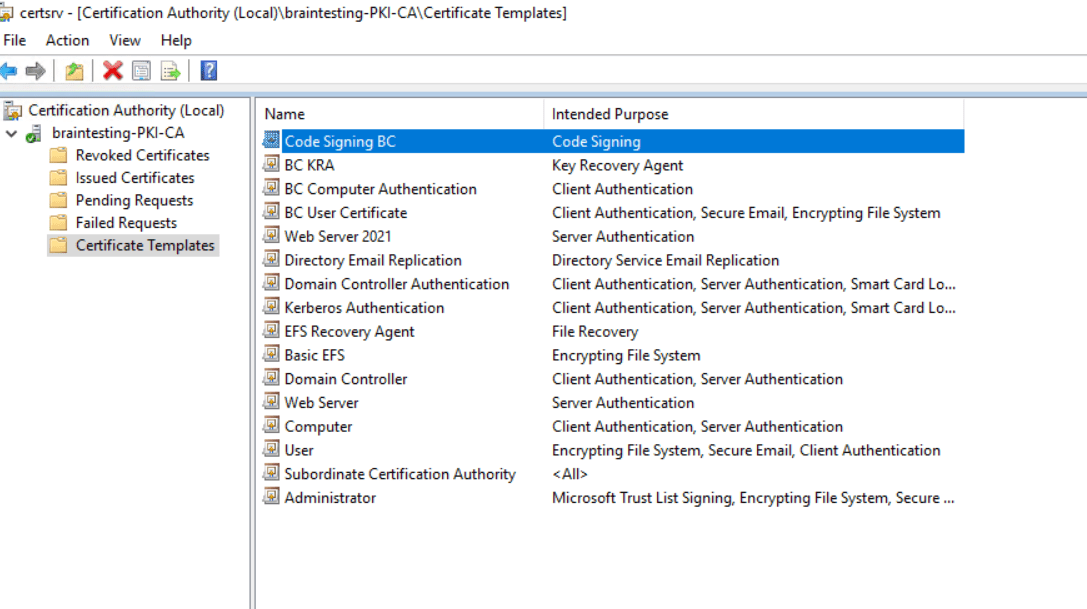
Here we select our new template, in my case the Code Signing BC template.
From now on authenticated users must be able to enroll this new certificate.
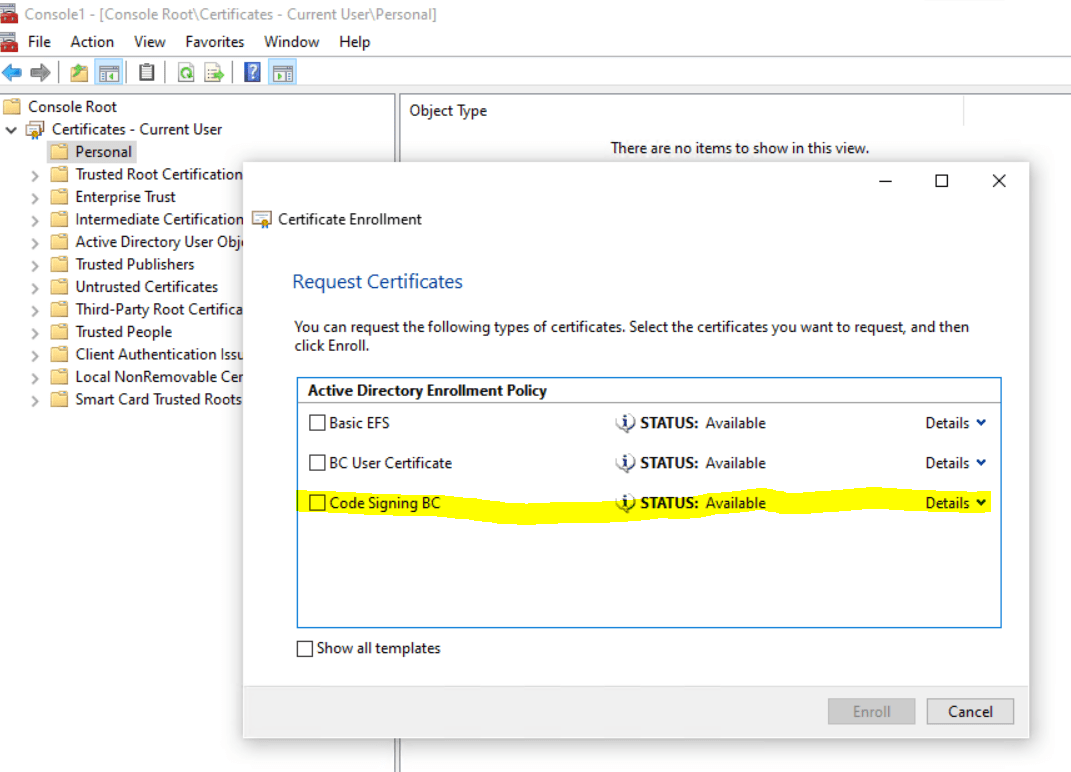
So let’s try to enroll the new code signing certificate again.
Look’s good.
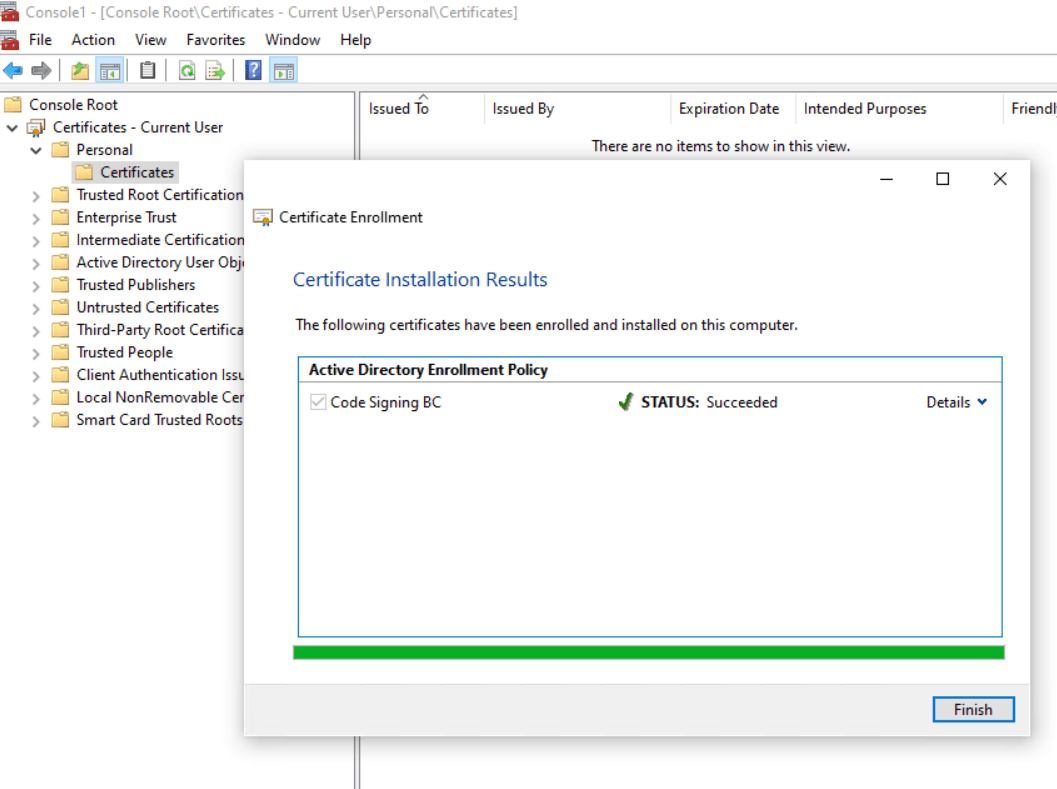
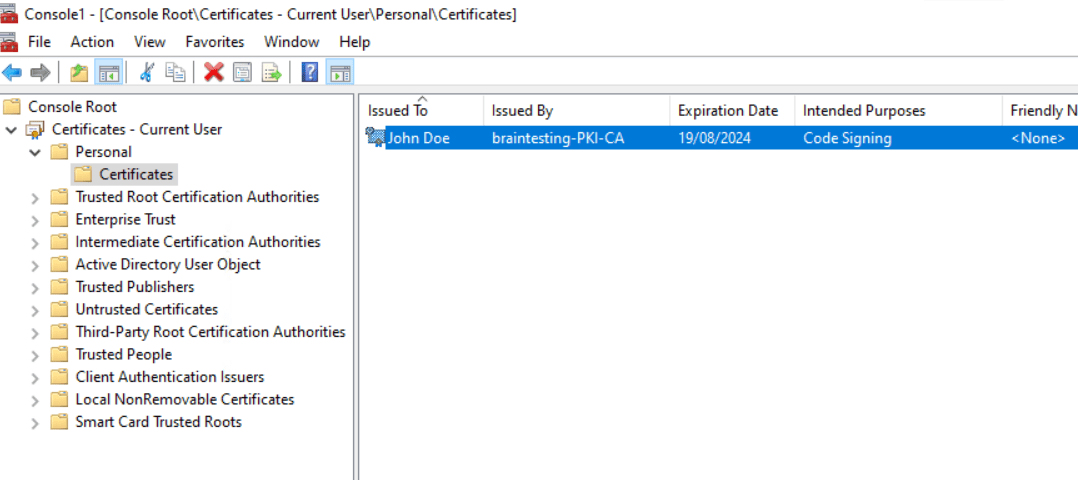
From now on I can sign my application by using this certificate.
Signing directly in Visual Studio for ClickOnce Applications
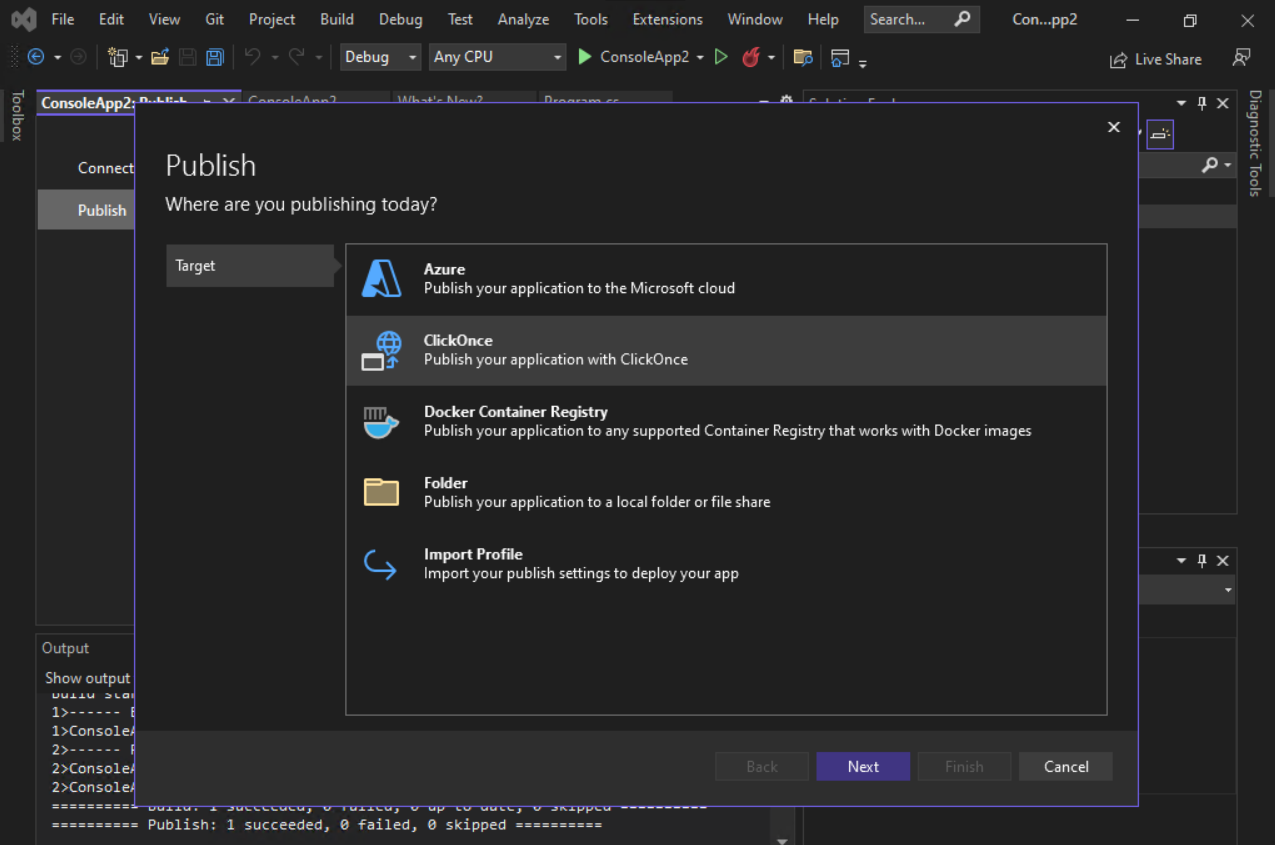
In order that we can sign .NET Core applications directly by using the Visual Studio GUI, we need to deploy it as ClickOnce.
For .NET Framework applications you can right click on properties of your project and will see a tab on the left named Signing as below where you can do the same as below for .Net Core applications.
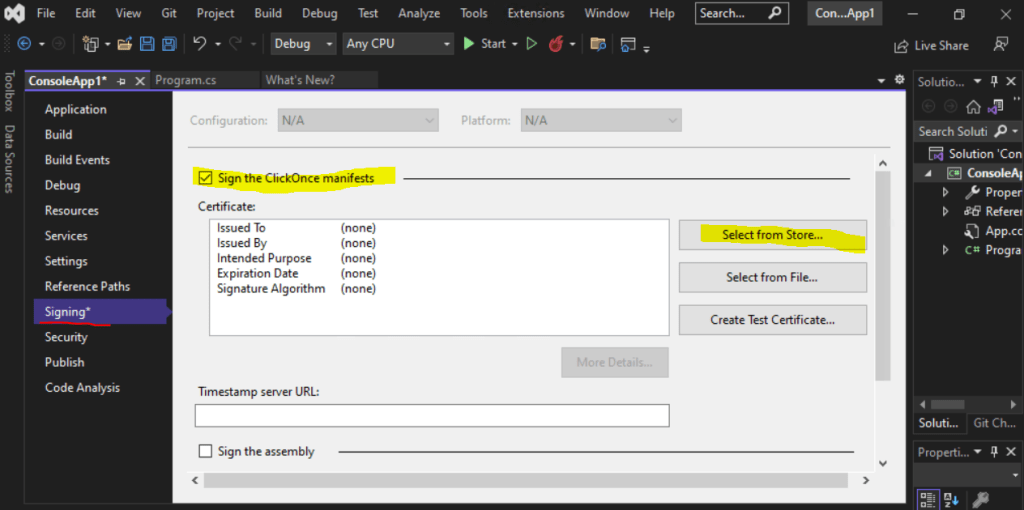
.NET Core applications as mentioned you need to deploy as ClickOnce to sign them by using the VS GUI.
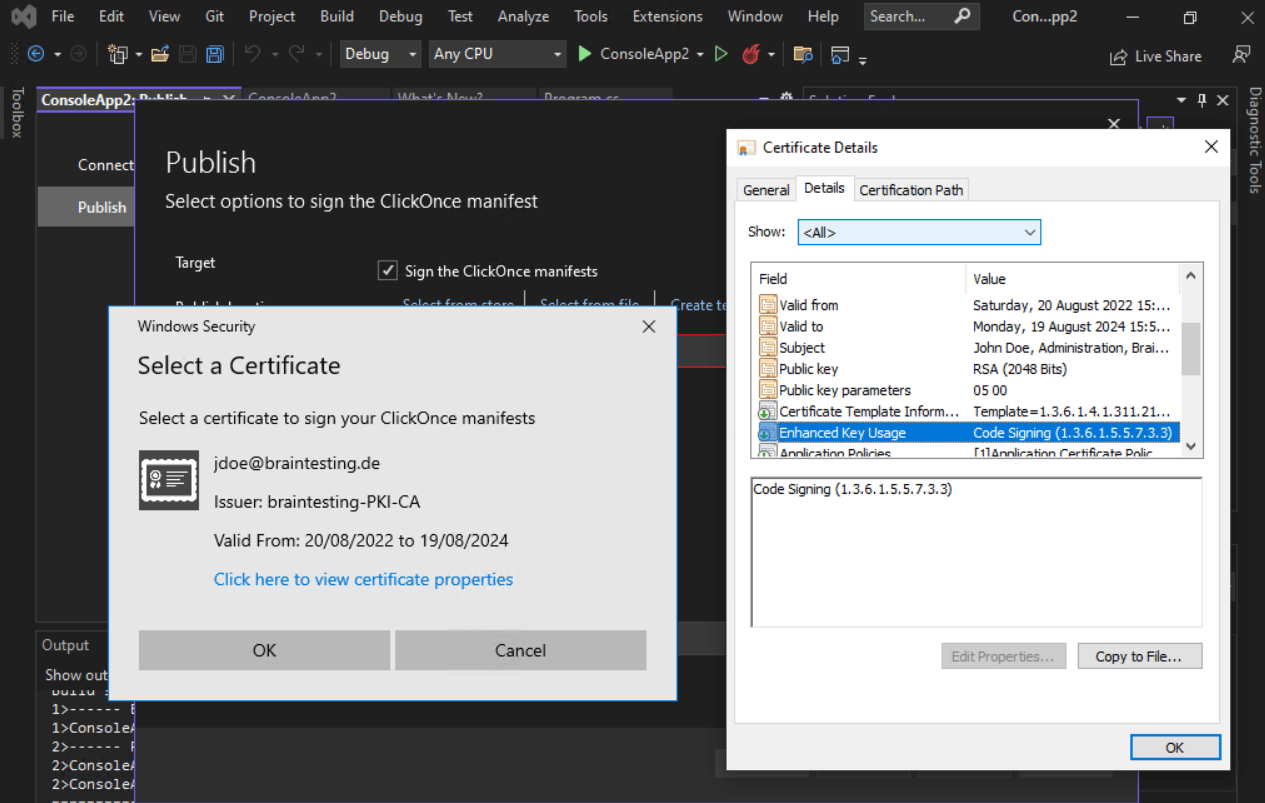
As I enrolled my code signing certificate previously directly in my Windows certificate store, I will choose here Select from store.
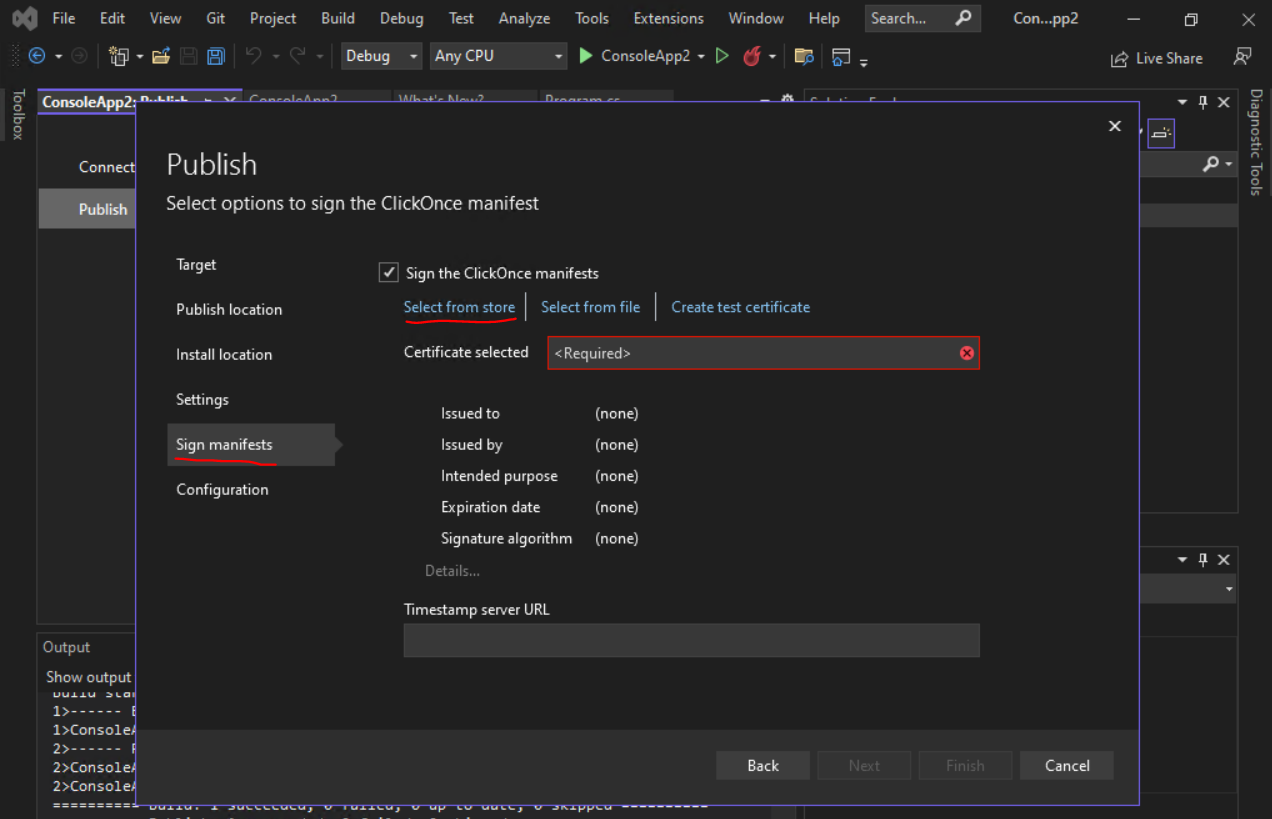
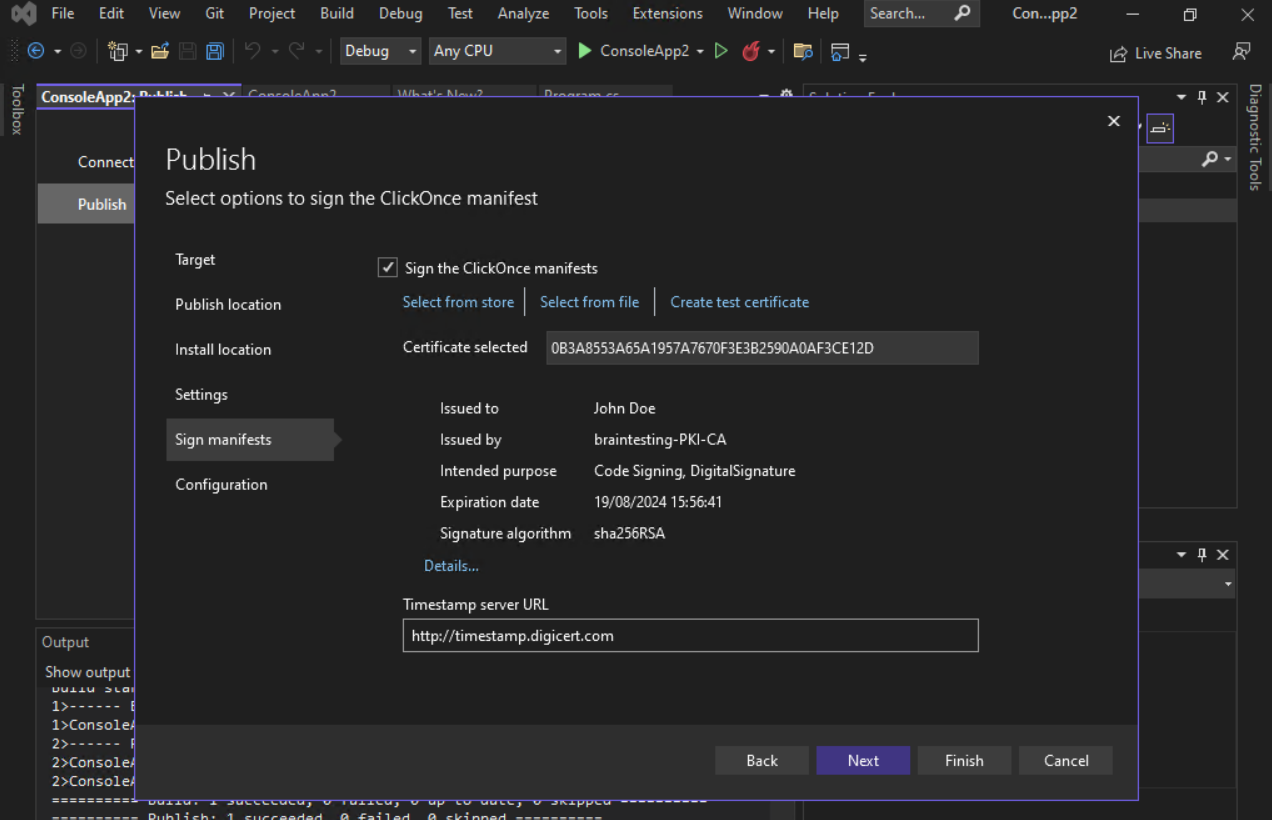
You can optionally set a timestamp server but I would strongly recommend to use one.
When a code signing certificate expires, unless you choose to timestamp your code, it means that any software or applications that have code signed by the certificate are no longer trusted by Microsoft SmartScreen, Google Safe Browsing, and antivirus programs. If you do choose to timestamp your code, even if the code signing certificate expires, your code will still be trusted indefinitely.
Source: https://cheapsslsecurity.com/p/steps-to-take-after-your-code-signing-certificate-is-expired/
Timestamp server (Time Stamp Authority TSAs)
http://timestamp.digicert.com
http://timestamp.comodoca.com
http://timestamp.globalsign.com
http://tsa.starfieldtech.com
http://timestamp.entrust.net/TSS/RFC3161sha2TS
http://tsa.swisssign.net
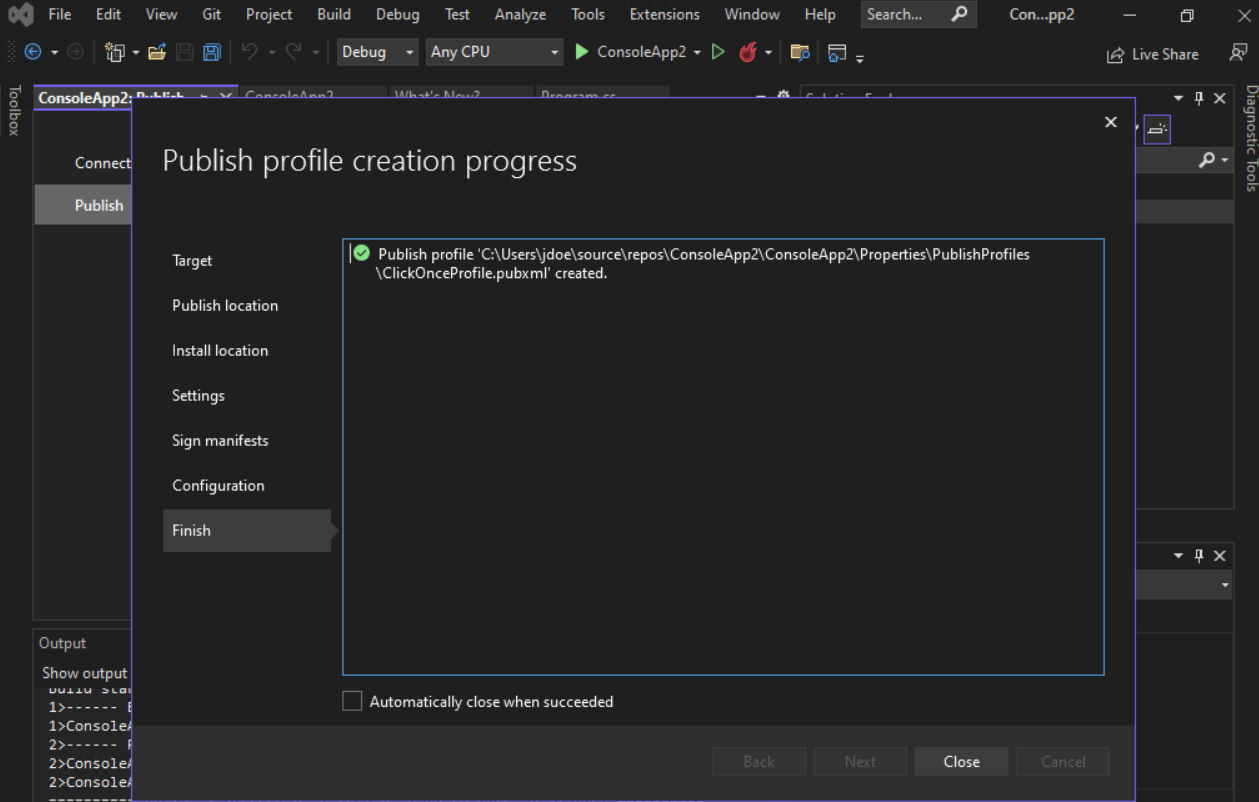
Now I can publish my application.
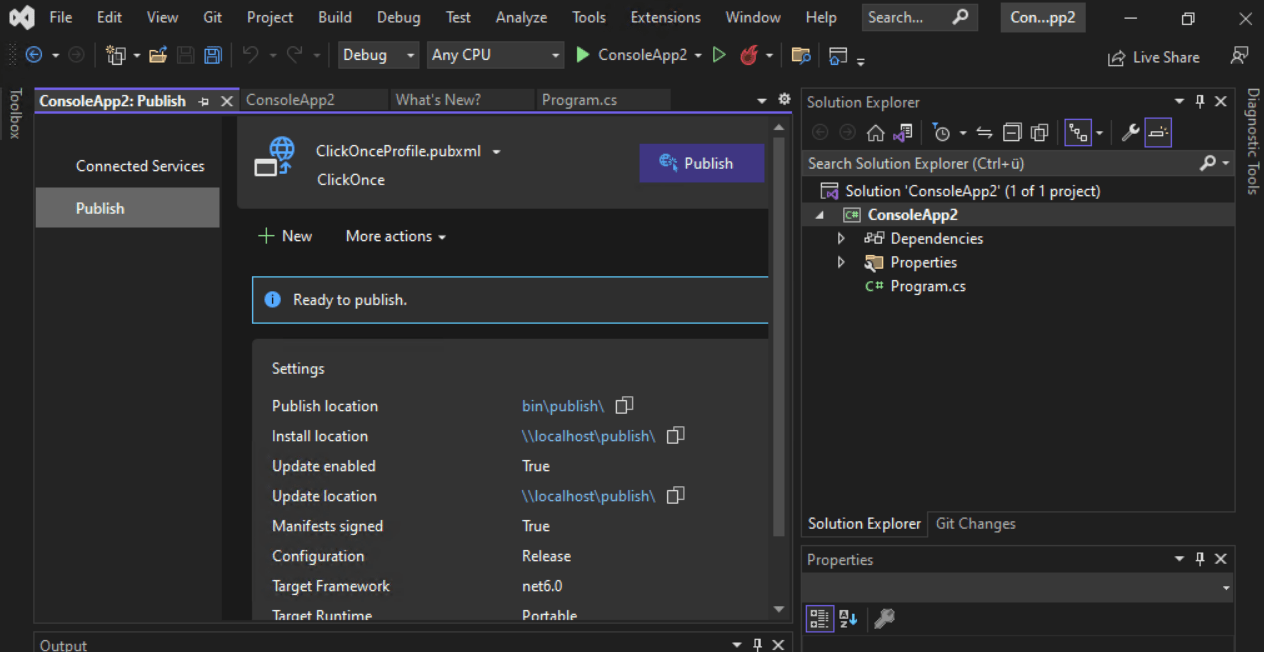

Here you can see that our application is signed with our code signing certificate.

Signing by using the Sign Tool
This tool is automatically installed with Visual Studio. To run the tool, use the Visual Studio Developer Command Prompt as follows.
SignTool.exe (Sign Tool)
http://msdn.microsoft.com/en-us/library/8s9b9yaz(v=vs.110).aspx
https://www.codeproject.com/Articles/325833/Basics-of-Signing-and-Verifying-code
SignTool is available as part of the Windows SDK, which you can download from https://developer.microsoft.com/windows/downloads/windows-10-sdk/.
The tool is installed in the Bin folder of the Microsoft Windows Software Development Kit (SDK) installation path (Example: C:Program Files (x86)Windows Kits10bin10.0.19041.0x64signtool.exe).
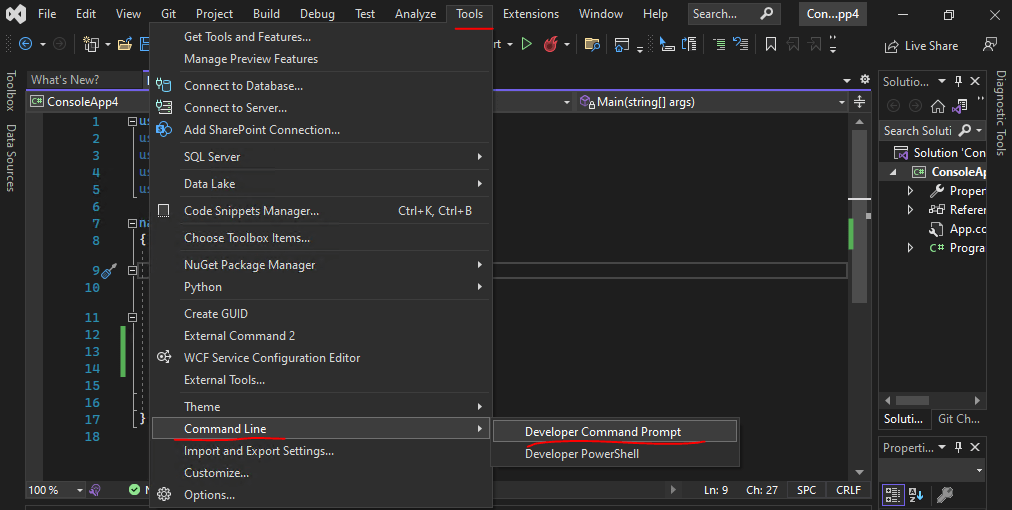
Tools –> Command Line –> Developer Command Prompt
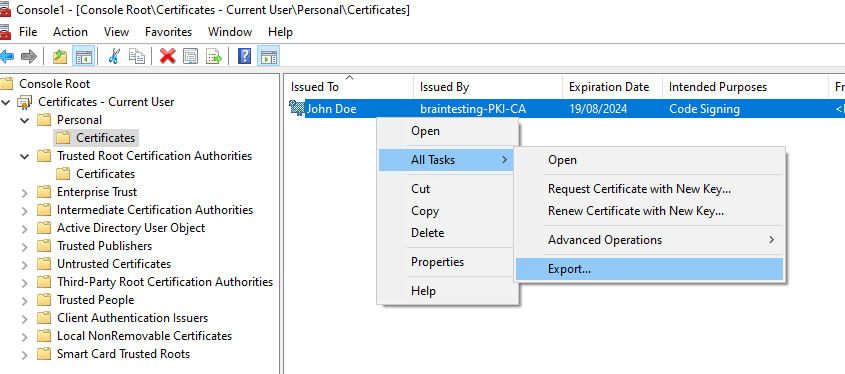
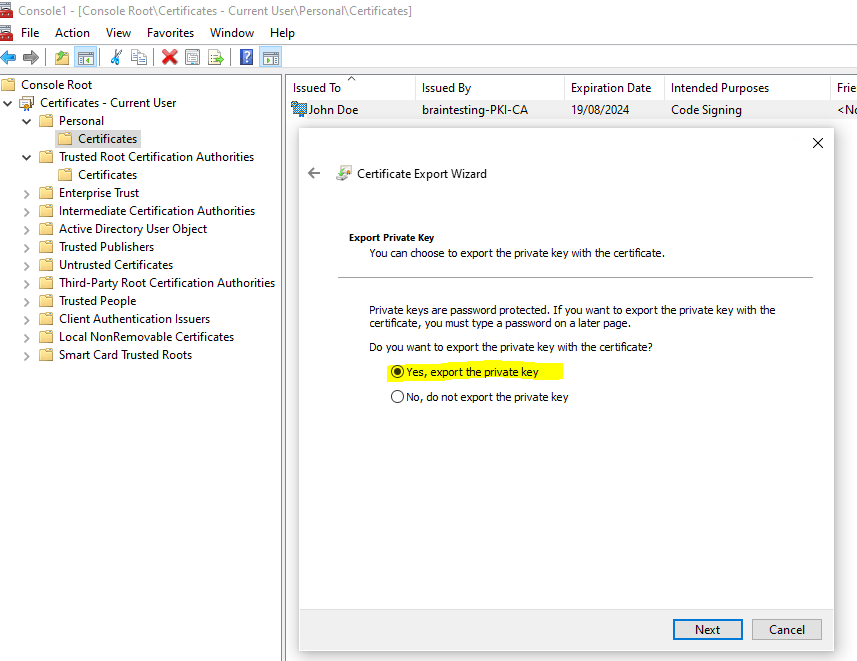
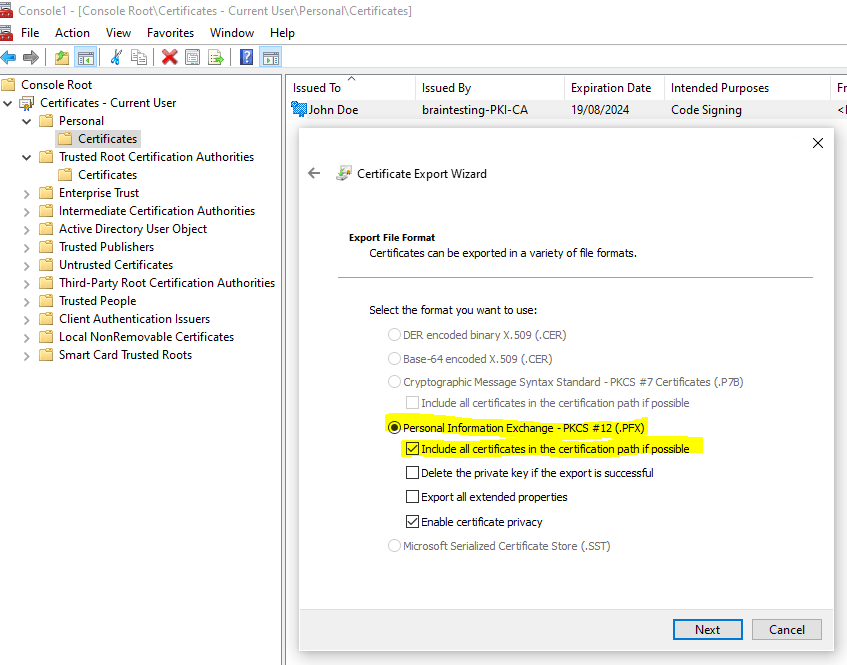
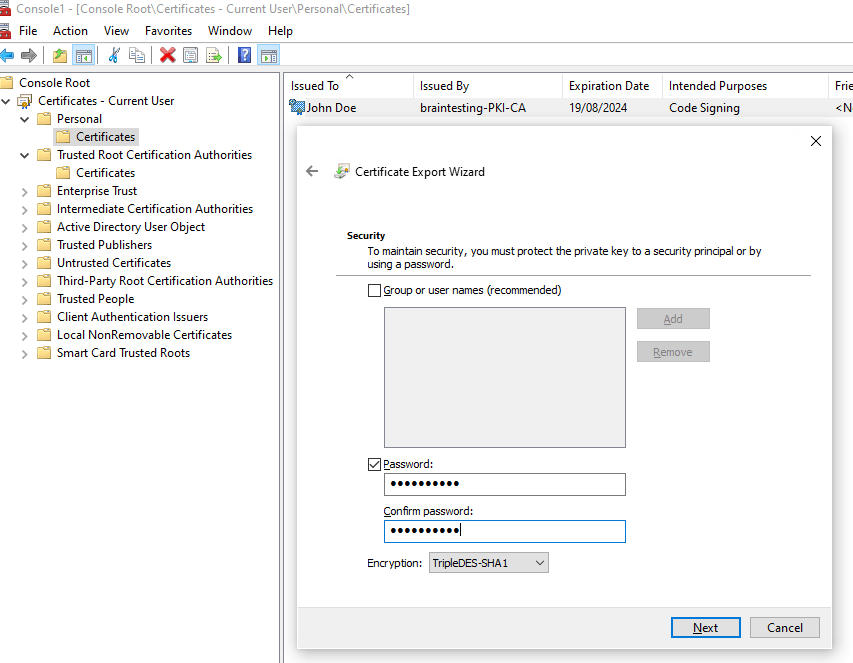
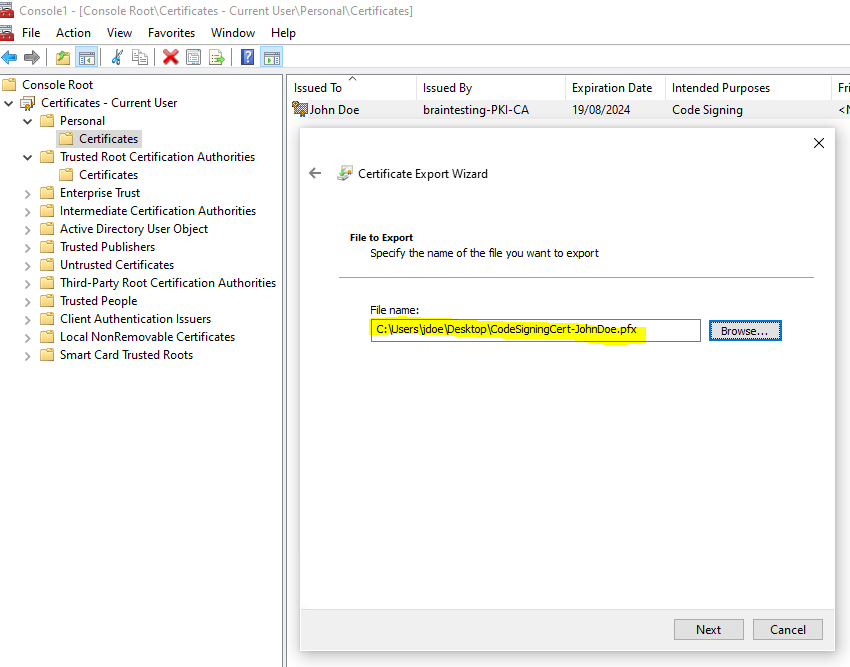
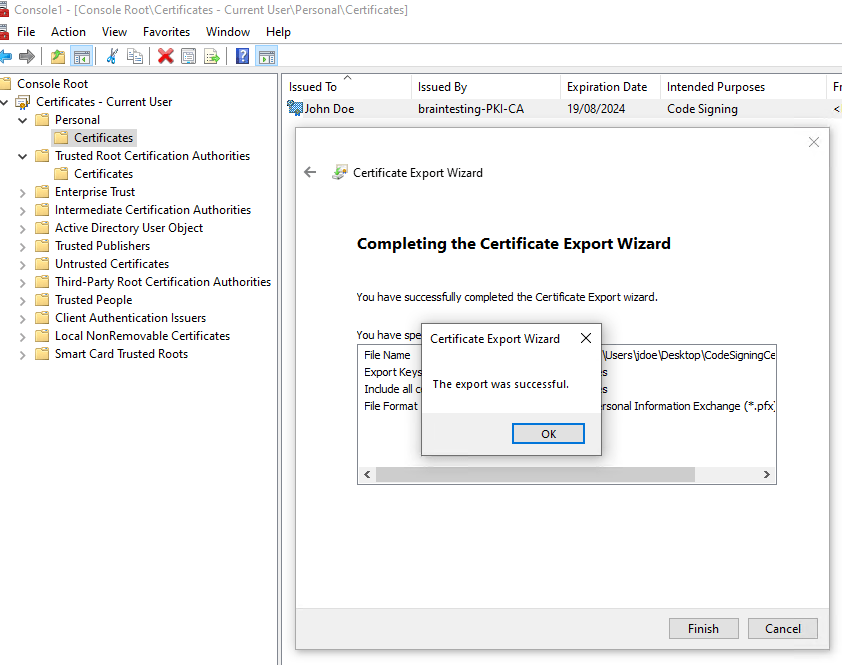
In my case before I can use the signtool to sign my application, I first need to export my code signing certificate from the Windows Certificate Store in order to get a *.pfx file which includes the public and private key.
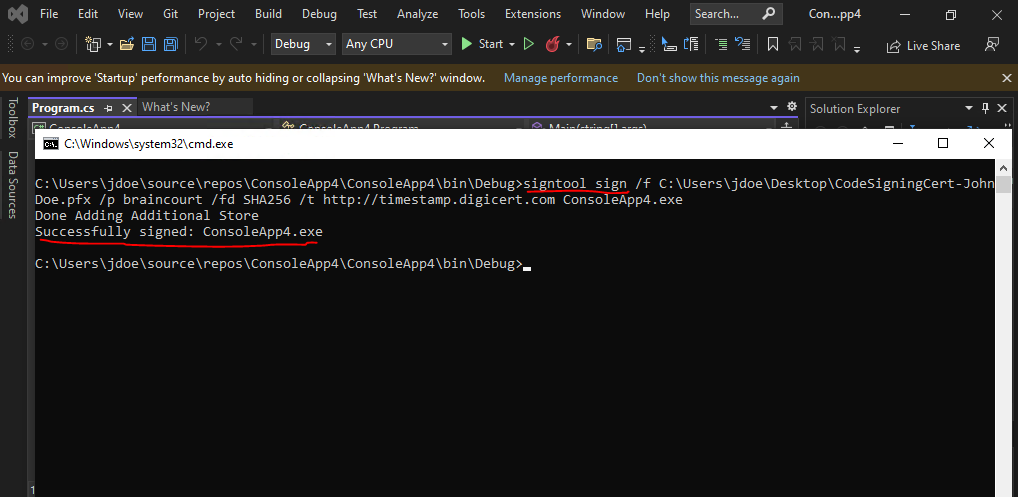
Now I can execute the signtool as follows.
signtool sign /f C:UsersjdoeDesktopCodeSigningCert-JohnDoe.pfx /p braincourt /fd SHA256 /t http://timestamp.digicert.com ConsoleApp4.exe
Whereas the flag /f specifies the signing certificate, the flag /p specifies the password to use when opening the PFX certificate file, the flag /t specifies the URL of the time stamp server and the flag /fd specifies the file digest algorithm to user for creating file signatures. SHA256 is recommended and considered to be more secure than SHA1 by the industry.
A description of all flags you will find here https://docs.microsoft.com/en-us/windows/win32/seccrypto/signtool

You can also add a time stamp to a previously signed file by using the following command
signtool timestamp -t http://timestamp.digicert.com MyControl.exe
Adding Time Stamps to Previously Signed Files
https://docs.microsoft.com/en-us/windows/win32/seccrypto/adding-time-stamps-to-previously-signed-files
Sign an assembly with a strong name
Signing an assembly with a strong name has nothing to do with the previously signing the assembly with a X.509 certificate as mentioned to the beginning.
Strong names are used to guarantee that the assembly cannot be spoofed by someone else, and to make sure that component dependencies and configuration statements map to the correct component and component version.
Source: https://docs.microsoft.com/en-us/visualstudio/ide/managing-assembly-and-manifest-signing
There are a number of ways to sign an assembly with a strong name which are all described in the follwing article from Microsoft https://docs.microsoft.com/en-us/dotnet/standard/assembly/sign-strong-name
Below the easiest way for .NET Framework projects by just using the Signing tab from Visual Studio. Here just right click on the project and navigate to the Signing tab, then check Sign the assembly and select your strong name key file. You can also create here a new file.

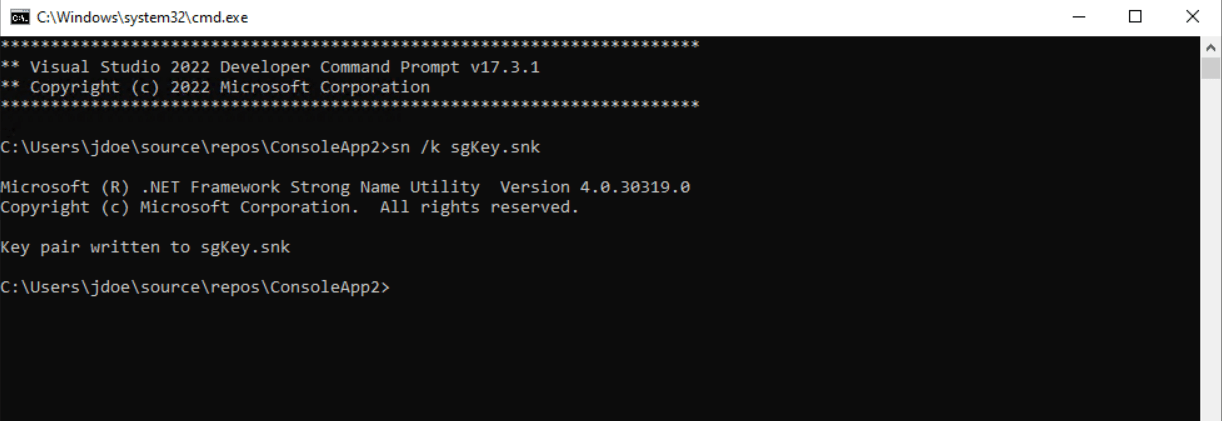
For .NET Core projects you can use the Developer Command Prompt and the sn command as shown below.

At the command prompt, from the folder where you want to store the key file, type the following command, and then press ENTER. This will generate the
> sn /k sgKey.snk
Source: https://docs.microsoft.com/en-us/biztalk/core/how-to-configure-a-strong-name-assembly-key-file
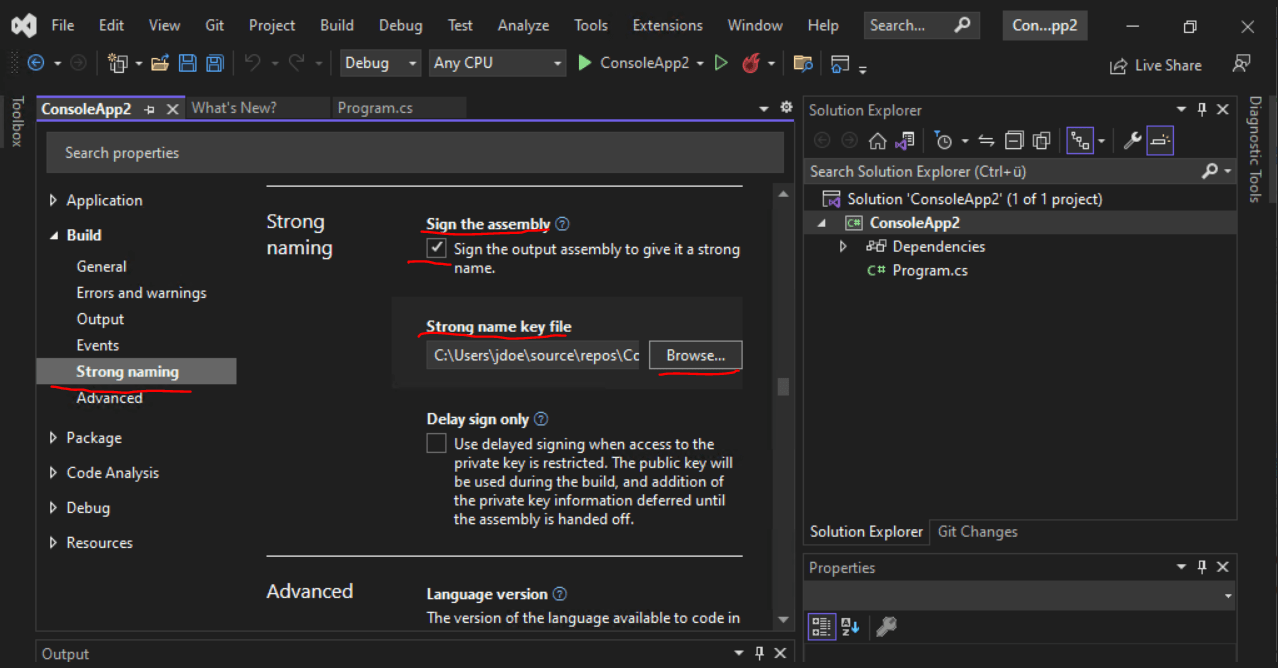
Then on the Build tab of your .NET Core project select Strong naming, check Sign the assembly and select your previously created strong name key file.
Why strong-name your assemblies?
For .NET Framework, strong-named assemblies are useful in the following scenarios:
- You want to enable your assemblies to be referenced by strong-named assemblies, or you want to give friend access to your assemblies from other strong-named assemblies.
- An app needs access to different versions of the same assembly. This means you need different versions of an assembly to load side by side in the same app domain without conflict. For example, if different extensions of an API exist in assemblies that have the same simple name, strong-naming provides a unique identity for each version of the assembly.
- You do not want to negatively affect performance of apps using your assembly, so you want the assembly to be domain neutral. This requires strong-naming because a domain-neutral assembly must be installed in the global assembly cache.
- You want to centralize servicing for your app by applying publisher policy, which means the assembly must be installed in the global assembly cache.
For .NET Core and .NET 5+, strong-named assemblies do not provide material benefits. The runtime never validates the strong-name signature, nor does it use the strong-name for assembly binding.
If you are an open-source developer and you want the identity benefits of a strong-named assembly for better compatibility with .NET Framework, consider checking in the private key associated with an assembly to your source control system.
Links
Introduction to Code Signing
https://docs.microsoft.com/en-us/windows/win32/seccrypto/cryptography-tools
SignTool.exe (Sign Tool)
https://docs.microsoft.com/en-us/dotnet/framework/tools/signtool-exe?redirectedfrom=MSDN
X.509
https://en.wikipedia.org/wiki/X.509
Strong-named assemblies
https://docs.microsoft.com/en-us/dotnet/standard/assembly/strong-named
How to: Sign an assembly with a strong name
https://docs.microsoft.com/en-us/dotnet/standard/assembly/sign-strong-name
How to: Sign application and deployment manifestshttps://docs.microsoft.com/en-us/visualstudio/ide/how-to-sign-application-and-deployment-manifests?view=vs-2022
Strong Name Signing
https://github.com/dotnet/runtime/blob/main/docs/project/strong-name-signing.md