Migration from onPremise to Office 365 – Step by Step – Part 1 – Azure AD Connect
You will find many blogs in web describing how to migrate from on-premise to Office 365, but most of them focused either on Exchange or Skype for Business.
Therefore I want to go through all necessary steps to migrate Exchange and Skype for Business onPrem to Office 365, futher we will see how to migrate from on-premise Enterprise Voice to Office 365 Phone System.
This post is split into multiple parts
Part 1 … will cover the prerequisites like synchronize your onPrem users to Office 365 with Azure AD Connect.
Part 2 … will cover migration from Exchange onPrem to Exchange Online and here especially Exchange Hybrid classic full.
Part 3 … will cover moving user mailboxes from onPrem to Exchange Online.
Part 4 … will cover troubleshooting Exchange Hybrid
Part 5 … will cover migration from Skype for Business onPrem users to Skype for Business Online and Teams.
Part 6 … will cover Skype for Business Hybrid Connectivity and Teams Direct Routing
Part 7 … will cover troubleshooting Skype for Business Hybrid
Introduction
Before you migrate users to Office 365, be sure your onPremise environment is running without problems.
First Step is to configure the synchronization from our onPrem Active Directory to Office 365 resp. Azure Active Directory. Office 365 uses an Azure Active Directory in the background to manage the identities.
So If you create a new Office 365 Tenant, you will also get an Azure Active Directory on top.
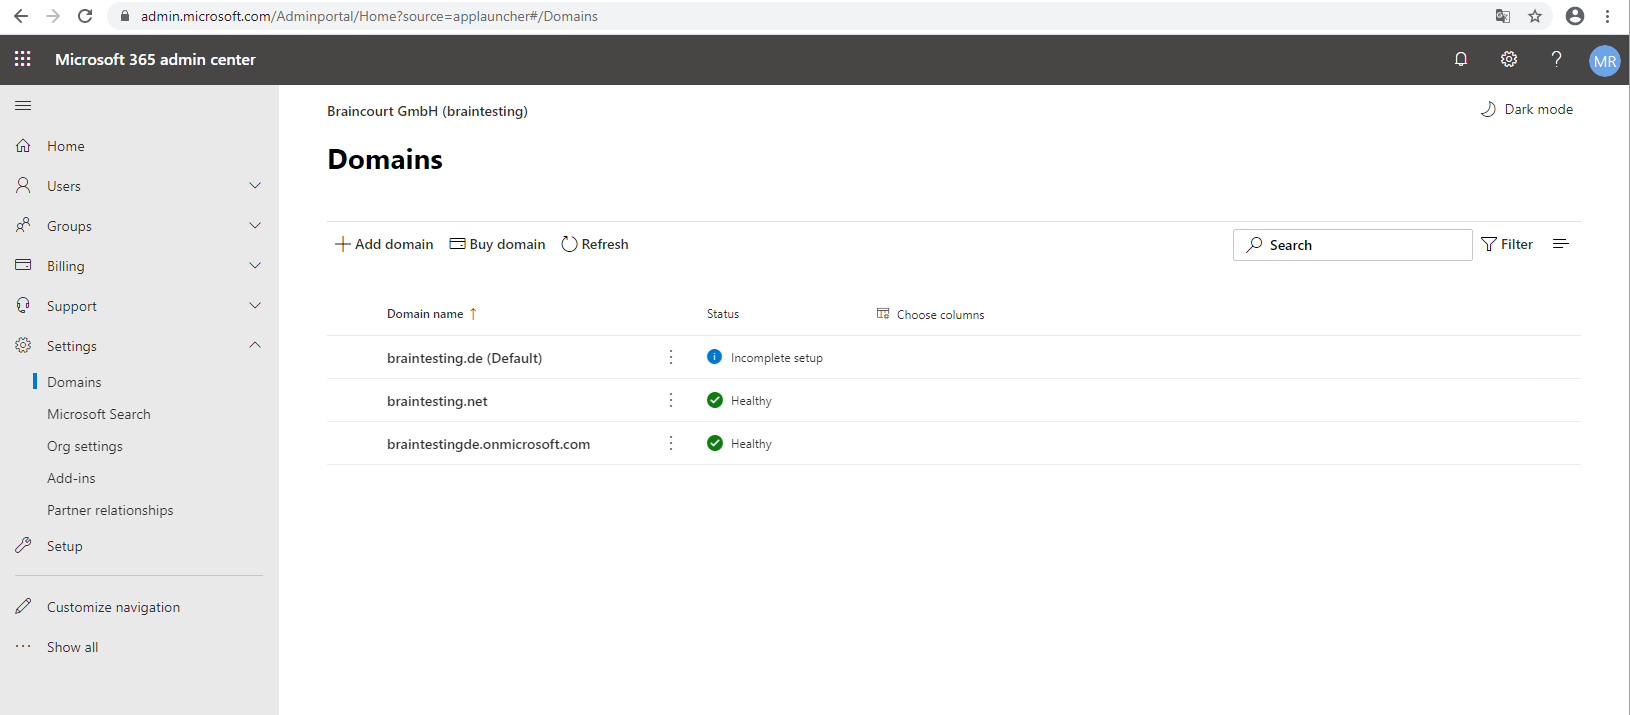
Add your onPrem Active Directory Domain to your Office 365 Tenant. In my case this is braintesting.de, further I added braintesting.net which is the default email and sip domain of my onPrem Lab environment.
In case you use for your onPrem Domain a non-routable domain like contoso.local, AD Connect will synchronize this domain to an .onmicrosoft.com domain and the users UPN will be like username@contoso.onmicrosoft.com.
If you currently use a .local domain for your user accounts in Active Directory Domain Services (AD DS) it’s recommended that you change them to use a verified domain (like billa@contoso.com) in order to properly sync with your Microsoft 365 domain.
Prepare a non-routable domain for directory synchronization
https://docs.microsoft.com/en-us/office365/enterprise/prepare-a-non-routable-domain-for-directory-synchronization
Azure AD Connect synchronizes your users’ UPN and password so that users can sign in with the same credentials they use on-premises. However, Azure AD Connect only synchronizes users to domains that are verified by Microsoft 365. This means that the domain also is verified by Azure AD because Microsoft 365 identities are managed by Azure AD. In other words, the domain has to be a valid Internet domain (such as, .com, .org, .net, .us). If your internal AD DS only uses a non-routable domain (for example, “.local”), this can’t possibly match the verified domain you have for your Microsoft 365 tenant. You can fix this issue by either changing your primary domain in your on-premises AD DS, or by adding one or more UPN suffixes.
Change your primary domain to a domain you have verified in Microsoft 365, for example, contoso.com. Every user that has the domain contoso.local is then updated to contoso.com. This is a very involved process, however, and an easier solution is described in the following section.
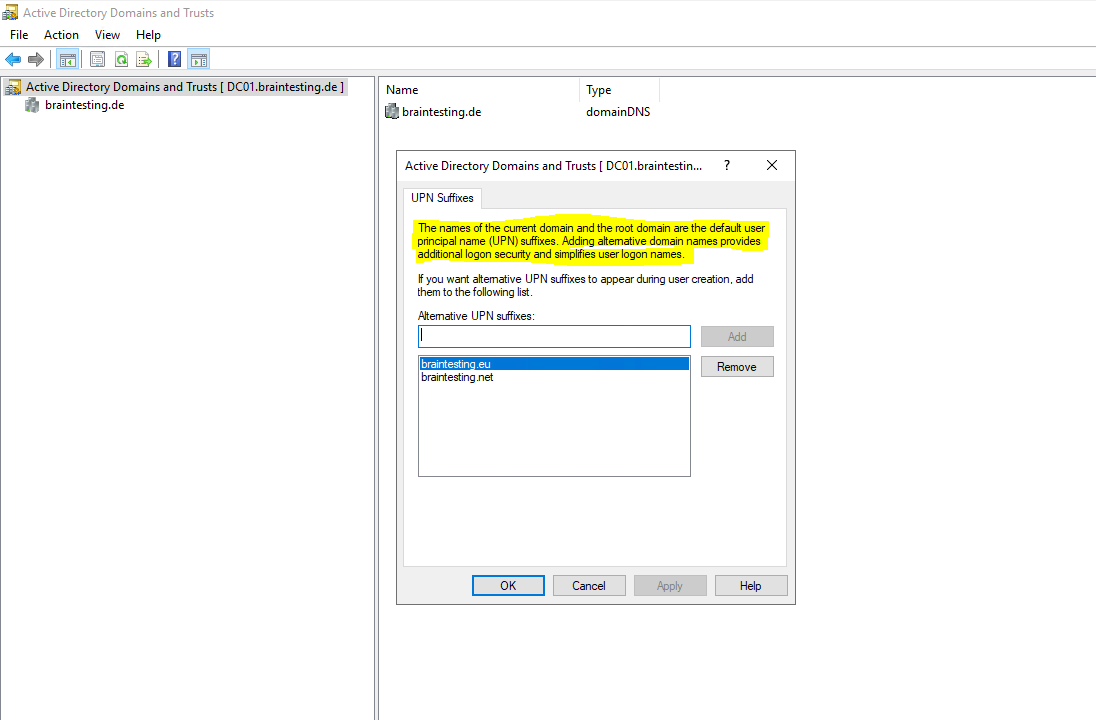
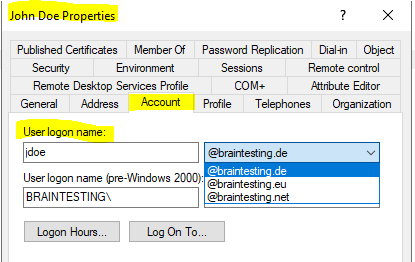
You can solve the “.local” problem by registering new UPN suffix or suffixes in AD DS to match the domain (or domains) you verified in Microsoft 365. After you register the new suffix, you update the user UPNs to replace the “.local” with the new domain name, for example, so that a user account looks like billa@contoso.com.
After you have updated the UPNs to use the verified domain, you are ready to synchronize your on-premises AD DS with Microsoft 365.
Checking onPrem Active Directory
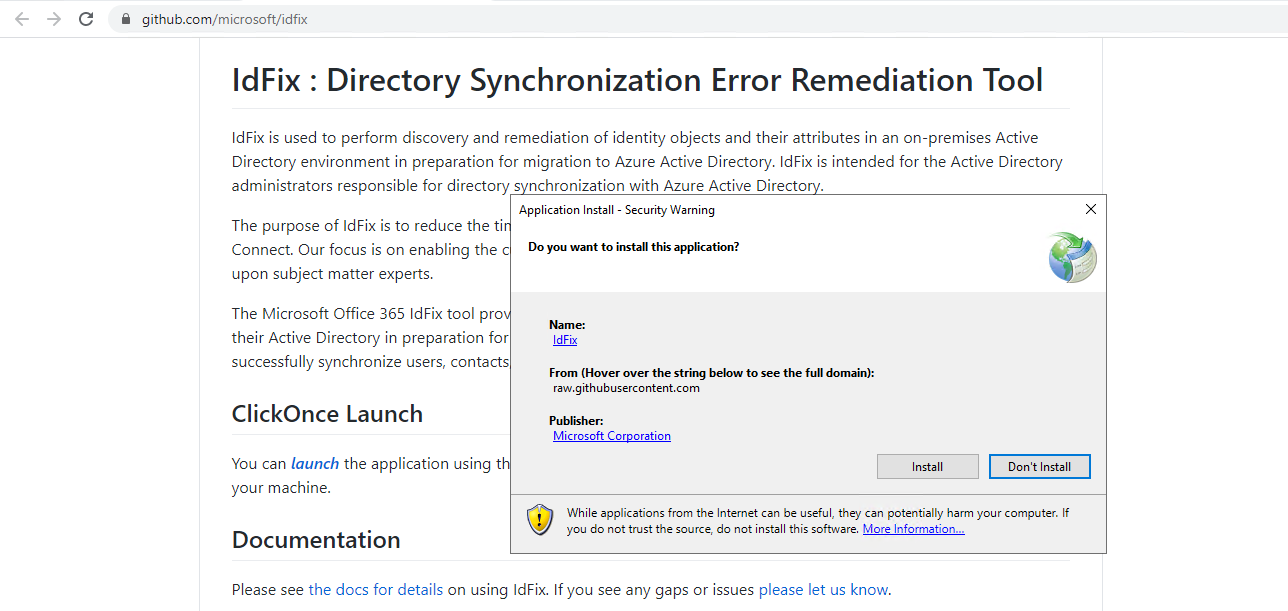
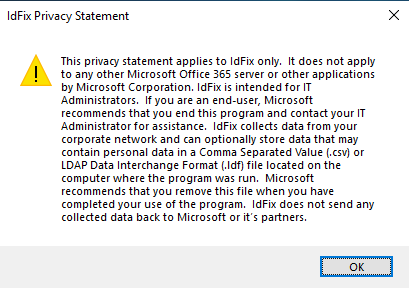
Before we install AD Connect, first install IdFix to identify errors such as duplicates and formatting problems in your directory before you synchronize to Azure AD and Office 365.
https://docs.microsoft.com/en-us/office365/enterprise/install-and-run-idfix
The easiest way to get IdFix up and running is to download it onto a computer that is joined to your AD DS domain. You can run it on the domain controller if you want, but it’s not necessary.
Choose Query
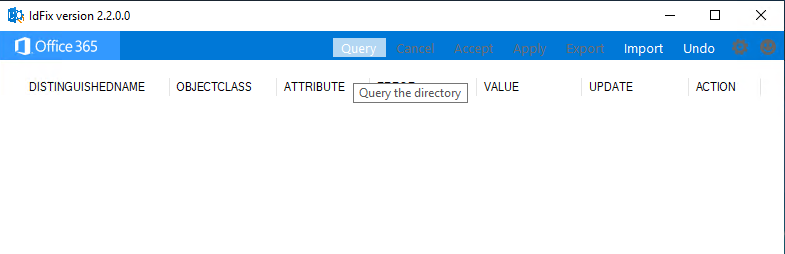
After IdFix completes the query, you can synchronize your directory if there are no errors. If there are errors in your directory, it is recommended that you fix them before you synchronize. See prepare directory attributes for synchronization with Microsoft 365 for more information.
While it is not mandatory to fix the errors before you synchronize, we strongly recommend that you at least review all the errors returned by IdFix.
Installation of Azure AD Connect
Prerequisites for Azure AD Connect
https://docs.microsoft.com/en-us/azure/active-directory/hybrid/how-to-connect-install-prerequisites
By default a SQL Server 2012 Express LocalDB (a light version of SQL Server Express) is installed. SQL Server Express has a 10GB size limit that enables you to manage approximately 100,000 objects. If you need to manage a higher volume of directory objects, you need to point the installation wizard to a different installation of SQL Server. The type of SQL Server installation can impact the performance of Azure AD Connect.
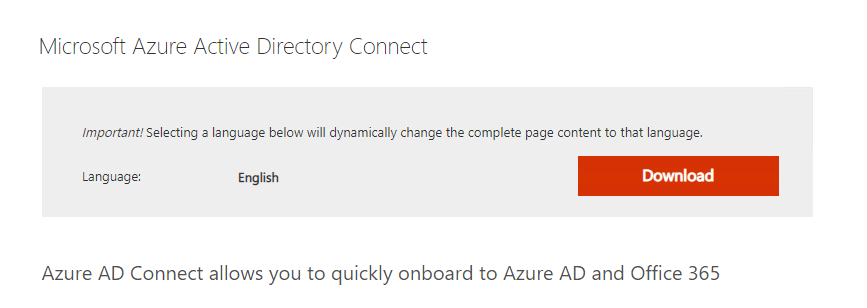
Download the latest version of Azure AD Connect
As you can read in the above prerequisites for Azure AD Connect, the server on which you install Azure AD Connect, must be treated as a Tier 0 component as documented in the Active Directory administrative tier model
So it’s important that administrative access to this server is properly secured.
Regarding this requirements and for simple disaster recovery reasons, I would recommend to use a dedicated Virtual Machine to install Azure AD Connect.
In my case I use a dedicated Windows Server 2019 Virtual Machine.
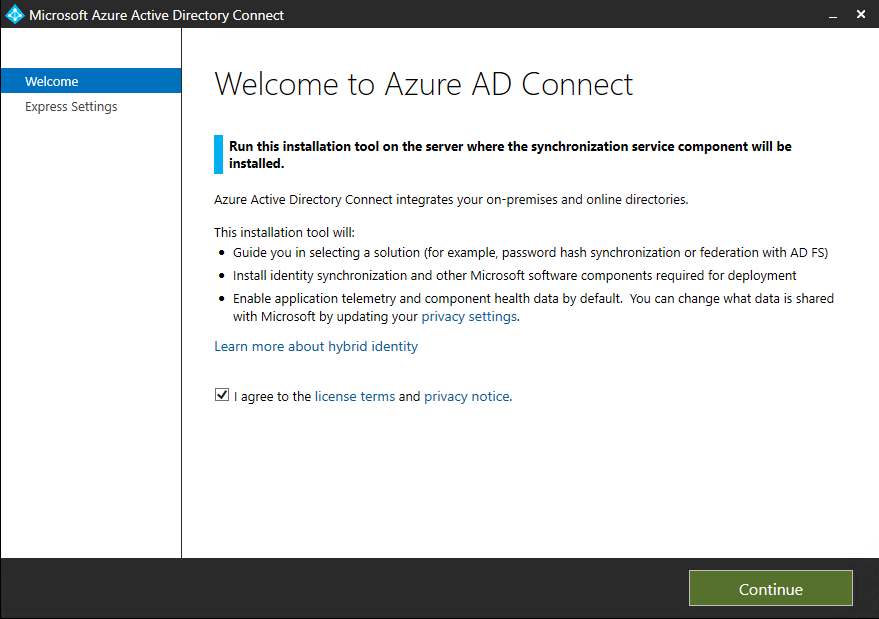
So let’s install Azure AD Connect on this VM.
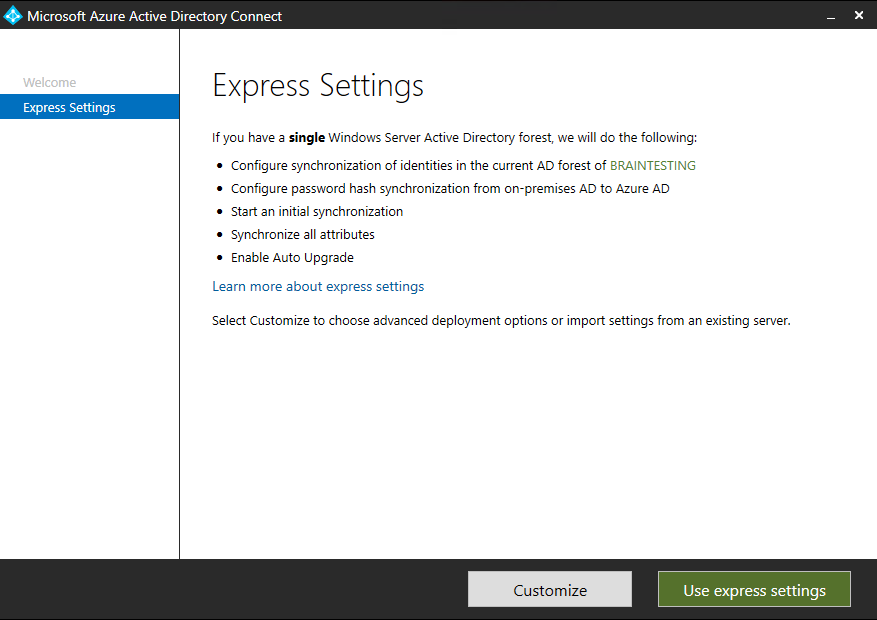
Click on Customize if you want change the default installation or want to use an existing SQL Server Instance instead a new SQL Express Installation. As mentioned above with the SQL Express Edition you are limited to manage 100.000 objects from your Active Directory which will be enough for the most installations.
Custom installation of Azure AD Connect
https://docs.microsoft.com/en-us/azure/active-directory/hybrid/how-to-connect-install-custom
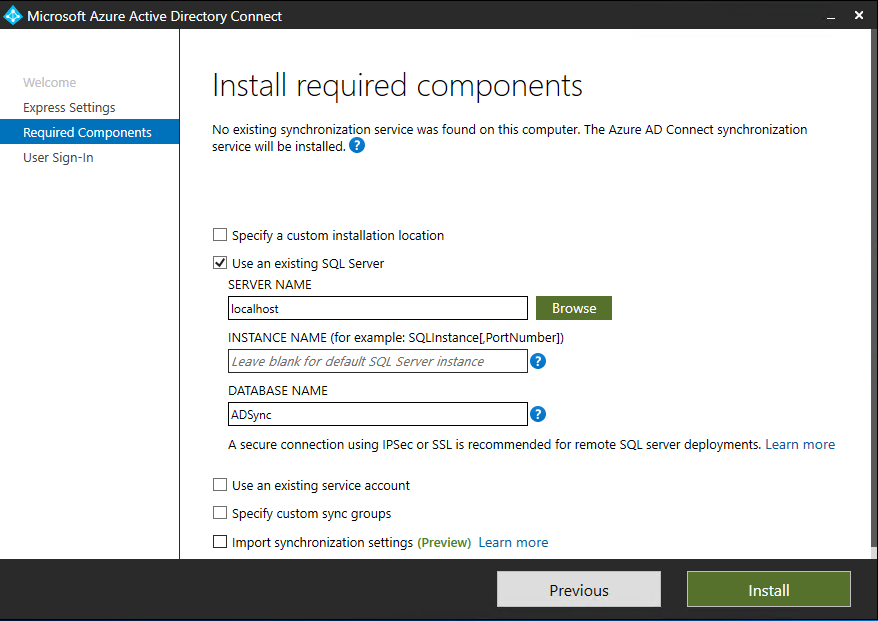
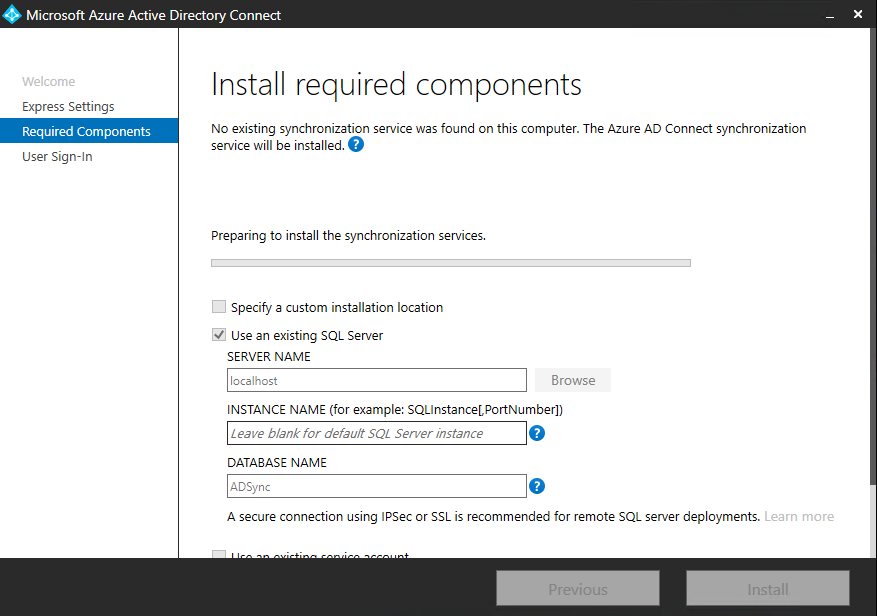
I will use here an SQL Server 2019 for this Installation and so selected the custom installation of Azure AD Connect.
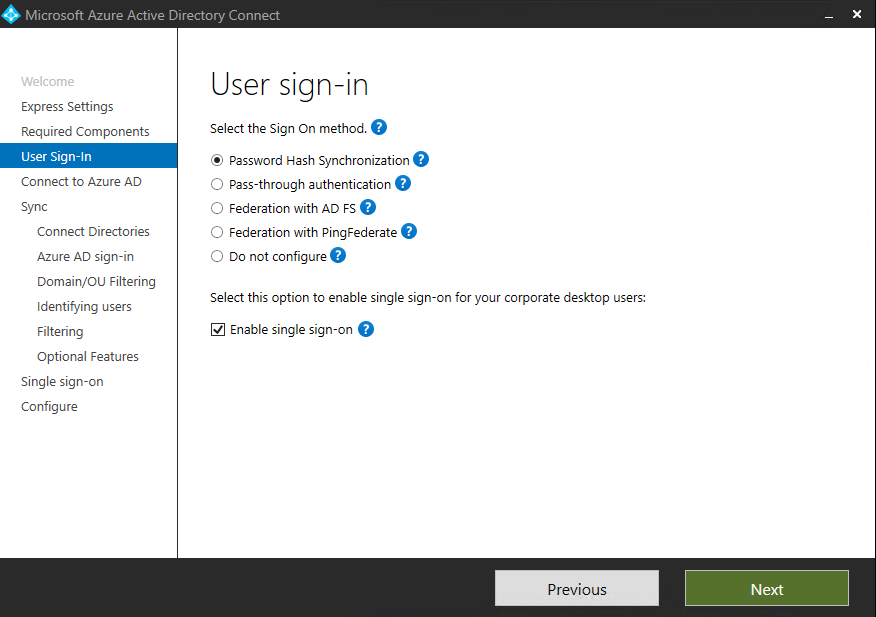
For the Sign On method I will use Password hash synchronization so users can sign into Azure with their existing onPrem user credentials and you do not need to deploy any additional SSO infrastructure.
Azure AD Connect synchronizes accounts every 30 minutes and passwords within 2 minutes.
The actual data flow of the password hash synchronization process is similar to the synchronization of user data. However, passwords are synchronized more frequently than the standard directory synchronization window for other attributes. The password hash synchronization process runs every 2 minutes. You cannot modify the frequency of this process. When you synchronize a password, it overwrites the existing cloud password.
Source: https://docs.microsoft.com/en-us/azure/active-directory/hybrid/how-to-connect-password-hash-synchronization#how-password-hash-synchronization-works
Detailed description of how password hash synchronization works
https://docs.microsoft.com/en-us/azure/active-directory/hybrid/how-to-connect-password-hash-synchronization#detailed-description-of-how-password-hash-synchronization-works
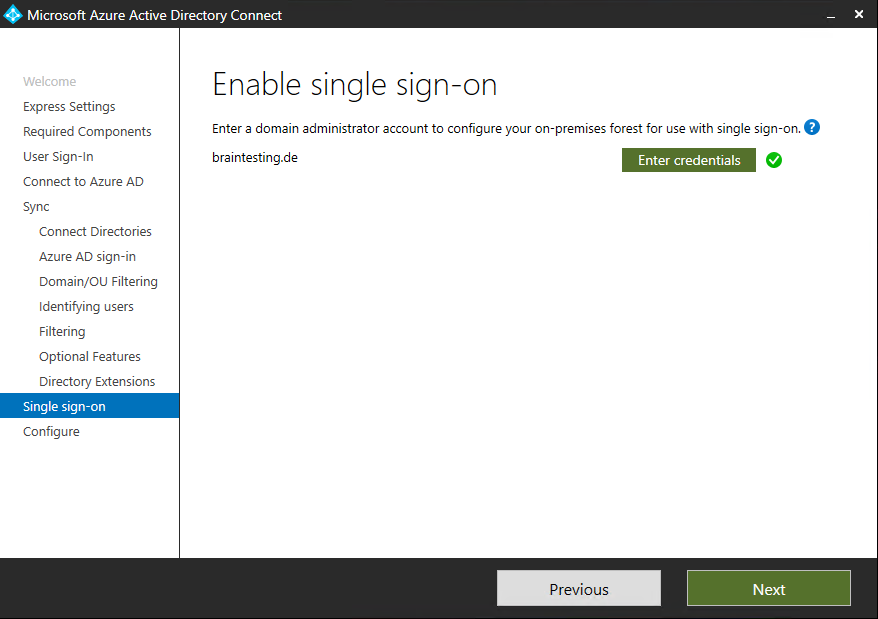
Further I checked Enable single sign-on.
The option will be available for selection only if the Sign On method is Password Hash Synchronization or Pass-through Authentication.
Azure Active Directory Seamless Single Sign-On: Quickstart
https://docs.microsoft.com/en-us/azure/active-directory/hybrid/how-to-connect-sso-quick-start
Azure Active Directory (Azure AD) Seamless Single Sign-On (Seamless SSO) automatically signs in users when they are on their corporate desktops that are connected to your corporate network. Seamless SSO provides your users with easy access to your cloud-based applications without needing any additional on-premises components.
For Windows 10, Windows Server 2016 and later versions, it’s recommended to use SSO via primary refresh token (PRT).For windows 7 and 8.1 it’s recommended to use Seamless SSO. Seamless SSO needs the user’s device to be domain-joined, but it is not used on Windows 10 Azure AD joined devices or hybrid Azure AD joined devices. SSO on Azure AD joined, Hybrid Azure AD joined, and Azure AD registered devices works based on the Primary Refresh Token (PRT)
SSO via PRT works once devices are registered with Azure AD for hybrid Azure AD joined, Azure AD joined or personal registered devices via Add Work or School Account. For more information on how SSO works with Windows 10 using PRT, see: Primary Refresh Token (PRT) and Azure AD
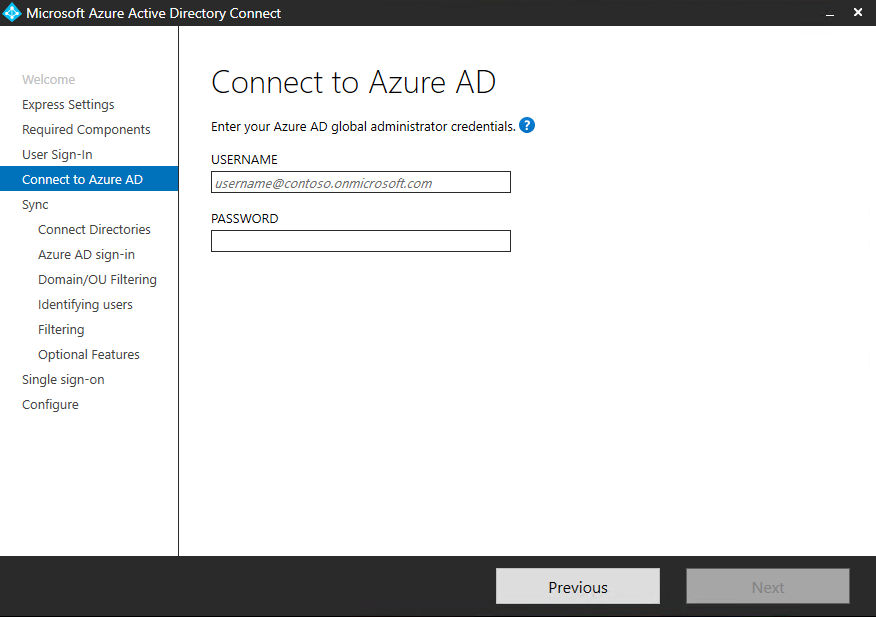
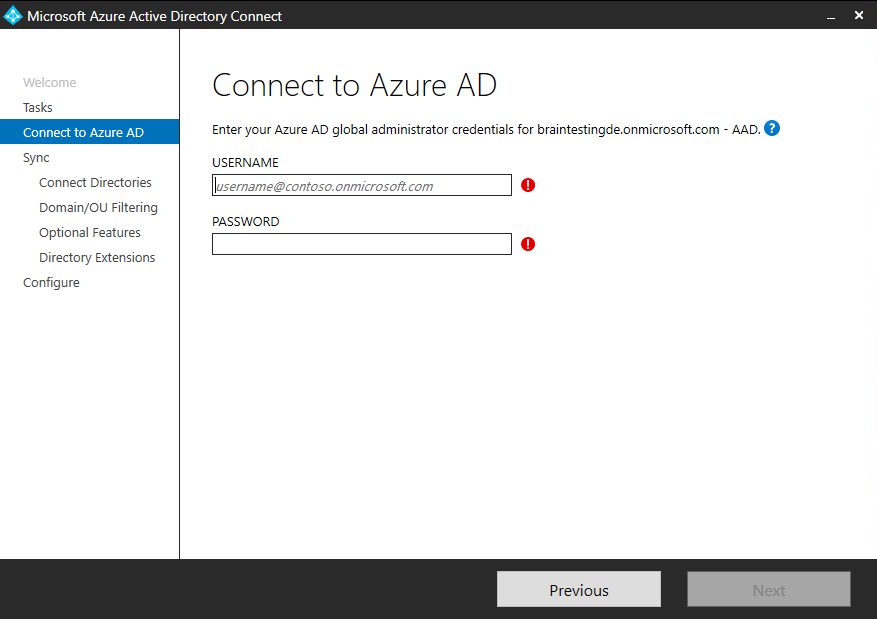
The Azure AD global administrator is your Office 365 Administrator user account which you must enter here.
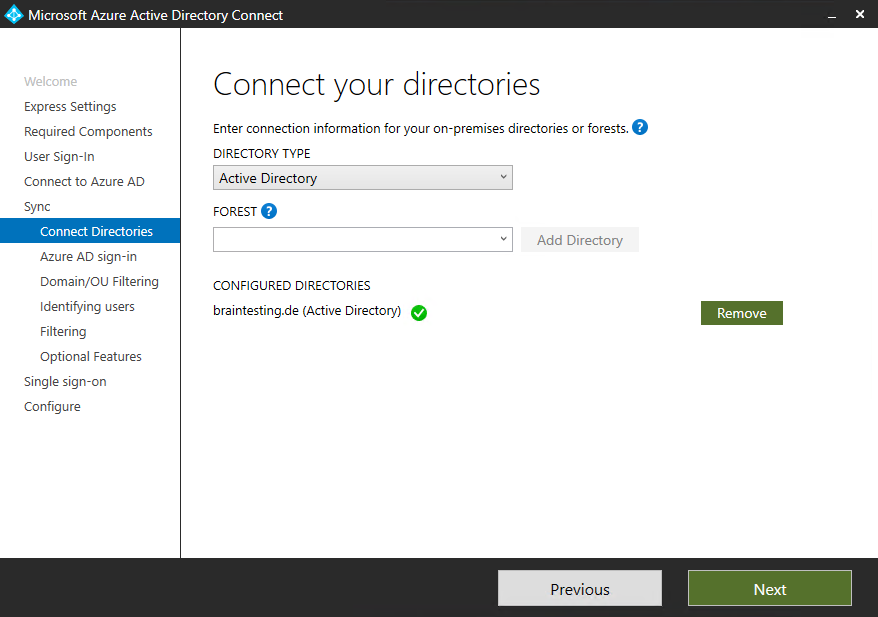
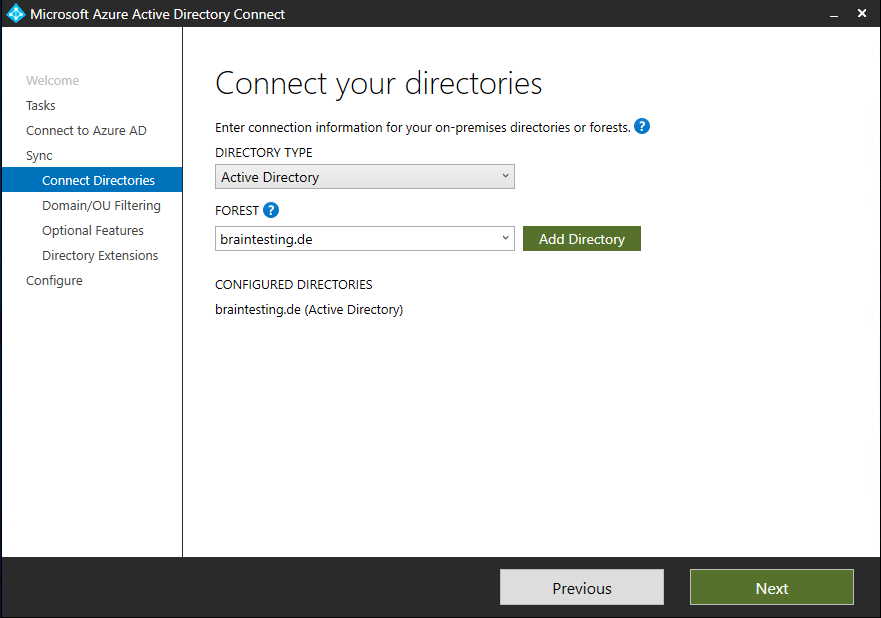
Click on Add Directory

Enter your Enterprise Admin credentials, it is recommended to select the Create new AD account.

The AD Forest Account which was created during the AD Connect installation and the step above for creating a new AD account, can be changed and configured later with the Synchronization Service Manager as follows.
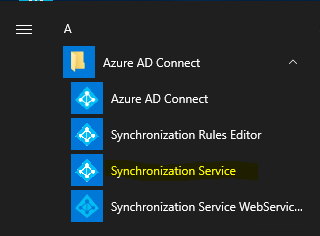
Click on Connectors and select the Active Directory Domain Services Connector. To change the settings you can click on the right side the Properties for the connector.
At the properties select Connect to Active Directory Forest and change the user.
The account you want to use must have permissions to enumerate the forest’s directory partitions and read the schema directory partition
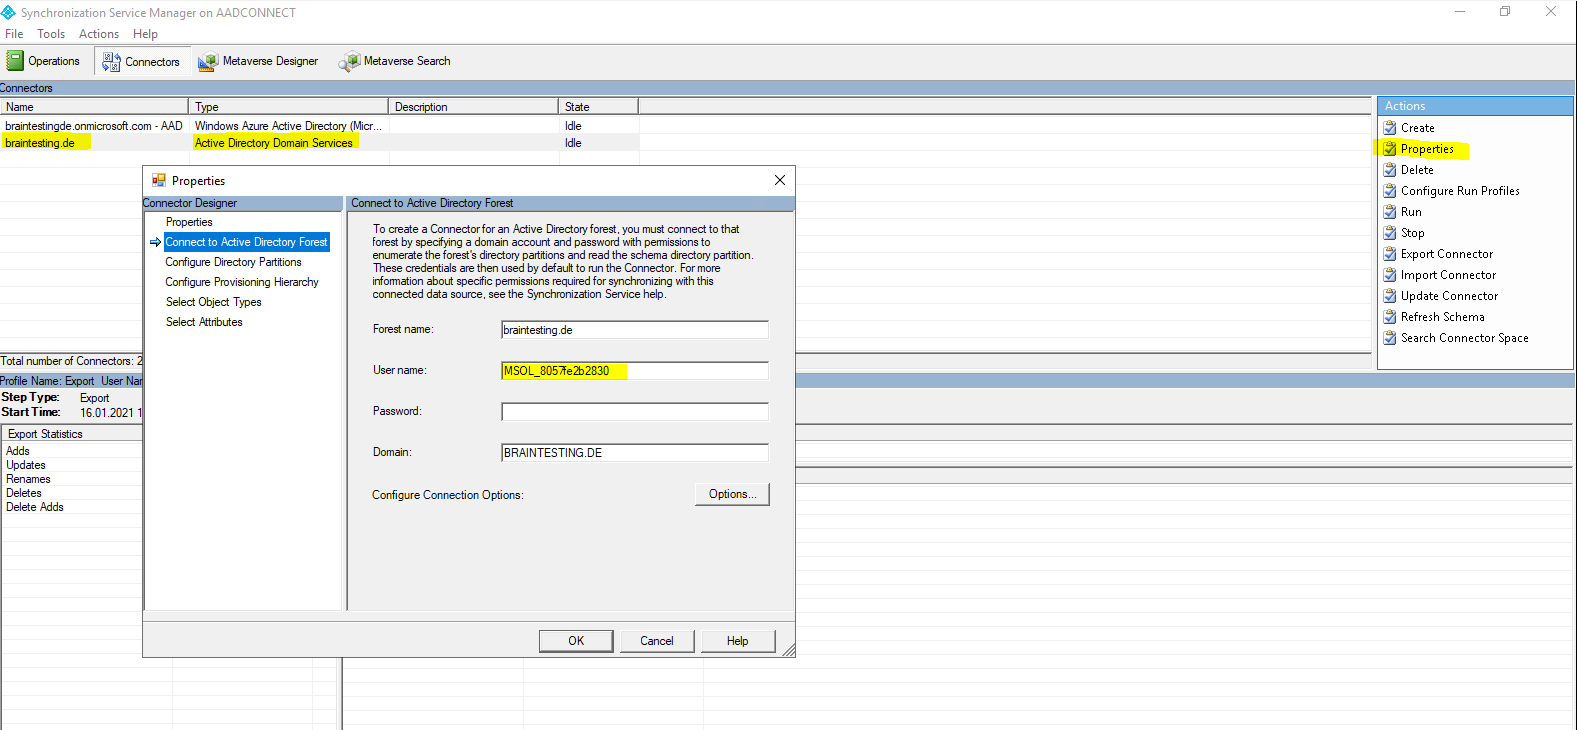
You will find the created account from the AD Connect installation in the users container in Active Directory Users and Computers.
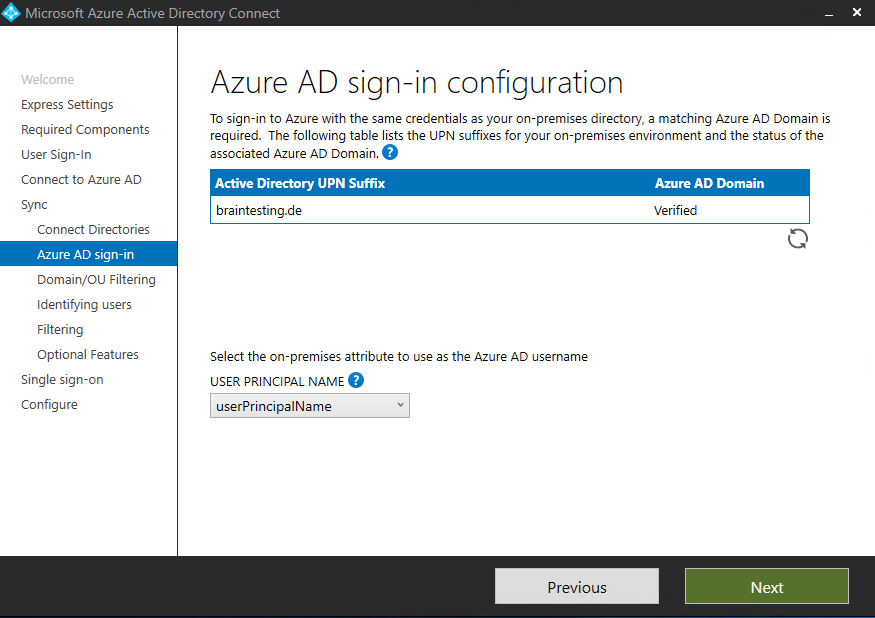
To be able to sign-in into Office 365 (Azure AD) with your existing onPremise credentials, you need a verified Azure AD Domain which is the same as your onPremise domain.
If you have here listed some Not Added domains, check Continue without matching all UPN suffixes to verified domains.
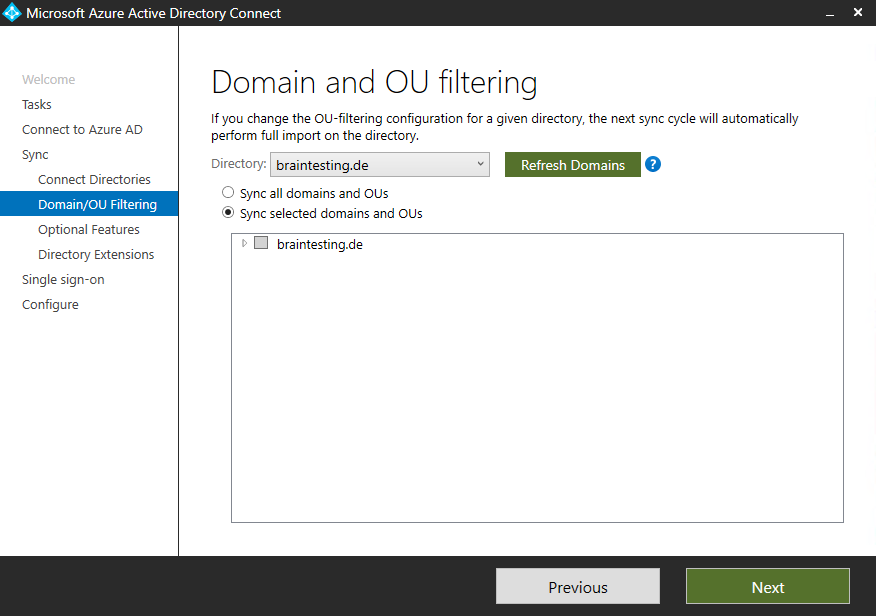
To specify OUs to synchronize, choose Sync selected domains and OUs option and specify required OUs.
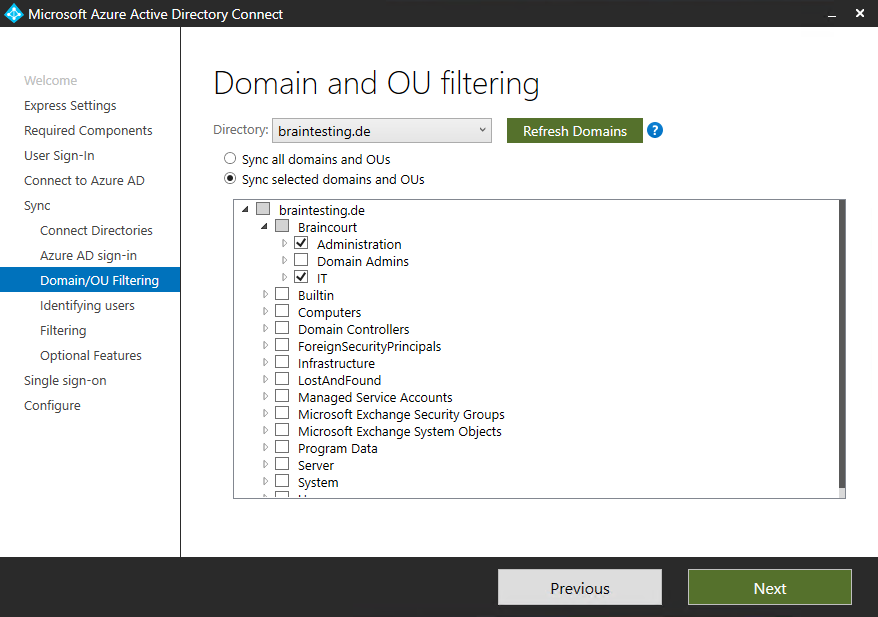
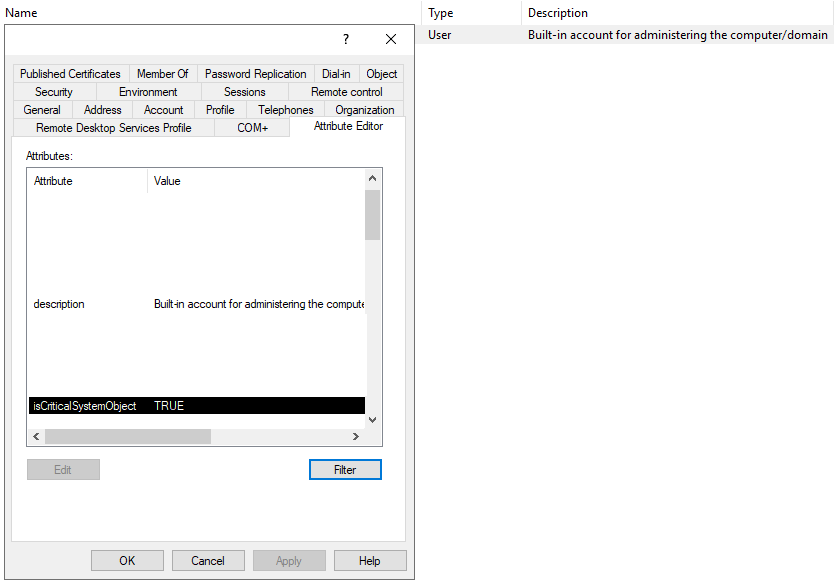
As you can see, I don’t check the Domain Admins OU. I don’t want to synchronize domain admins to Office 365, apart from that, this OU only contains the Built-in Administrator account which is a critical system object and won’t synchronize to Azure AD even if it is checked!
One or more objects don’t sync when using Azure Active Directory Sync tool
https://docs.microsoft.com/en-us/troubleshoot/azure/active-directory/objects-dont-sync-ad-sync-tool
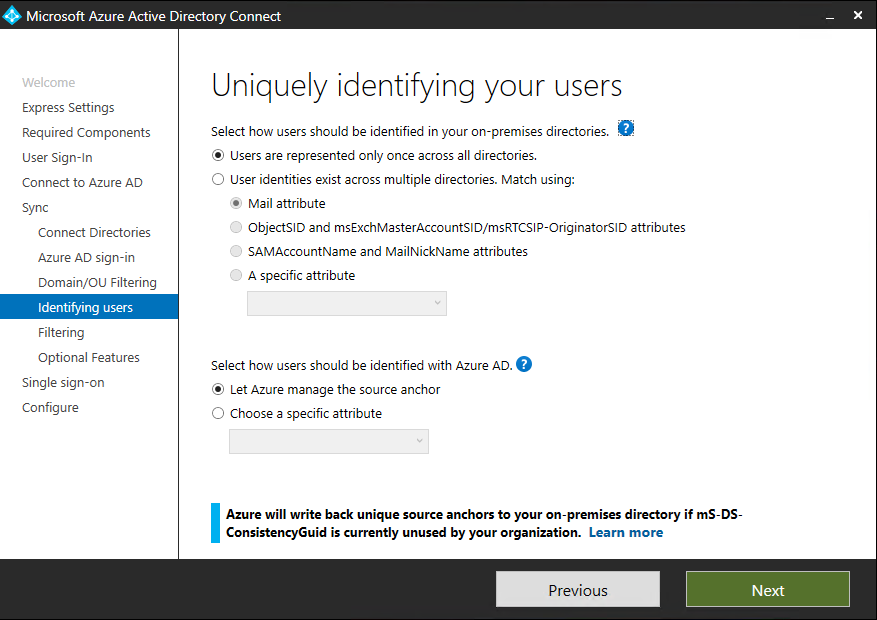
Specify how users should be identified in the on-premises directories then click Next.
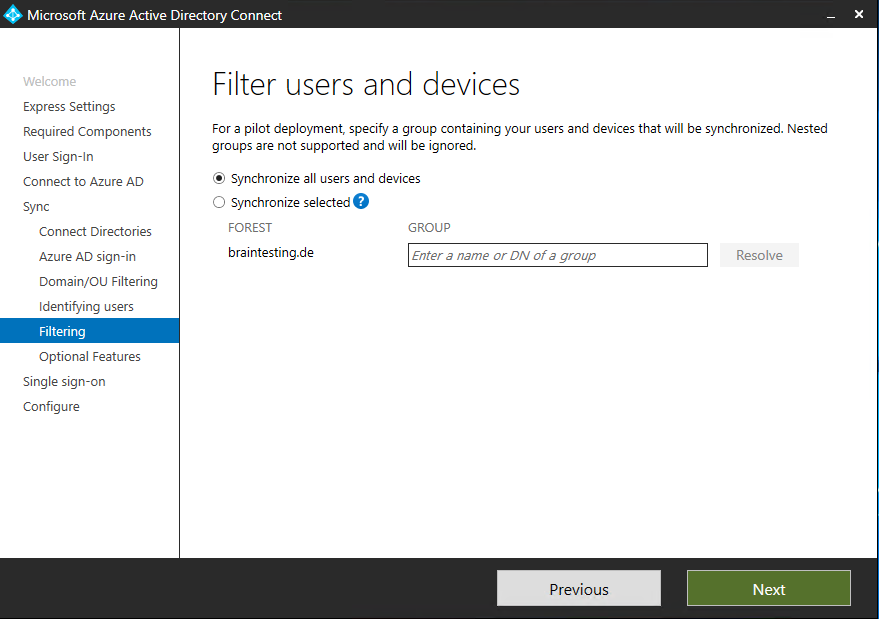
Select Synchronize all users and devices and click Next.
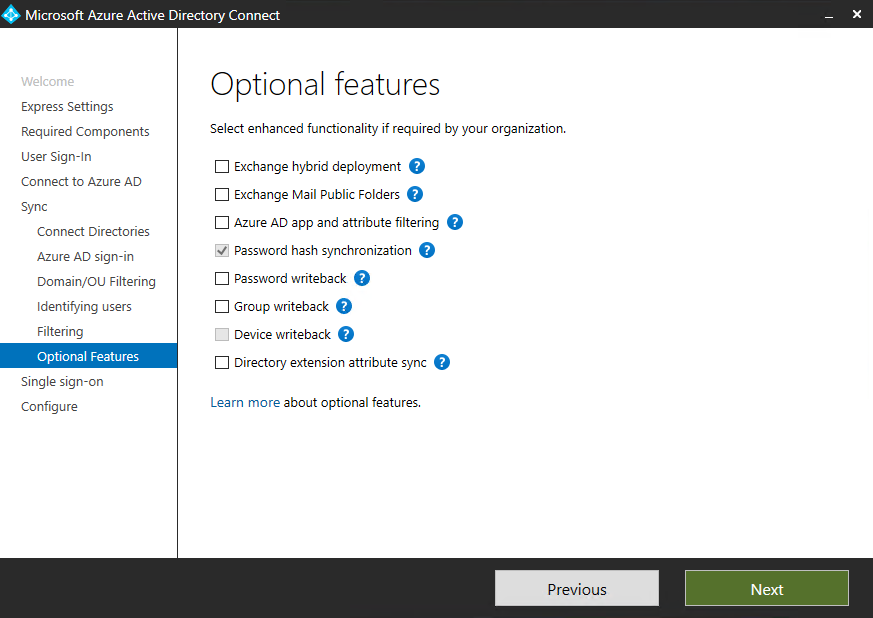
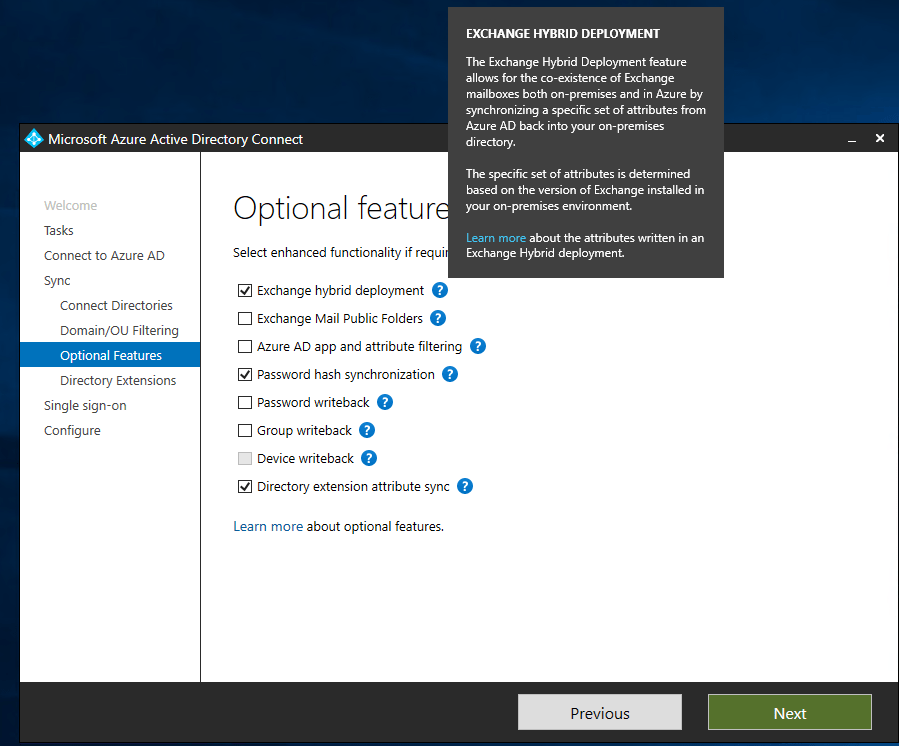
Check your optional features
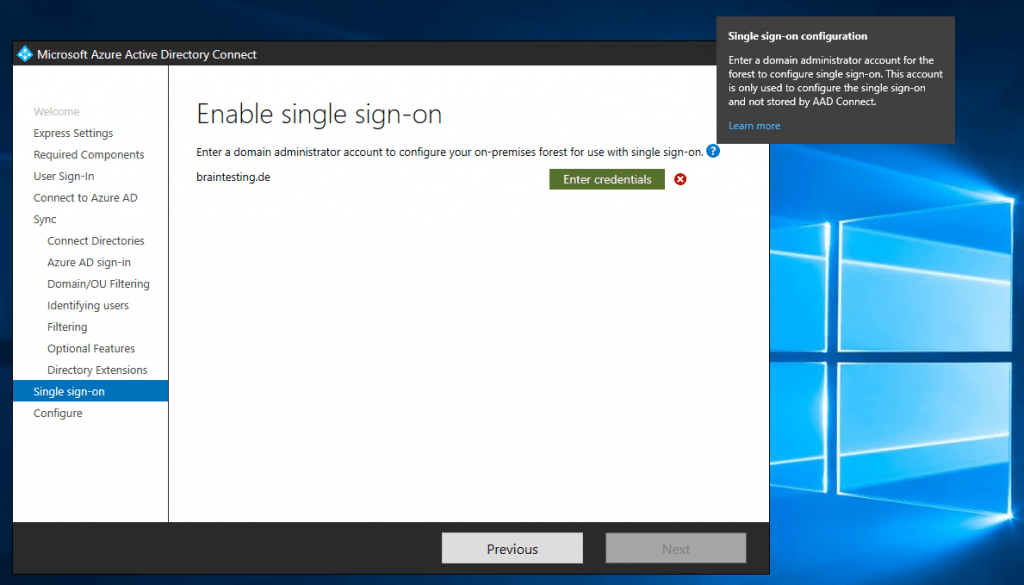
To enable single sign-on, click Enter credentials and specify the Domain Admin credentials.
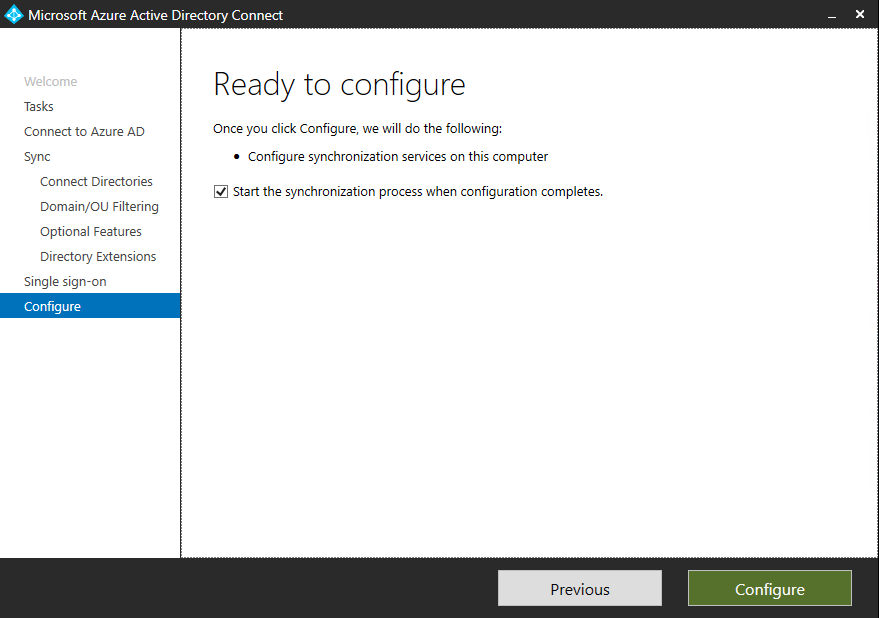
Click on next and then at the dialog at Ready to configure check that Start the synchronization process … is checked and click on Install.
Leave Enable staging mode blank as we want an active Azure AD Connect server.
Regarding staging mode read also my post
Azure AD Connect: Staging server and disaster recovery
https://docs.microsoft.com/en-us/azure/active-directory/hybrid/how-to-connect-sync-staging-server
With a server in staging mode, you can make changes to the configuration and preview the changes before you make the server active. It also allows you to run full import and full synchronization to verify that all changes are expected before you make these changes into your production environment.
Staging mode can be used for several scenarios, including:
- High availability.
- Test and deploy new configuration changes.
- Introduce a new server and decommission the old.
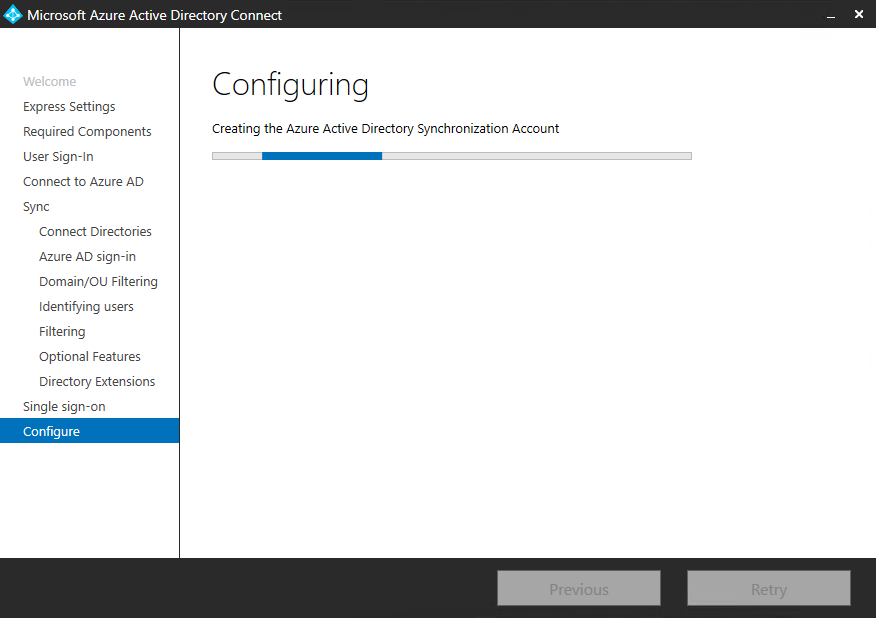

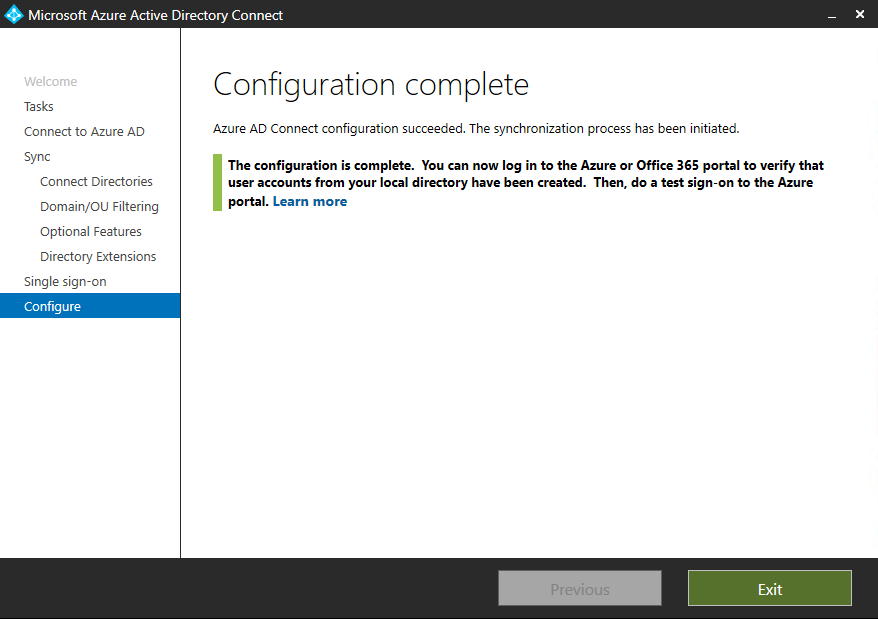
Now the initial synchronization process is started and your selected onPrem users will be synchonized to Office 365 resp. Azure AD which Office 365 is using for user management.
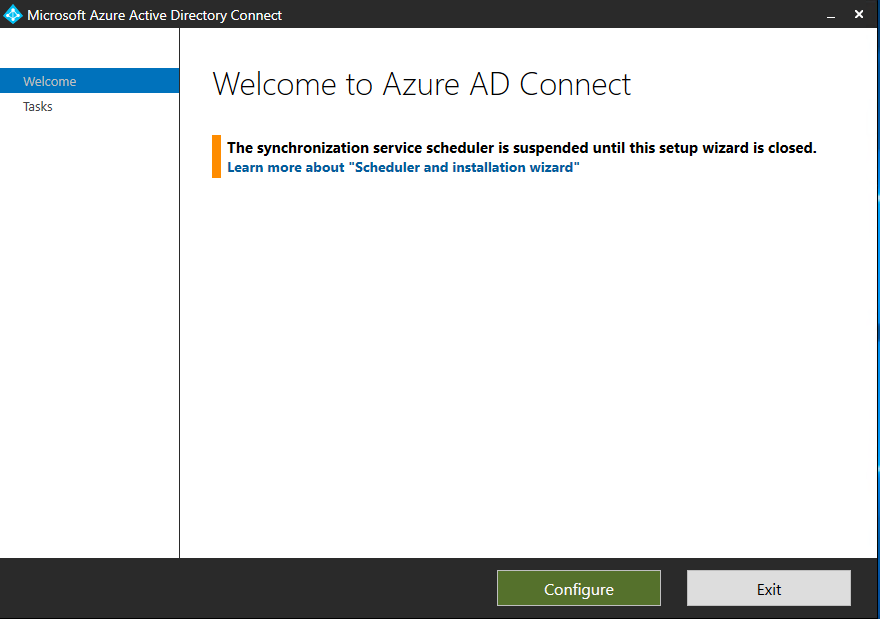
In order to setup the migration from Exchange onPrem to Exchange Online, we need to adjust some settings in Azure AD Connect.
So open Aure AD Connect again and click on Configure
Click on Customize synchronization options
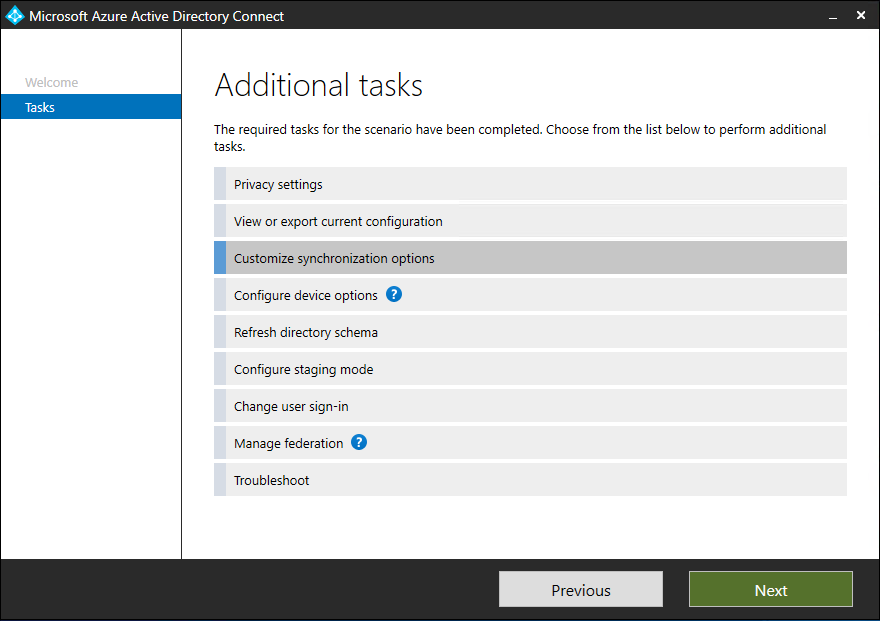
Login with your Azure AD global administrator which is your Office 365 Administrator user account.
If you want to change which users you want to synchronize to Office 365 and Azure AD, you can change it here. But for now, we want to enable Exchange hybrid deployment, so click on Next.
Check Exchange hybrid deployment and for later Directory extension attribut sync. The Password hash synchronization we already had configured.

For now leave this blank, we will come later to configure specific addtitional Directory extensions. Azure AD Connect use nevertheless some mandatory default extensions.
Click on Configure to synchronize the changes to Office 365 and Azure AD.
After finishing the installation and configuration of Azure AD Connect, the question is, do we migrate Exchange or Skype for Business first to Office 365?
Both constellations are supported, but if you anyway want to migrate both to Office 365, best practices is to move first the users mailbox and then the Skype for Business home.
The other way, a user is at Skype for Business online and his mailbox is on Exchange onPrem, have some limitations.
Below some informations about Exchange onPrem with Skype for Business online.
Skype for Business Online Coexistence with Exchange On-Premises
https://blog.insideo365.com/2017/10/skype-for-business-online-coexistence-with-exchange-on-premises/
Exchange Server 2016/2013/2010 on-premises and a pure Skype for Business Online is supported with the right configuration. This Microsoft Support article is not well advertised but is a good reference on how to support this scenario:
How to integrate Exchange Server 2013 with Lync Server 2013, Skype for Business Online, or a Lync Server 2013 hybrid deployment.
More details on co-existence with Exchange Server, support criteria, and limitations in various combinations of on-premises and online are detailed in this TechNet article: Plan to integrate Skype for Business and Exchange.
Note, this article highlights a best practice, which is to move the user’s mailbox to Exchange Online before moving the user’s Skype for Business home. In practice, I have not found anything detrimental to moving the Skype for Business user first; aside from the feature limitations discussed here.
Troubleshooting
One or more objects don’t sync when using Azure Active Directory Sync tool
https://docs.microsoft.com/en-us/troubleshoot/azure/active-directory/objects-dont-sync-ad-sync-tool
Troubleshooting Errors during synchronization
https://docs.microsoft.com/en-us/azure/active-directory/hybrid/tshoot-connect-sync-errors
Errors could occur when identity data is synchronized from Windows Server Active Directory (AD DS) to Azure Active Directory (Azure AD). This article provides an overview of different types of sync errors, some of the possible scenarios that cause those errors and potential ways to fix the errors. This article includes the common error types and may not cover all the possible errors.
Monitor Azure AD Connect sync with Azure AD Connect Health
https://docs.microsoft.com/en-us/azure/active-directory/hybrid/how-to-connect-health-sync
In Part 2 … we first migrate our Exchange onPrem Mailboxes to Office 365 and Exchange Online …