In this post we will see how to install and set up VMware’s ESXi hypervisor step by step on a bare metal server. I will go through each of the separate steps to install ESXi on a bare metal server, in my case just for demonstration purpose on an old IBM x3650 M4 server.

In part 2 we will then see all necessary steps we have to configure to run this ESXi host.


The ESXi hypervisor is one of VMware’s vSphere core products besides the vCenter server.

vSphere is just the brand name and umbrella term for VMware’s suite of virtualization products and features, basically the ESXi hypervisor and vCenter Server.

The acronym ESX however originally stoods for Elastic Sky X and it successor transitioned to ESXi for Elastic Sky X integrated.

The acronym finally was invented by a marketing firm hired by VMware. Supposedly some VMware engineers didn’t like it and wanted to add a “X” to sound more technical and cool. VMware employees also following to start a band named Elastic Sky where John Arrasjid is one of its well known members.

The “i” in ESXi signifies Integrated, emphasizing its embedded and streamlined architecture compared to the earlier ESX versions.


VMware ESXi (formerly ESX) is an enterprise-class, type-1 hypervisor developed by VMware for deploying and serving virtual computers.

After version 4.1 (released in 2010), VMware renamed ESX to ESXi. ESXi replaces Service Console (a rudimentary operating system) with a more closely integrated OS.

ESX/ESXi is the primary component in the VMware Infrastructure software suite.

Source: https://en.wikipedia.org/wiki/VMware_ESXi

ESXi is the bare-metal hypervisor that forms the foundation of the vSphere platform. It runs directly on the physical hardware and abstracts the underlying resources, allowing multiple virtual machines (VMs) to run concurrently.


Introduction

Historical

The concept of virtualization has a long history, and it is difficult to attribute its invention to a single individual or point in time. However, one of the early pioneers in the field of virtualization is often credited to IBM and their development of the IBM CP-40 and CP-67 systems in the 1960s. These systems introduced the concept of virtual machines, allowing multiple operating systems to run concurrently on a single mainframe.

In the modern era, the term “virtualization” is often associated with VMware, which played a significant role in popularizing x86 virtualization technology. VMware was founded in 1998, and their VMware Workstation, released in 1999, was one of the first widely-used virtualization products for x86 architecture.


ESX vs. ESXi

ESX and its successor ESXi both runs on bare metal (without running an operating system) unlike other VMware products. It includes its own kernel.

In the historic VMware ESX, a Linux kernel was started first and then used to load a variety of specialized virtualization components, including ESX, which is otherwise known as the vmkernel component

The Linux kernel was the primary virtual machine; it was invoked by the service console. At normal run-time, the vmkernel was running on the bare computer, and the Linux-based service console ran as the first virtual machine.

Functionally, ESXi is equivalent to ESX 3, offering the same levels of performance and scalability. However, the Linux-based service console has been removed, reducing the footprint to less than 32MB of memory.

The functionally of the service console is replaced by new remote command line interfaces in conjunction with adherence to system management standards.

Because ESXi is functionally equivalent to ESX, it supports the entire VMware Infrastructure 3 suite of products, including VMware Virtual Machine File System, Virtual SMP, VirtualCenter, VMotion, VMware Distributed Resource Scheduler, VMware High Availability, VMware Update Manager, and VMware Consolidated Backup.

VMware dropped development of ESX at version 4.1 and now uses ESXi, which does not include a Linux kernel at all.

ESXi uses the VMkernel which is a POSIX-like operating system developed by VMware and provides certain functionality similar to that found in other operating systems, such as process creation and
control, signals, file system, and process threads. It is designed specifically to support running multiple virtual machines.

More about you will find in the following PDF file:
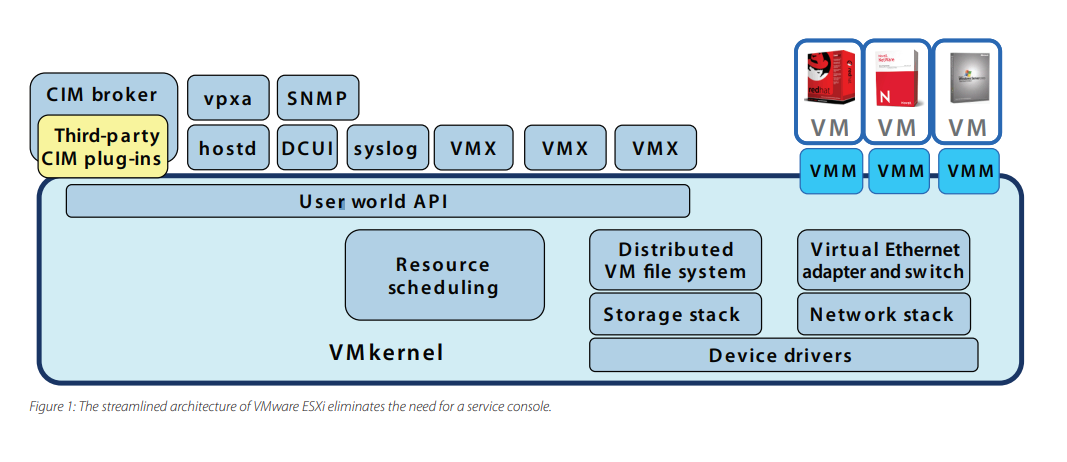
The Architecture of VMware ESXi
https://www.vmware.com/content/dam/digitalmarketing/vmware/en/pdf/techpaper/ESXi_architecture.pdf


The VMware ESXi architecture comprises the underlying operating system, called VMkernel, and processes that run on top of it. VMkernel provides means for running all processes on the system, including management applications and agents as well as virtual machines. It has control of all hardware devices on the server, and manages resources for the applications.

The main processes that run on top of VMkernel are:

  • Direct Console User Interface (DCUI) — the low-level configuration and management interface, accessible through the console of the server, used primarily for initial basic configuration.
  • The virtual machine monitor, which is the process that provides the execution environment for a virtual machine, as well as a helper process known as VMX. Each running virtual machine has its own VMM and VMX process.
  • Various agents used to enable high-level VMware Infrastructure management from remote applications.
  • The Common Information Model (CIM) system: CIM is the interface that enables hardware-level management from remote applications via a set of standard APIs.

Figure 1 shows a diagram of the overall ESXi architecture. The following sections provide a closer examination of each of these components.

Source: https://www.vmware.com/content/dam/digitalmarketing/vmware/en/pdf/techpaper/ESXi_architecture.pdf


Install and Set up ESXi

Below I will go through all separate steps needed to deploy a new ESXi host in an on-premise data center. First I will have to download the latest ESXi version which is compatible with my bare metal server I want to use for.


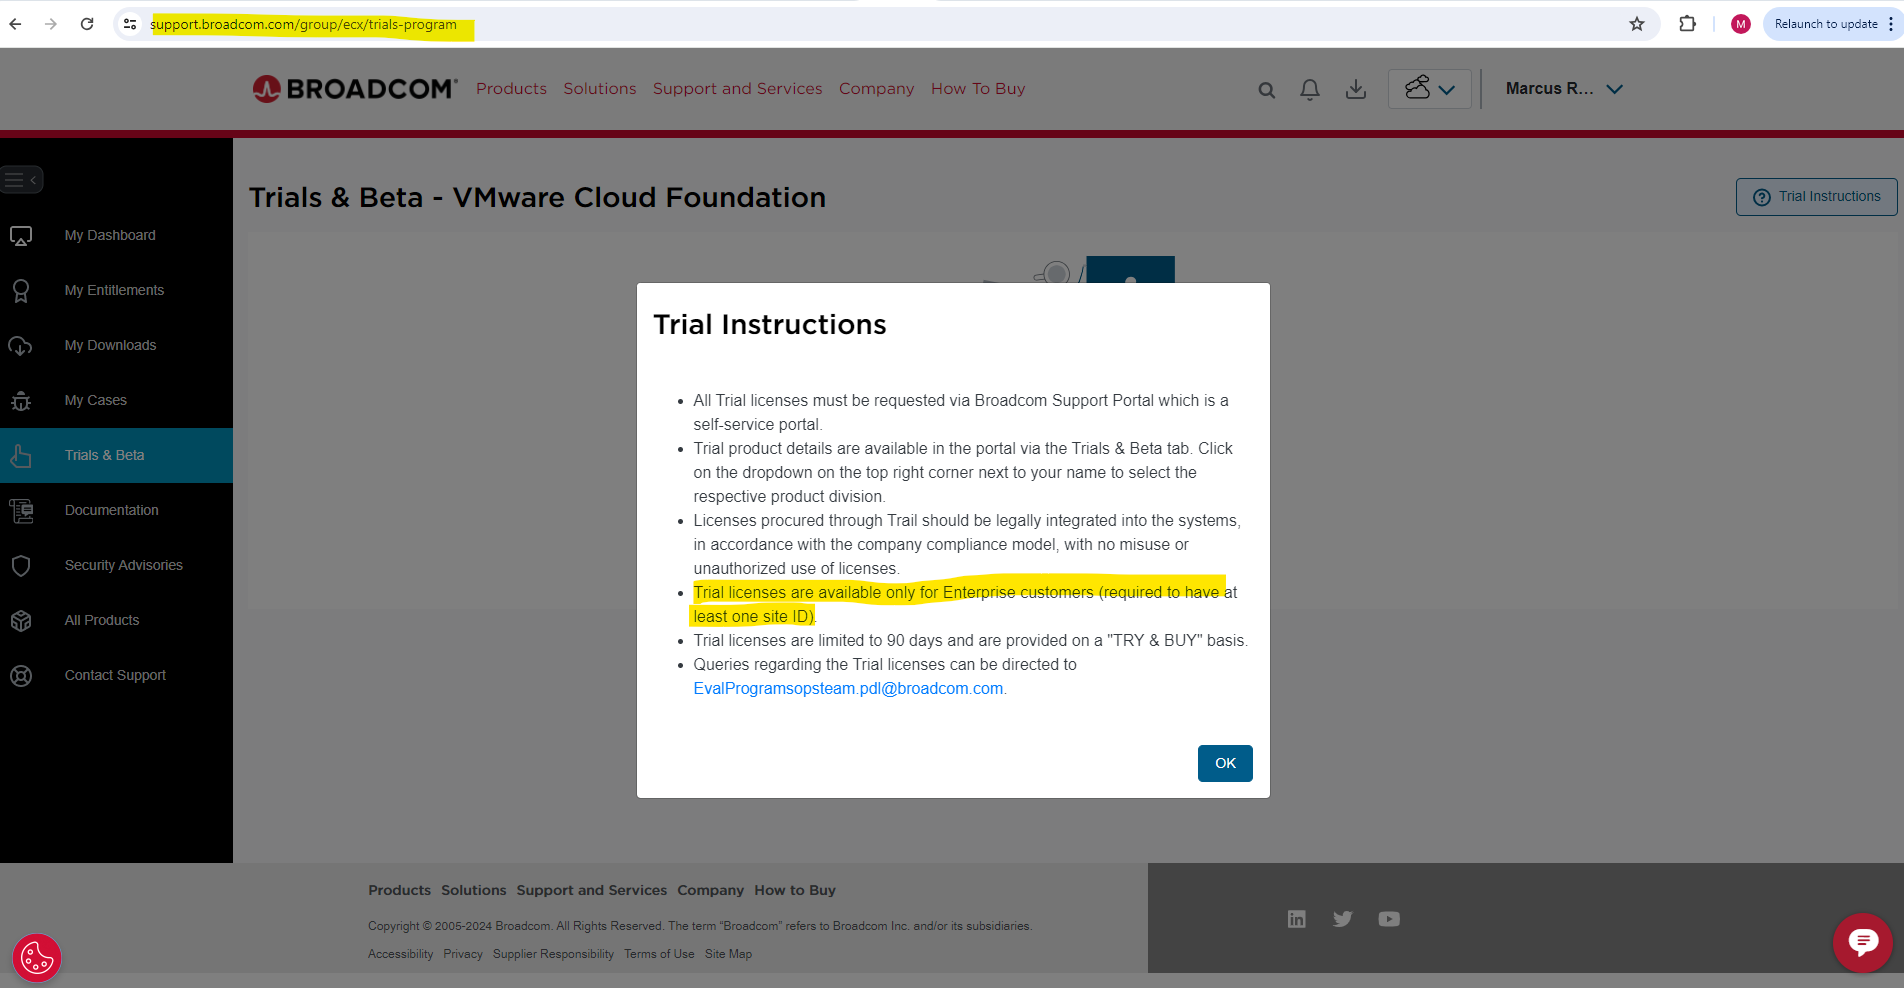
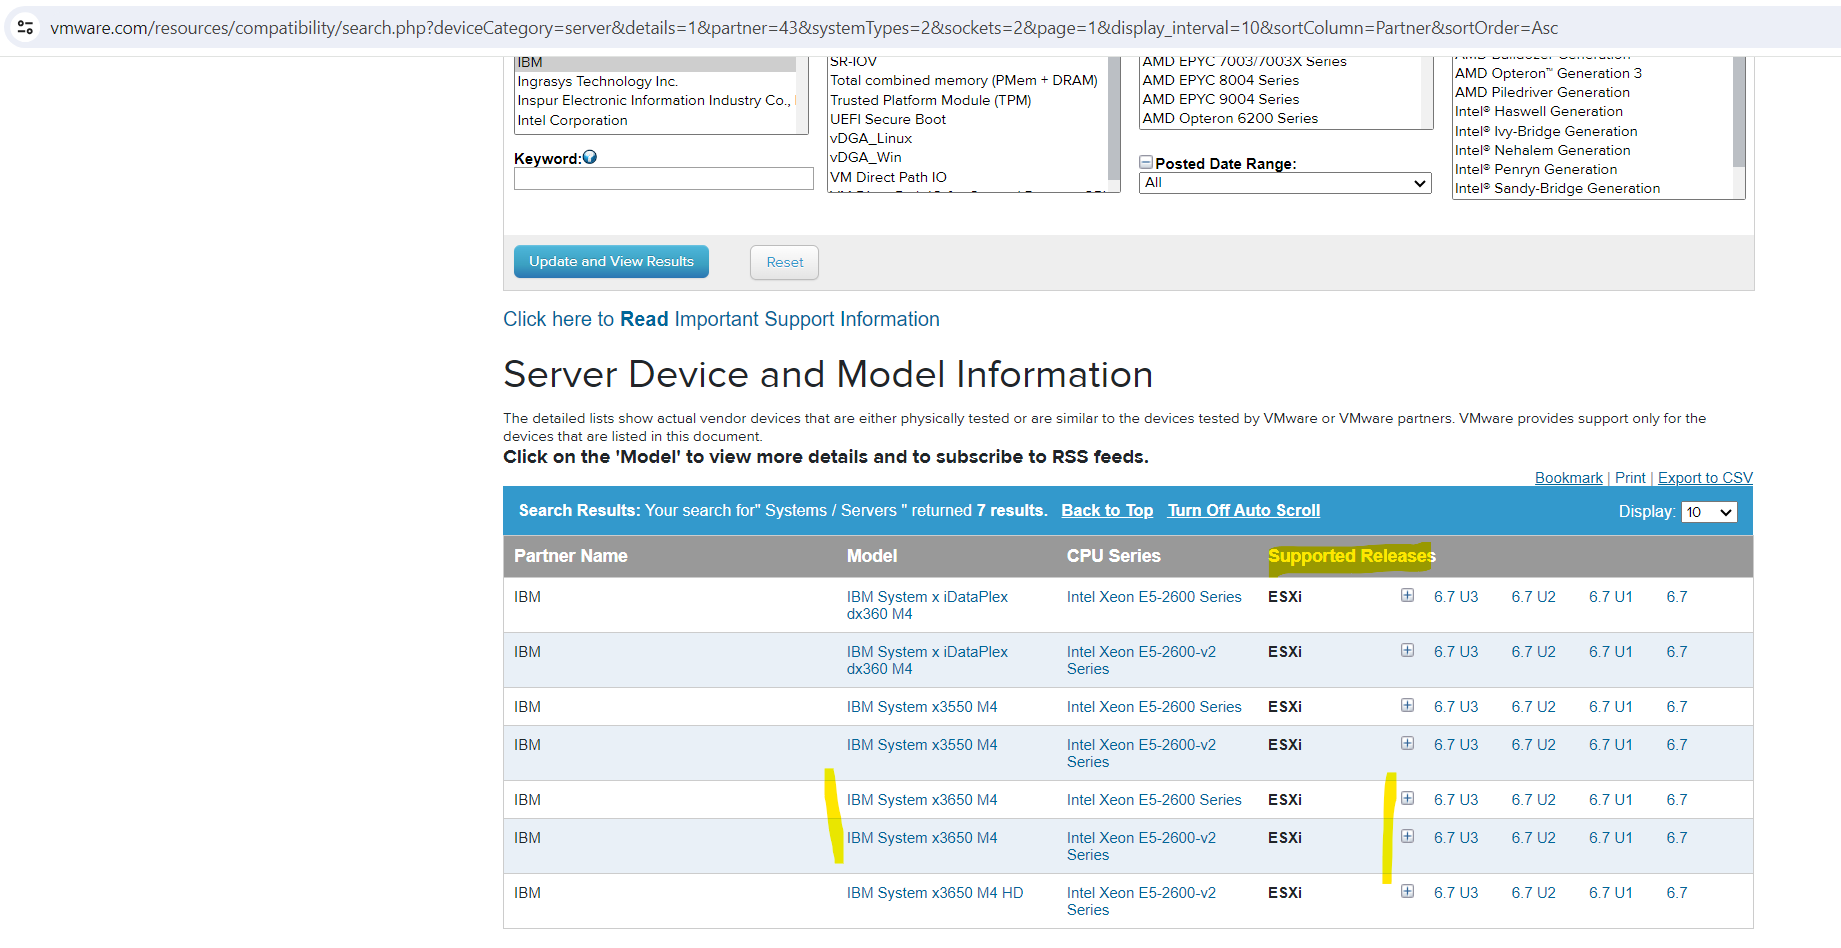
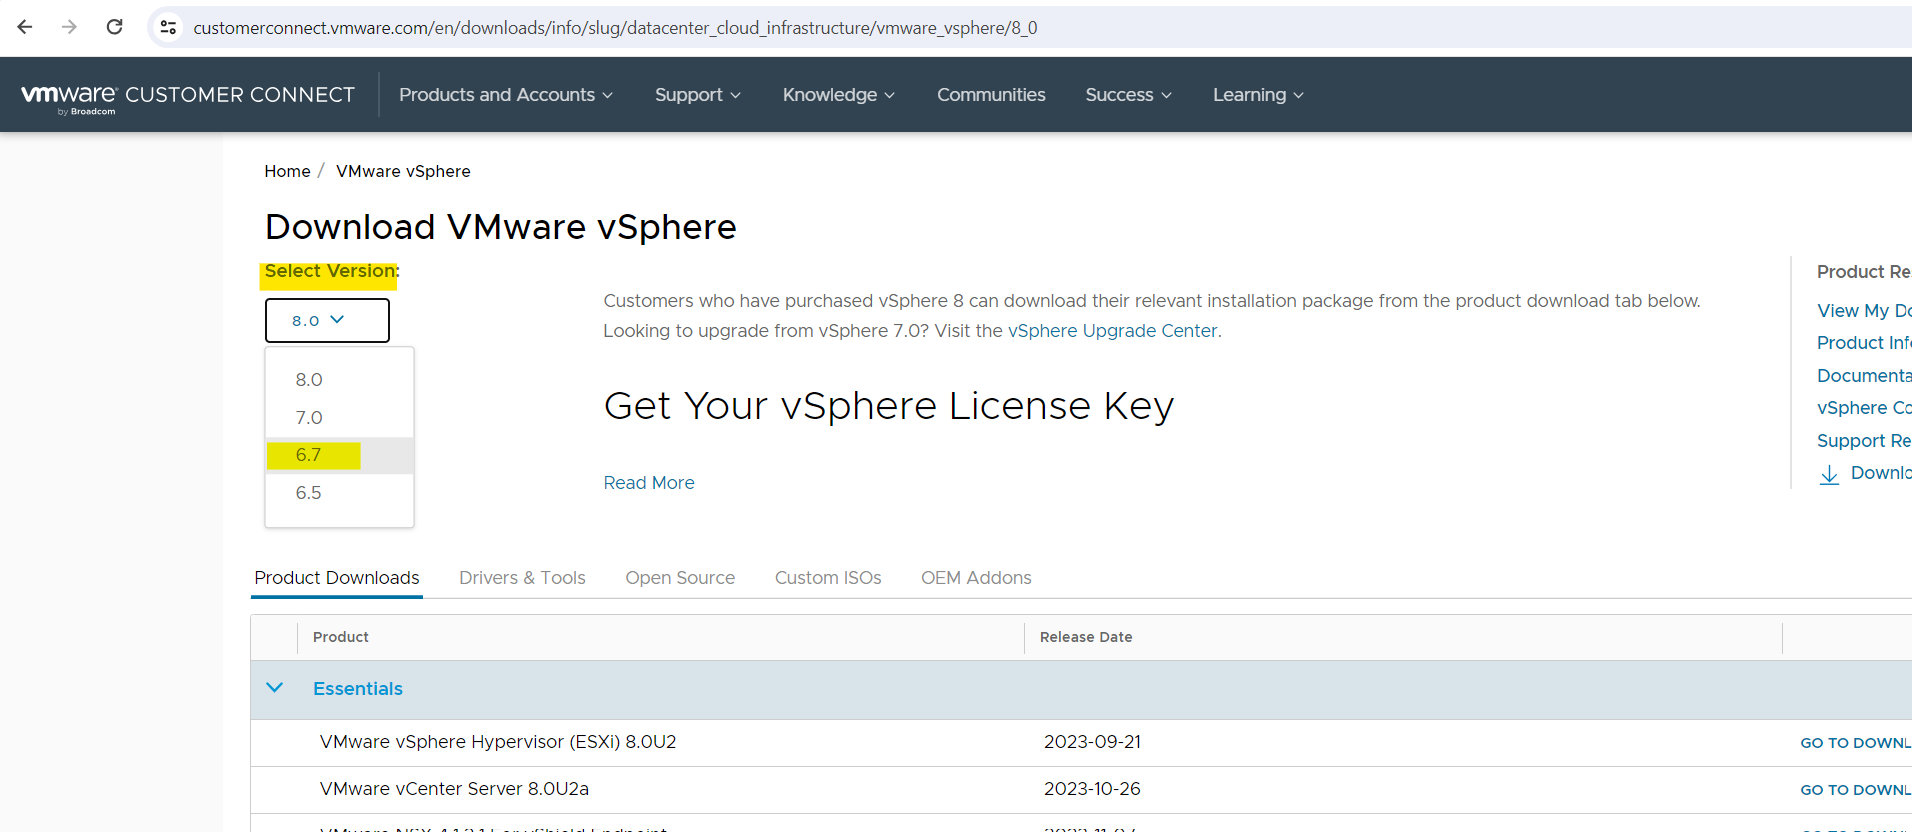
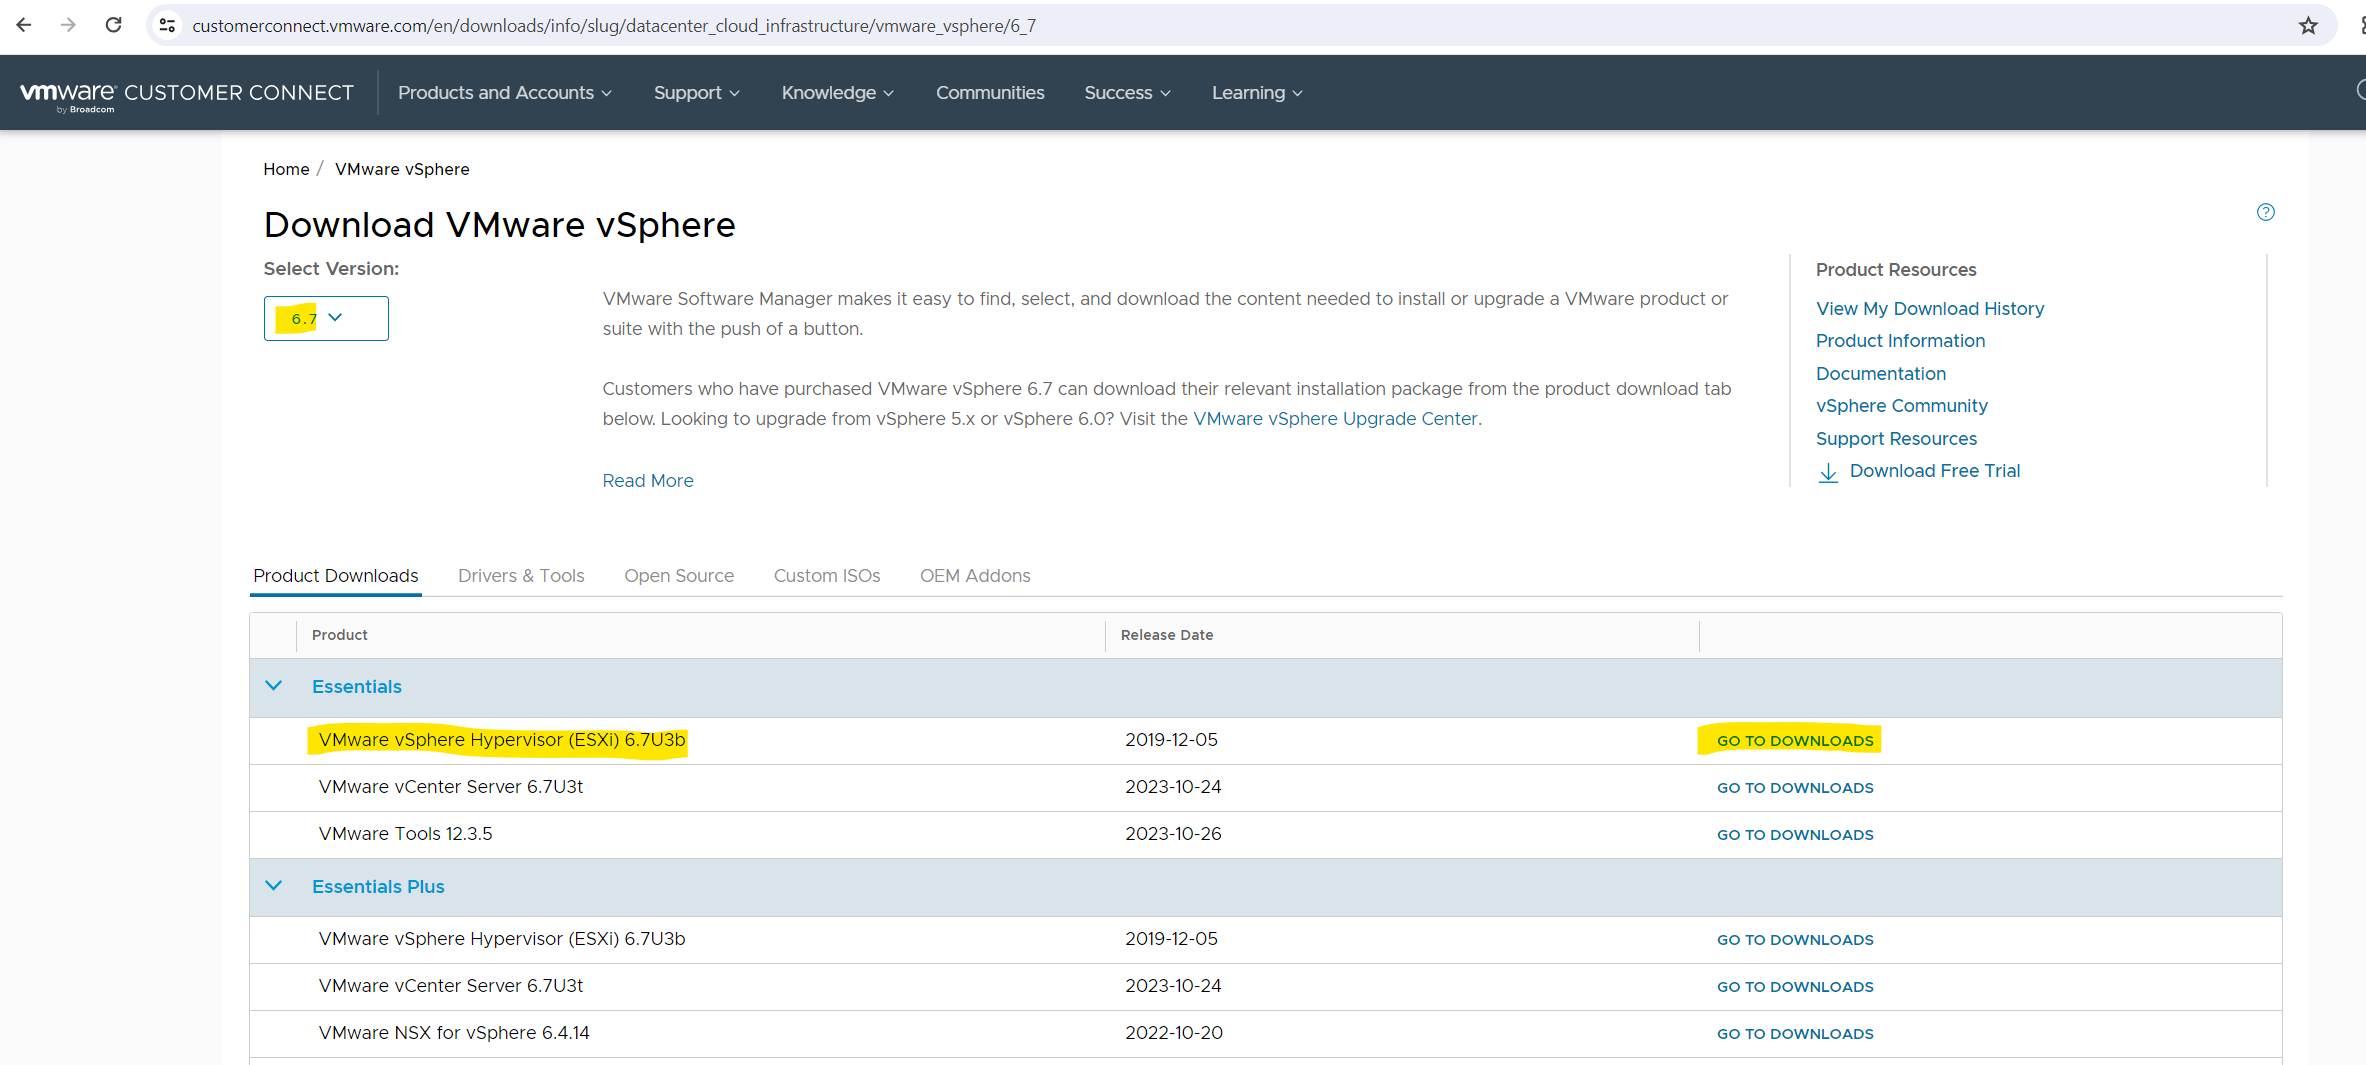
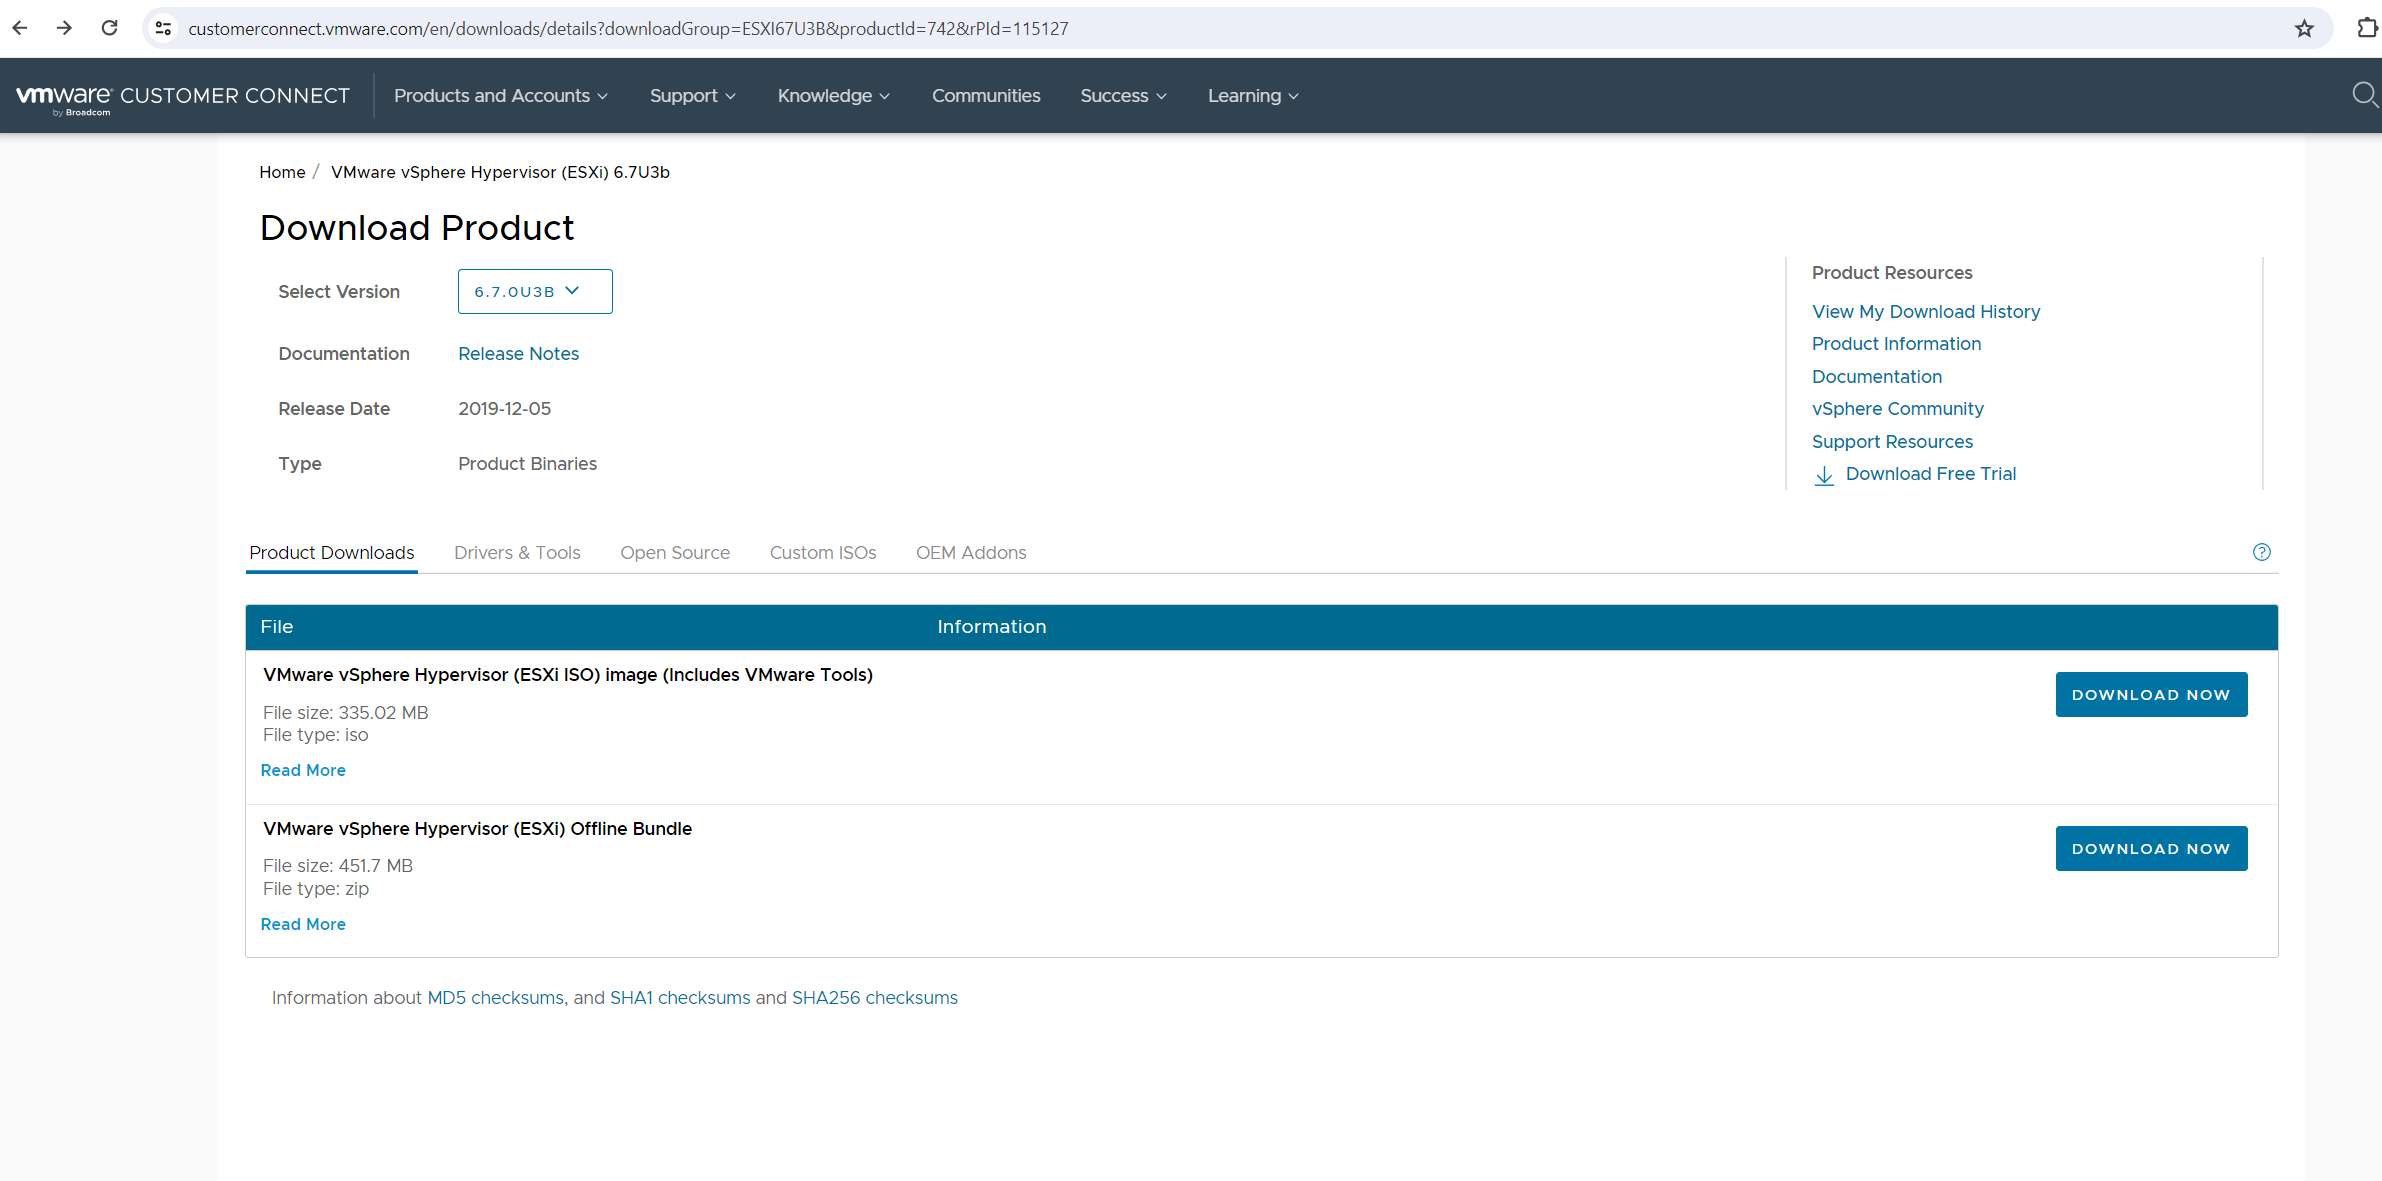
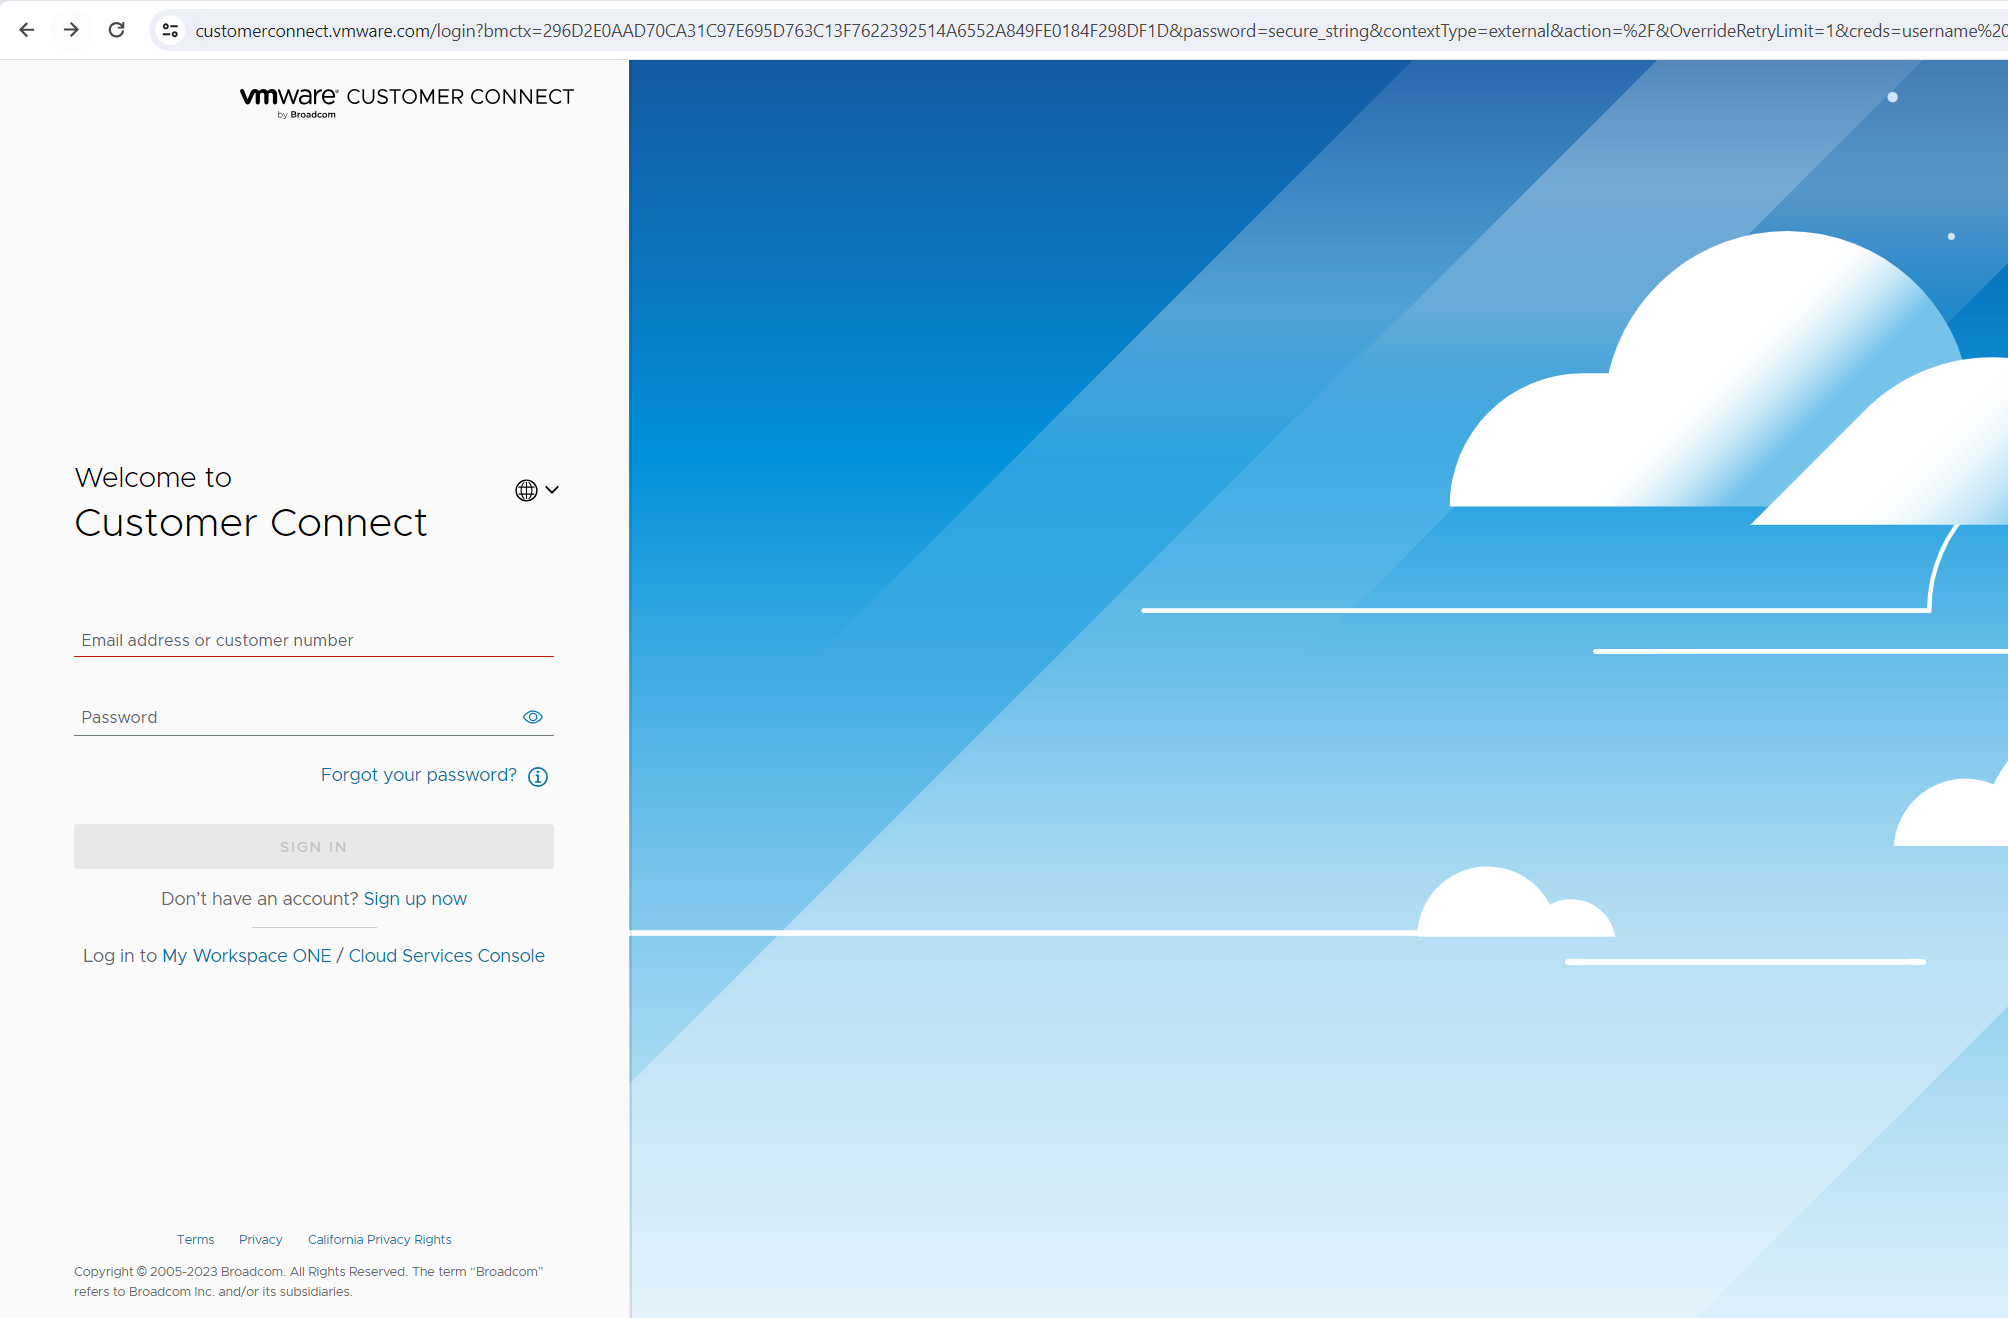
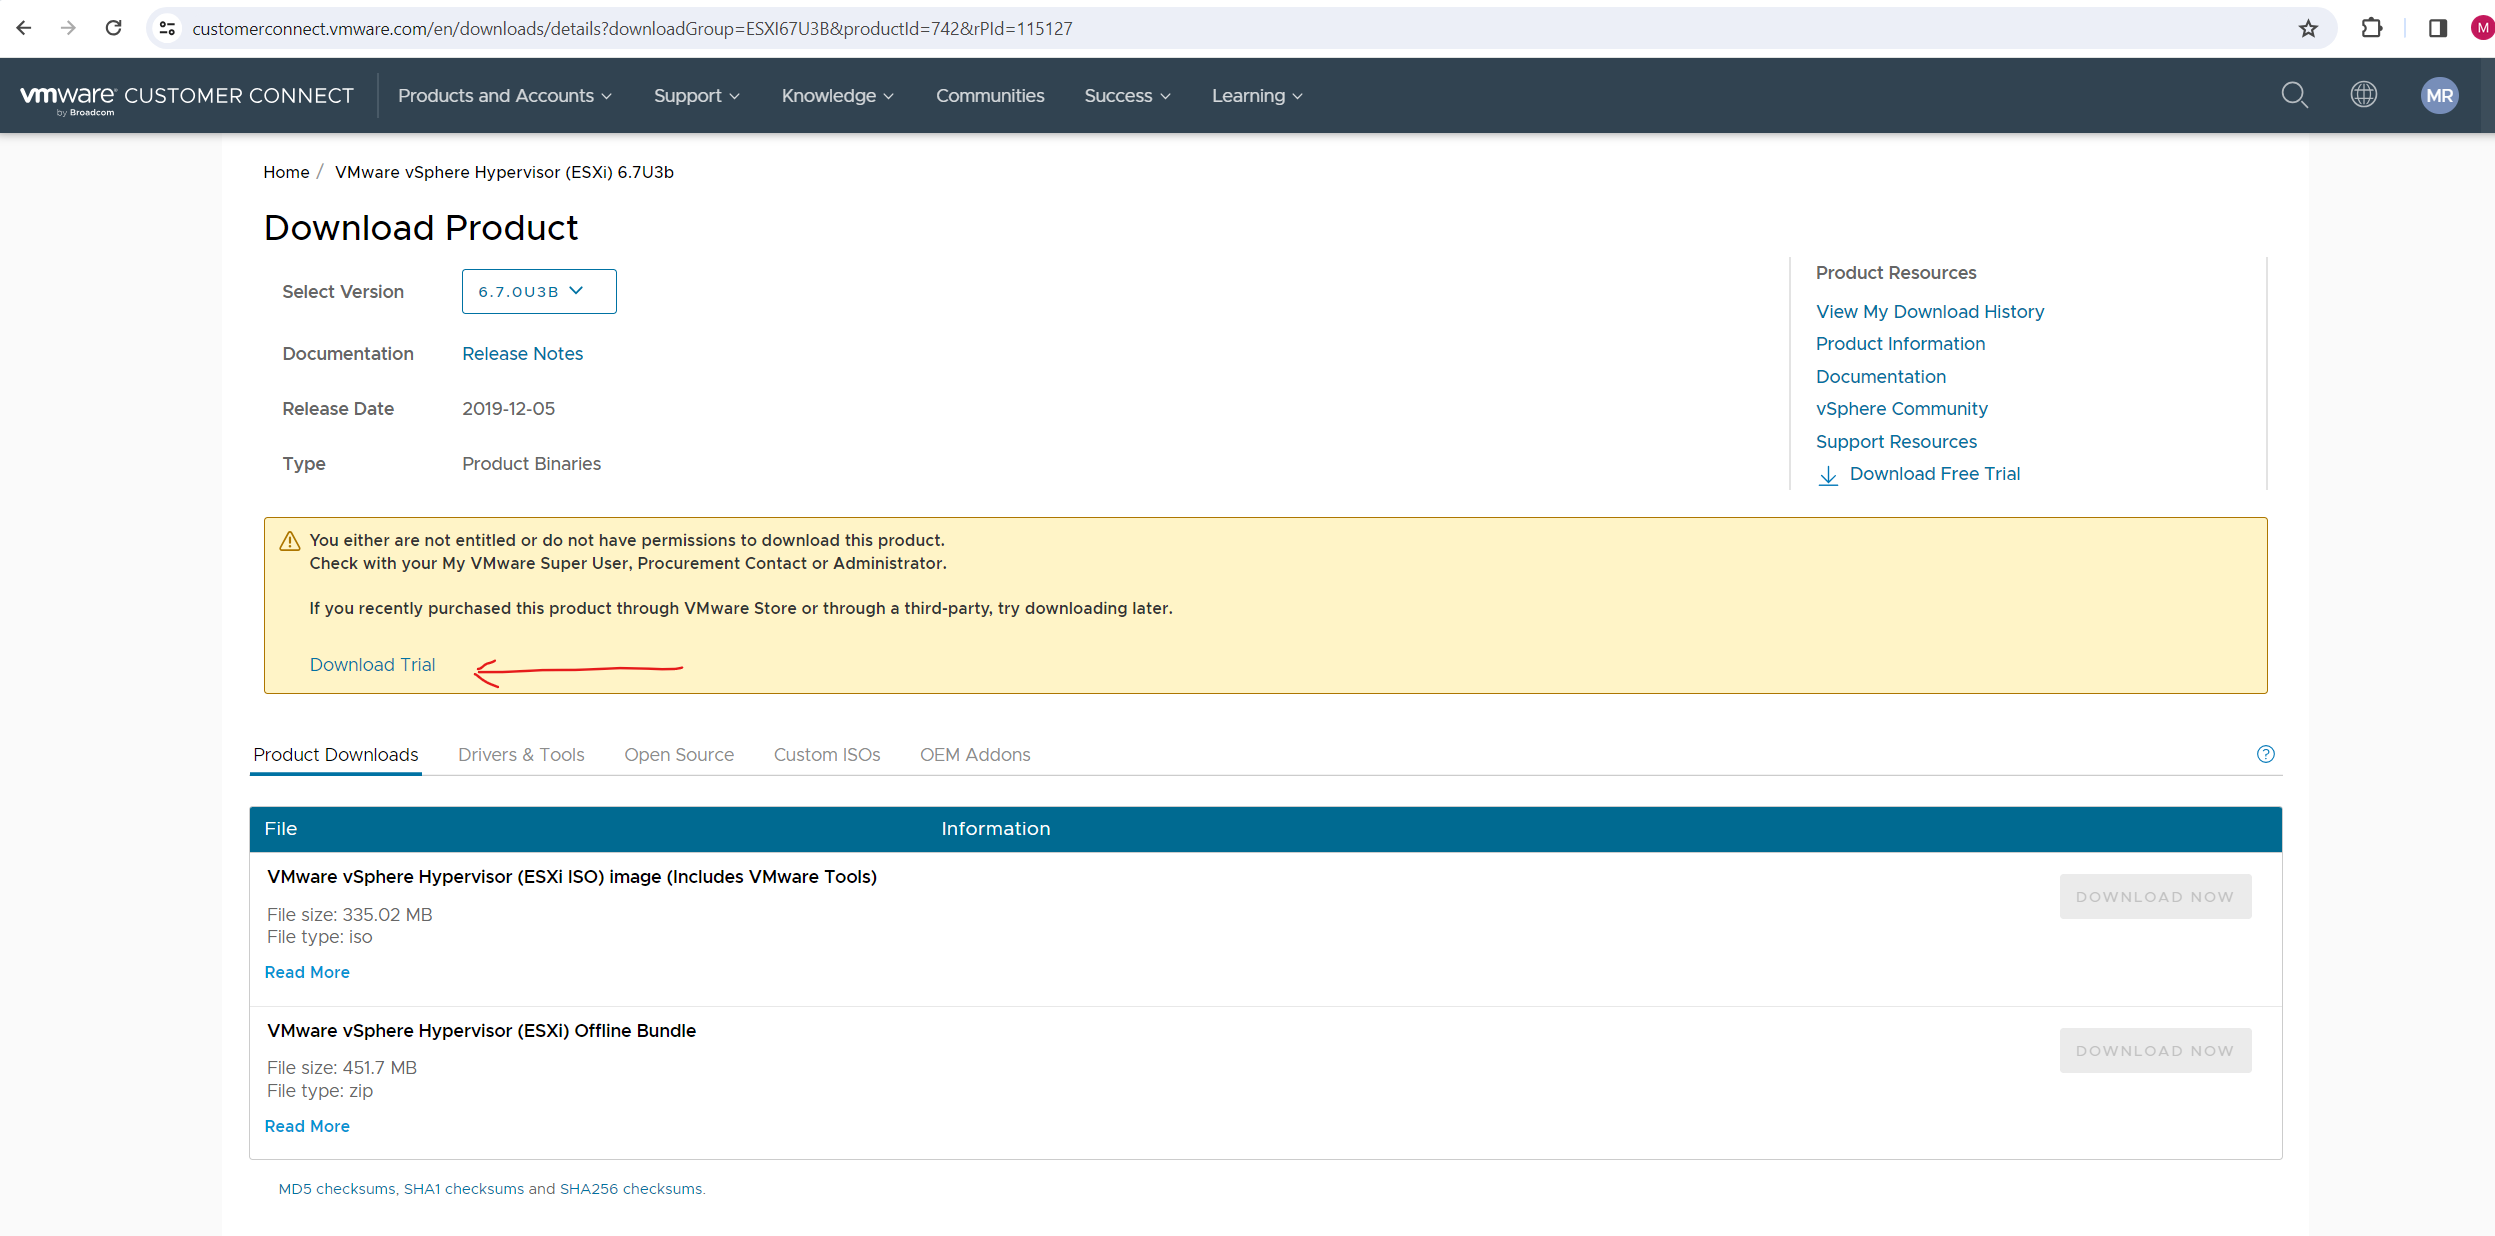
Download VWware vSphere Hypervisor (ESXi)
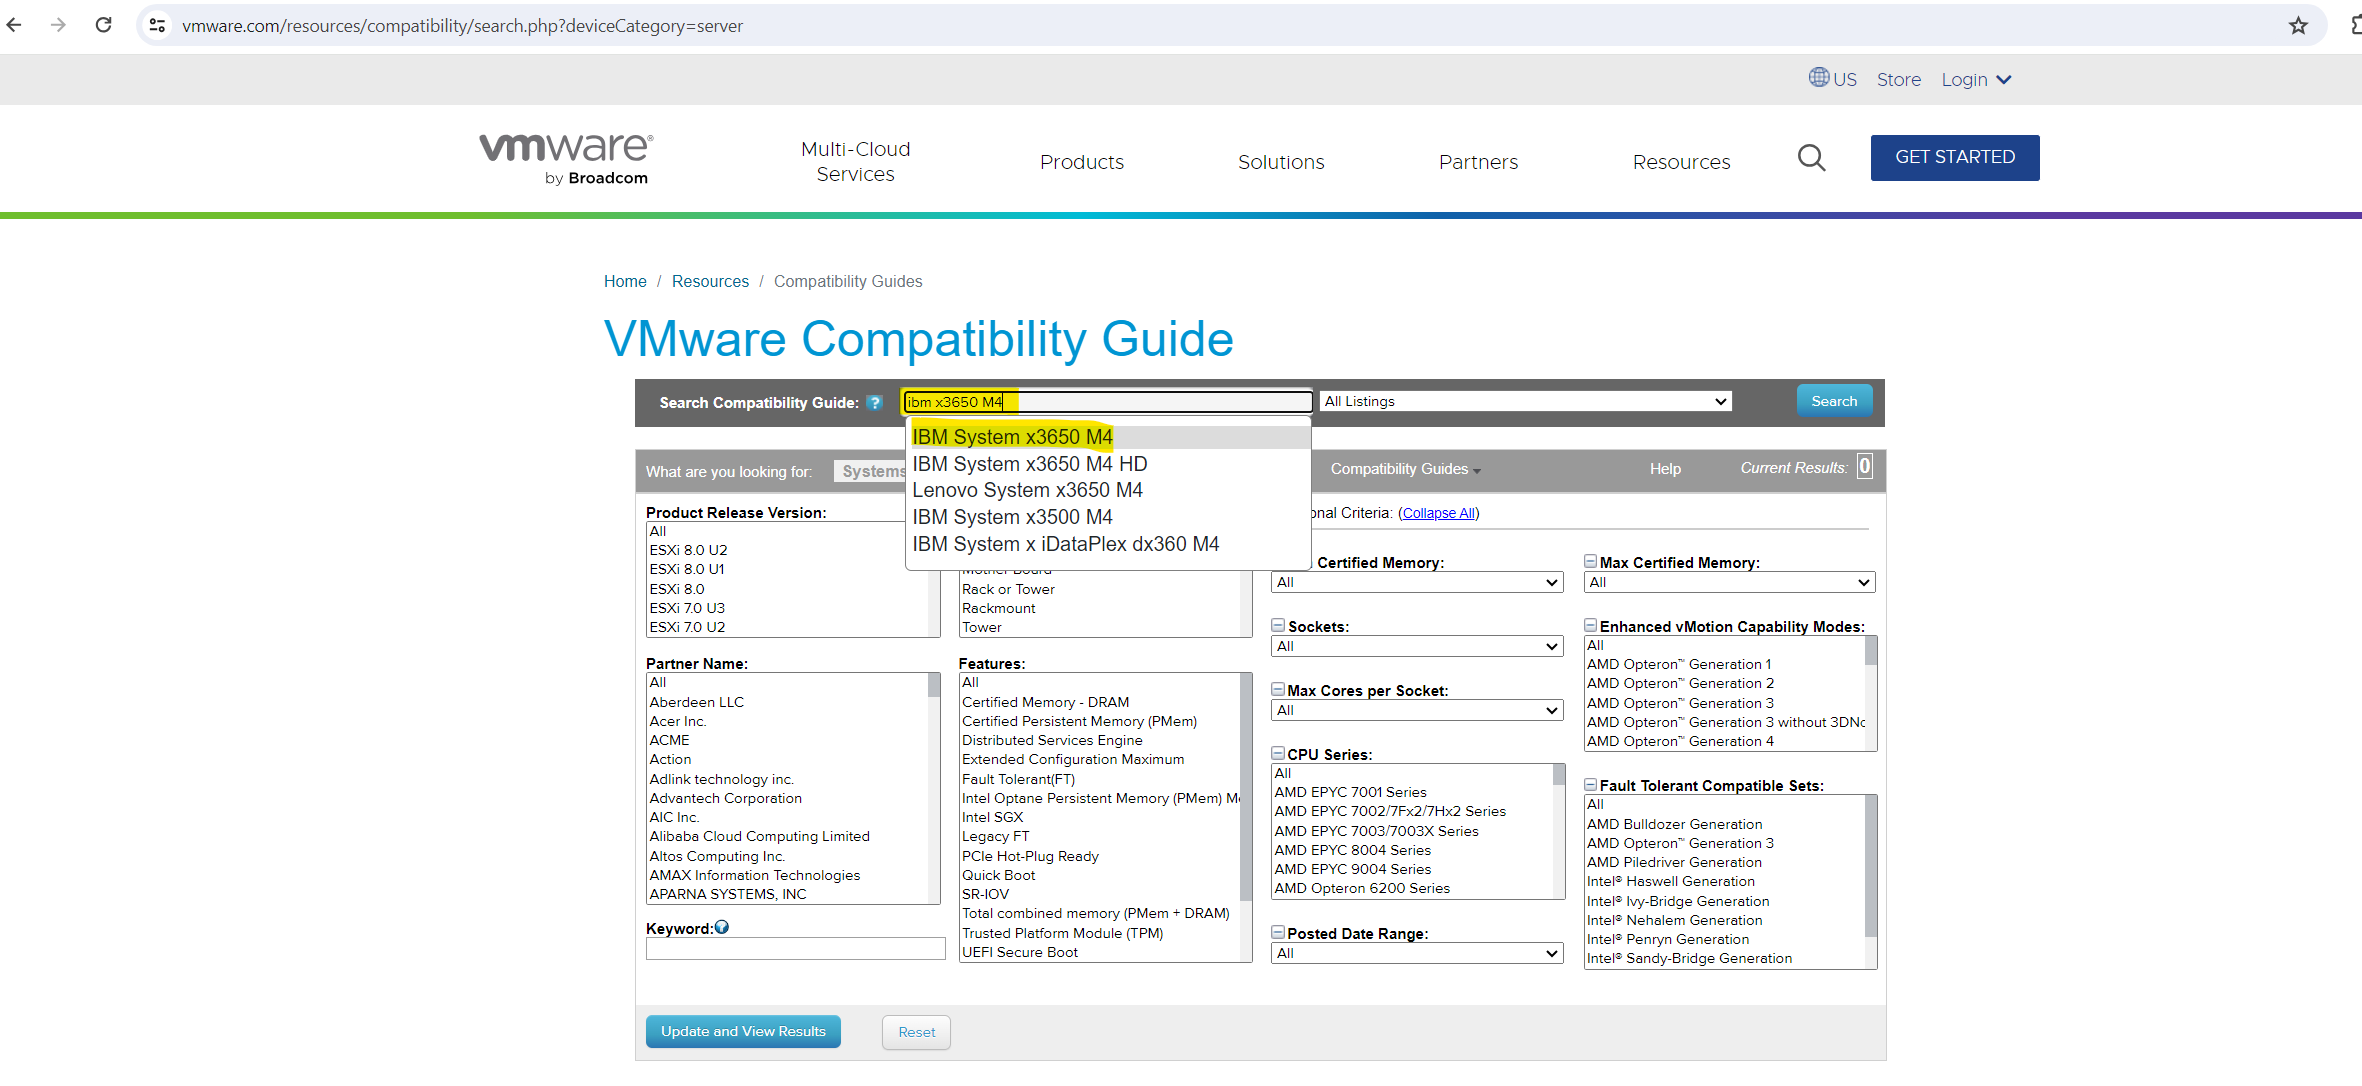
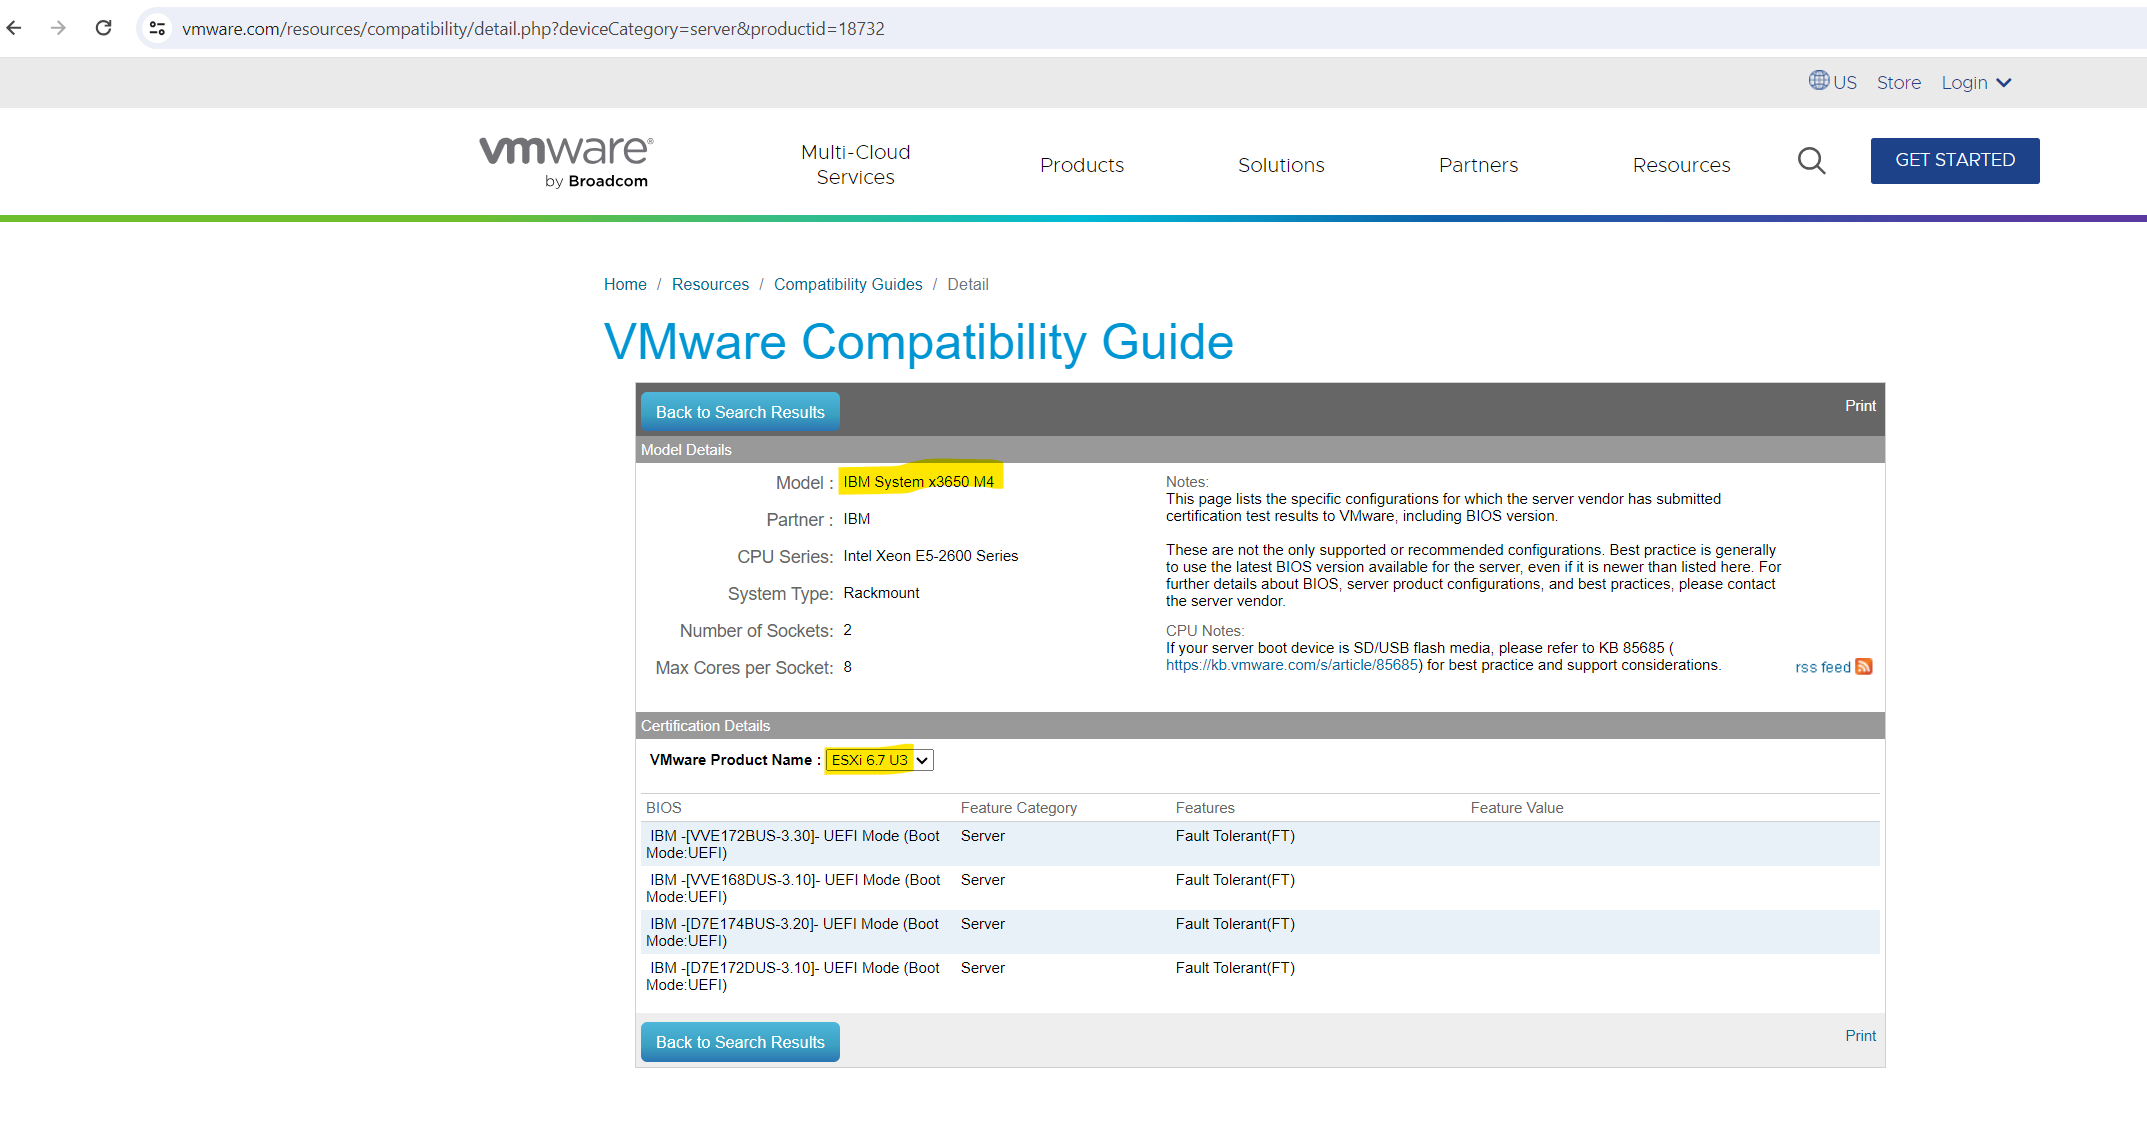
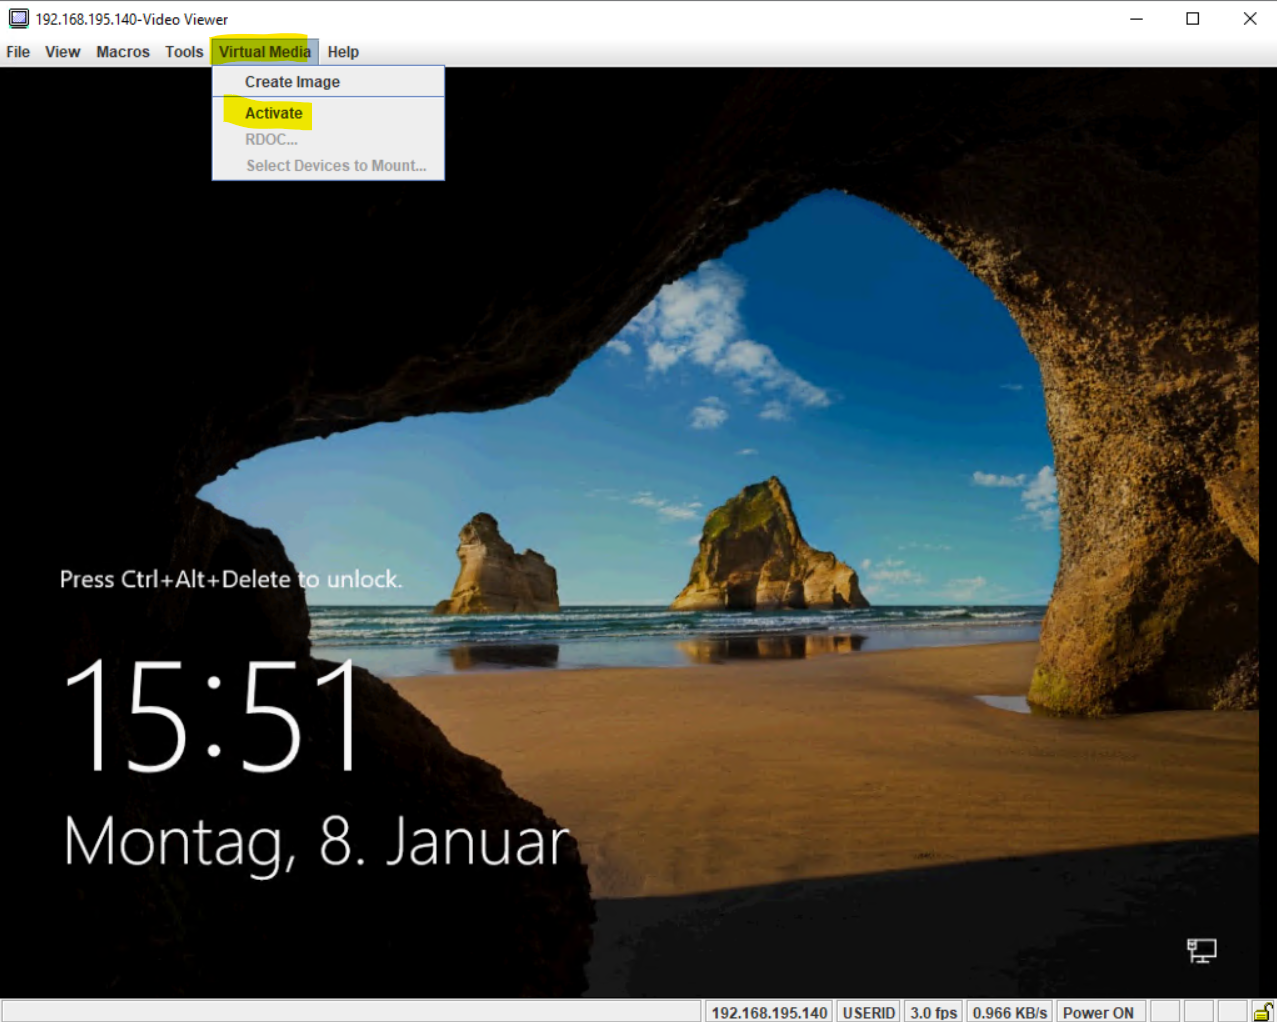
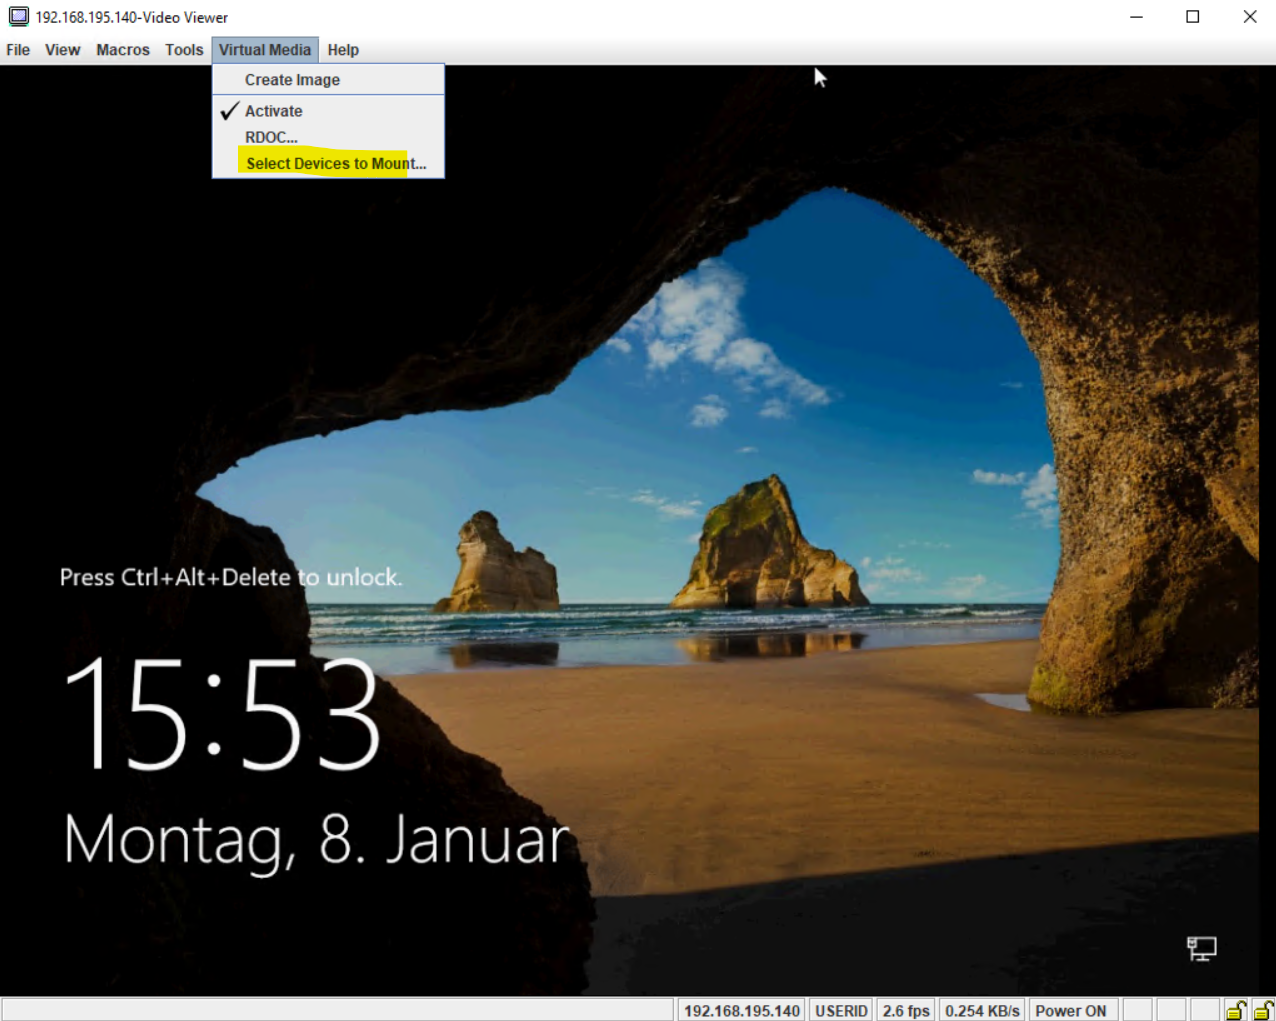
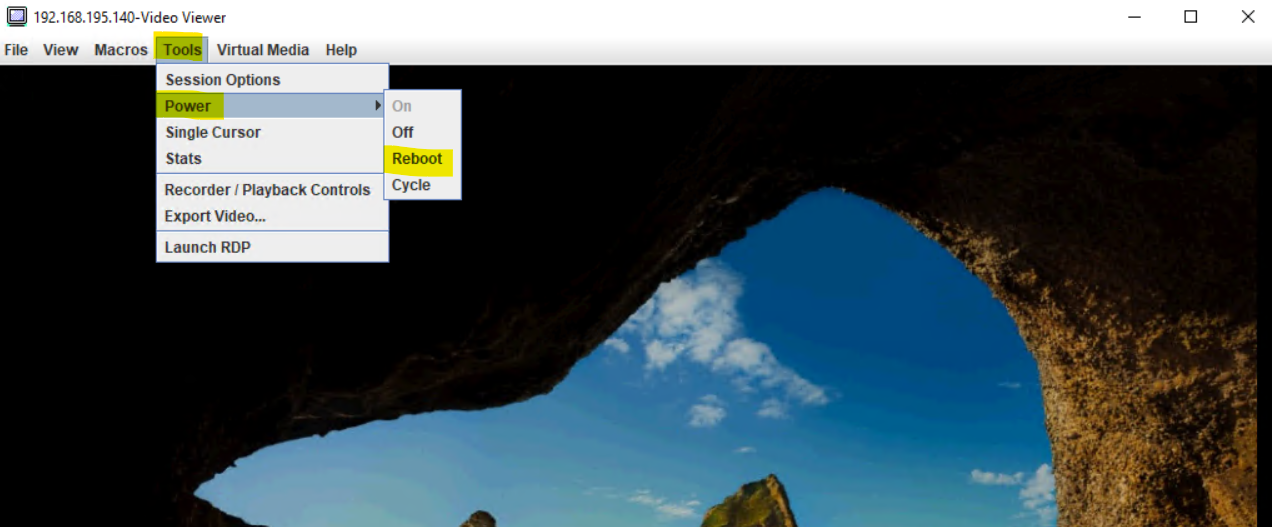
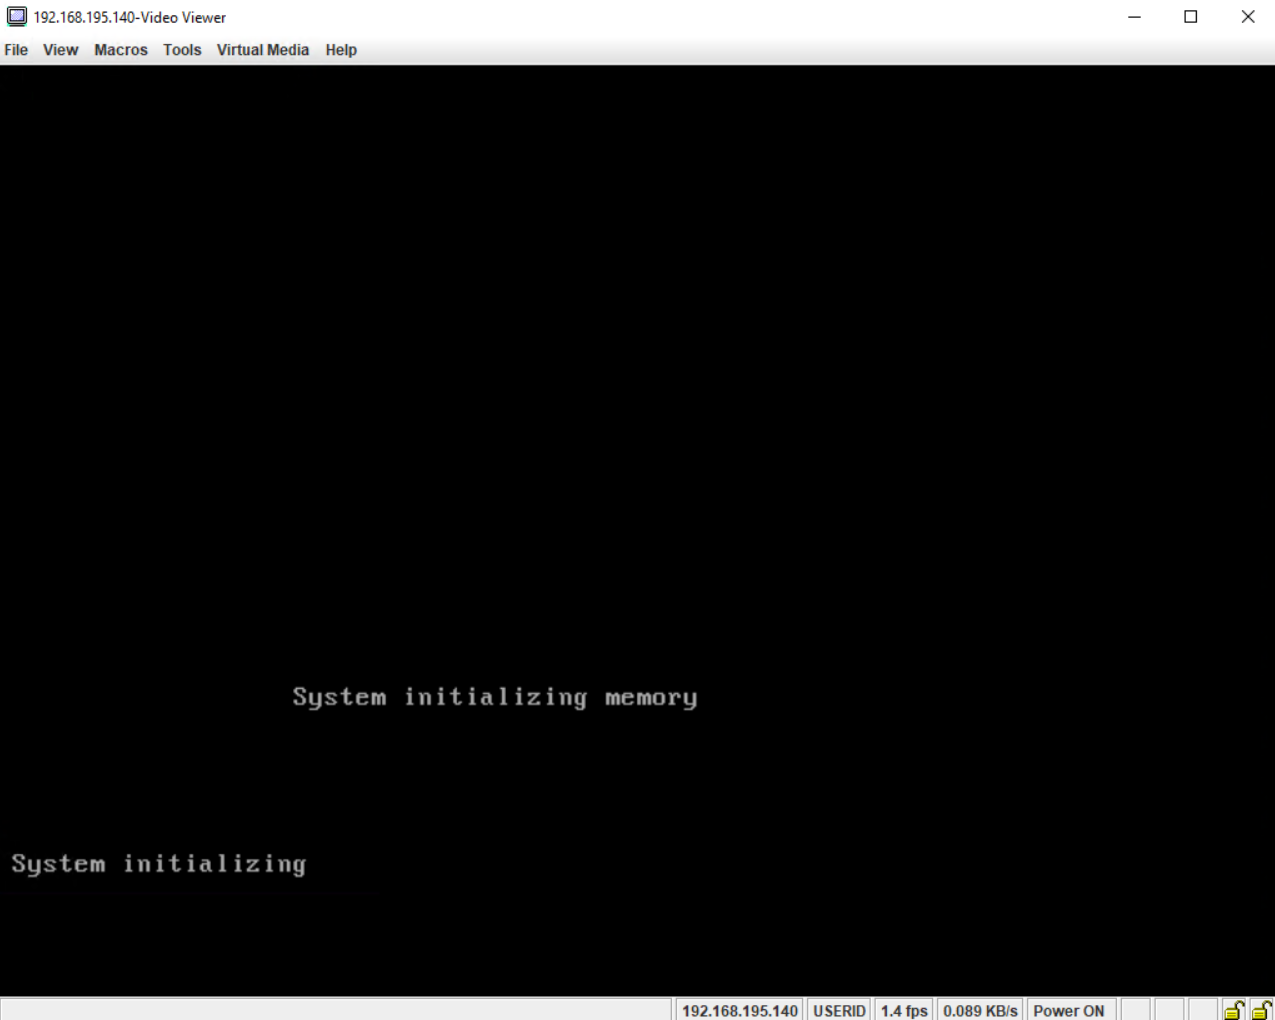
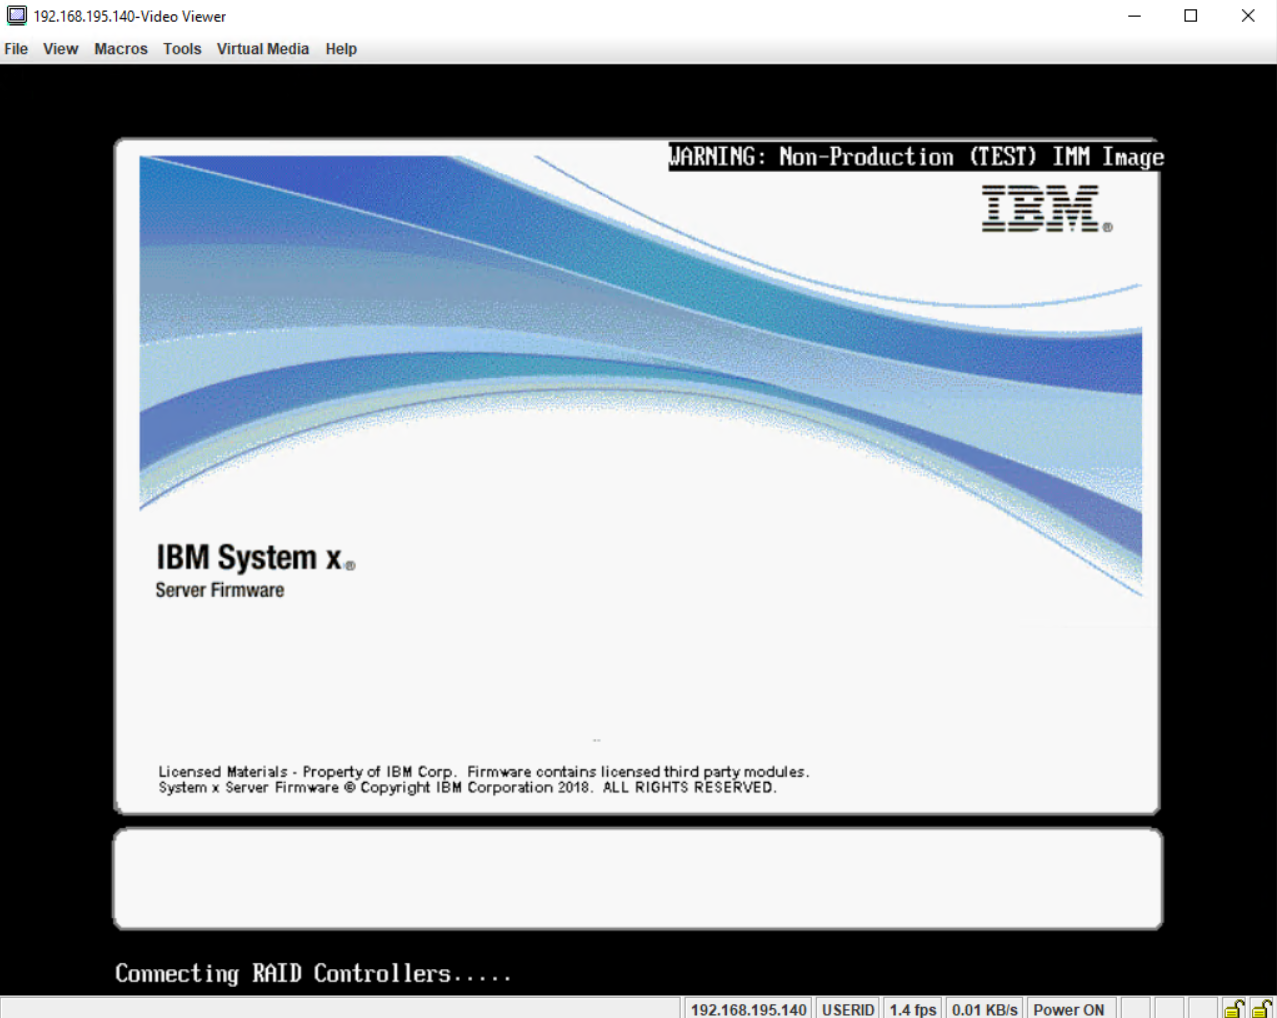
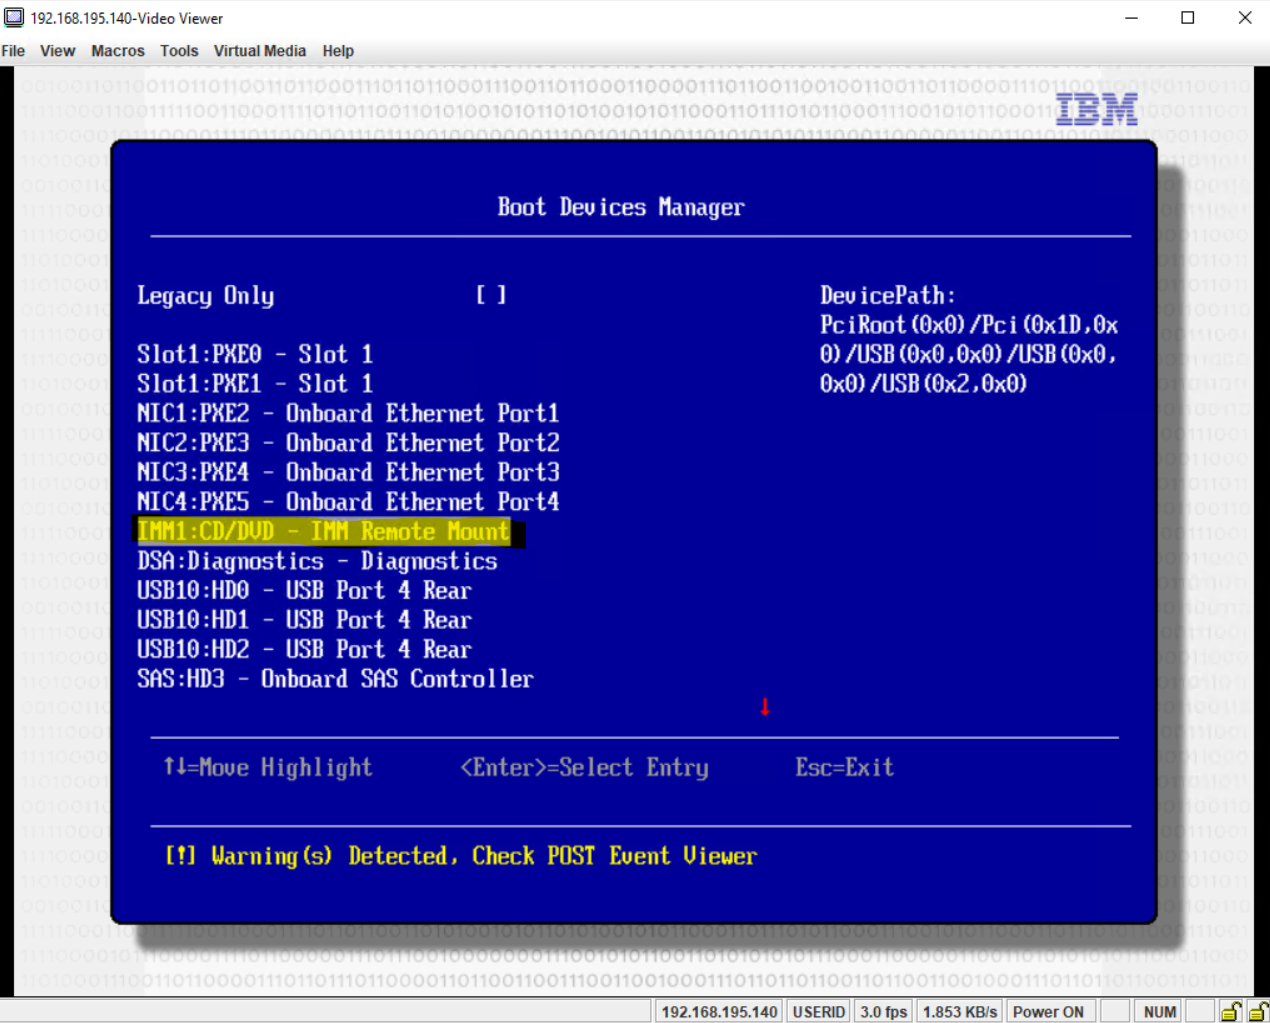
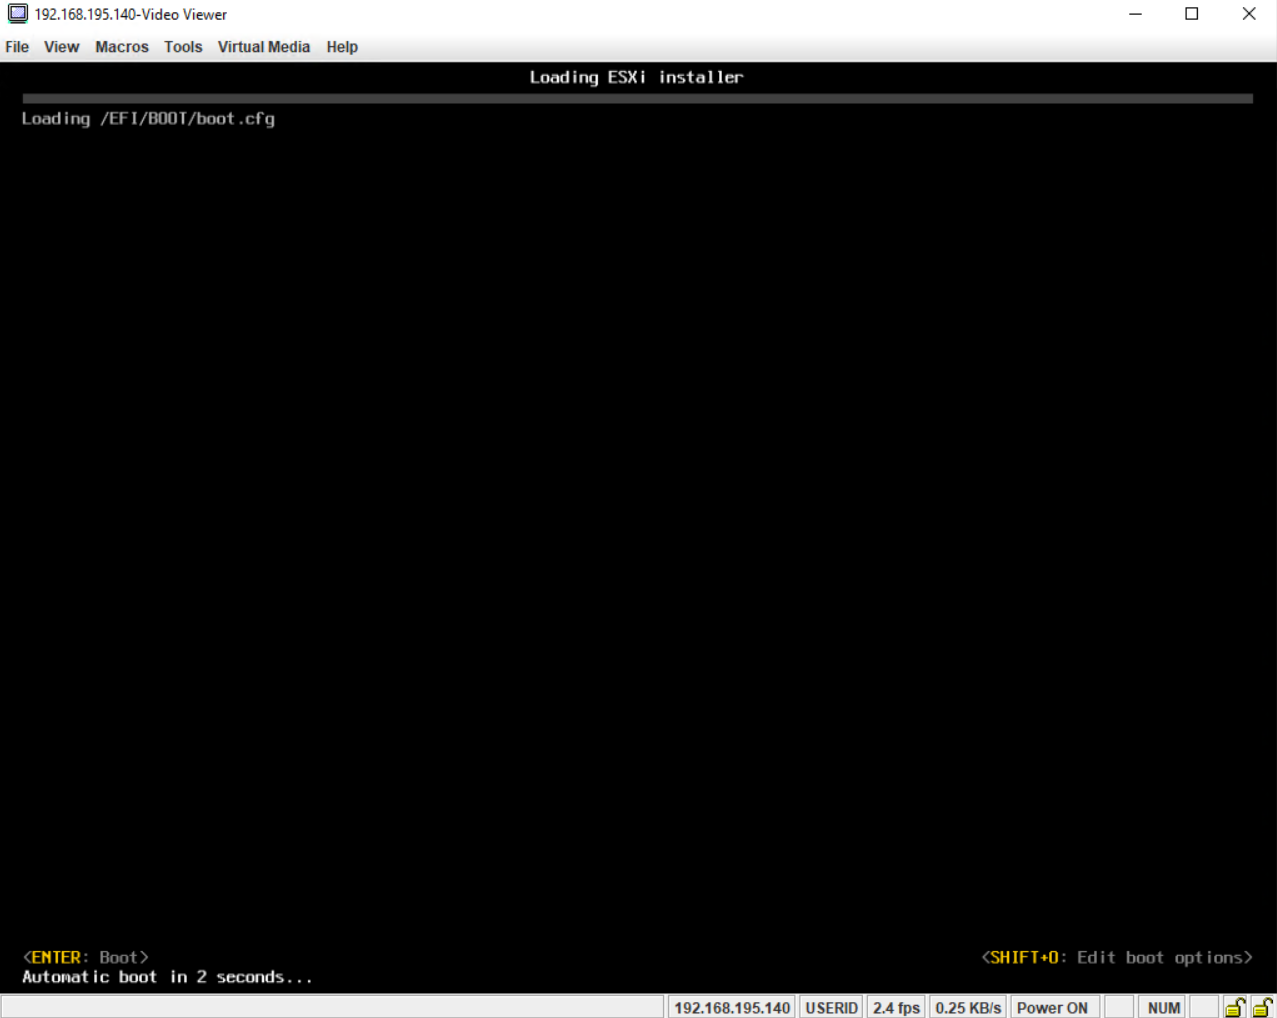
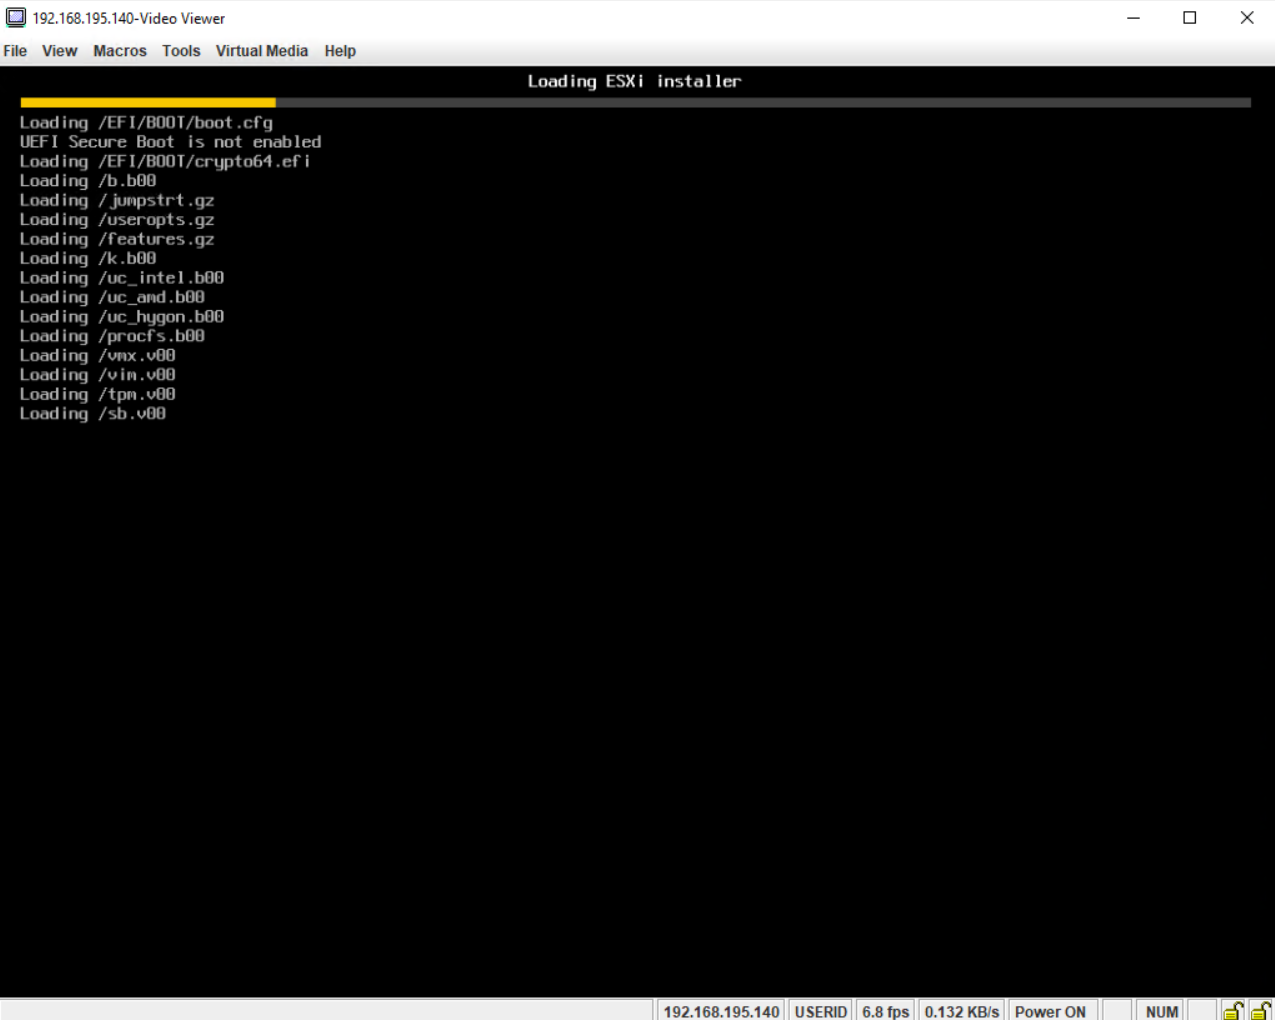
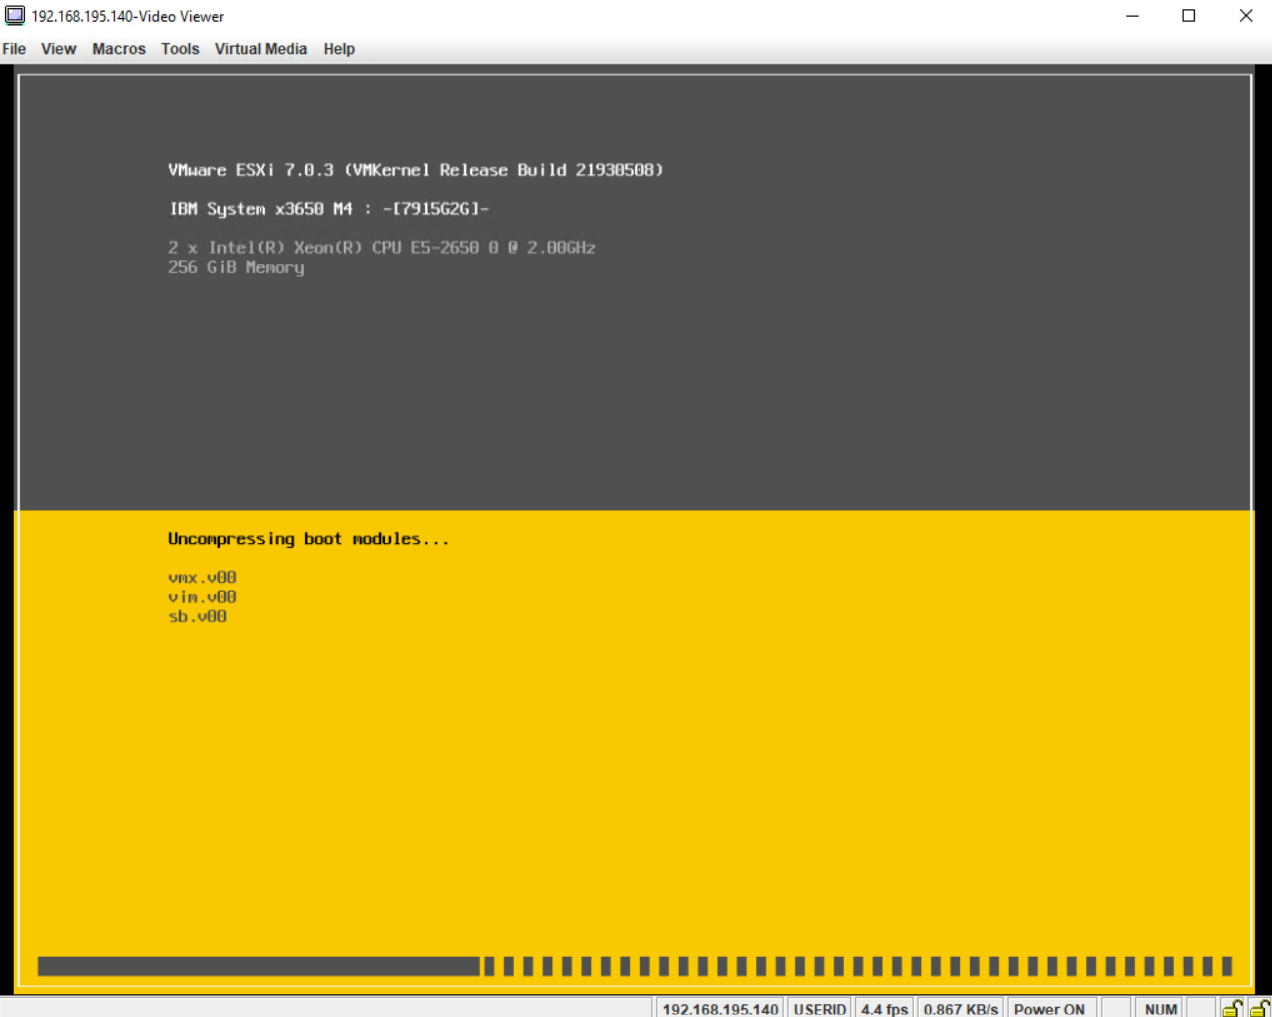
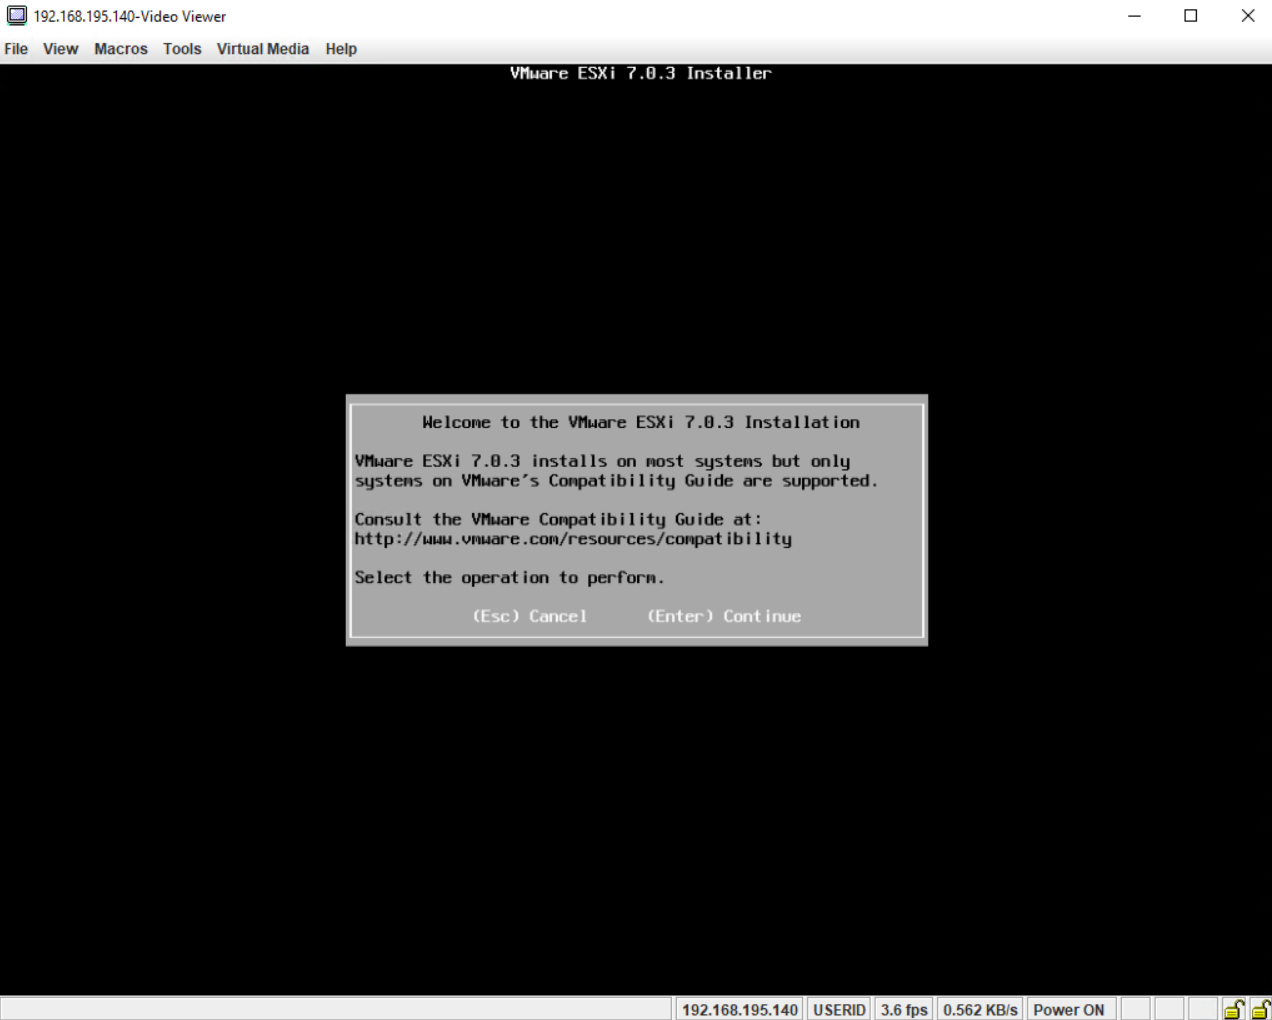
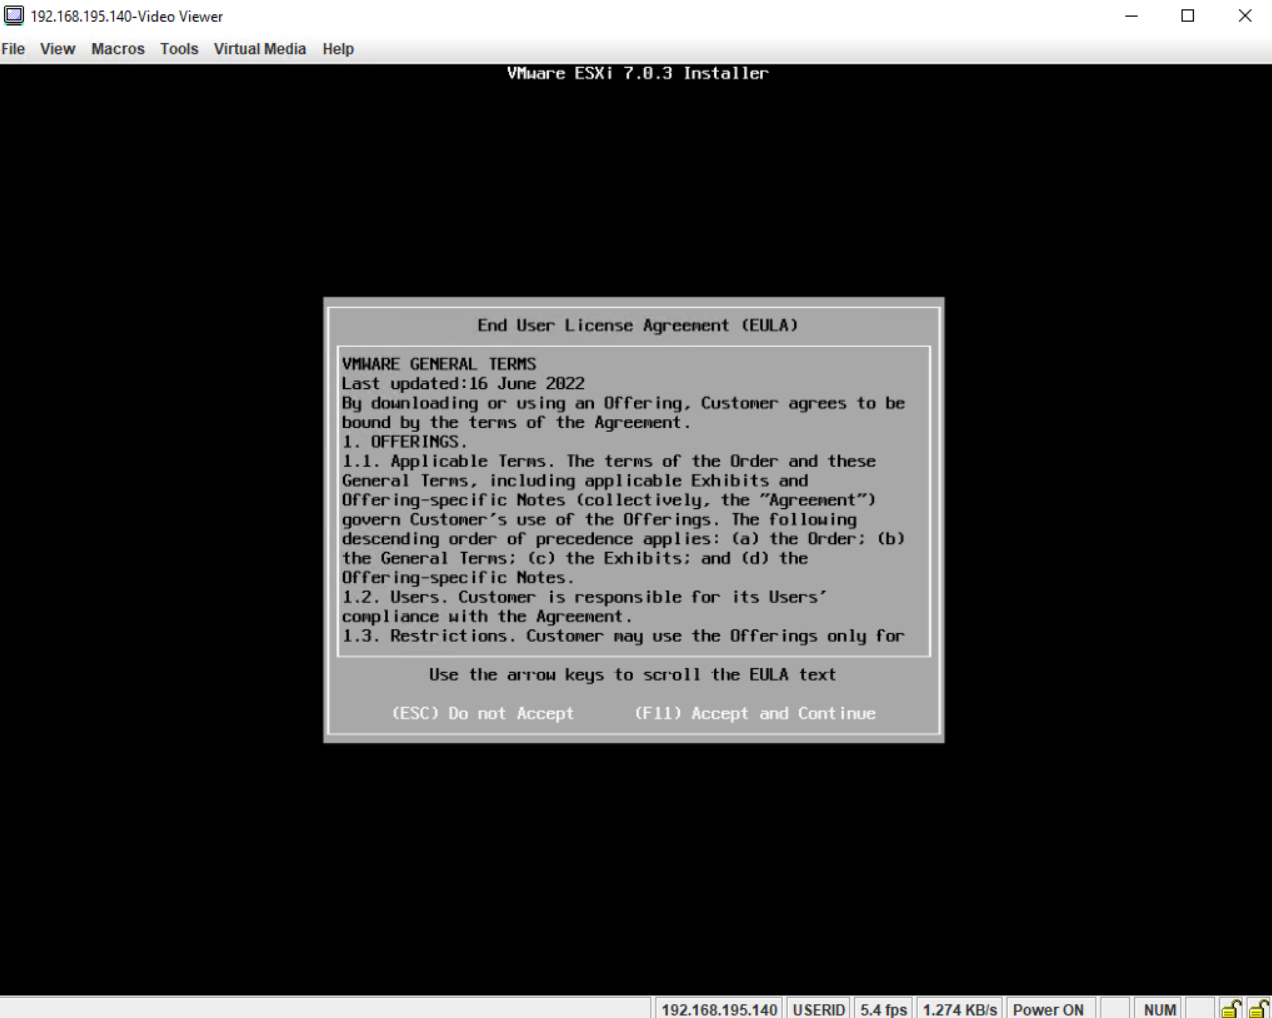
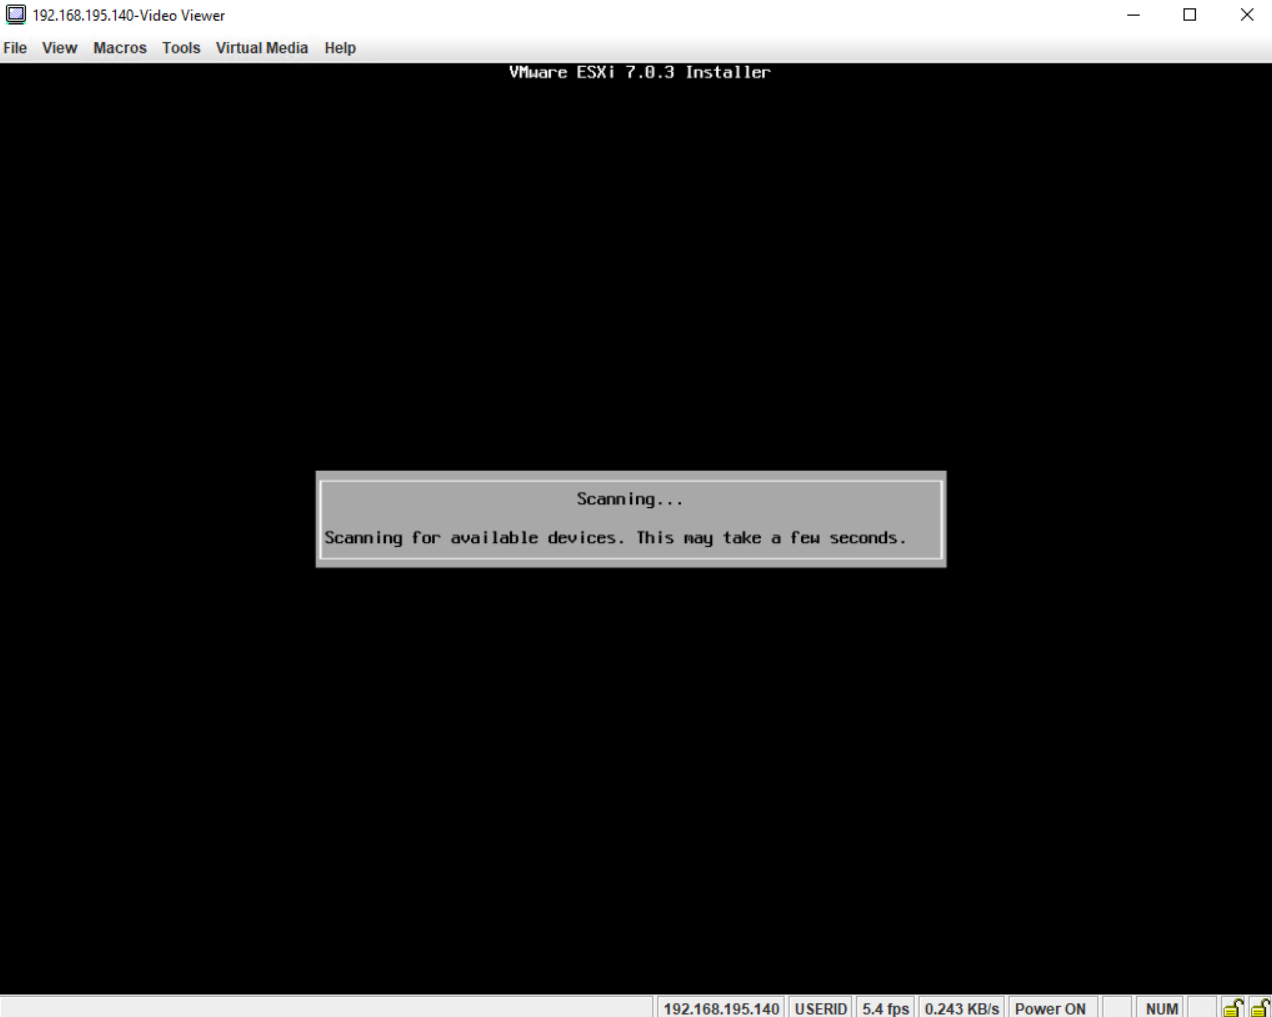
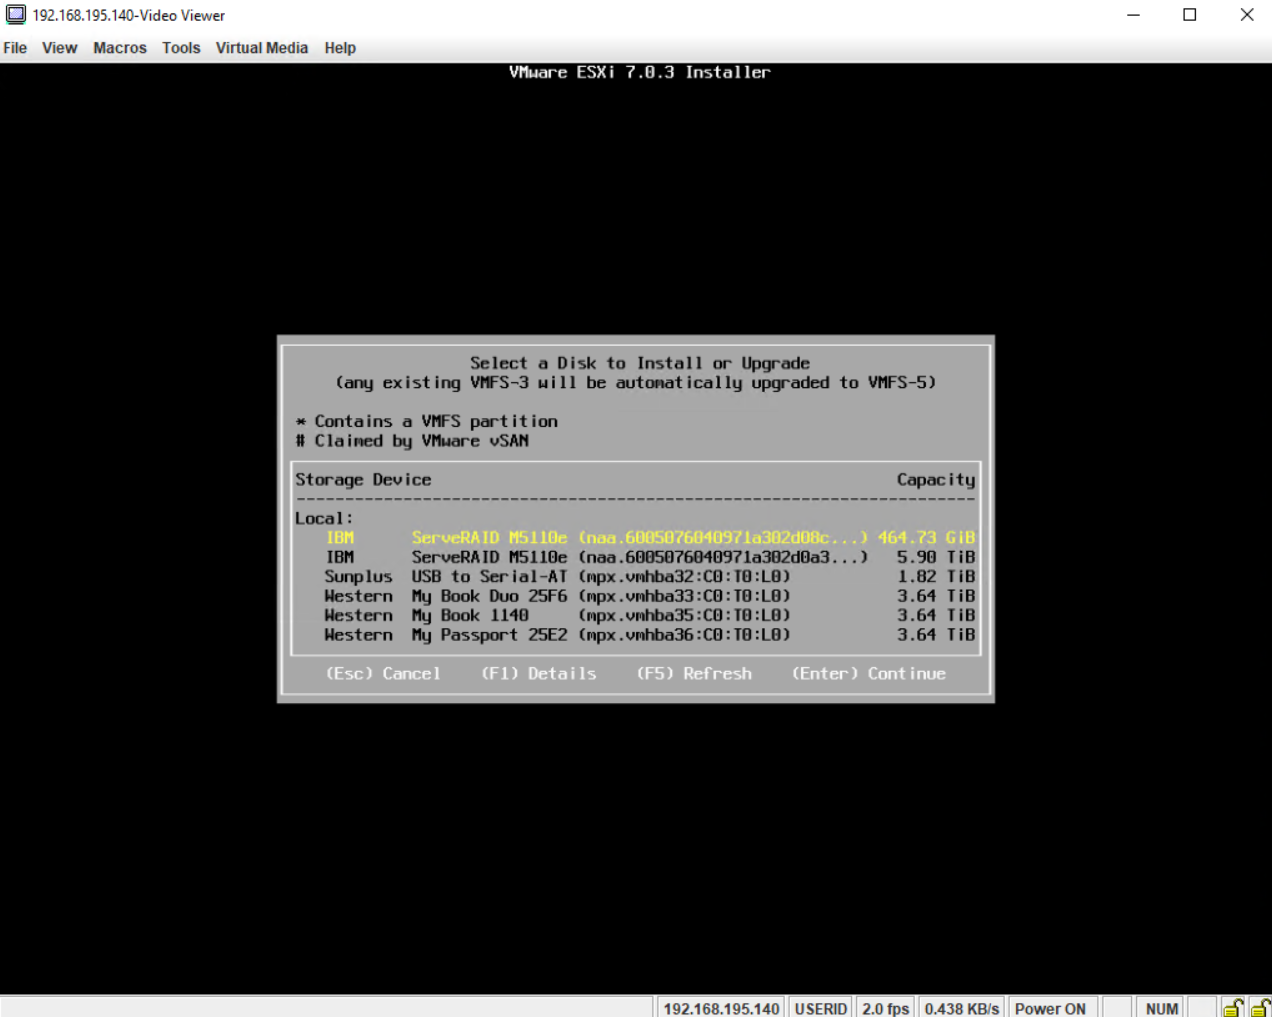
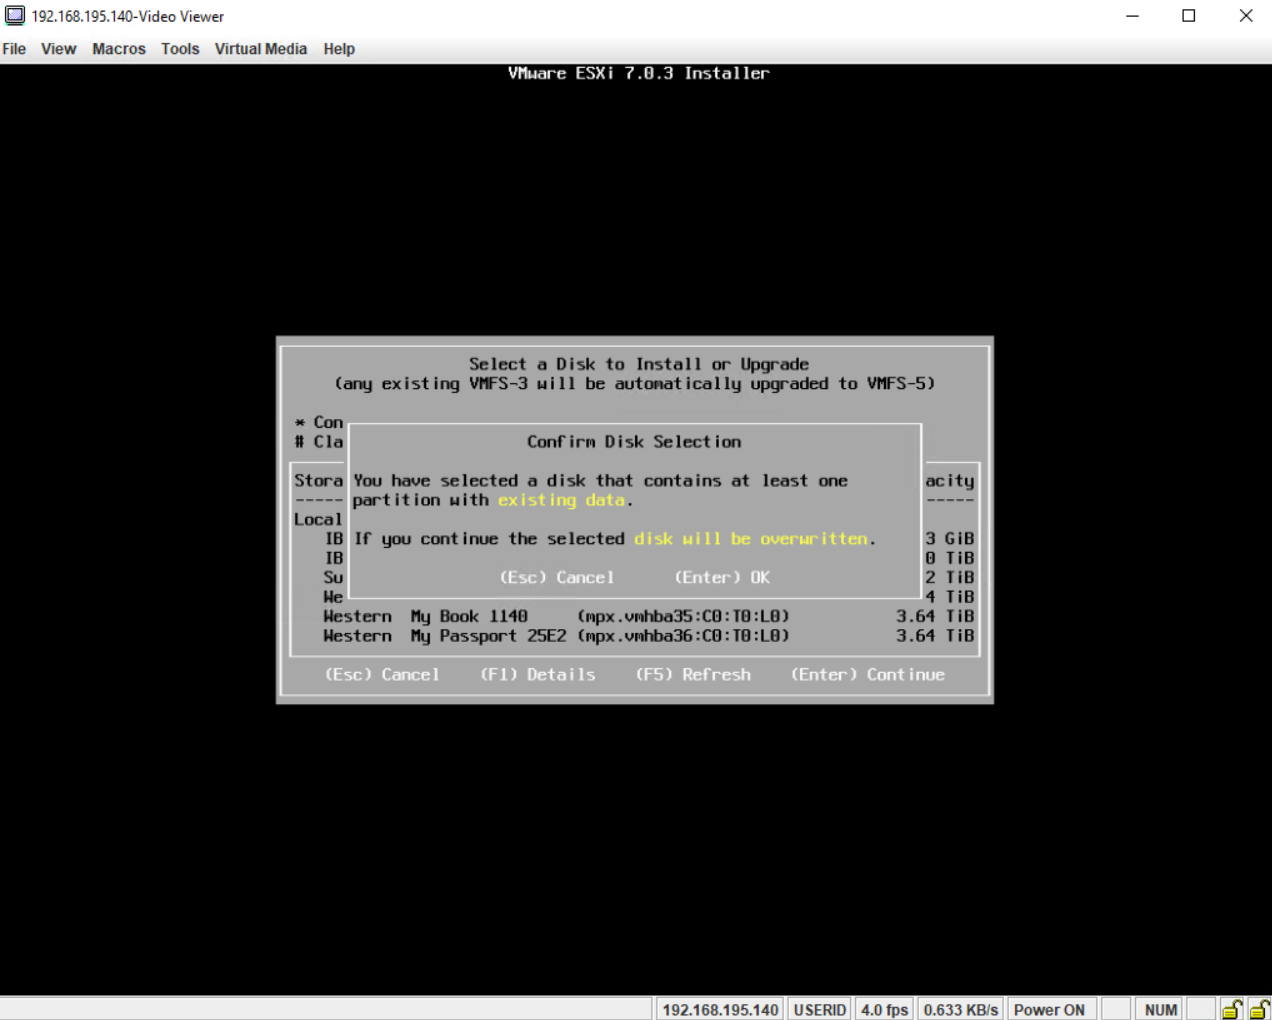
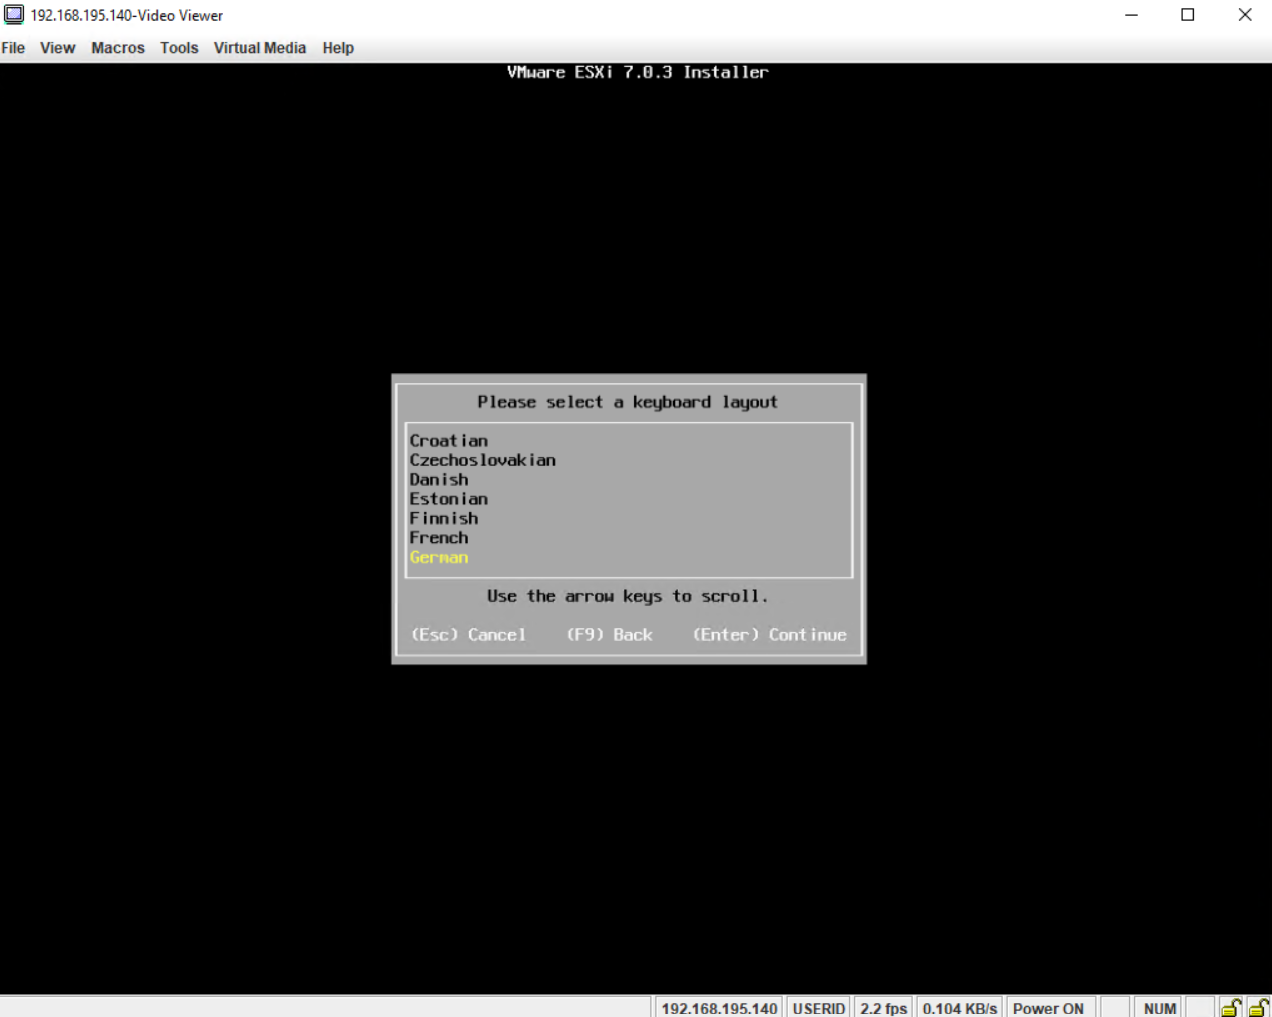
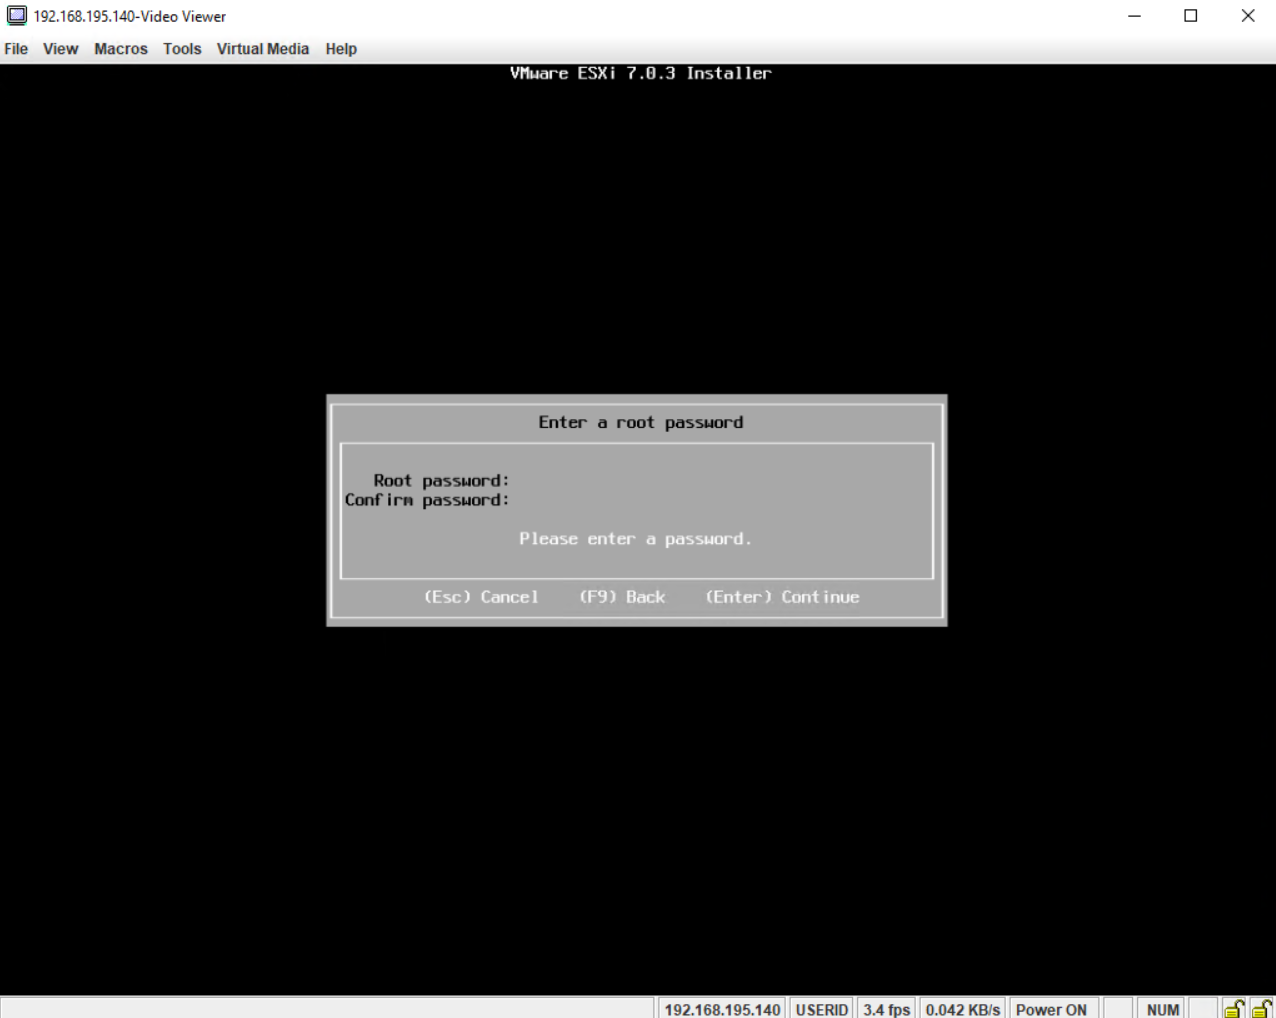
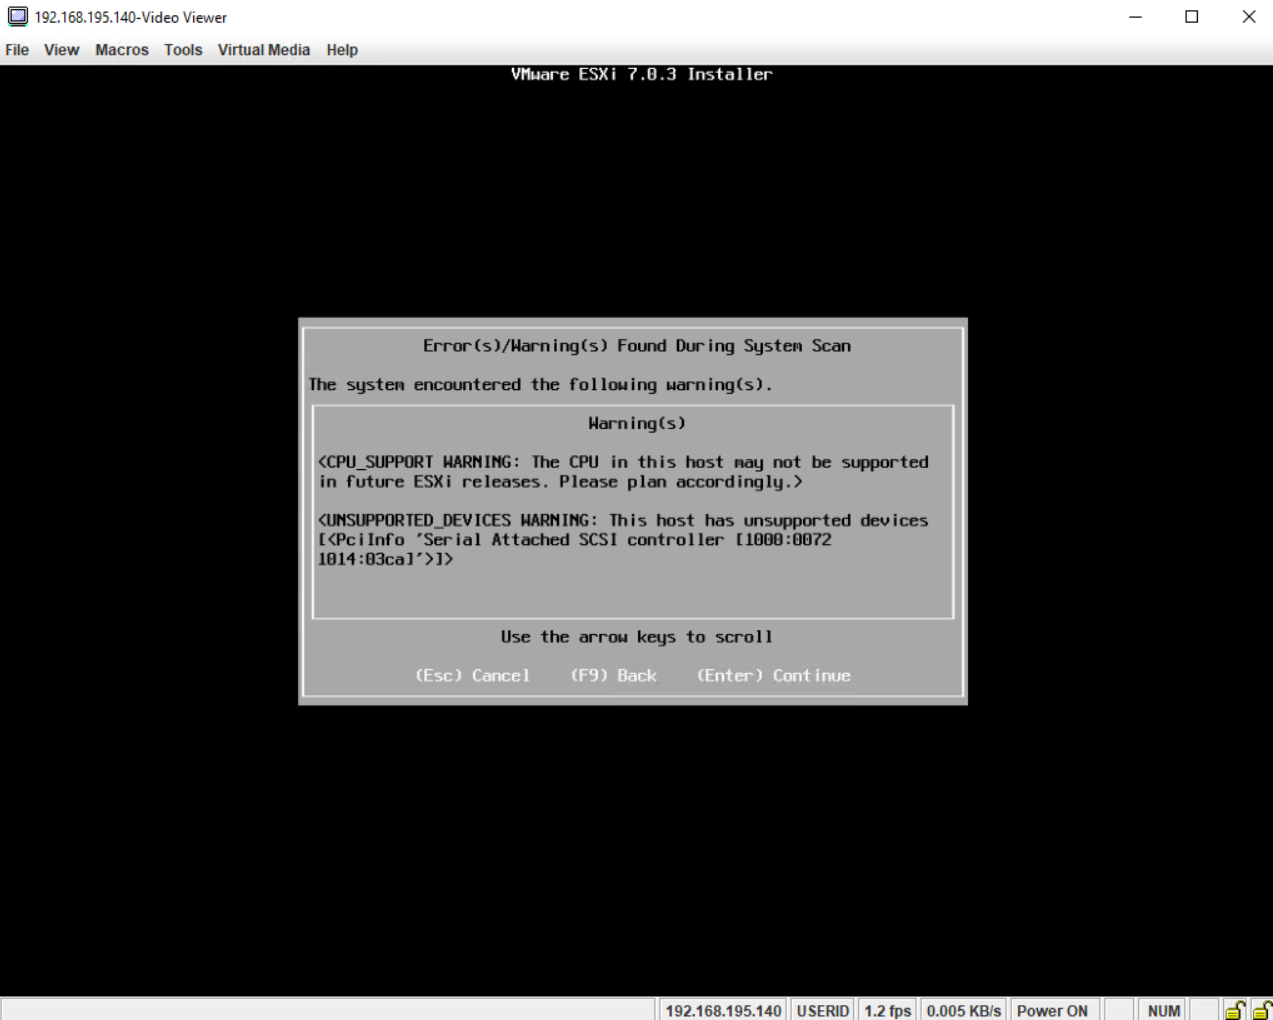
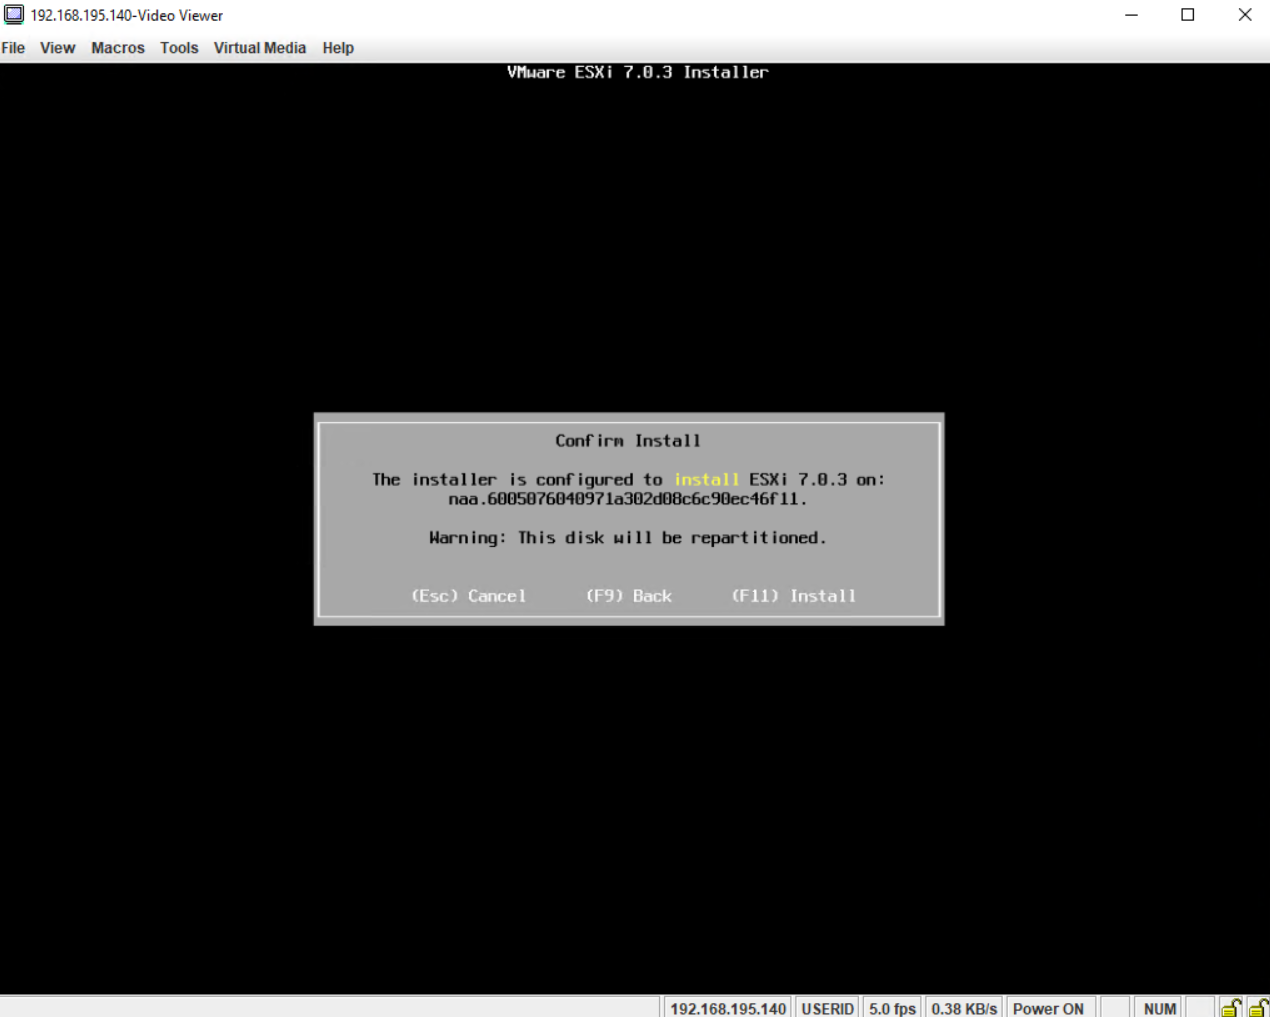
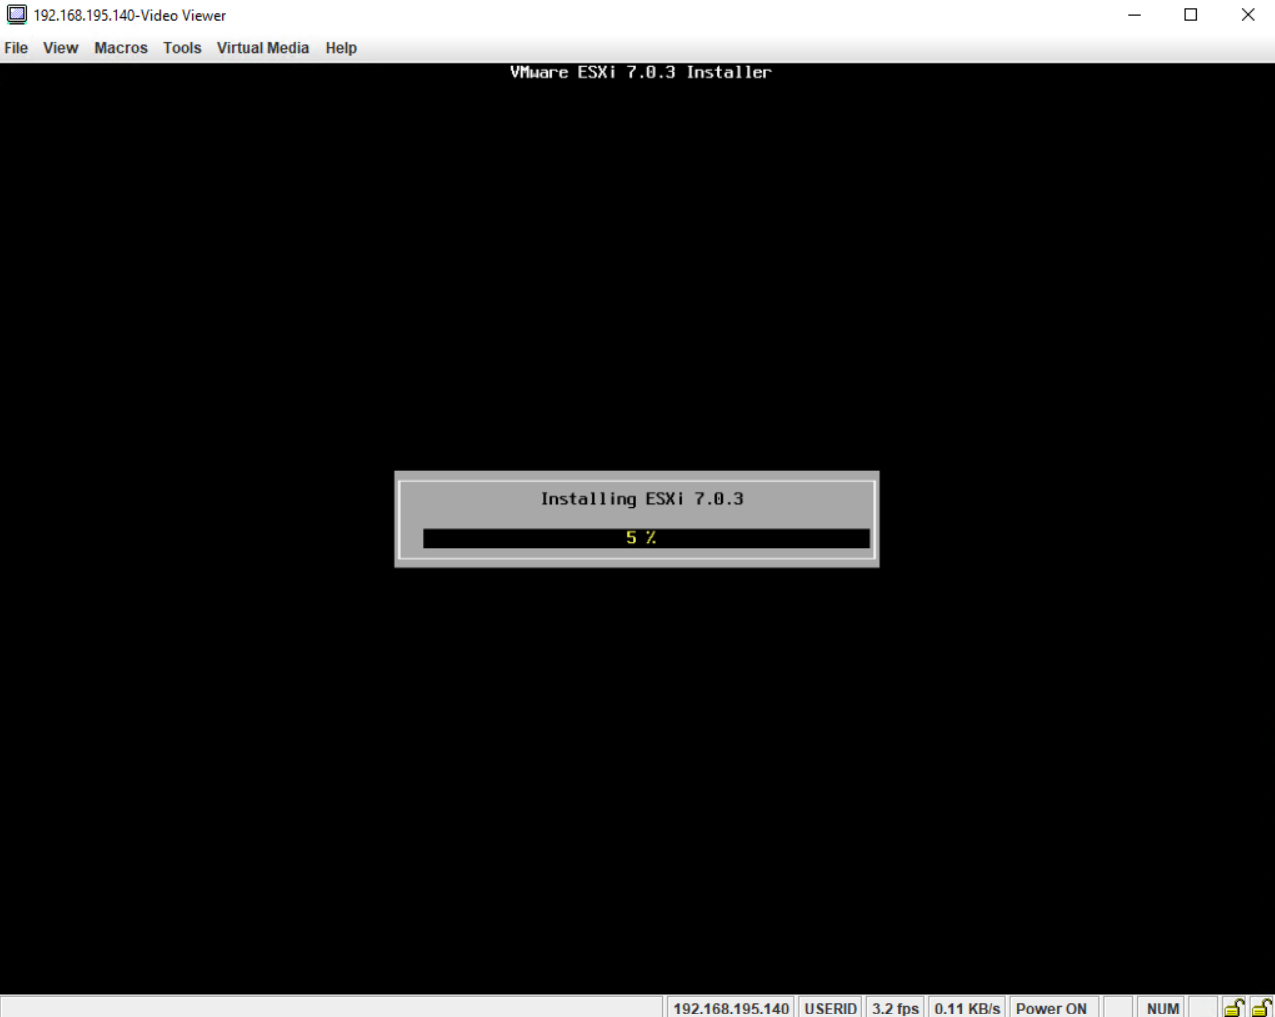
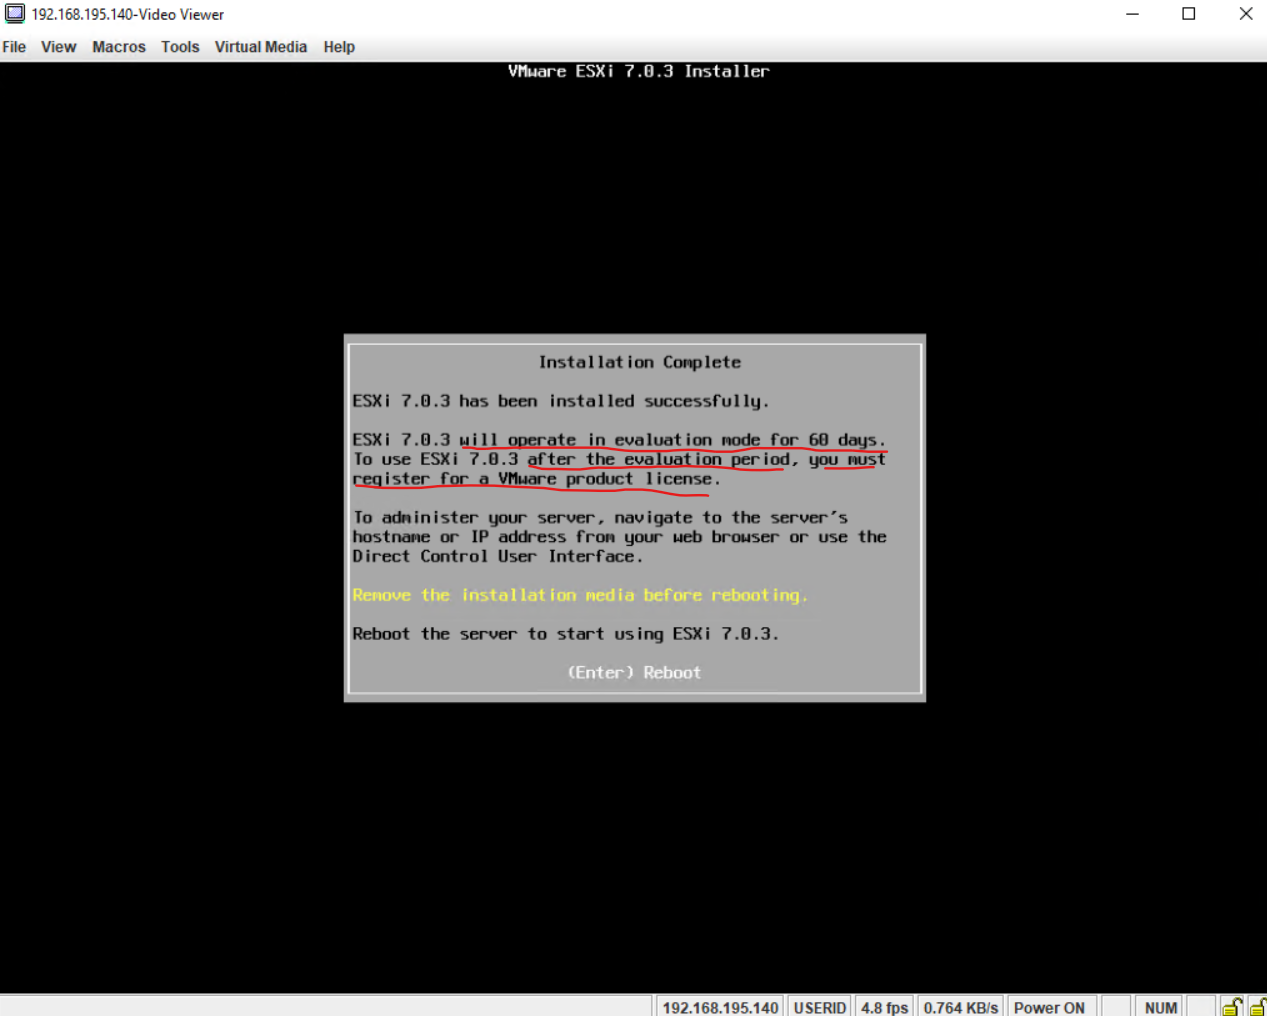
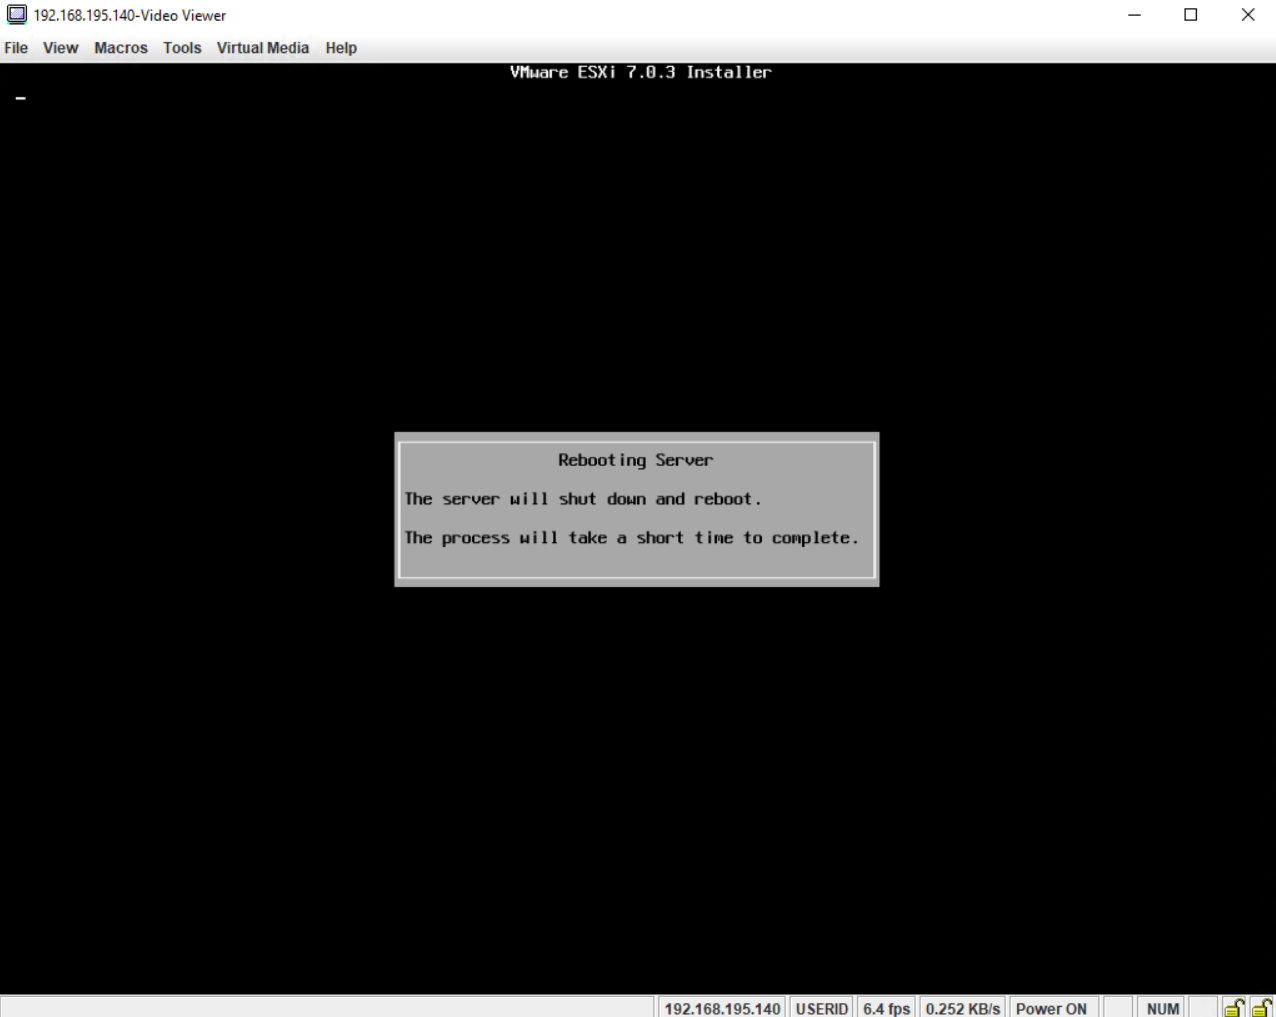
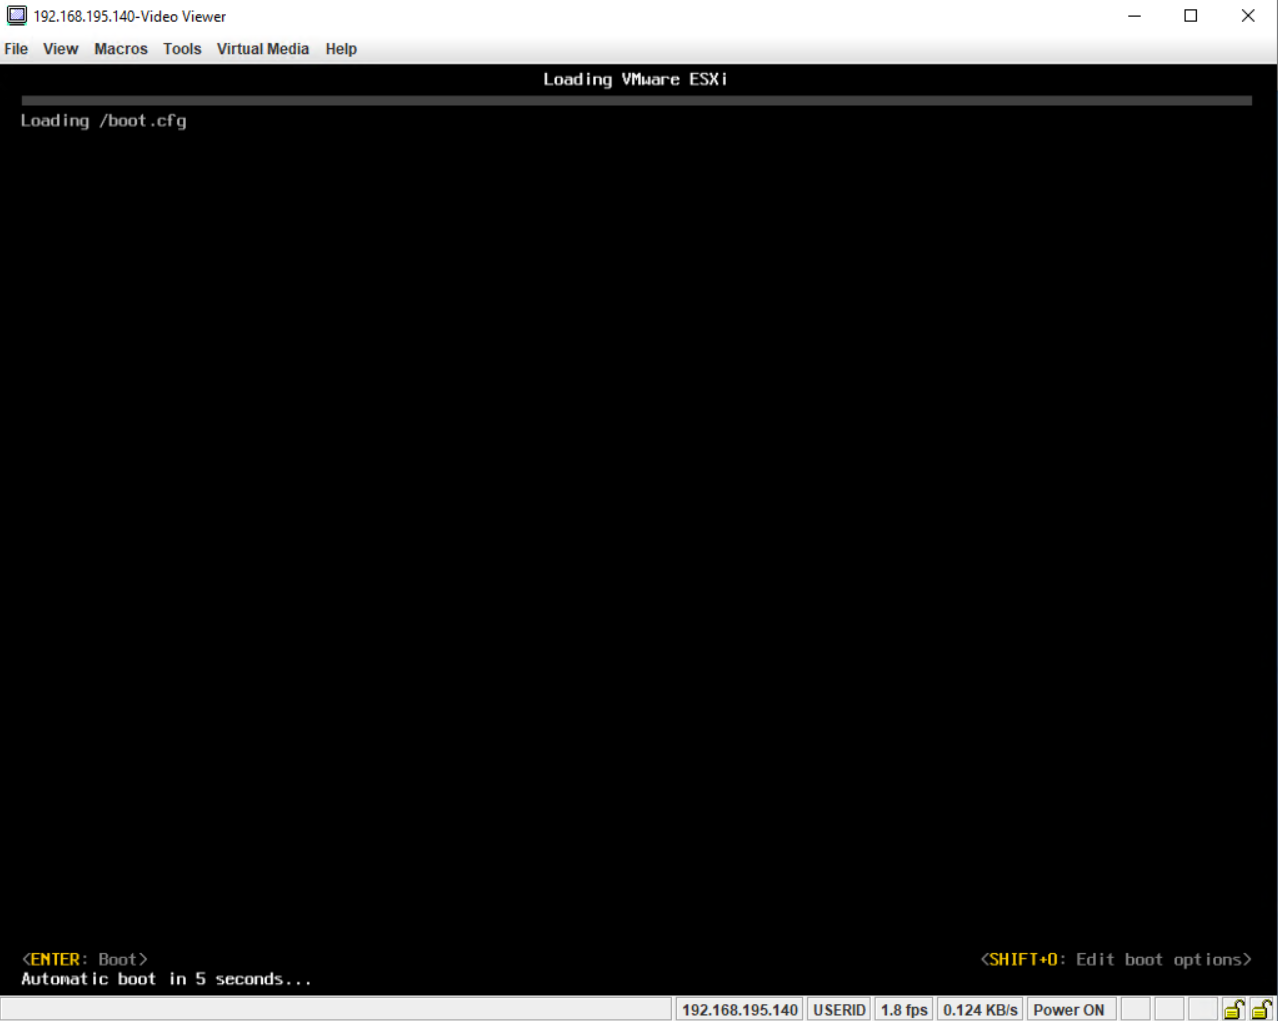
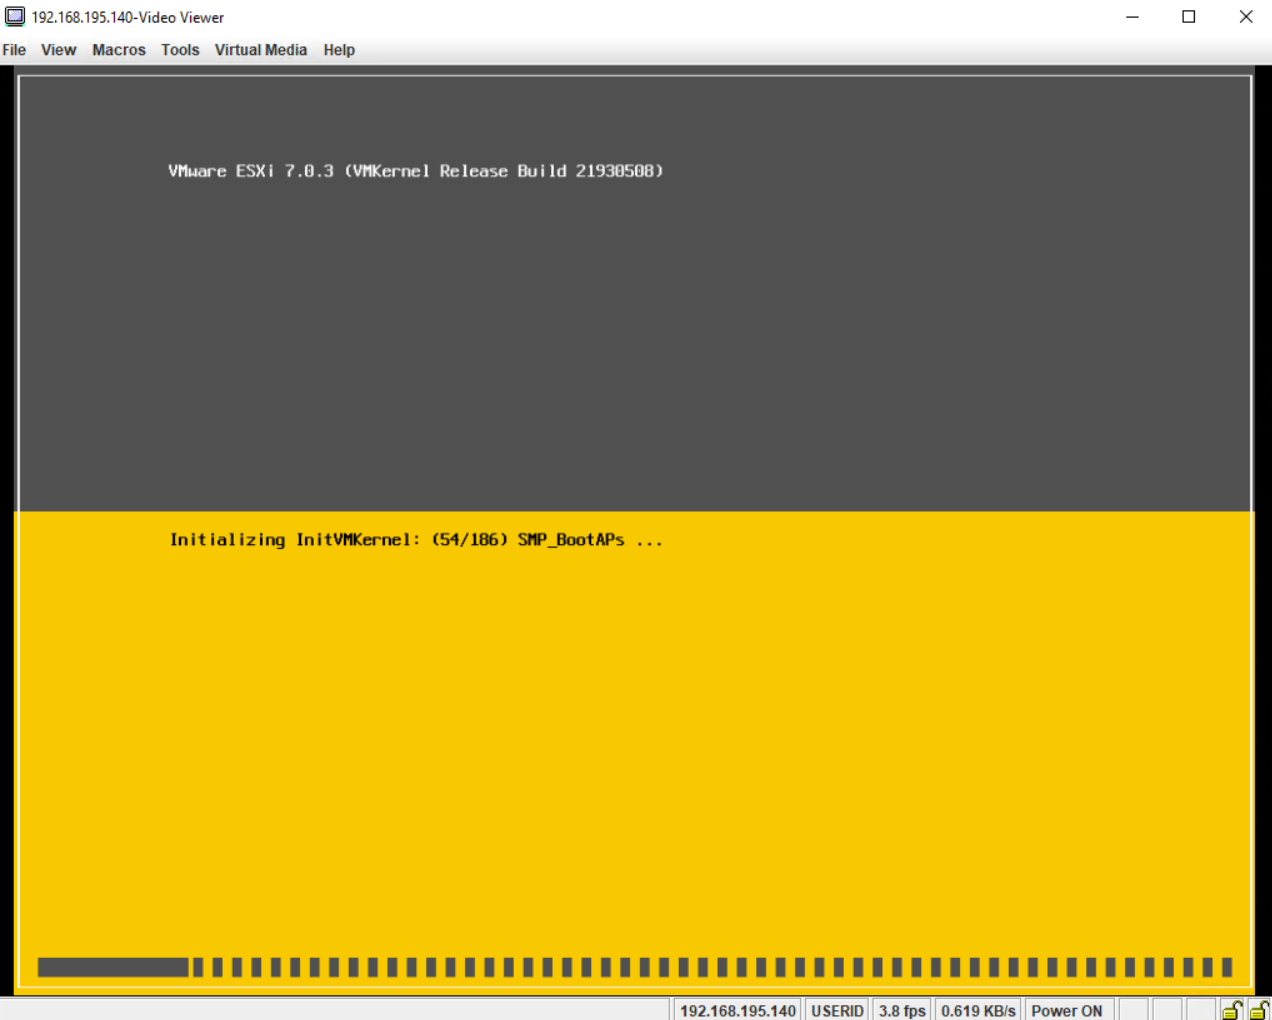
In order to determine what version of ESXi is supported on your bare metal server, you can use the VMWare Compatibility Guide by VMware.

In my case just for demonstration and testing purpose I will use one of my old IBM x3650 M4 servers to install ESXi on.

You can just enter your server model into the search field and click on Search below to determine what version of ESXi will be supported on.


For this server the latest version you can install is ESXi 6.7 U3 regarding this guide.


As of today the latest version of ESXi is 8.0 U2, nevertheless for my old IBM System x3650 M4 server the latest support version is ESXi 6.7 U3 regarding this guide.


You can download your supported ESXi version on the following page.

Download VMware vSphere
https://customerconnect.vmware.com/en/downloads/info/slug/datacenter_cloud_infrastructure/vmware_vsphere/8_0


The ESXi software you will find here branded as VMware vSphere Hypervisor (ESXi).


I will download here the ISO image which we can mount on the server and later boot from to install ESXi on the server.

By clicking on the download link above you either need to log in to your VWware account or sign up for a new account.


Sign in to your account.


For demonstration and testing purpose I will download the trial version.


Even I actually selected to download version 6.7 I will get forwarded to download version 7.0U3n. Never mind, I will try it with this version.


Install ESXi

To install ESXi on my IBM x3650 M4 server, I will use IBM’s Integrated Management Module (IMM) and its remote console to mount the ISO file and boot from as shown below.

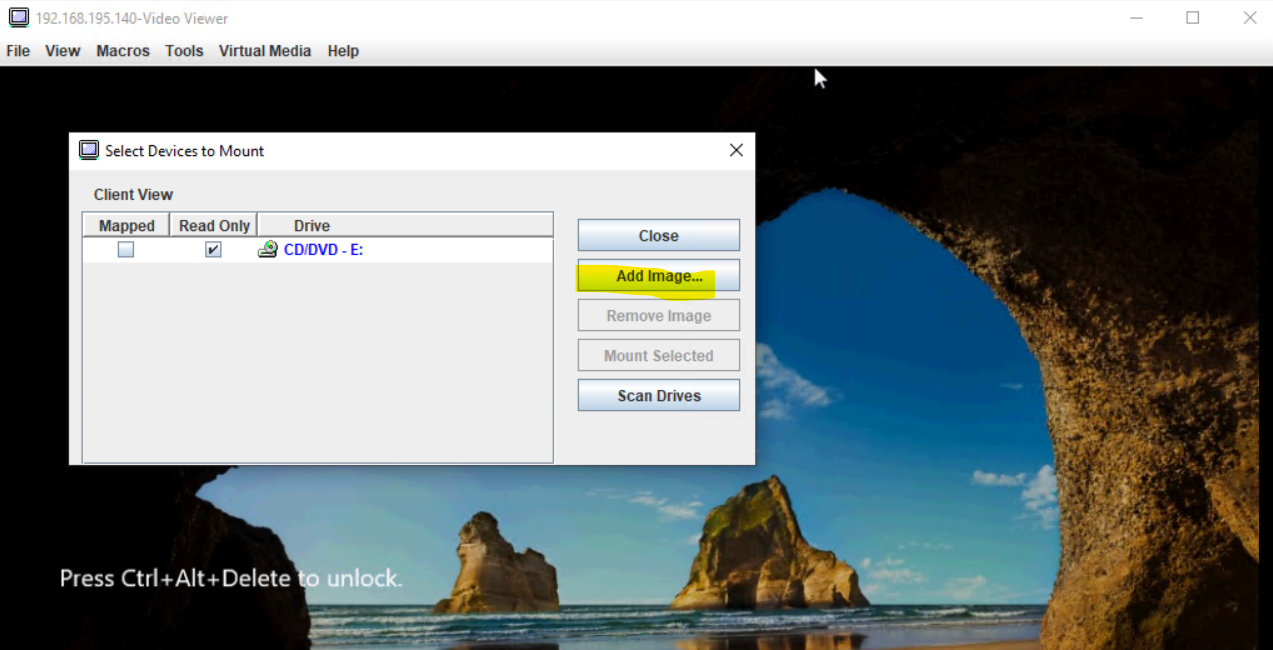
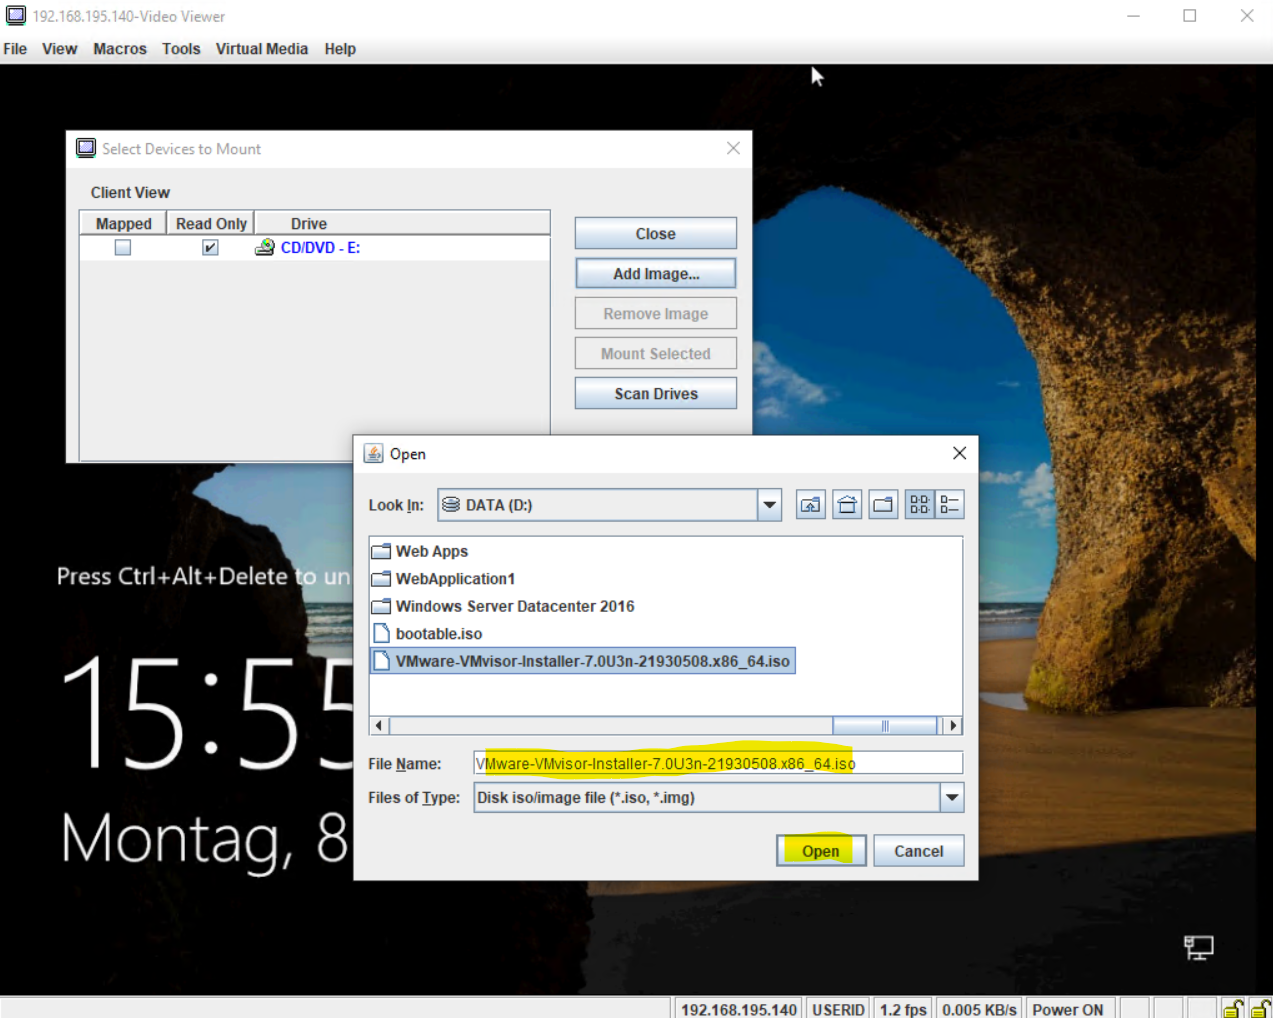
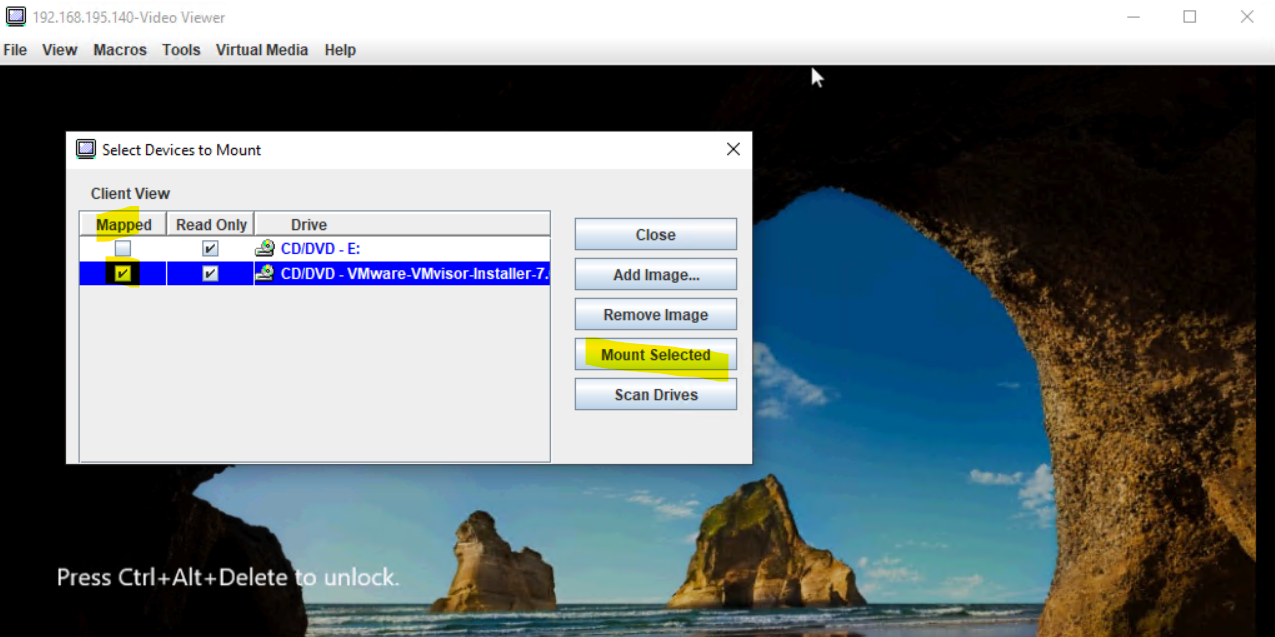
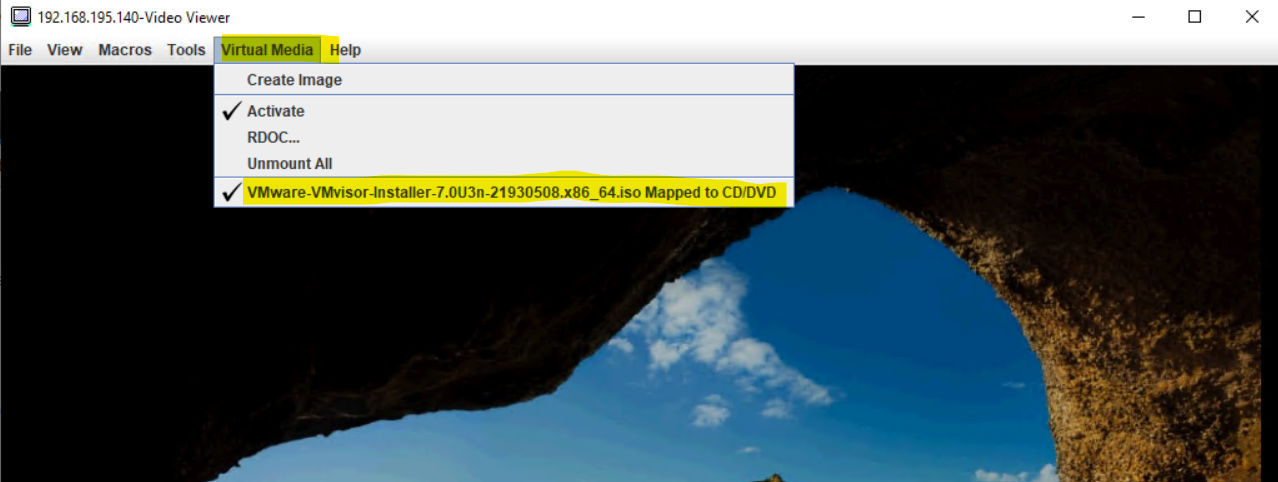
This process is similar on Dell’s PowerEdge series by using the Dell iDRAC Lifecycle Controller. About using Dell’s iDRAC Lifecycle Controller and mount from an ISO file you can read e.g. my following post.


Press F12 in order to boot from the previously mapped ISO image including the VMware vSphere Hypervisor (ESXi).


Select the IMM1:CD/DVD – IMM Remote Mount entry to boot from the mapped ISO file.


The server is now booting from the VMware vSphere Hypervisor (ESXi ISO) image.


Press Enter to continue.


Press F11 to accept the EULA and to continue.


The ESXi installer will scan the available devices in order to select the disk where we can install the hypervisor finally.


Select the disk on which you want to install ESXi or in case you have an existing installation select the disk it is installed to upgrade to the new version.

I will select here the first disk yellow marked which is a RAID 1 volume and where previously a Windows Server version was installed on. The second disk with 5.90 TiB is a RAID 5 volume where previously virtual machines by Microsoft Hyper-V server were hosted.

Btw. about what’s exactly the difference between TB and TIB or MB and MIB you can read my following post.

MiB and GiB vs. MB and GB momory size notation – What’s the Difference?
https://blog.matrixpost.net/mib-and-gib-vs-mb-and-gb-momory-size-notation-whats-the-difference/


Finally press Enter to override the disk and install ESXi on it.


Select your keyboard layout.


Enter a password for the root account which must be at least 7 characters long.


The warning we can ignore and continue as we already knew that this version is the last which supports the old System x3650 M4 server and its CPU. So we can click on Enter to continue.


Finally press F11 to install ESXi on the selected disk (Raid 1 volume in my case).


To complete the installation we need to remove the installation media and reboot the server. Press Enter to reboot the server.


The ESXi server is booting.


Finally the ESXi host booted up and we can see its Direct Console User Interface (DCUI).

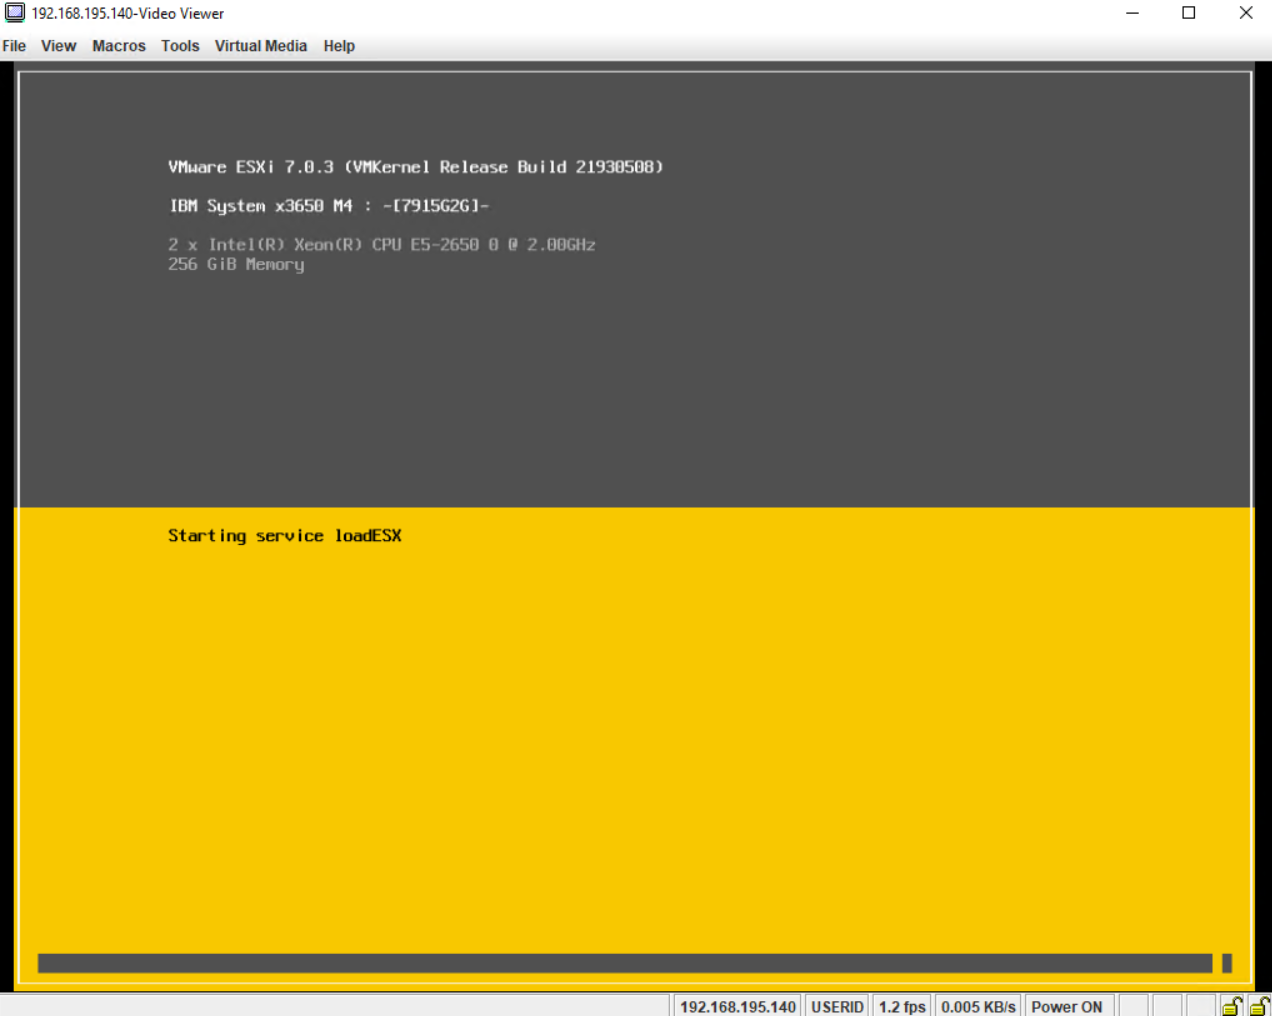
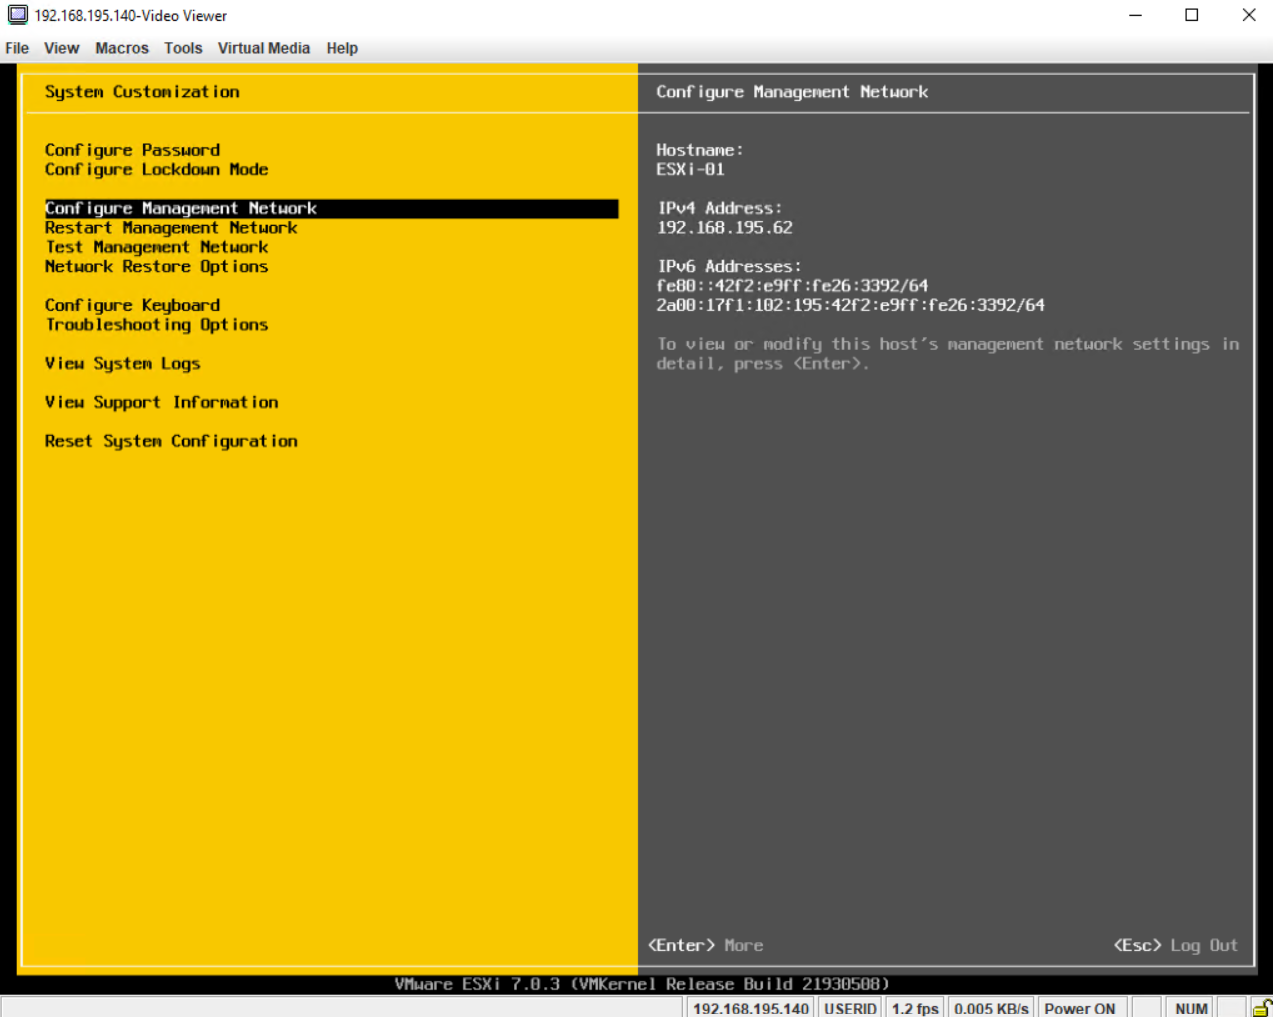
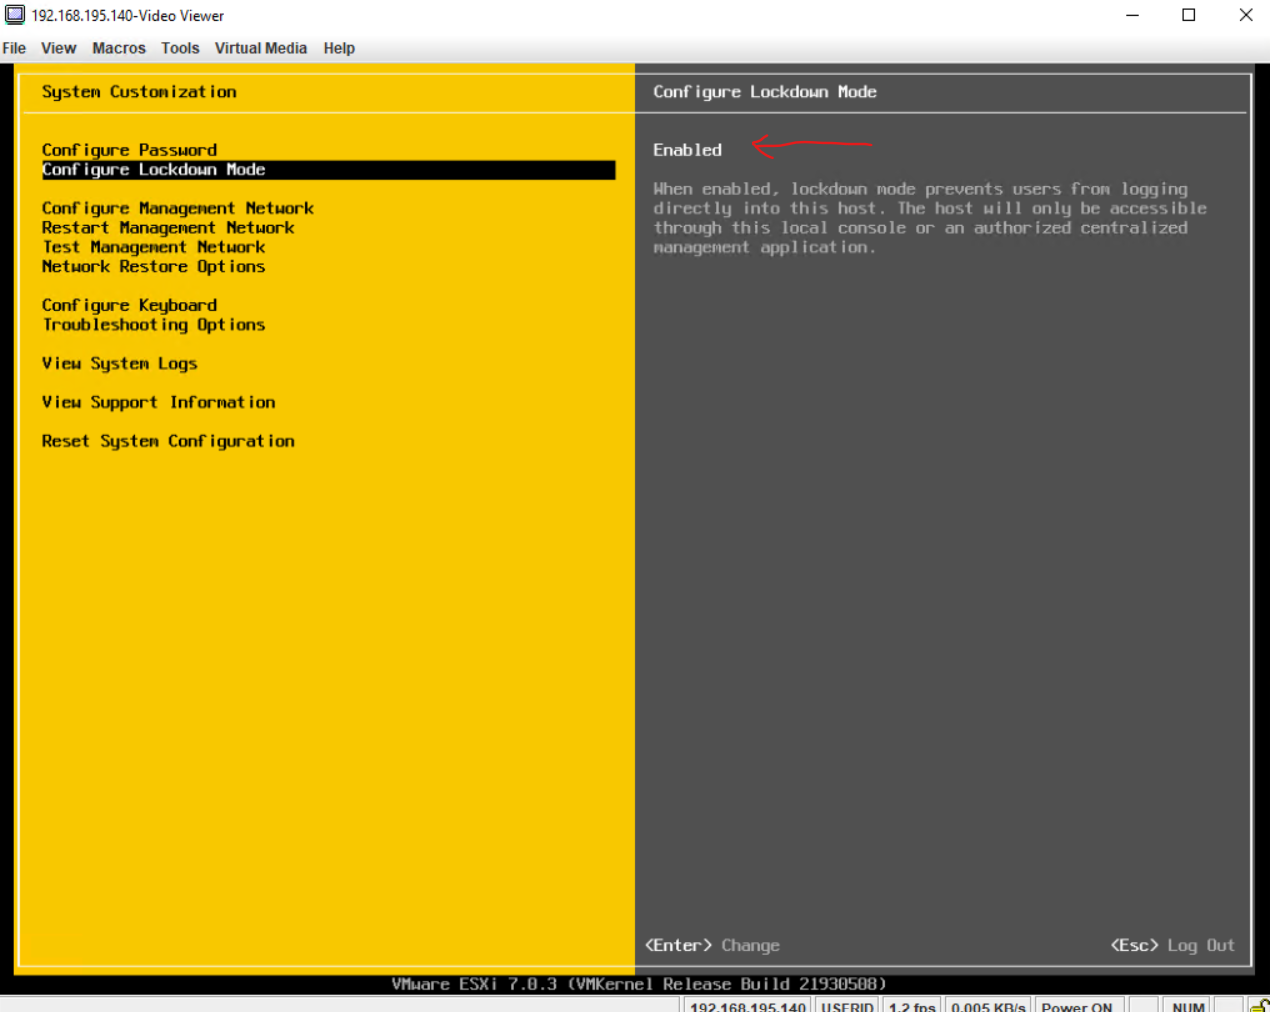
The Direct Console User Interface (DCUI) allows you to interact with the host locally using text-based menus. Evaluate carefully whether the security requirements of your environment support enabling the Direct Console User Interface.

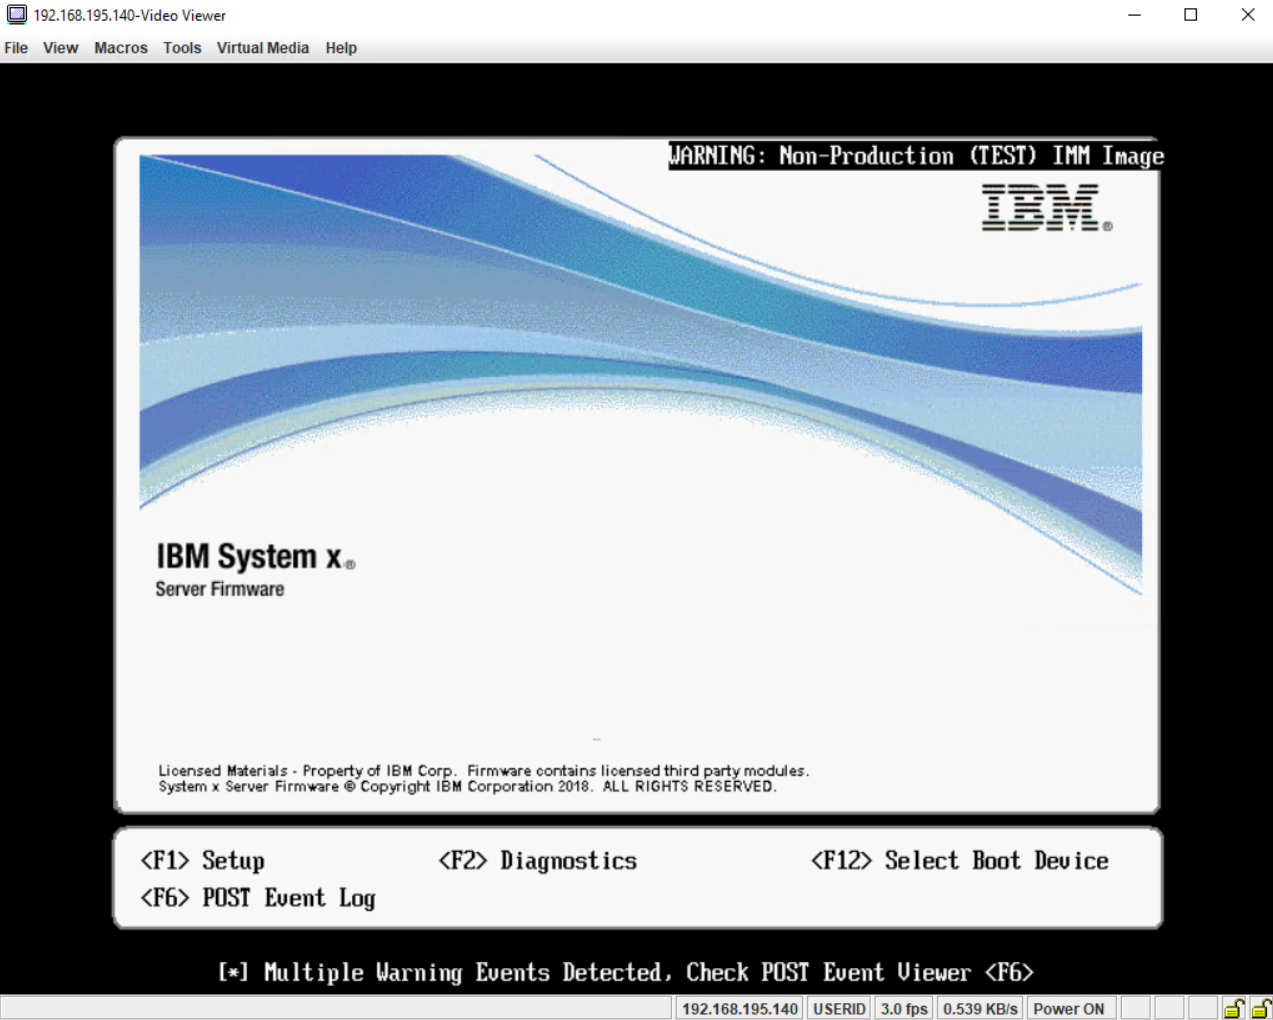
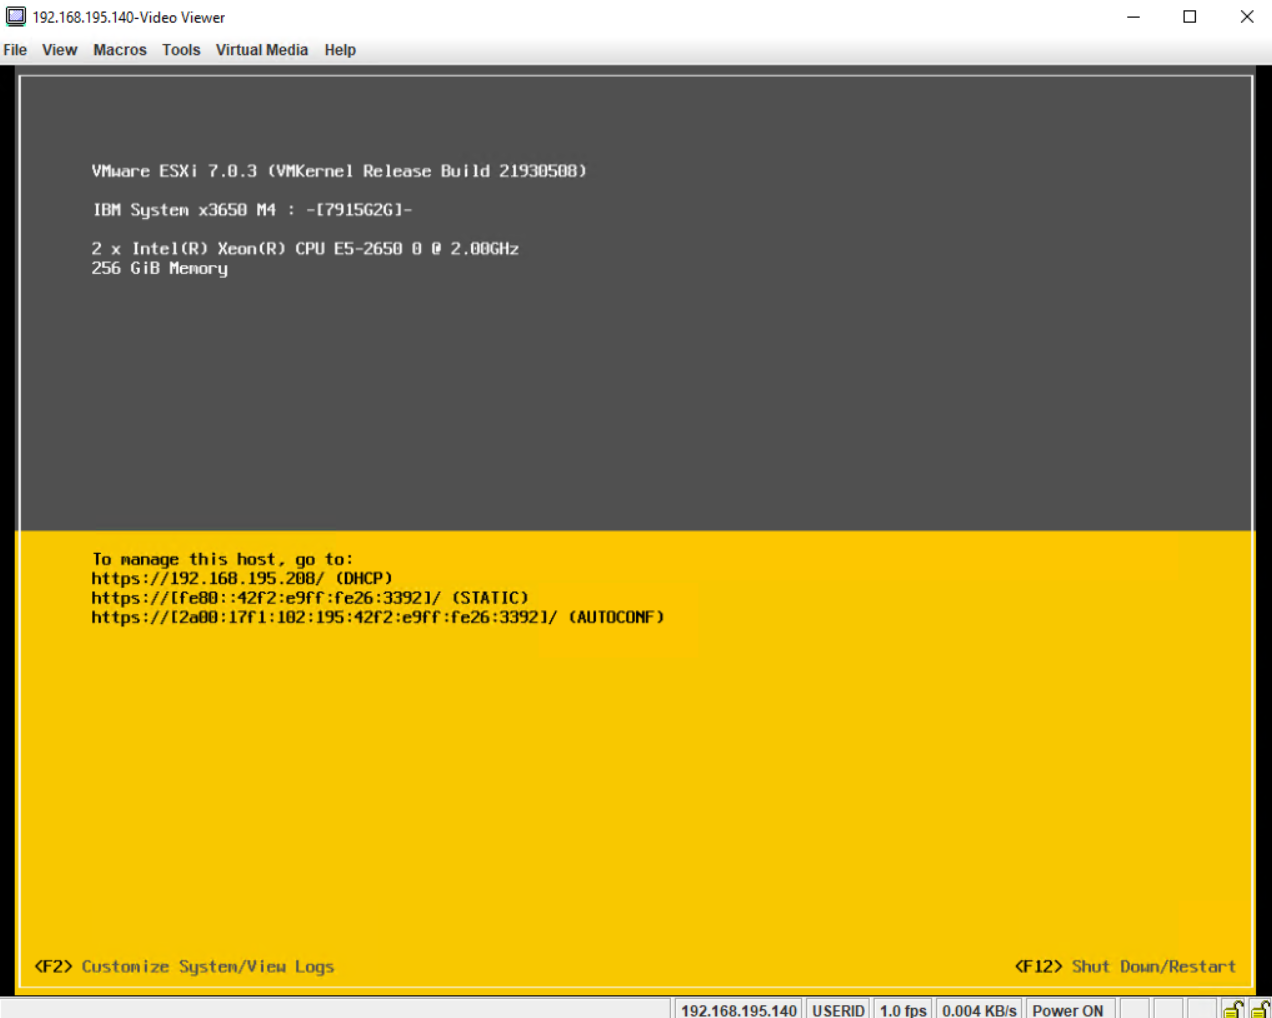
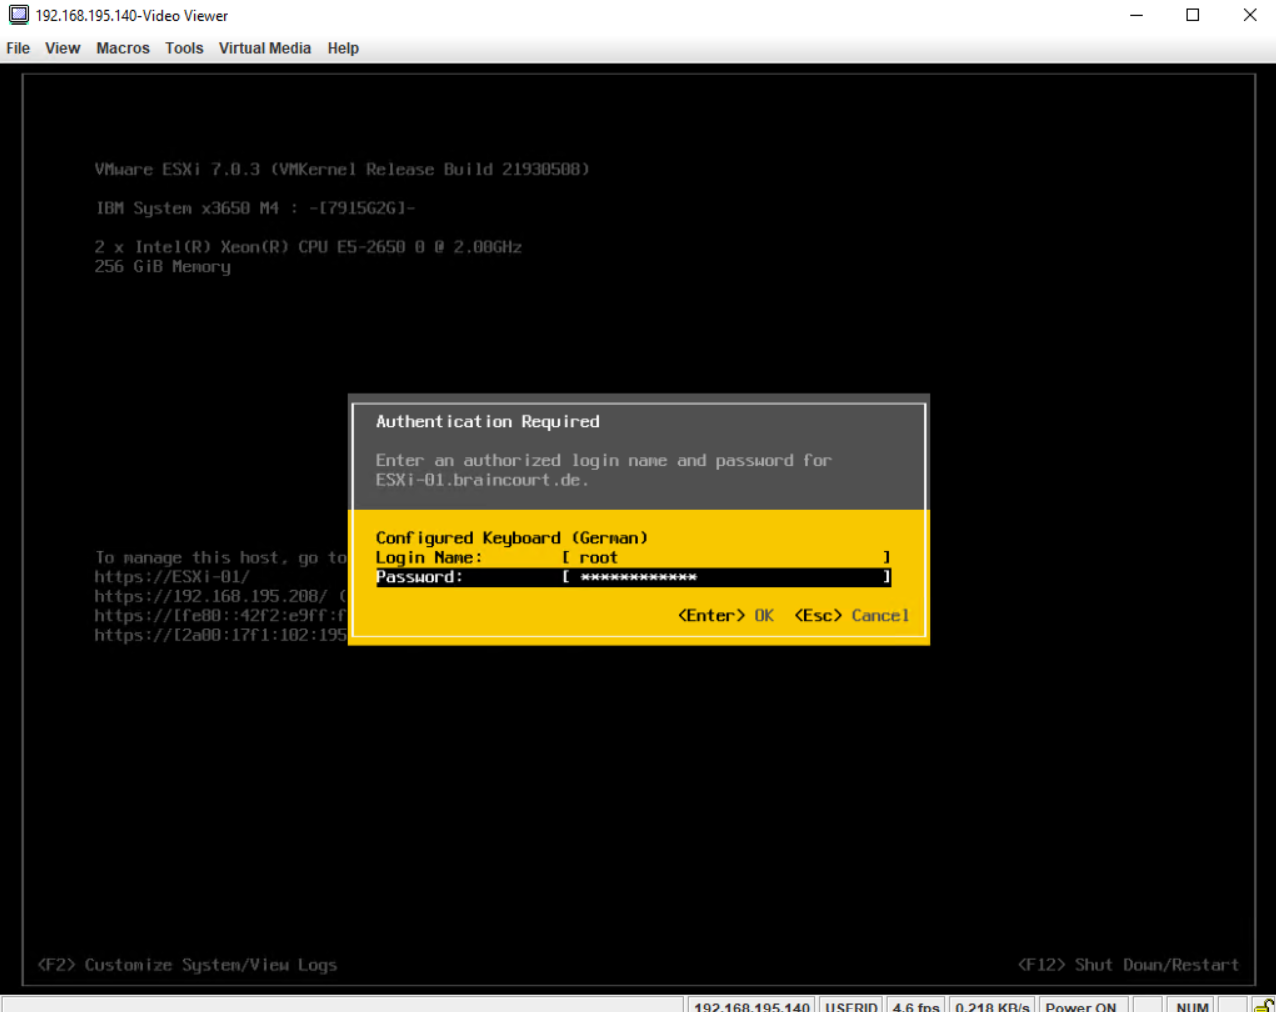
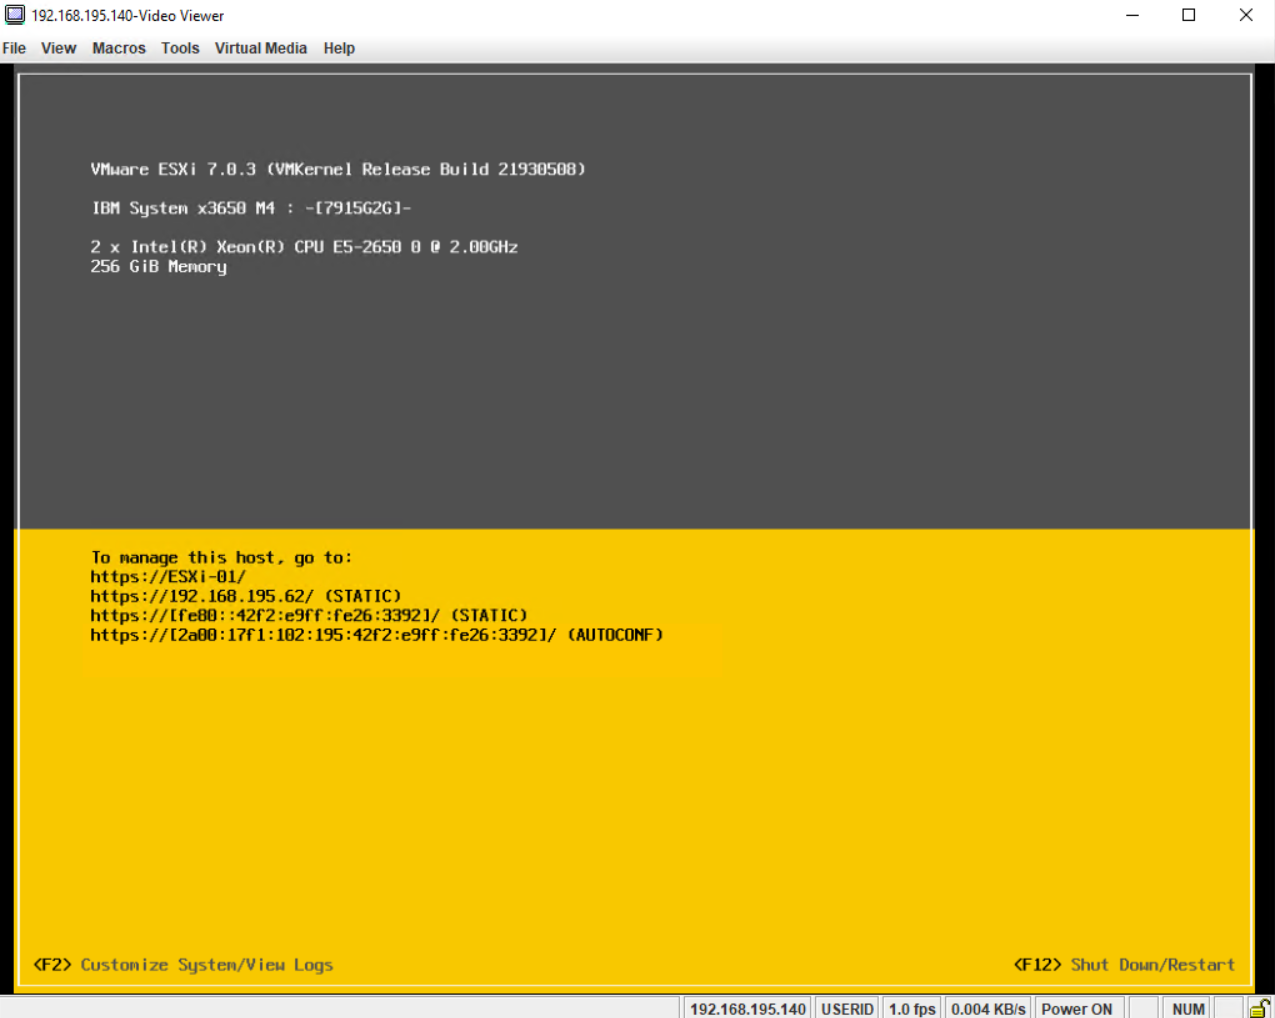
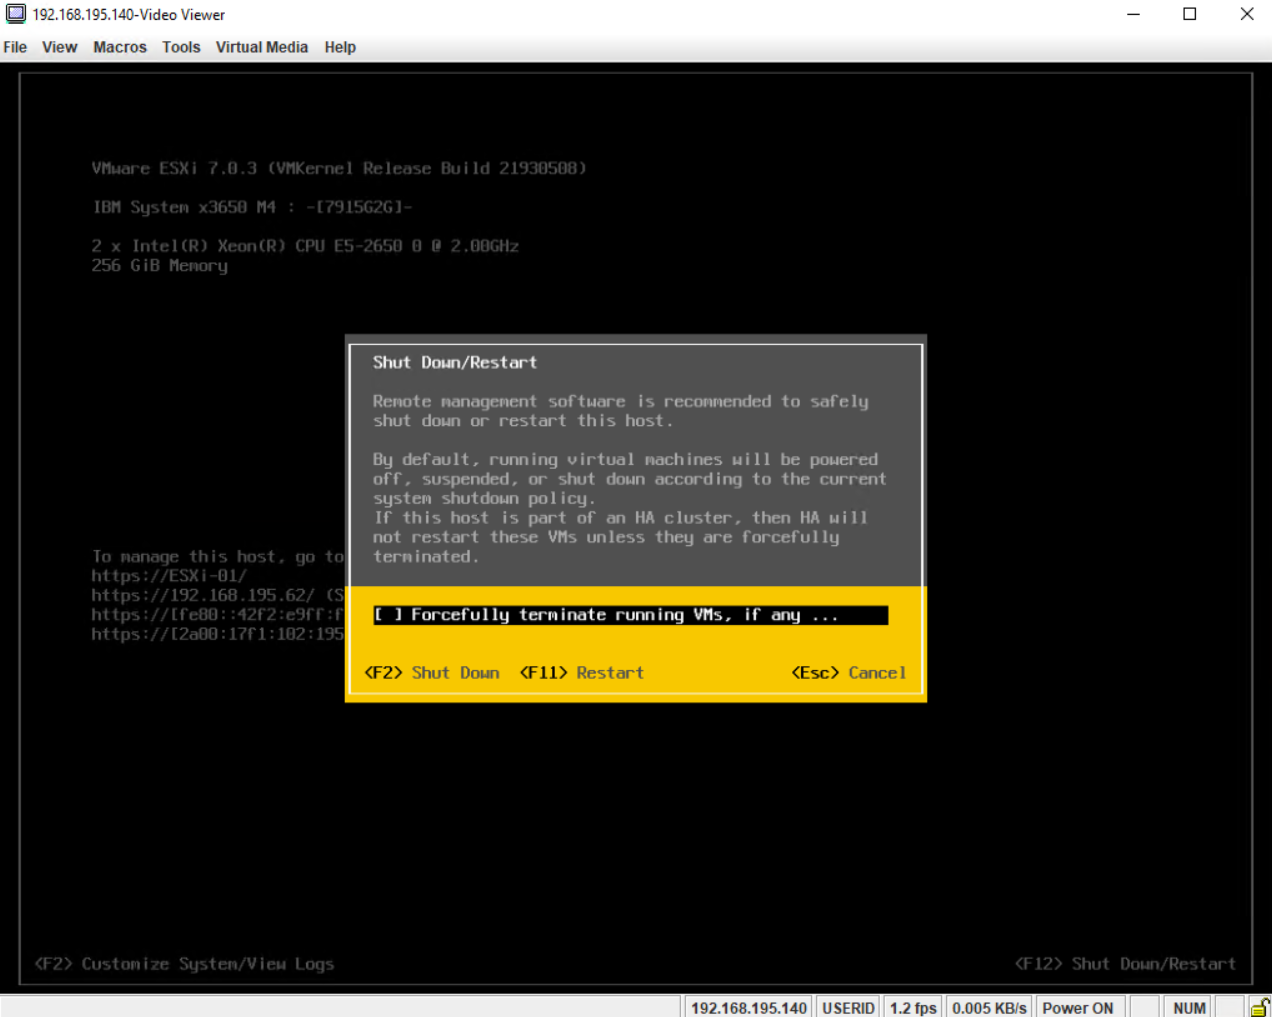
You can use the Direct Console User Interface (DCUI) to enable local and remote access to the ESXi Shell. You access the Direct Console User Interface from the physical console attached to the host. After the host reboots and loads ESXi, press F2 to log in to the DCUI. Enter the credentials that you created when you installed ESXi.

Source: https://docs.vmware.com/en/VMware-vSphere/7.0/com.vmware.vsphere.security.doc/GUID-94F0C54F-05E3-4E16-8027-0280B9ED1009.html


After pressing F2 we need to enter the credentials we created previously during the installation of the ESXi host.


Under Configure Management Network we can configure the TCP/IP stack of the ESXI host itself. In a nutshell, this is the dedicated NIC(s) just used by the ESXi host itself to connect to the host and be able to manage it within your network.

vSphere 6.0 introduced a new TCP/IP stack architecture with multiple TCP/IP stacks to manage different dedicated ESXi host (VMkernel) network interfaces, more about later in this post.

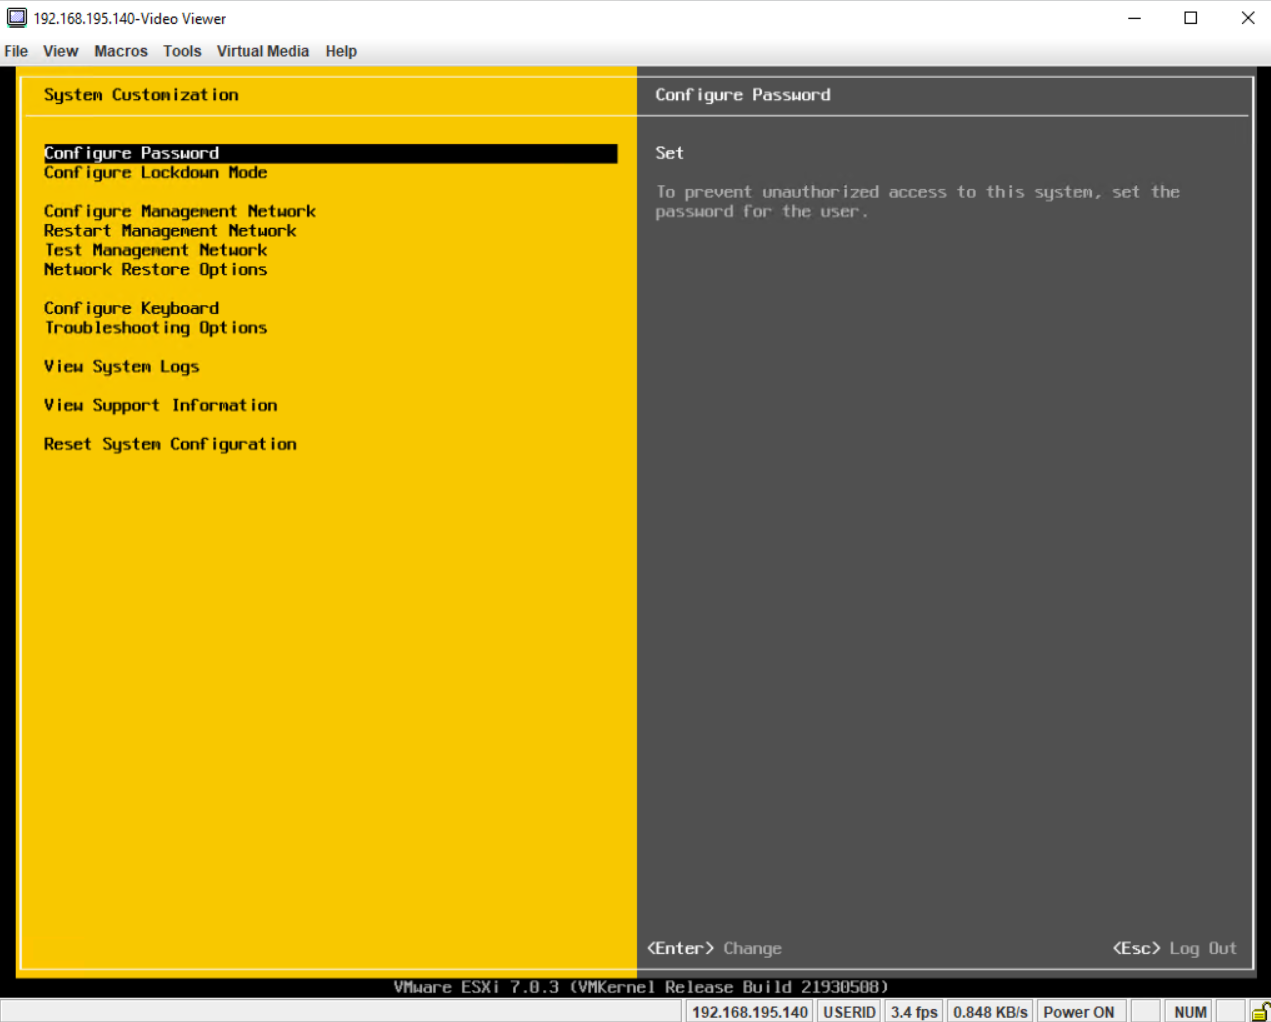
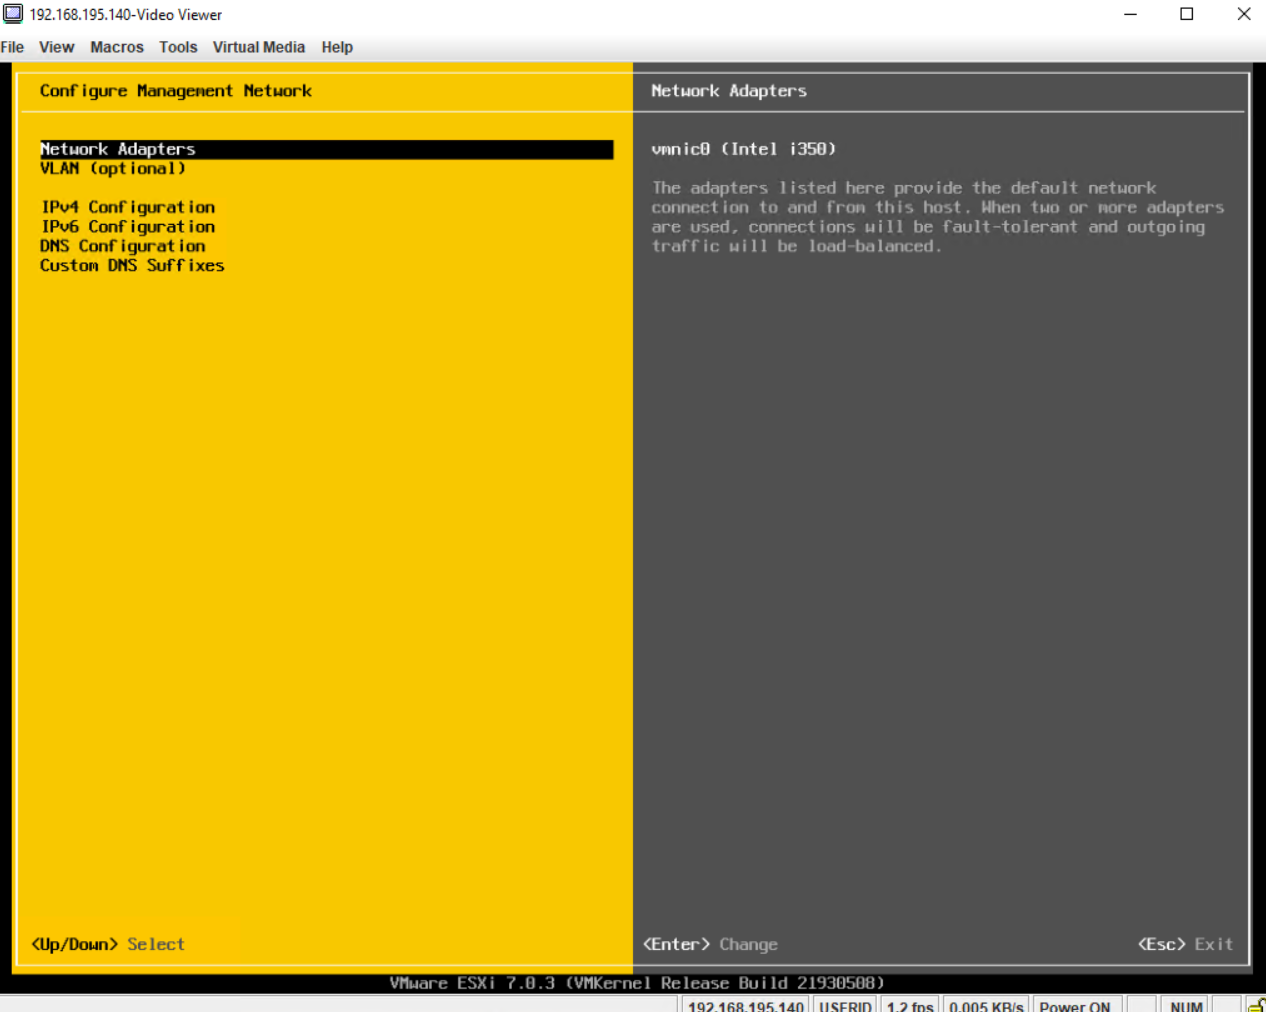
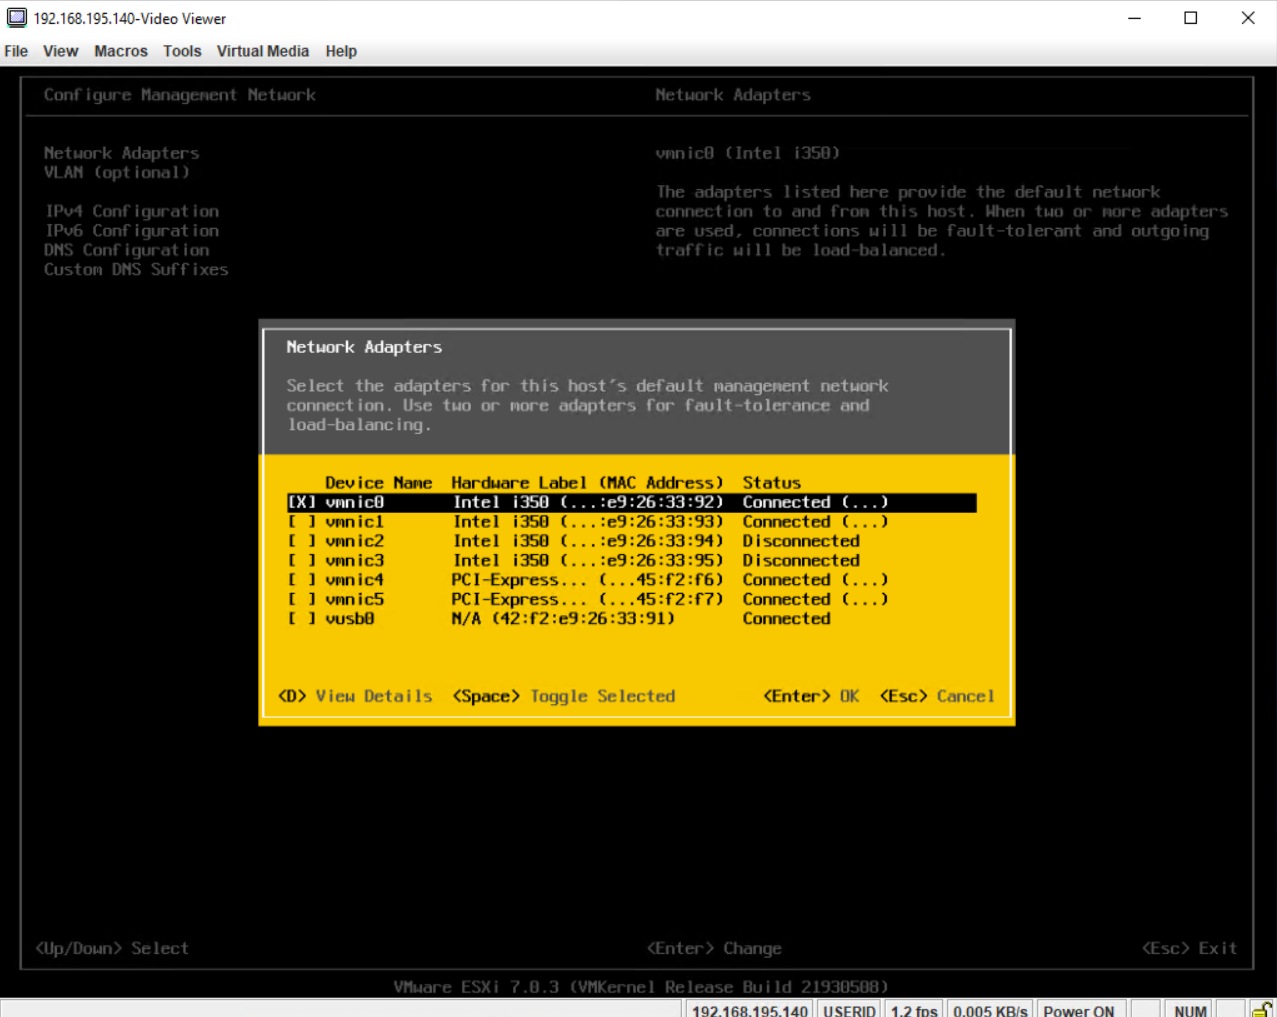
The management network is the primary network interface that uses a VMkernel TCP/IP stack to facilitate the host connectivity and management. It can also handle the system traffic such as vMotion, iSCSI, Network File System (NFS), Fiber Channel over Ethernet (FCoE), and fault tolerance.

Source: https://docs.vmware.com/en/VMware-vSphere/8.0/vsan-network-design-guide/GUID-041B765D-1973-420C-9010-7531F5F742E8.html

By using a dedicated management network, we can isolate connections to vSphere resources from the rest of our network.


As you can see below, so far the ESXi host’s IP address is dynamically assigned by DHCP, in order to change it to a static IP address, we need to navigate to the Configure Management Network menu.


Here we can see the physical network adapter (NIC) named vmnic0, which is used by the ESXi host dedicated for the default network connection to and from the ESXi host itself. This is also the so called management network.


By clicking on Network Adapters we will see a list of all physical NICs installed on this host. ESXi will use by default during the installation process the first NIC dedicated for the management network.

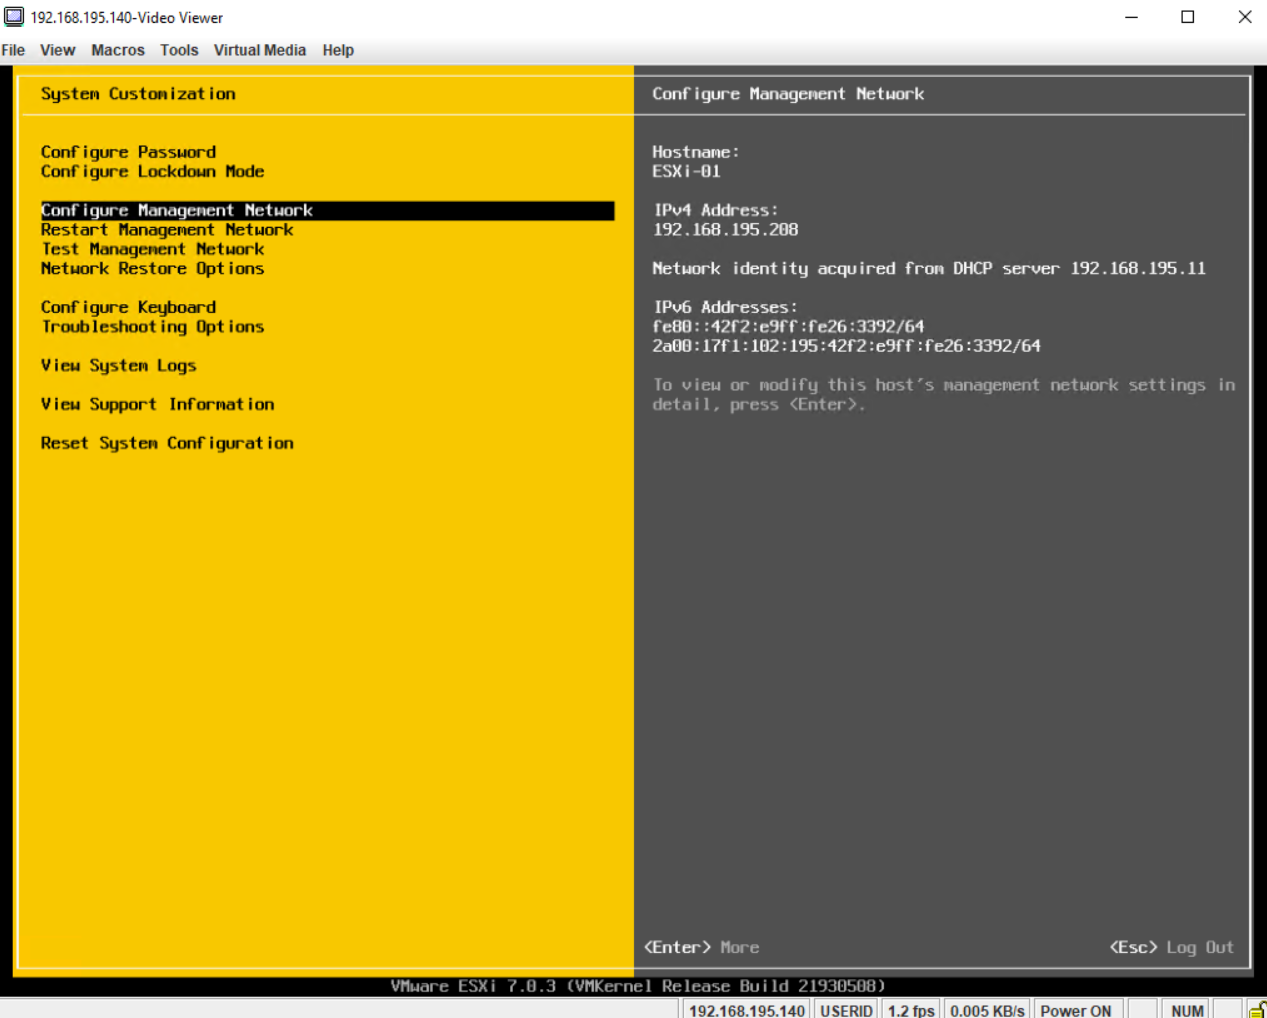
This NIC is then named vmk0 (VMkernel interface).


To change the dynamically assgined IP address by DHCP into a static IP address, select IPv4 Configuration below.


Select Set static IPv4 address and network configuration.


Enter the new static IPv4 address and if different the subnet mask and gateway, finally click on enter to apply it.


We can now see that we will use a static IP address for the ESXi host (management network), but so far the new static IPv4 address is not finally applied to the NIC, therefore just press Esc to exit the IPv4 Configuration section and confirm the change as shown below.

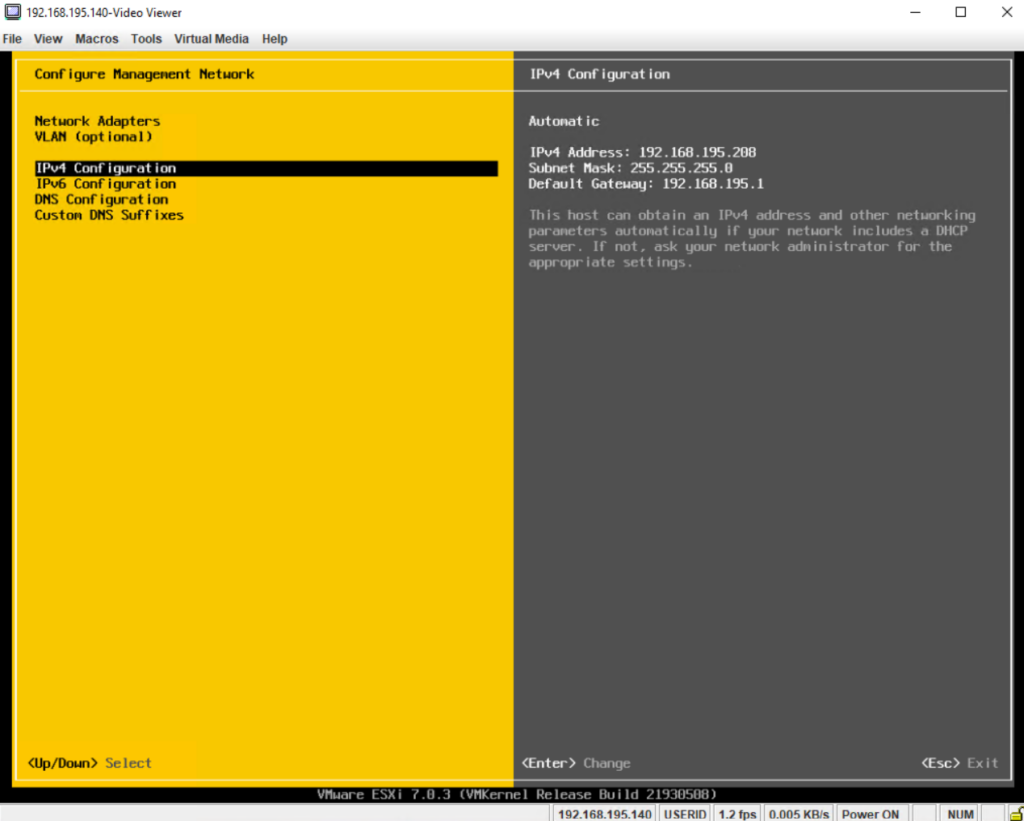
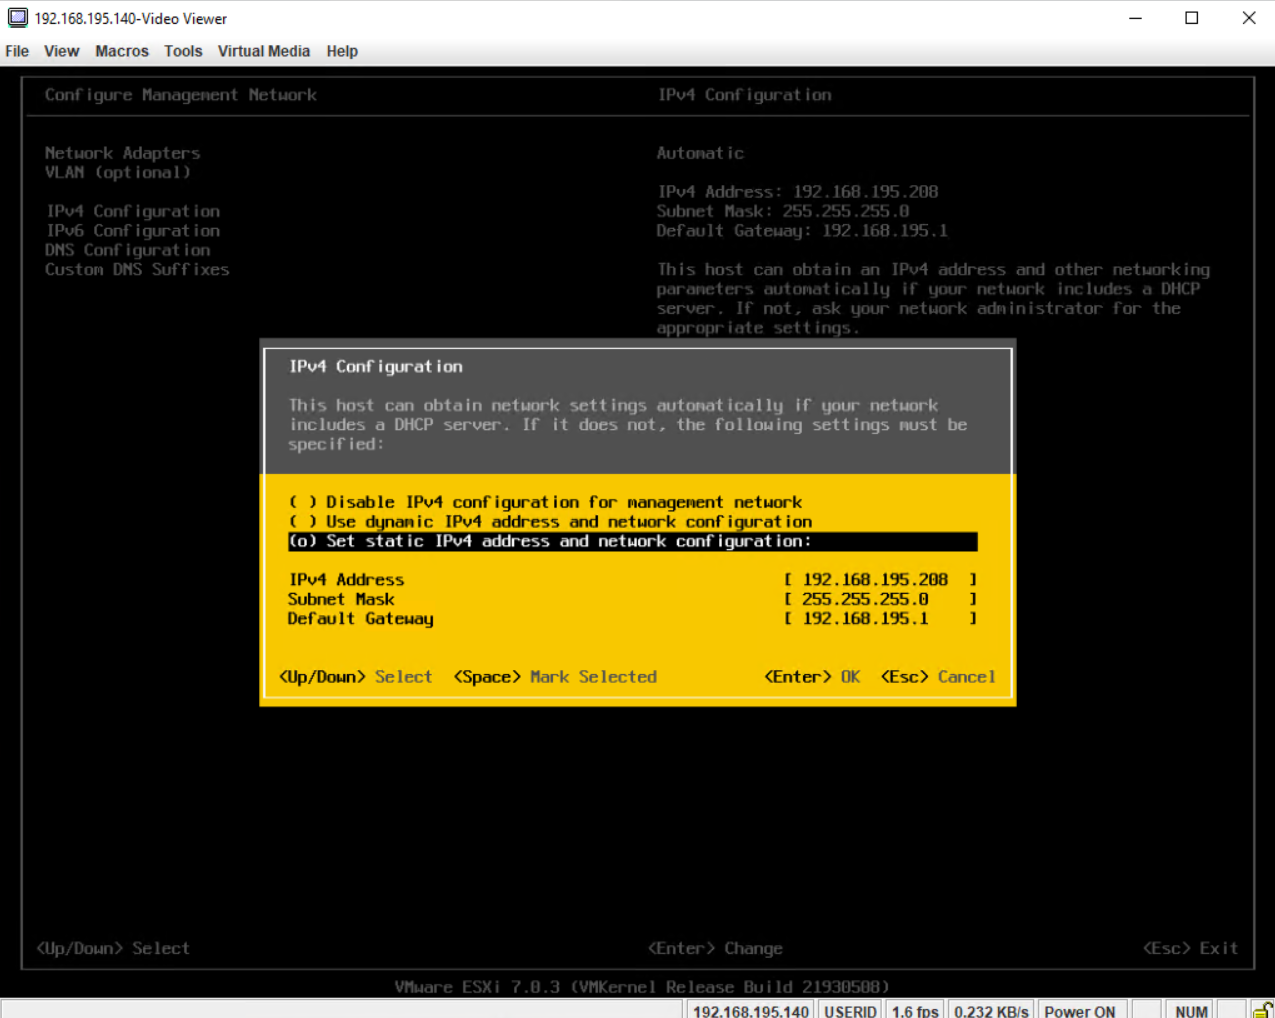
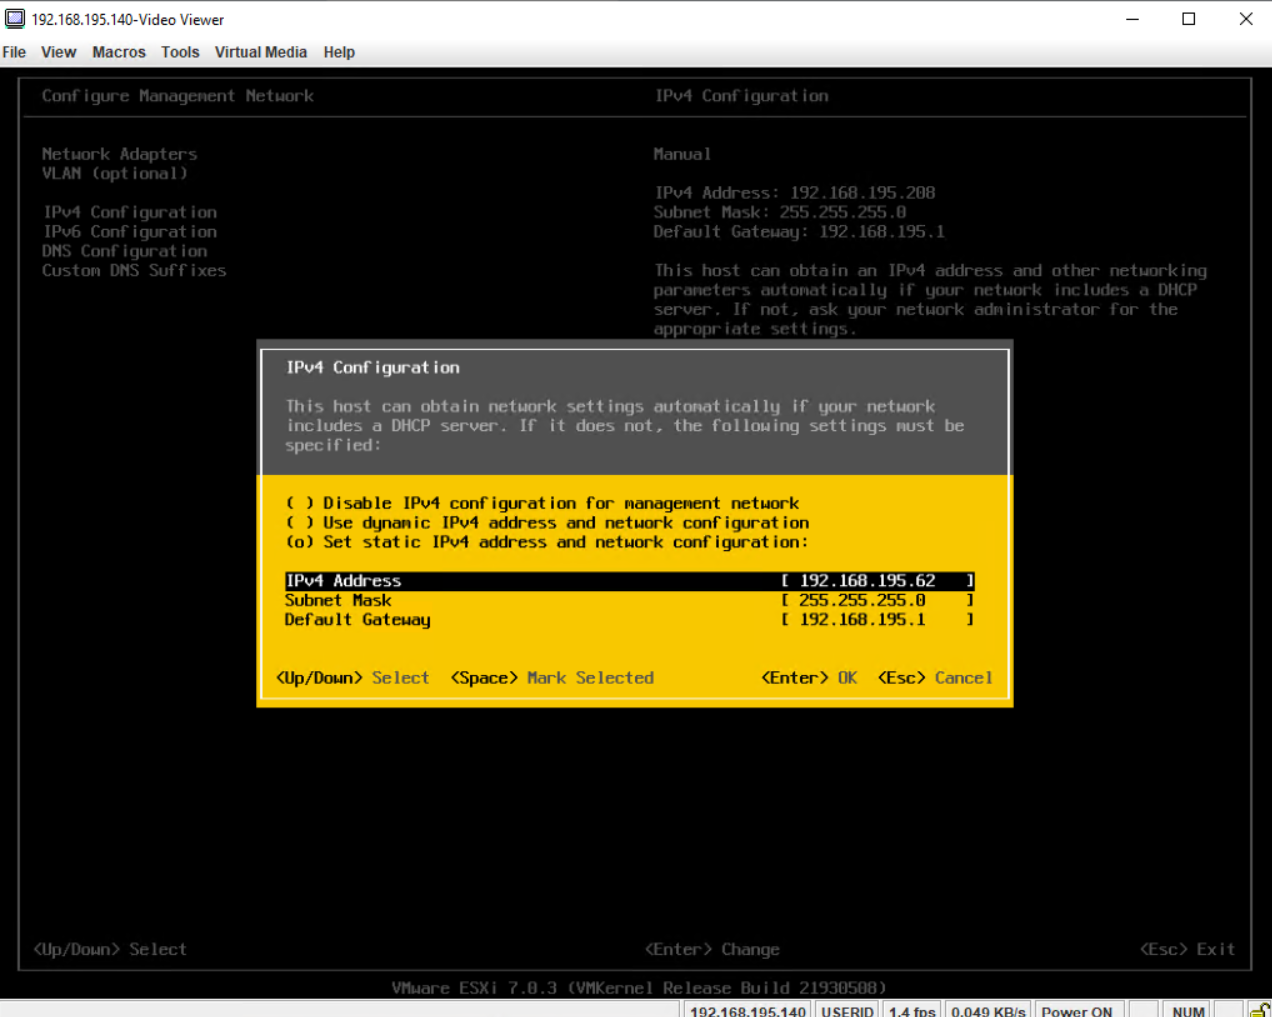
Also adjust later your DNS settings to resove the FQDN of the ESXi host into the correct static IP address.
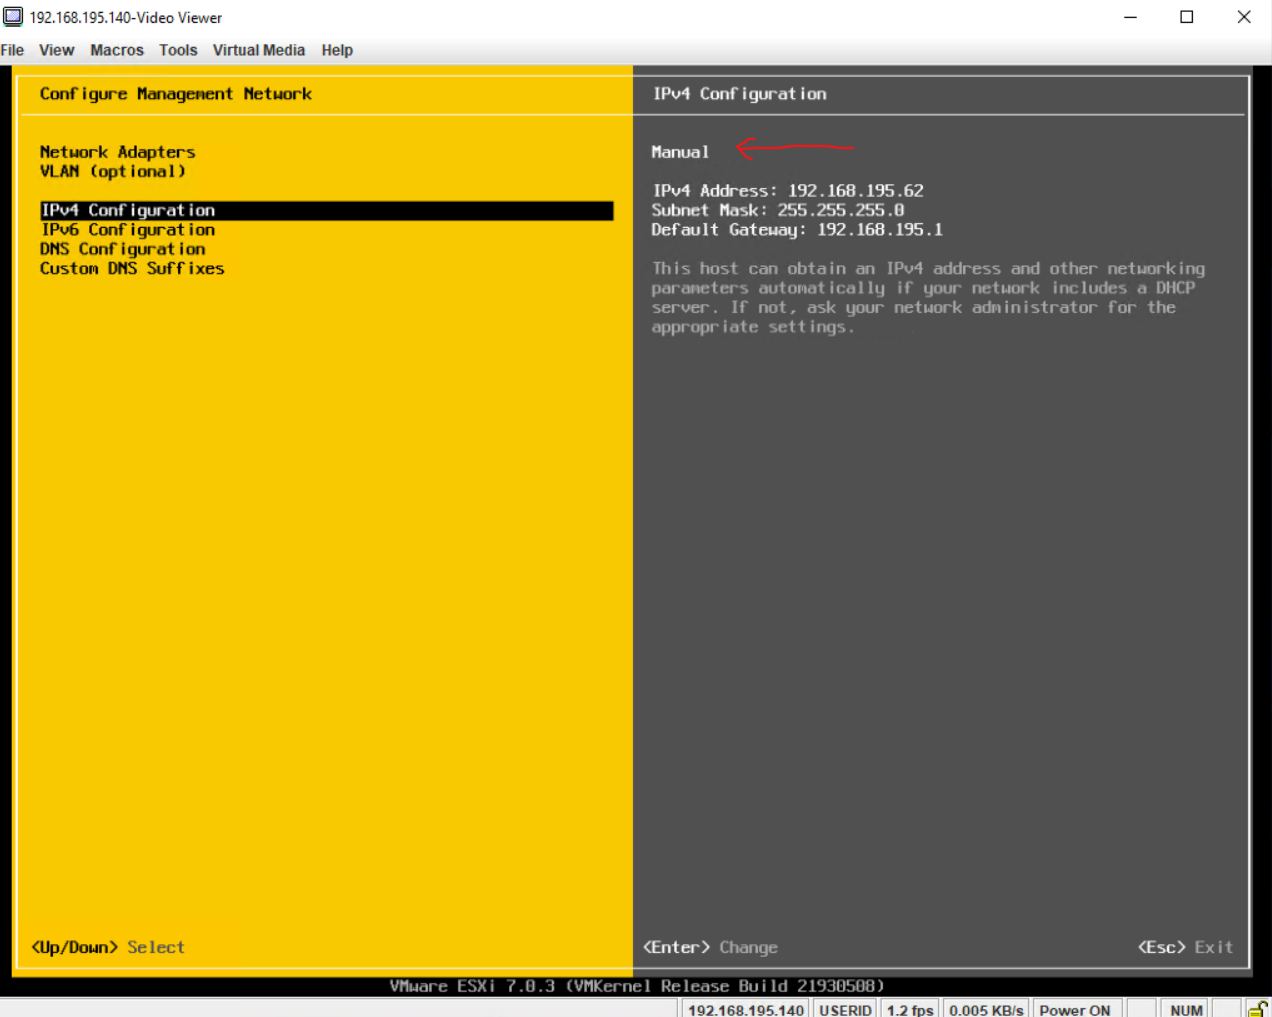
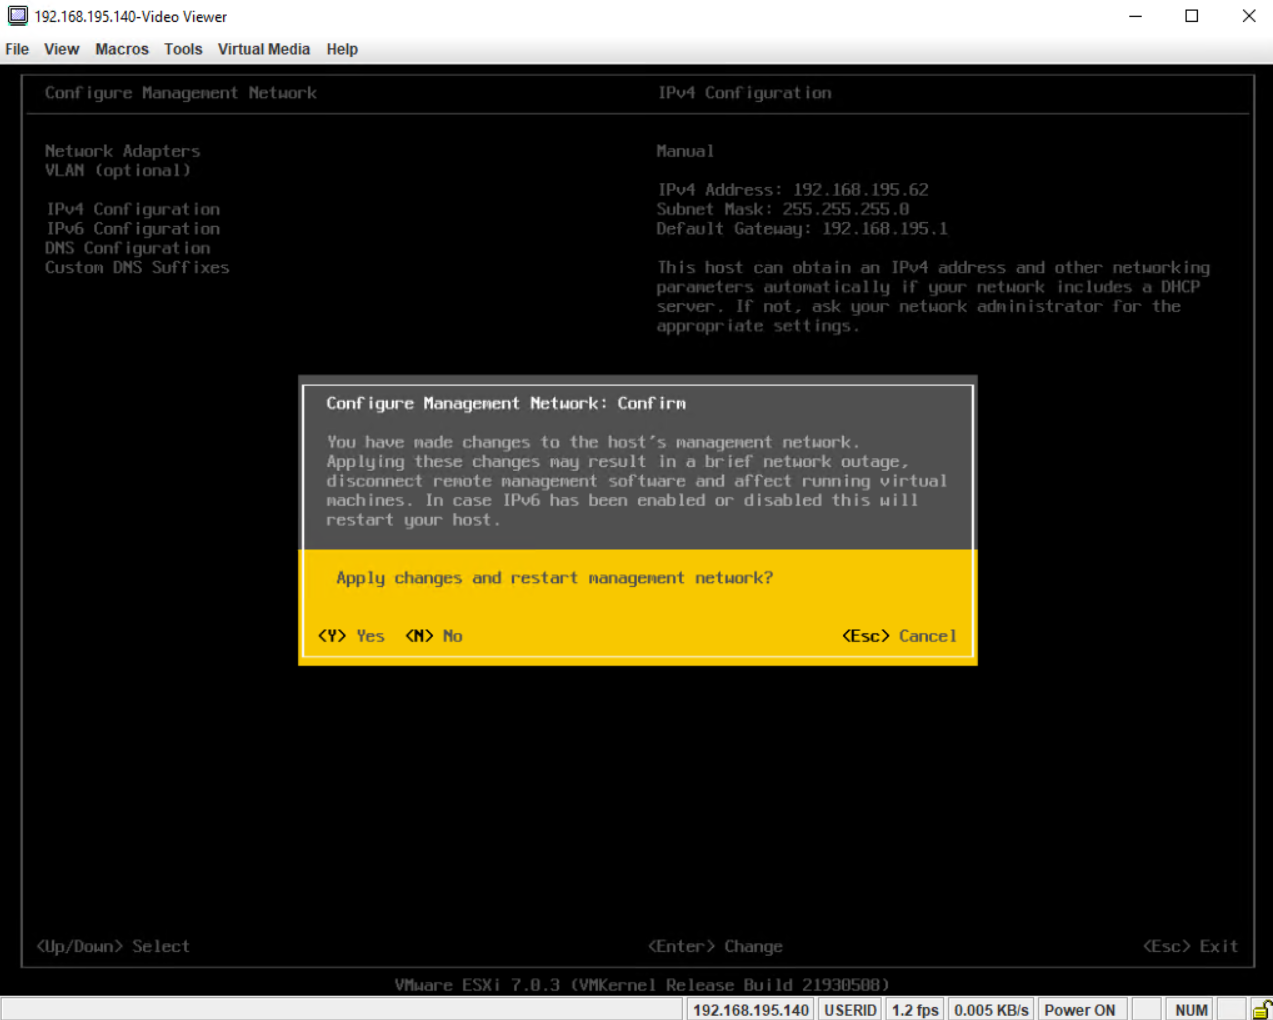

Finally confirm the change to apply the new static IPv4 address for the management network resp. the ESXi host’s dedicated NIC aka vmk.


Press Esc to log out of the ESXi host’s Direct Console User Interface (DCUI).


We can now manage and configure the ESXi host by browsing to the displayed URLs like shown below.

Note !
I was changing the IP address and hostname later, so on some screenshots you will see the old dynamically IP address and hostname, just in case of confusion.


To increase the security of your ESXi hosts, you can put them in Lockdown mode.

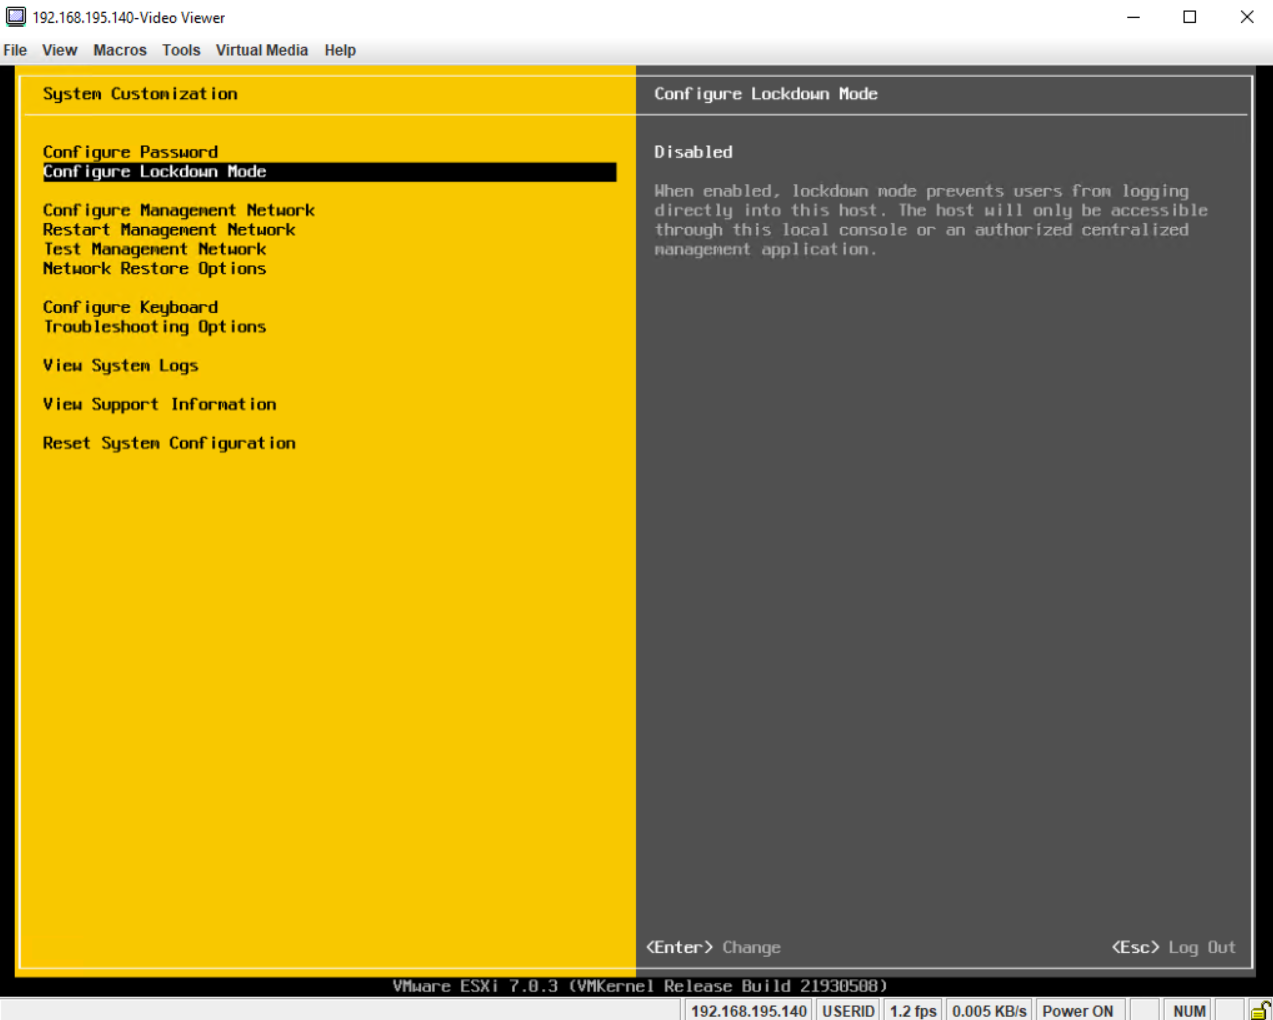
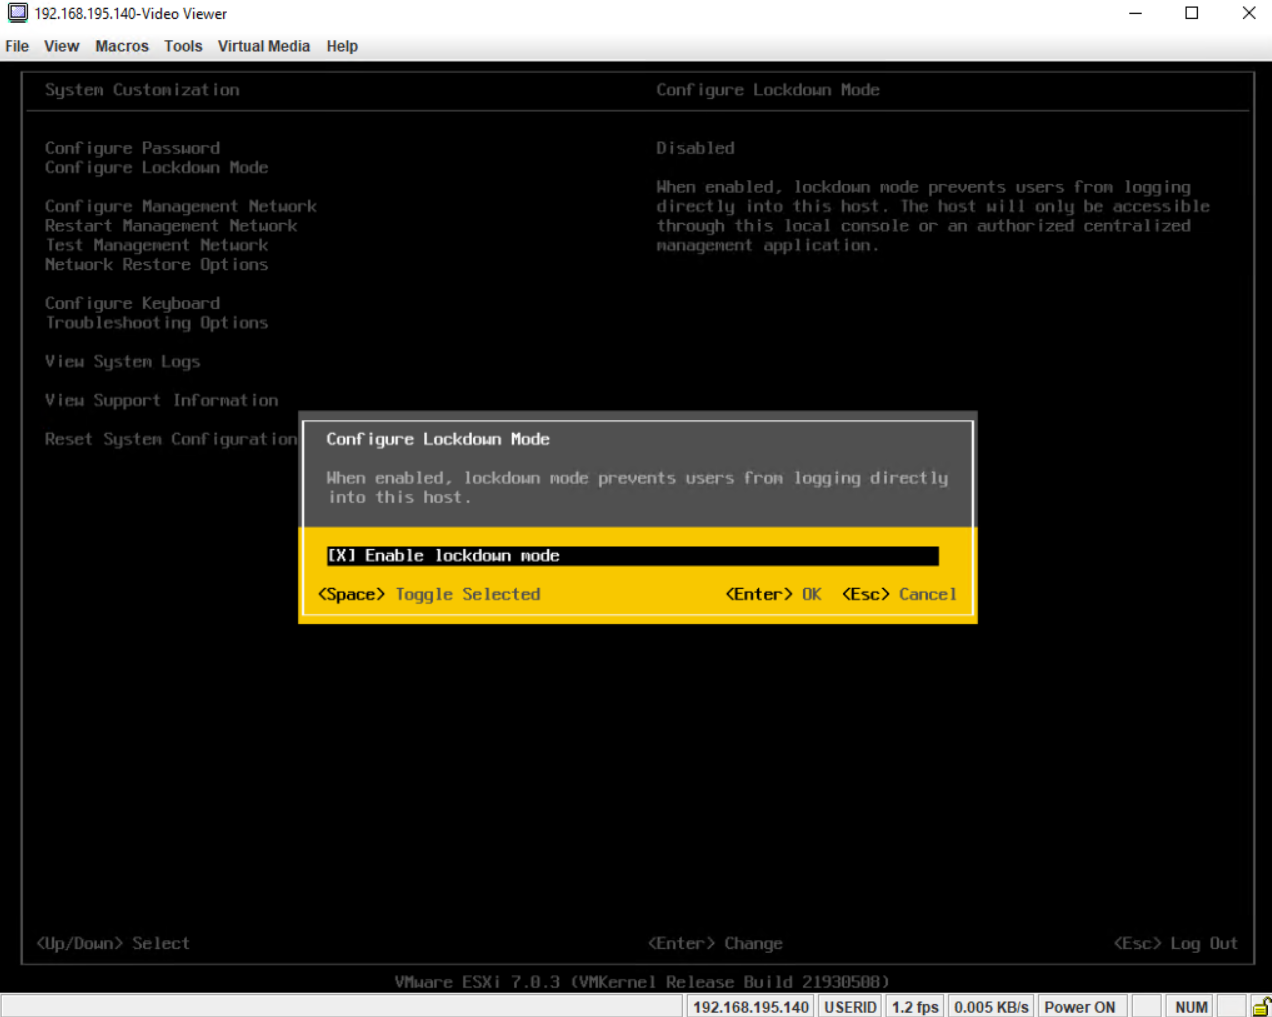
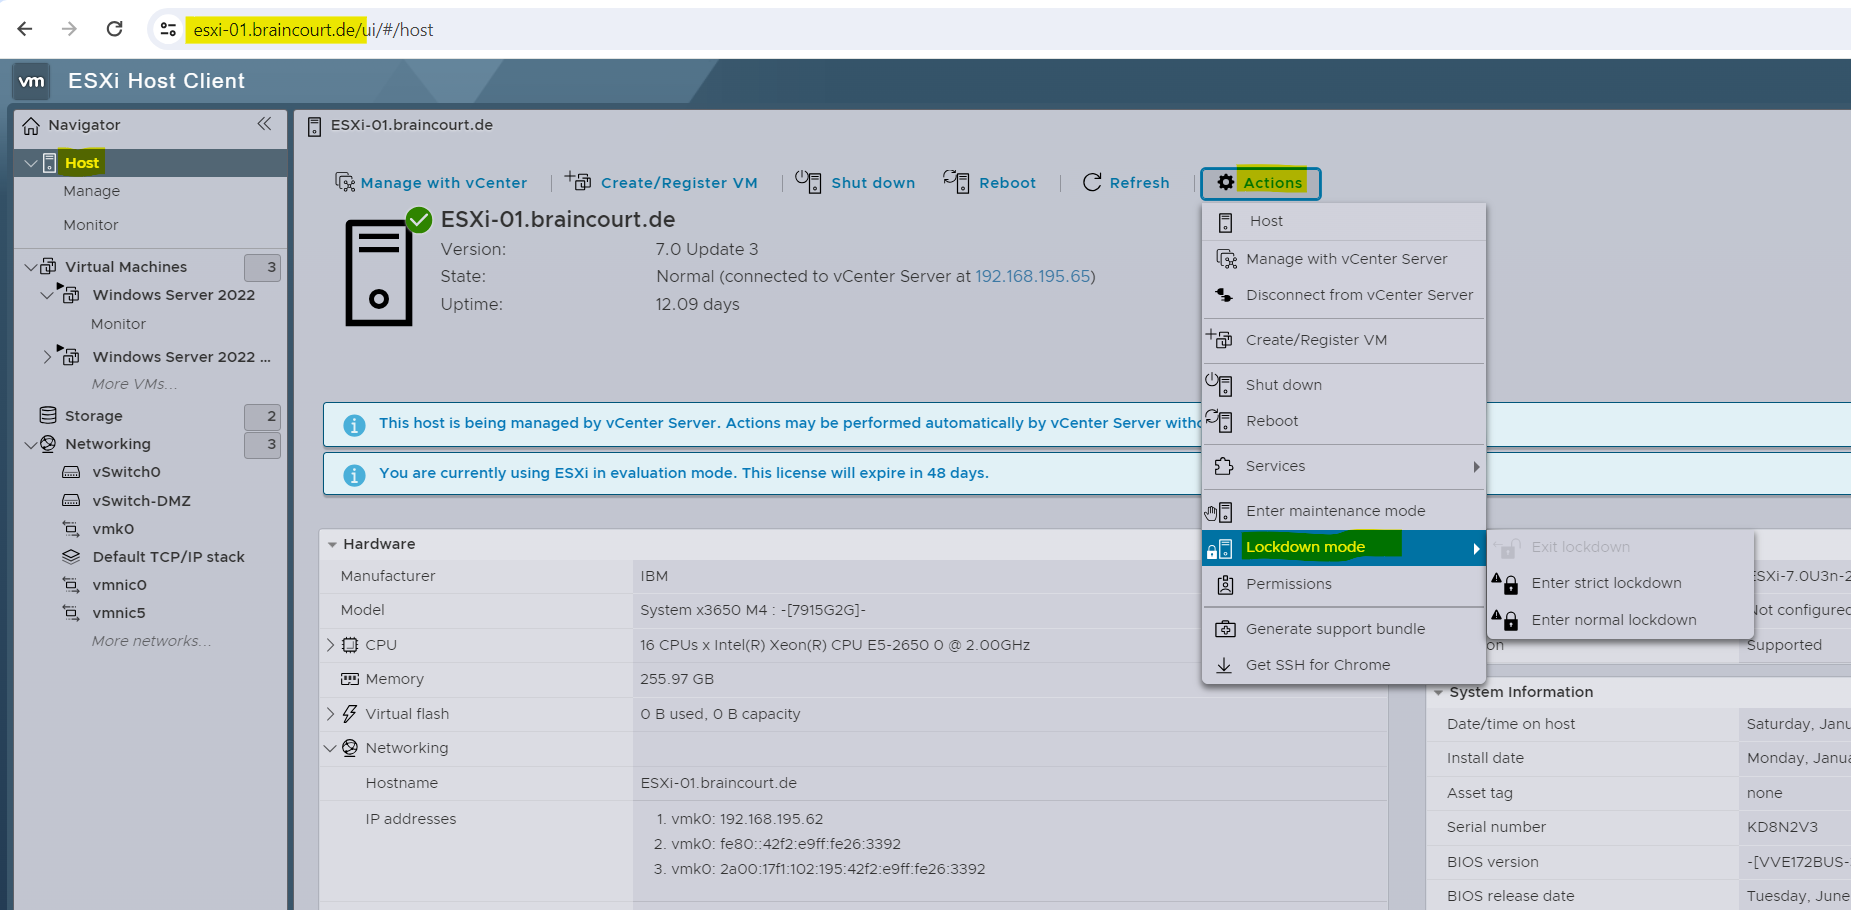
Starting with vSphere 6.0, you can select normal Lockdown mode or strict Lockdown mode, which offer different degrees of lockdown.

Source: https://kb.vmware.com/s/article/1008077

By using the DCUI we can just enable the normal lockdown mode.


Select Enable lockdown mode and press enter.


In order to enable the strict lockdown mode we can use the ESXi Host Client (ESXi Web UI).


When the ESXi host is in lockdown mode, you will still see the sign-in page of the ESXi Host Client (ESXi Web UI), but are not able to enter a username or password, these fields are now disabled.


In order to shuthdown or restart the ESXi host, you can use the ESXi Host Client (ESXi Web UI), the vSphere client and of course also the Direct Console User Interface (DCUI).

By using the DCUI just press F12 on the screen and then F11 to restart or F2 to shutdown the ESXi host.


Finally the ESXi host is booting up again.


Part 2 – Configure and run the ESXi Host

See all necessary steps we have to configure to run this ESXi host in part 2.


Links

Installing and Setting Up ESXi
https://docs.vmware.com/en/VMware-vSphere/8.0/vsphere-esxi-installation/GUID-93D0227B-E5ED-40B0-B8E2-71141A32EB00.html

VMware Virtual Networking Concepts
https://www.vmware.com/content/dam/digitalmarketing/vmware/en/pdf/techpaper/virtual_networking_concepts.pdf

What Is VMware vSwitch?
https://www.nakivo.com/blog/what-is-vmware-vswitch/

VMware ESXi Networking Concepts
https://www.nakivo.com/blog/esxi-network-concepts/