Adding and Configuring a new ESXi Host in vSphere (vCenter server)
About how to use the out-of-the box ESXi Host Client to configure and manage an ESXi host, you can read my following post.
Adding an ESXi Host in vCenter server
In order to configure and manage an ESXi host in vCenter server, we first need to add the host to vCenter server.
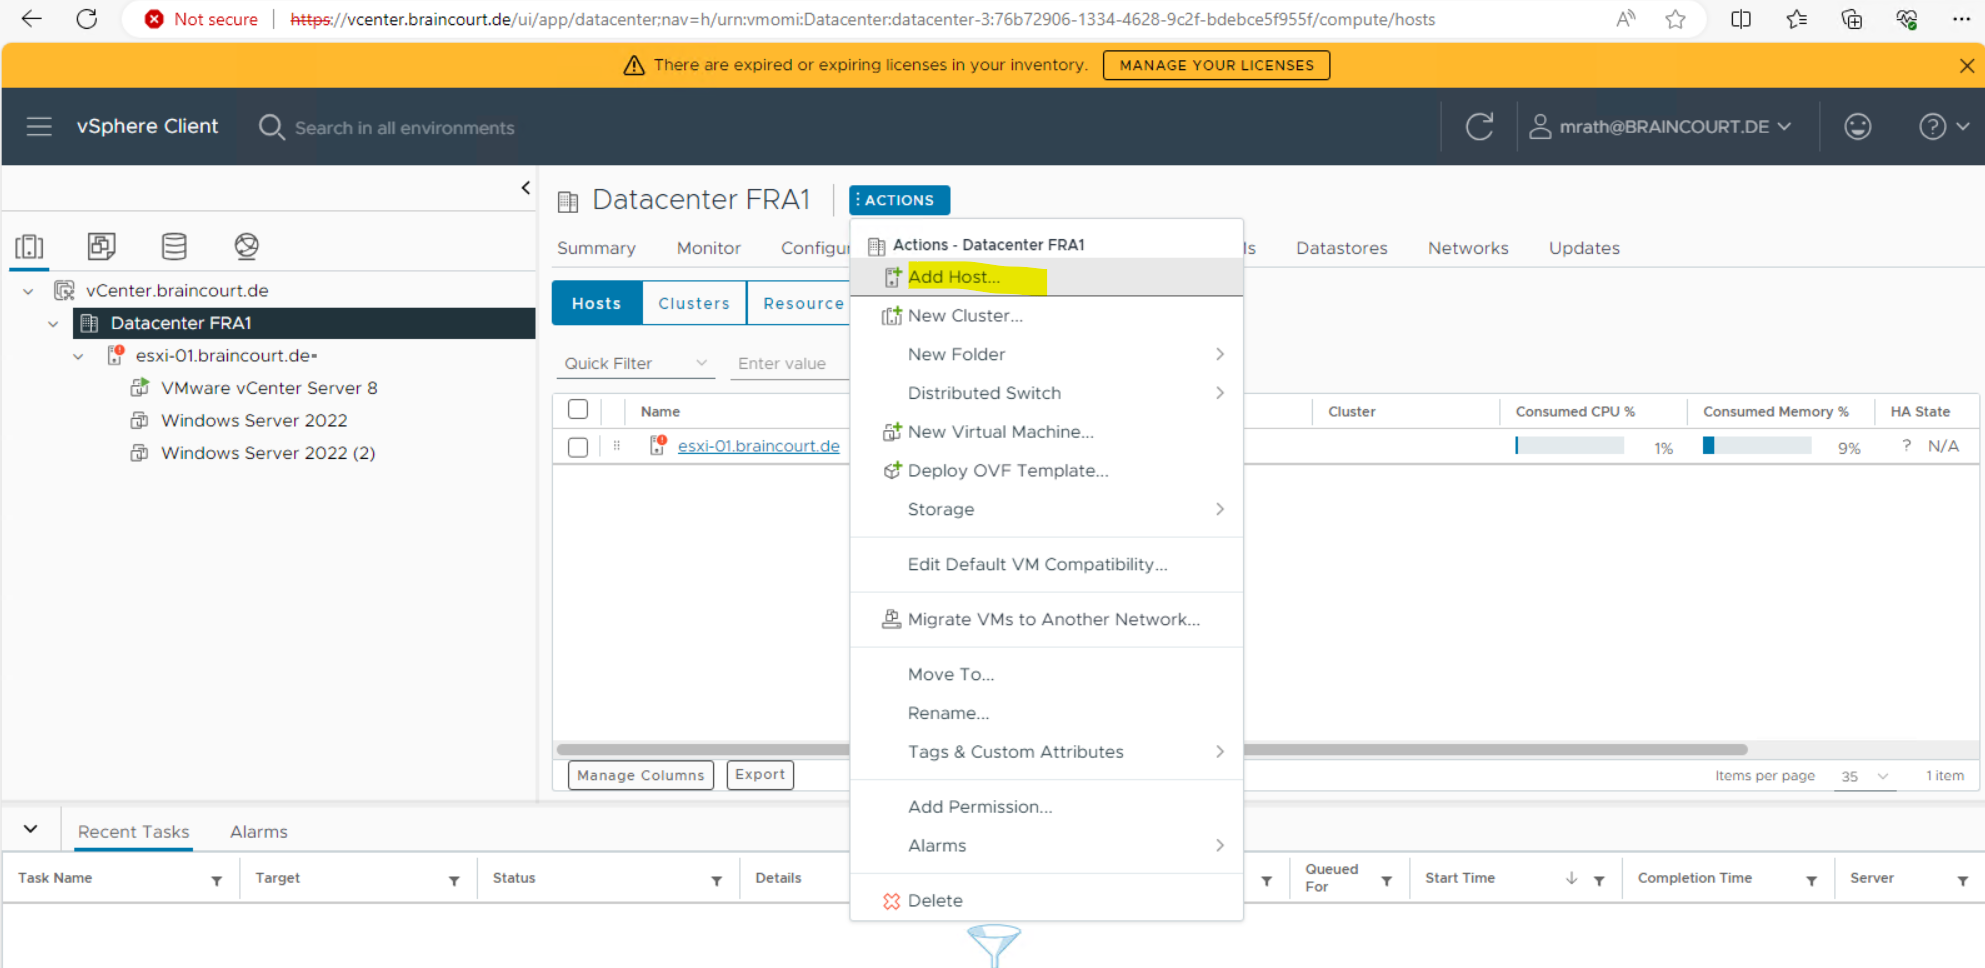
Navigate to Inventory -> Select your Datacenter -> Hosts & Clusters -> ACTIONS -> Add Host …
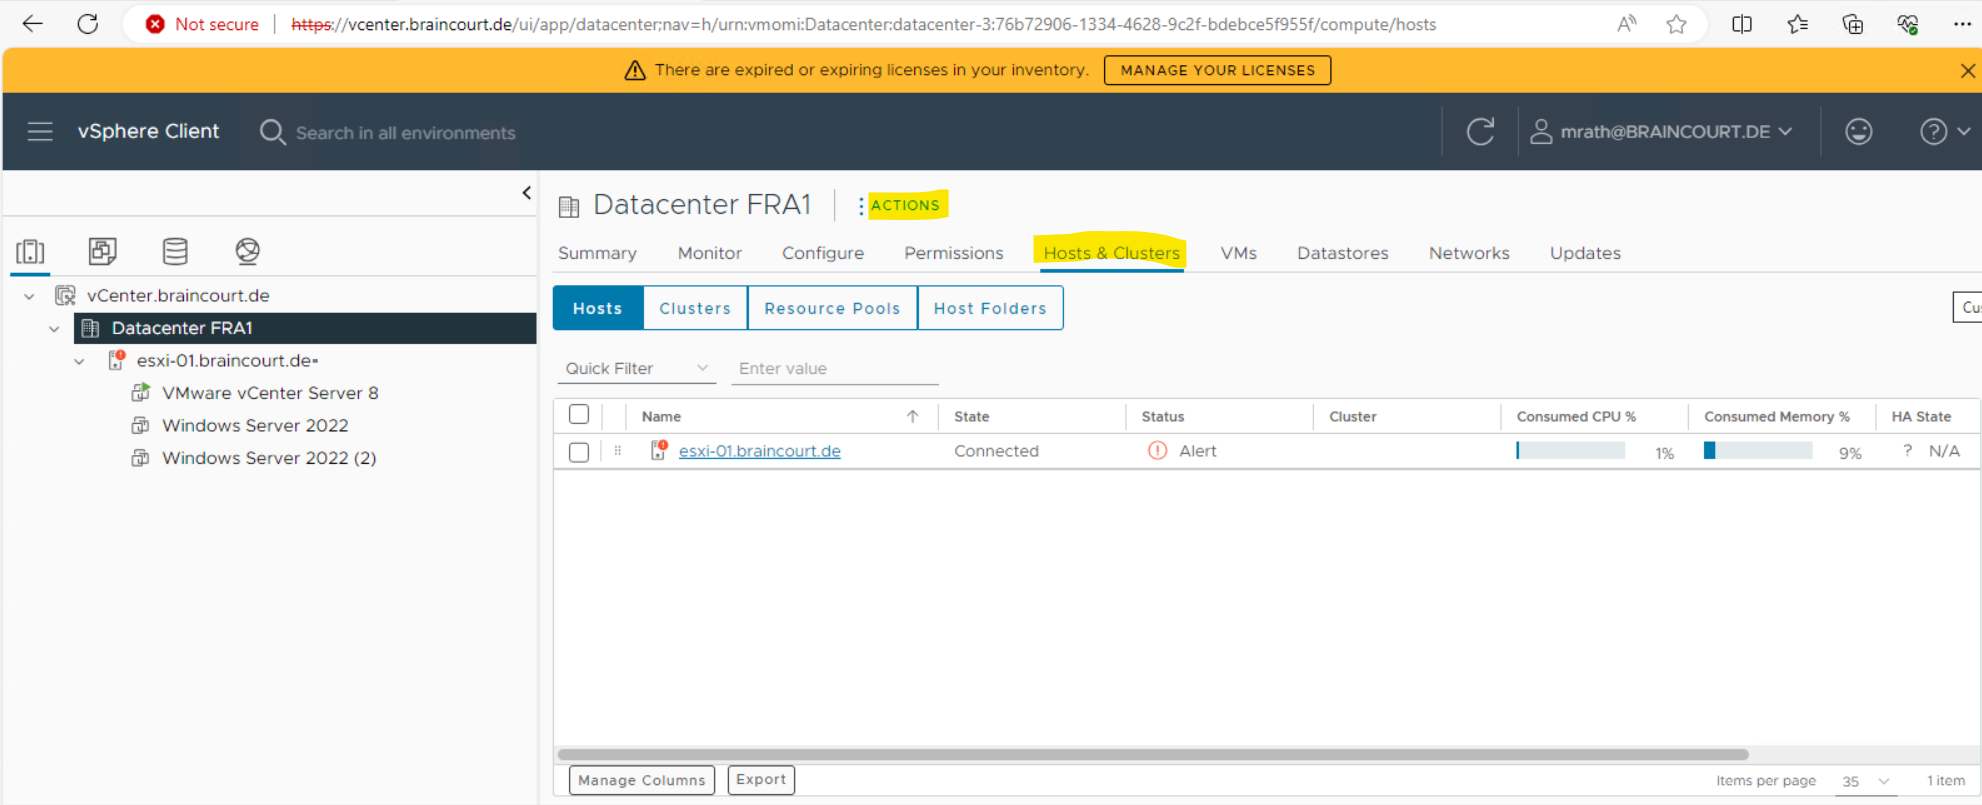
Click on Add Host.
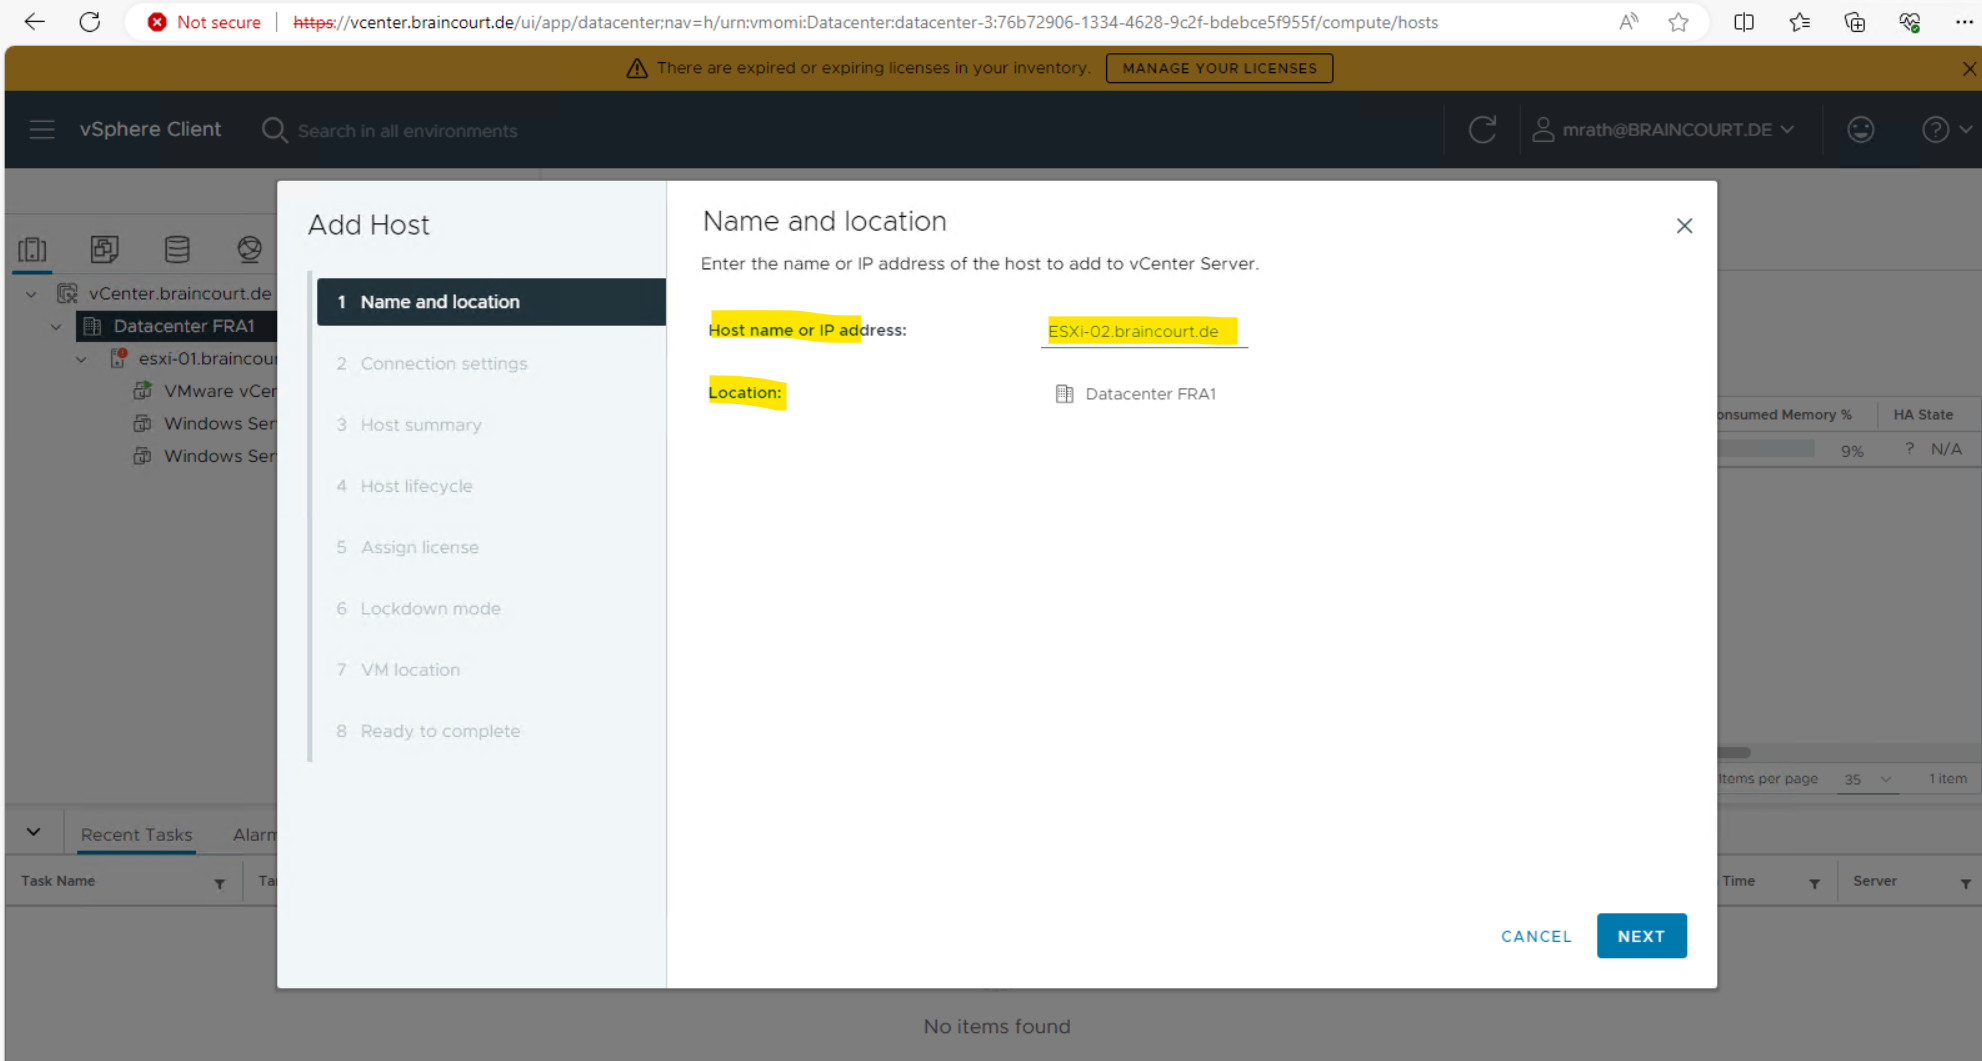
Enter the FQDN or IP address of your ESXi host you want to add.
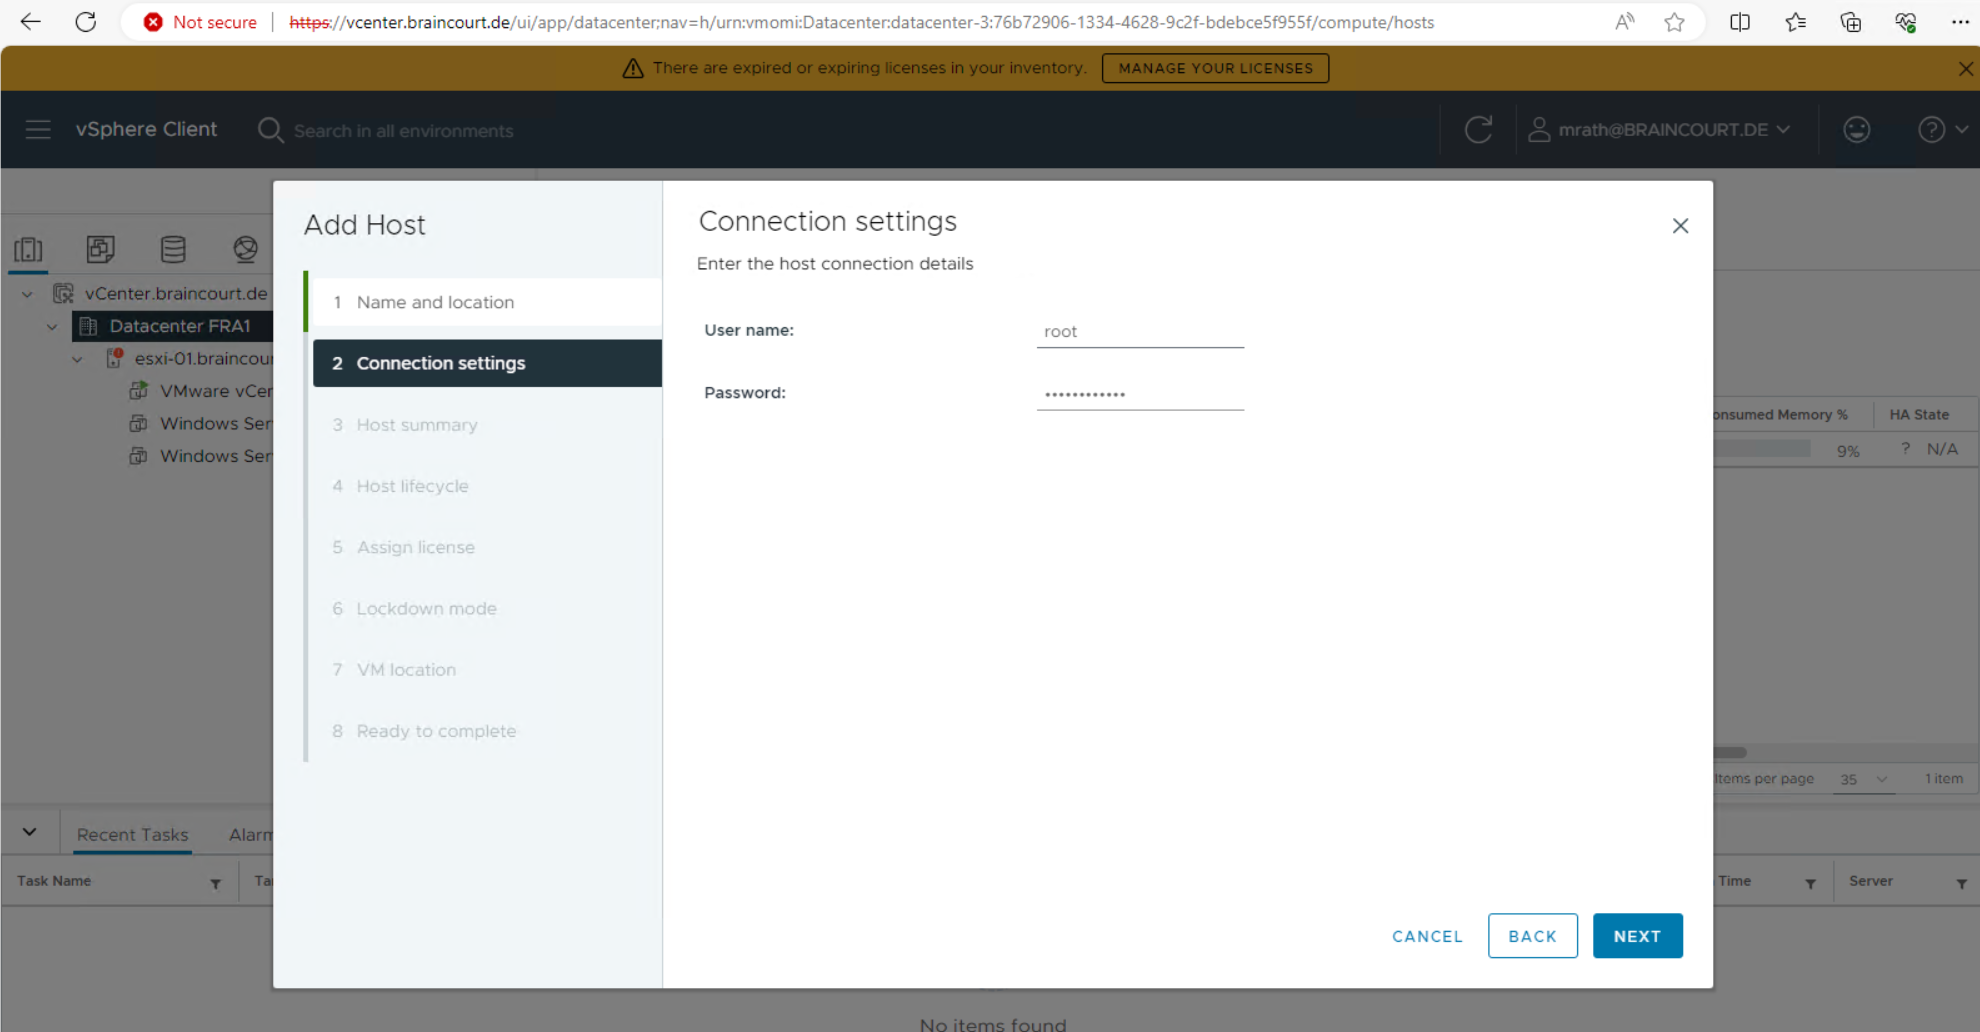
Enter valid credentials for the host, I will use the root user here.
Confirm the warning with YES.

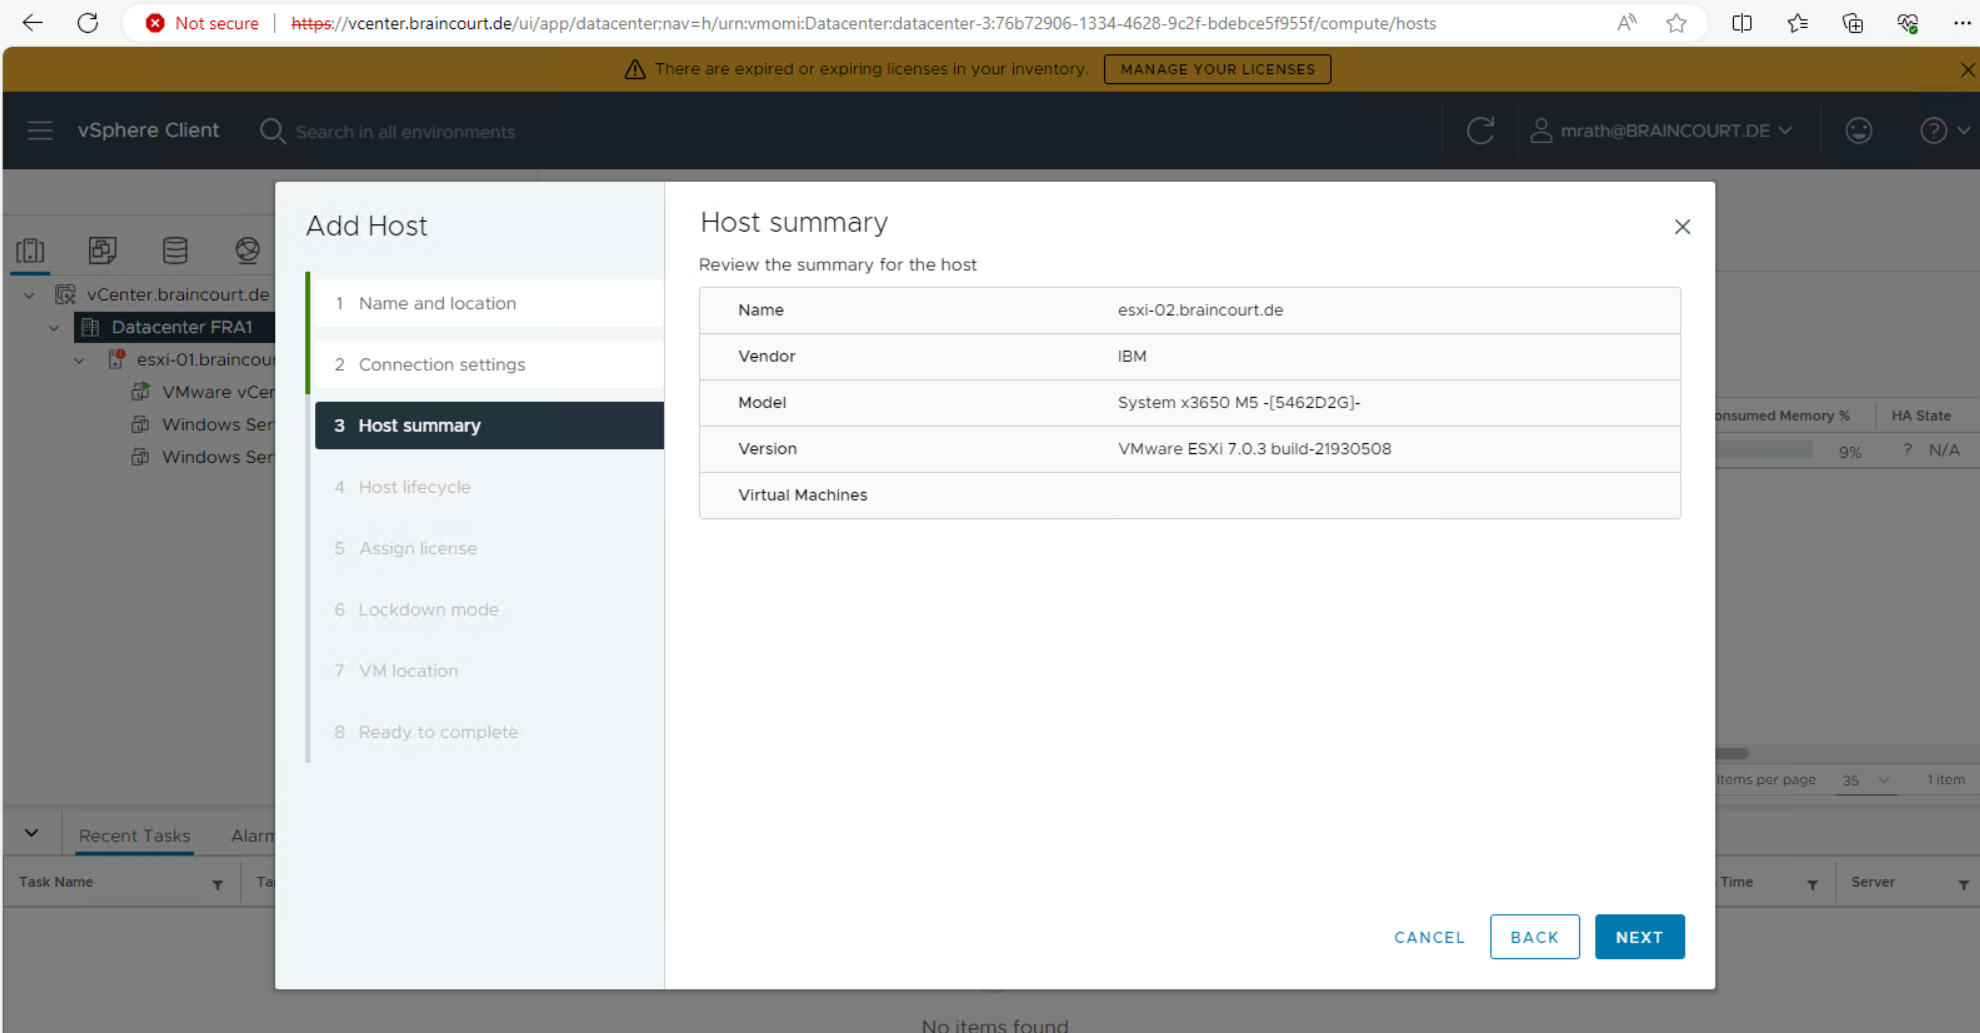
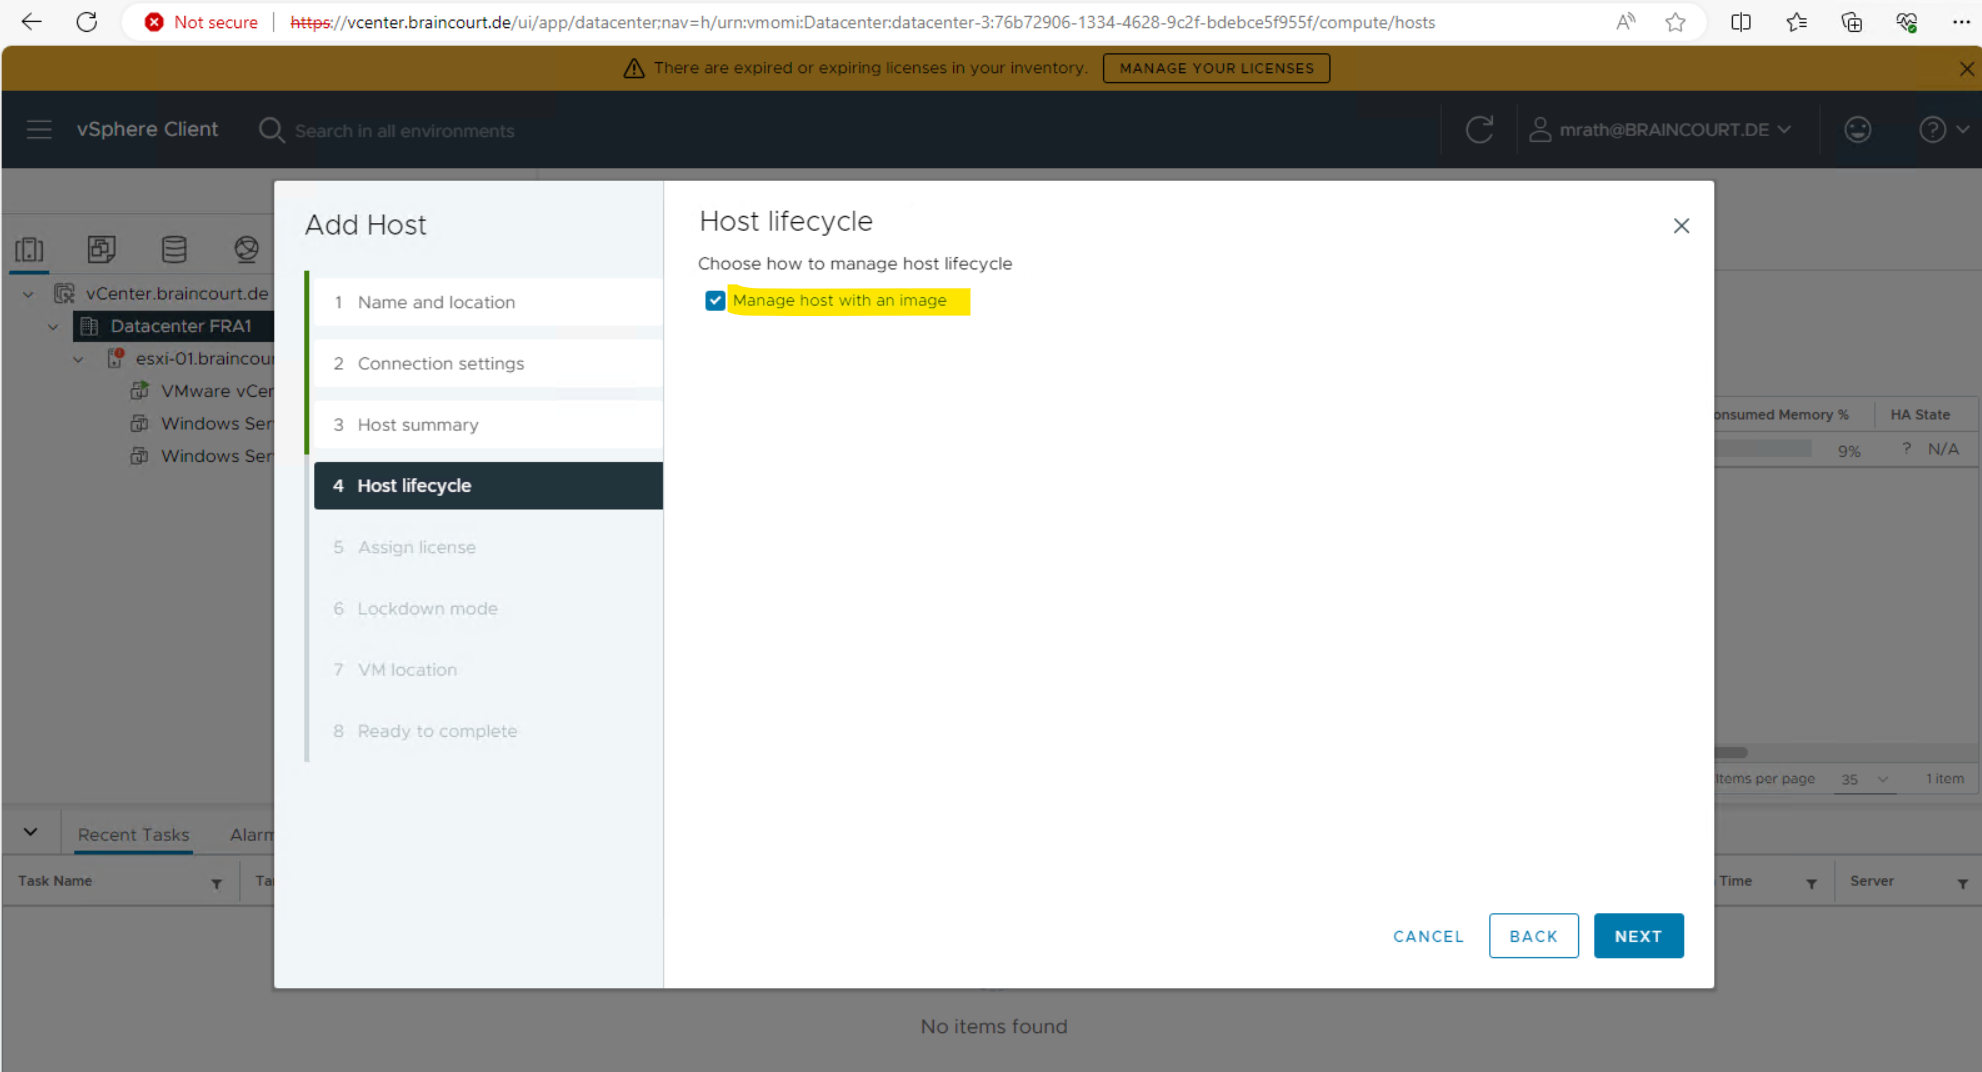
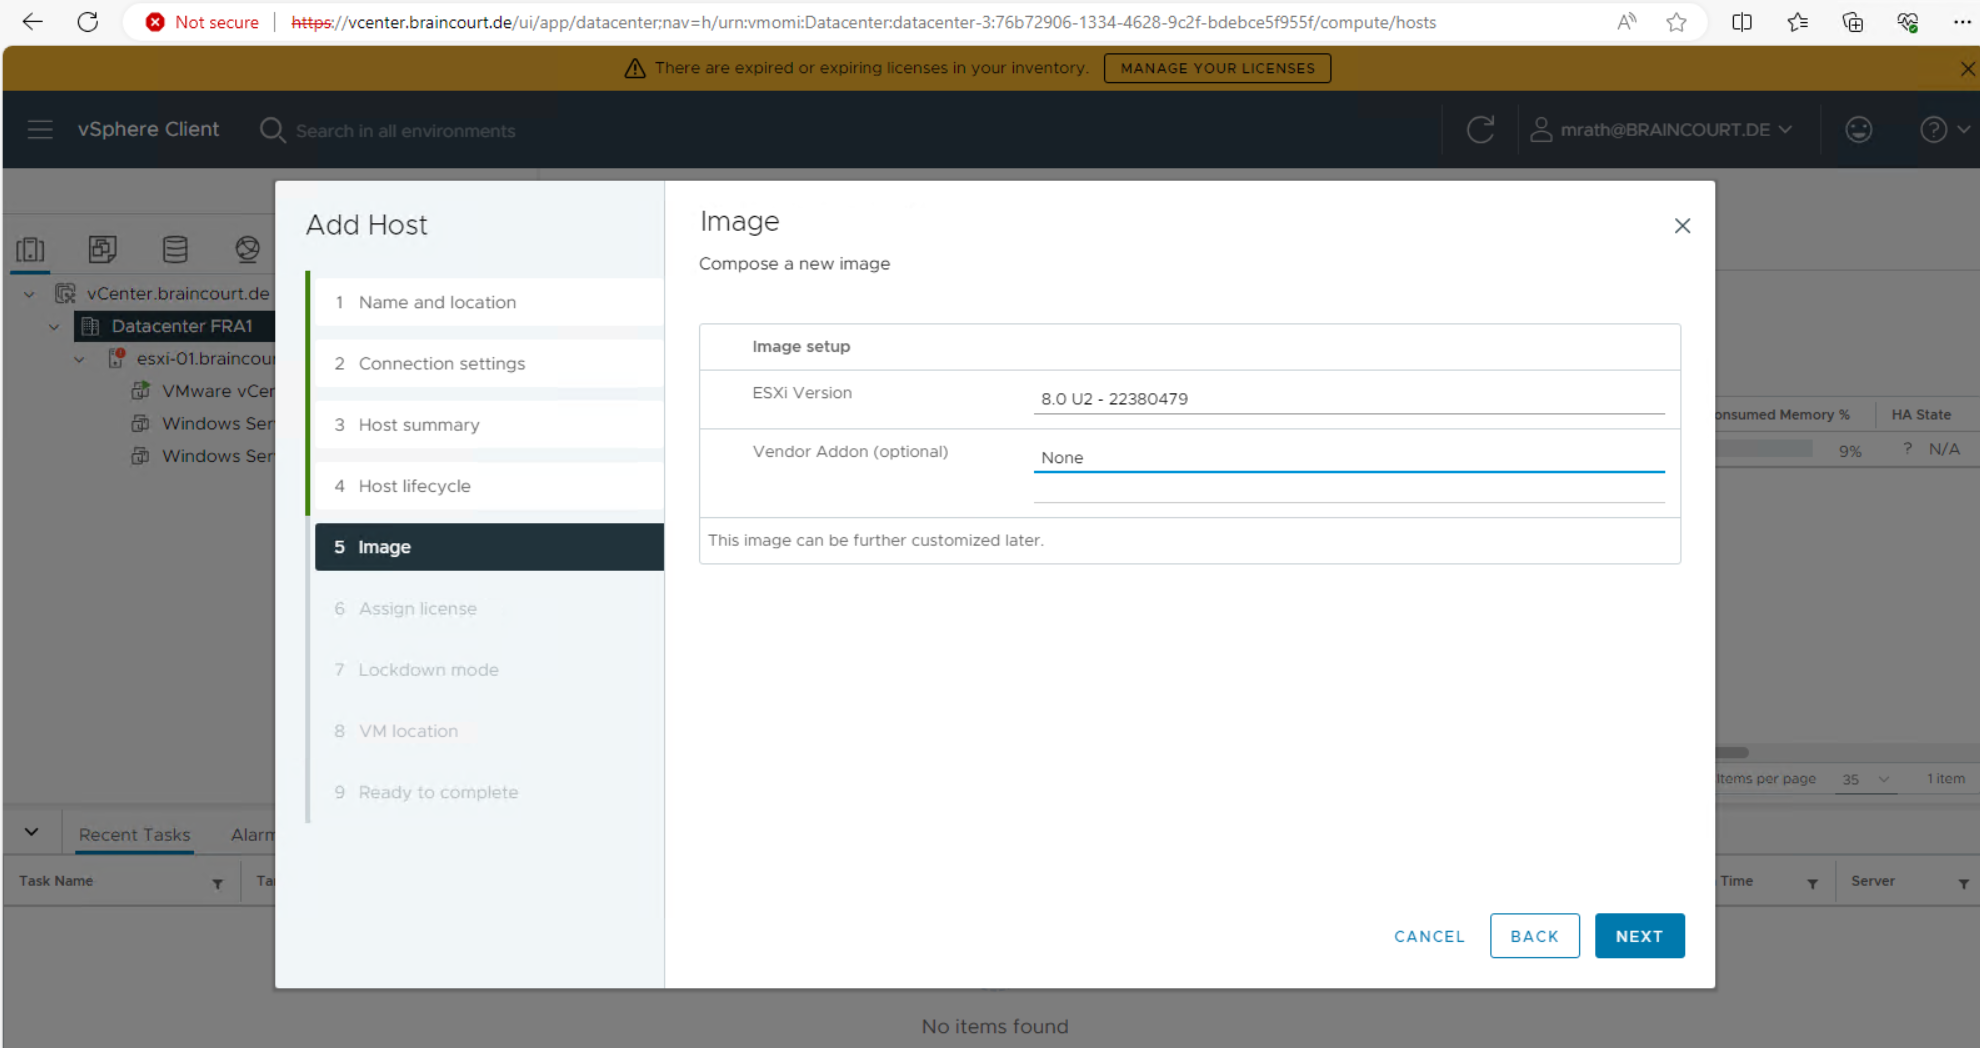
You use vSphere Lifecycle Manager images to apply software and firmware updates to the ESXi hosts in a cluster. Using a single image to manage all hosts in a cluster ensures cluster-wide host image homogeneity.
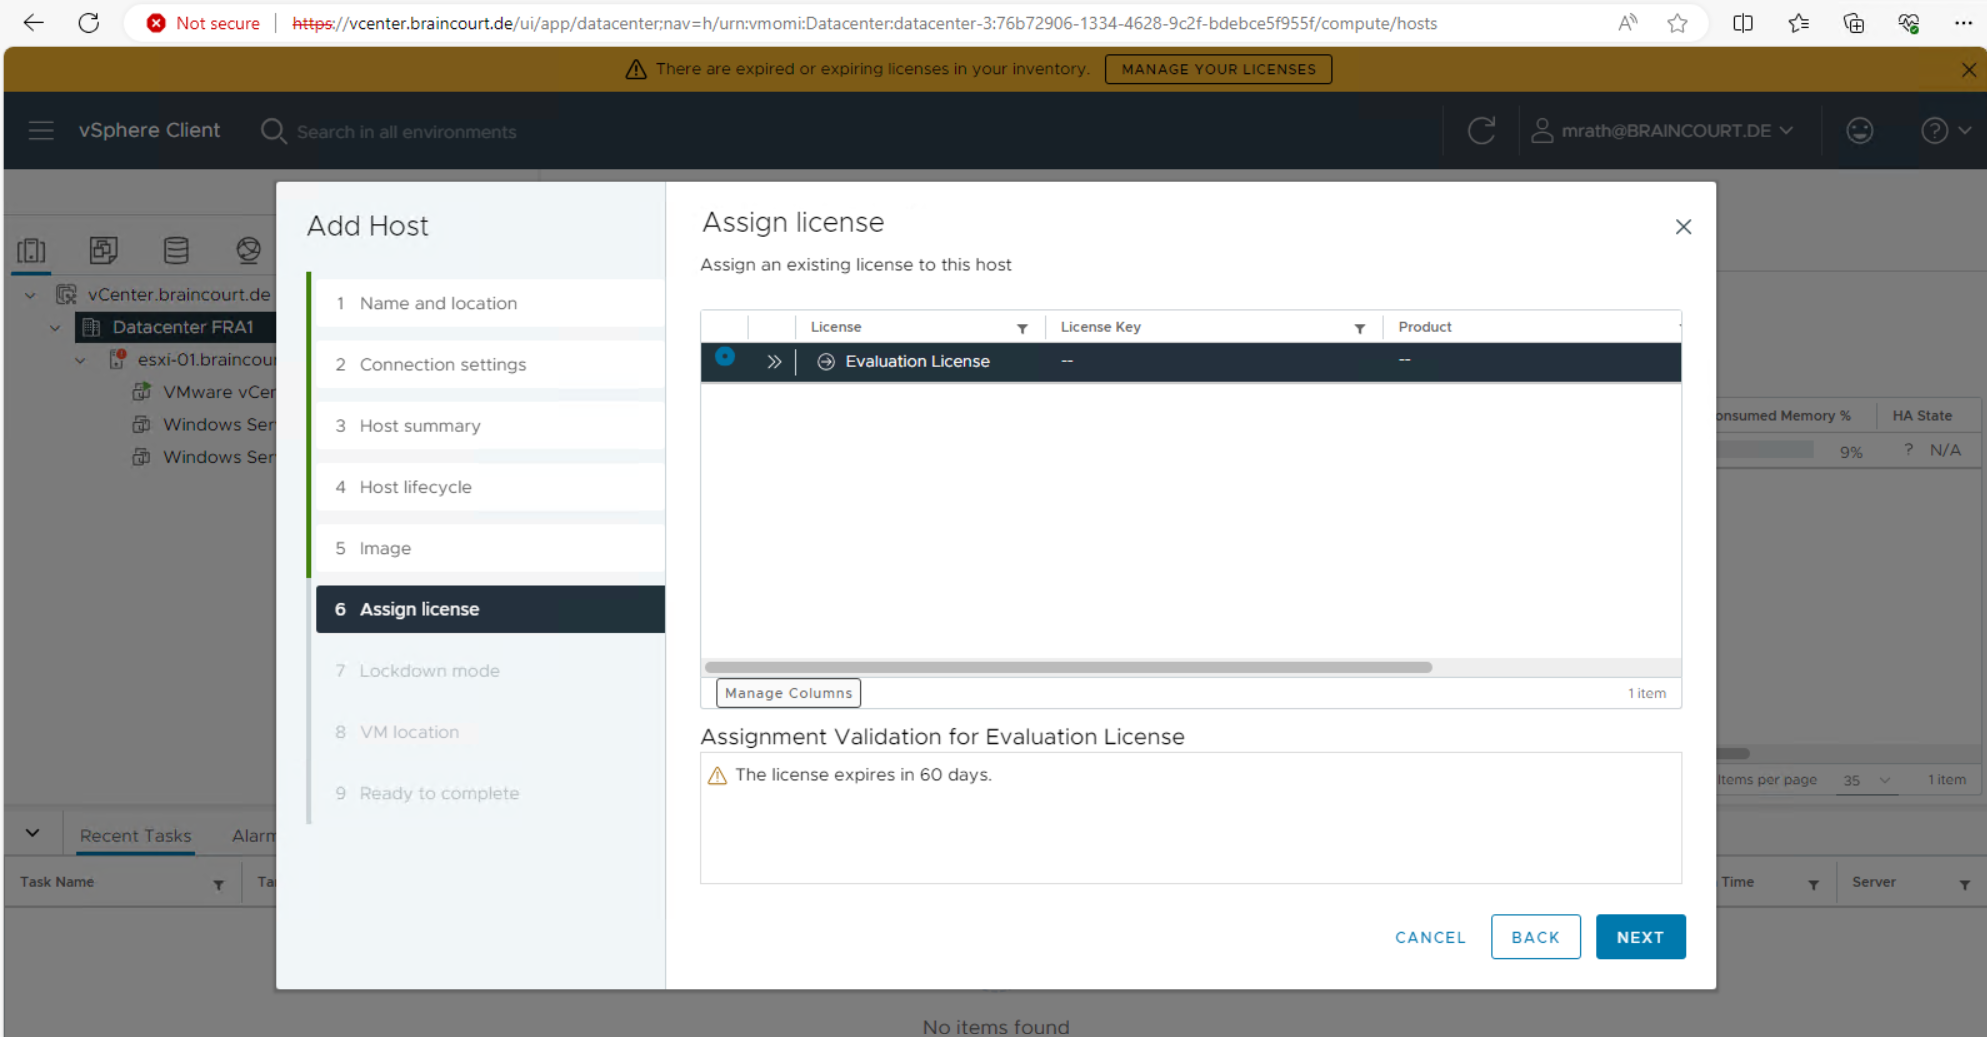
The Assign license dialog displays. Confirm the license selection and click Next.
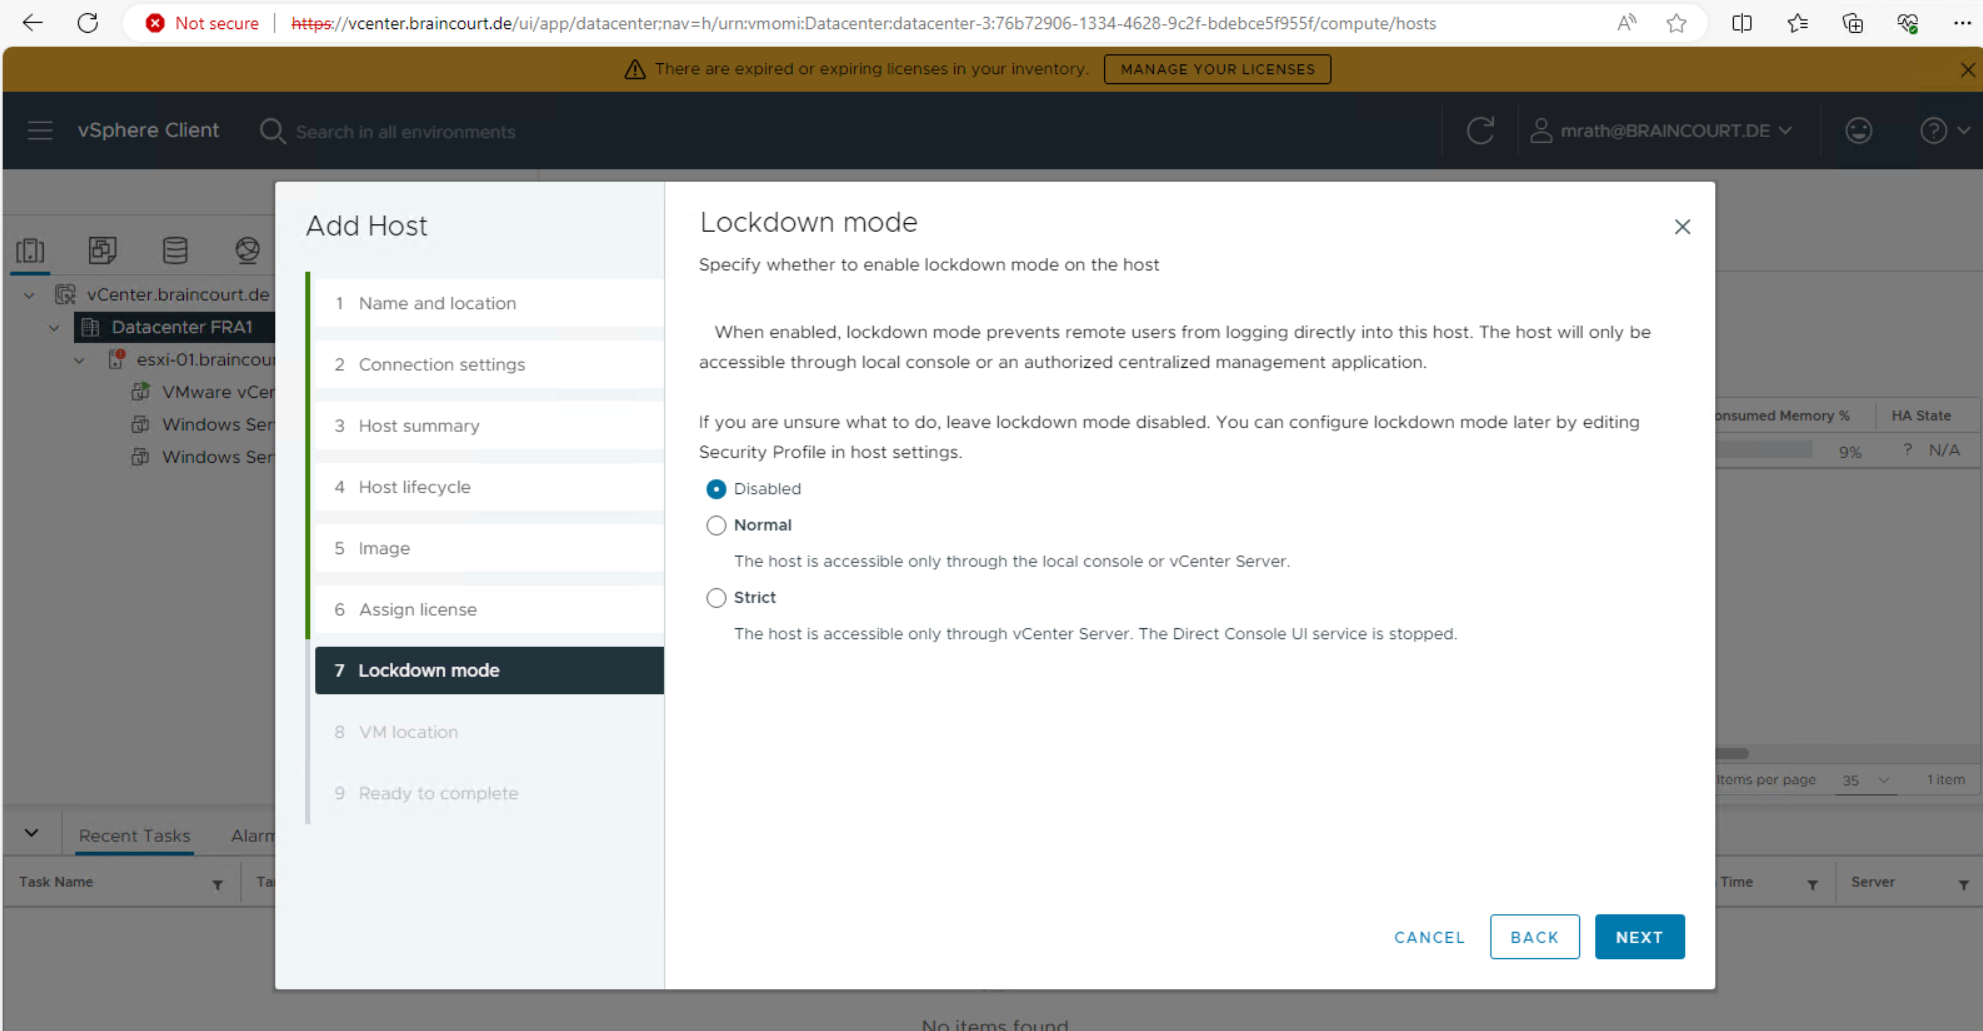
The Lockdown mode dialog displays. Accept the default setting (Disabled) and click Next.
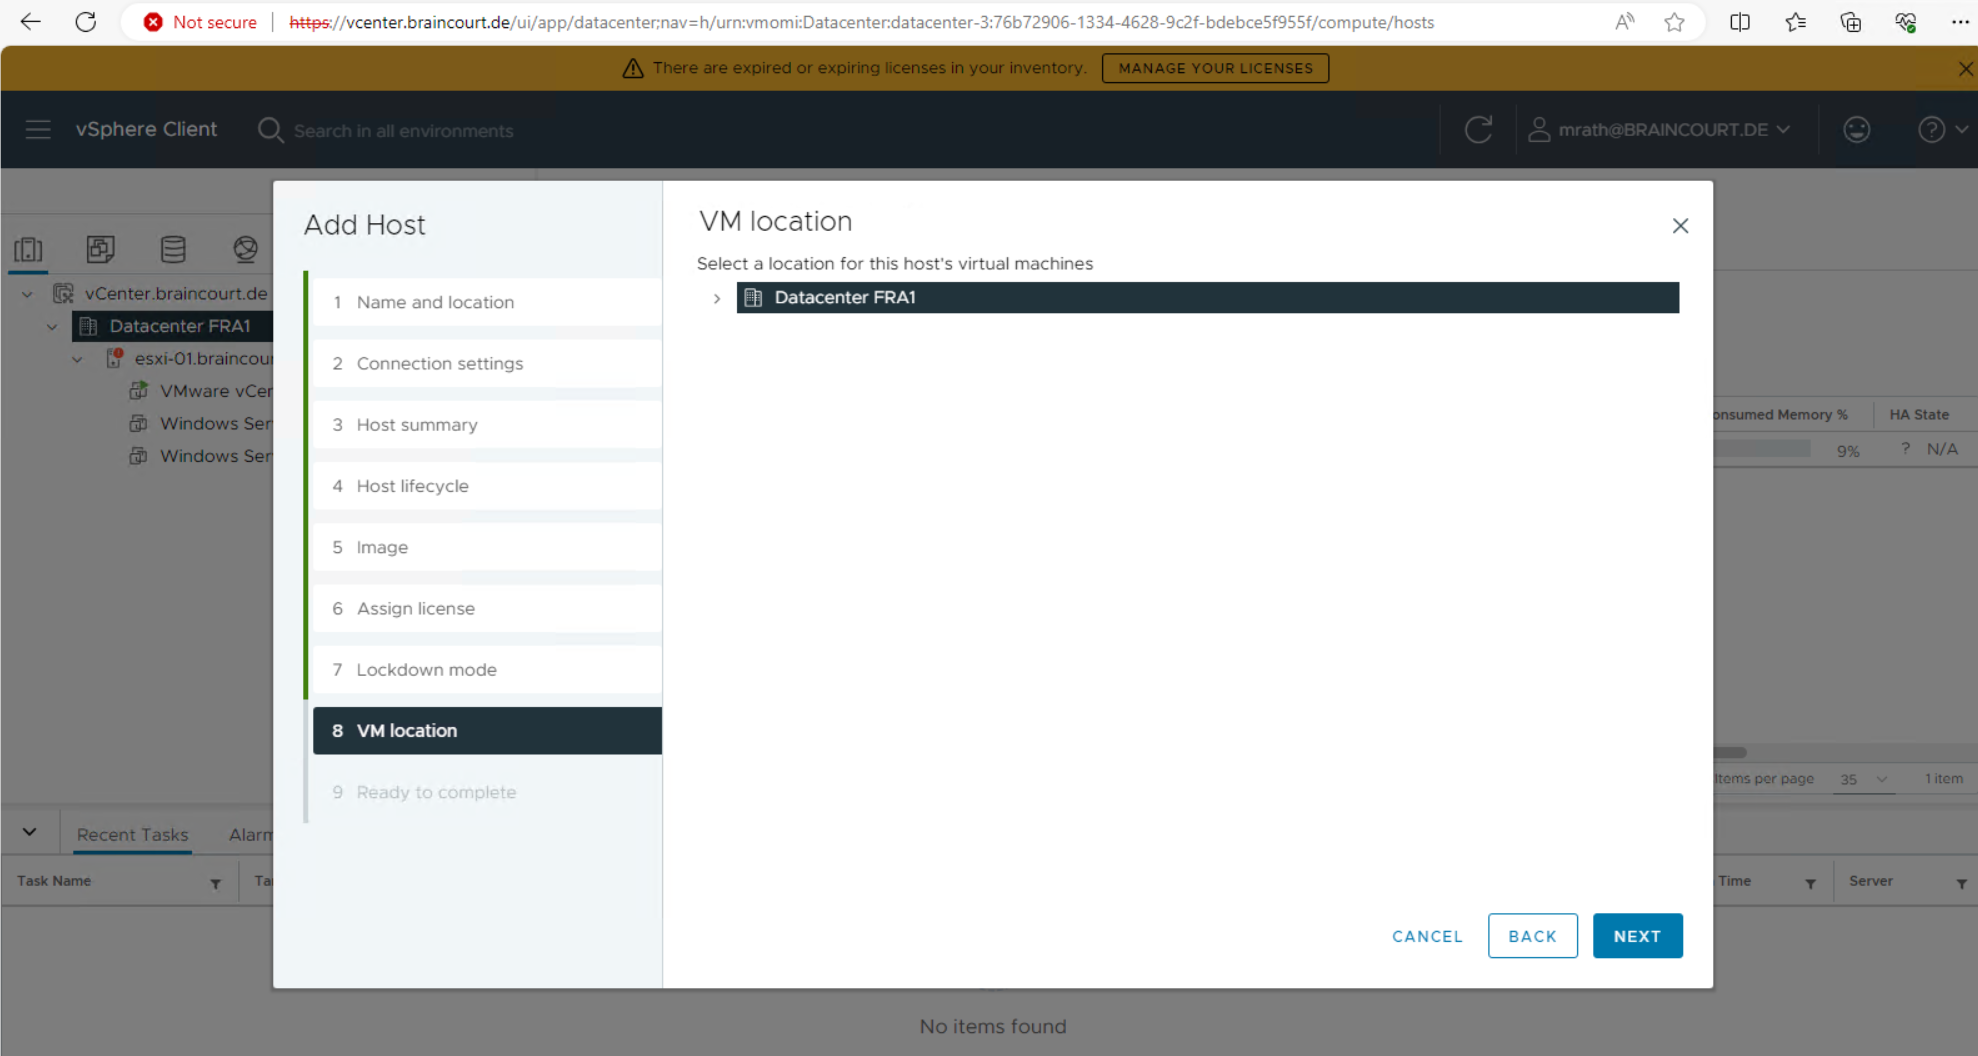
The VM location dialog displays. Select a cluster or accept the default option and click Next to continue.
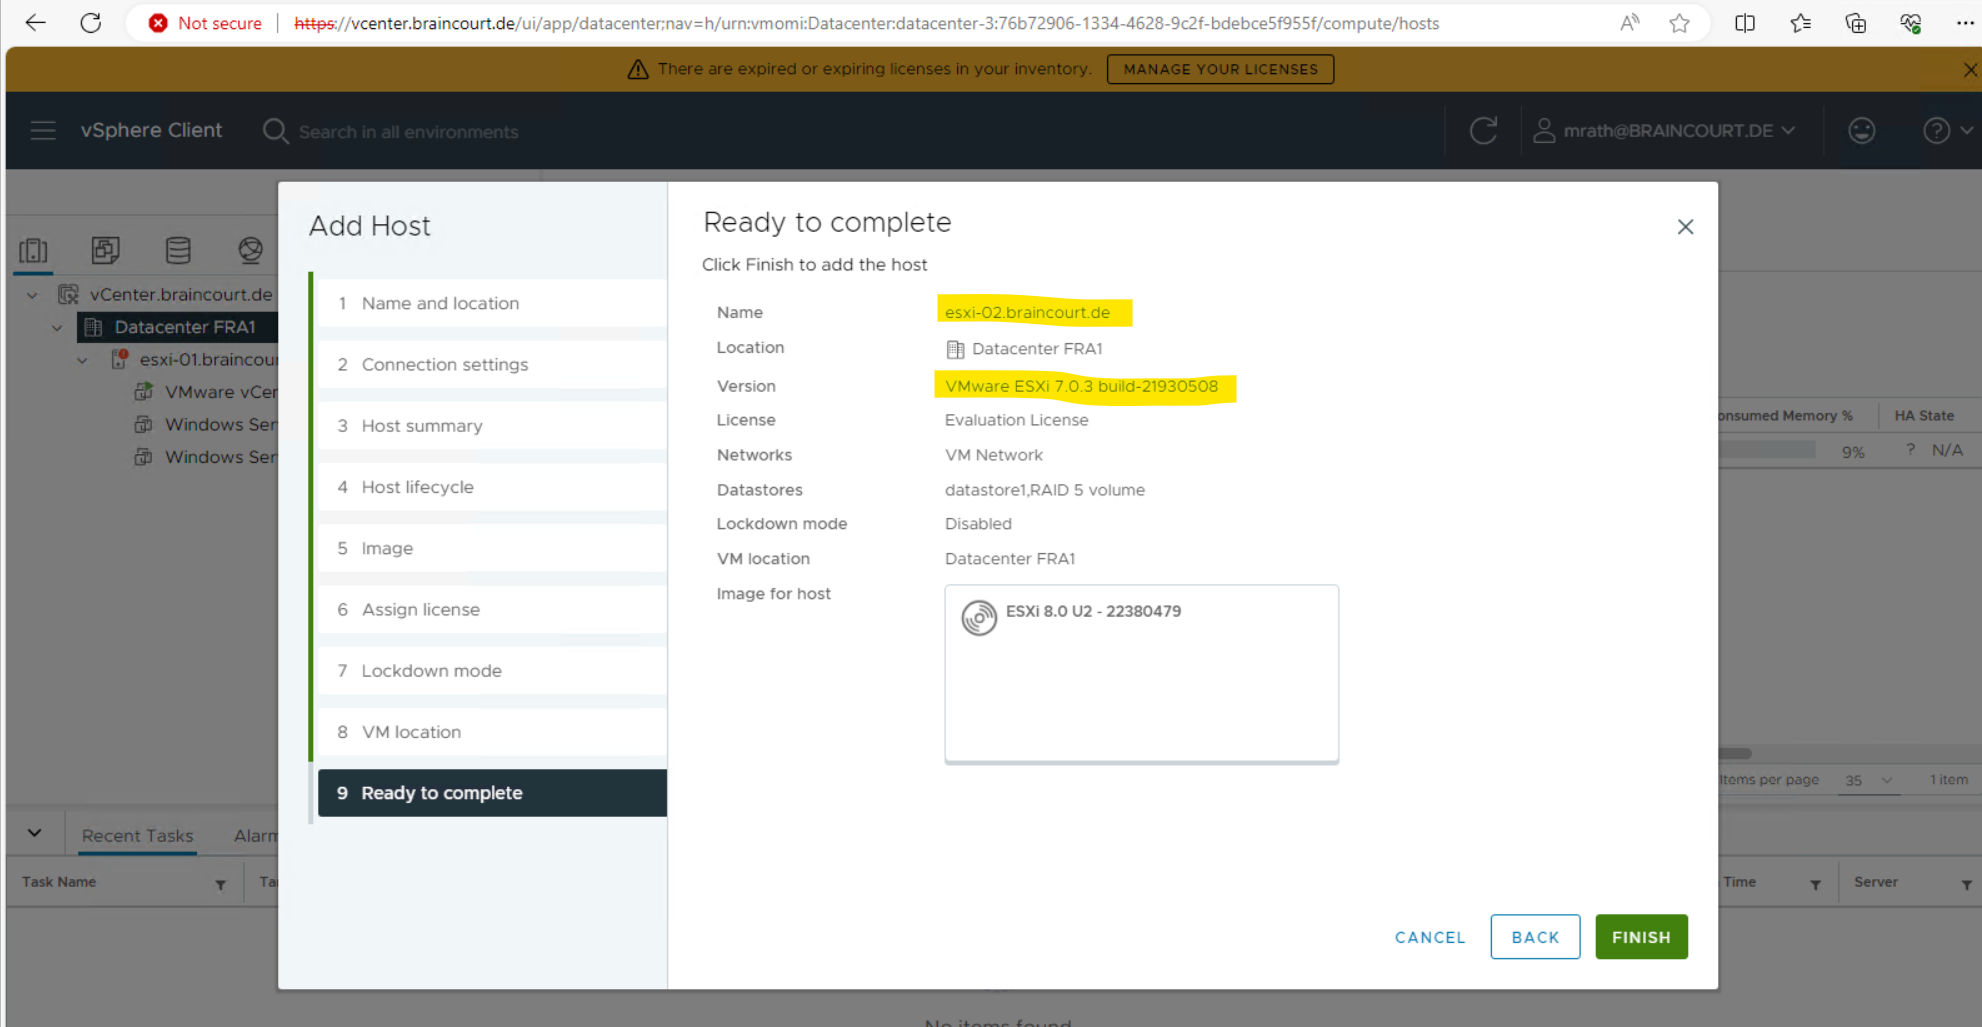
The Ready to Complete dialog displays. Click Finish to complete adding the new host.
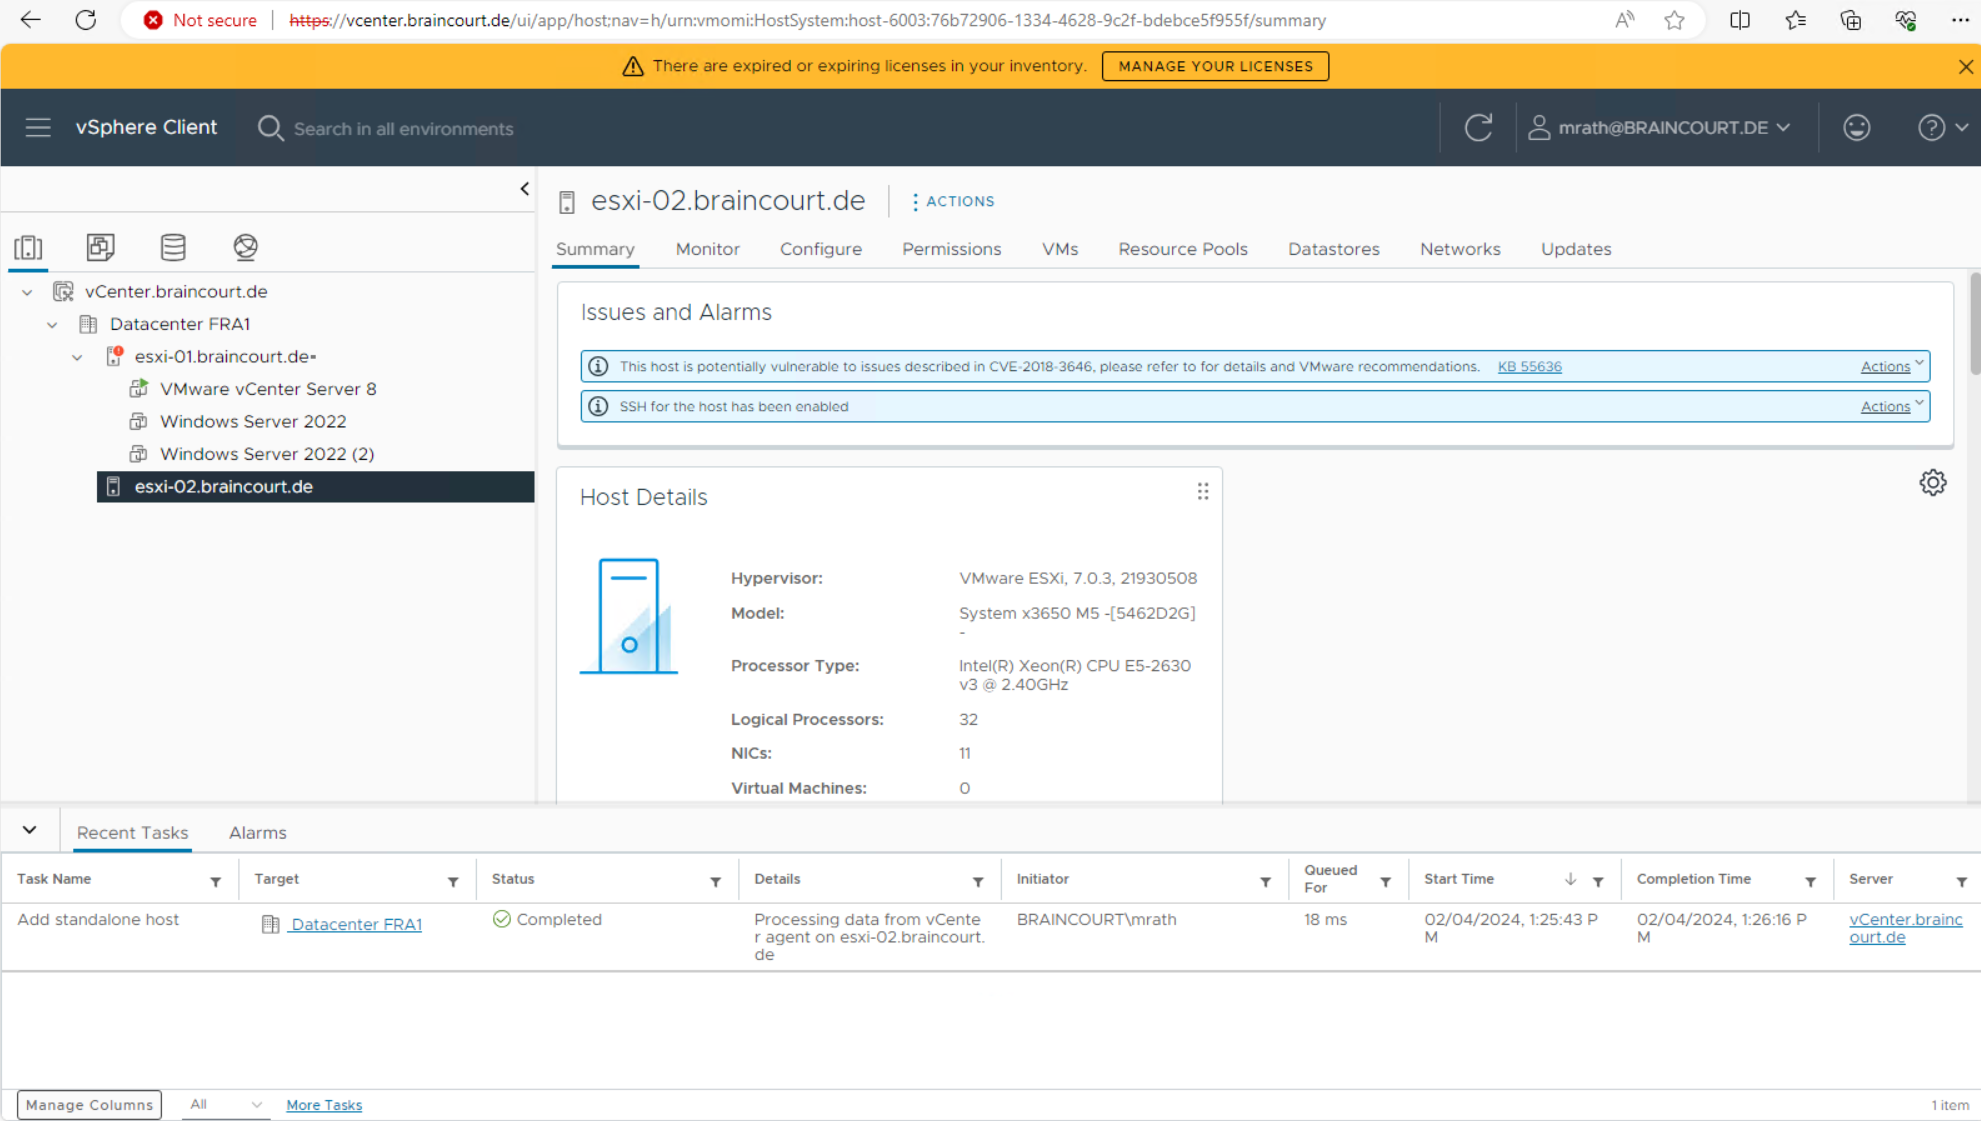
The new ESXi host is now visible in the left panel when you click the datacenter name.
So far no virtual machine are deployed and running on this ESXi host.
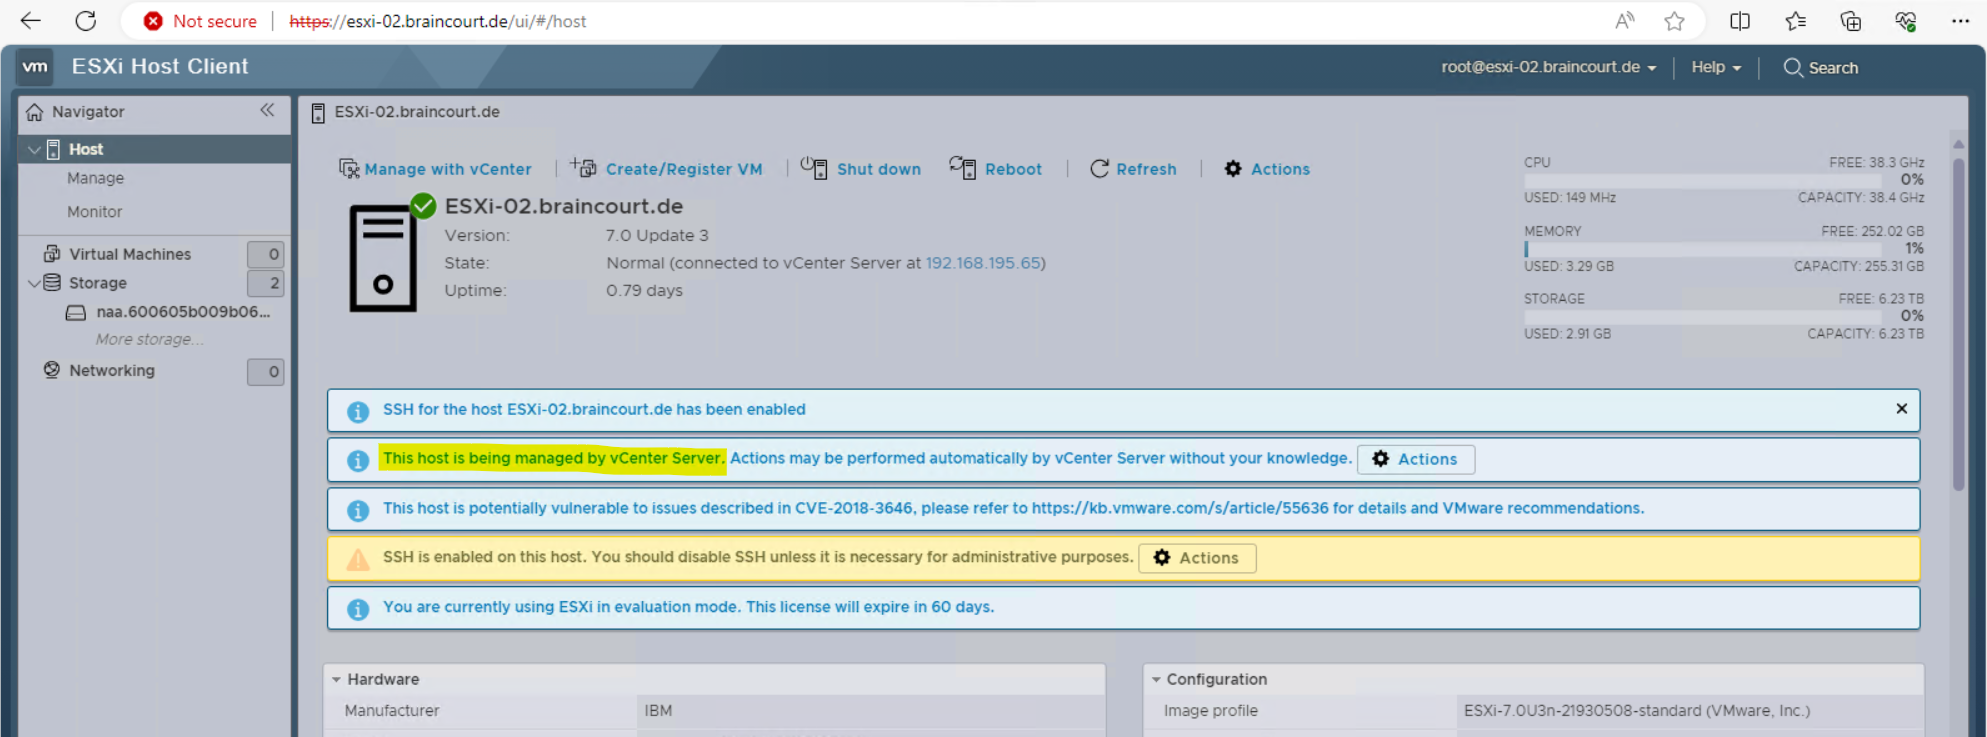
From that moment on you will also get notified when entering the ESXi Host Client that this host is now being managed by vCenter Server.
VSphere HTML5 Web Client vs vSphere Client
Since vSphere 6.0U2 you will use the vSphere HTML5 Web Client Fling to manage your vSphere environment.
May 18, 2016
Today we have two important announcements. First, the C# client (AKA Desktop Client/thick client/vSphere Client for Windows) will not be available for the next version of vSphere. Current versions of vSphere (6.0, 5.5) will not be affected, as those will follow the standard support period. You’ve heard this from us in the past, but we’ve been waiting for a sufficient replacement before finally moving forward.
Second, we want to talk about the recent vSphere HTML5 Web Client Fling, user adoption, and VMware’s focus on bringing a great user experience. Like the Embedded Host Client Fling (which made it into vSphere in 6.0U2), we plan on bringing this product into a supported release soon.
We’ll be referring to the new client as the vSphere Client, as it better describes the product, and isn’t a ten syllable mouthful (vSphere HTML5 Web Client).
Goodbye vSphere Client for Windows (C#) – Hello HTML5
Source: https://blogs.vmware.com/partnernews/2016/05/vsphere-client-html5.html
Configuring the Network of an ESXi Host by using the vSphere Client
As mentioned above, when speaking about the vSphere client I will refer to the new vSphere HTML5 Web Client in this post.
About configuring the network of an ESXi host by using the ESXi Host Client, you can read my following post which will also show more details about the network of an ESXi host in general.
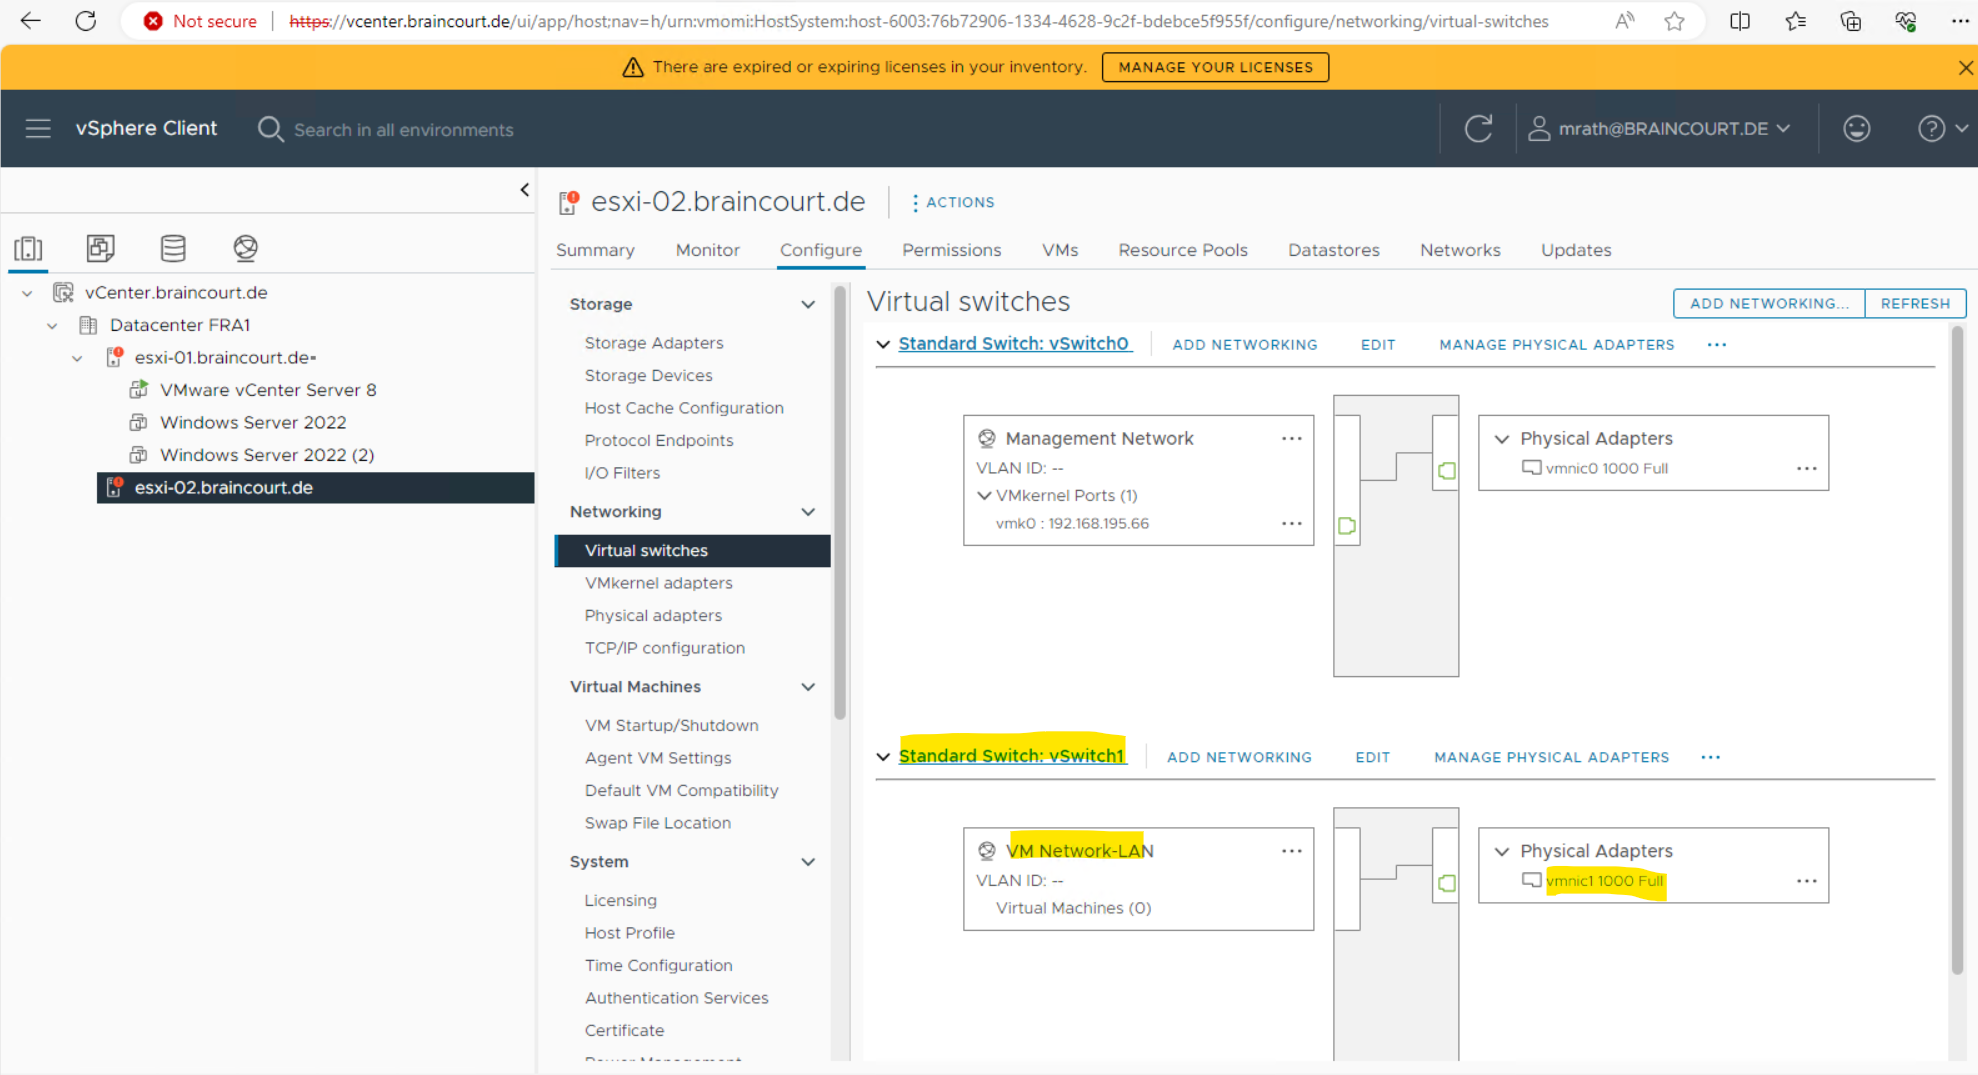
In this post I will just show how you can also use the vSphere client to configure an ESXi host.
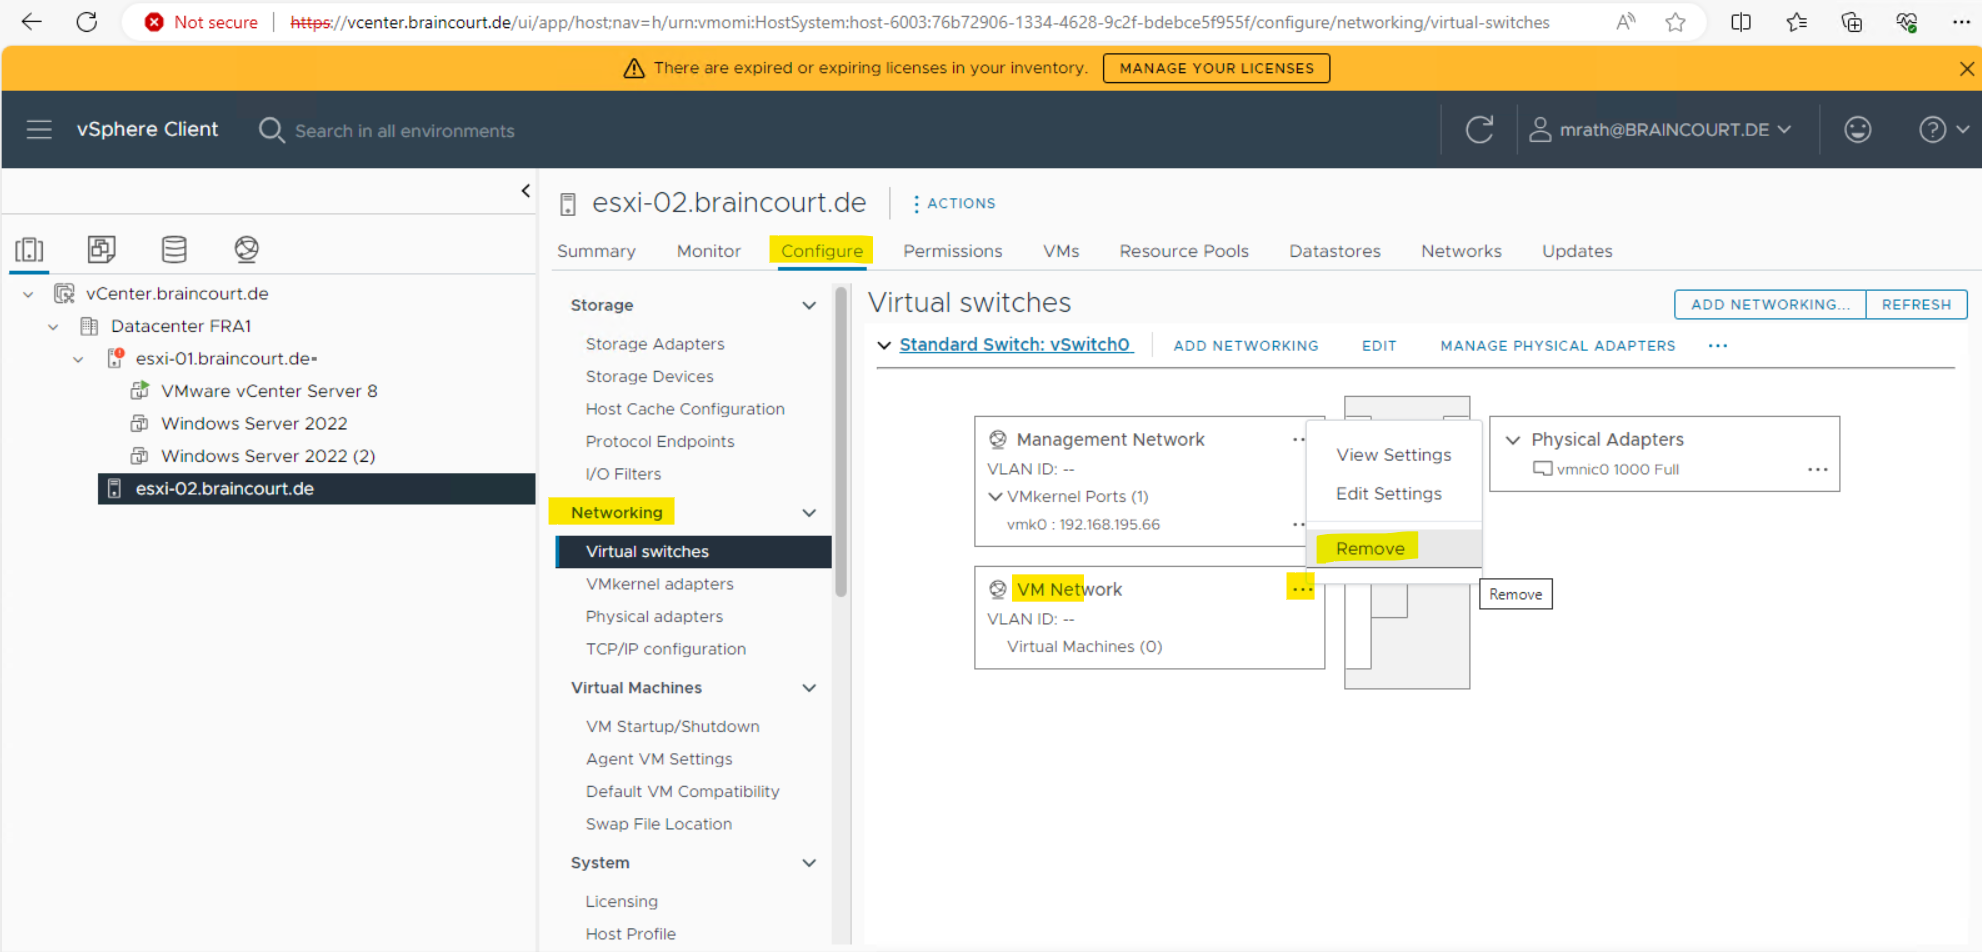
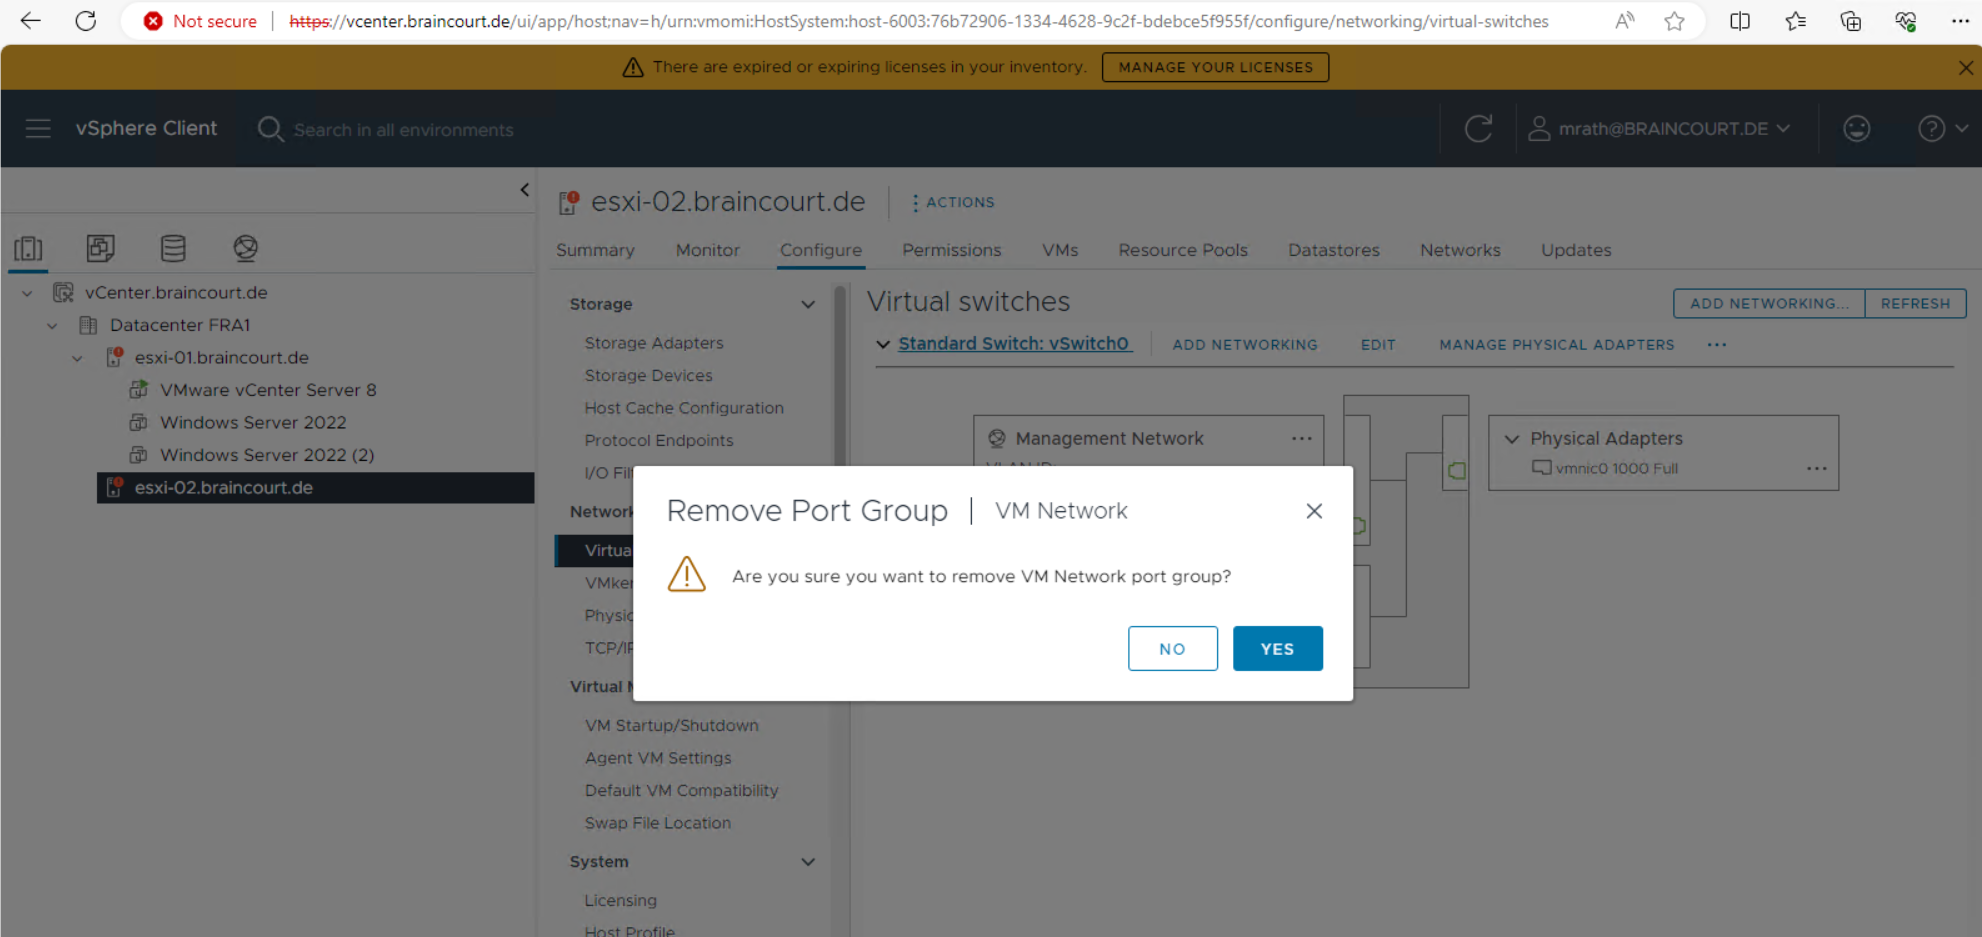
First I will remove the VM Network switch which will be created by default, I will then create my own virtual switches used by the virtual machines running on this host.
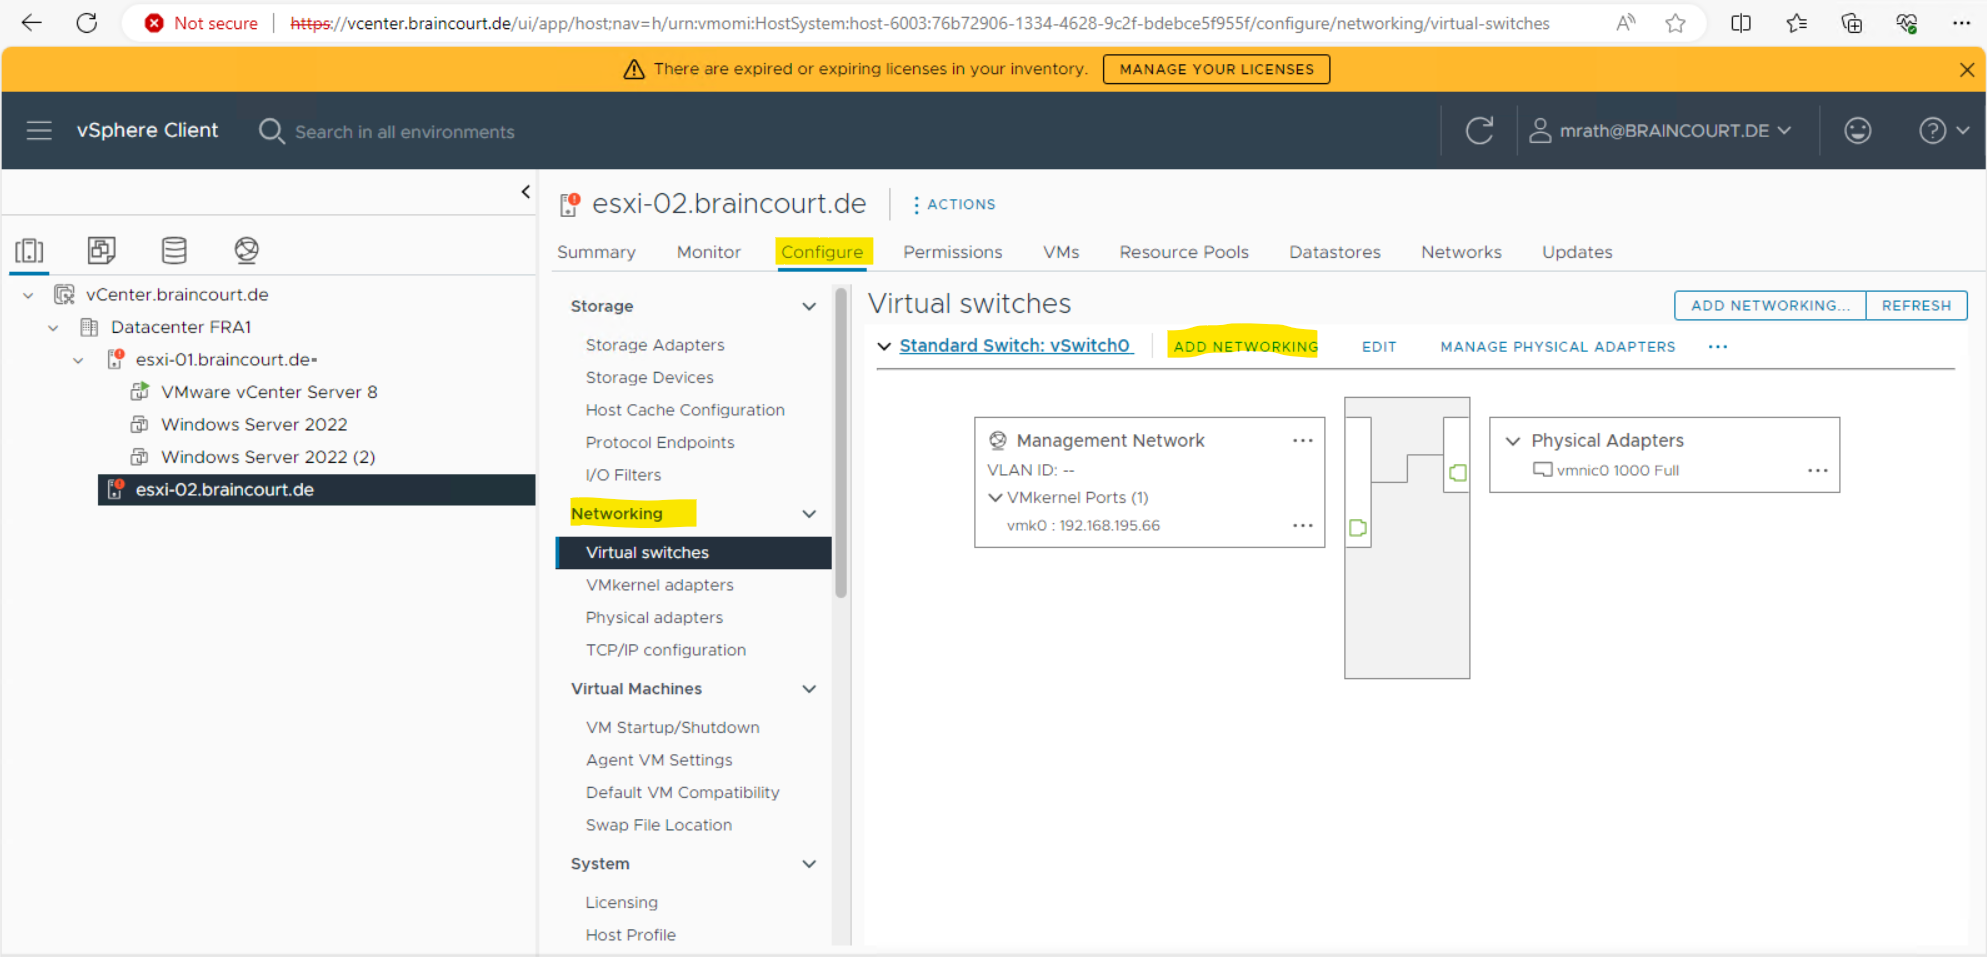
Now I will create my own virtual switch by clicking on ADD NETWORKING below.
By default the Virtual Machine Port Group for a Standard Switch option is already selected which is also what I want to add here in order to create finally a virtual switch.
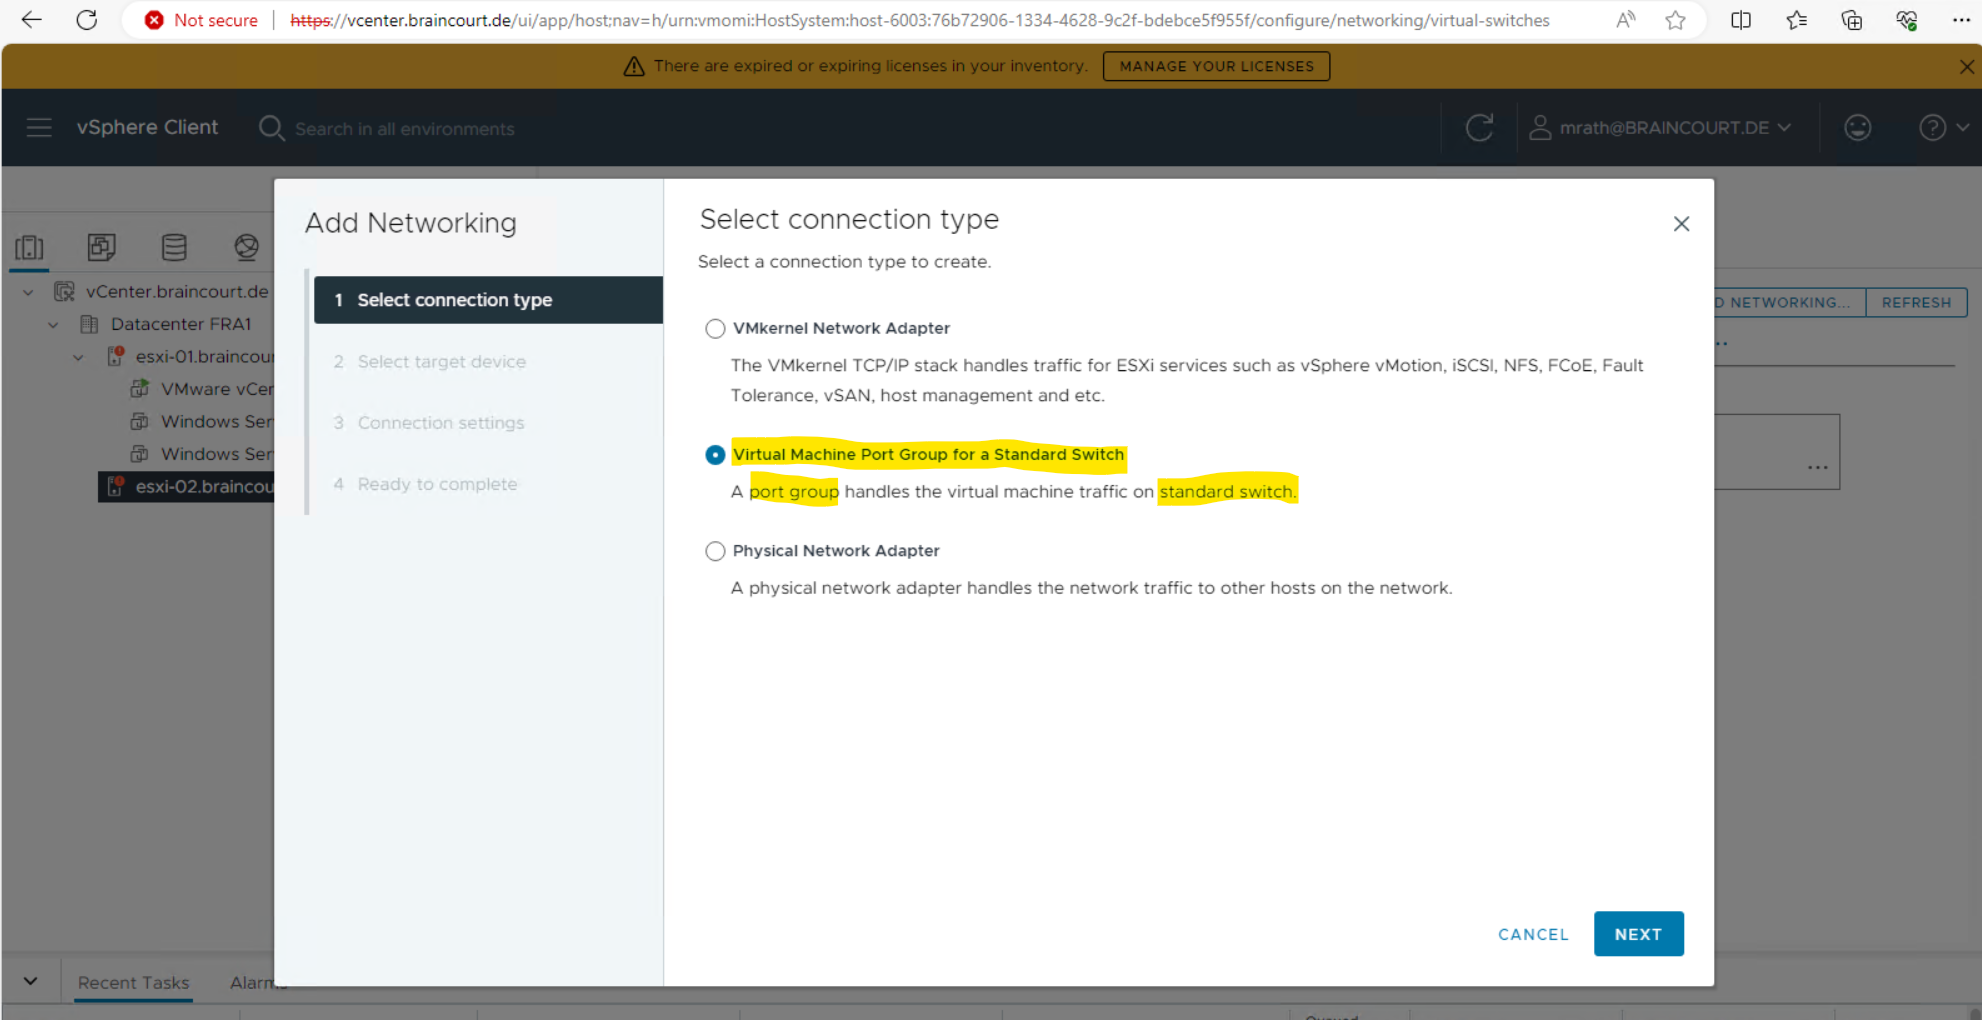
As mentioned in my post Set up and Configure VMware ESXi Host – Part 2, in contrast to Microsoft Hyper-V, the virtual network adapters of virtual machines on an ESXi host, are not connected directly to a virtual switch but instead to a so called port group.
A port group is another logical layer on top of a vSwitch which lets you define further network settings for the virtual ports on a vSwitch.
Finally the virtual network adapters from our virtual machines are connected to standard switches through these port groups.
Port groups define how a connection is made through the switch to the network. Typically, a single standard switch (vSwitch) is associated with one or more port groups. A port group specifies port configuration options such as bandwidth limitations and VLAN tagging policies for each member port.
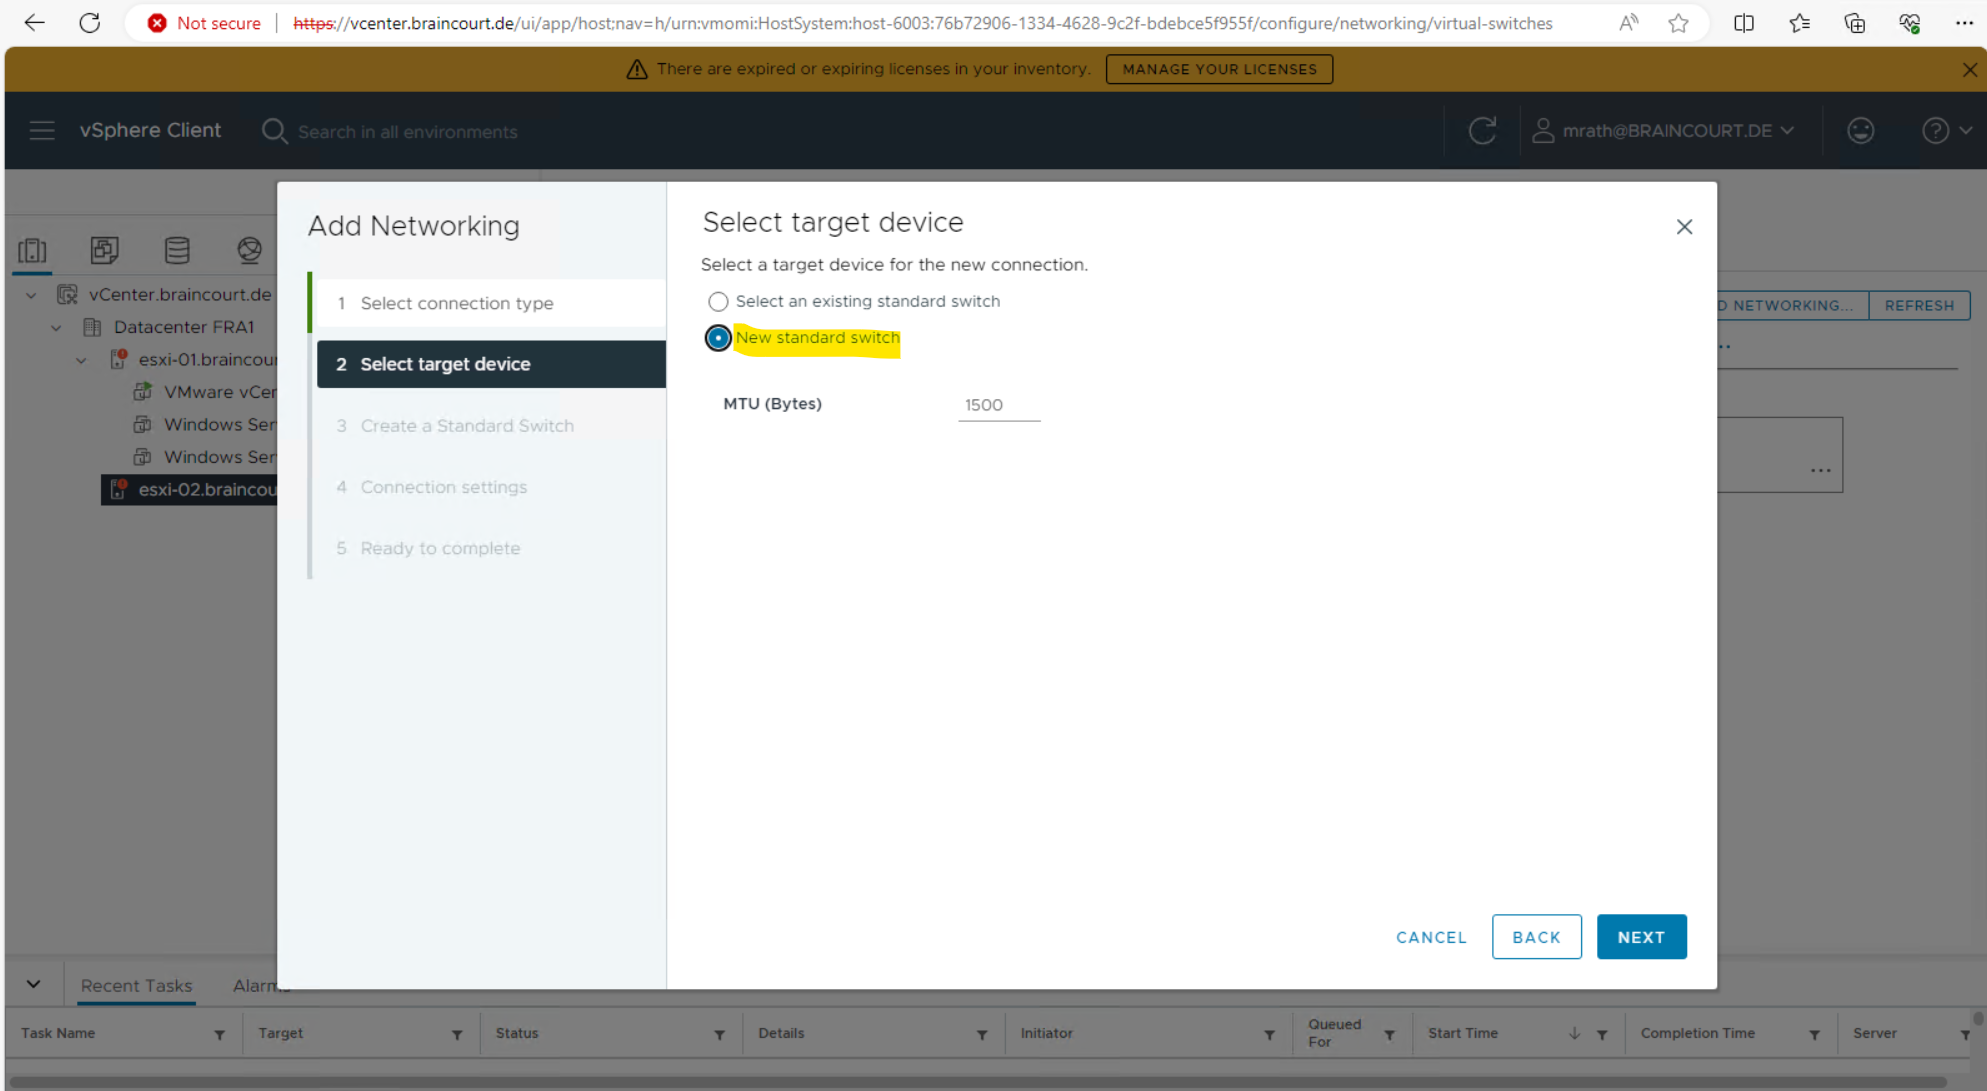
I will create a new virtual switch associated with the physical network adapter.
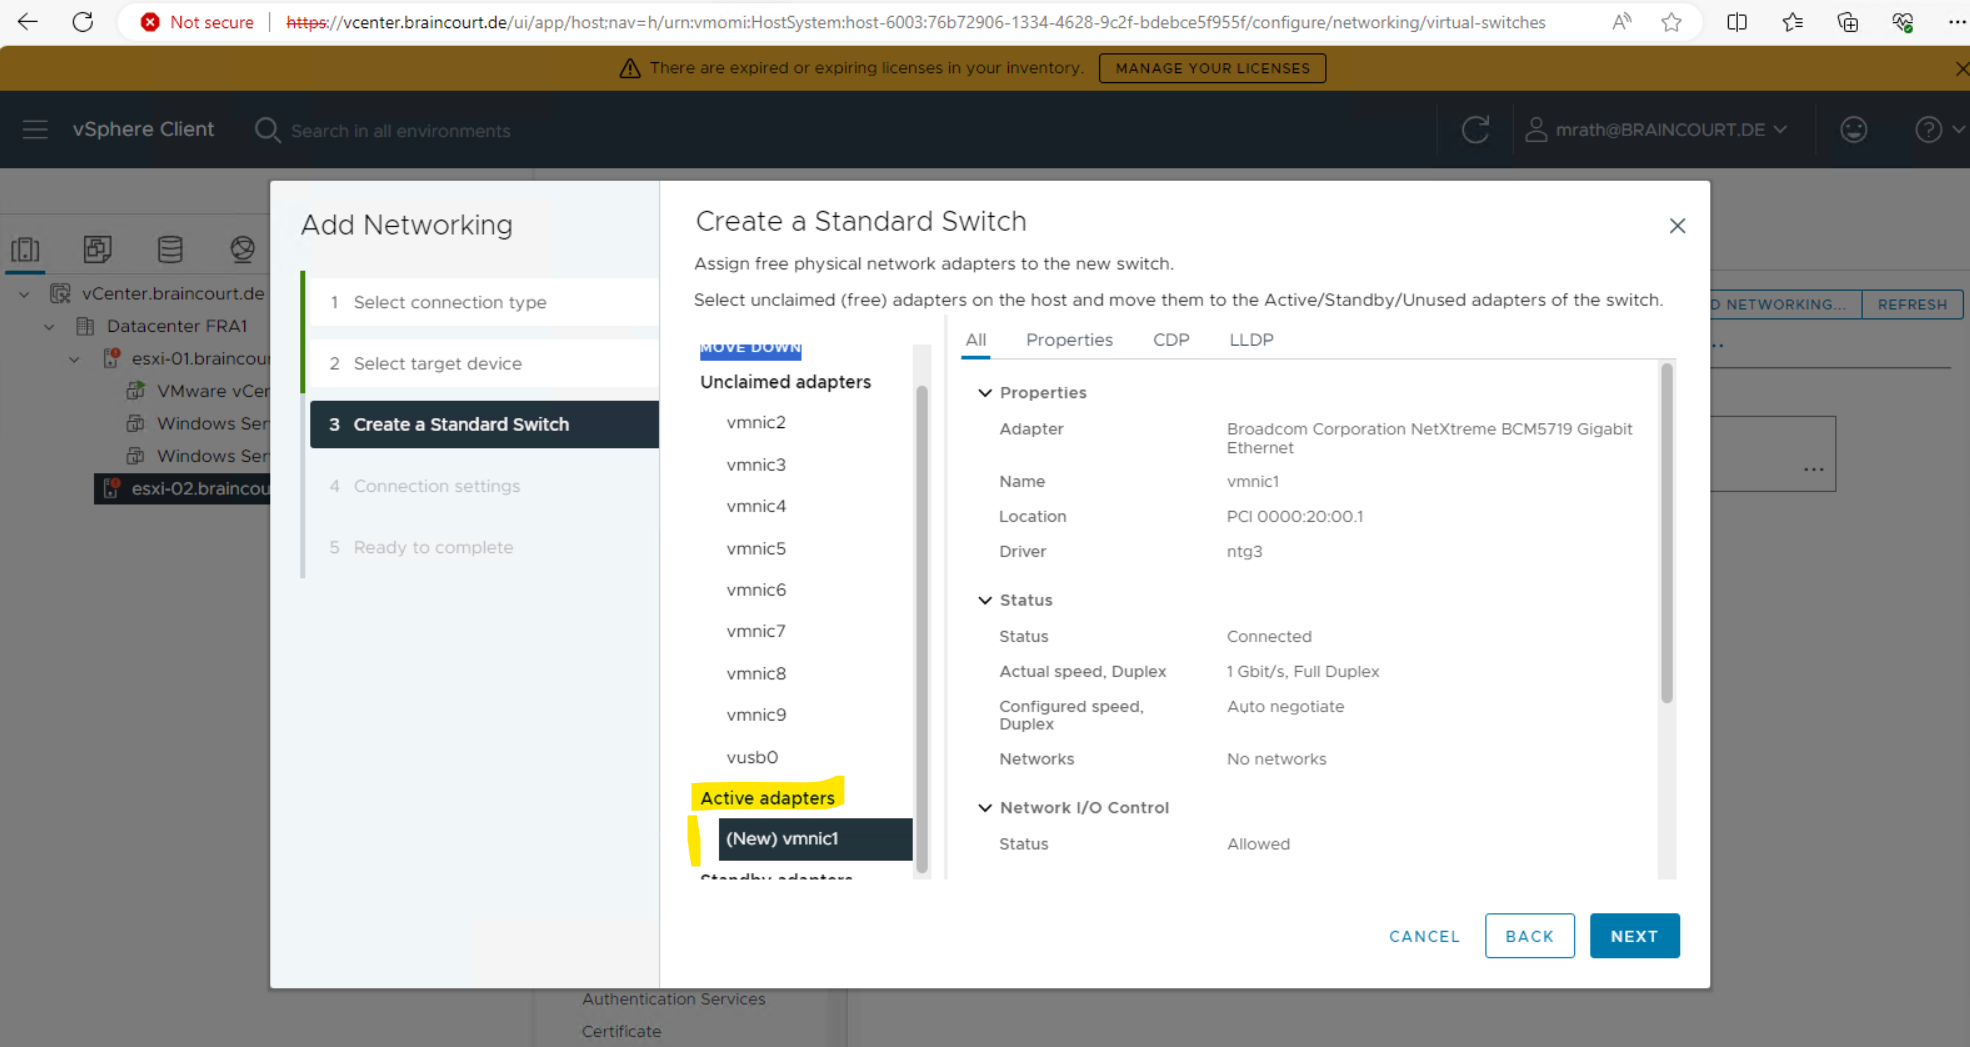
Select a free physical network adapter under Unclaimed adapters for the virtual switch and connected to the network you want to use for.
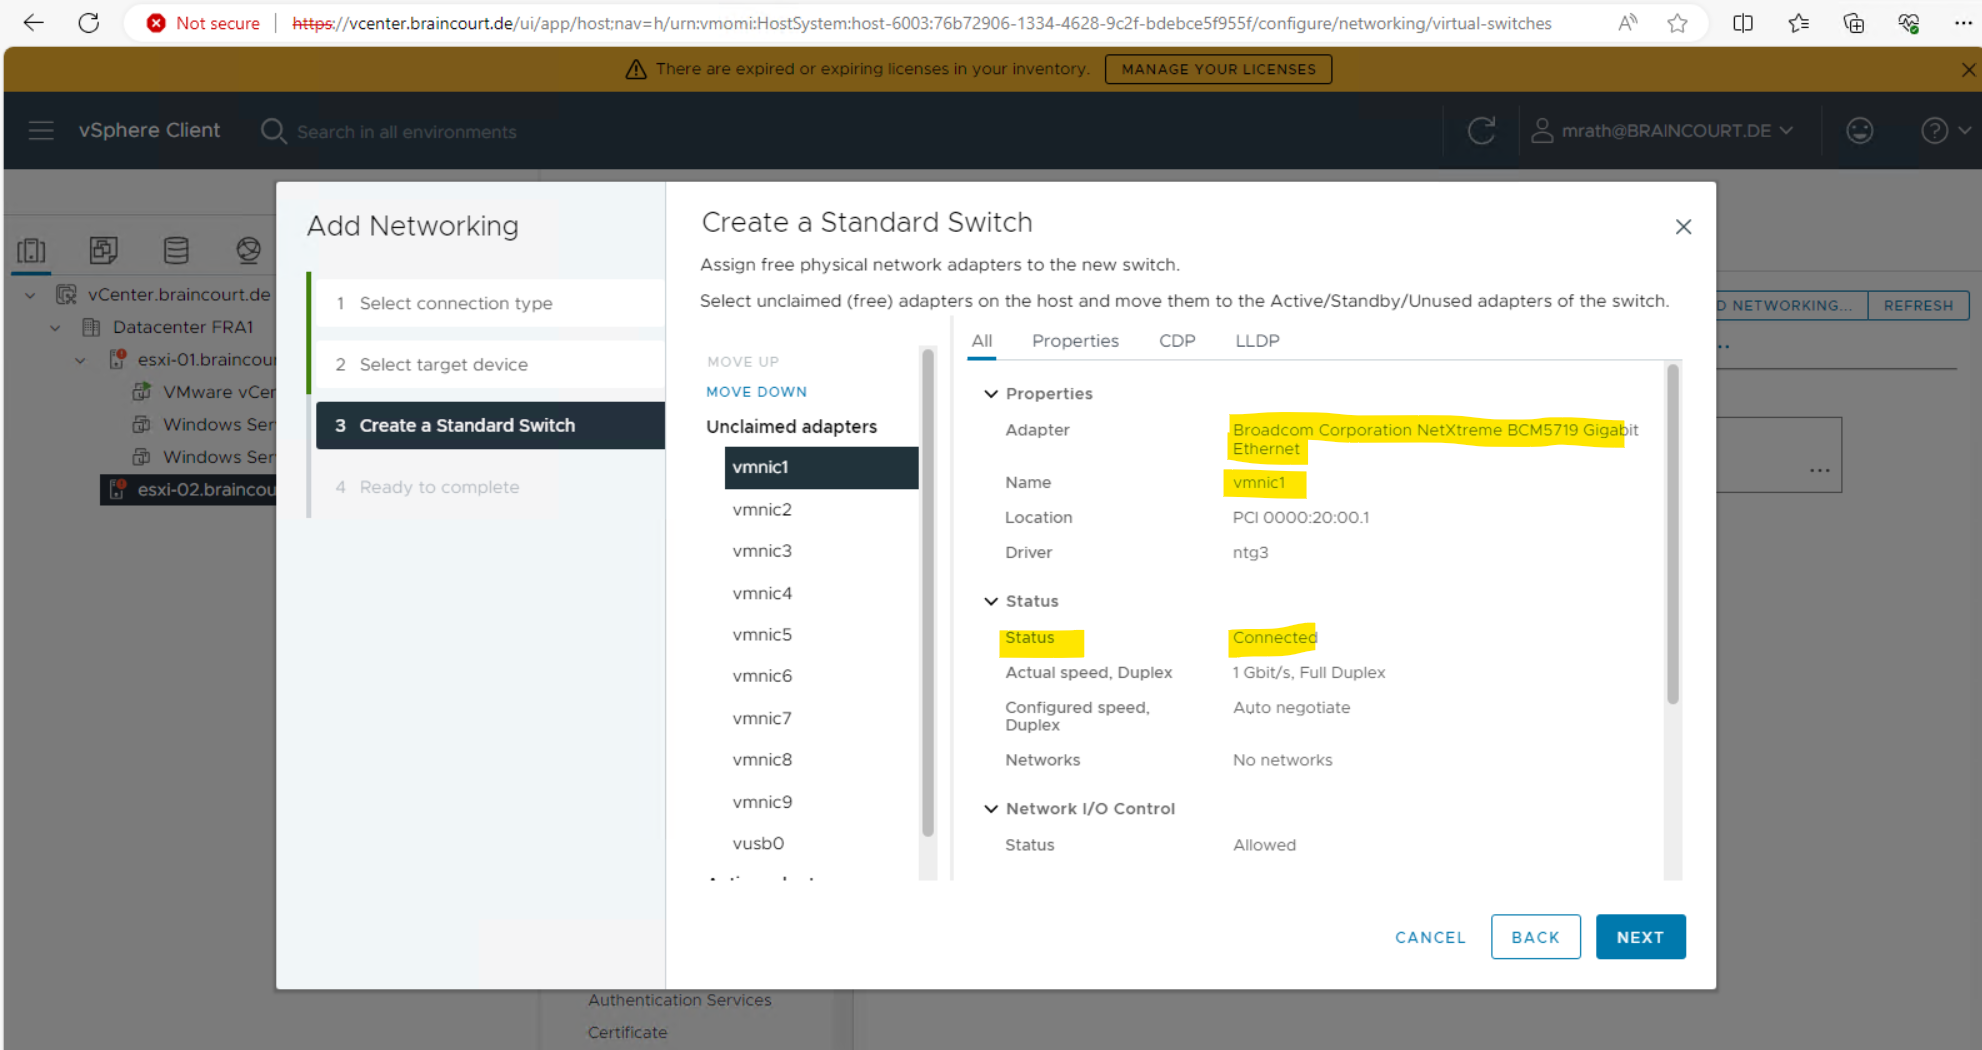
Then move this adapter to Active adapter by using the links MOVE UP and MOVE DOWN as shown below.
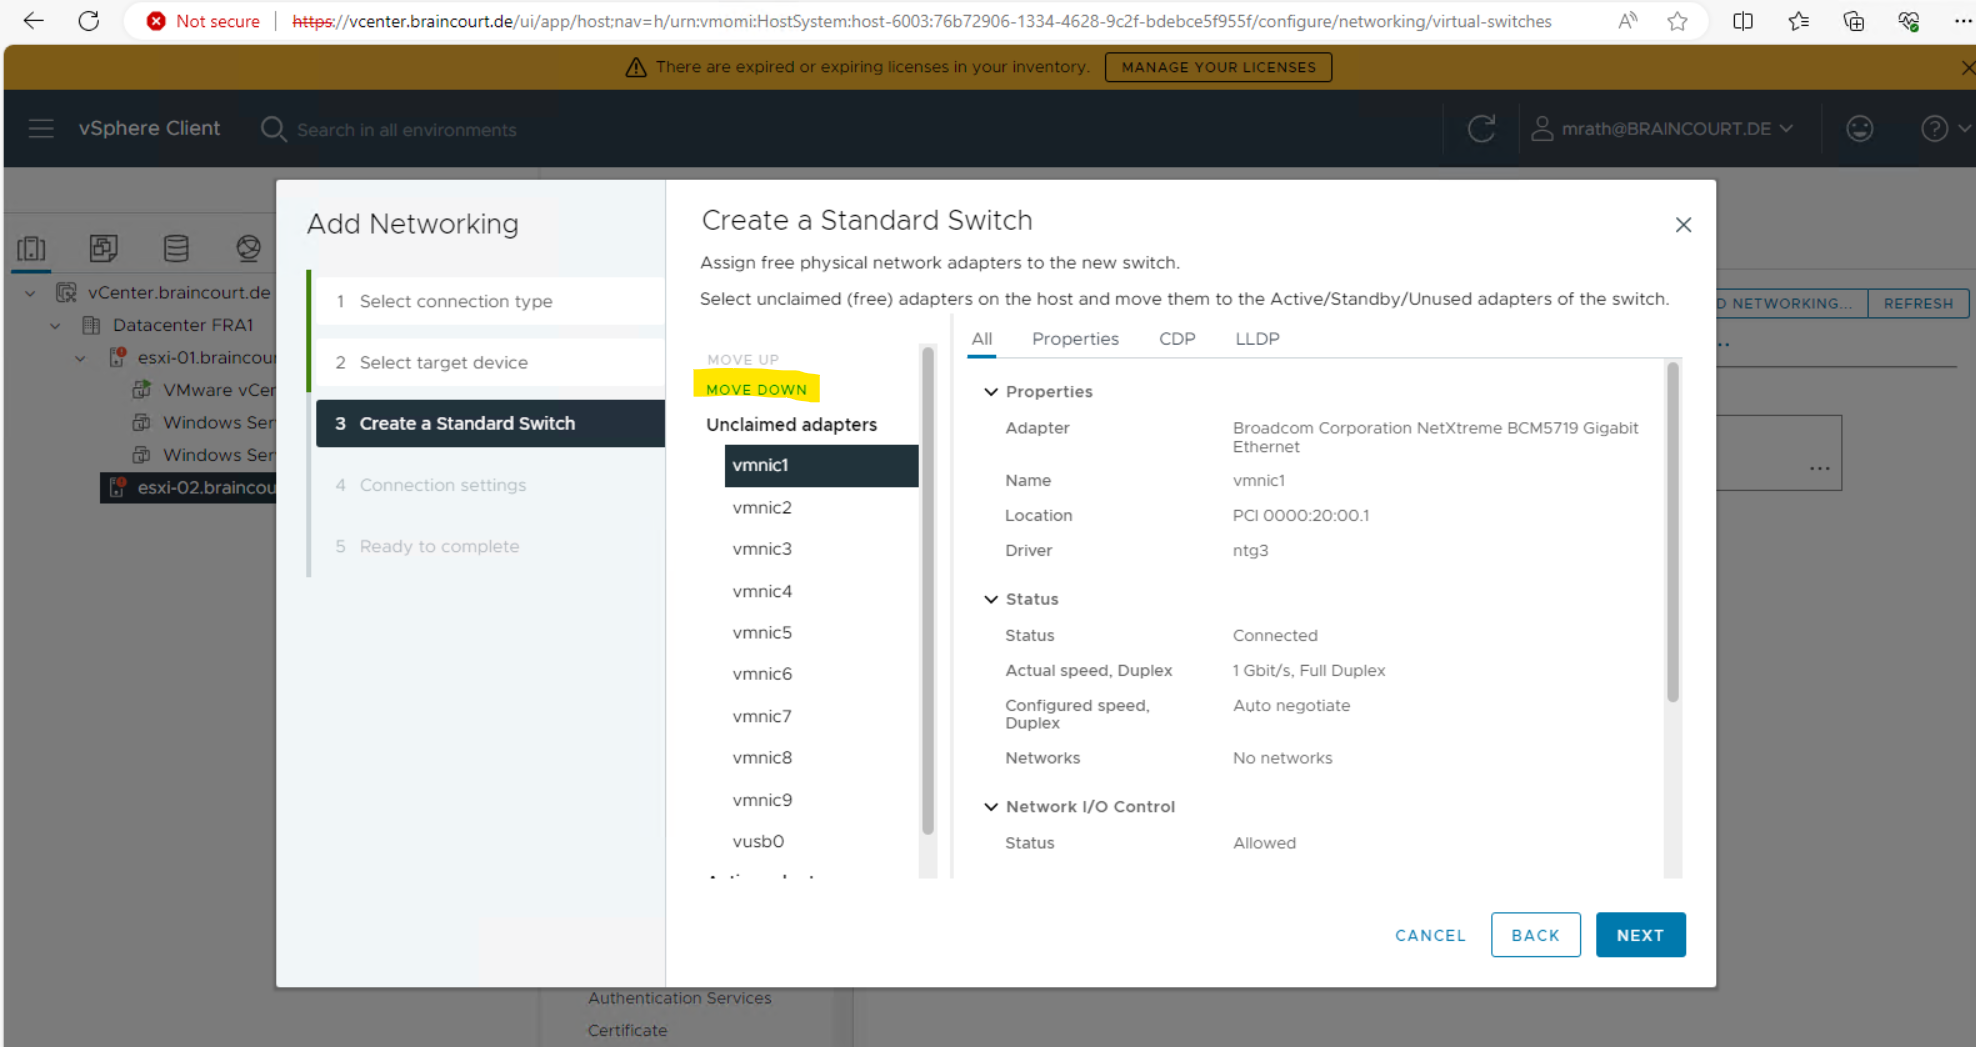
After moving the selected adapter to Active adapters click NEXT.
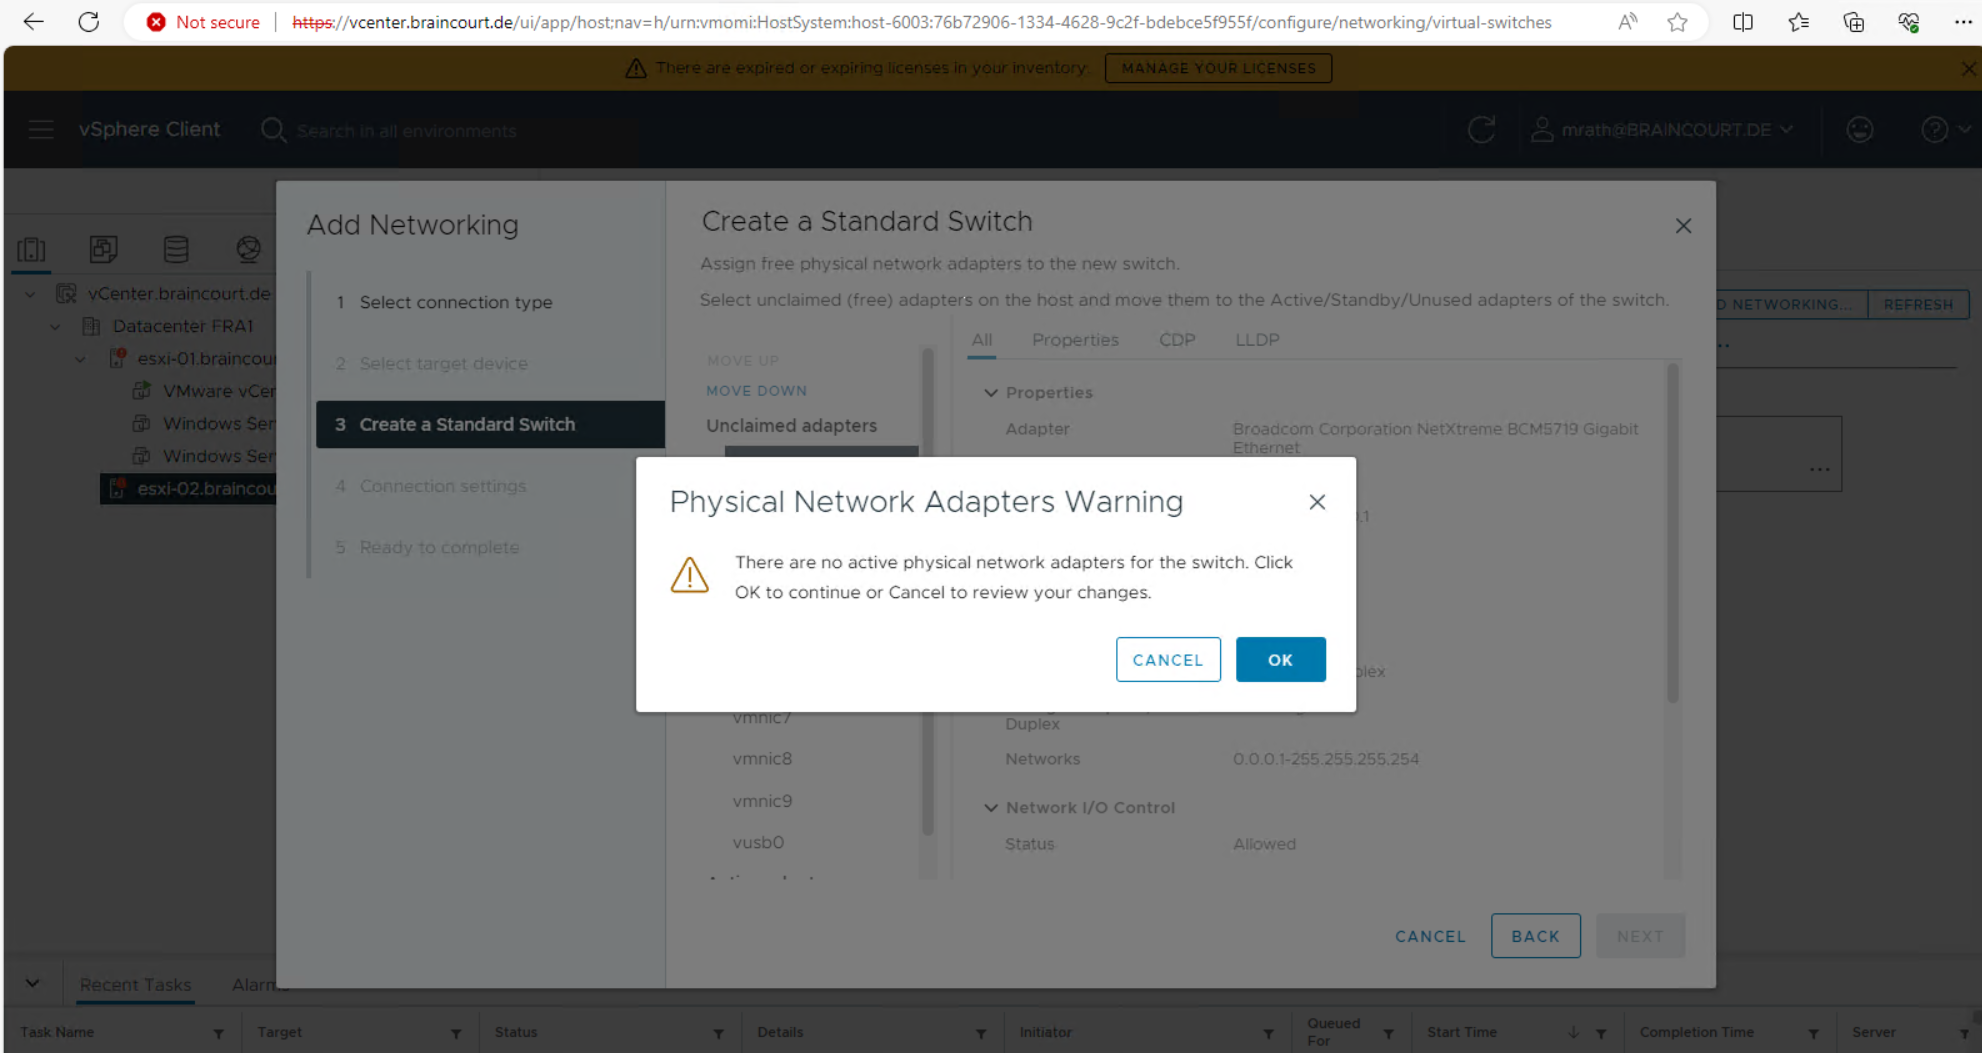
In case you will not move the selected network adapter into the Active adapters section, you will run into the following error by the way.
There are no active physical network adapters for the switch. Click OK to continue or Cancel to review your changes.
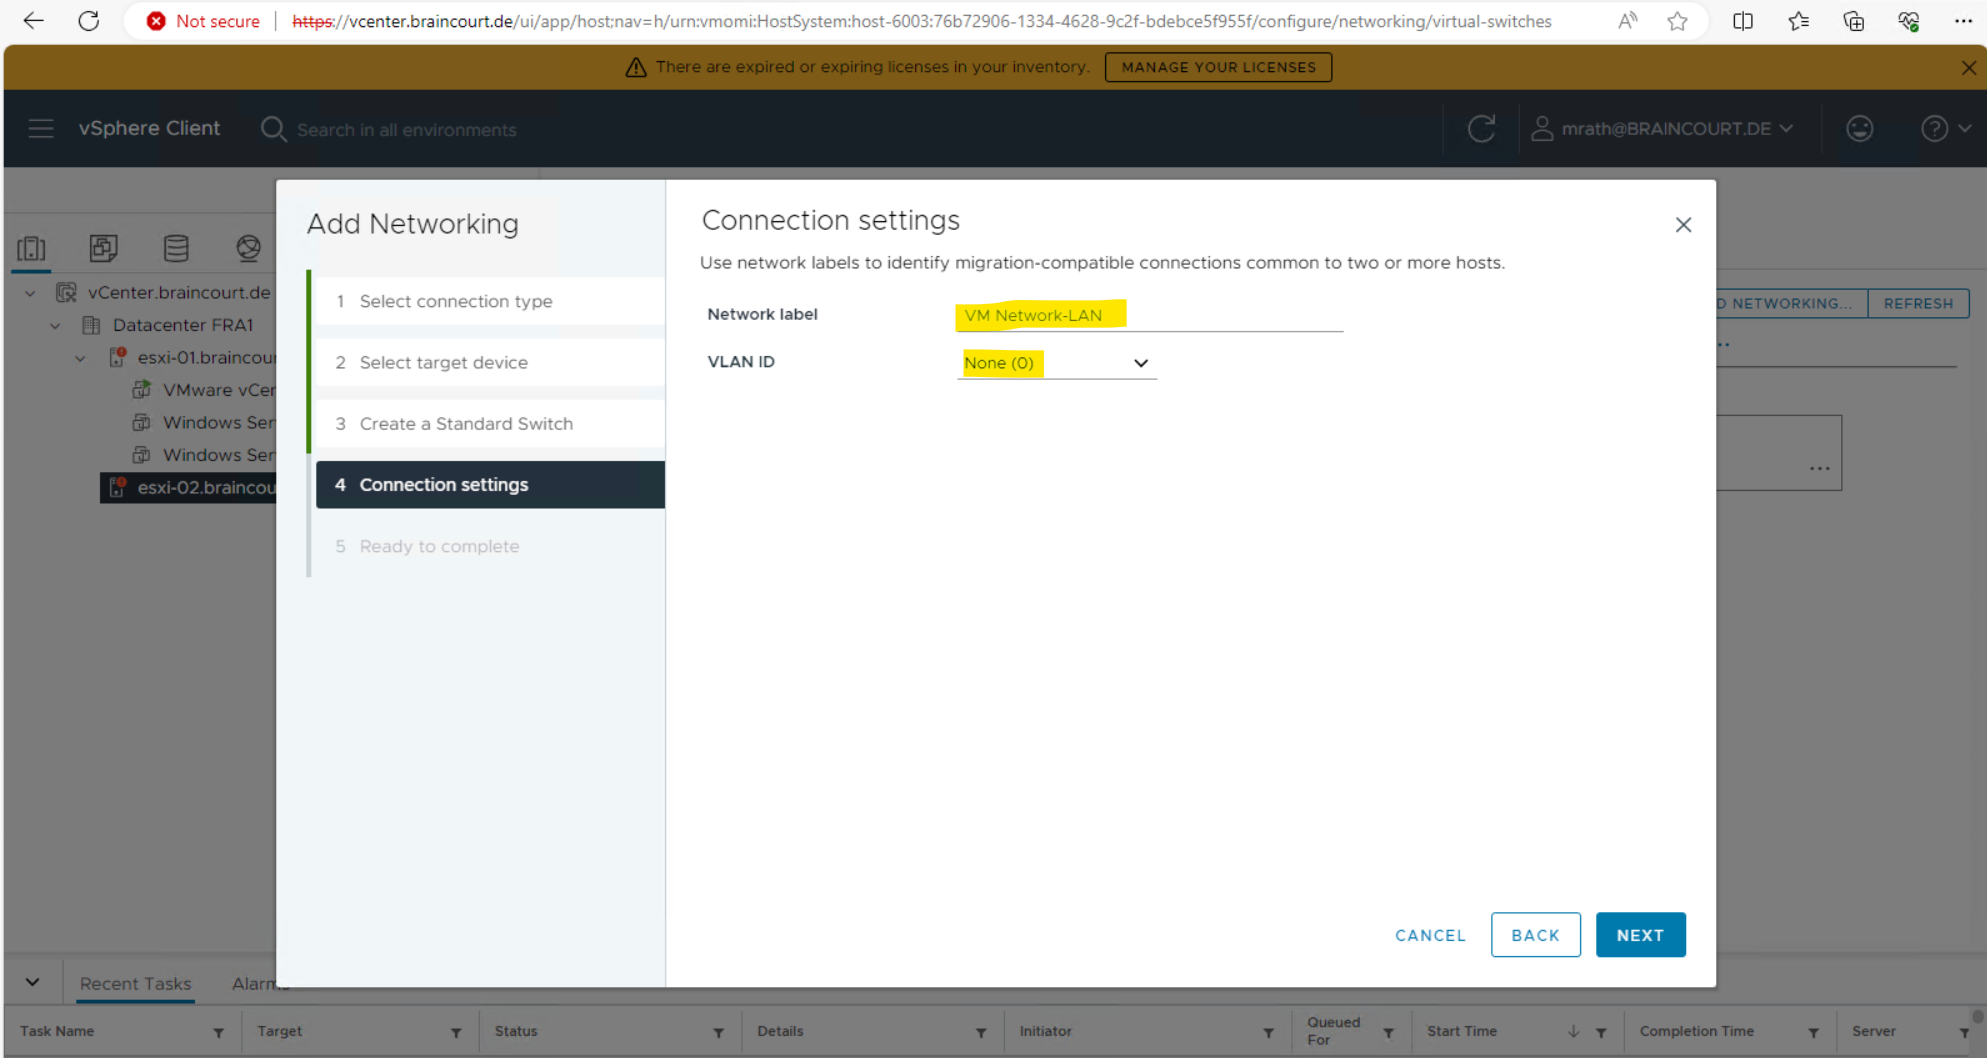
The network label is the name of the port group, I will create here a new virtual switch for my internal LAN and subnet 192.168.195.0/24.
I will not use VLANs for this network and therefore will select the default VLAN ID 0.
More about VLANs you will find in my following post.
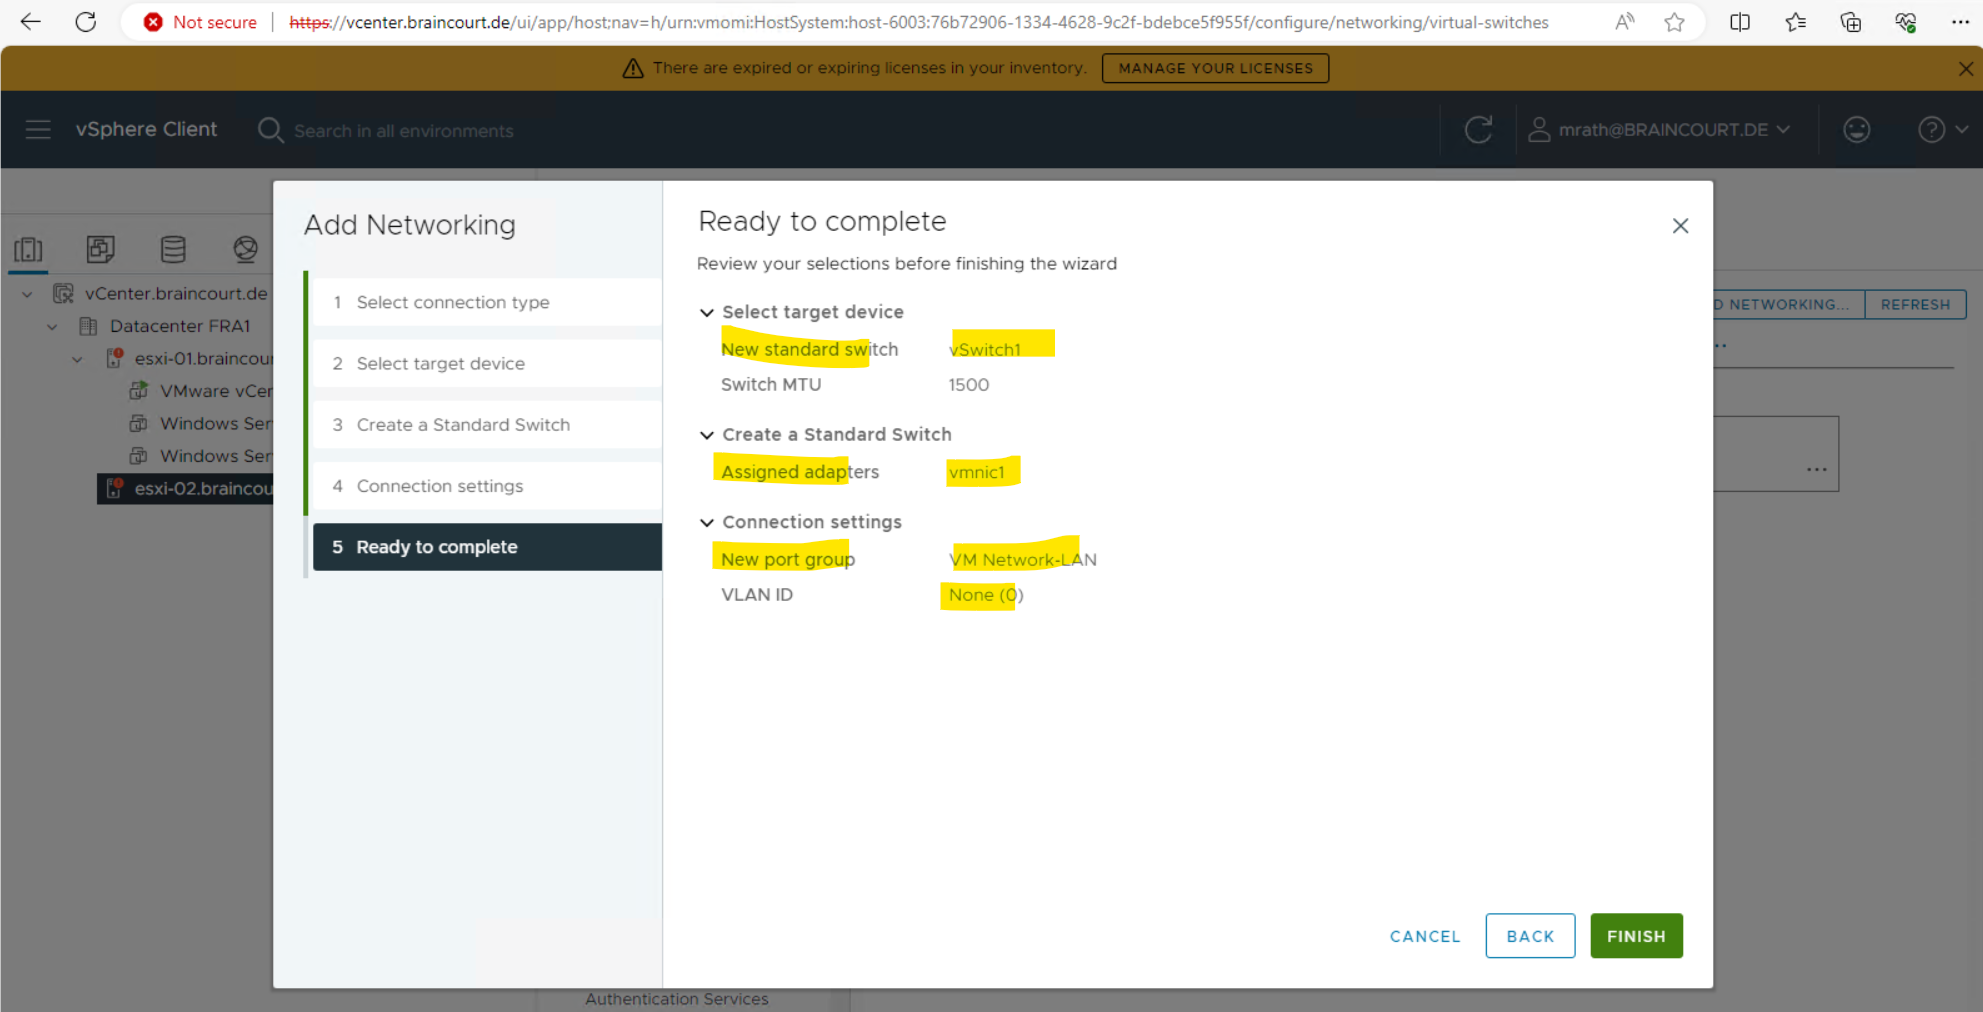
Finally click on FINISH.
Be default the virtual switches will be named vSwitch0, vSwitch1, vSwitch2, etc. and you can’t set here a custom name like when using the ESXI Host Client.
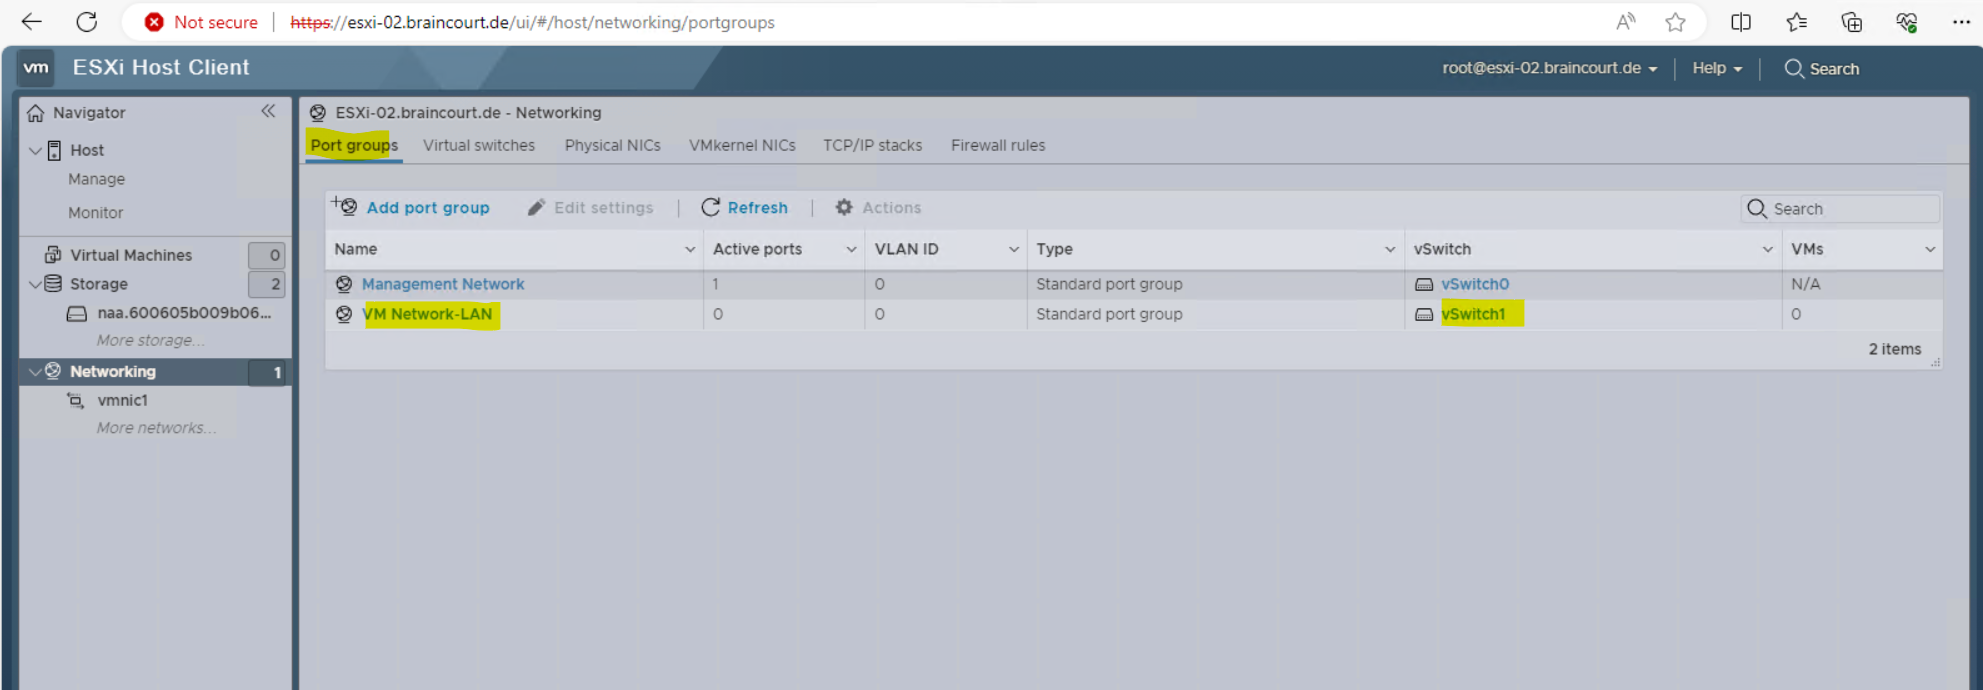
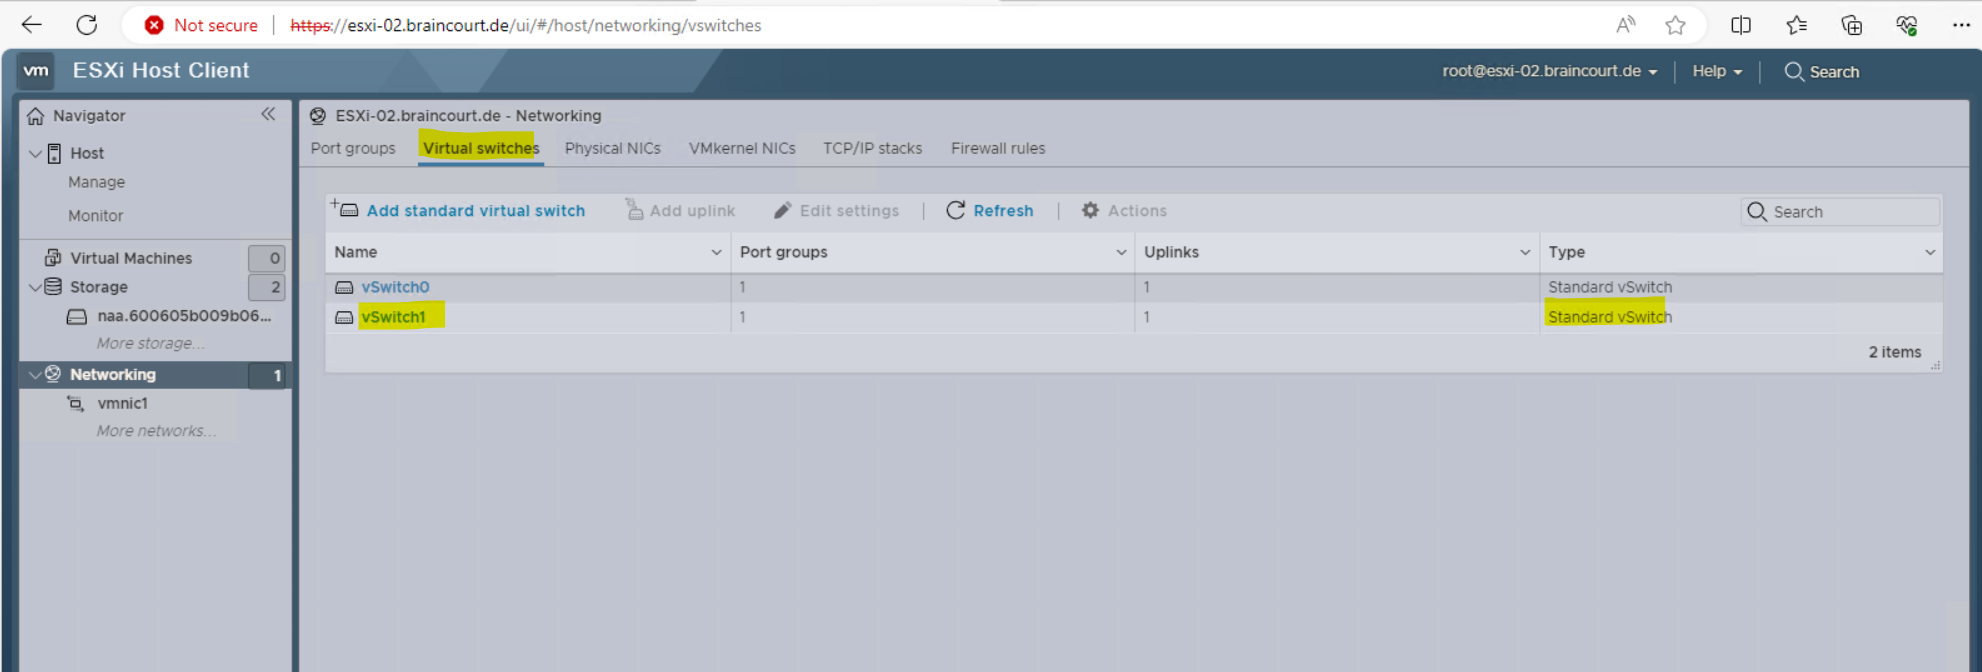
This newly created port group and virtual switch is now of course also shown up in the ESXi Host Client as shown below.
How to rename a vSwitch
Unfortunately you can’t rename a vSwitch by using the ESXI Host Client or vSphere Client. As of my knowledge you also can’t use the ESXCLI tool.
When creating a new virtual switch within the ESXI Host Client, at least you can give the vSwitch a custom name when creating one, when using the vSphere client in contrast by default the virtual switch will be named vSwitch0, vSwitch1, vSwitch2, etc.
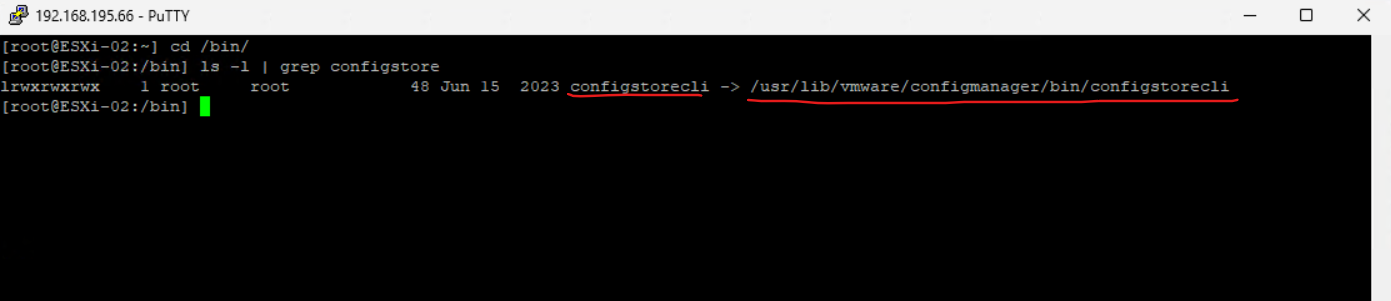
In order to rename an existing virtual switch you can use therefore the /bin/configstorecli tool.
You can modify ESXi configuration files in the ESXi Configuration Store (ConfigStore) by using the /bin/configstorecli tool.
The goal of the ESXi Shell tool configstorecli, introduced in ESXi 7.0 Update 1, is to manage all configurations for an ESXi host centrally, instead of using different methods and a variety of configuration files.
For more information on how to manage ConfigStore, see VMware knowledge base articles 82227 and 93720.
The following command returns all virtual switches on the host and its config and then writes its output into a temporary JSON file.
/bin/configstorecli config current get -c esx -g network_vss -k switches -outfile tmp.json
You can then edit the file and change the name for the vSwitch.
After adjusting the file we need to run the following command to apply the file and its changes to the database.
/bin/configstorecli config current set -c esx -g network_vss -k switches -infile tmp.json --overwrite
Finally we need to reboot the ESXi host in order the new name for the vSwitch will shown up.
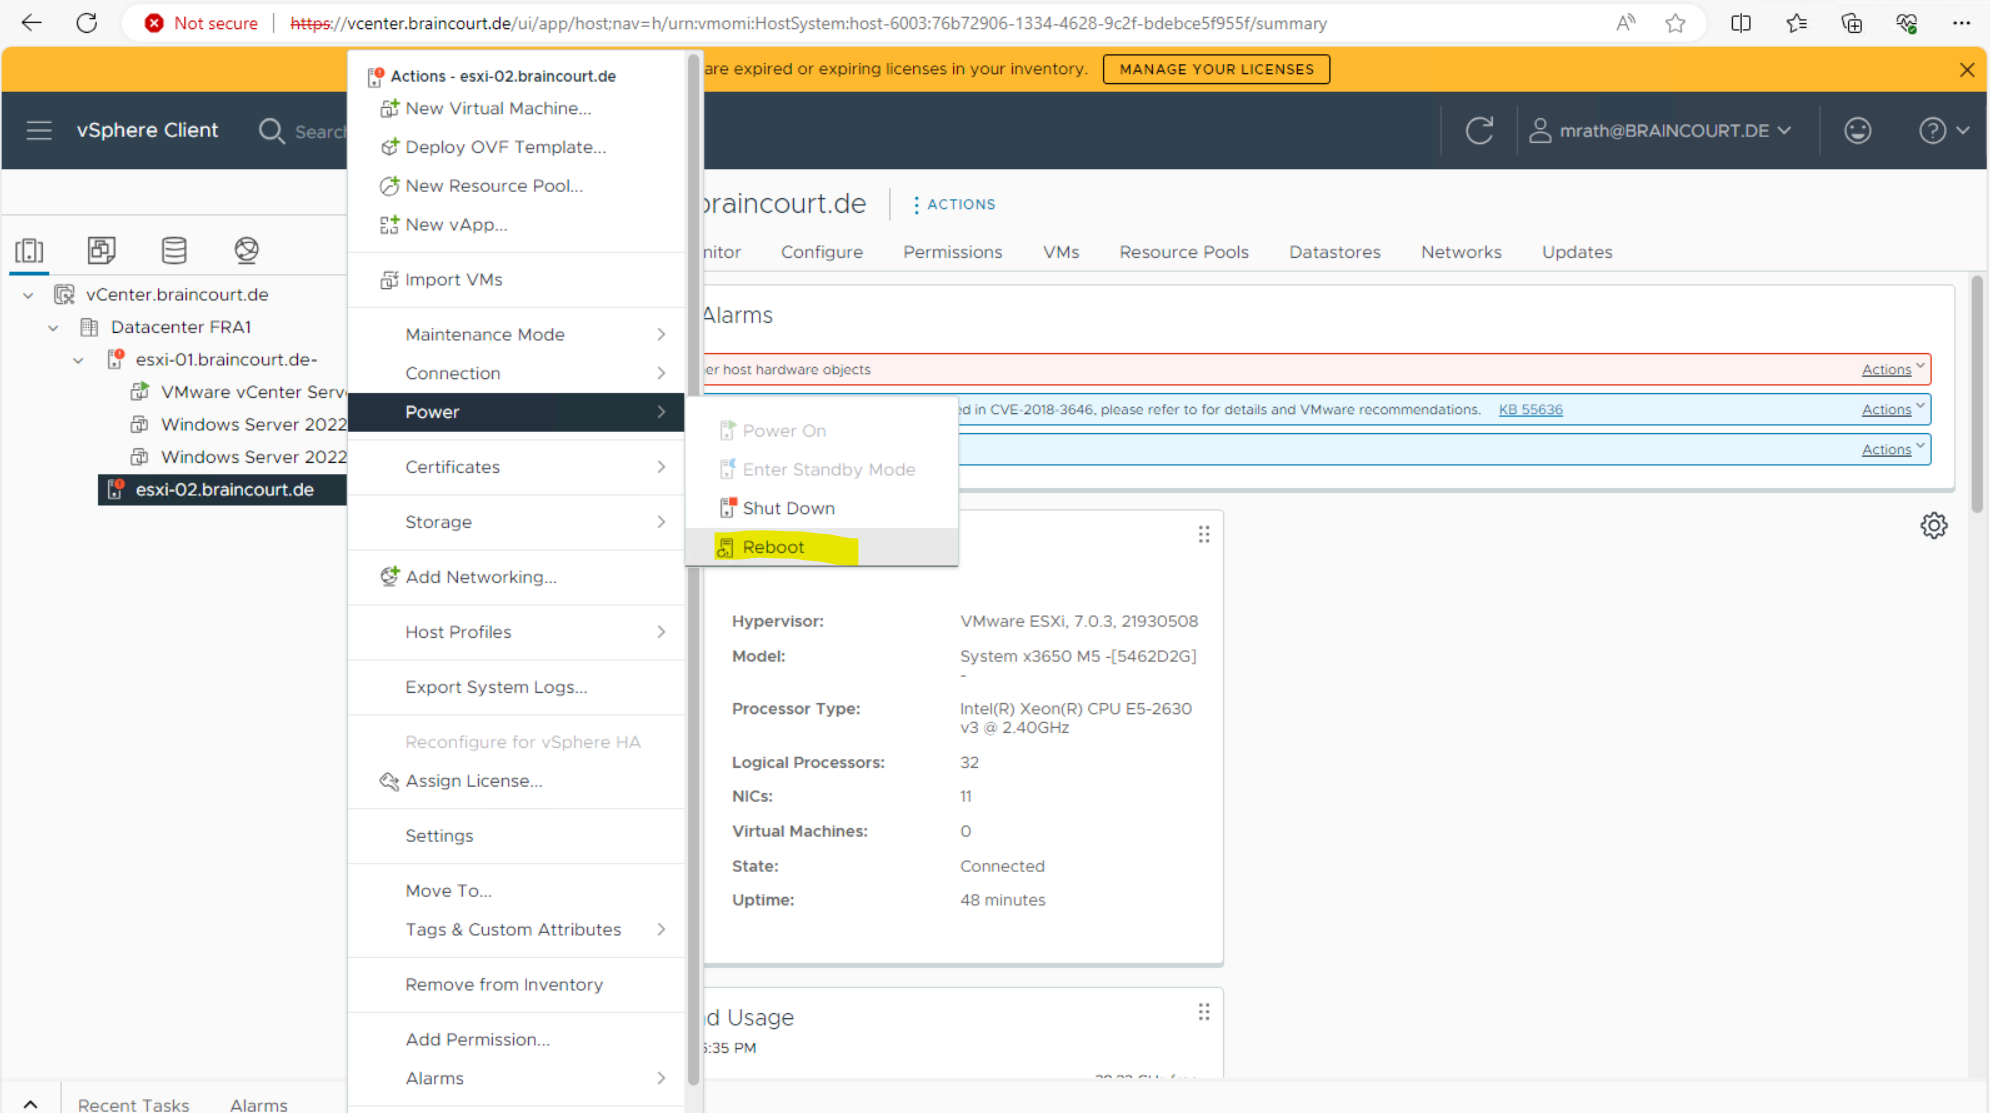
Configuring Storage of an ESXi Host by using the vSphere Client
To store virtual disks, ESXi uses datastores. The datastores are logical containers that hide specifics of physical storage from virtual machines and provide a uniform model for storing the virtual machine files.
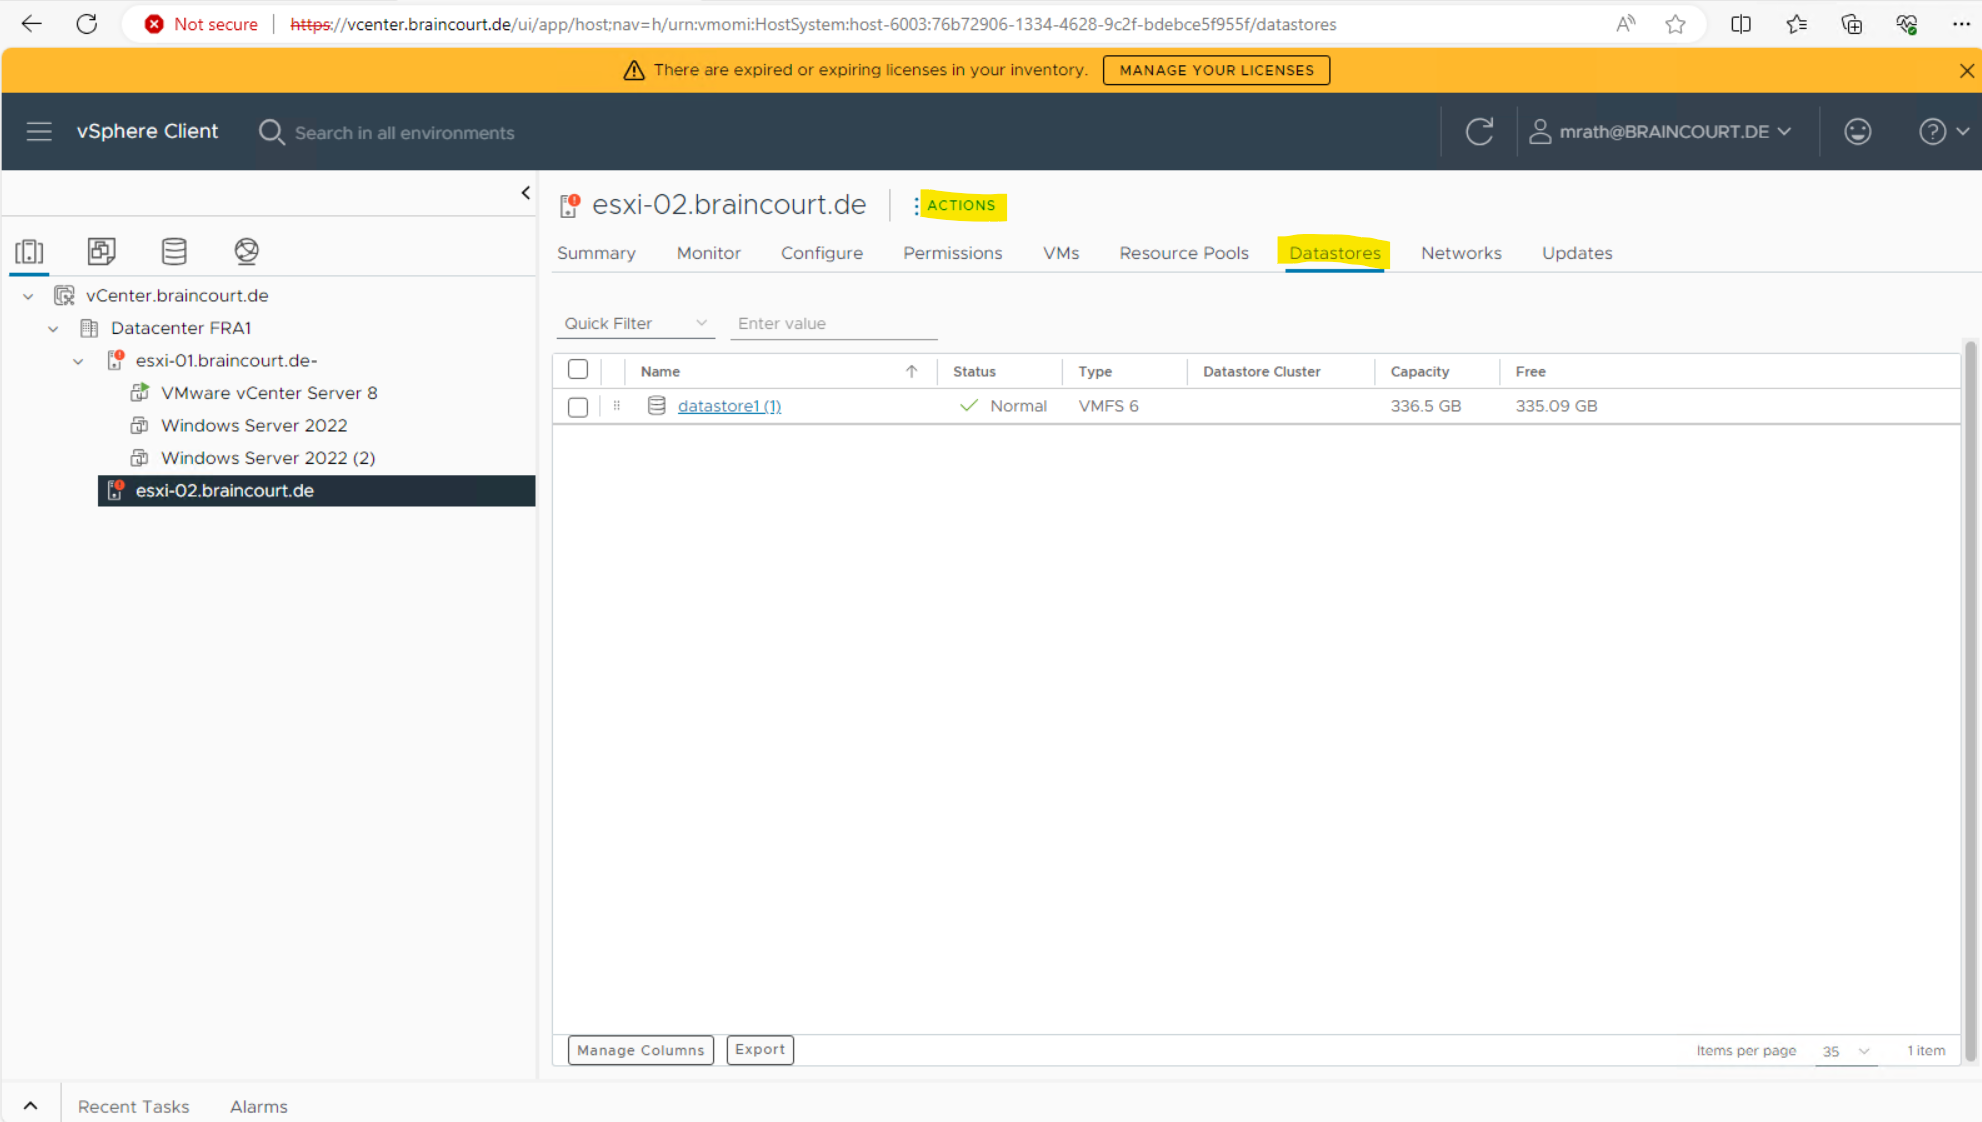
We can create a new datastore not just on the ESXi Host Client directly but also in the vSphere client as shown below.
Select the ESXi host in Inventory you want to create a new datastore for and then click on the tab Datastores and ACTIONS.
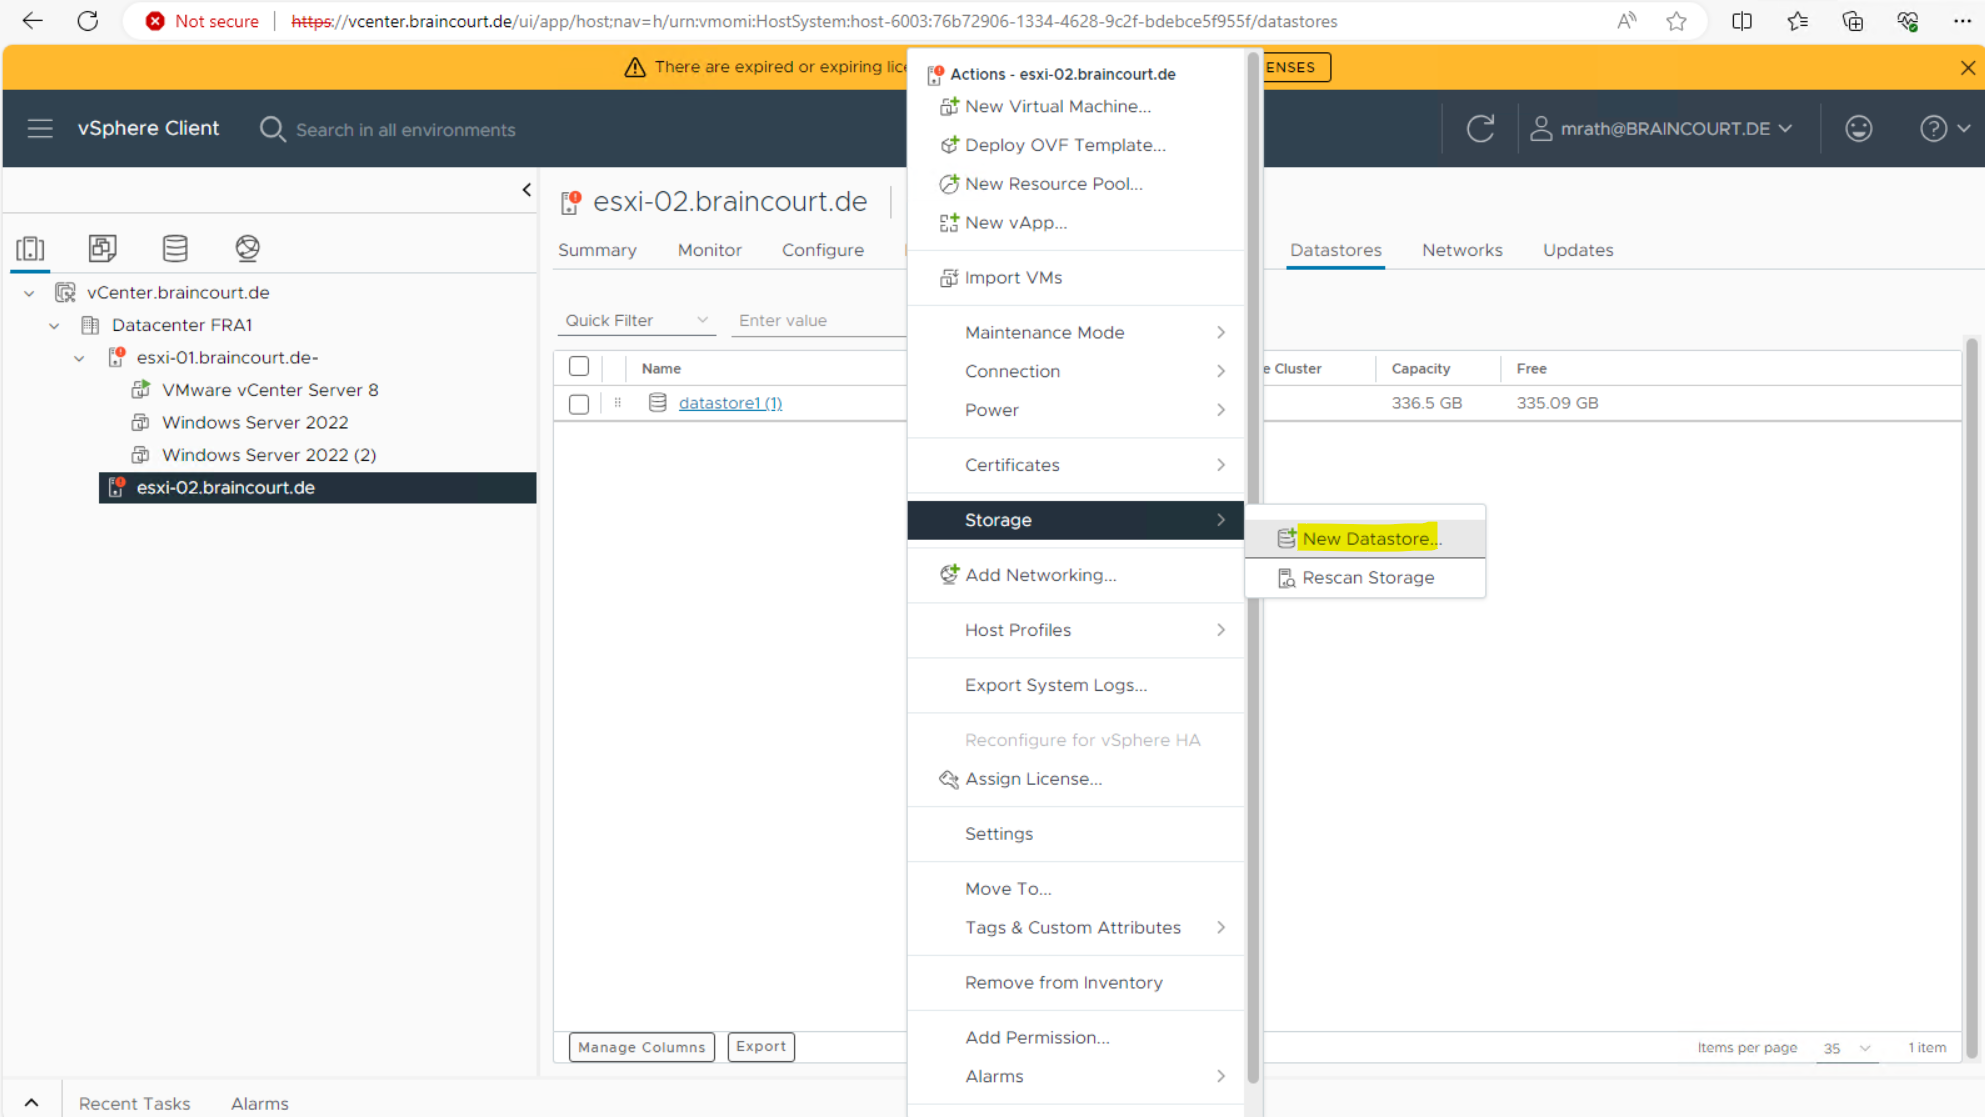
Within the ACTIONS menu click on Storage -> New Datastore …
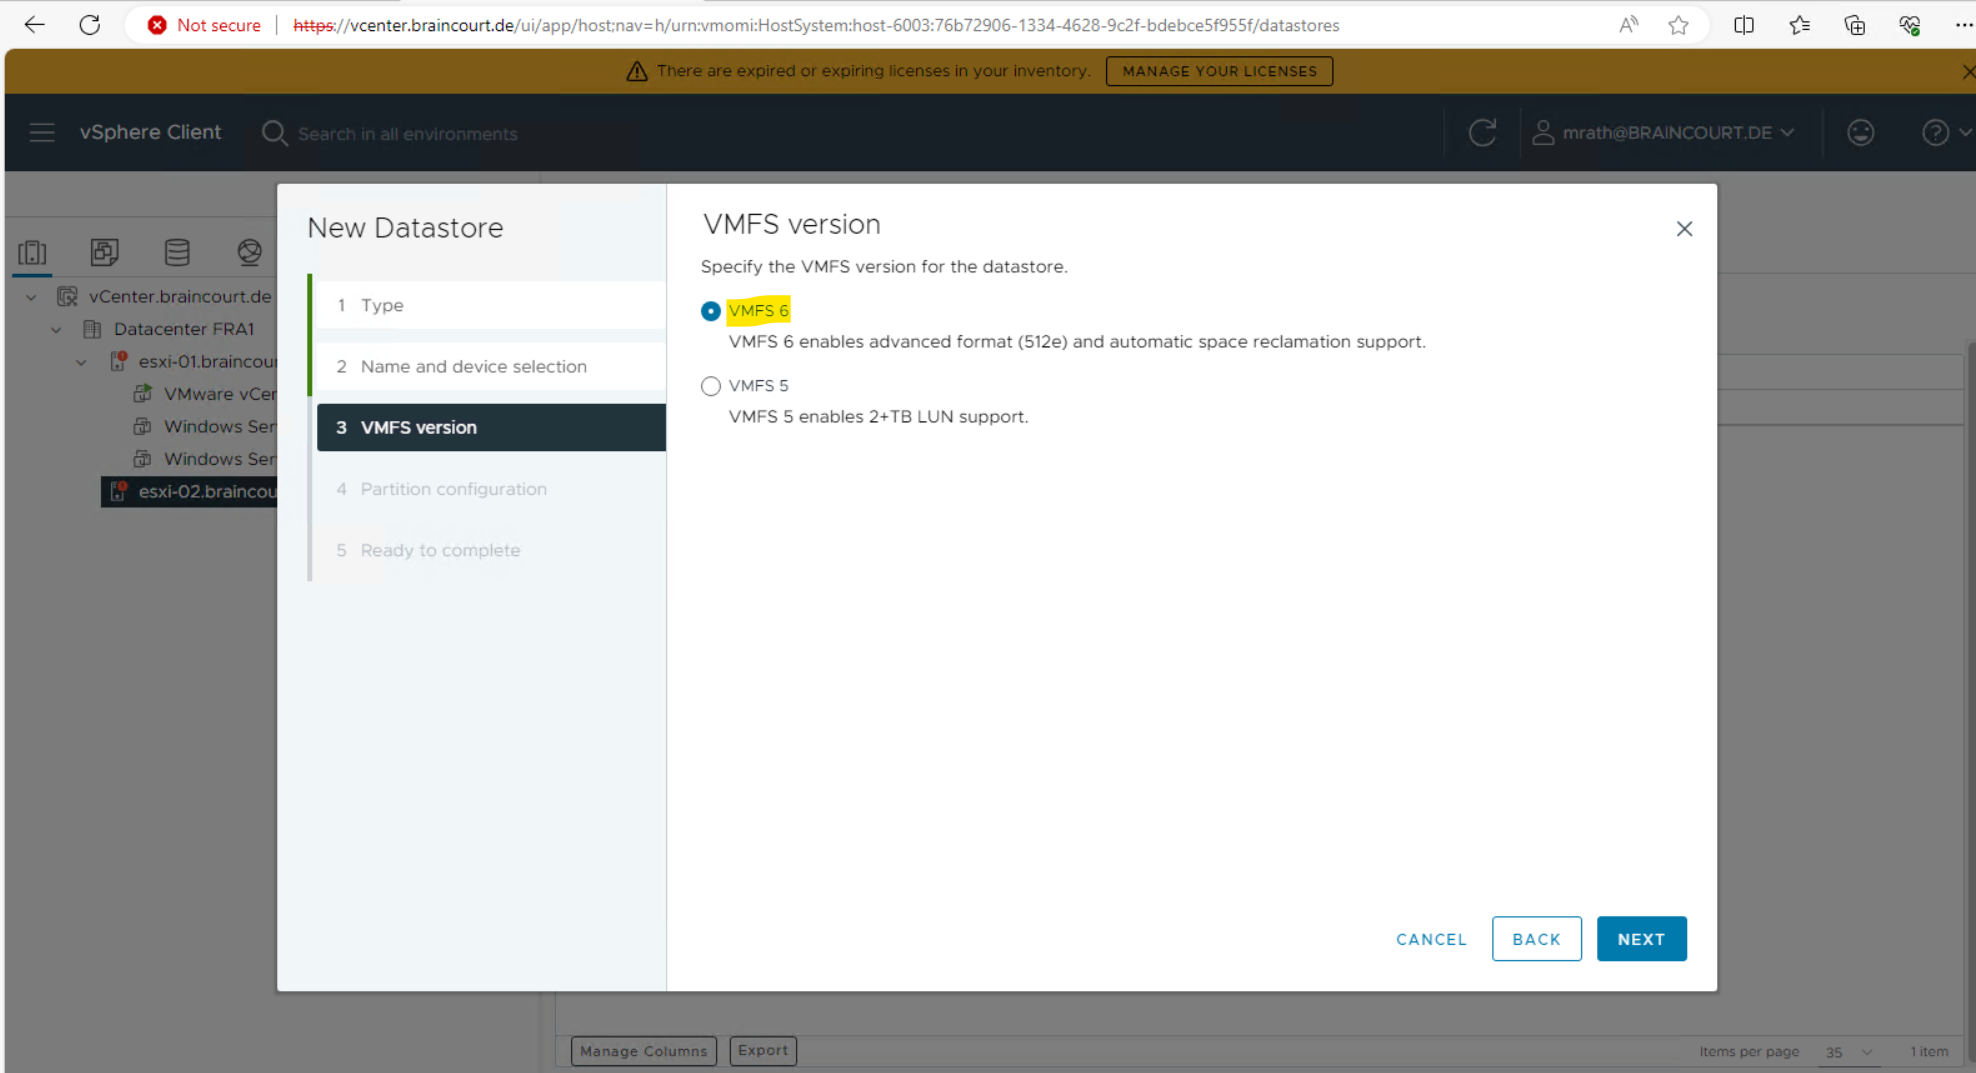
I will create a new VMFS datastore.
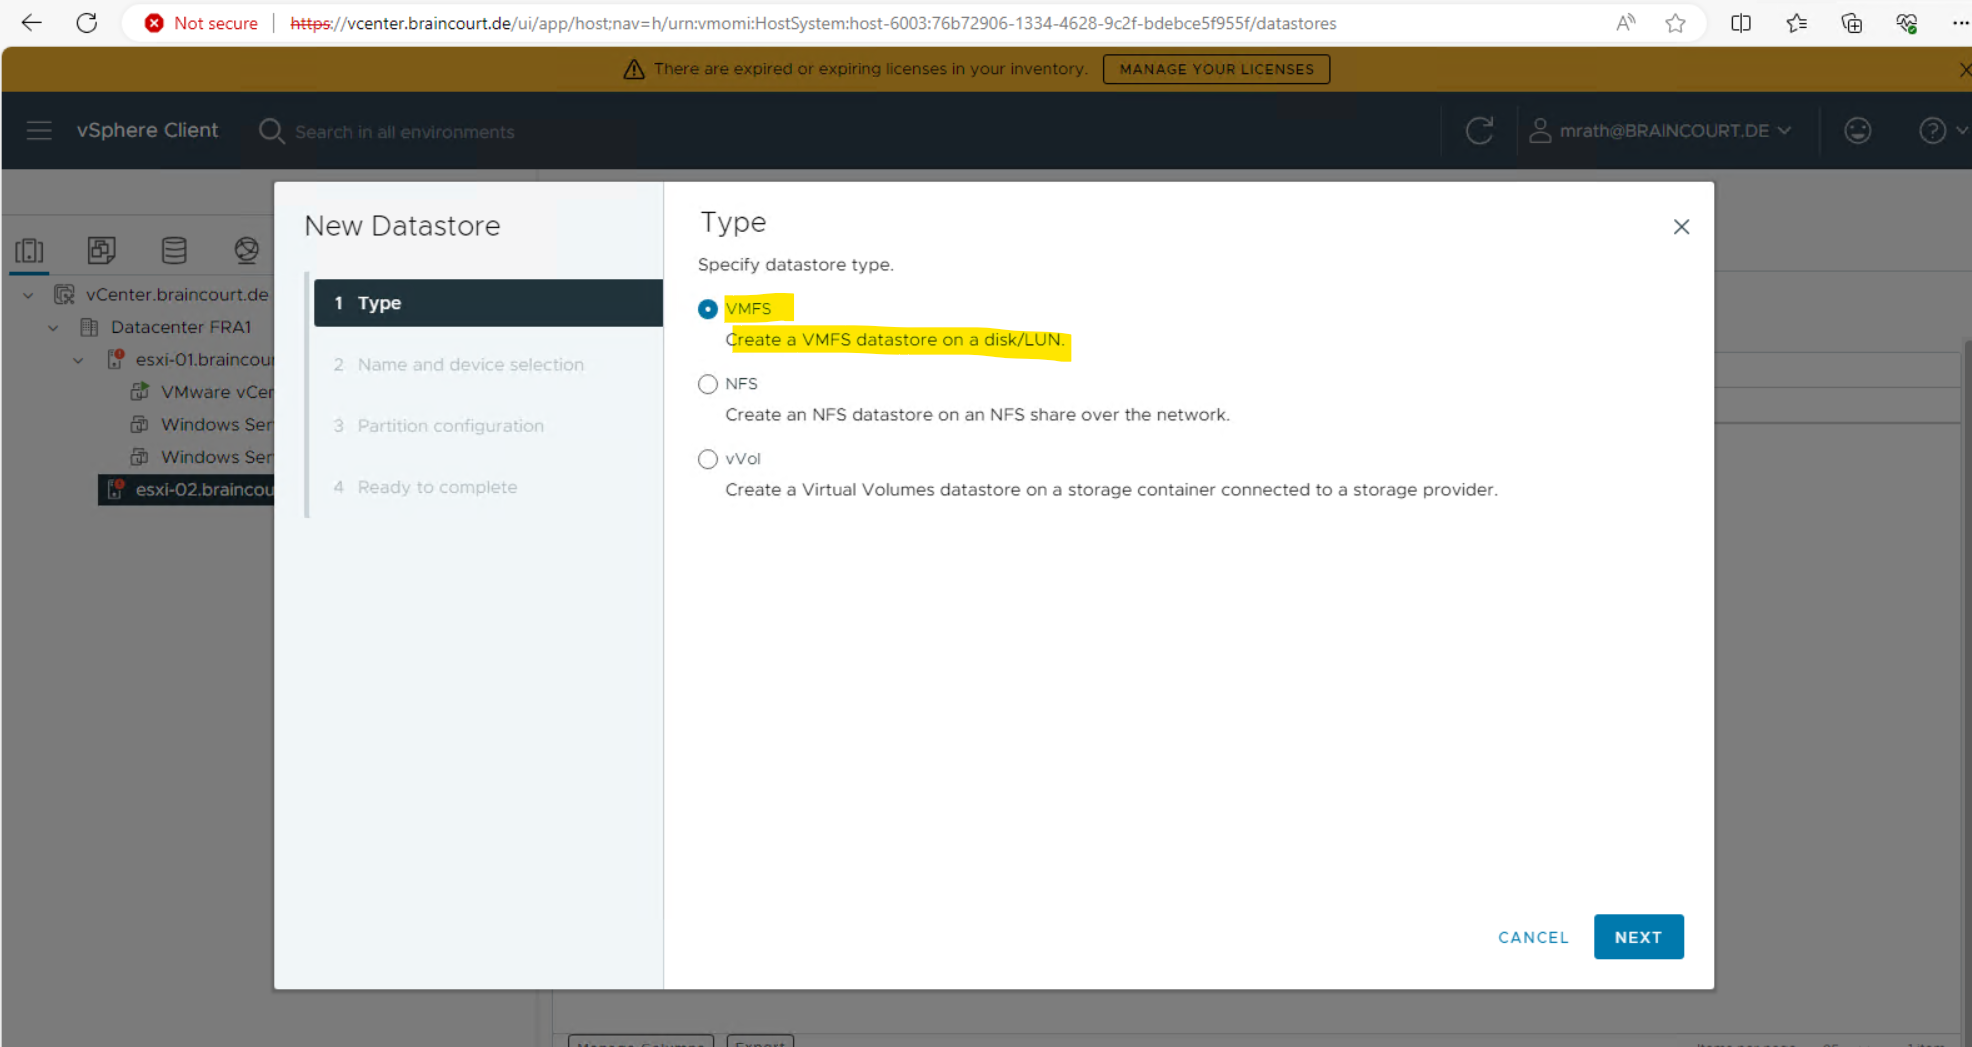
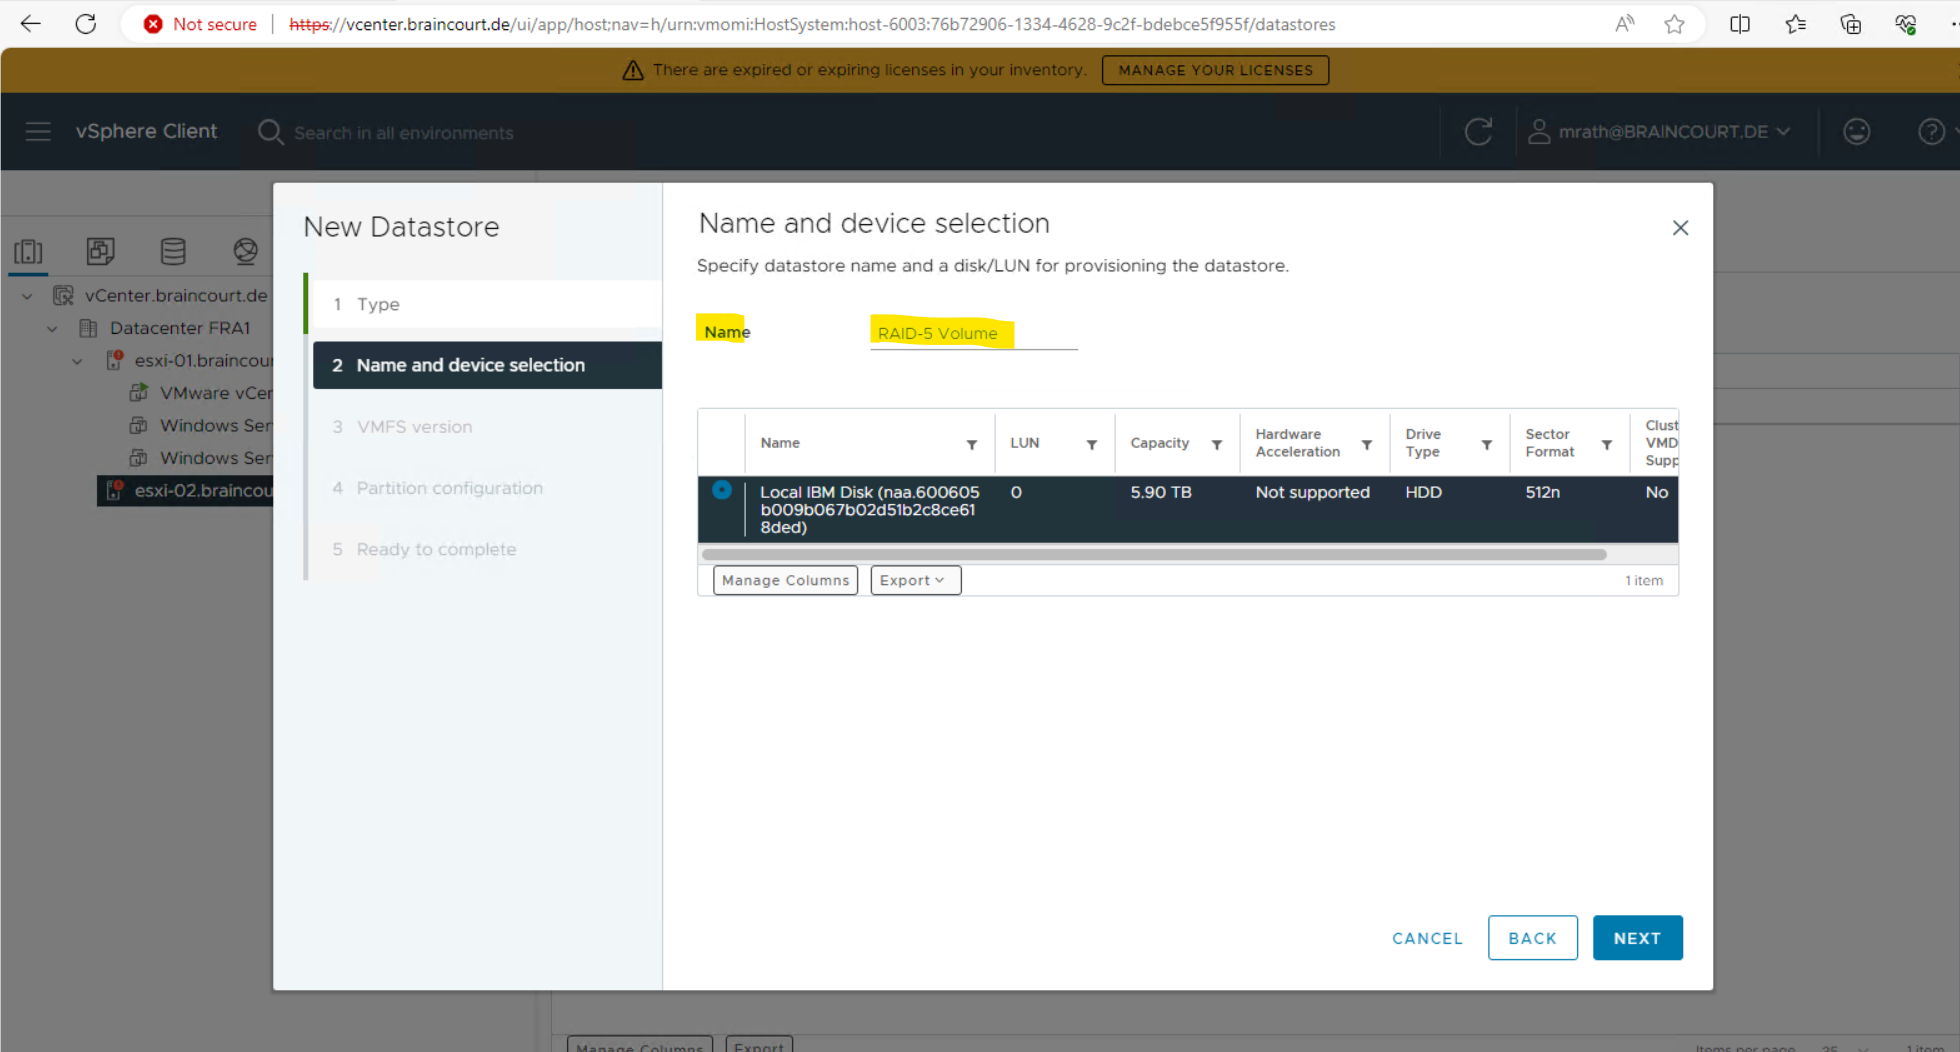
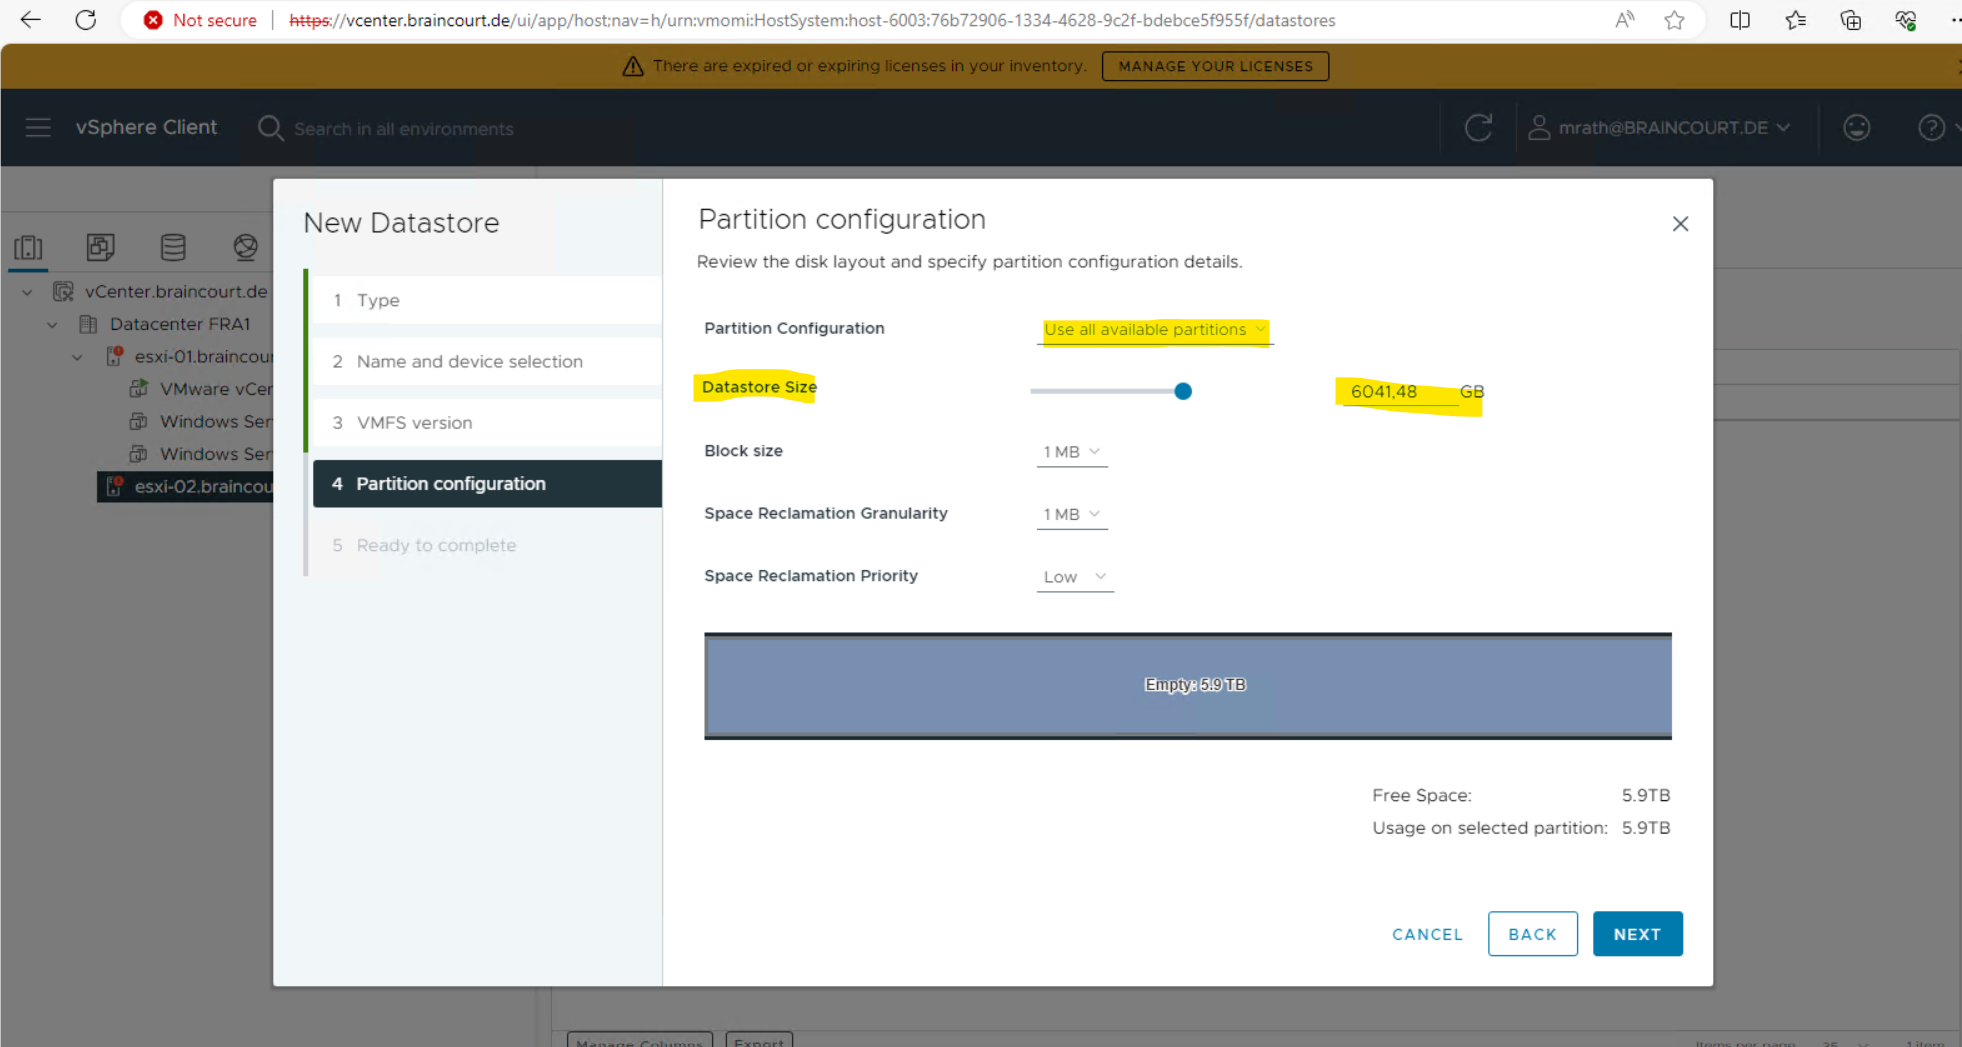
I will use below the full disk (RAID-5 volume finally).
Click on FINISH to apply the configuration.
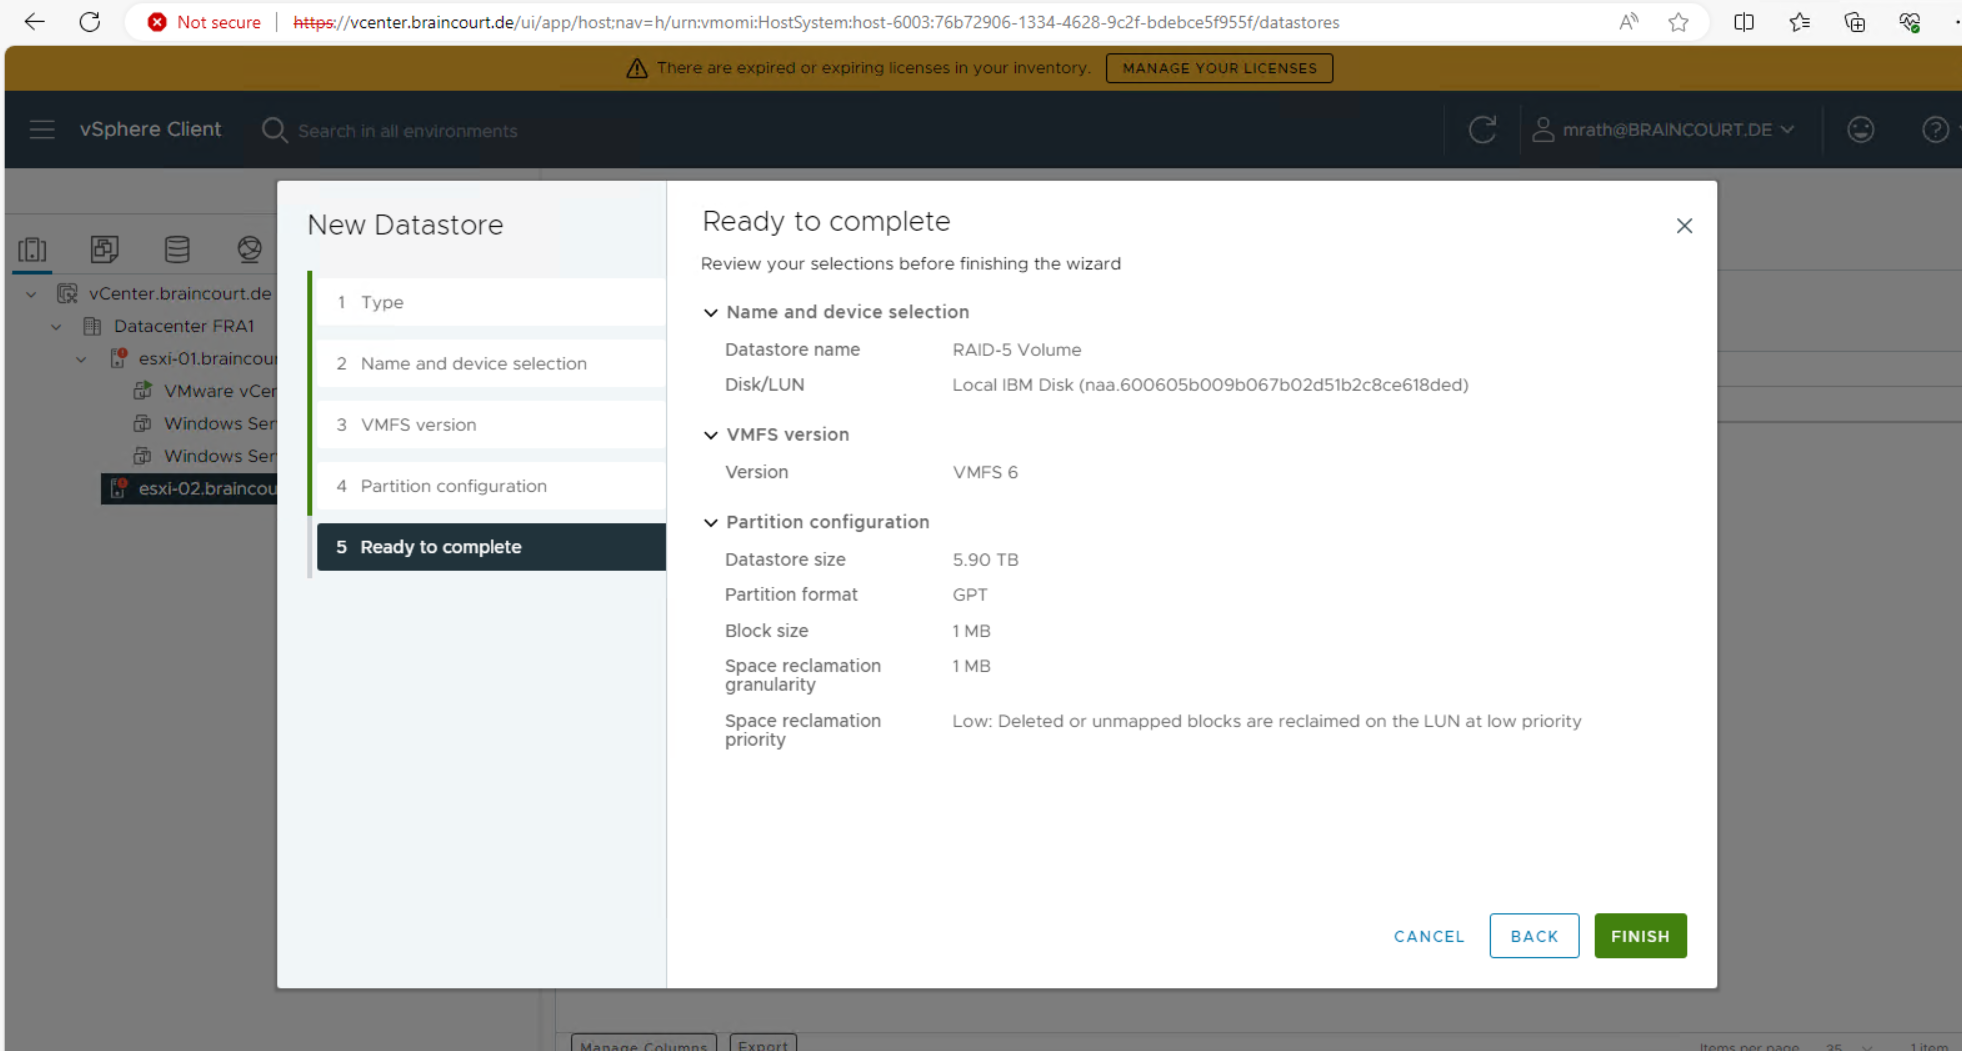
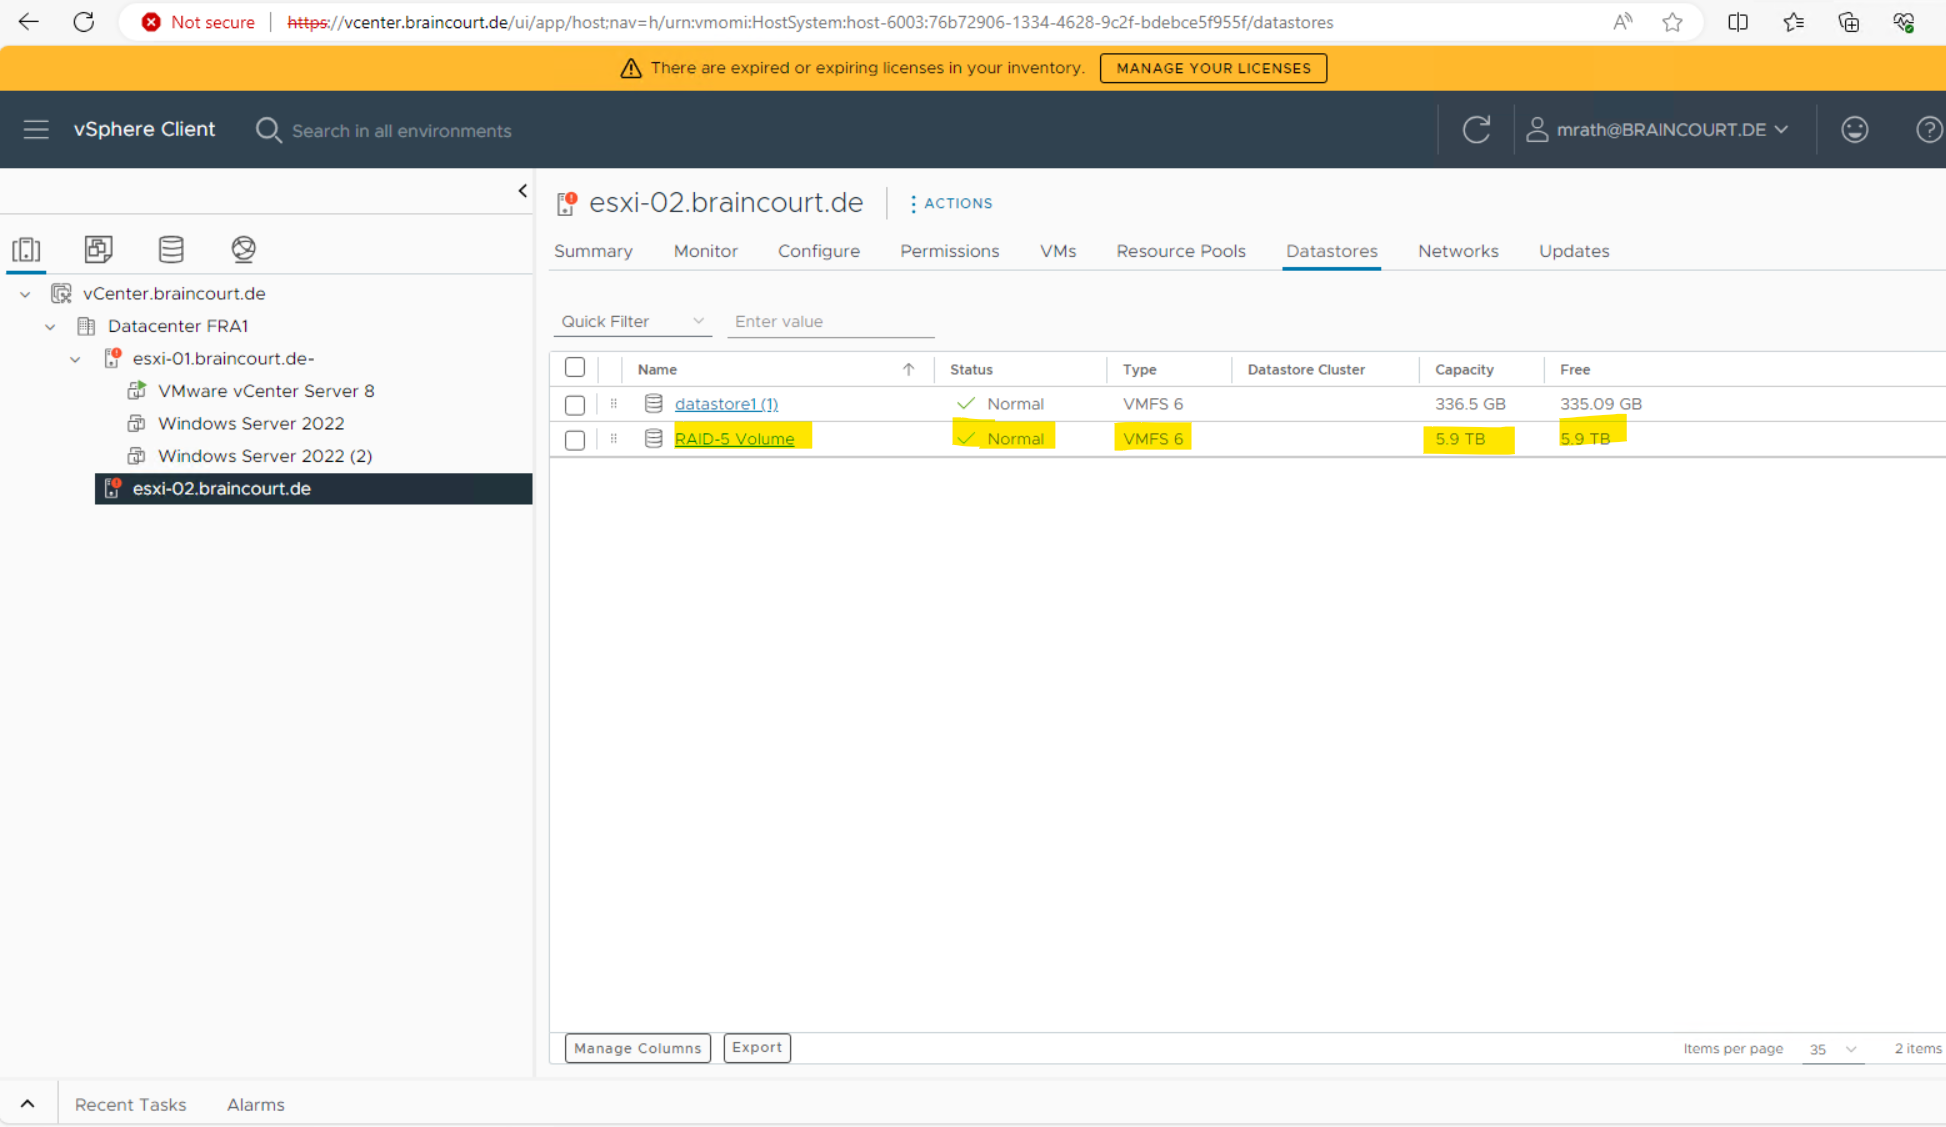
A few seconds later in my case the new datastore is created and shown up.
Links
How to Add a Host to Your vSphere Data Center or Folder
https://docs.vmware.com/en/VMware-vSphere/8.0/vsphere-vcenter-esxi-management/GUID-CCE2AEC1-FE9F-4387-8EBF-512CB4B51B26.htmlAdd а Host to a Cluster
https://docs.vmware.com/en/VMware-vSphere/7.0/com.vmware.vsphere.vcenterhost.doc/GUID-BCDAEBCB-EAE4-4EAF-BC33-08977429E9C7.htmlModify ESXi Configuration Files
https://docs.vmware.com/en/VMware-vSphere/7.0/com.vmware.esxi.install.doc/GUID-7AB71AFE-C836-418F-8E01-BEB240805D1F.html