Set up SUSE Linux Enterprise Server 15
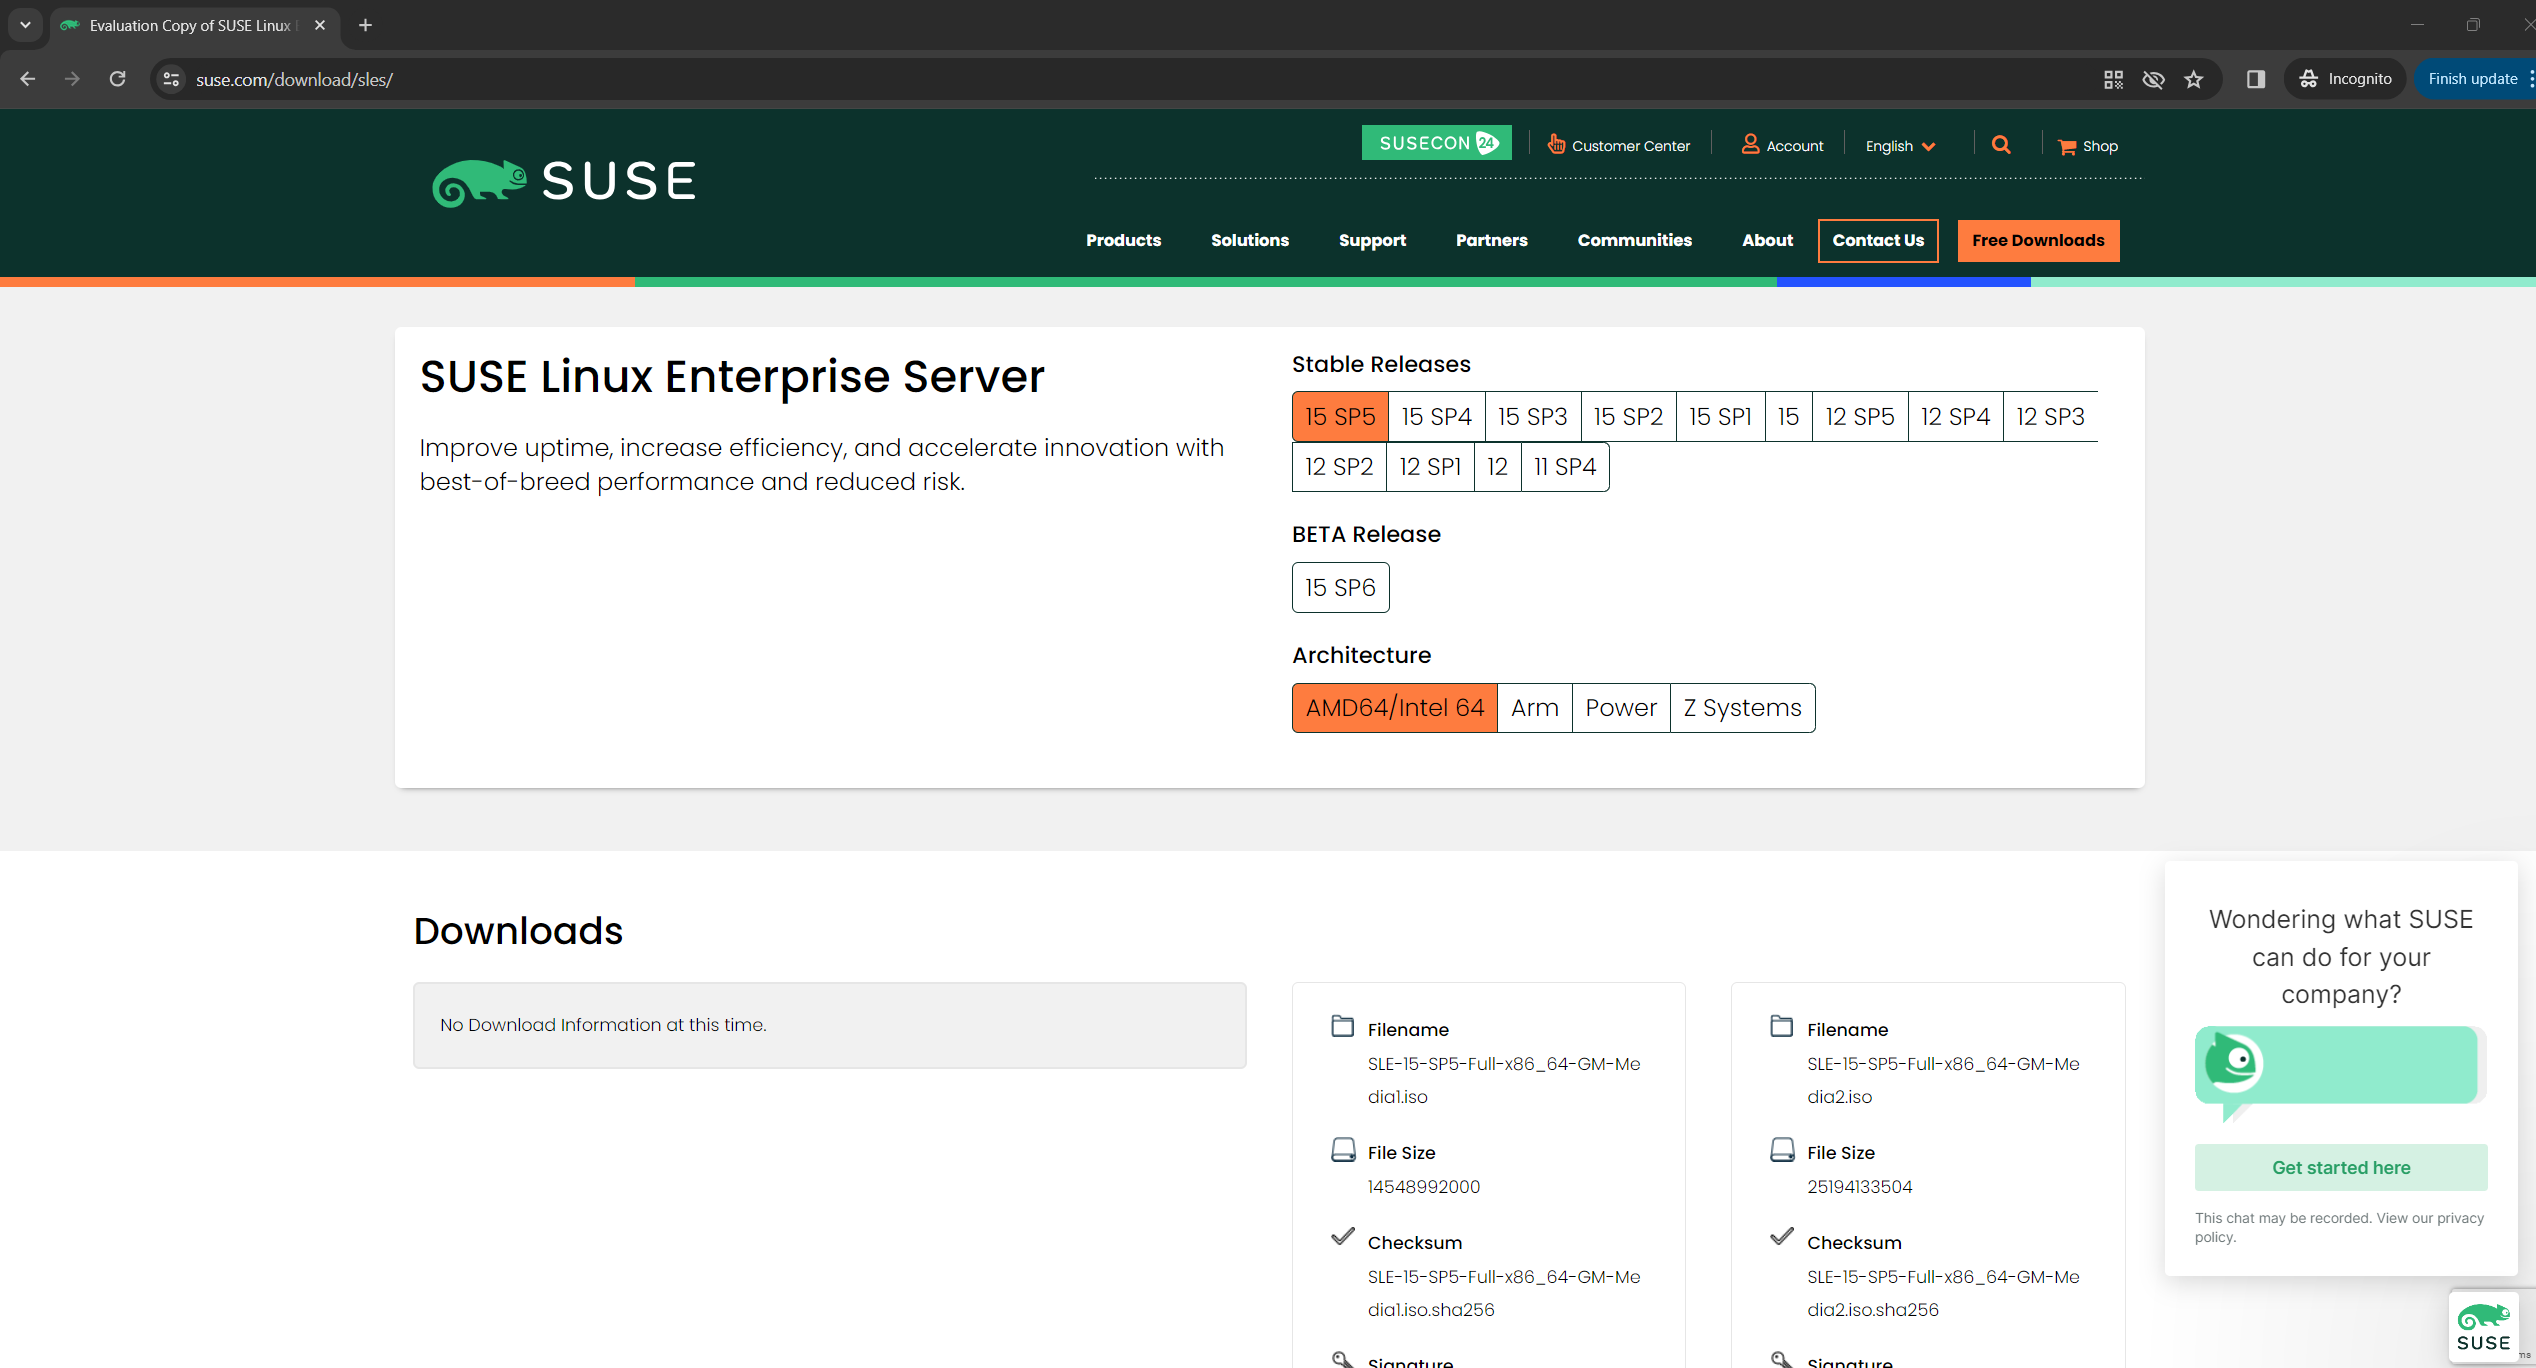
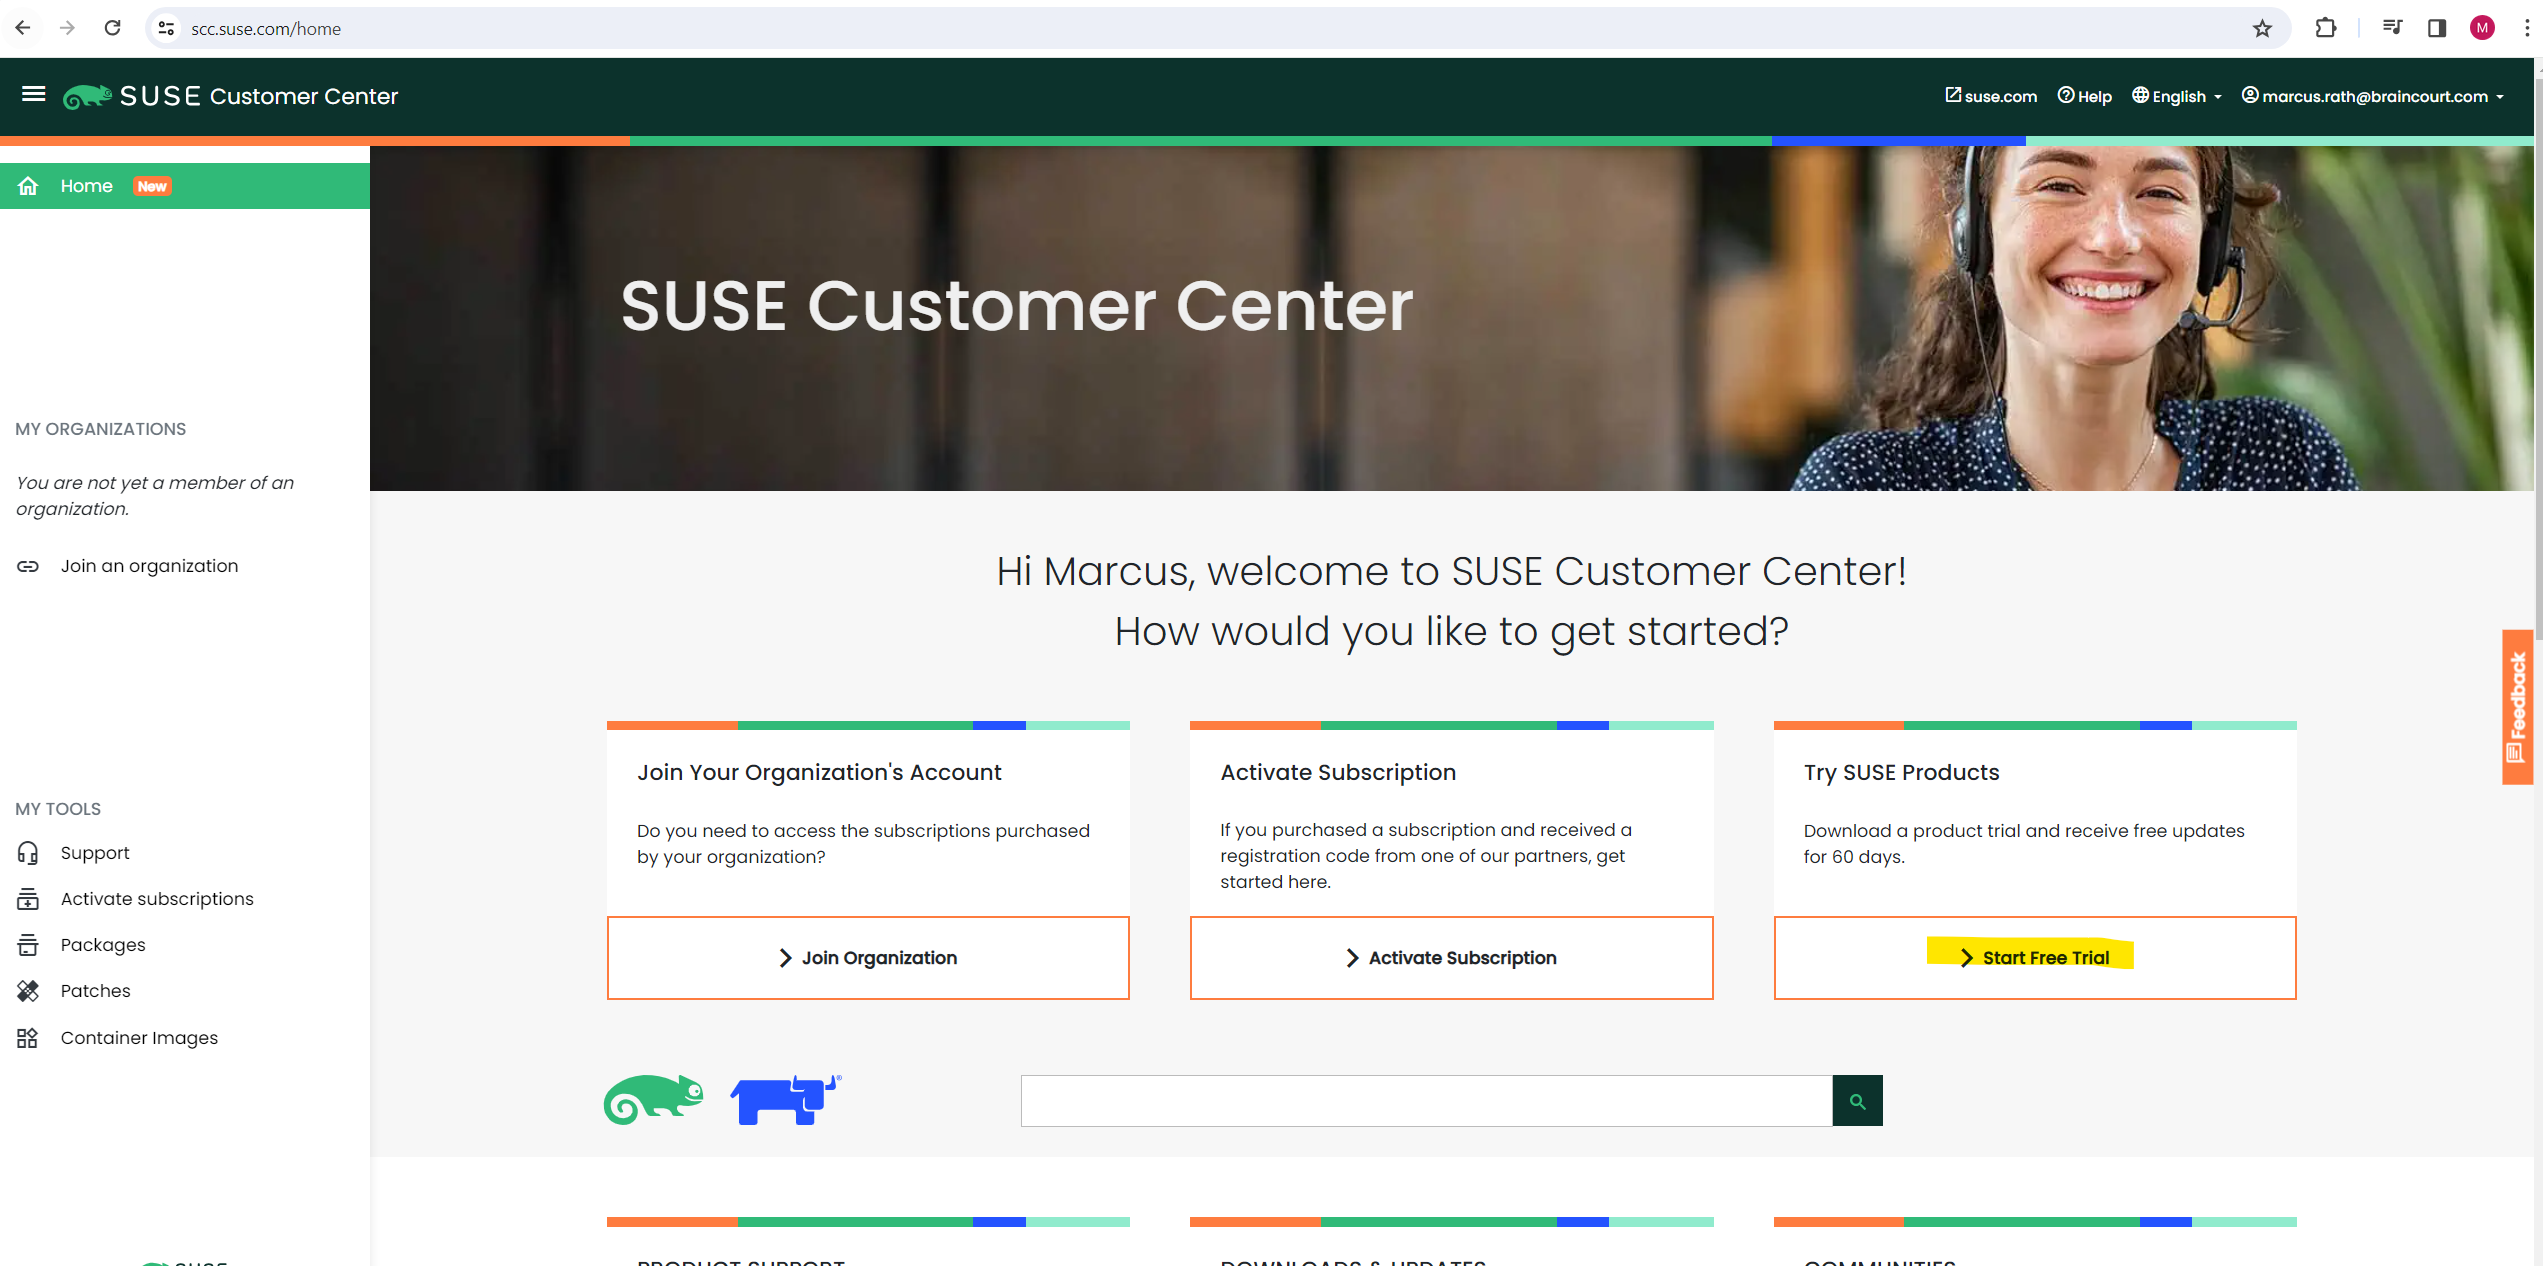
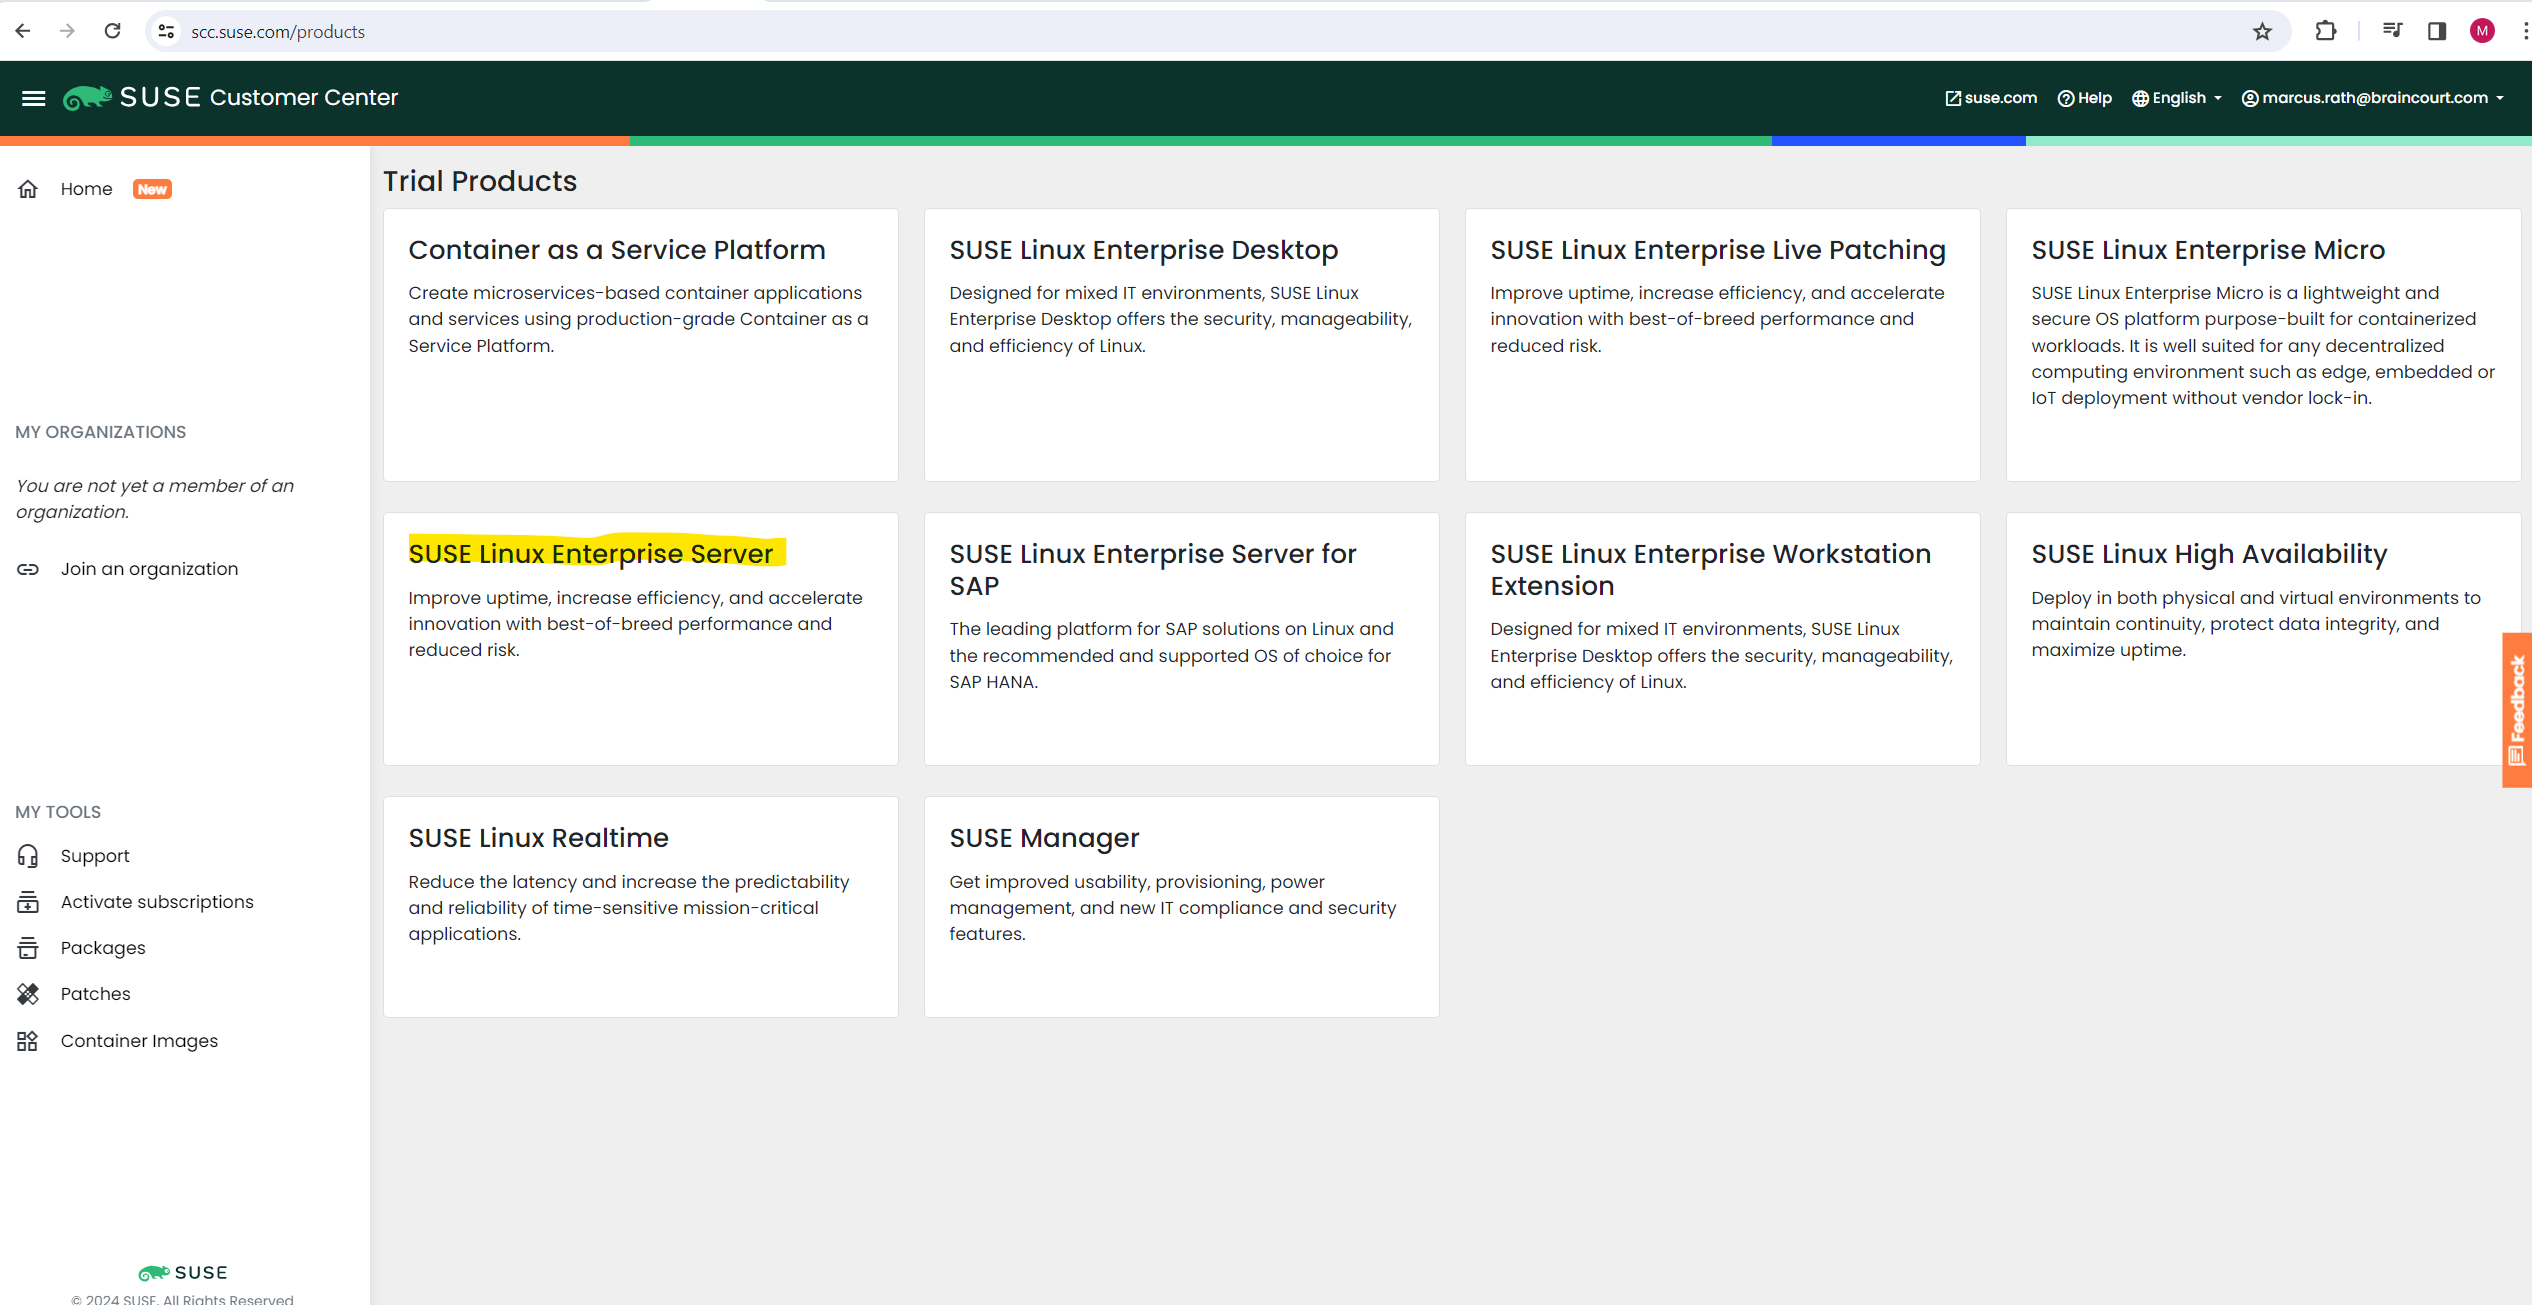
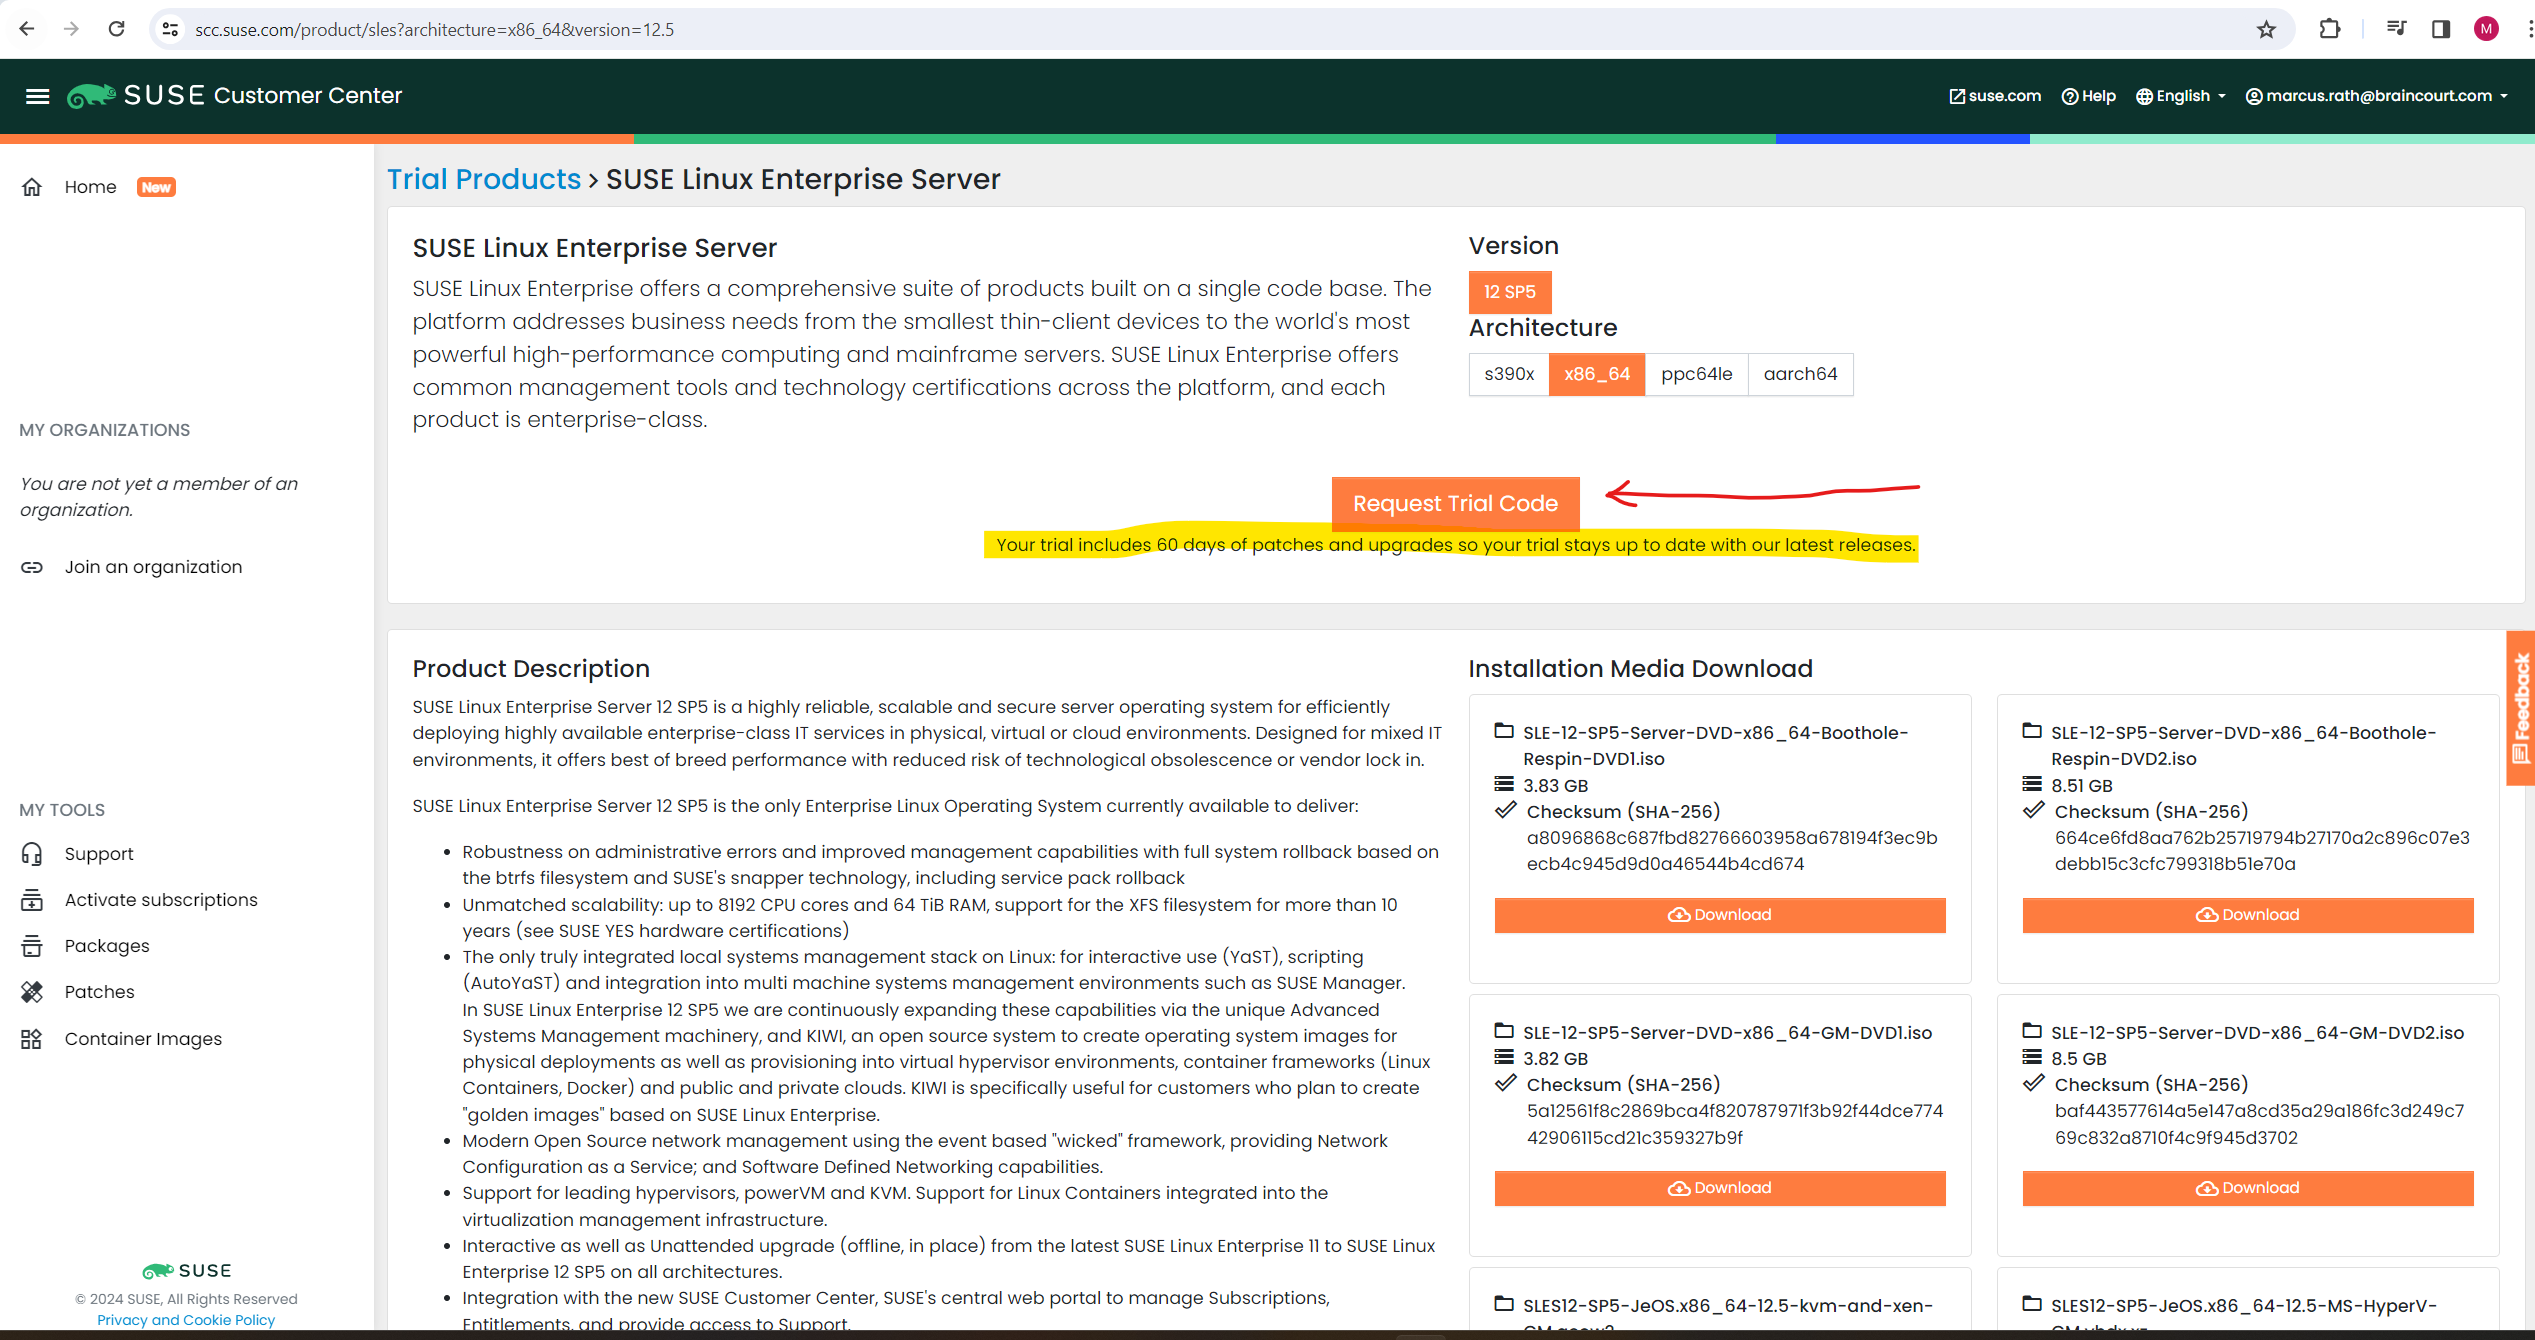
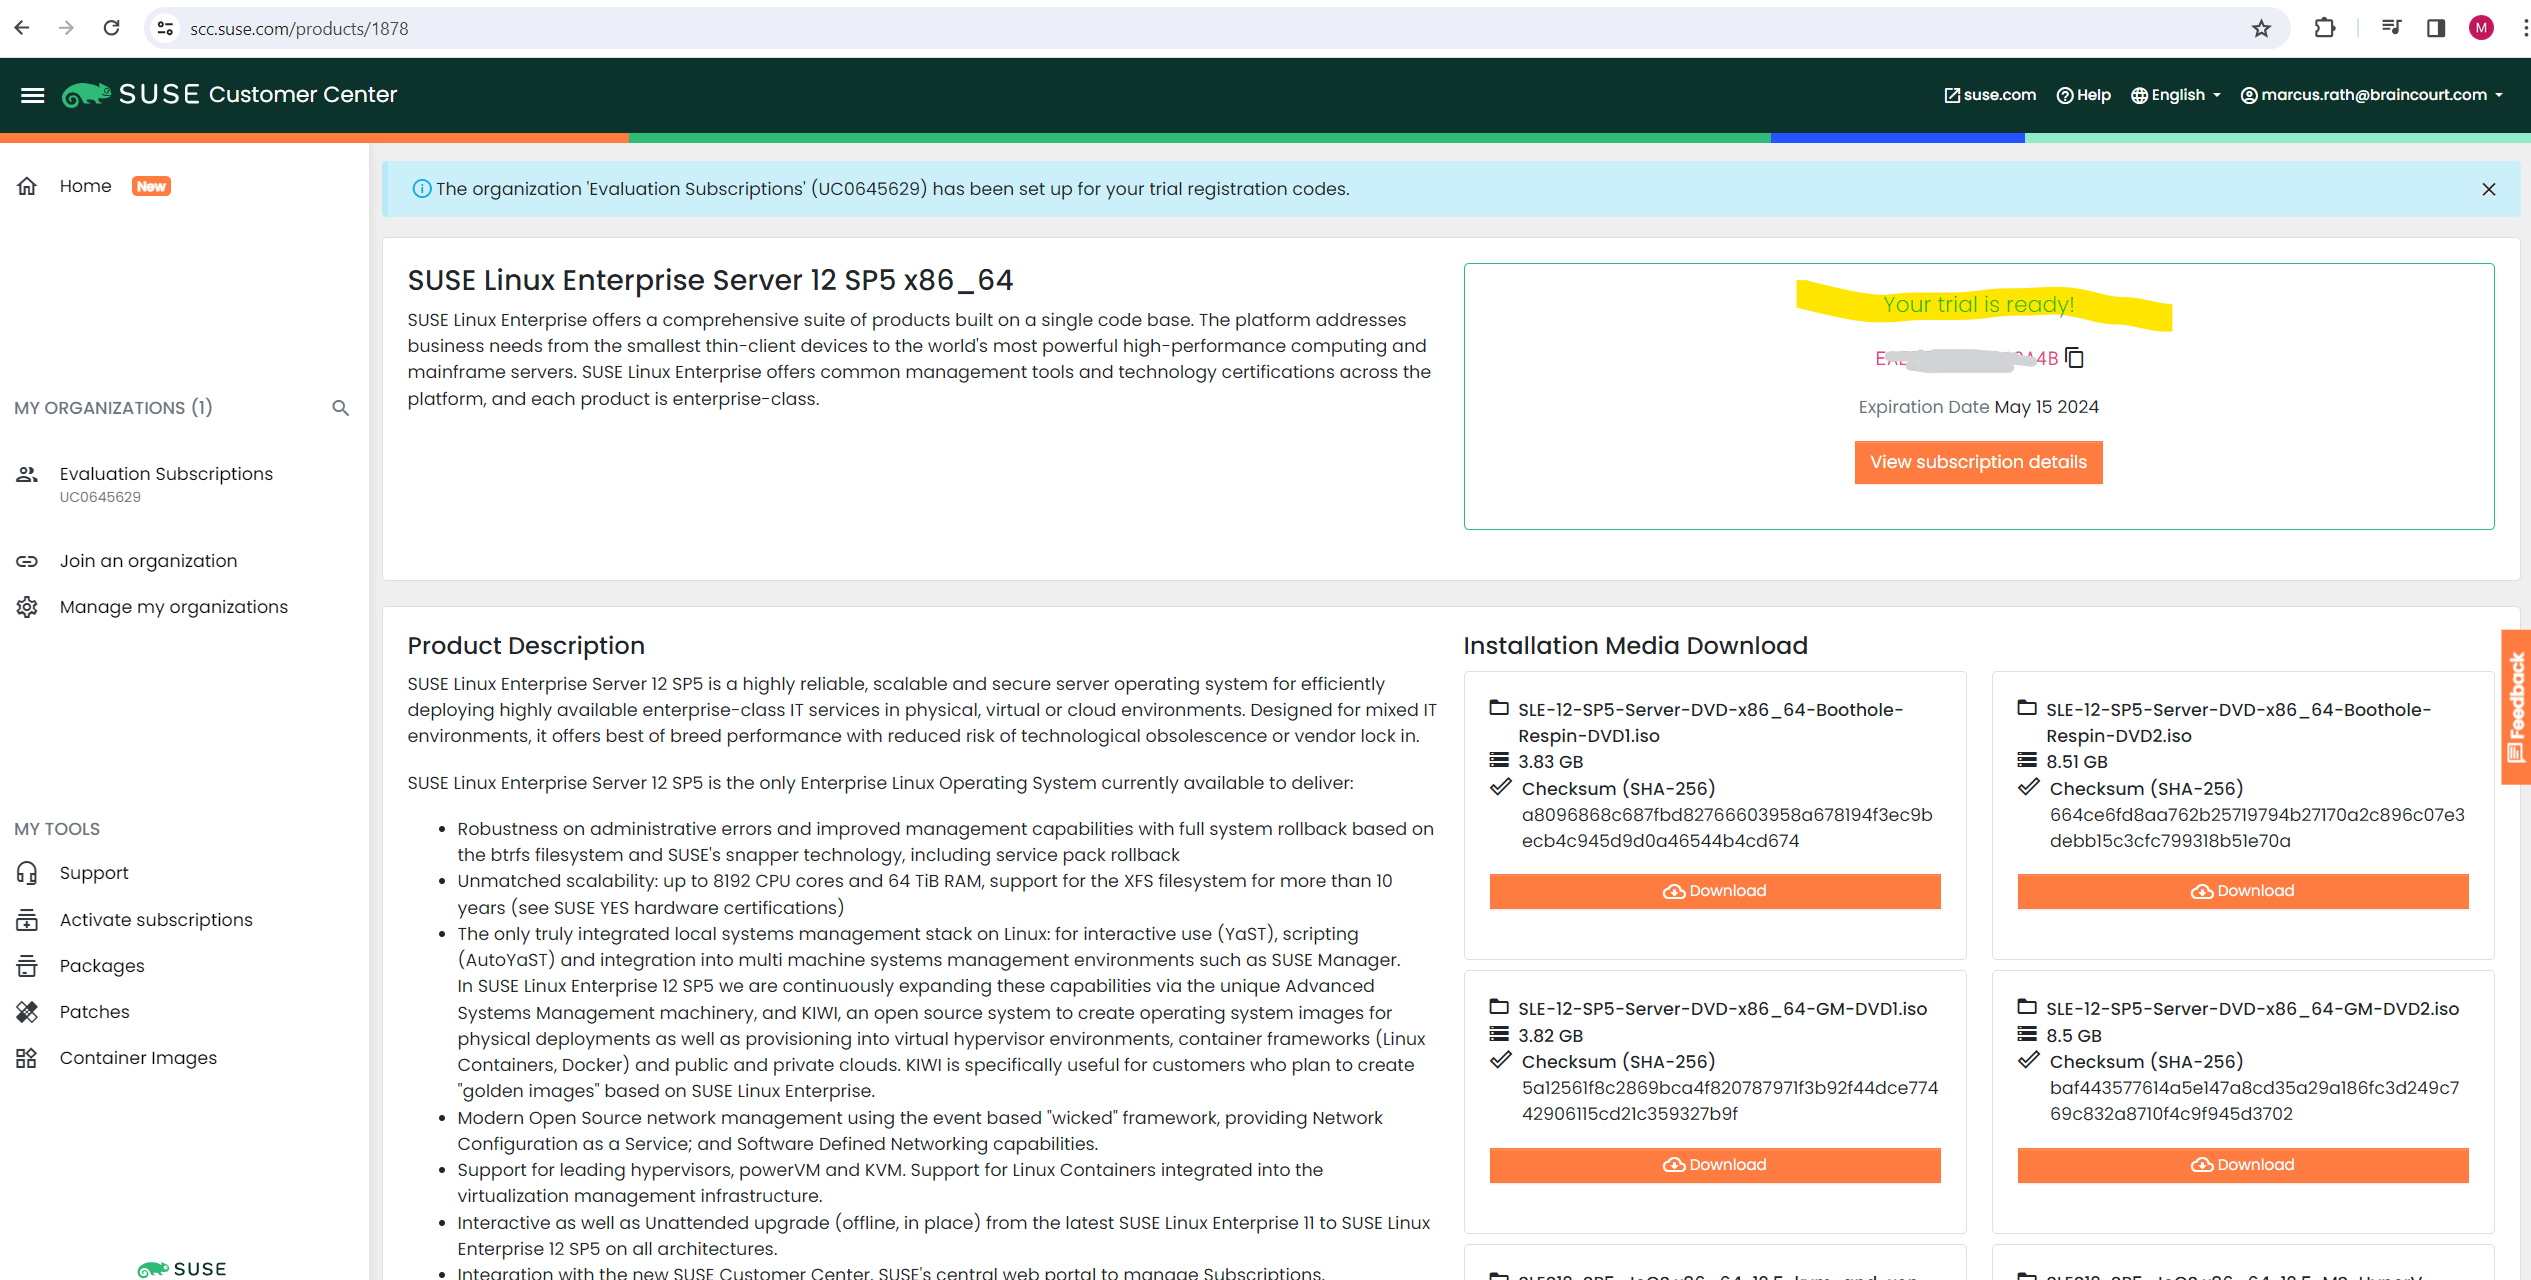
First download a Trial version and request a Trial Code to registering with SUSEConnect
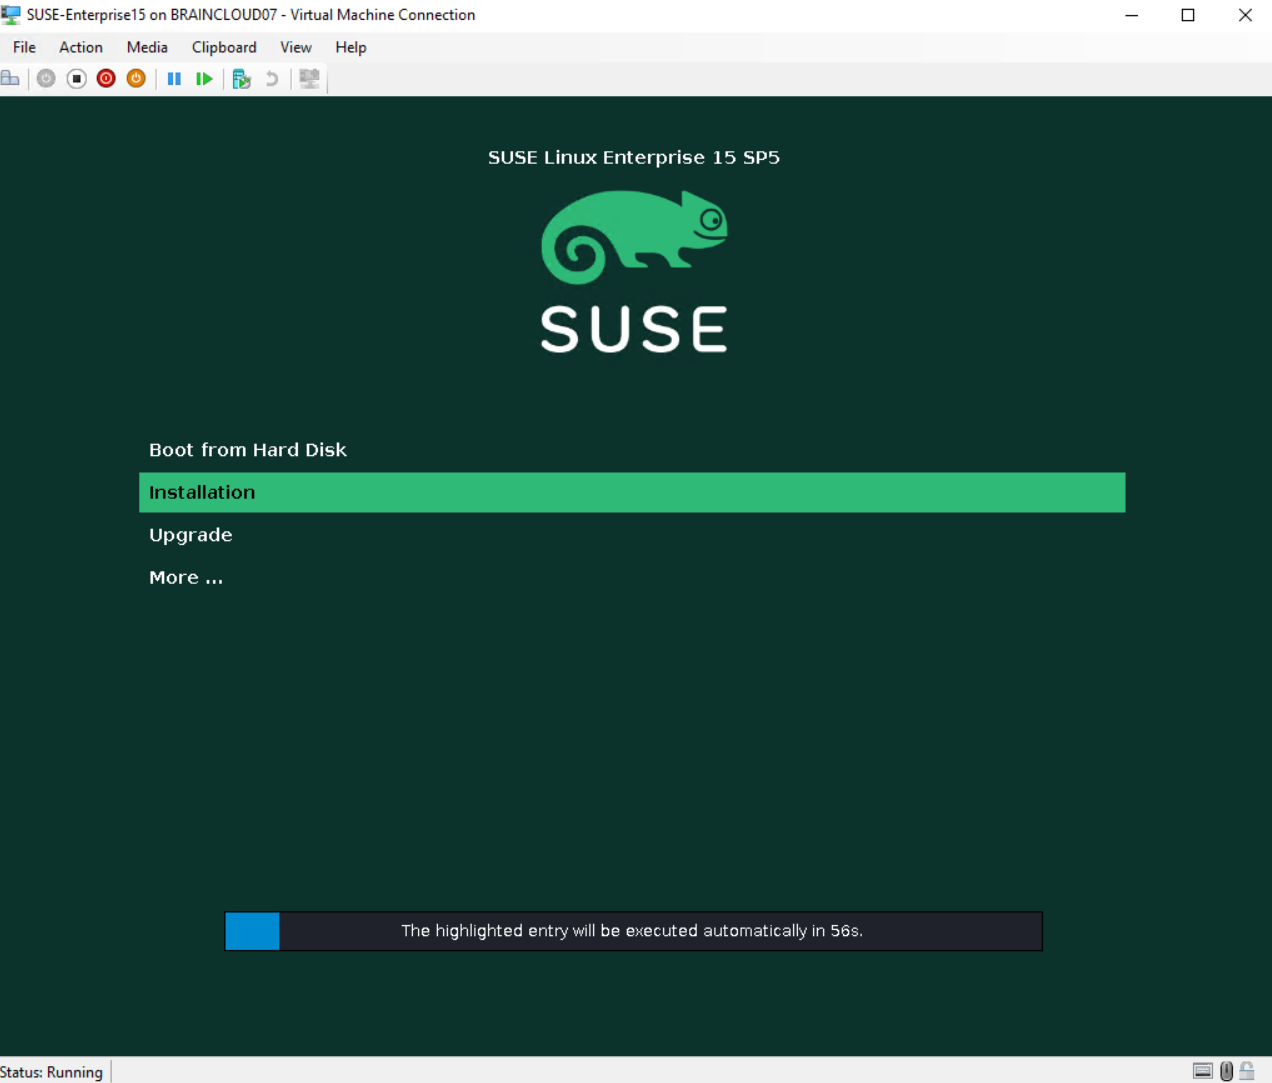
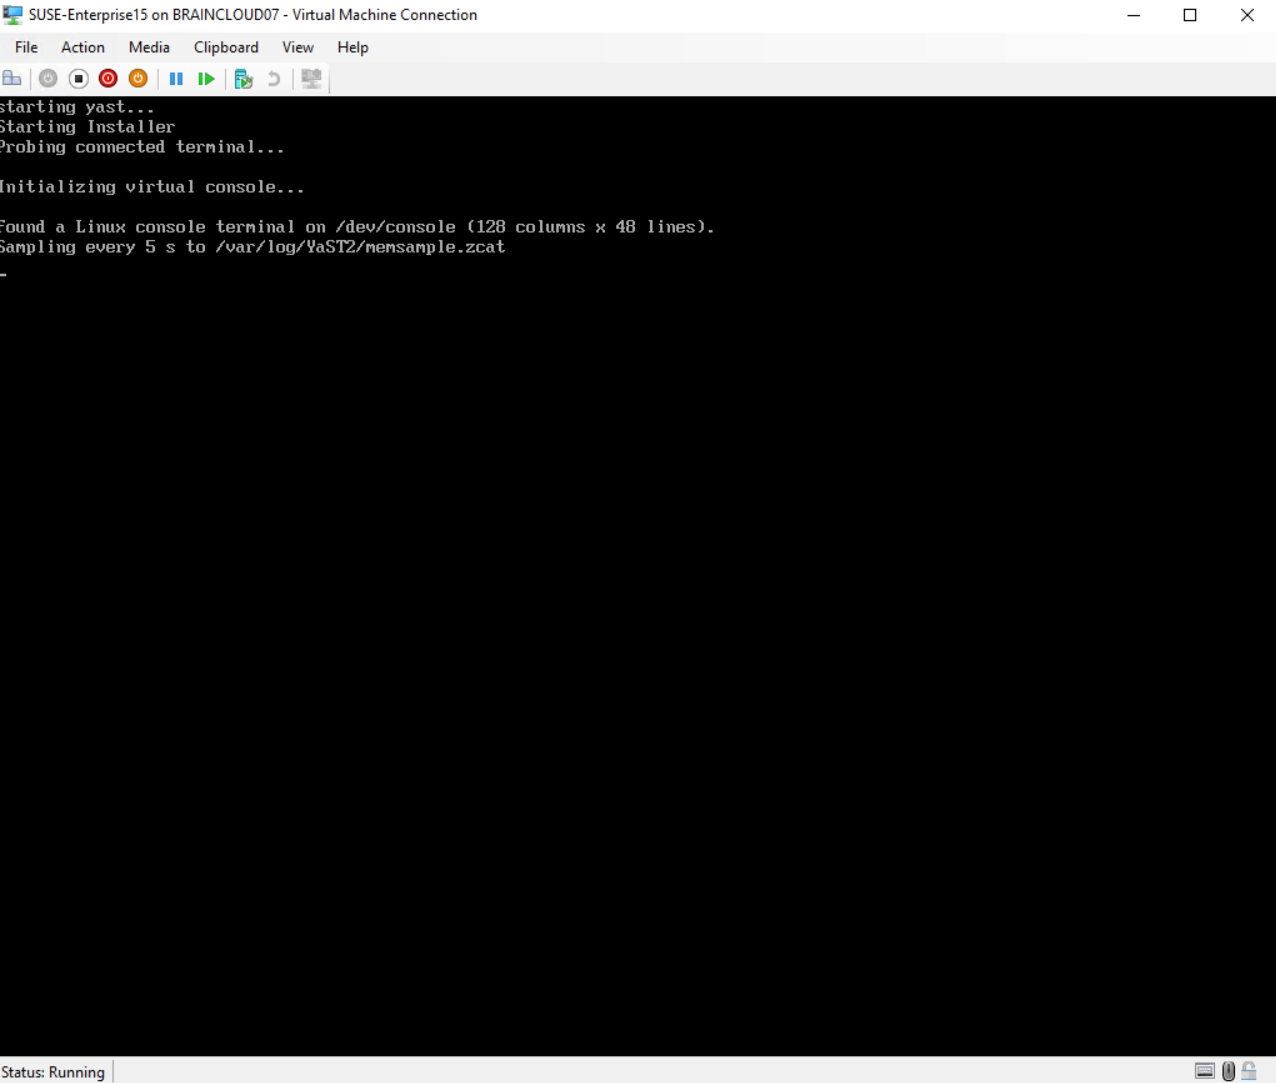
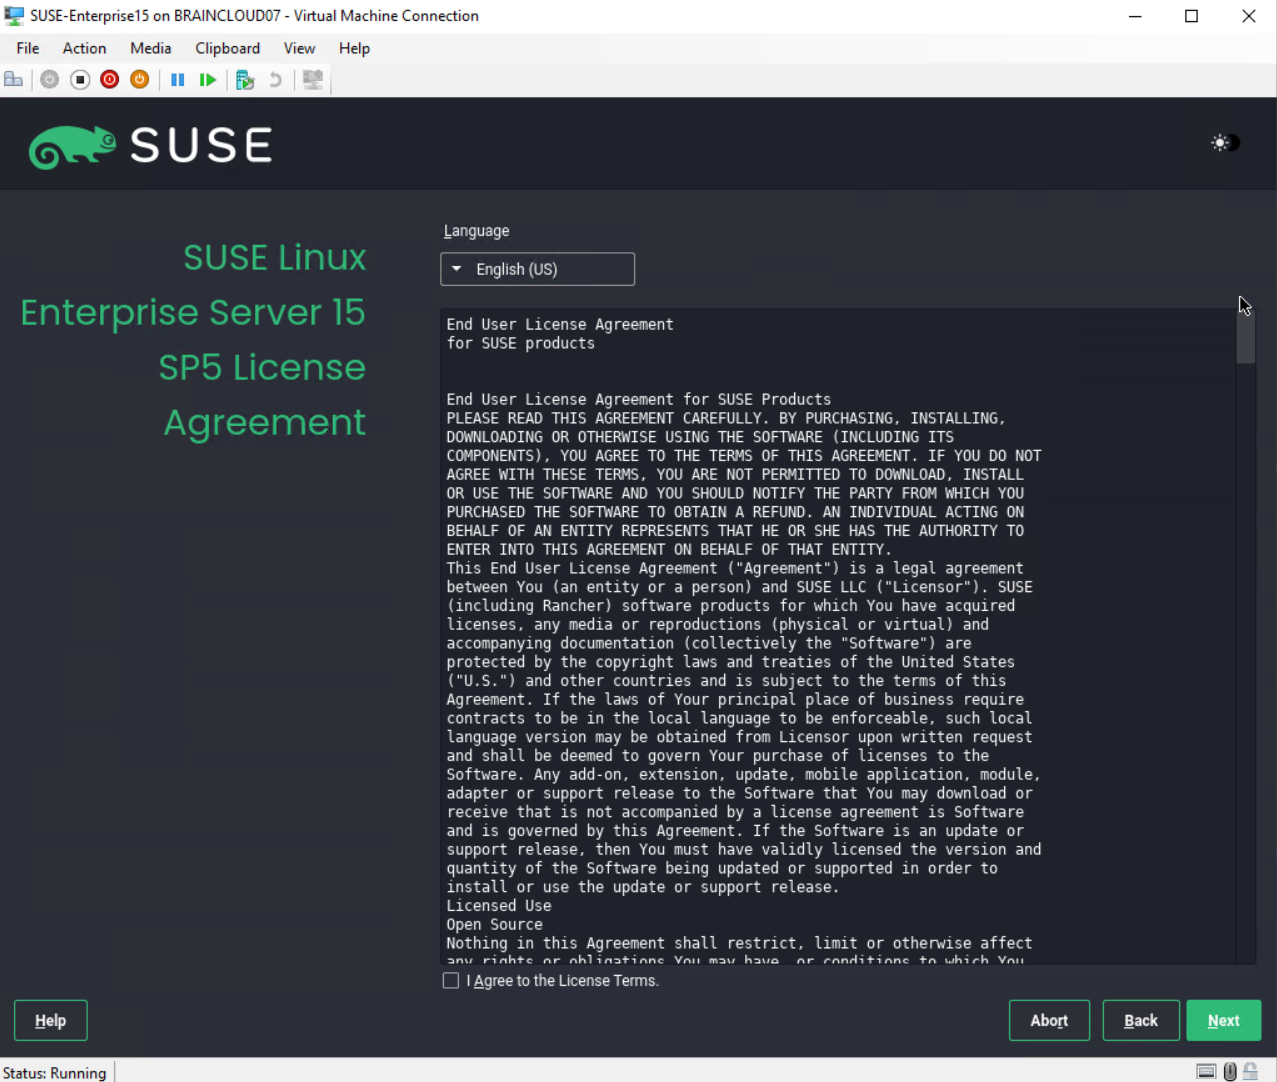
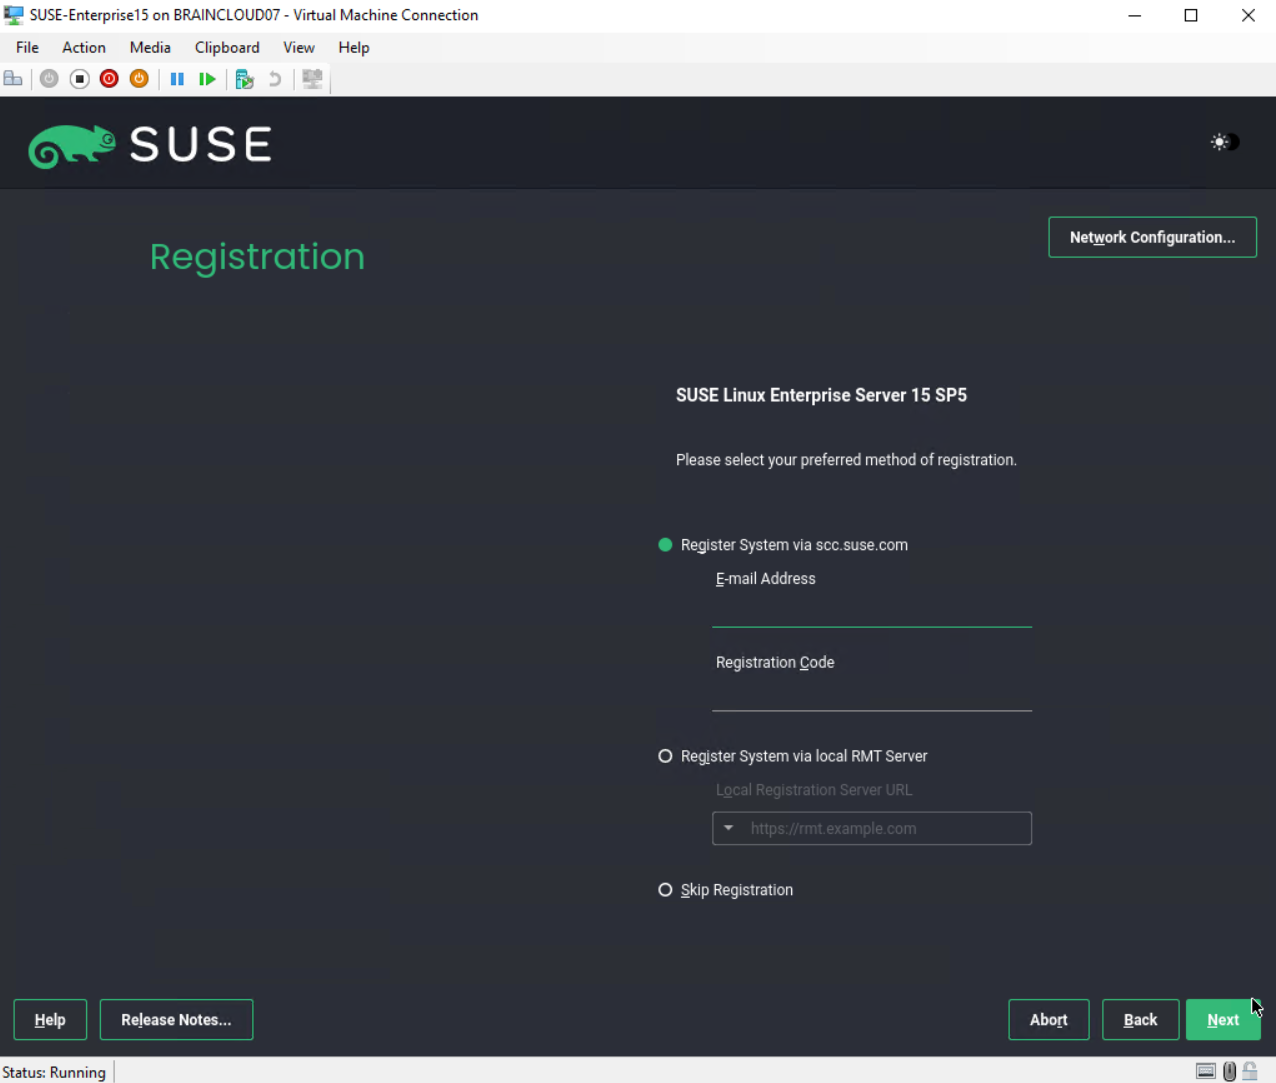
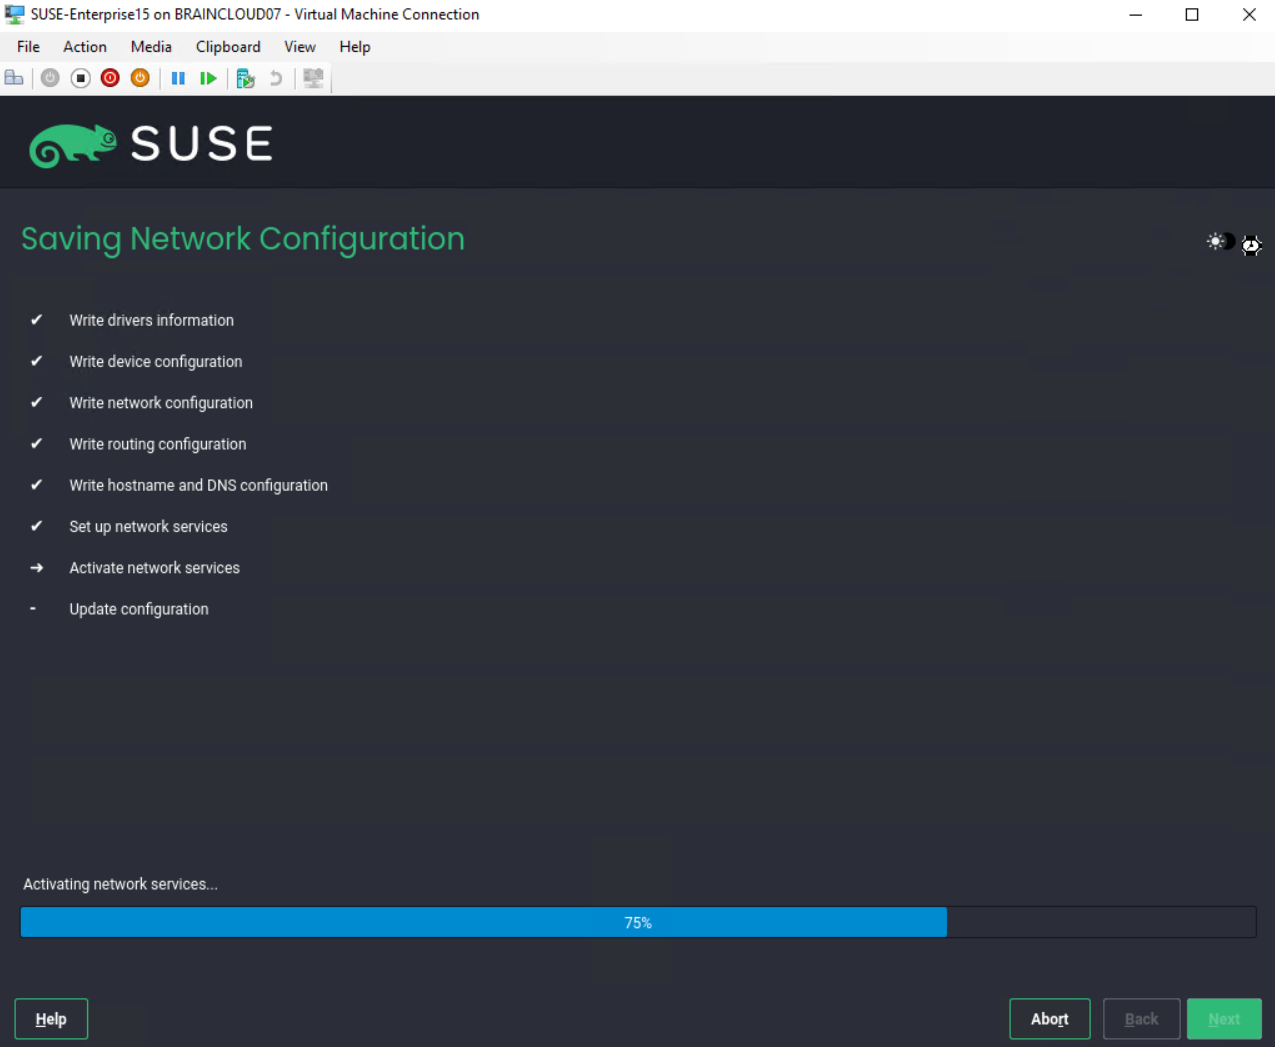
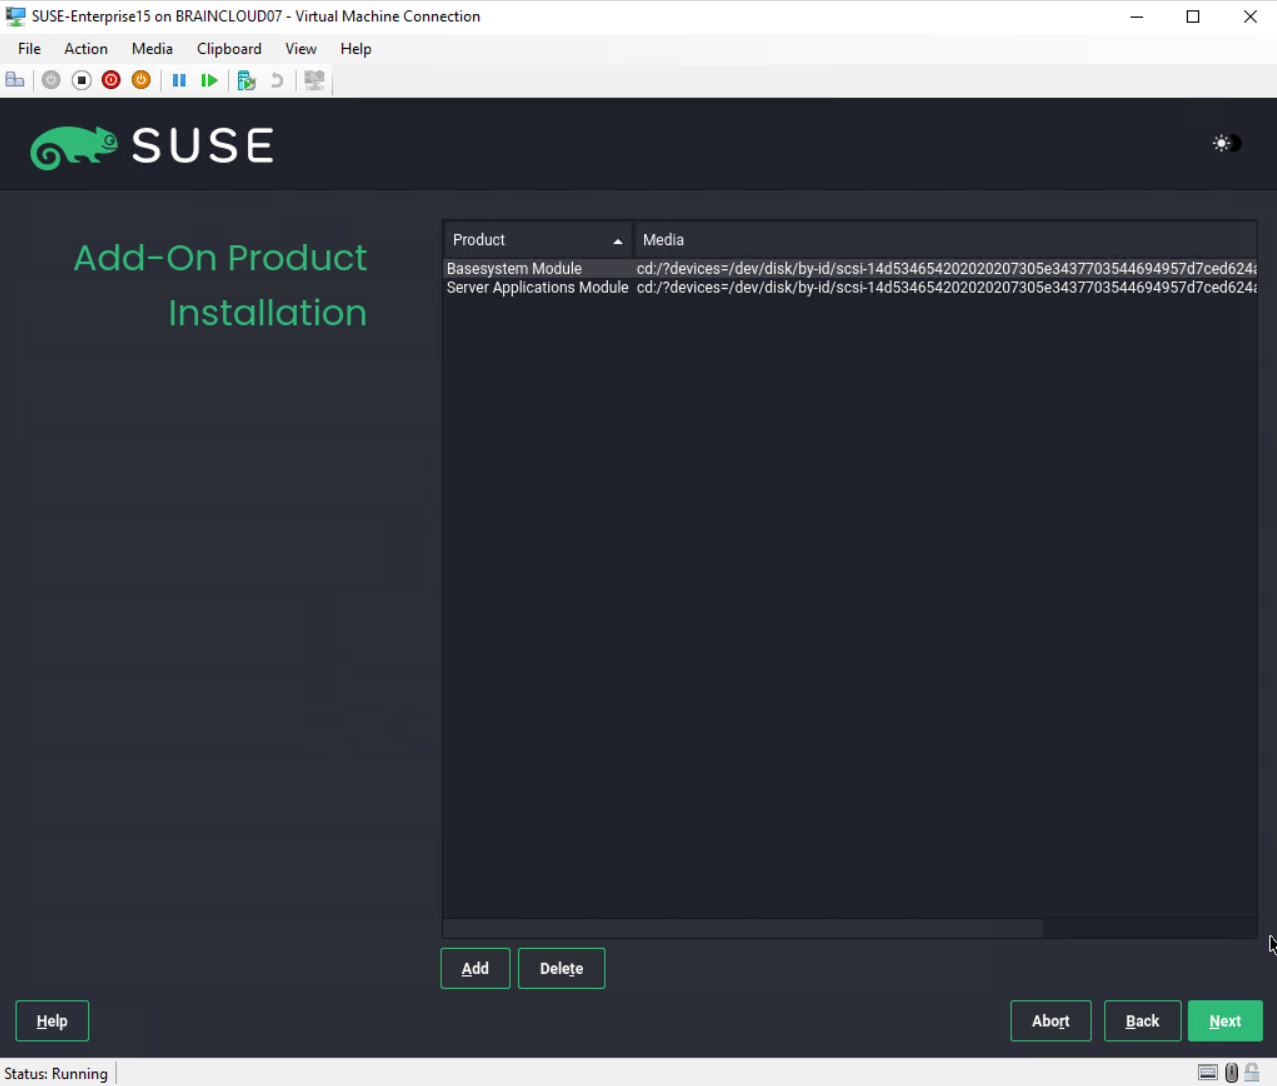
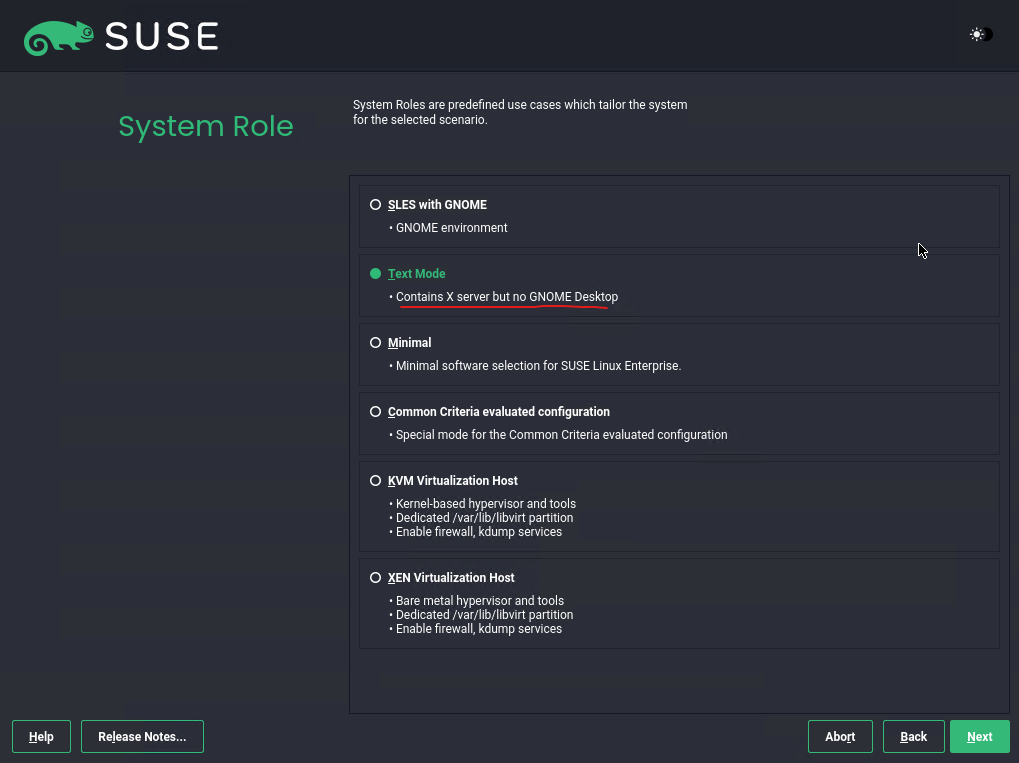
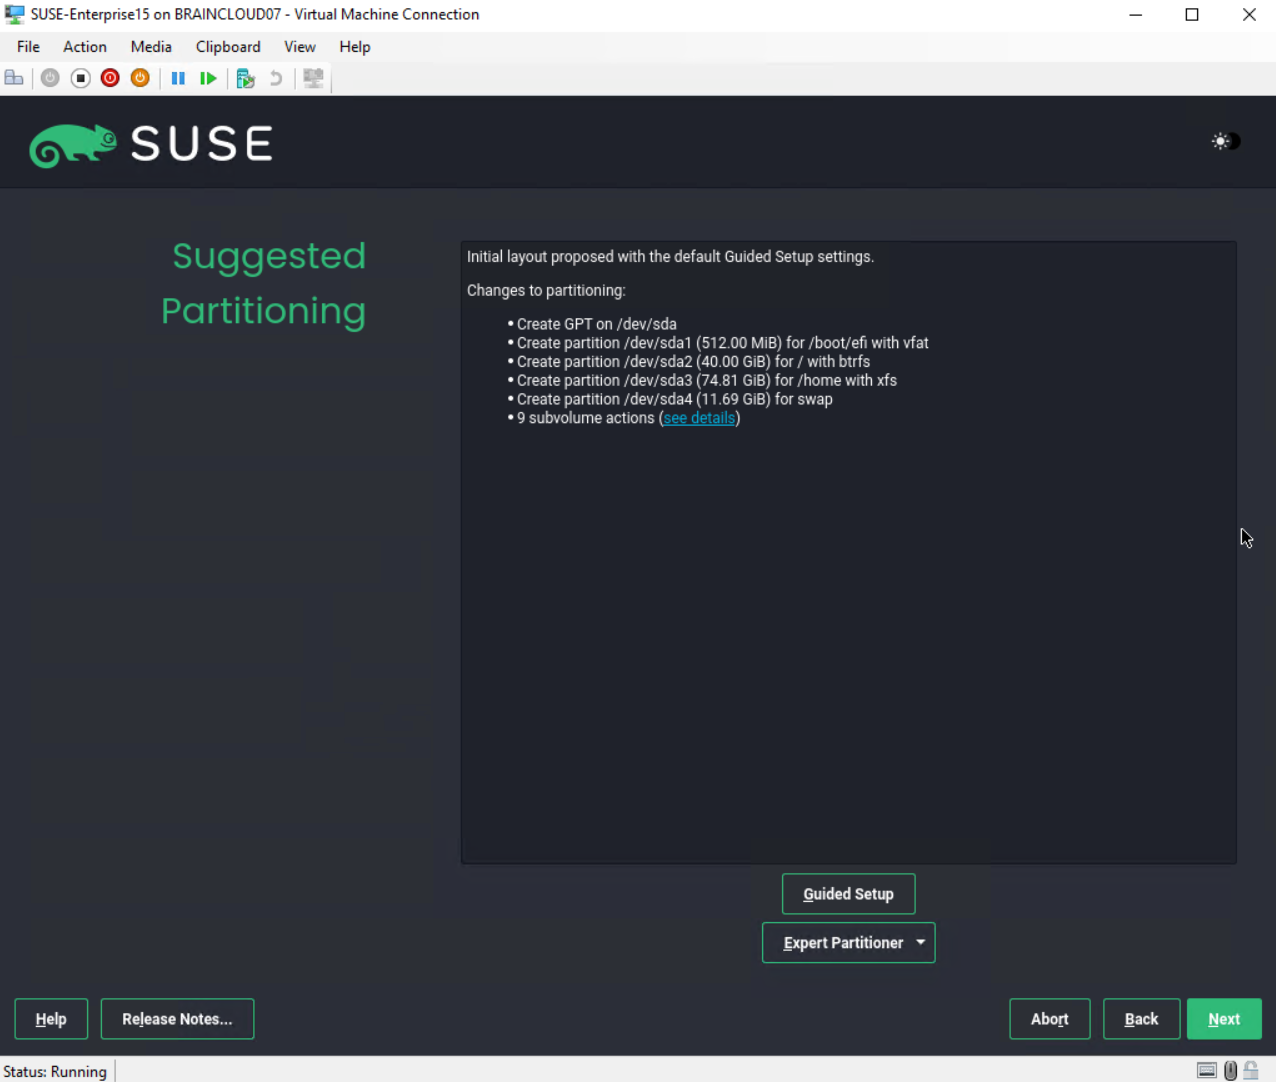
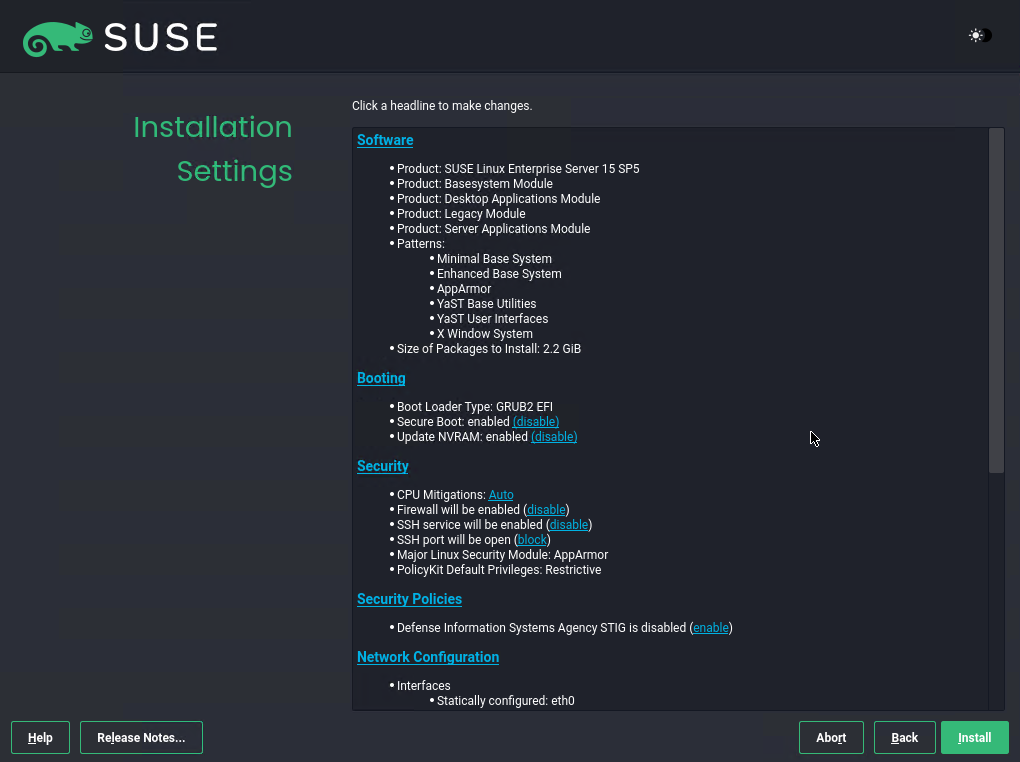
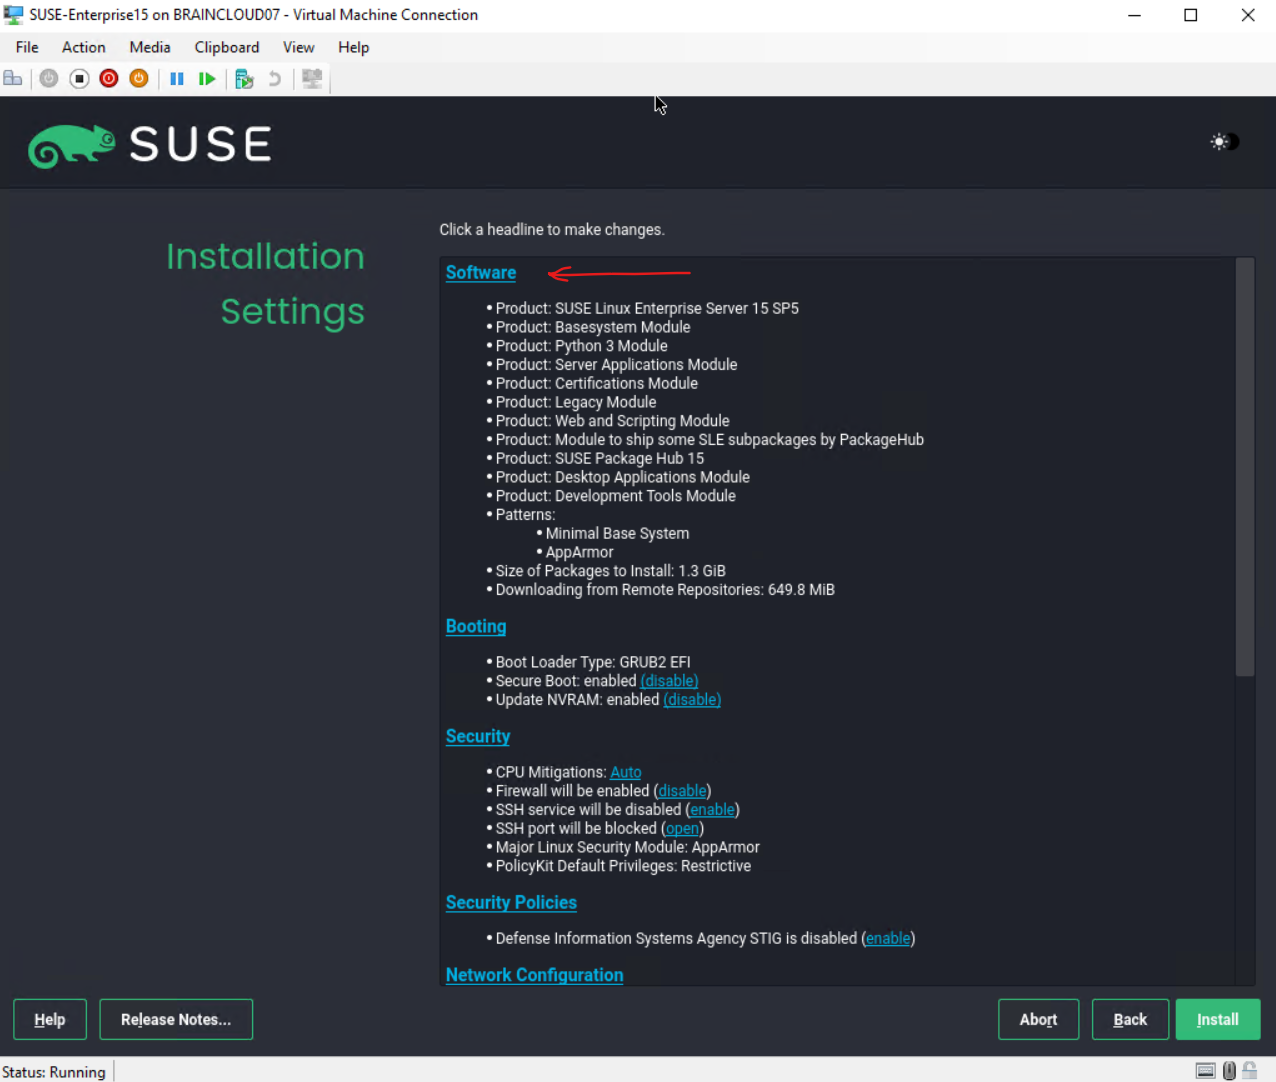
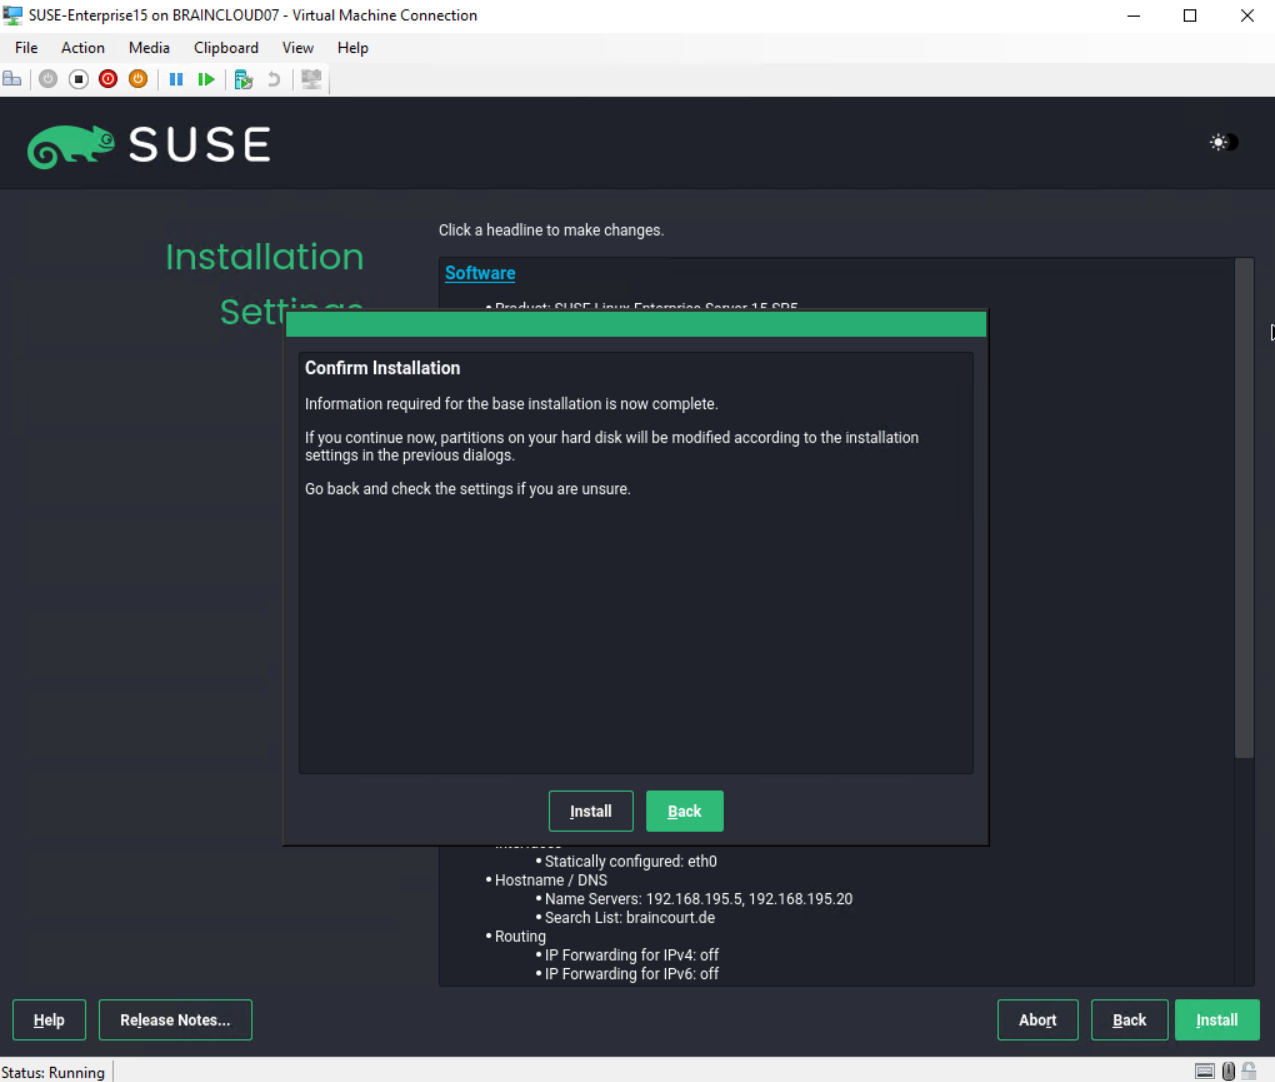
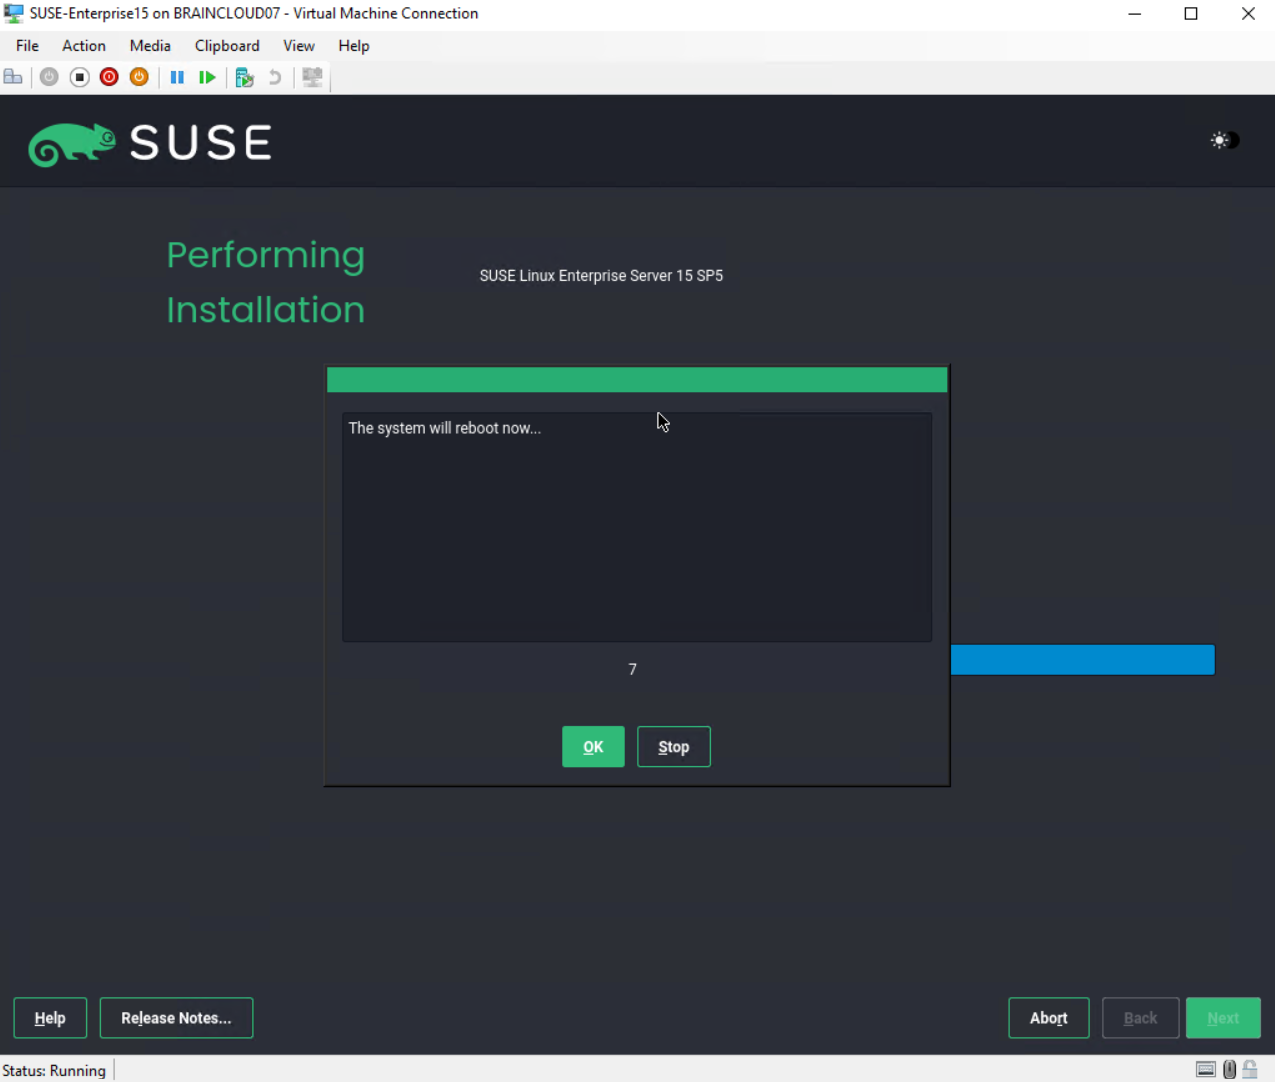
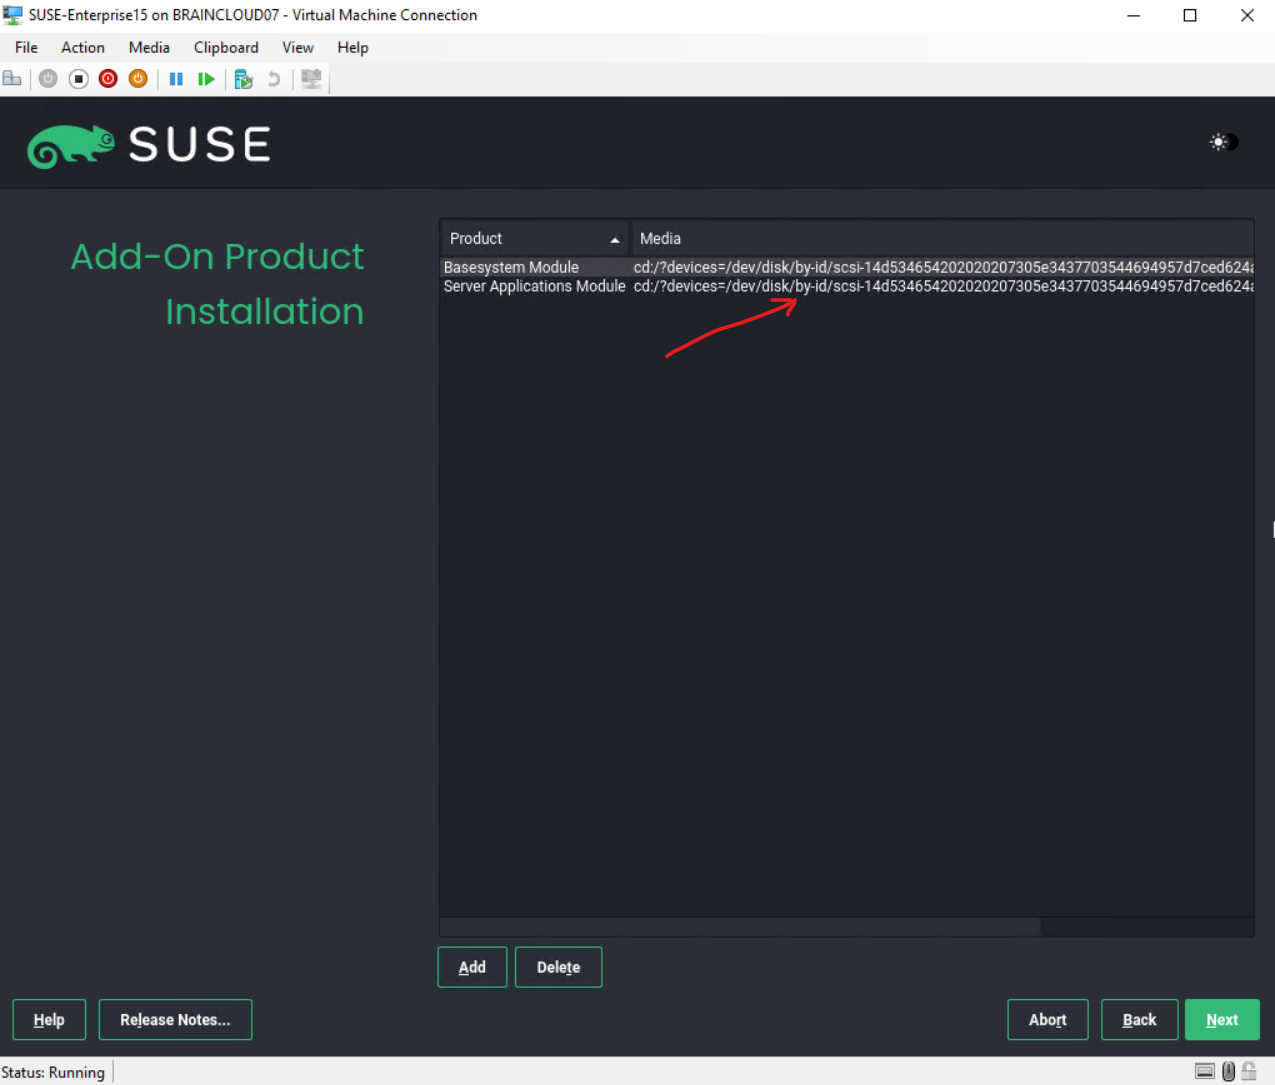
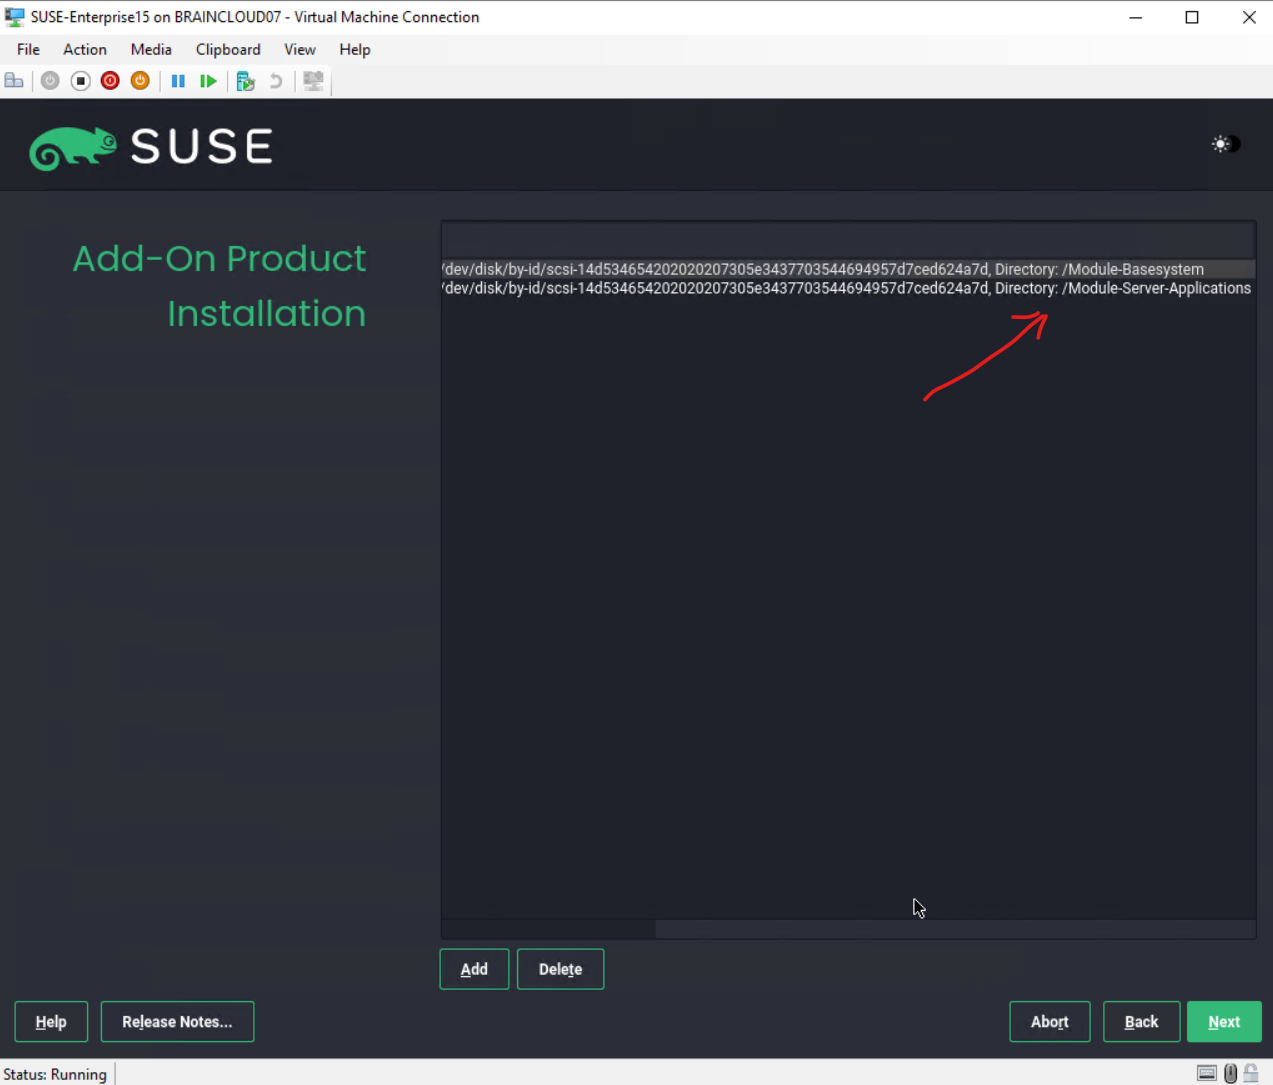
Installation
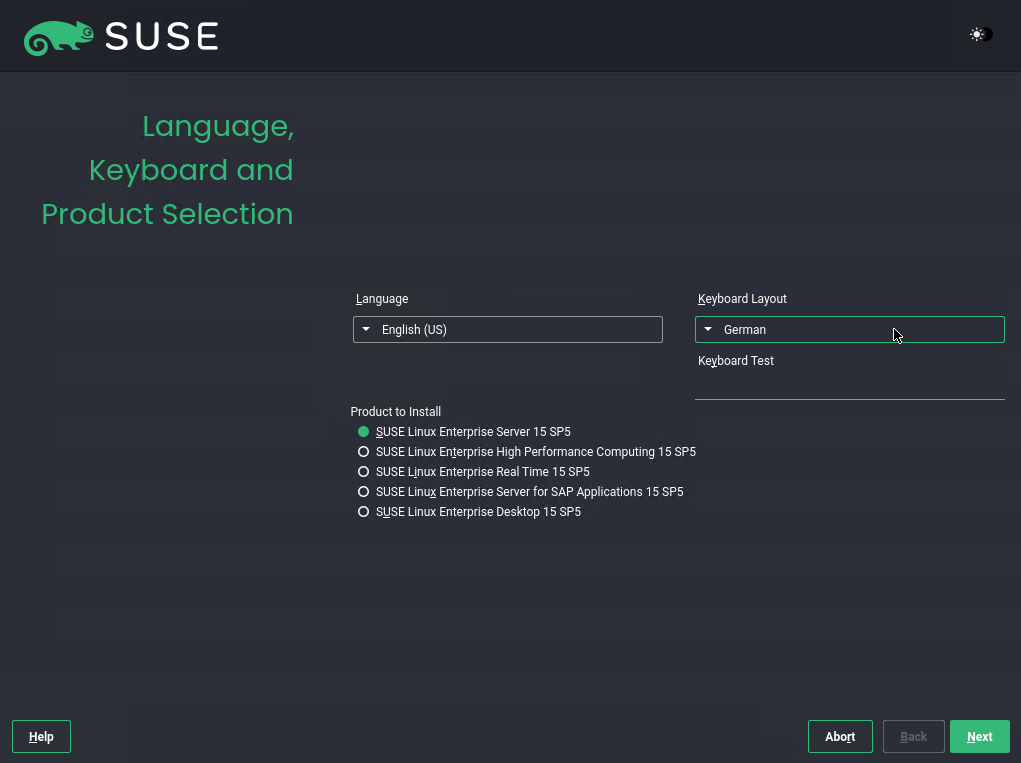
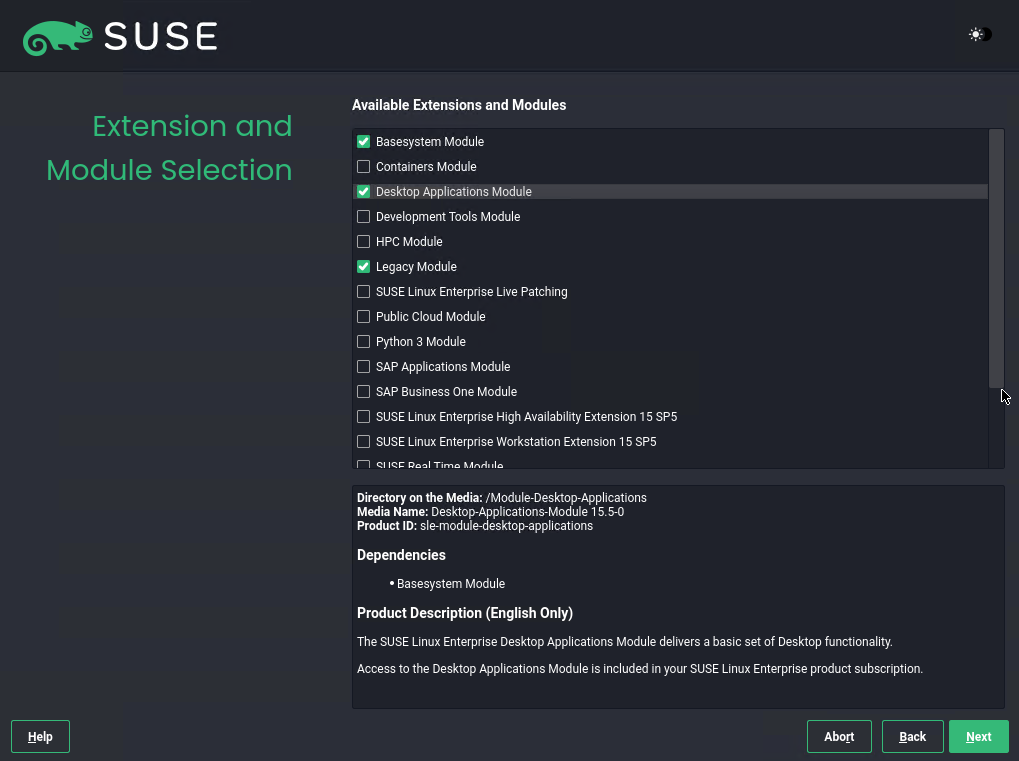
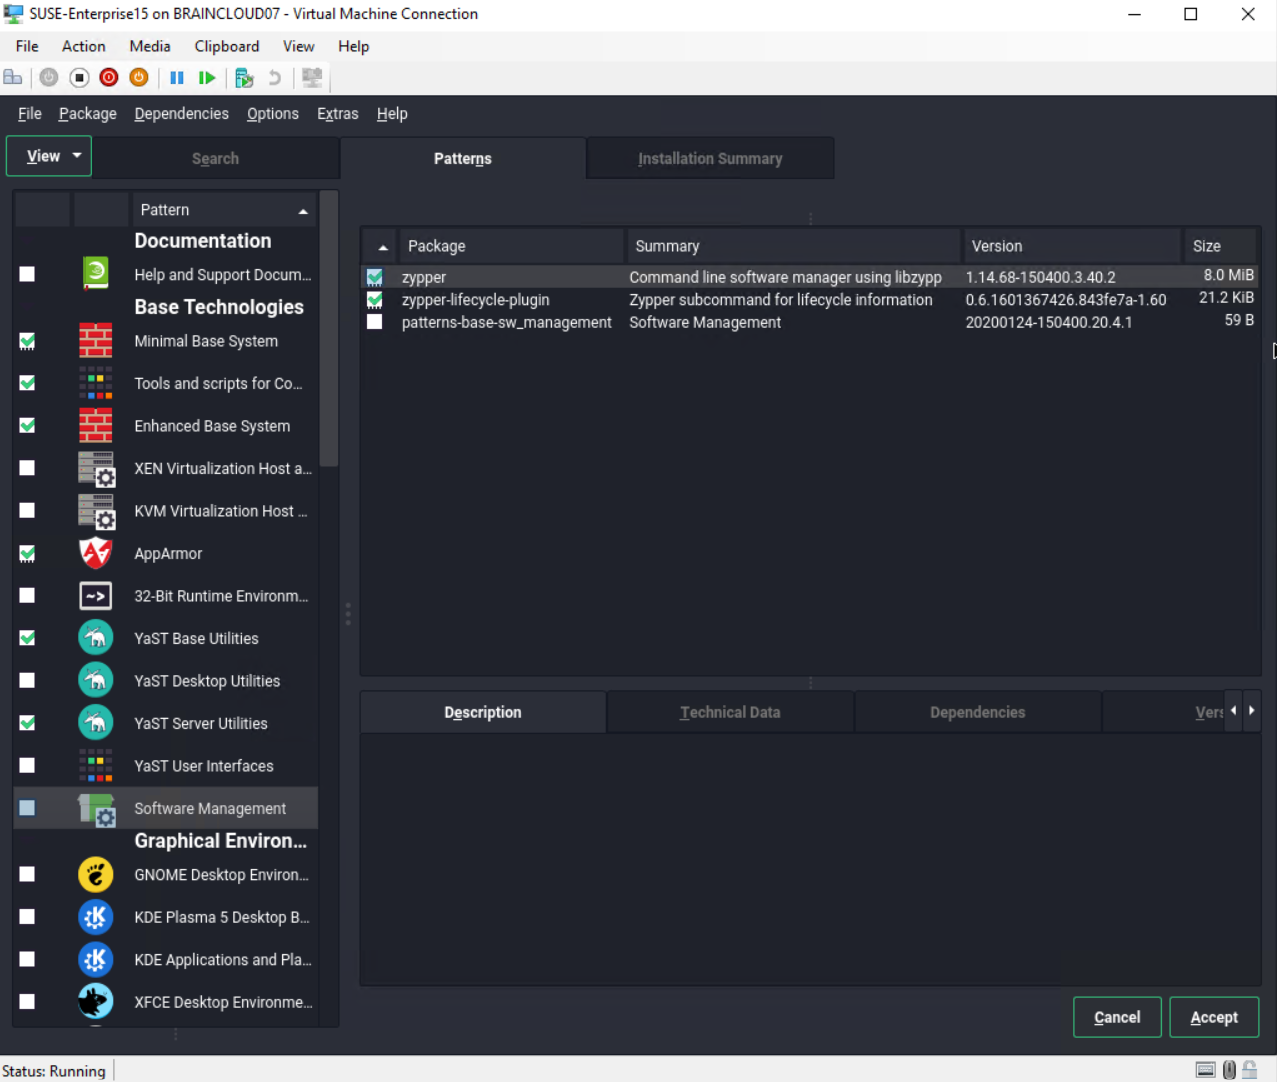
Language, Keyboard and Product Selection
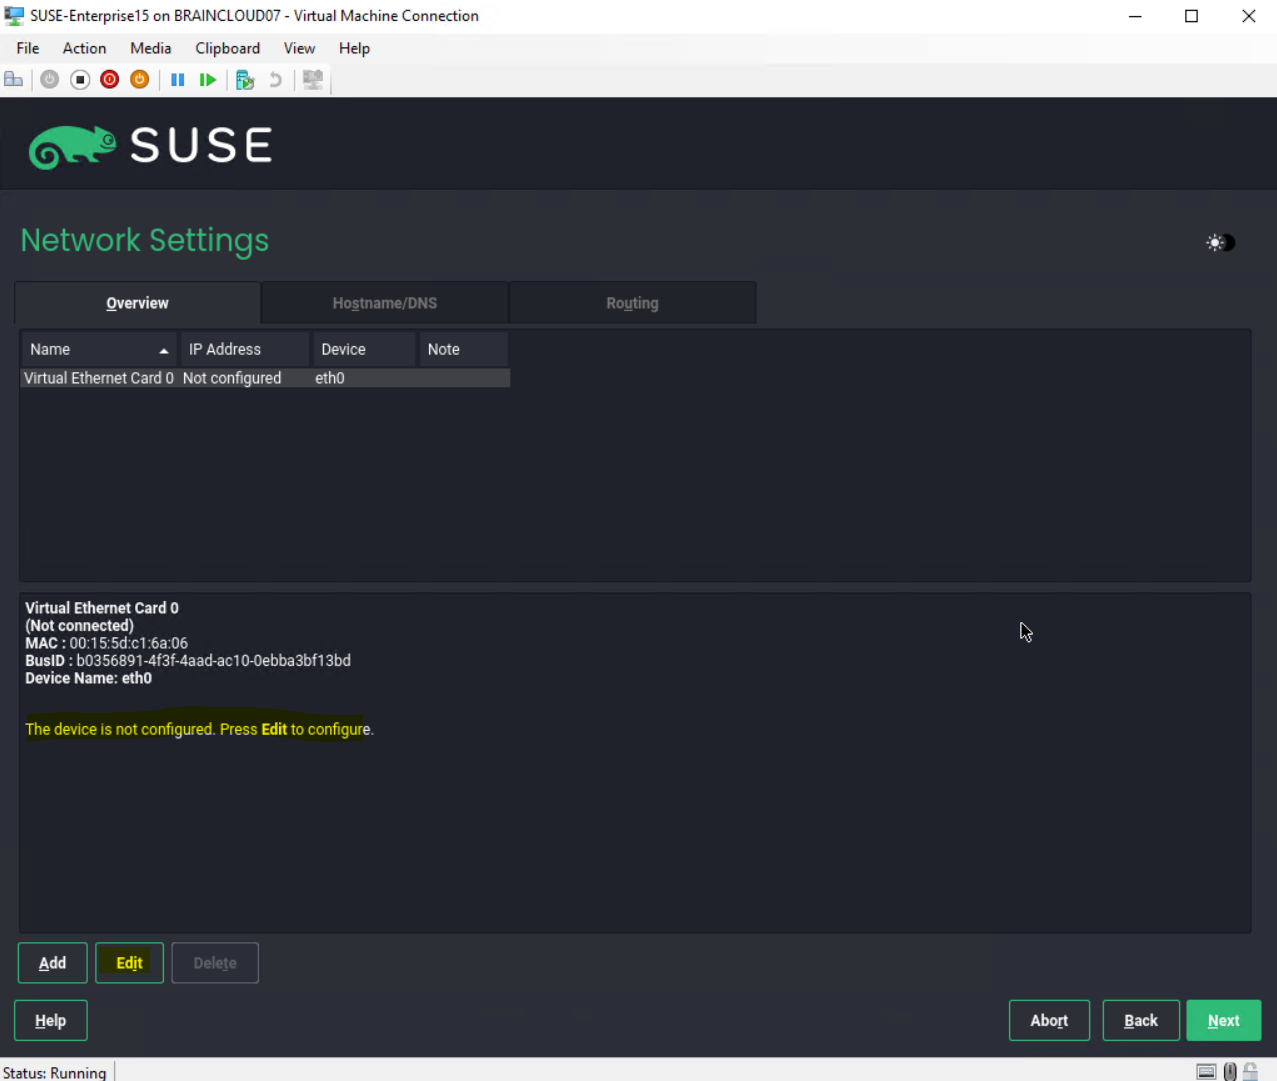
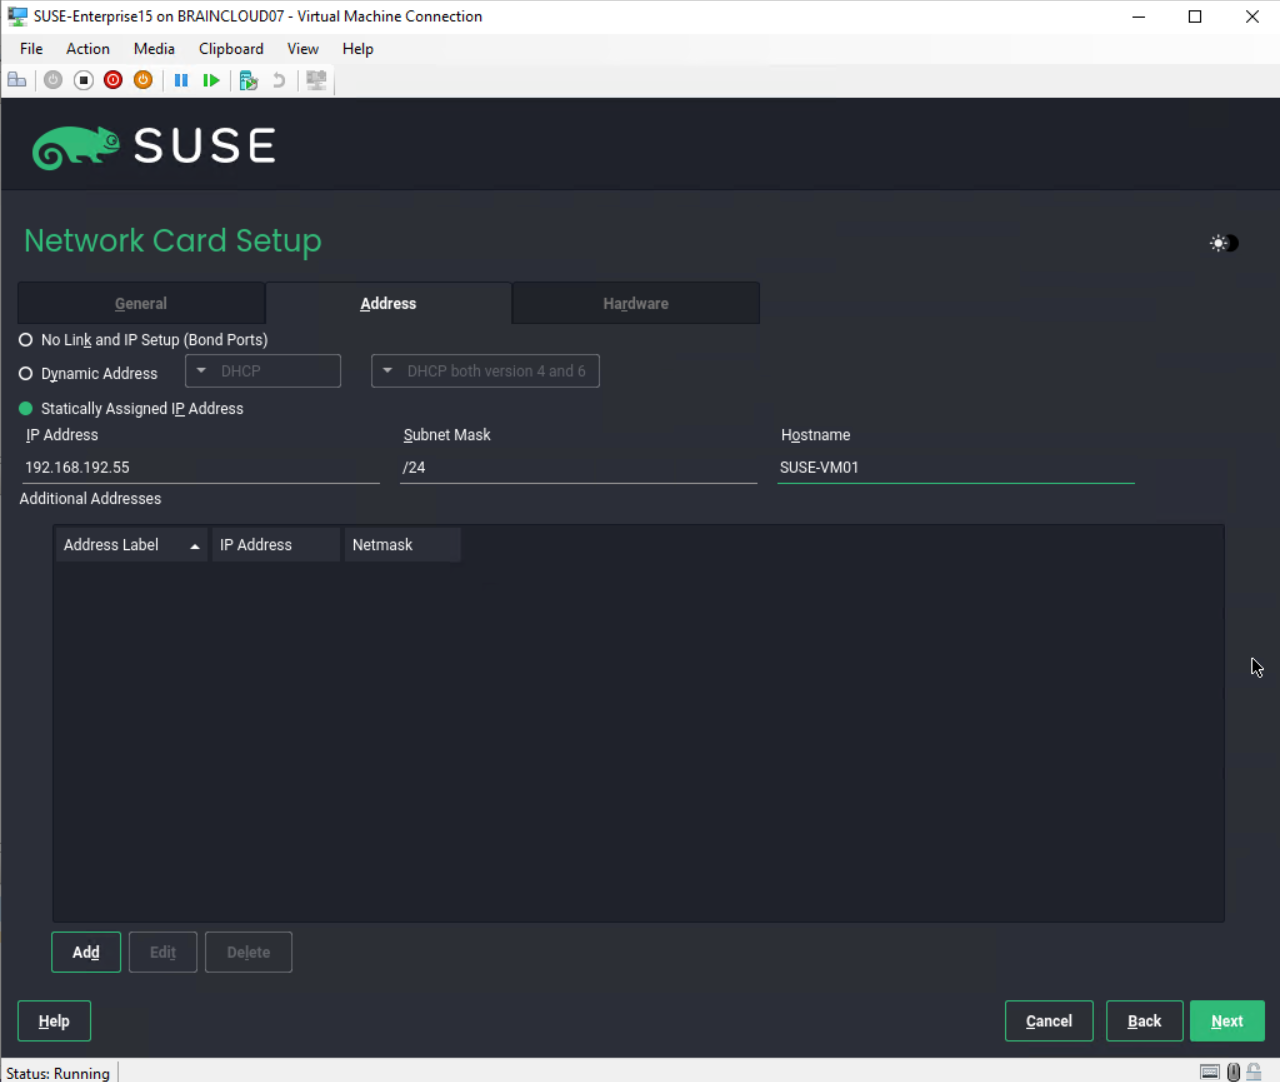
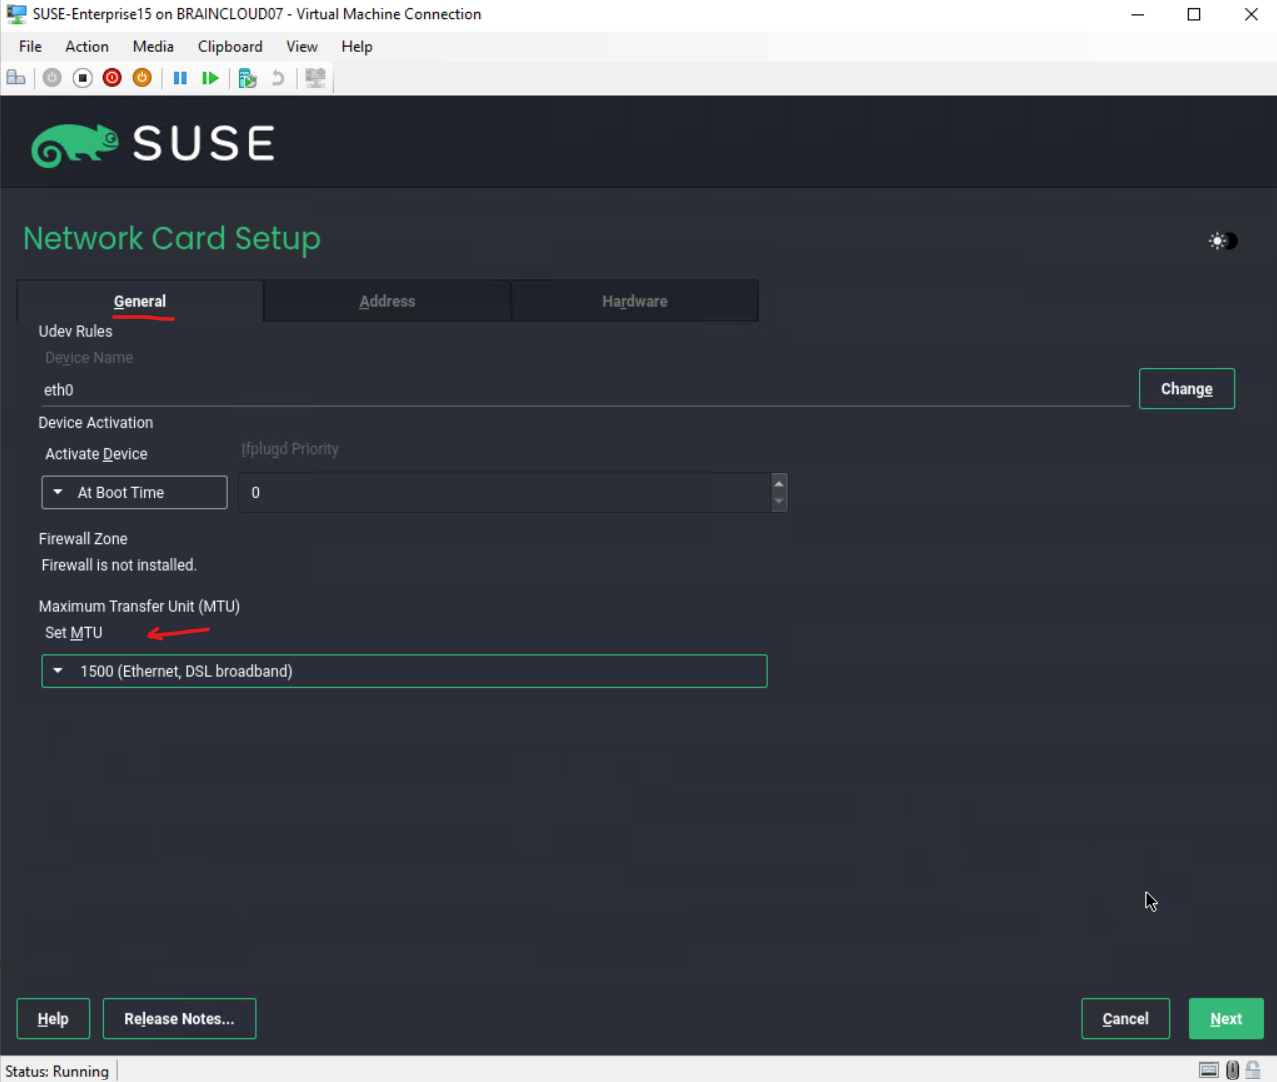


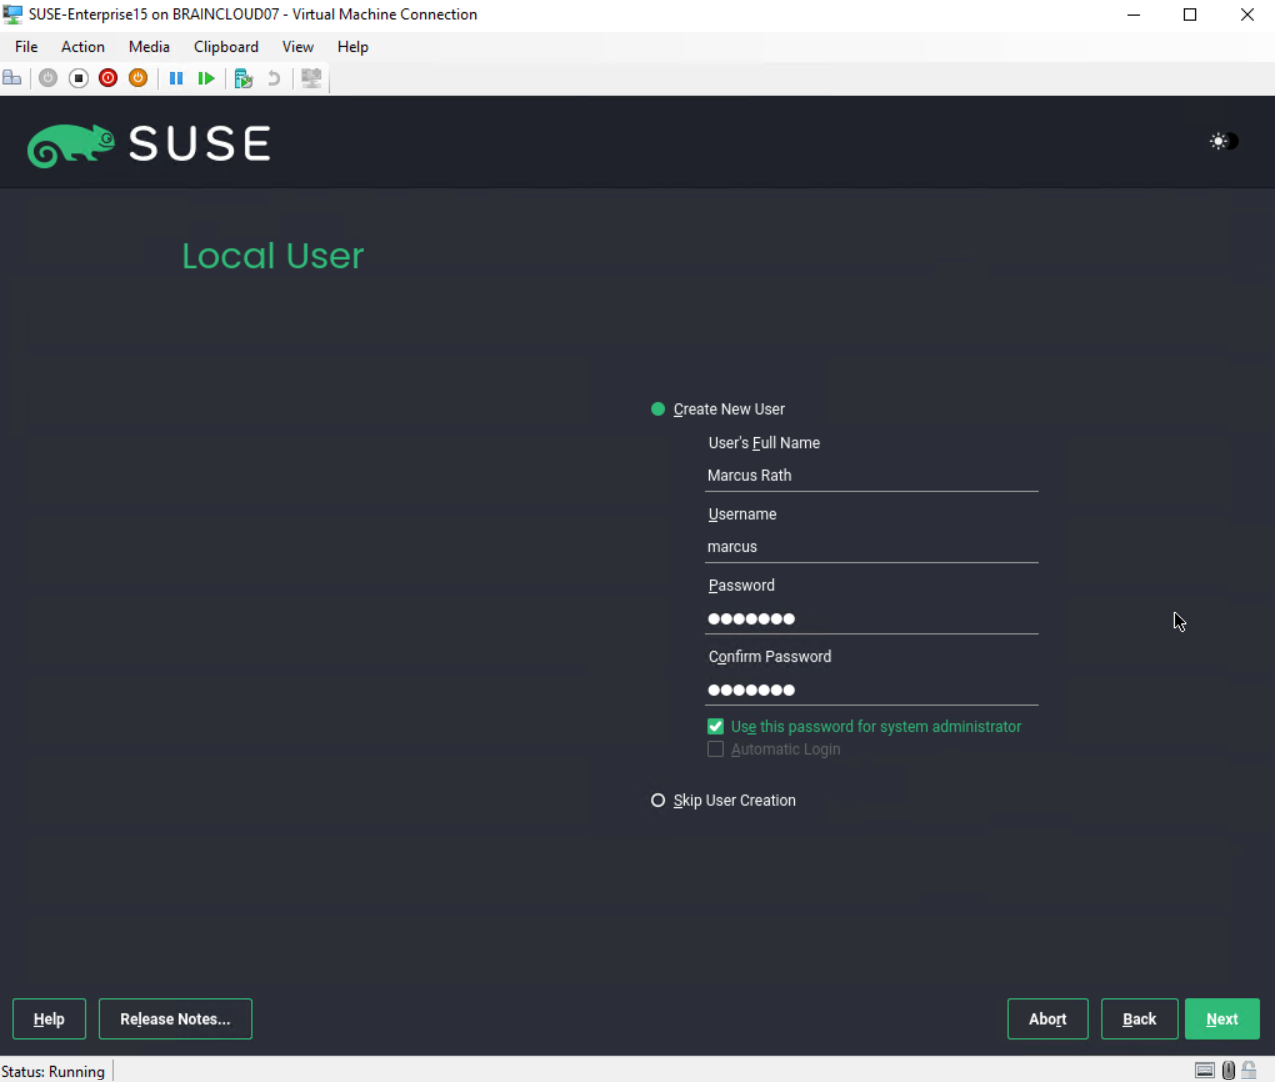

Set up and Configure some Basics
Change Hostname
> hostname

> hostnamectl
> sudo nano /etc/hostname
> sudo nano /etc/hosts
Update SUSE Linux Enterprise Server
> sudo zypper refresh

Like <apt update> in Ubuntu.
> sudo zypper list-updates --all

Like <apt list --upgradable> in Ubuntu.
> sudo zypper update

Like <apt install> in Ubuntu.
Some useful Commands
Show SUSE Version
> cat /etc/os-release

or by using the lsb-release tool
> lsb_release -a

the lsb-release tool we can install with the following commmand:
> sudo zypper install lsb-release

Shutdown the OS immediately (brings the system down in a secure way)
> sudo shutdown -h now
or
> sudo poweroff
or
> sudo systemctl poweroff

Display current used shell (Bash, Zsh, Fish, Ksh, Tcsh, Dash, Ash, ...)
> ps -p $$

Bash, short for Bourne-Again SHell, is most commonly used shell in Linux. It is default shell in most Linux distributions and is also most powerful. Bash provides a range of features, including command history, tab completion, and scripting. It is also highly customizable and can be configured to suit individual n


Show gateway
> route -n
or
> netstat -r -n

Both tools are now deprecated but still can be installed with <zypper install net-tools-deprecated>


Check which desktop environment you are using - This command doesn't give you much information besides the used desktop environment.
> echo $XDG_CURRENT_DESKTOP

or

> ls -l /usr/share/xsessions

To get more information including the version number of the desktop environment you can use screenfetch.
To install screenfetch in SUSE you can use:
> zypper install screenfetch (to determine the package to install, you can first use <zypper search-packages screenfetch>

To run the tool just type in the name of the command:
> screenfetch
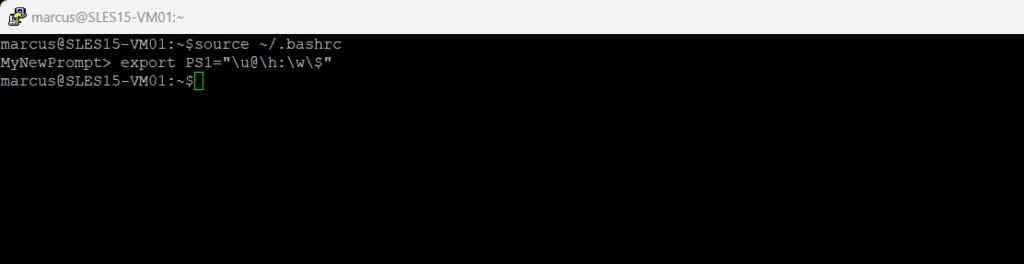
How to Customize the Bash Prompt

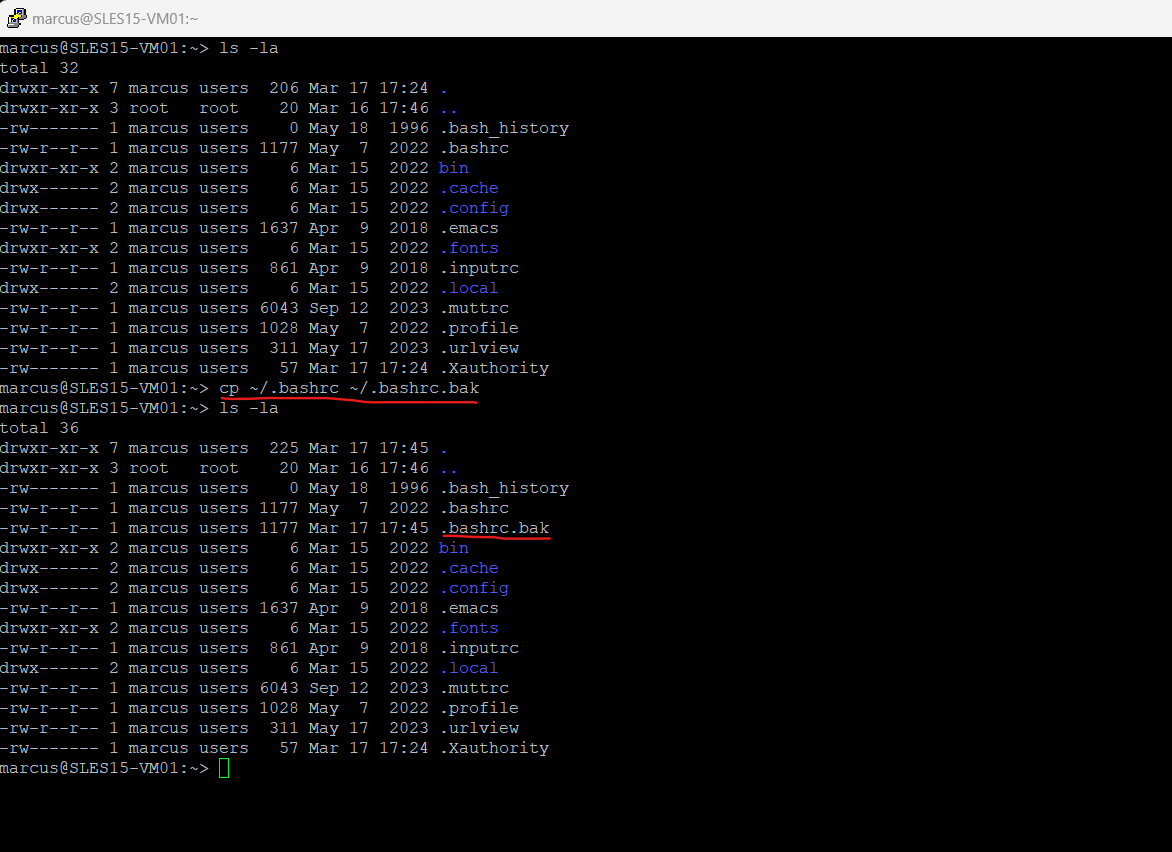
> cp ~/.bashrc ~/.bashrc.bak
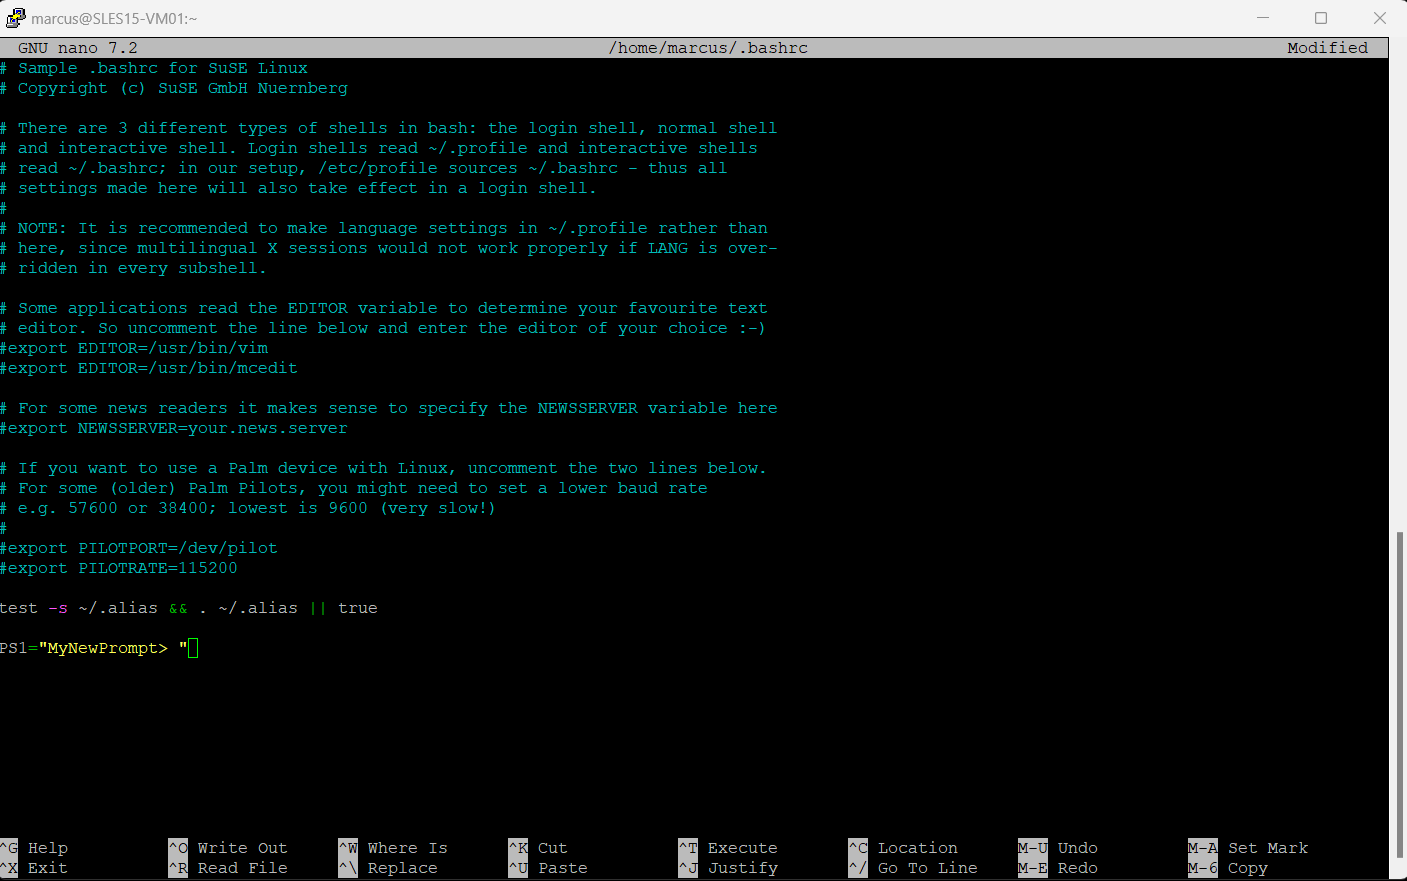
> nano ~/.bashrc
PS1="MyNewPrompt> "
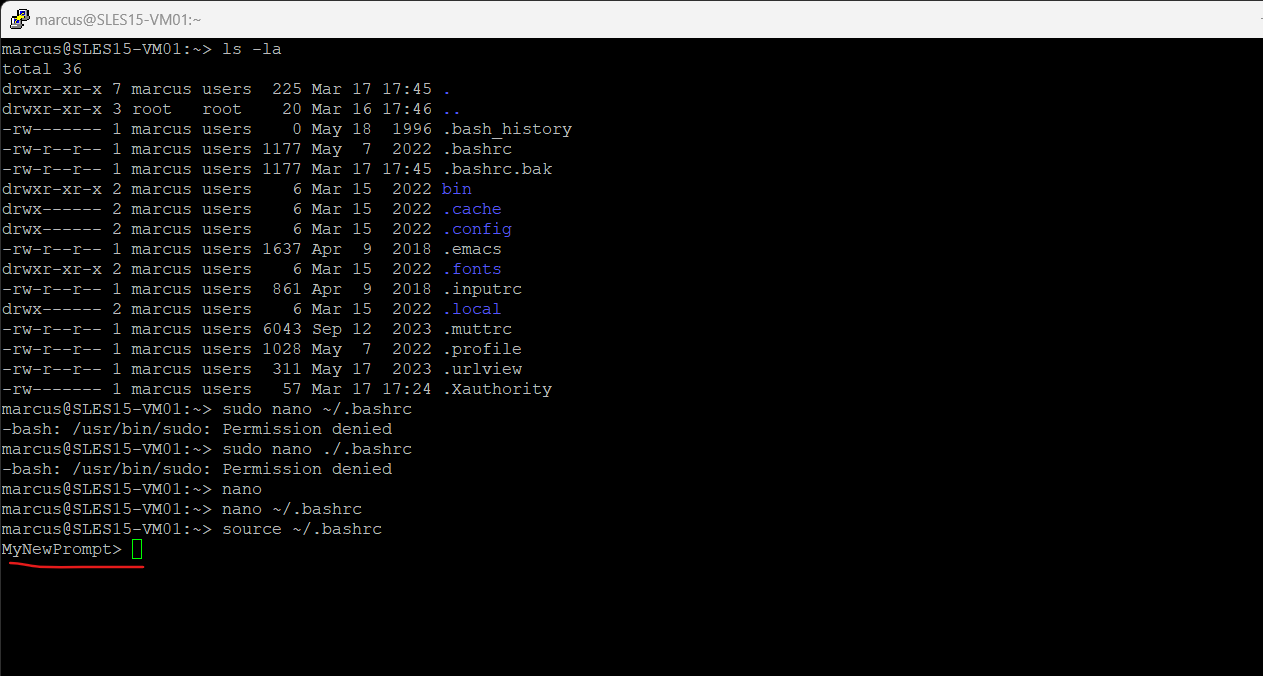
> source ~/.bashrc
> export PS1="u@h:w$"
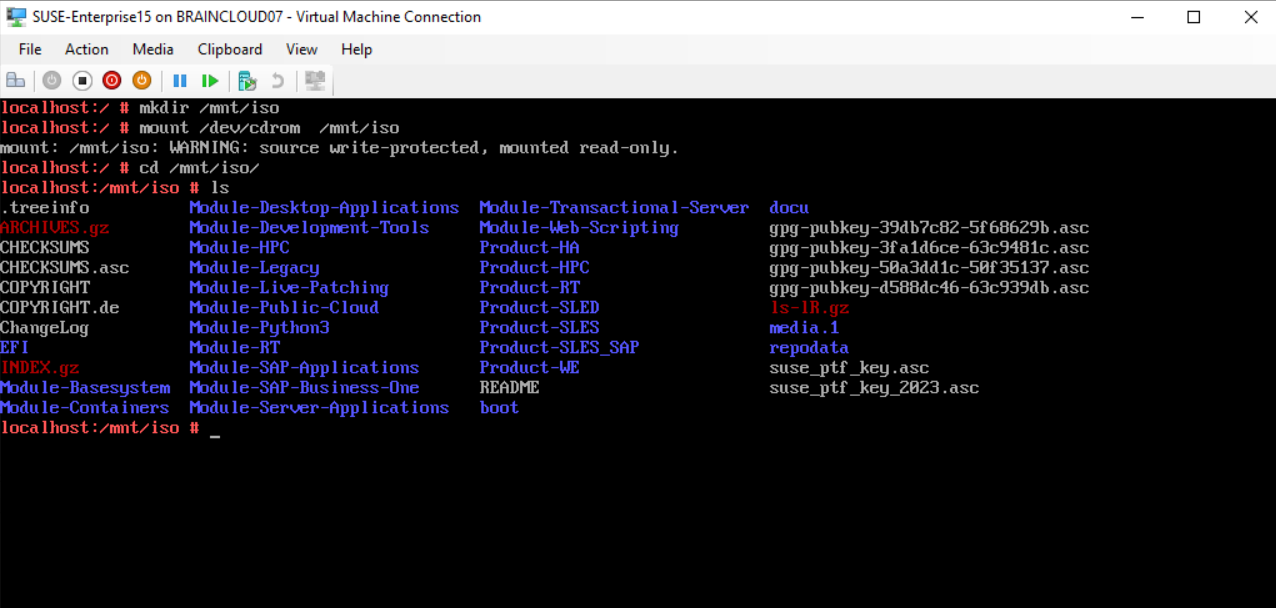
Mount an .ISO File mapped as CD/DVD Drive in Hyper-V for a Linux Virtual Machine
> mkdir /mnt/iso
> mount /dev/cdrom /mnt/iso
Managing software with command line tools (Zypper and RPM)
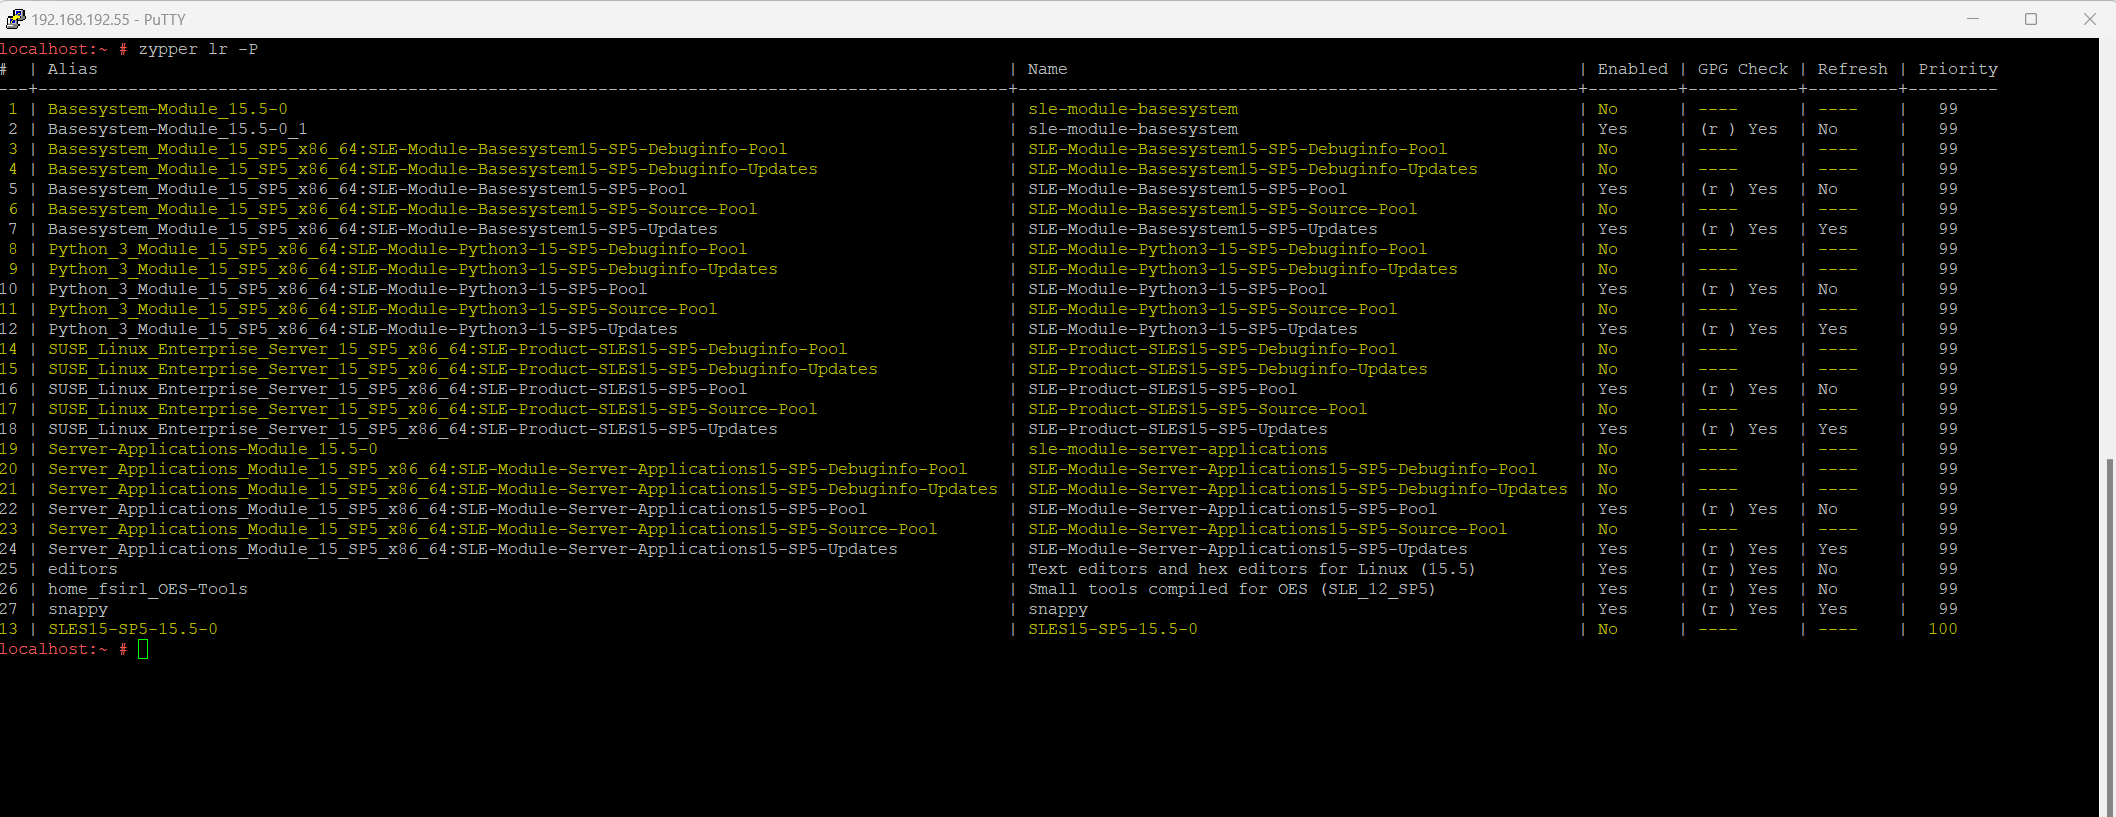
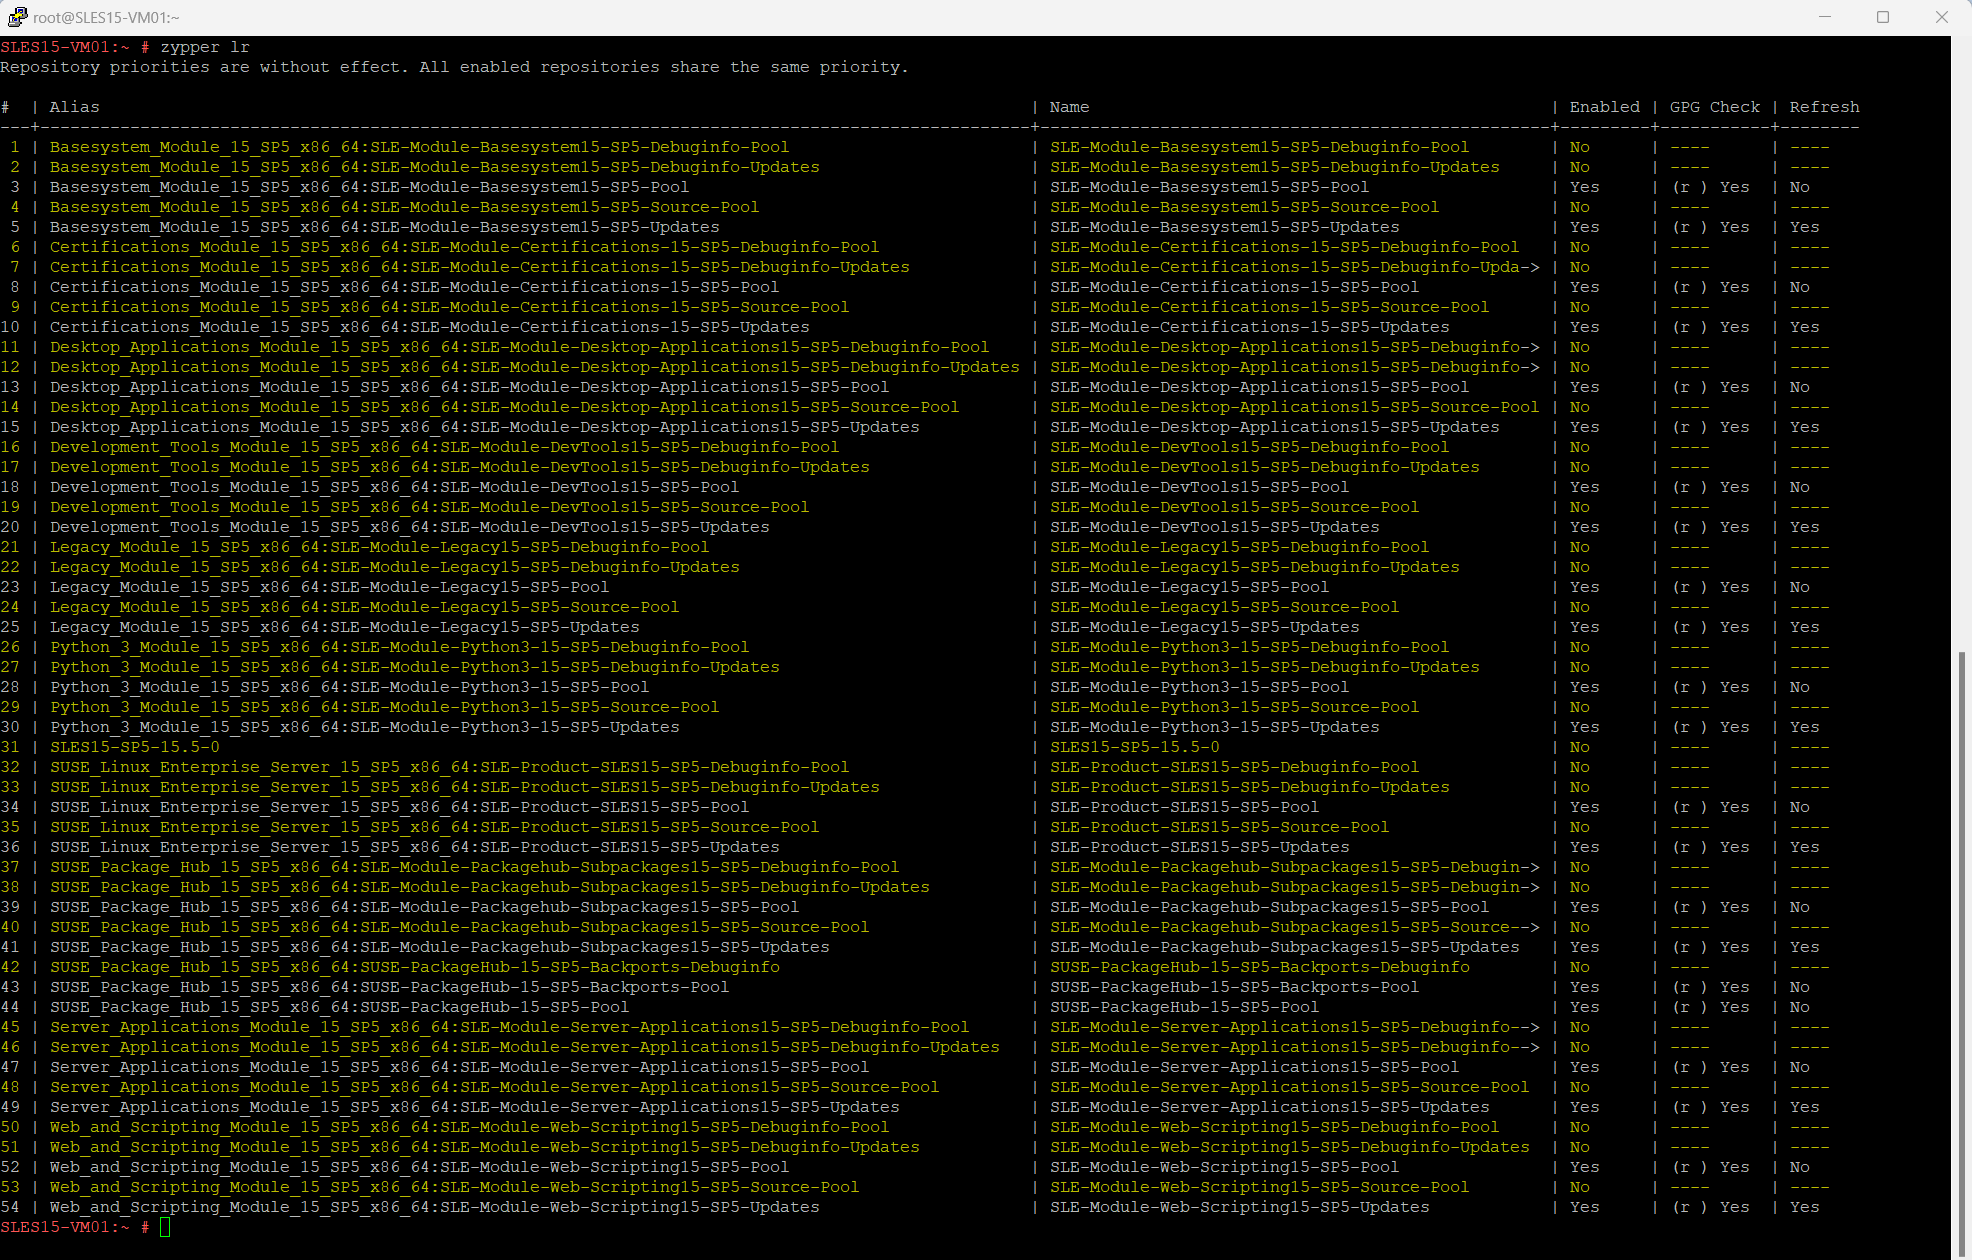
Determine configured repositories on SUSE Linux Enterprise Server (SLES)
How to determine configured repositories on SUSE Linux Enterprise Server (SLES) you will find in my following post.
https://blog.matrixpost.net/mastering-azure-update-manager-part-3/#determine_repositories
zypper Commands
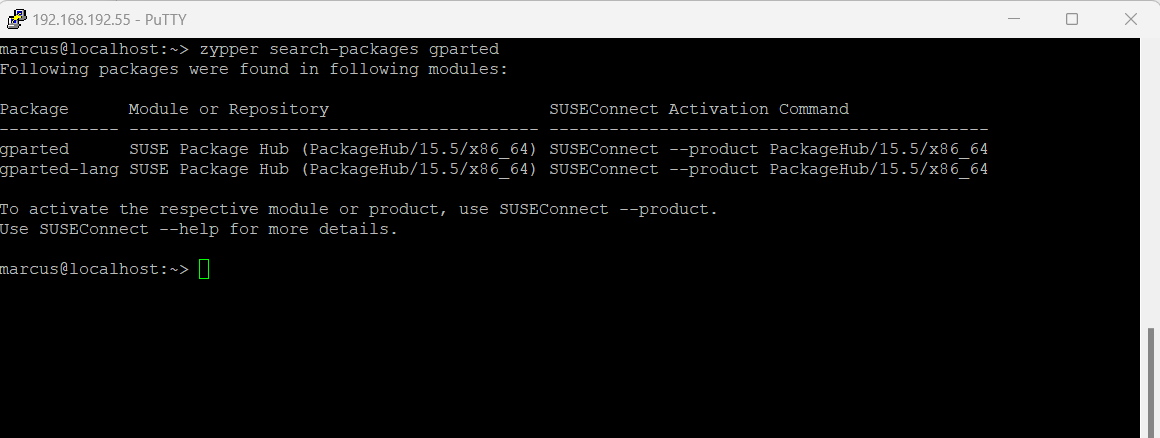
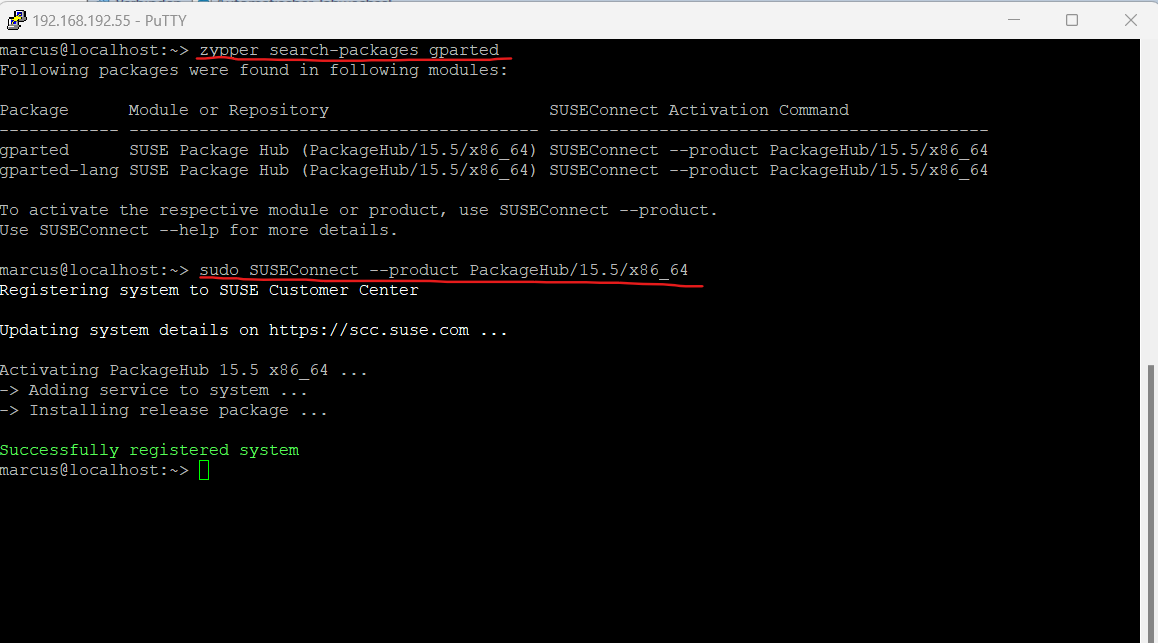
Search for Packages
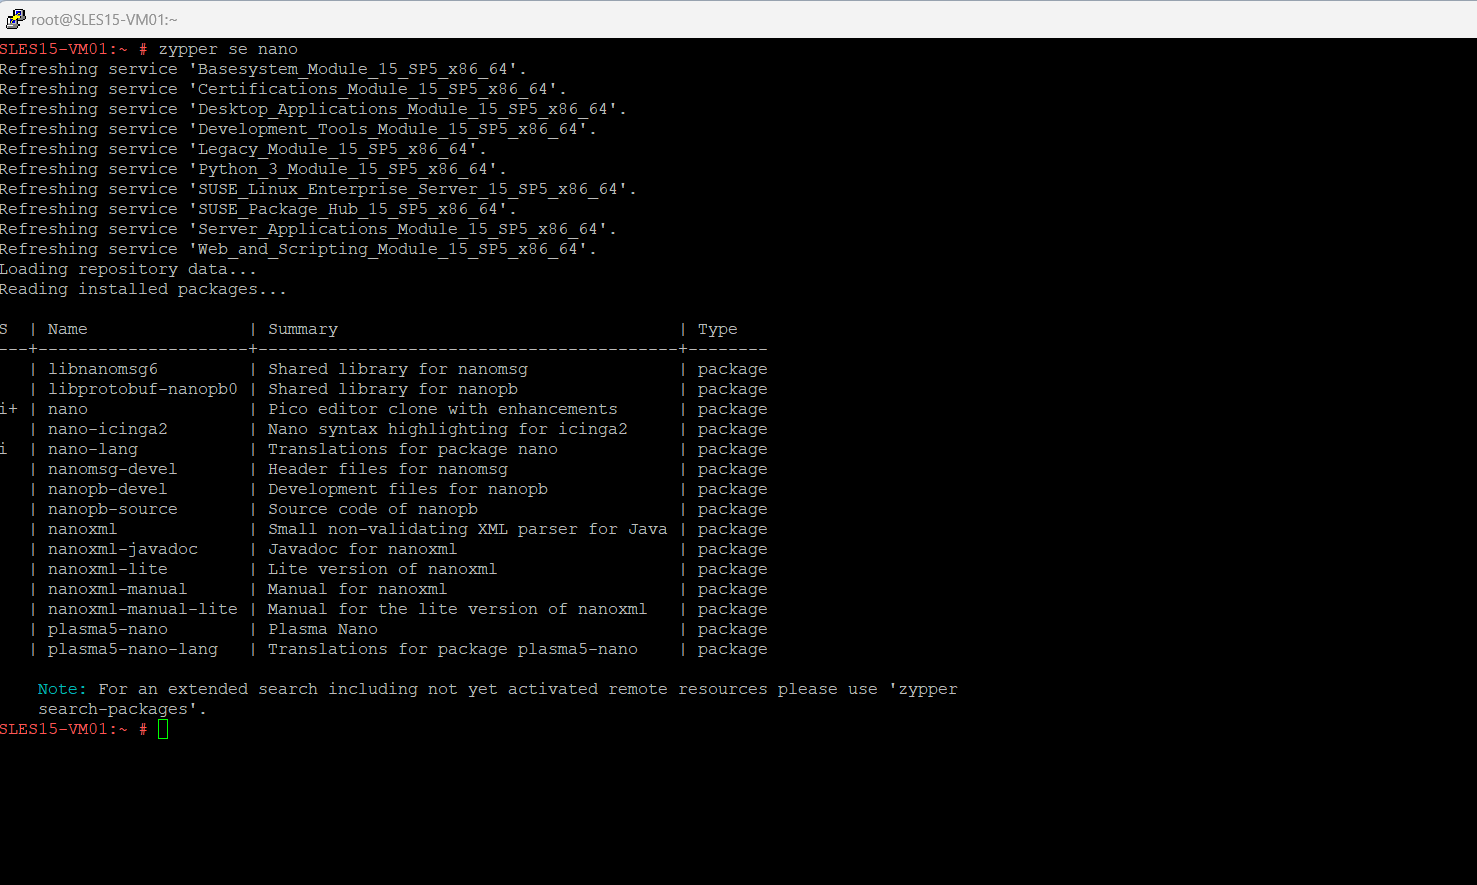
> zypper search-packages <package>
> zypper search-packages gparted

or

> zypper se <tool name>
> zypper se nano
List Repositories
Disable Repositories


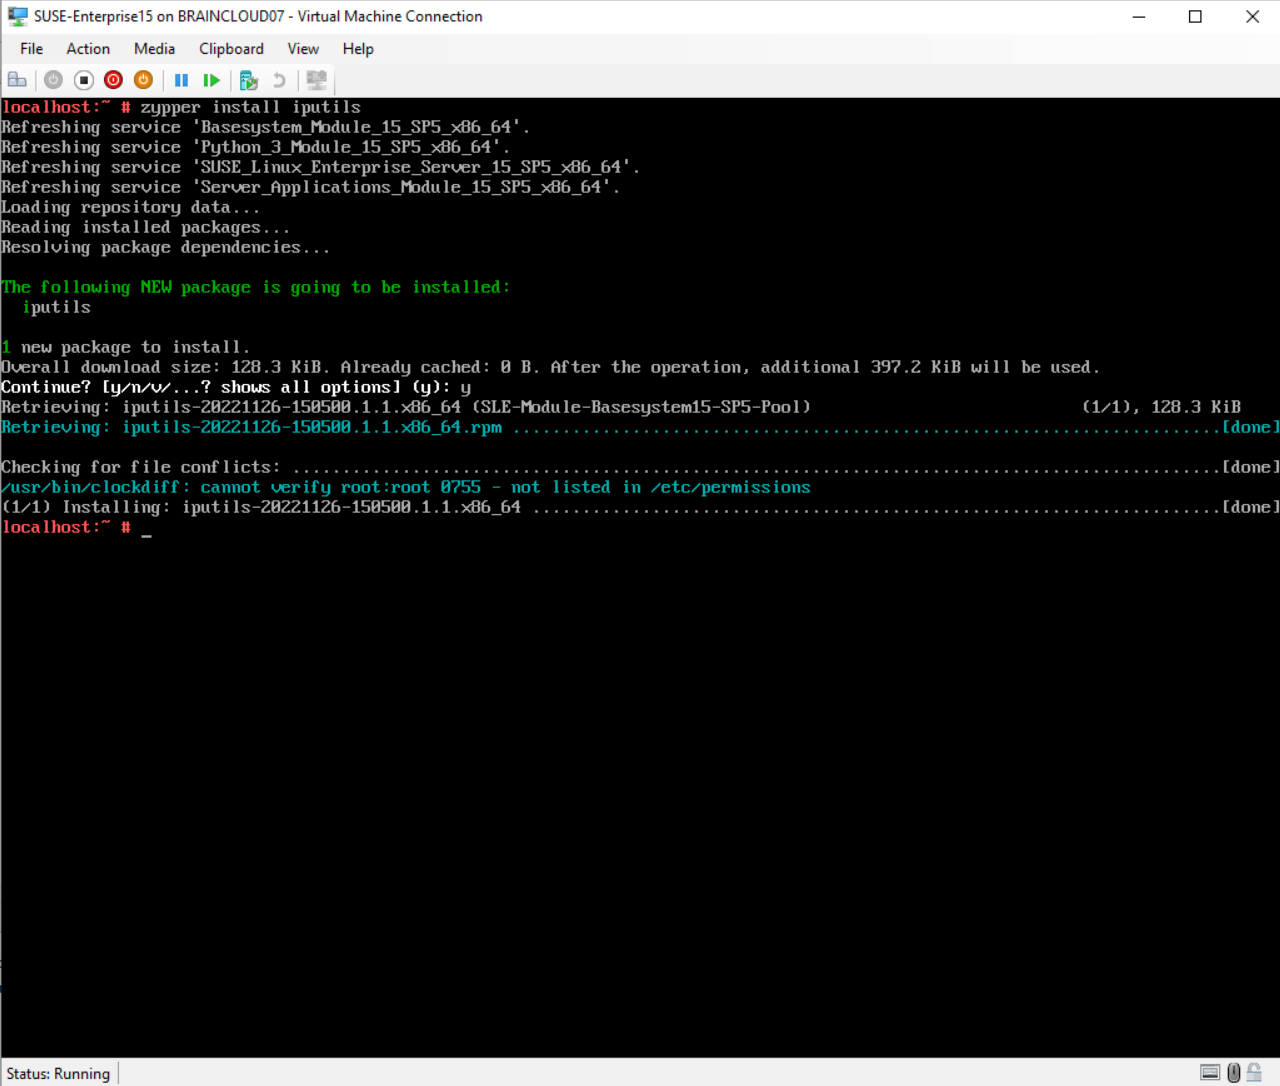
Install iputils
Install vi Editor
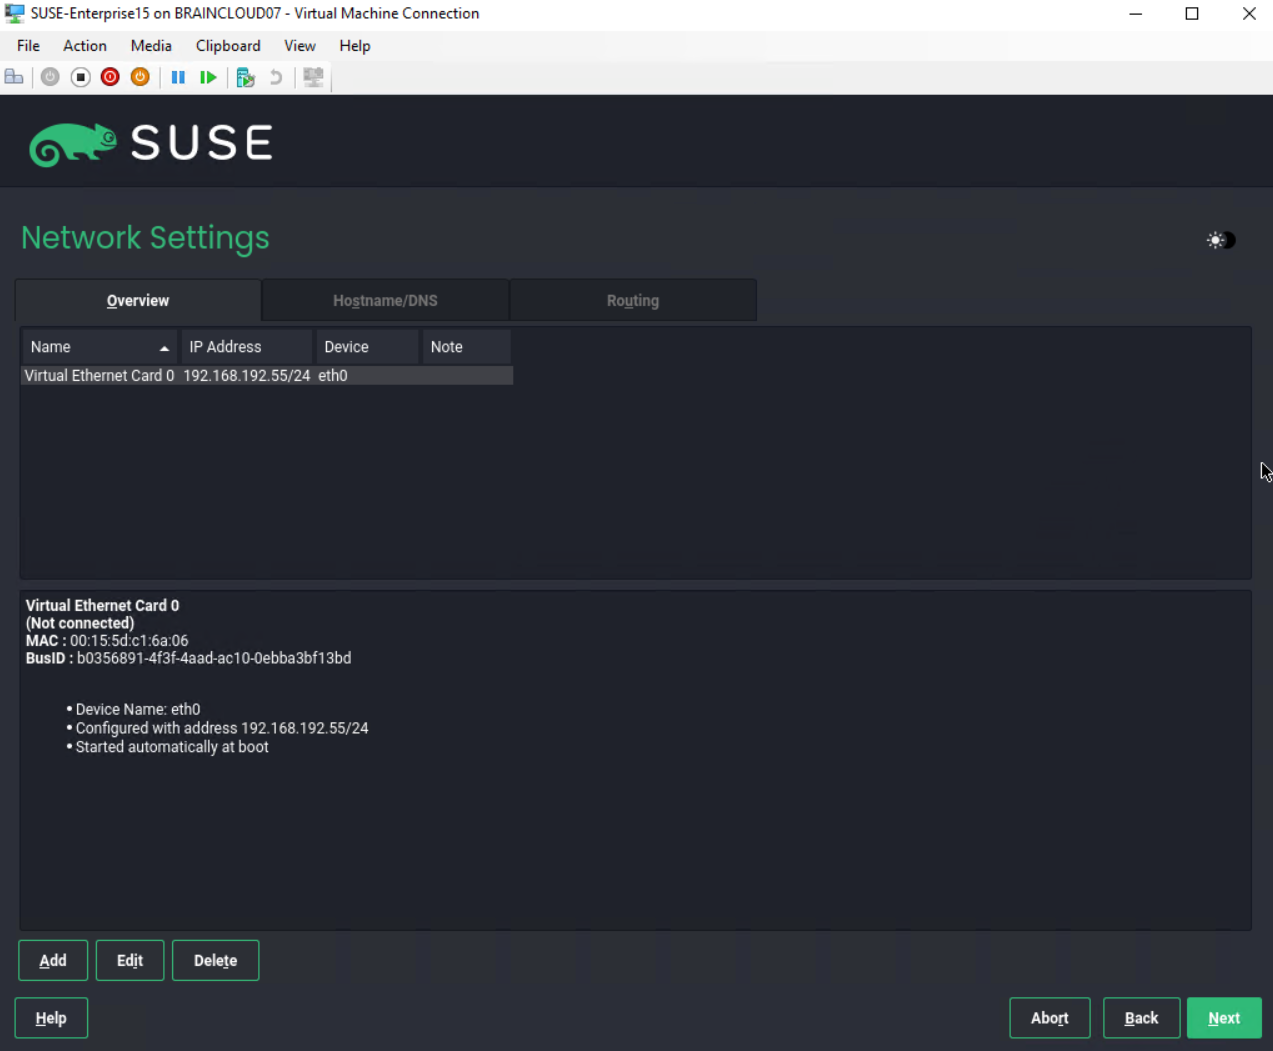
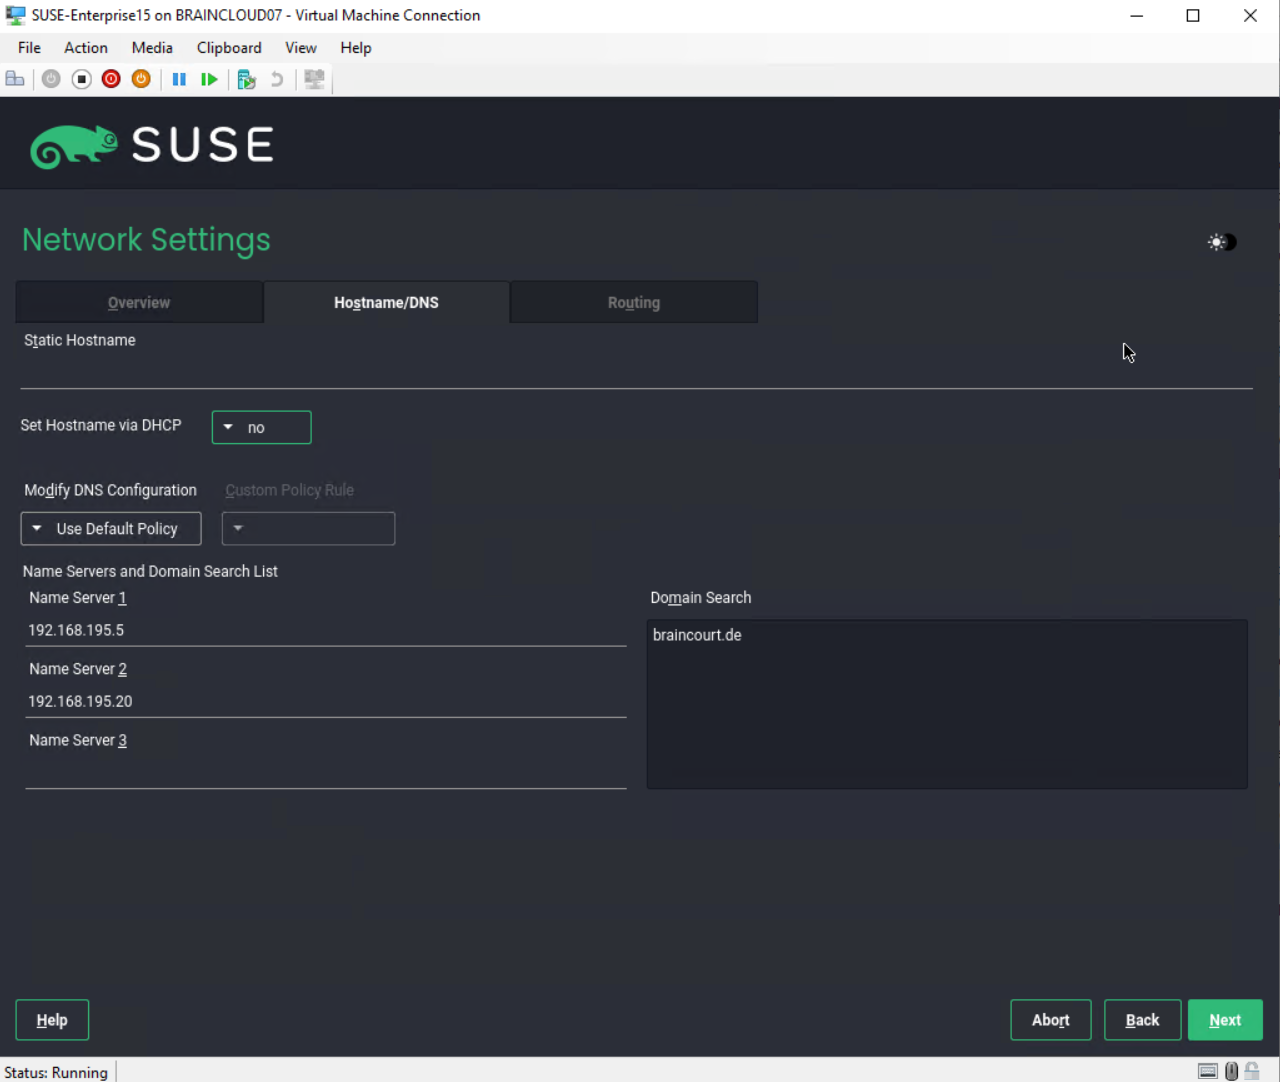
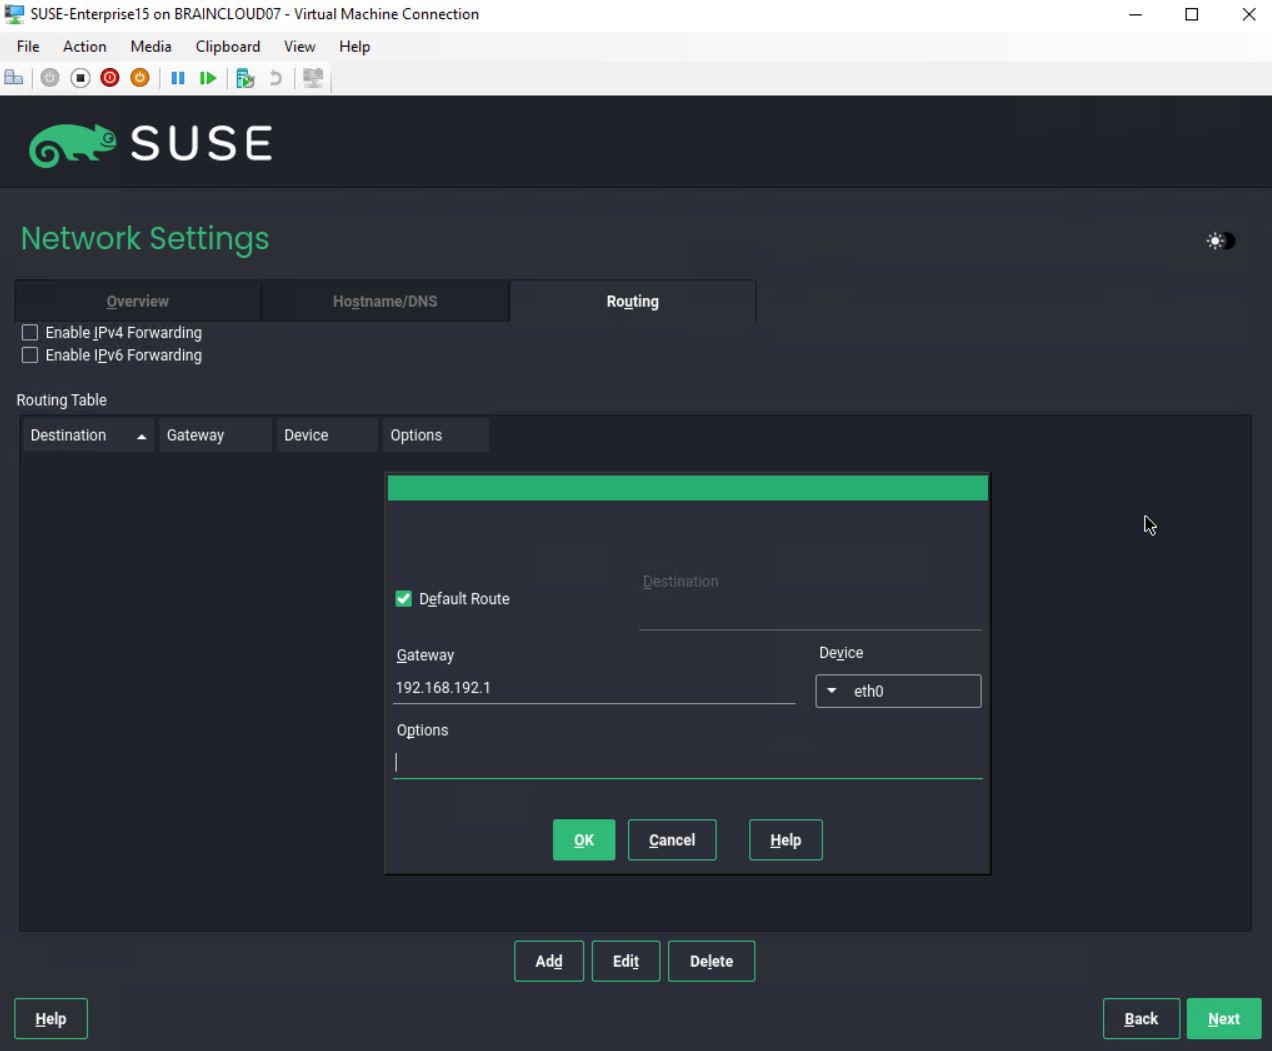
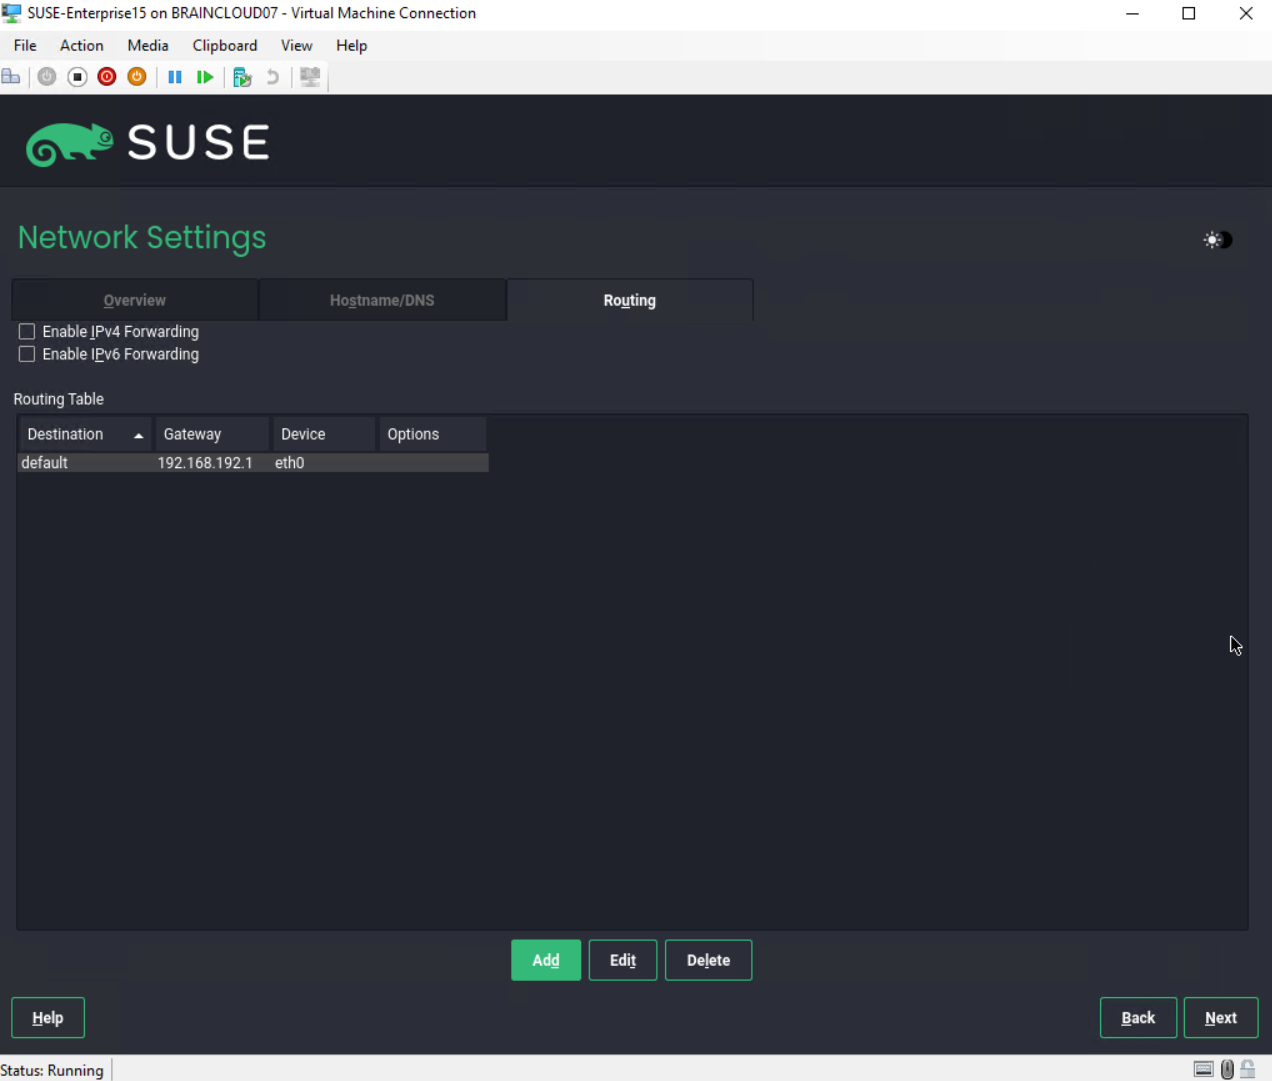
Mastering Network Configuration in SUSE Linux Enterprise Server
More about in my following post.
Installing Software by using Snaps
The latest up to date repositroy URLs you will find here https://en.opensuse.org/Snap
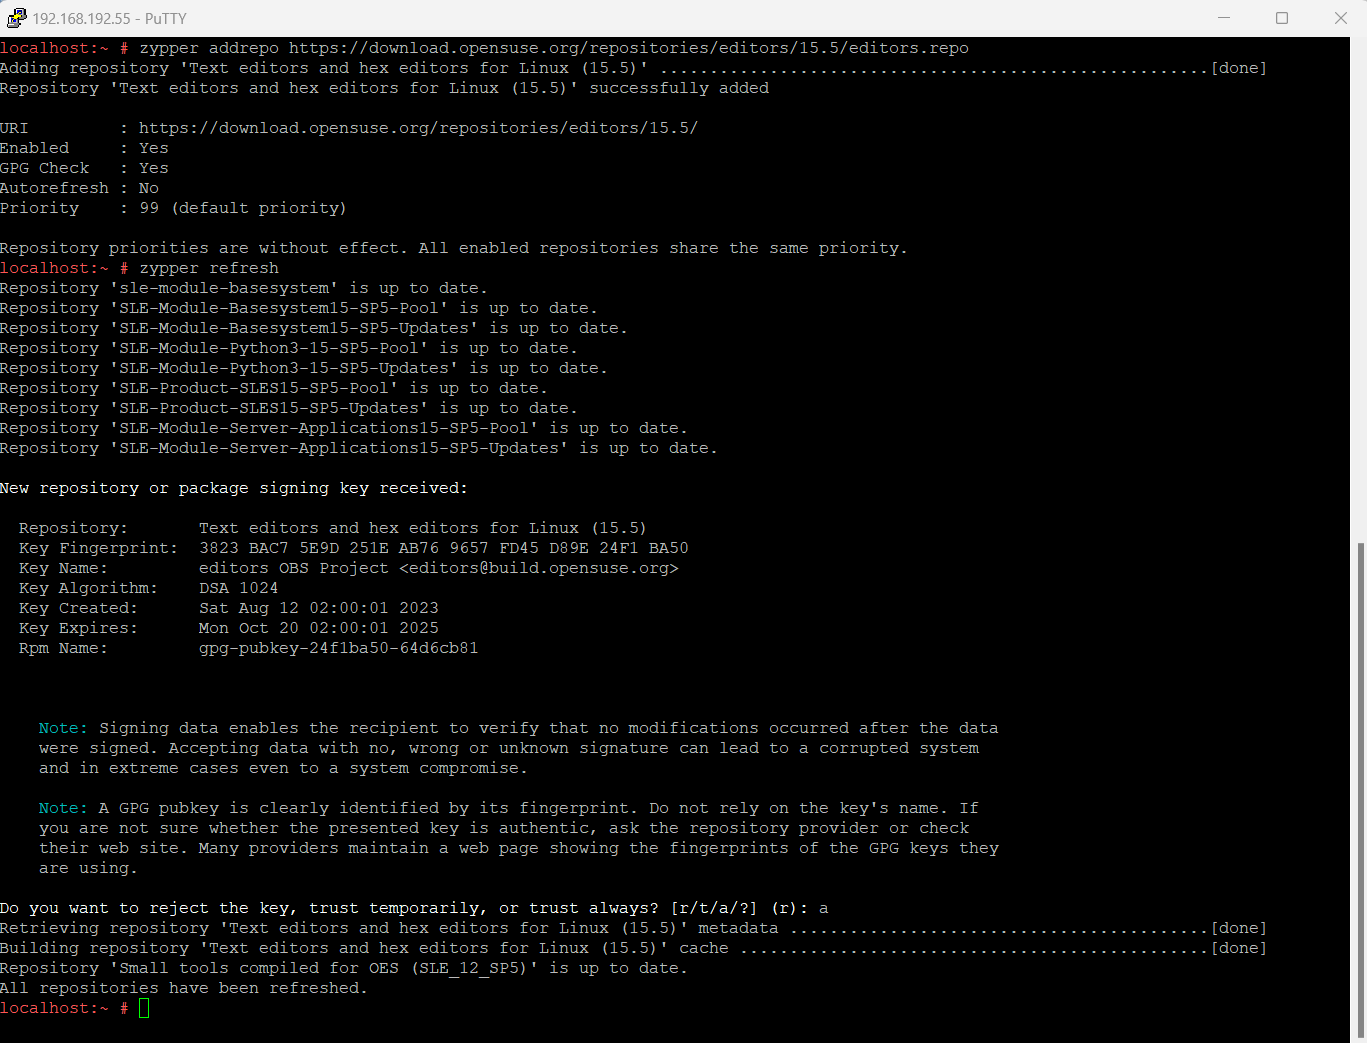
> sudo zypper addrepo --refresh https://download.opensuse.org/repositories/system:/snappy/openSUSE_Leap_15.5 snappy

To remove a repository you can use
>  zypper removerepo https://download.opensuse.org/repositories/system:/snappy/openSUSE_Leap_15.5 snappy

With the repository added, import its GPG key:
> sudo zypper --gpg-auto-import-keys refresh


Finally, upgrade the package cache to include the new snappy repository:
> sudo zypper dup --from snappy

Snap can now be installed with the following:
> sudo zypper install snapd

You then need to either reboot, logout/login or source /etc/profile to have /snap/bin added to PATH. Additionally, enable and start both the snapd and the snapd.apparmor services with the following commands:
> sudo systemctl enable --now snapd
> sudo systemctl enable --now snapd.apparmor

Install GNU nano (UNOFFICIAL)
To install GNU nano (UNOFFICIAL), simply use the following command:
> sudo snap install nano --classic
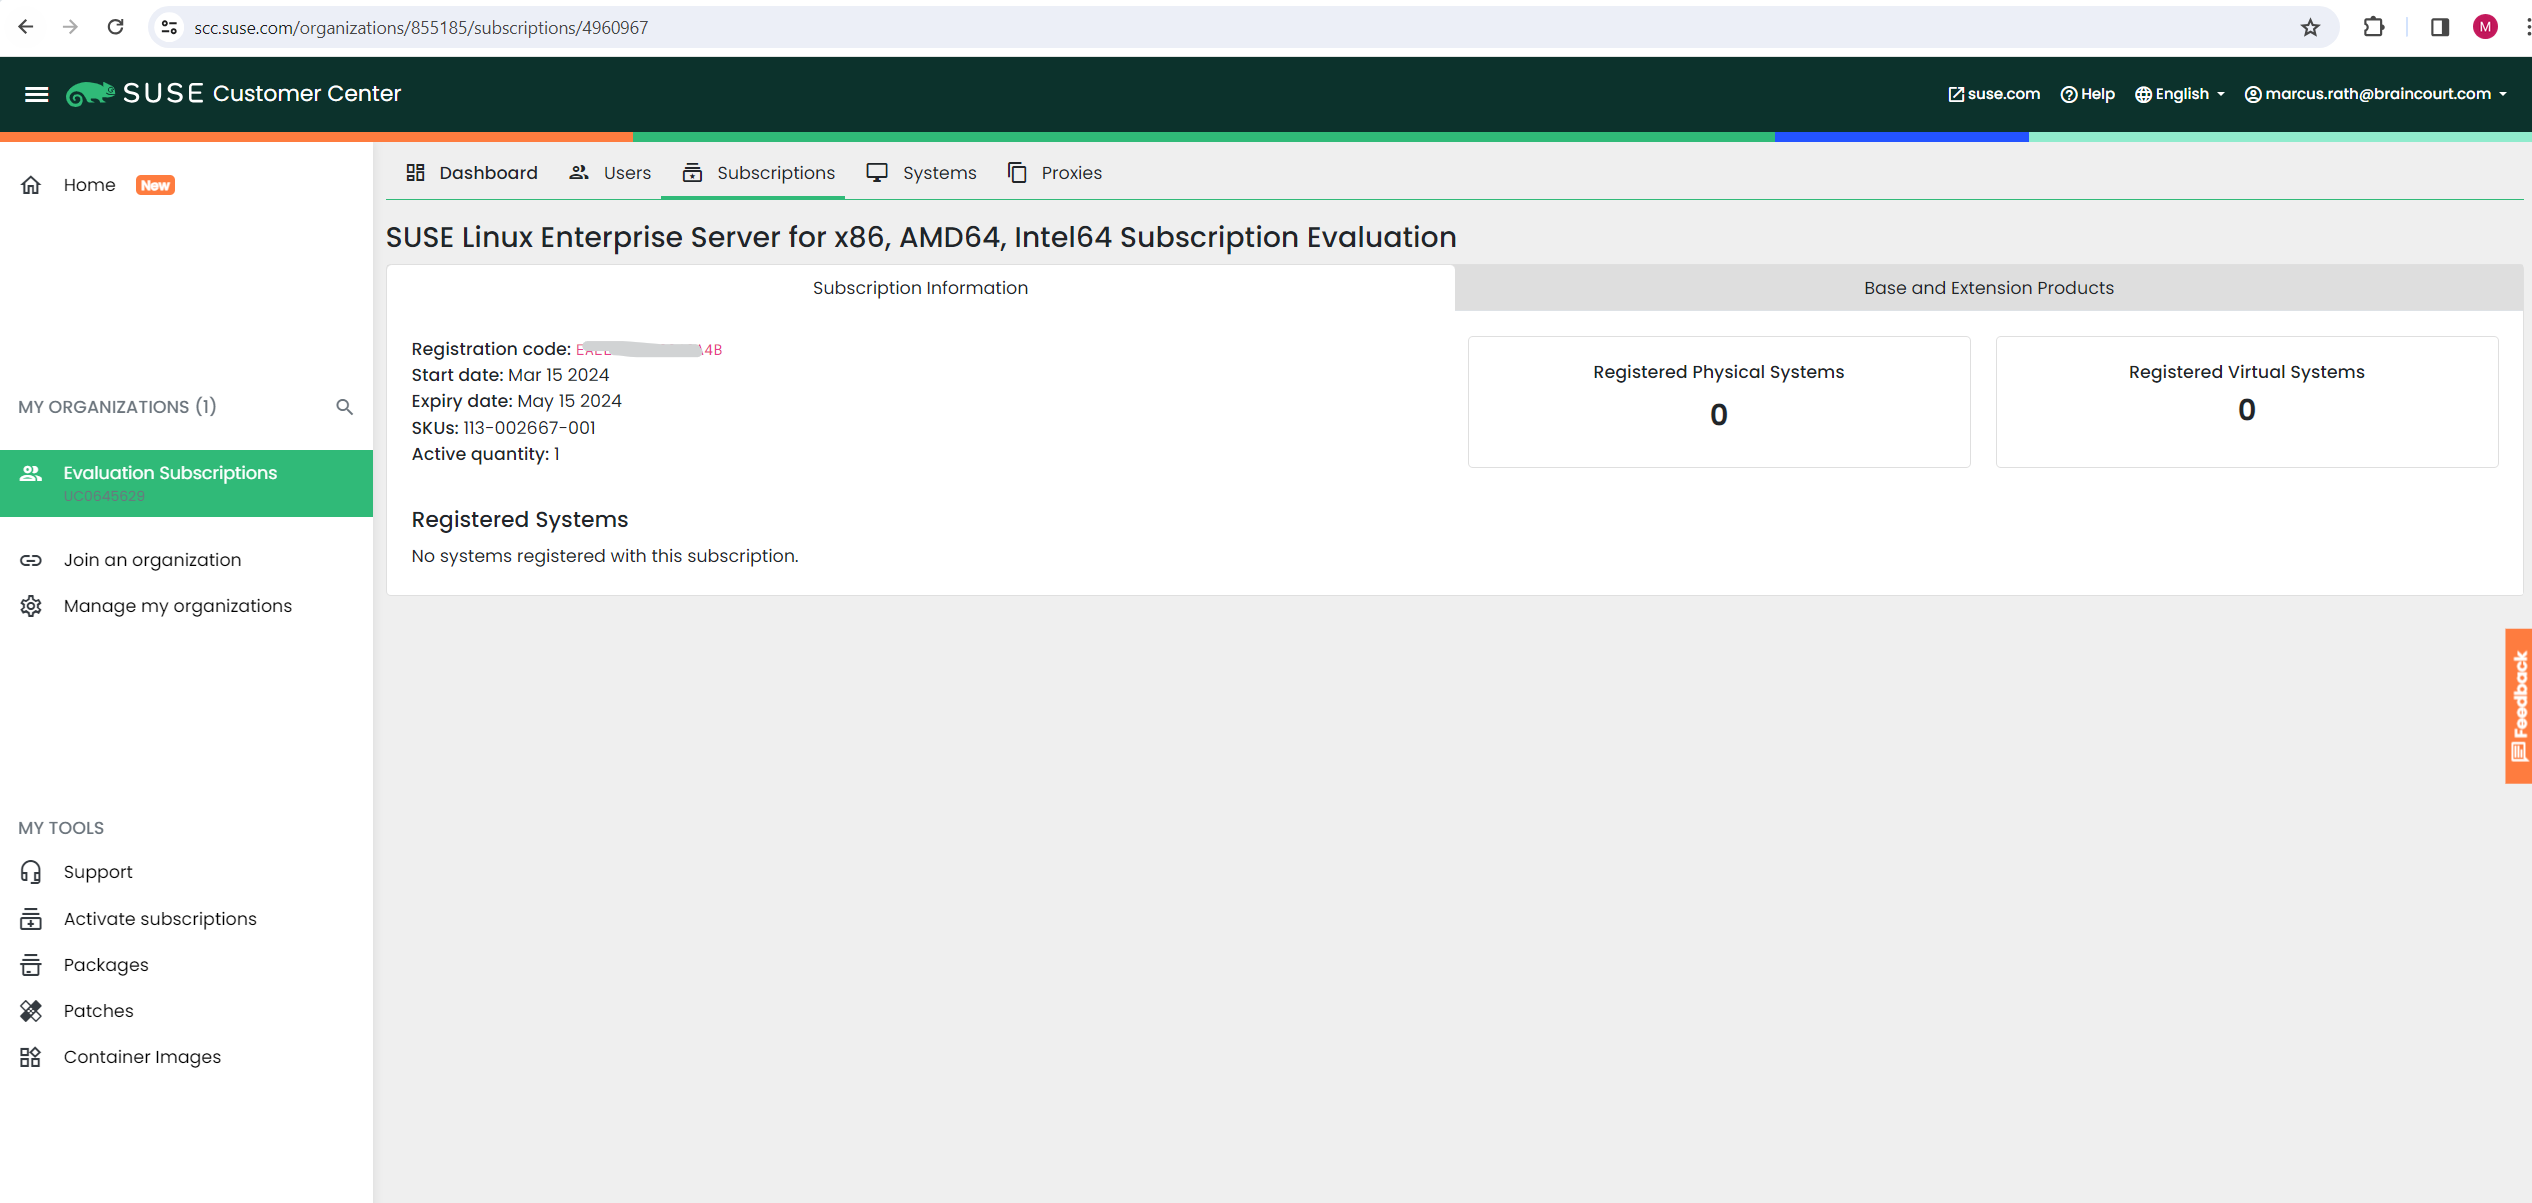
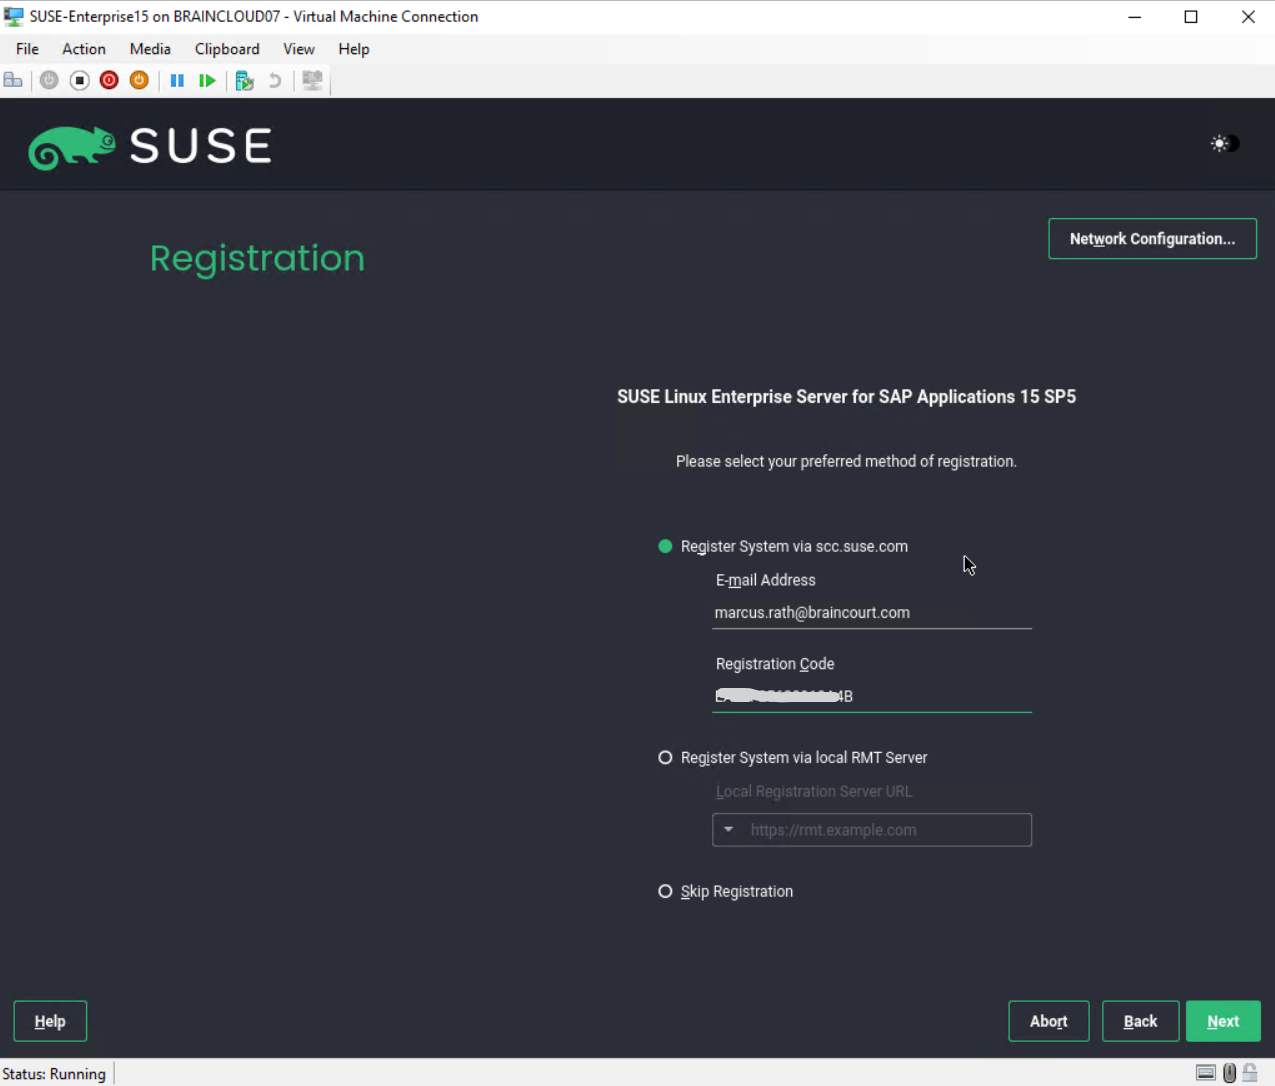
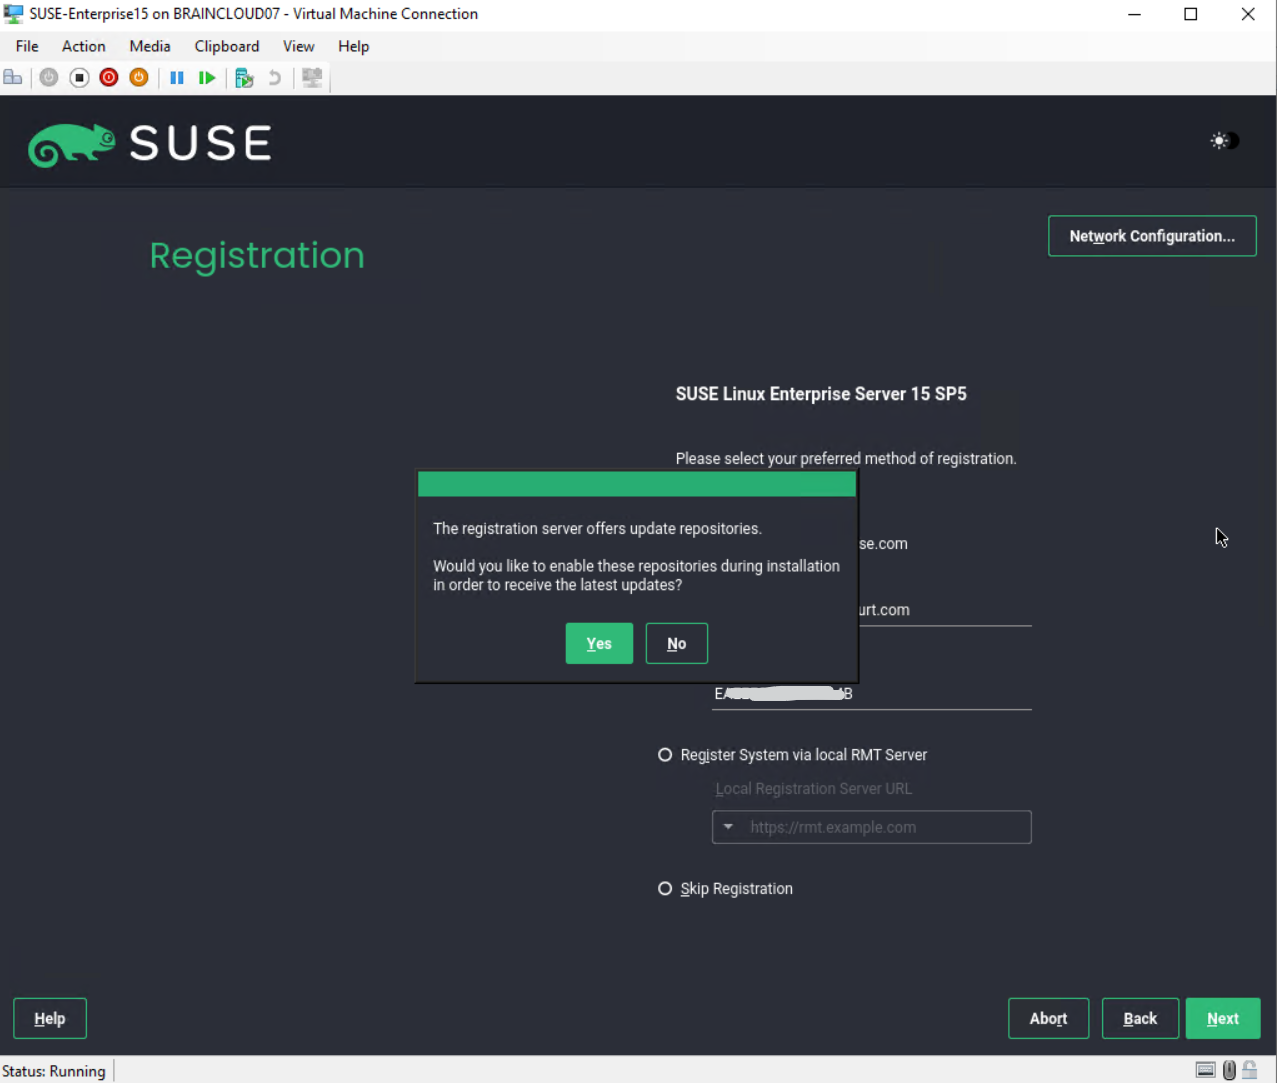
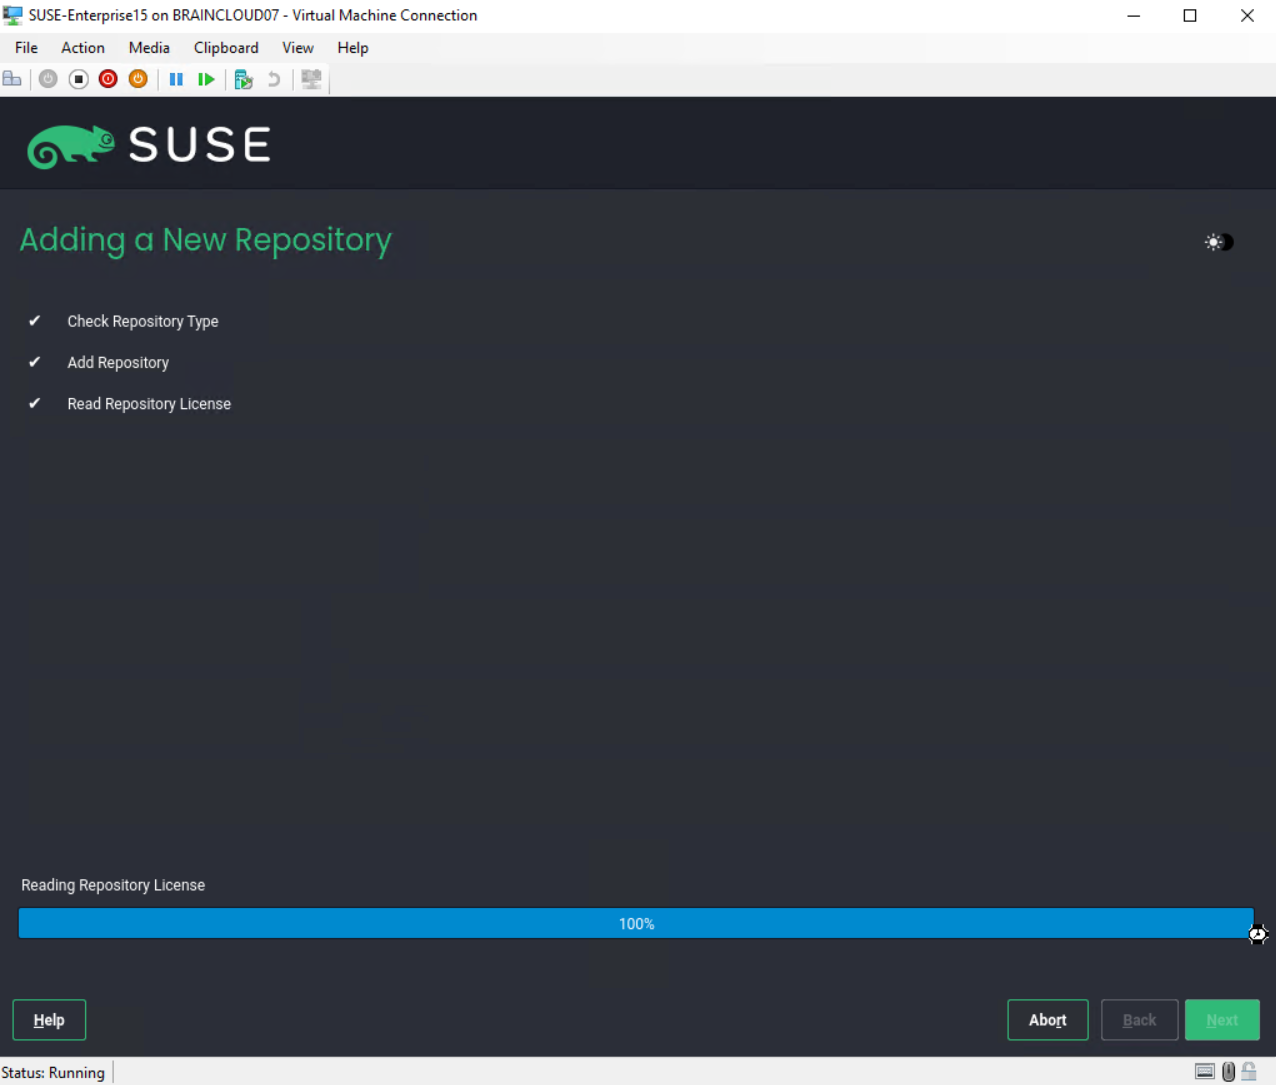
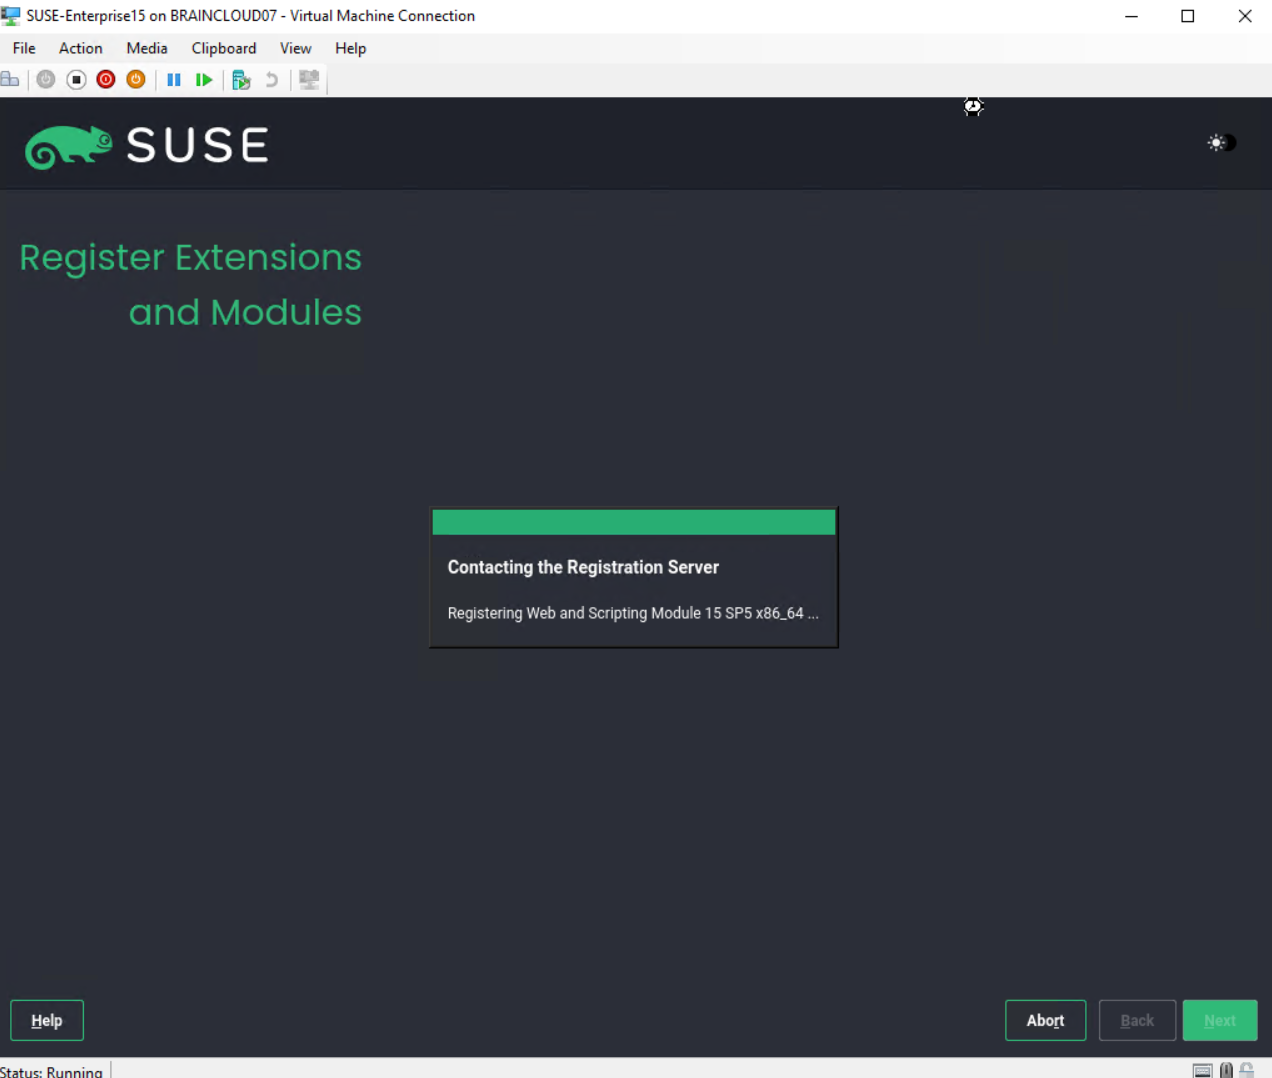
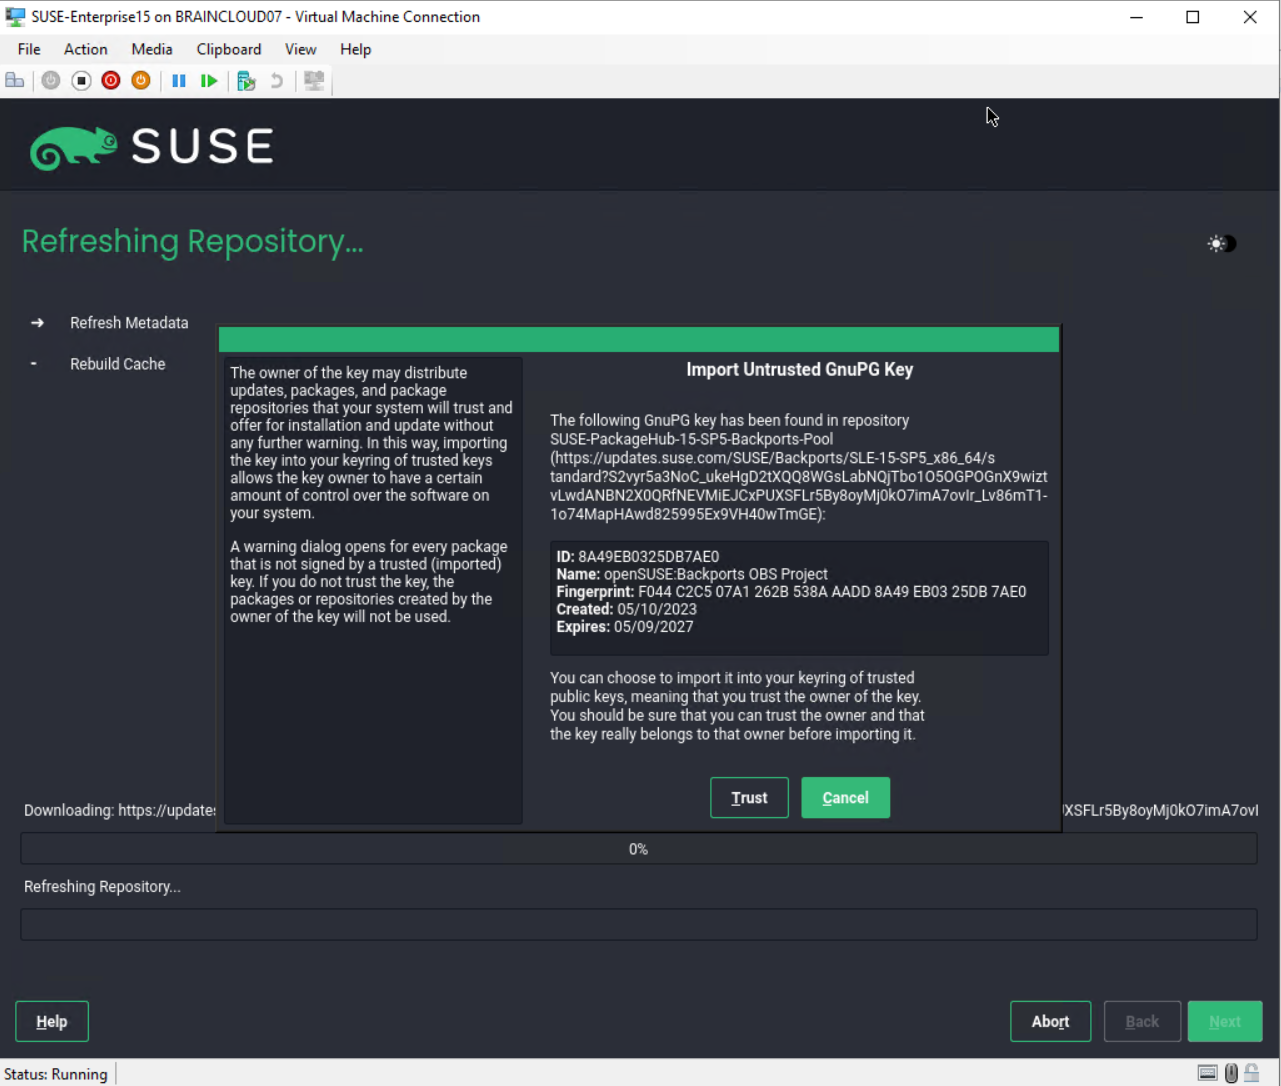
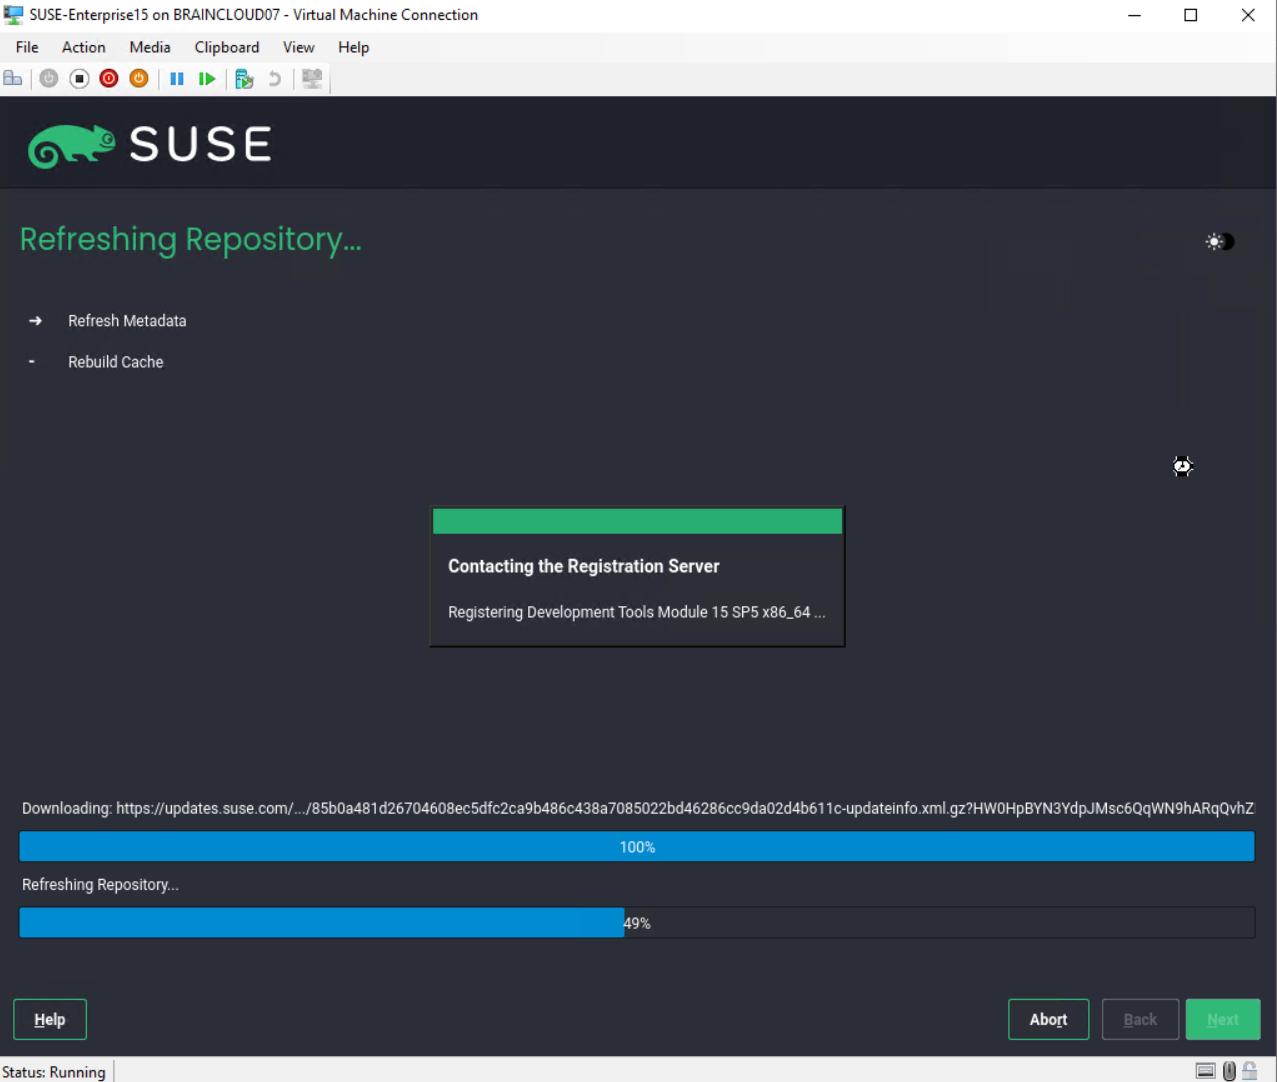
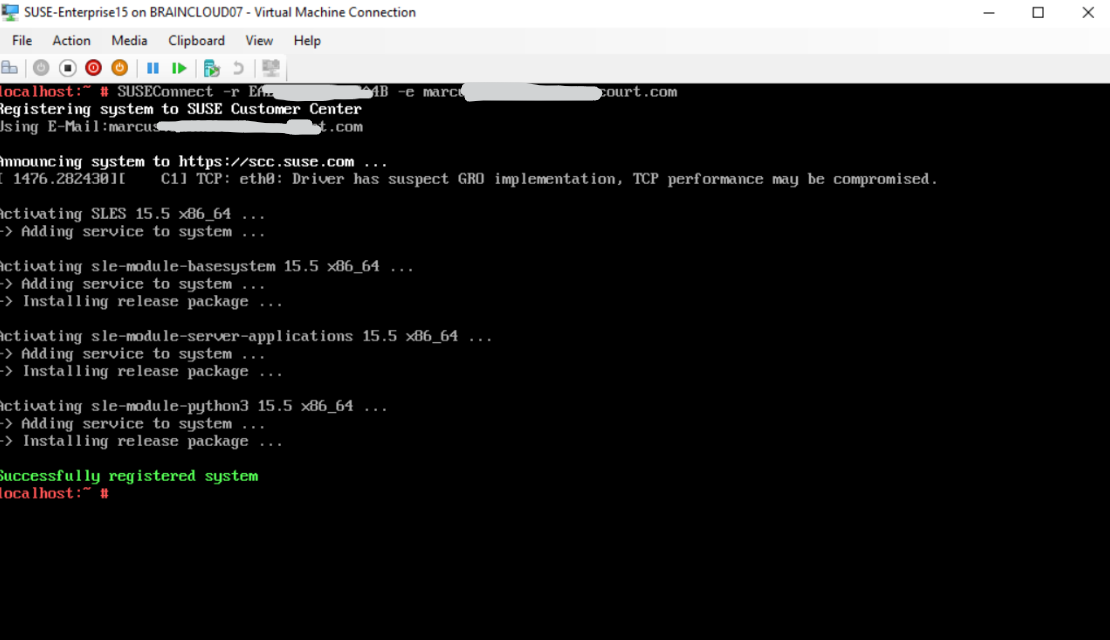
Registering with SUSEConnect
Install Apache Web Server on SUSE Linux Enterprise Server
# zypper -n install apache2

 --non-interactive, -n   Do not ask anything, use default answers automatically. Default: false
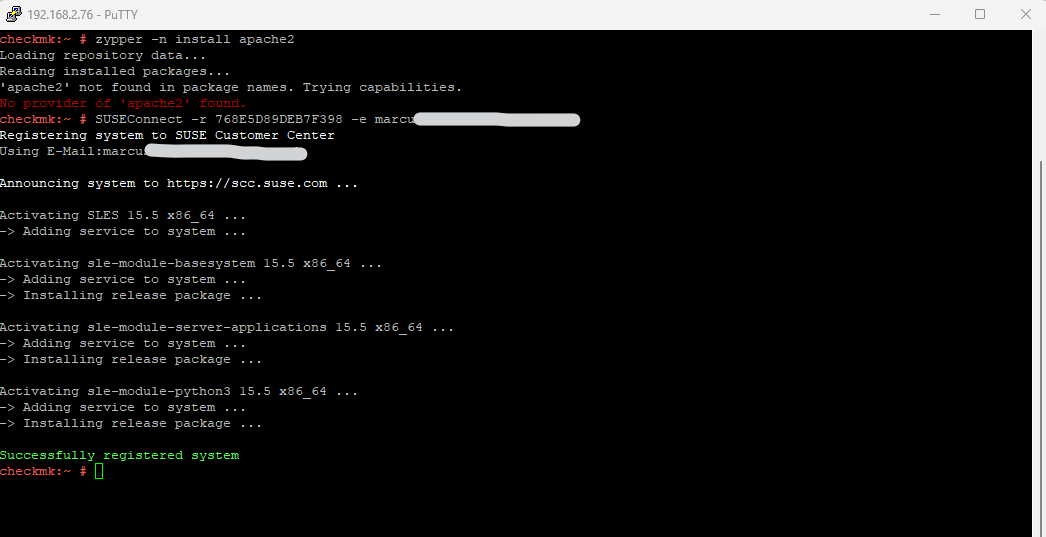
# SUSEConnect -r REGISTRATION_CODE -e EMAIL_ADDRESS

Manage Services on SUSE Linux Enterprise Server
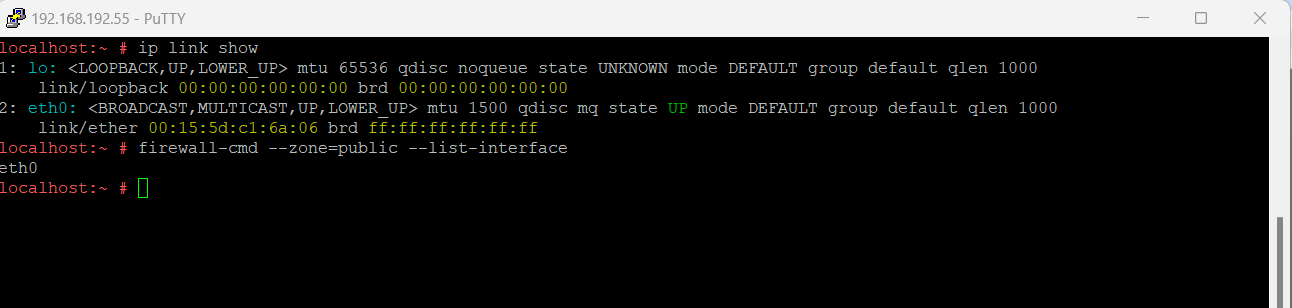
Firewall on SUSE Linux Enterprise Server
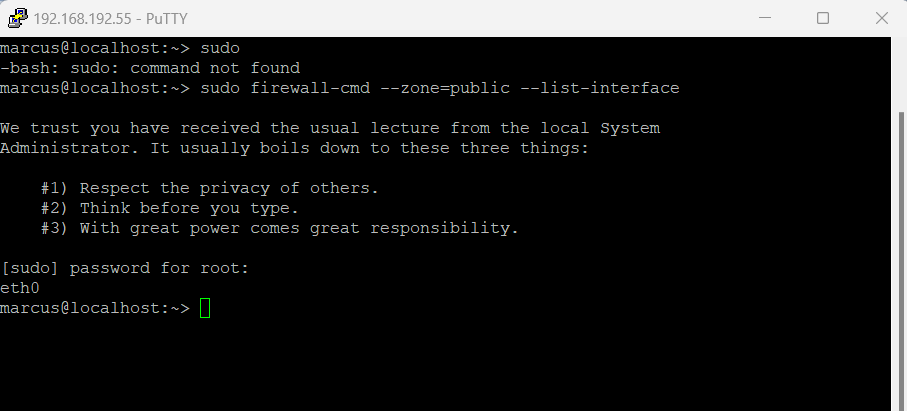
List all network interfaces on the system
> ip link show

> sudo firewall-cmd --zone=public --list-interface
The variant using --add-interface will only work if eth0 is not already assigned to another zone.
> sudo firewall-cmd --zone=internal --add-interface=eth0


The variant using --change-interface will always work, removing eth0 from its current zone if necessary:
> sudo firewall-cmd --zone=internal --change-interface=eth0

Any operations without an explicit --zone argument will implicitly operate on the default zone. This pair of commands can be used for getting and setting the default zone assignment:

> sudo firewall-cmd --get-default-zone
dmz

firewall-cmd --set-default-zone=public
> sudo firewall-cmd --runtime-to-permanent
> sudo firewall-cmd --reload

or

> sudo systemctl reload firewalld
> sudo firewall-cmd --get-services
> sudo firewall-cmd --zone=public --add-port=22/tcp --permanent

> sudo firewall-cmd --zone=public --remove-port=22/tcp --permanent
> sudo firewall-cmd --zone=public --add-service=http --permanent

> sudo firewall-cmd --zone=public --remove-service=http --permanent
> sudo firewall-cmd --reload
> sudo firewall-cmd --list-all
> sudo firewall-cmd --list-all-zones
> sudo firewall-cmd --zone=public --list-all
Enable/Disable the Firewall
# systemctl stop firewalld.service
# systemctl disable firewalld.service
# systemctl enable firewalld.service
# systemctl start firewalld.service
Create a new User on the System
# sudo useradd <USERNAME>

# sudo useradd john

The command adds an entry to the /etc/passwd, /etc/shadow, /etc/group, and /etc/gshadow files.

Verify that the new user was created
# sudo id john

Set a password for the new user
# sudo passwd john


Use the -m (--create-home) option to create the user home directory as /home/<username>
# sudo useradd -m john
About how to elevate normal user accounts in SUSE Linux Enterprise with sudo rights you can read my following post.
How to add SLES repository on SLES server
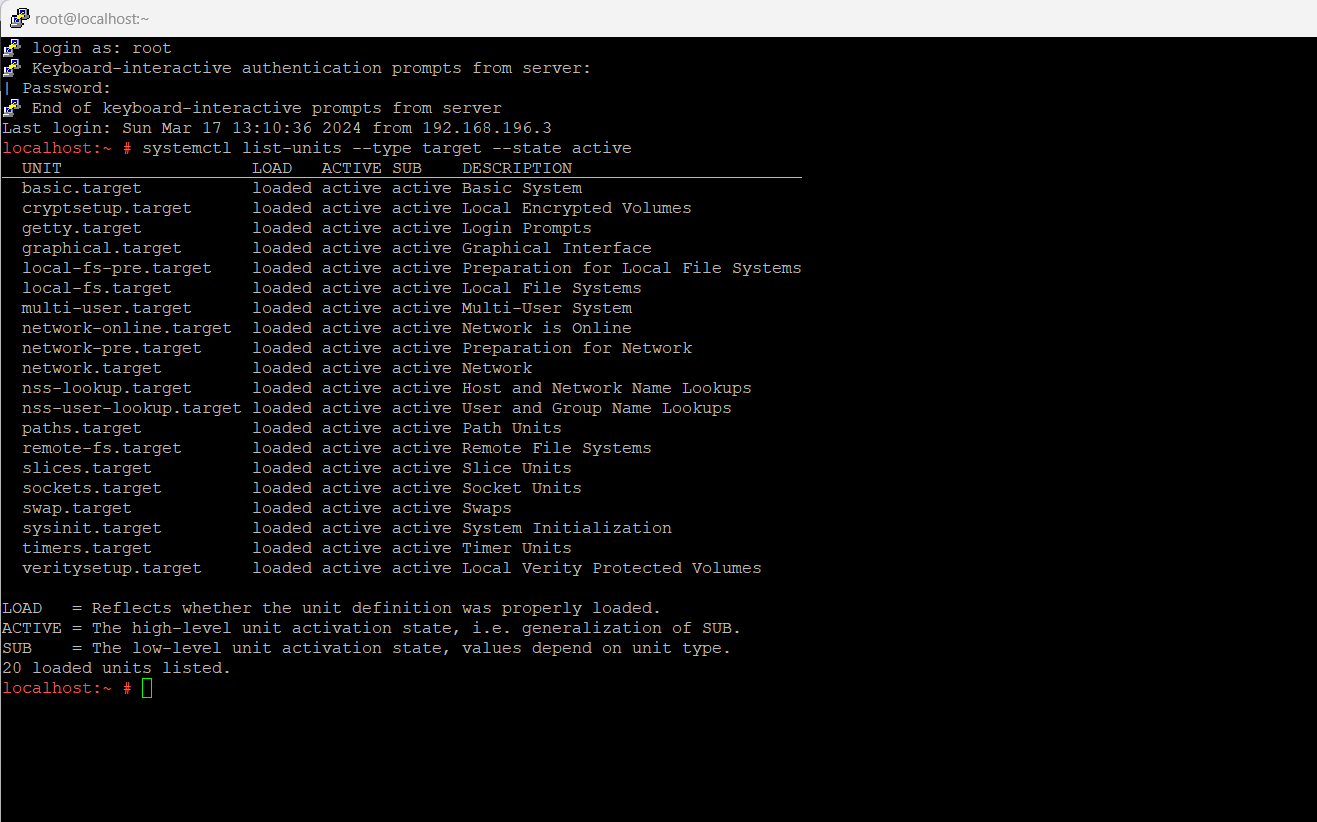
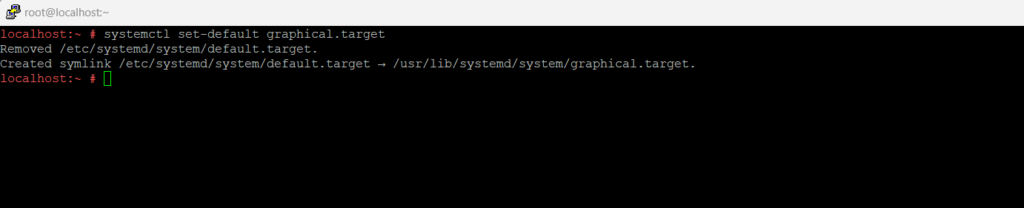
How to determine and change the Runlevel
systemctl list-units --type target --state active
Troubleshooting
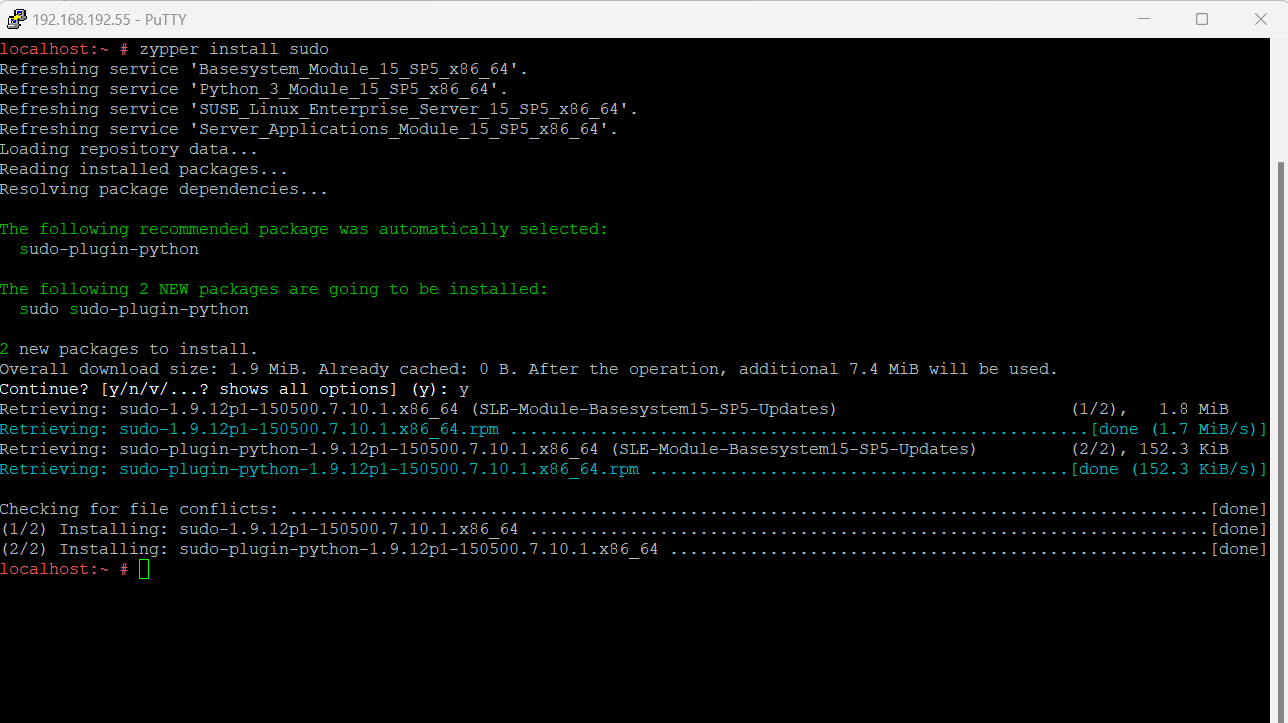
sudo: command not found
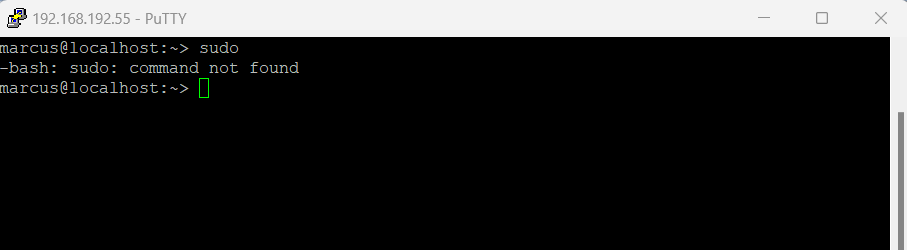
zypper install sudo